When Paul and I went to the royal wedding of William in Kate in 2011, we were walking around the streets of London in the paper fascinators I had made and there was a literal magic in the air. While it was a joyous occasion, it was also a major highlight because our picture got taken by all sorts of news outlets–Le Monde to CNN to Vogue. Of course, as the literal Kentucky Derby Hat Contest Winner, I feel like it is my duty to share some how to make a fascinator of your own and some inspiration on what to make for your own fascinator.
How to make a fascinator hat
It’s my personal belief that you should need a fascinator at some point in your life even if you are not on the invite list of the royal coronation. We make our own invite-list here! Fascinators are great for bringing the spice to a wedding, Royal Ascot, Kentucky Derby watch party, Easter tradition, and who even knows what else!
If you’re new around here, do you remember this? It’s one of my favorite life moments! My husband and I went to the royal wedding of Kate and William in London in 2011. I wore a paper rose fascinator hat–people loved it apparently!
View this post on Instagram
We have made several different types of fascinators over the years and my favorites are those that take simple materials and make them extraordinary–that’s the power of paper!
Materials:
- Cardstock paper in the colors of your choice
- Scissors
- Glue gun
- Headband
- Feathers
- Ribbon or other decorative embellishments
Step 1: Choose your paper colors
Before you begin crafting your fascinator, you’ll want to choose your paper colors. Consider the occasion you’ll be wearing your hat for and choose colors that complement your outfit. For example, if you’re attending a wedding, you might choose soft pastel colors or metallic shades. If you’re attending the Kentucky Derby, you might choose bold, bright colors or classic black and white.
Step 2: Cut out your paper shapes
Once you’ve chosen your paper colors, it’s time to start cutting out your shapes. You’ll want to create a base for your fascinator by cutting out a large circle or oval shape from your cardstock paper. This will be the foundation of your hat.
Next, cut out smaller shapes in different colors and sizes to layer on top of your base. These can be flowers, leaves, or any other decorative shapes you like. You can experiment with different shapes and sizes to create a unique and eye-catching design.
Step 3: Glue your paper shapes together
Using a glue gun, start layering your paper shapes onto your base. Begin with your larger shapes and work your way towards the smaller ones. Make sure to glue each layer securely to the one beneath it.
Step 4: Attach your fascinator to a headband
Once your paper shapes are securely glued together, it’s time to attach your fascinator to a headband. Use your glue gun to attach the base of your fascinator to the headband. Make sure to hold the fascinator in place until the glue has dried and the hat is securely attached to the headband.
Step 5: Add feathers and other decorative embellishments
To add some extra flair to your fascinator, consider adding feathers or other decorative embellishments. You can use your glue gun to attach feathers to the back of your hat, or use ribbon or other embellishments to add some extra sparkle and shine.
And there you have it! Your very own DIY paper fascinator hat, perfect for any special occasion. Not only is this hat easy to make, but it’s also customizable and can be made to match any outfit or theme. So why not give it a try and create your own unique and stylish fascinator hat today?
7 Paper fascinator ideas
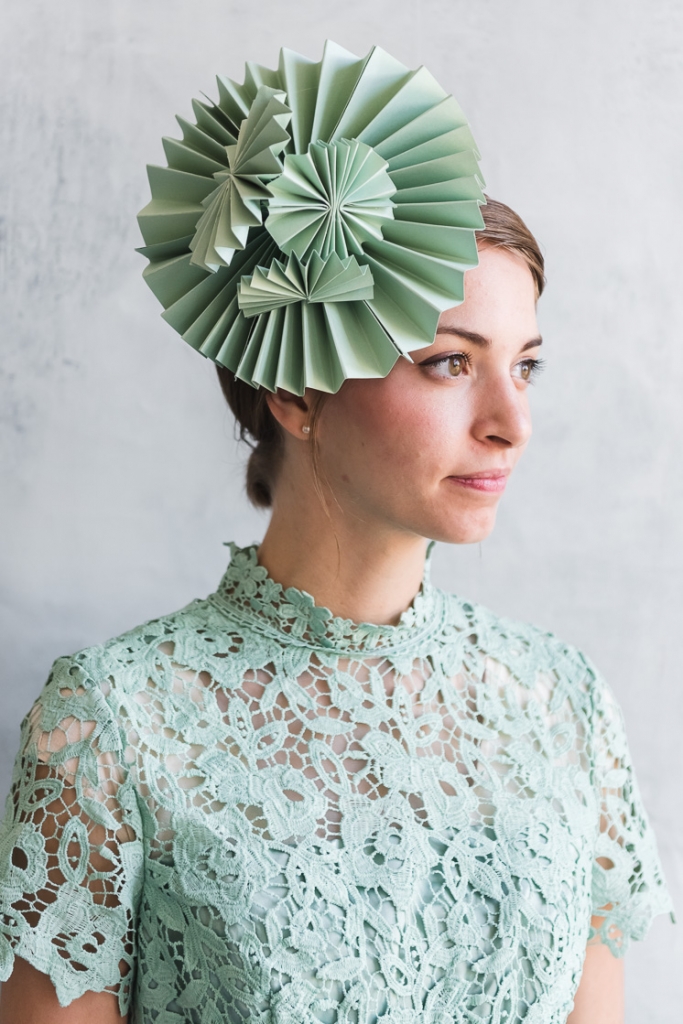
This paper fan fascinator is a CINCH to make and so impactful! I love how it turned out!
Paper Plate fascinator
Can you believe this fascinator is made from a paper plate?! It’s so so good! Learn how to make it here.
Remember Princess Beatrice’s from Harry and Meghan’s wedding? Iconic. Here’s our version in paper!
Here’s the paper rose flower hat I wore at the royal wedding. You can learn how I made it here!
Using paper to make a fascinator
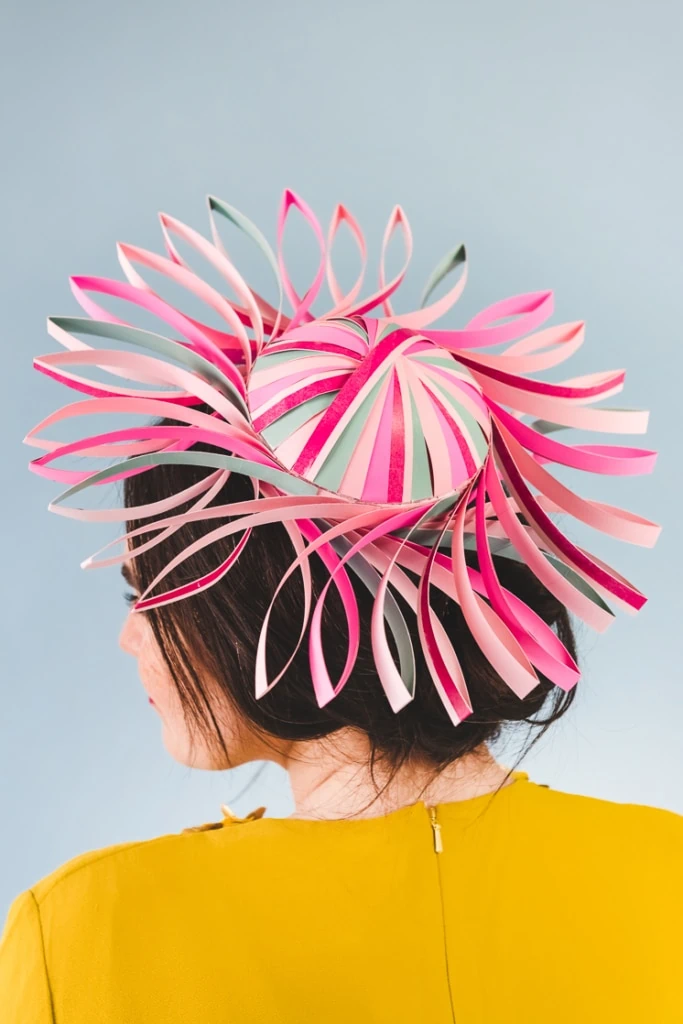
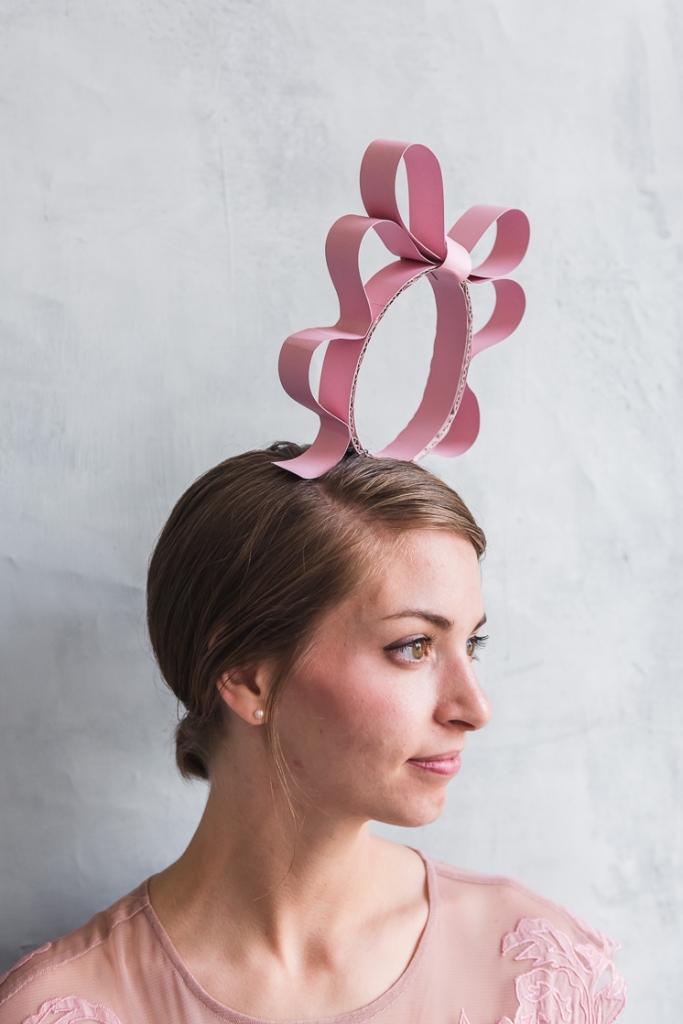
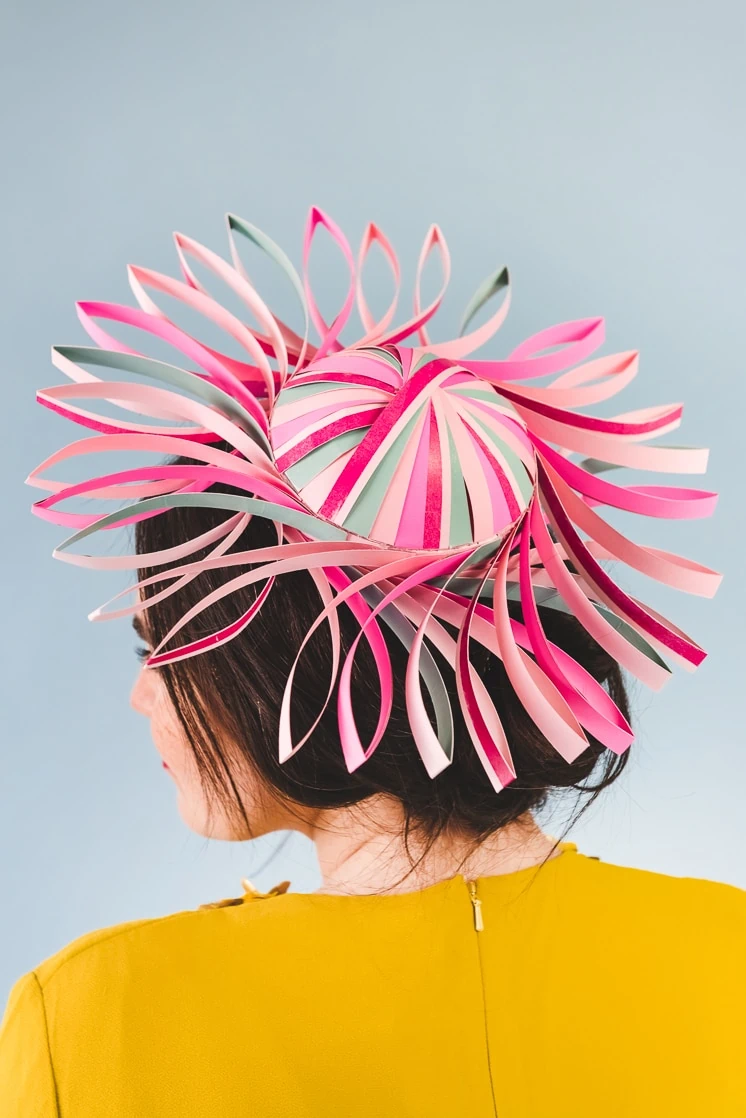
Of course, we love to get creative over here. I love how these strips of paper turned into a beautiful head topper. You can see the instructions over here.
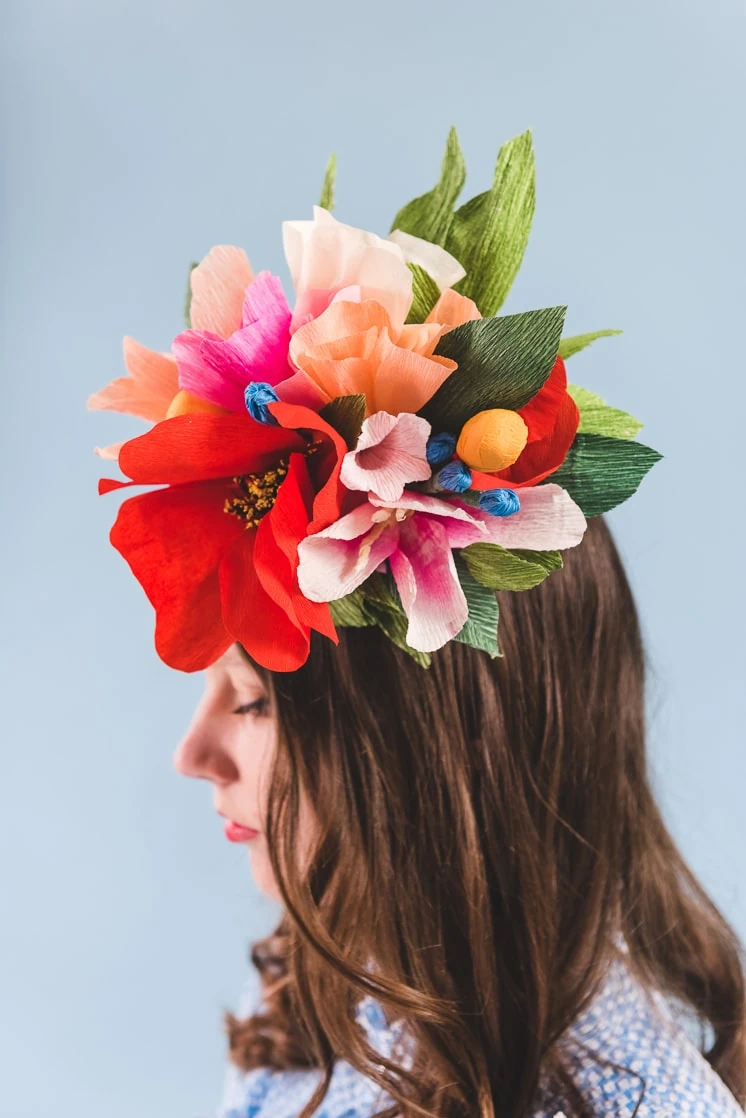
Paper Flower Fascinator hat
You can never go wrong with flowers! Bunch a few of them up for a floral display.
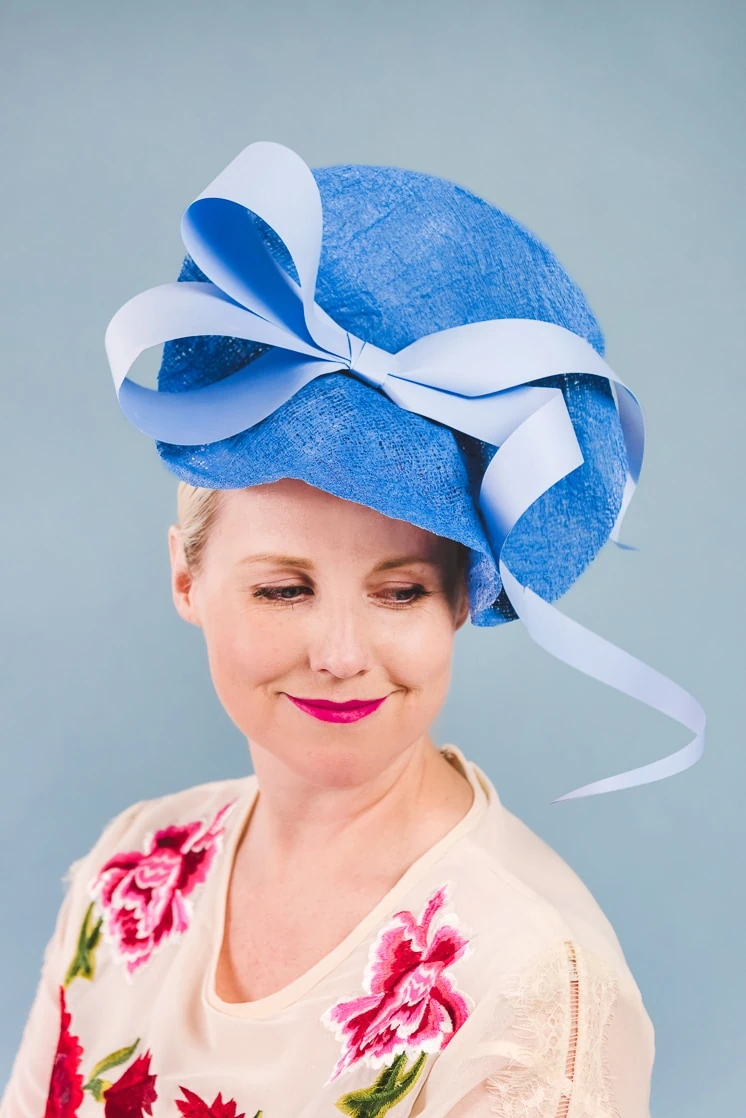
Custom hat with paper ribbon
For this one, we customized the hat base with fabric and then topped it with a paper ribbon. Keeps it sturdy! Here’s how to make it!3 DIY Derby Hat ideas
Fascinators to buy
If you don’t want to DIY one, I rounded up some favorites here. They range in price points so there’s something for everyone.
And there you have it! Your very own DIY paper fascinator hat, perfect for any special occasion. Not only is this hat easy to make, but it’s also customizable and can be made to match any outfit or theme. So why not give it a try and create your own unique and stylish fascinator hat today?
Let me know how you’re celebrating with your fascinator. Would love to see it!


