We moved into our new studio in my home almost 4 years ago now and we’ve been slowly making it maximally organized. The space has already morphed a number of times over the years as we figure out the best solutions. For example, our office, that holds the desks where we do computer work, has already seen two different wallpapers, two configurations, and different people working in them. Our craft room has had a few metamorphoses too. First rolling tables everywhere so we can move them around and now two Ikea kitchen islands put together at counter height so it’s easier to work. I’ve been wanting to add in a peg board solution to it because they have looked great for quick and accessible tools and crafts and I finally did it and LOVE it. Let me show you how to make a peg board for your craft room without being the handiest person because, ahem, that’s me.
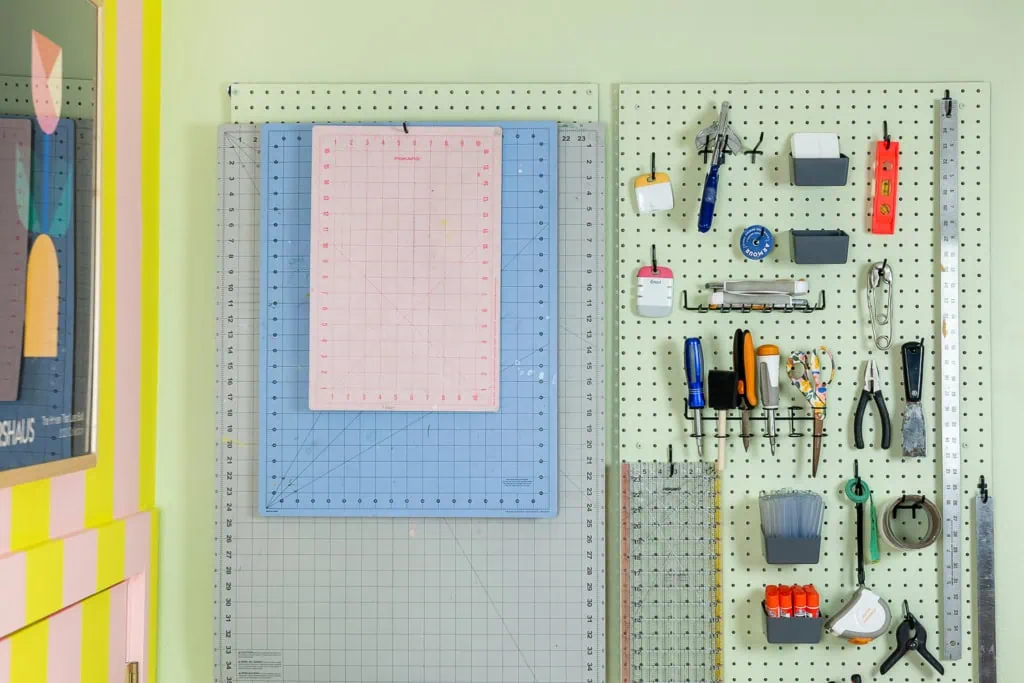
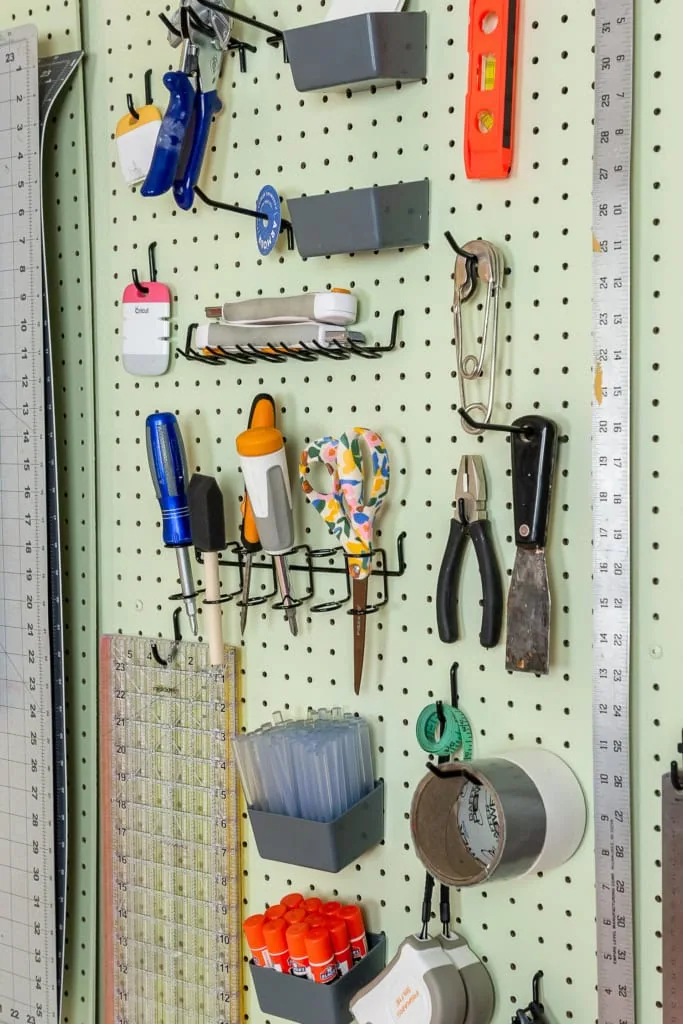
DIY craft and tool pegboard
Difficulty:
BeginnerTime:
30 min-1 hourMaterials
Instructions
How to prepare the space for a peg board
- First, plan where you are going to place your pegboard and figure out how much you’re going to need. I chose a space in my craft room where I could easily access the tools. I measured how much I’d need based on the pre-cut peg board options at Home Depot. Because I already owned board, I only needed one more.
-
If you go to Home Depot, they can cut the peg board for you to your specific dimensions. I chose the pre-cut option and they just needed to cut it down to my specific height. So easy. They also have a very large board option, much like the large sheets of plywood if your space is larger.
- Add blue tape to where you want to place your peg board. I used it at the bottom of the placement to ensure I didn’t go below a certain area because I had two rolling carts going underneath.
How to install the pegboard
- With someone to help me, I placed the boards where I wanted them to be and used a level to make sure they were straight. Mark the corners with a pencil.
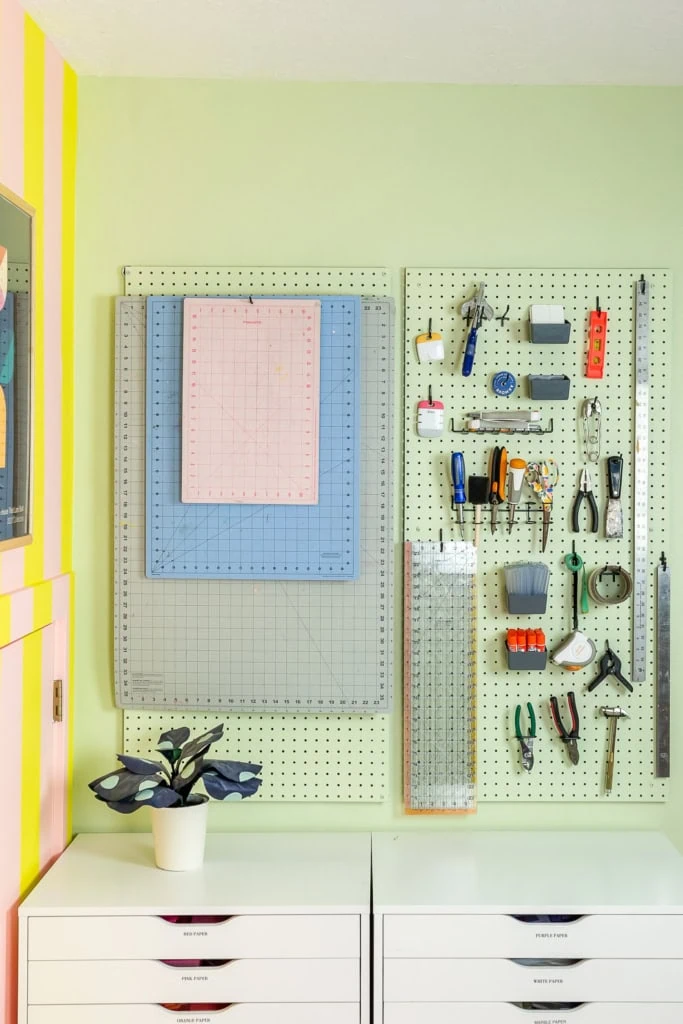
- I used the peg board mounting kit to affix the boards to the wall. It came with anchors and screws so I could easily put it into my wall. First, I penciled in where the screw was going. Then I drilled in a hole into the wall for the anchor. Next, I placed the spacer on the back of the board and then screwed in the screw from the front. Make sure to choose a position in the peg board where you can’t see the spacer since the spacer is wider than the width of the holes. I made that mistake on the first one I tried (you can see the spacer peeking out on the top left) but adjusted them from then on. Note–if your board is long or wide, you might need to install more screws in the middle of the board so that when it’s affixed it won’t easily hit the wall. The boards you see here have two sets of screws/spacers at the top on each side, on the middle and two at the bottom. It makes it so that it doesn’t flap.
- Repeat to each of the corners and middles.
- If you want to paint your pegboard, paint it with a wide paintbrush in very thin strikes so that the paint doesn’t clump up in the holes.
Organizing
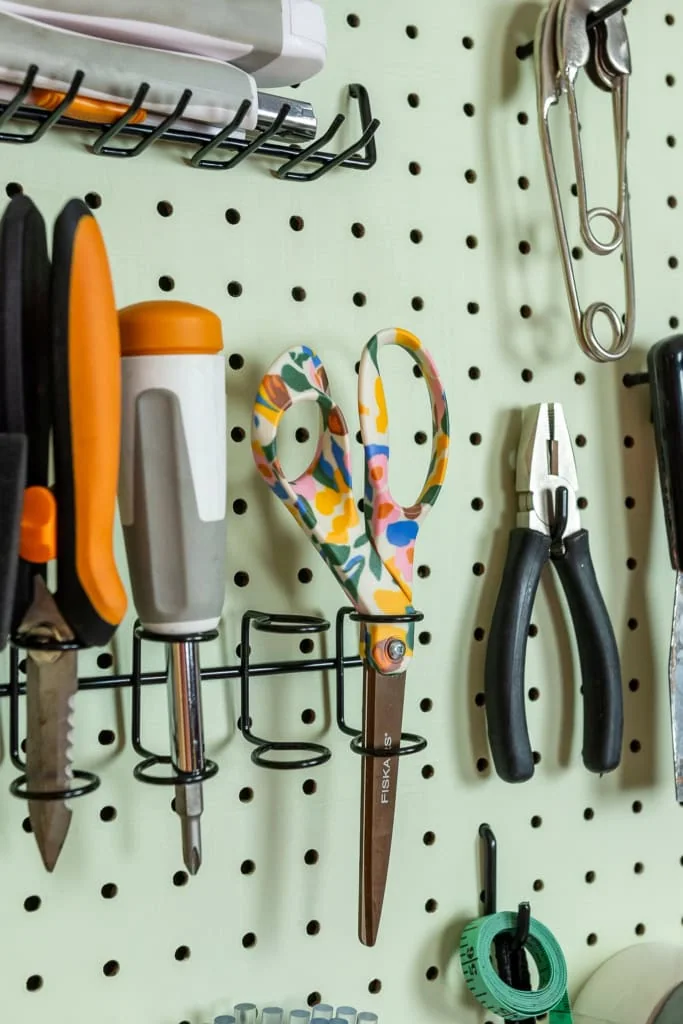
- Once the pegboard is mounted, start adding hooks and other accessories. Arrange them in a way that makes sense for your workflow. You can use a variety of hooks, baskets, and shelves to store different tools and materials. I linked my favorites above.
Tips for Organizing Your Pegboard
- Group Similar Items Together: Keep all your scissors, markers, and other similar tools in one area for easy access.
- Use Baskets and Bins: For smaller items like buttons, beads, and thread spools, baskets and bins are perfect.
- Label Sections: If you have a lot of different supplies, consider labeling sections of your pegboard to quickly find what you need.
- Maximize Vertical Space: Use the full height of your pegboard by placing less frequently used items higher up and keeping everyday tools within arm’s reach.
- Regularly Reevaluate and Rearrange: As your projects and tools change, don’t be afraid to rearrange your pegboard setup to better suit your needs.
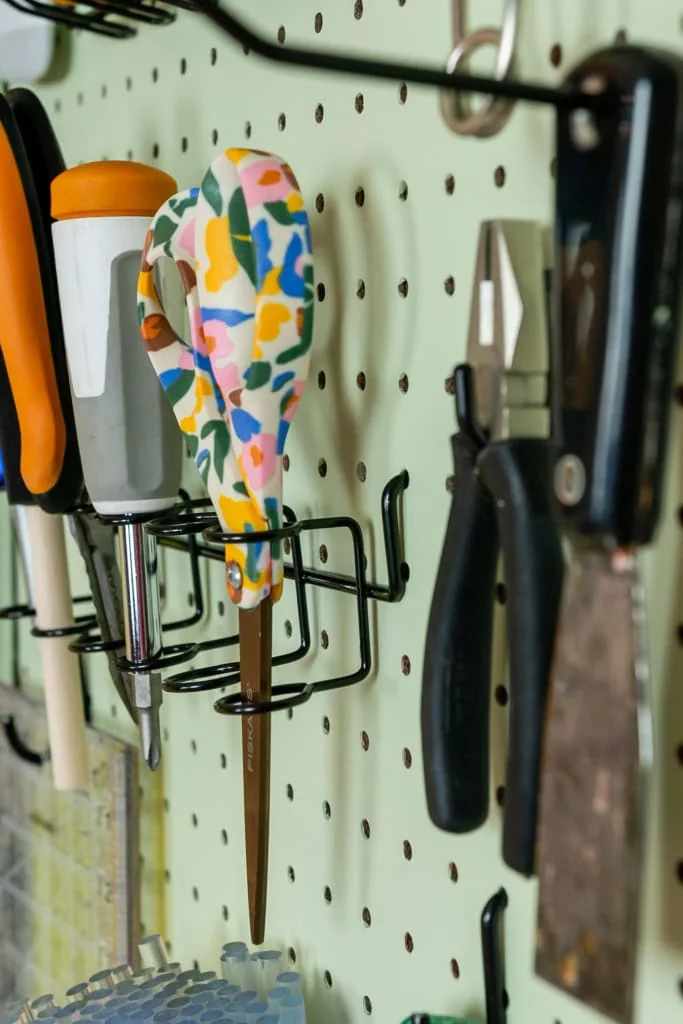
What I’m finding
I’ve only had my pegboard system for a few weeks now but already it’s blowing my mind. I’m not a naturally organized person so I’m constantly living in a state of chaos by yearning for a state of peace. What I’m finding is that because everything has an exact spot, my mind knows exactly where to go. It’s alleviated a lot of guessing. I’ve also realized that more tools can fit onto it than I realized so it’s become quite used for a lot of things. I’ve become a big proponent of everything having an exact spot!
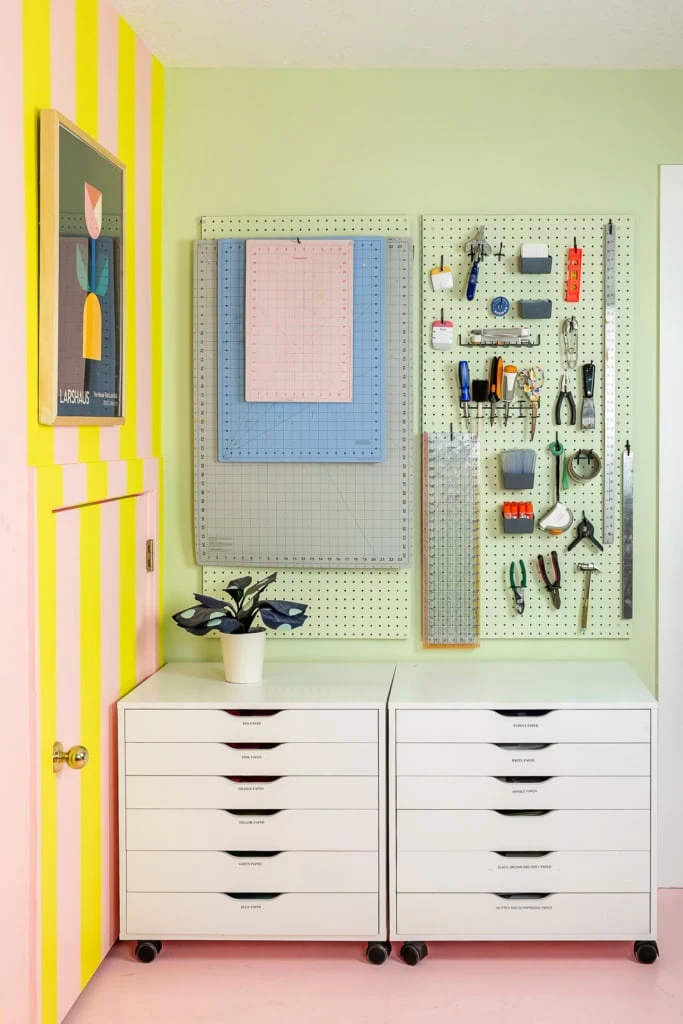
Loving my craft room
I have a lot more projects to tackle in this studio office, but I’m getting there and each one is making me truly love the space I have. As you know, I’m not the most handy person–I can certainly craft, but not handy–but this one was easy! I’m becoming more confident with a drill and it’s truly so fun.
Creating your own DIY craft pegboard is a rewarding project that can transform your crafting space. Not only does it provide a practical solution for organization, but it also adds a personal touch to your workspace. By following these steps and customizing your pegboard to your specific needs, you’ll create a functional and aesthetically pleasing tool that enhances your creativity and productivity. So gather your materials, roll up your sleeves, and get ready to make your craft space the best it can be!


Comments