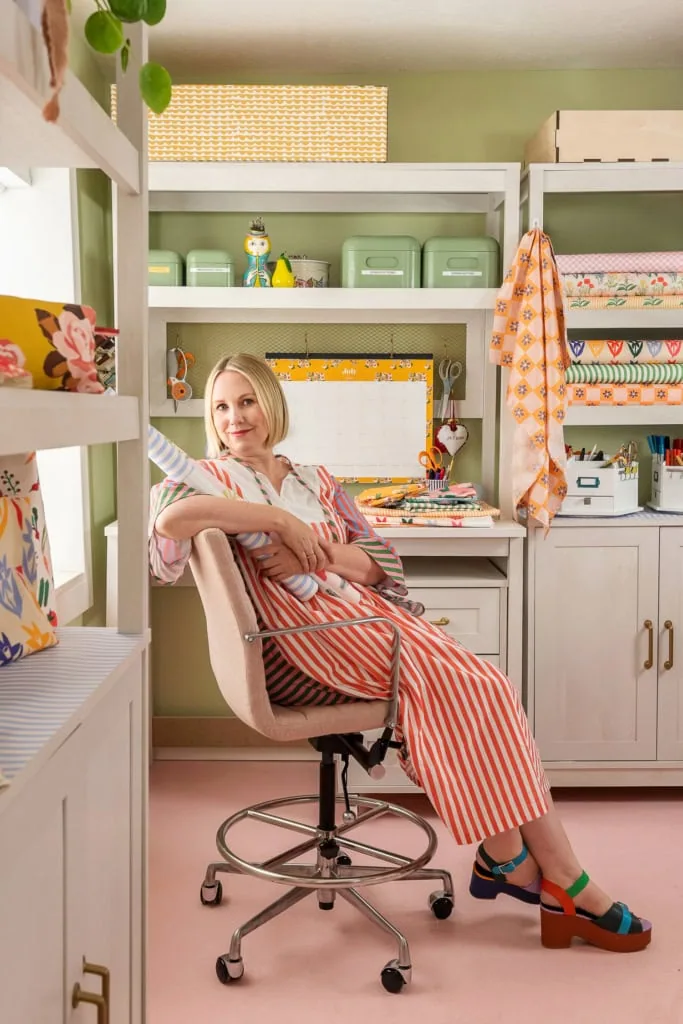
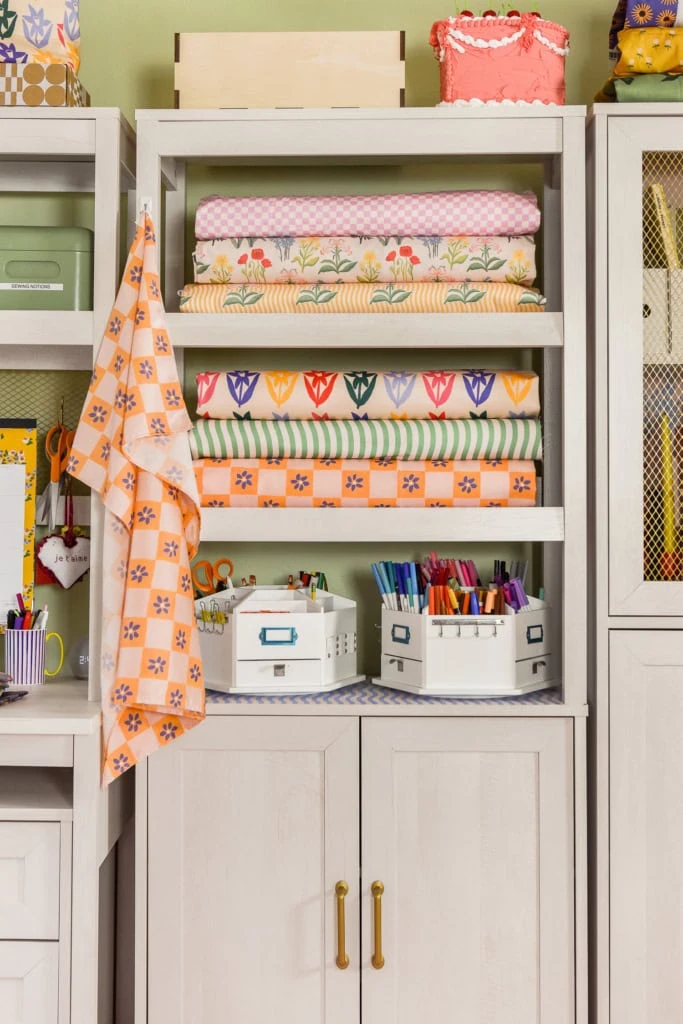
Trying to figure out how to add more color and pattern into your space? I’m gonna share our updated studio with you and how we accomplished just that!
I’ve always had an all white studio starting with my first one at Hinterland (remember the co-op we shared with a few other artists down in Springville?). Honestly, I miss that space so much. It was tremendous for photography–large windows, white walls, horses grazing in the pastures….Boo hoo hoo! And then we painted all the walls white in our next space. We were renting both and while we ended up making more color choices to our Springville studio (remember our floors here?! Still one of the favorite things we’ve done), we never went wall out. Well, not as much as I’ve always wanted.
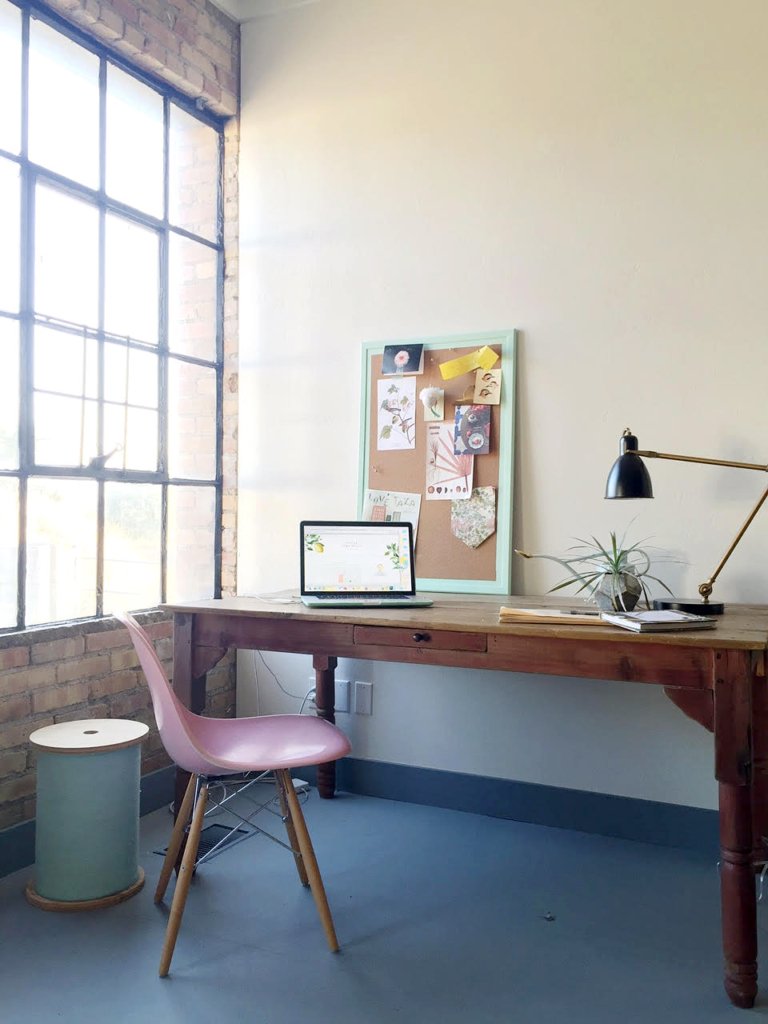
SO! I’ve been determined to go big here at my home studio. We started pretty basic with once again, white walls and Ikea furniture. I guess we did add the splash of pink with the epoxy floors, but besides that not much. We did add some wallpaper into our office in the adjoining room and I was feeling much more myself, but we needed to focus on the craft room for this specific project.
1. Decide if you want to go big or small with the color
When deciding how I wanted to bring in color and pattern, I needed to figure out what my goals were. Whereas in the office I was fine with bold florals on the wallpaper, I didn’t want to do that in the craft room so that was a great place to start. So, how do I put in color and pattern? We went smaller–it’s all in the details!
2. Lay a solid canvas
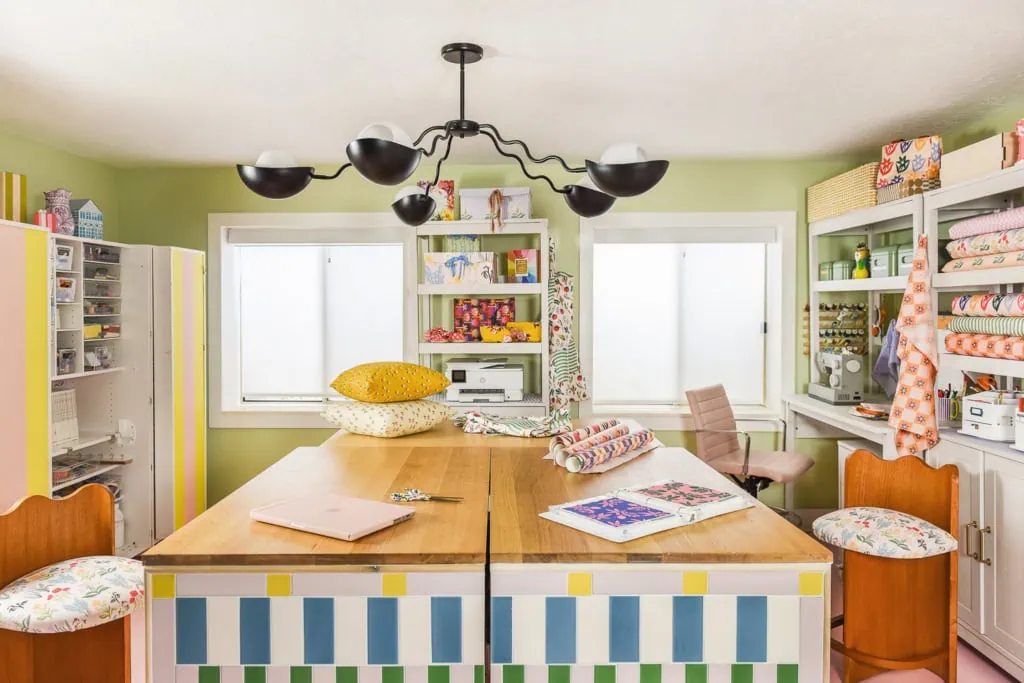
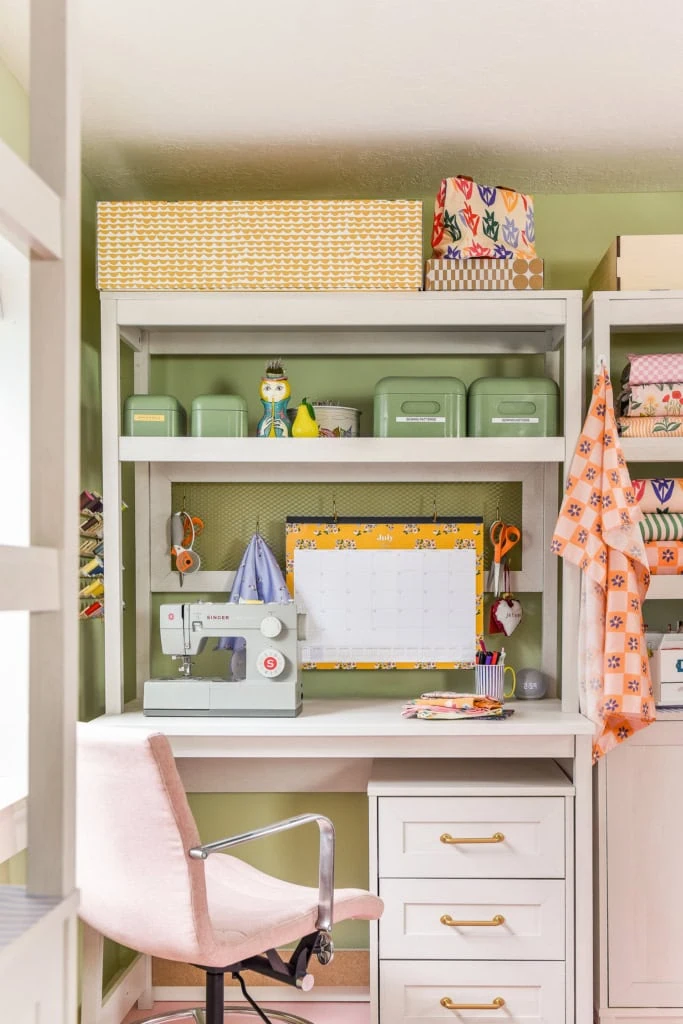
Now, the office has a four walls of our Gloria’s Zinnias and I adore it, but I decided that I wanted something clean, but with color. The first thing I did was bring in the refreshing green from the trim in the office and painted that on the walls of the craft room. That way it would feel cohesive, but also different. A solid choice adds interest, but also rest for the eye.
3. Look for pieces of furniture to cover with a pattern
We already had a bit of color on the Scrapbox when I applied wallpaper from our Spoonflower collection onto the sides and while I could have changed it out, I decided I wanted to work with it.
I started looking for smaller ways to add in color and pattern. One idea I had was to apply it onto our new shelving units. Spoonflower has a great (probably the best I’ve seen) peel and stick wallpaper and I thought about wrapping the white pieces with something fun. But Jenny, on our team, is my voice of reason and rightly advised me against it because it would take too much time. She was right, of course.
4. Wallpaper onto shelves
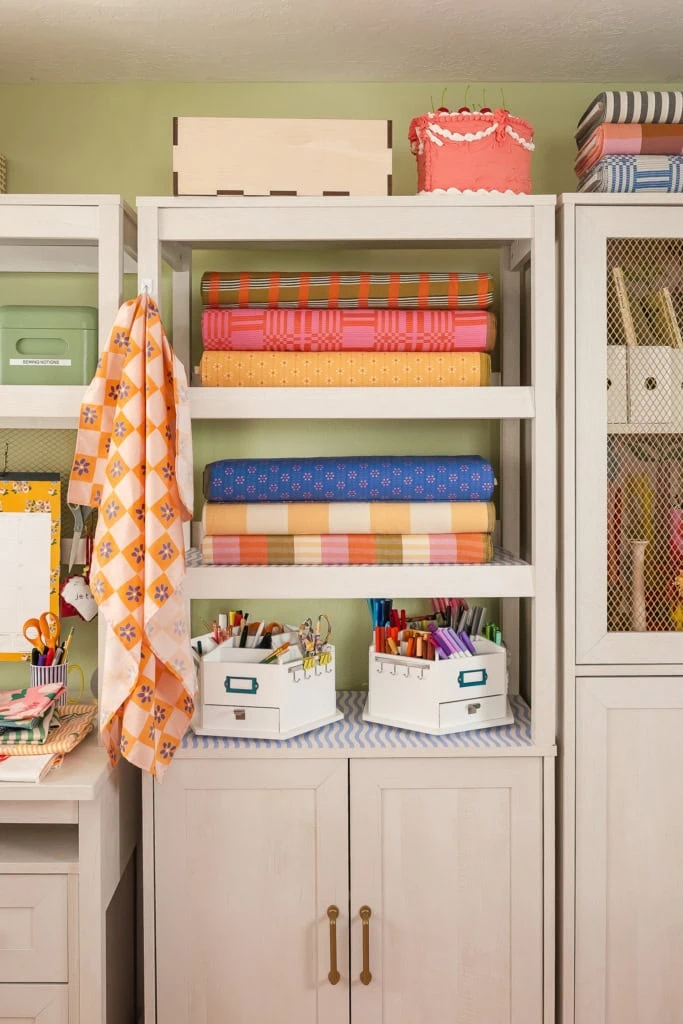
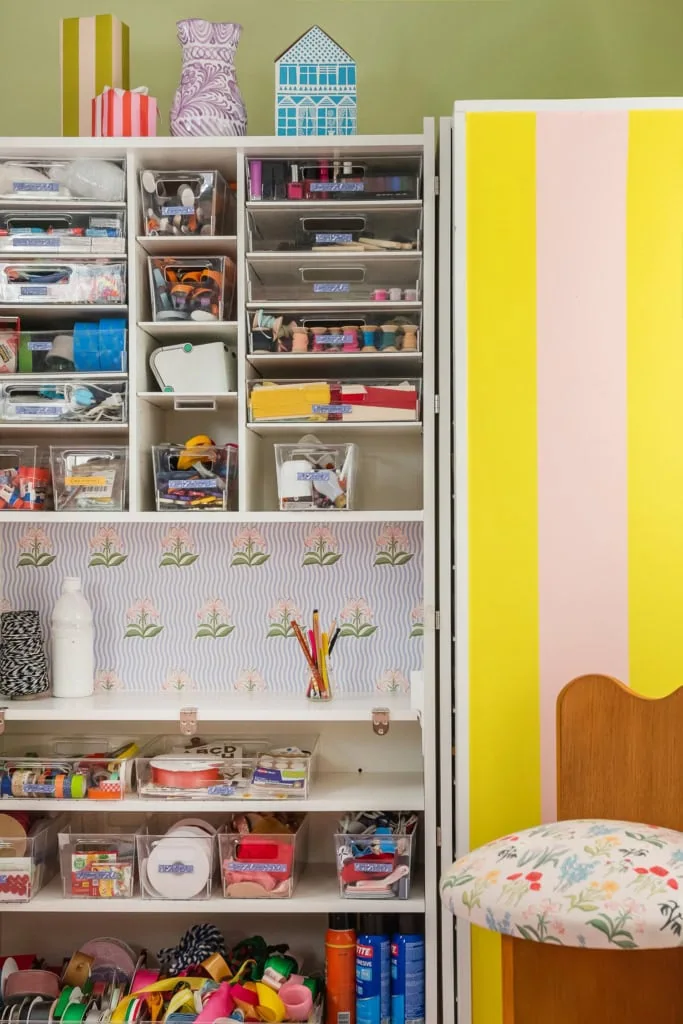
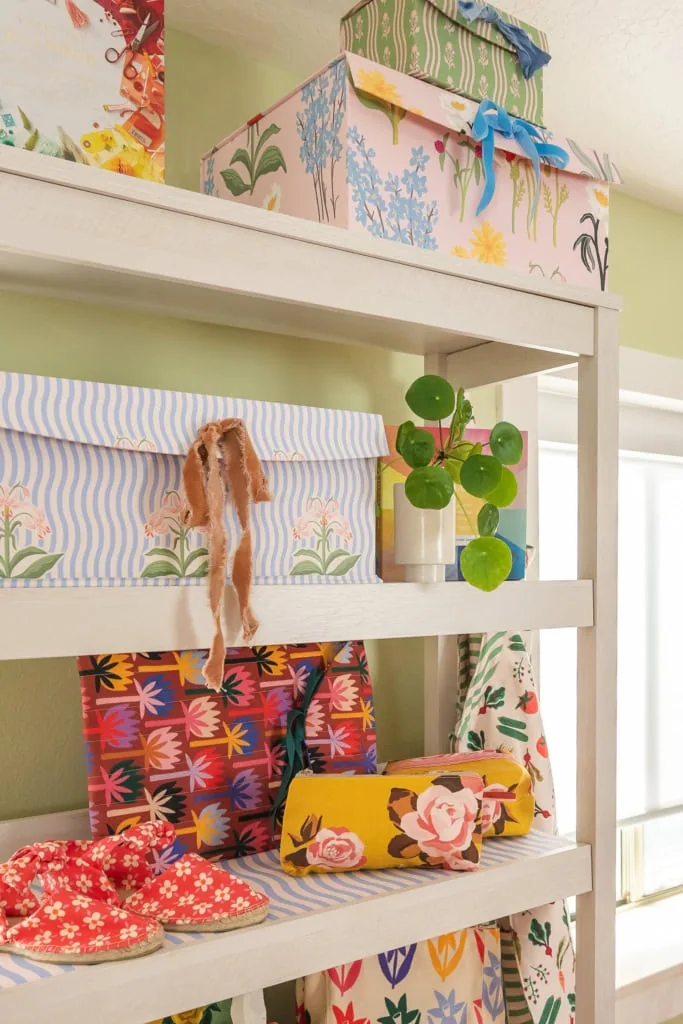
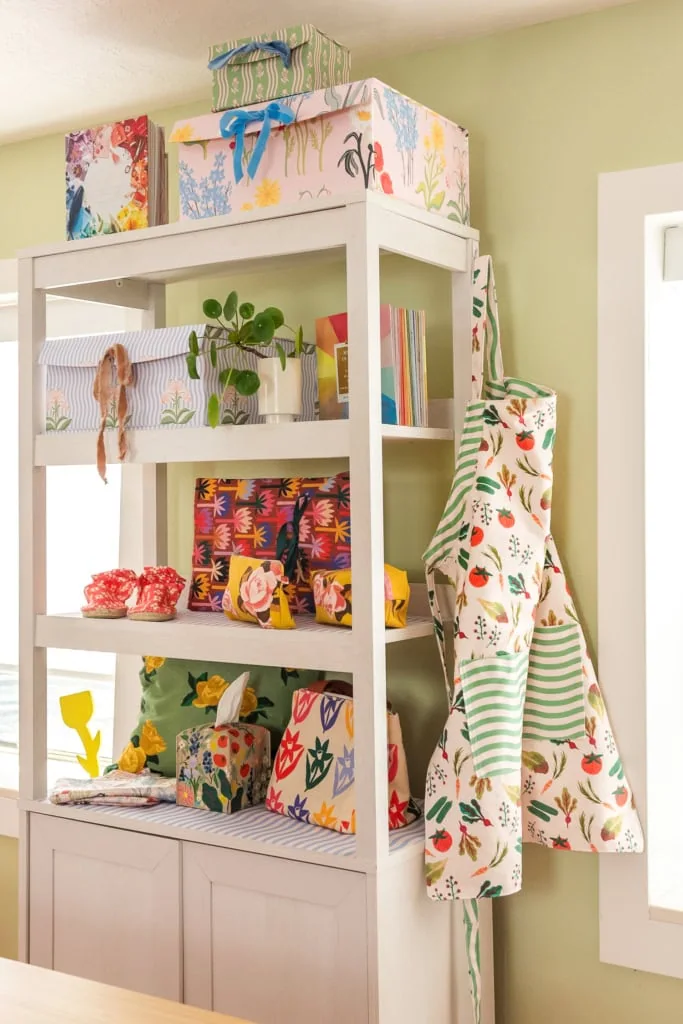
So, instead of adding wallpaper onto the every part of the shelving units, I decided to add it onto just the shelves themselves. I chose our blue wave so it would also feel refreshing against the green walls–not too much pattern, but just enough to add interest.
5. Wallpaper in cabinets
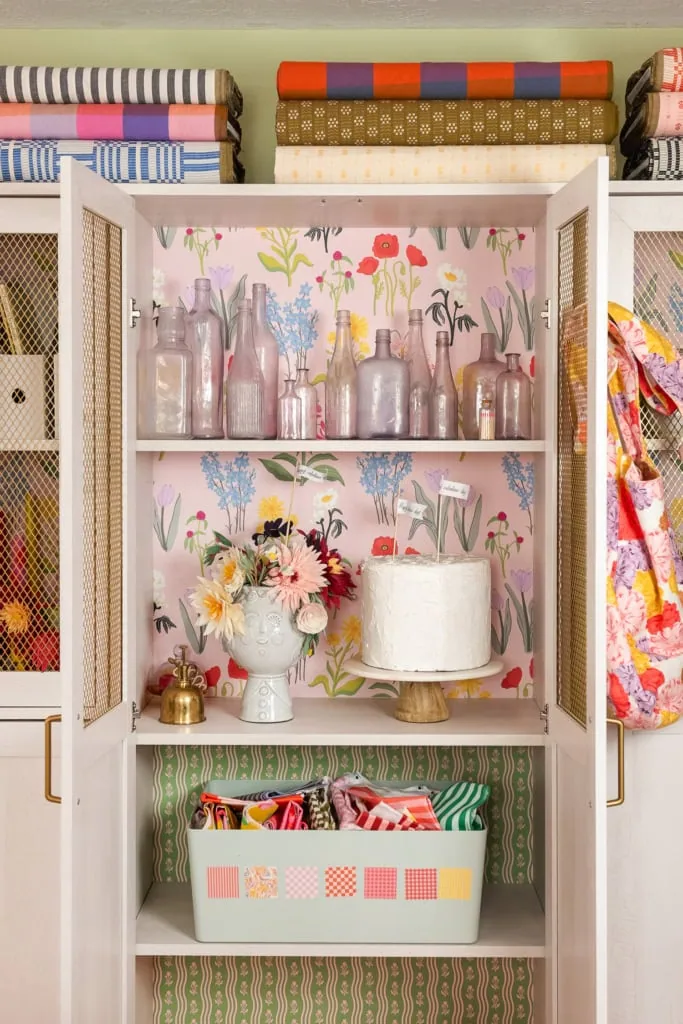
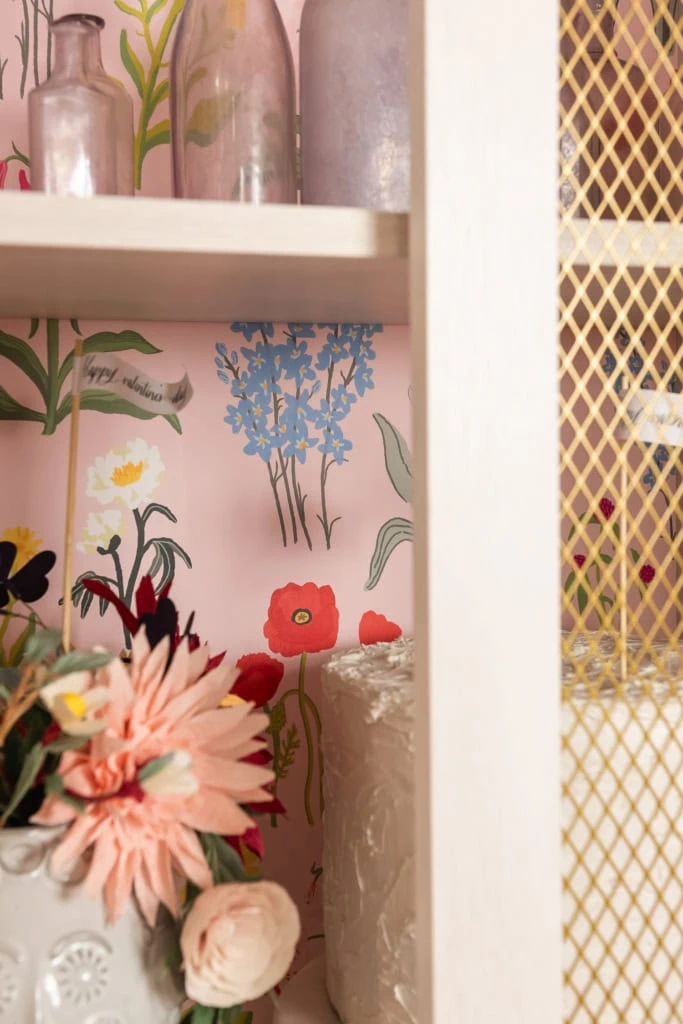
Next, we have these peek-a-boo cabinets where I store all of our props. It was the perfect opportunity to add in something more daring because it would only be seen from behind the cage. I selected the pink botanical from our Spoonflower collection up on top and the green calendula for the bottom. I loved the idea of mixing patterns but not realizing it right away until you open up cabinets. Surprise!
6. Wallpaper in drawers
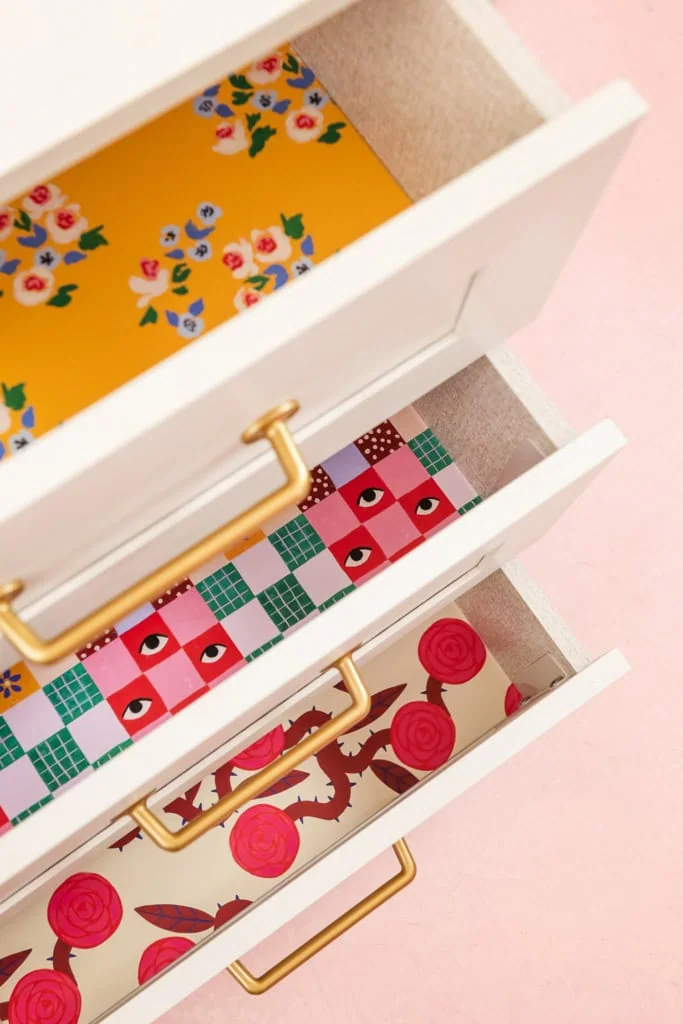
We have a smaller, moveable set of drawers and it was the perfect opportunity to really have some fun so I put in our wildest prints into each one of them. I chose our Tangled Roses, Not Your Grandma’s Quilt, and Juliet wallpaper. I love the surprise that happens when you pull out the drawers.
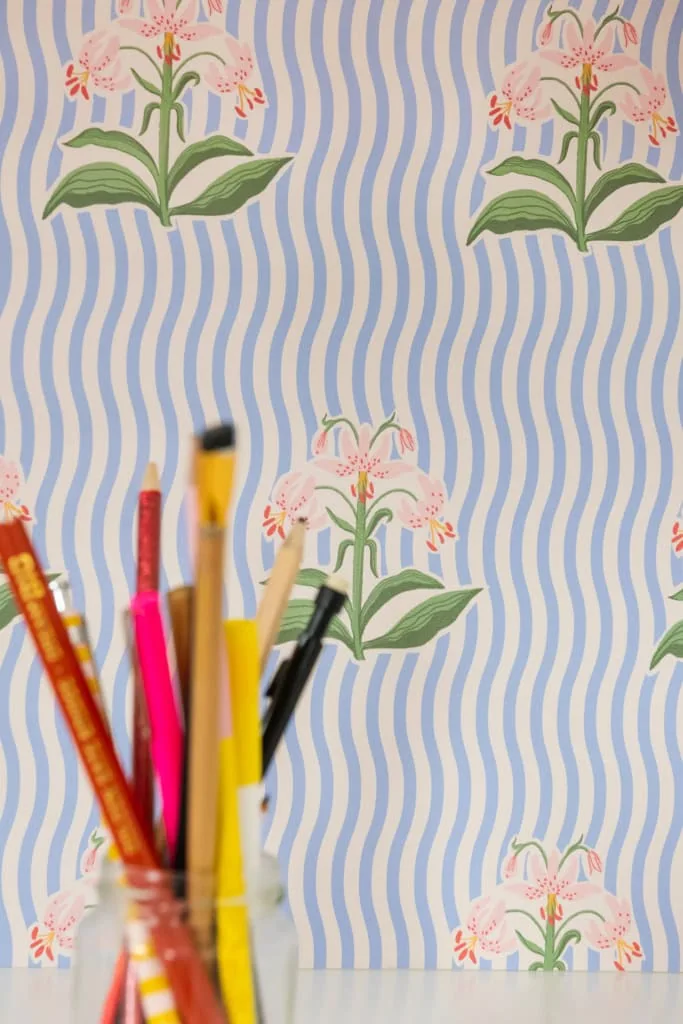
I added in more wallpaper, our blue lily into the back of the Scrapbox for a little dash of pattern. We typically have things in front of it so it’s another one of those small discoveries.
7. Wallpaper on boxes
I bought some boxes from Joann that were on sale and used the peel and stick wallpaper once again to wrap around the boxes. There was a bit of a learning curve for the first box (can you guess which one it was?!) but I love how they turned out!
8. Patterns on fabrics
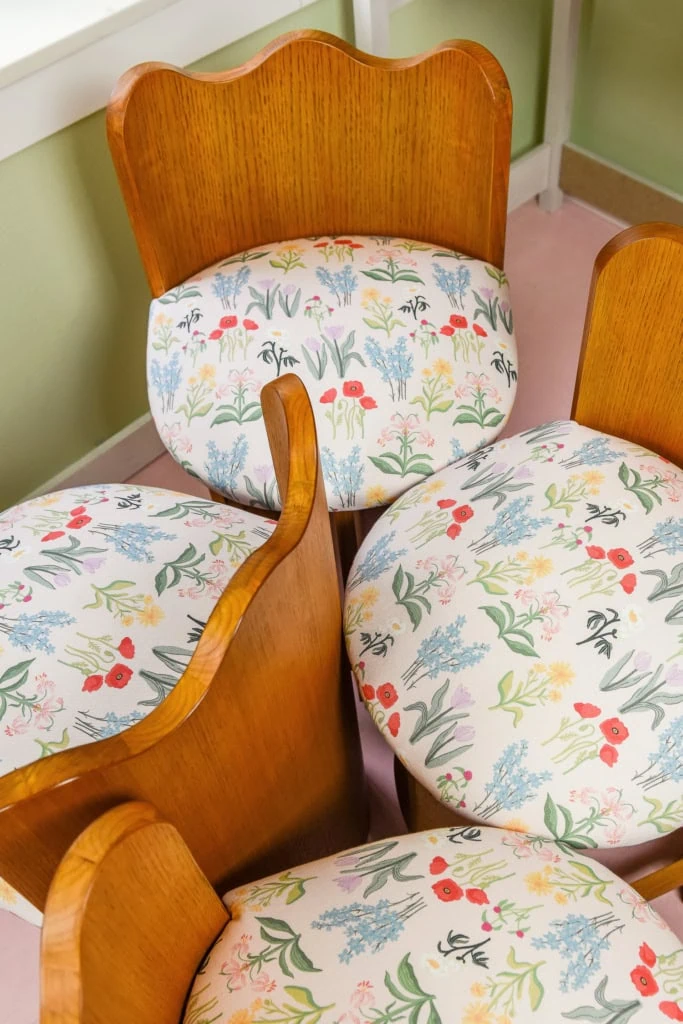
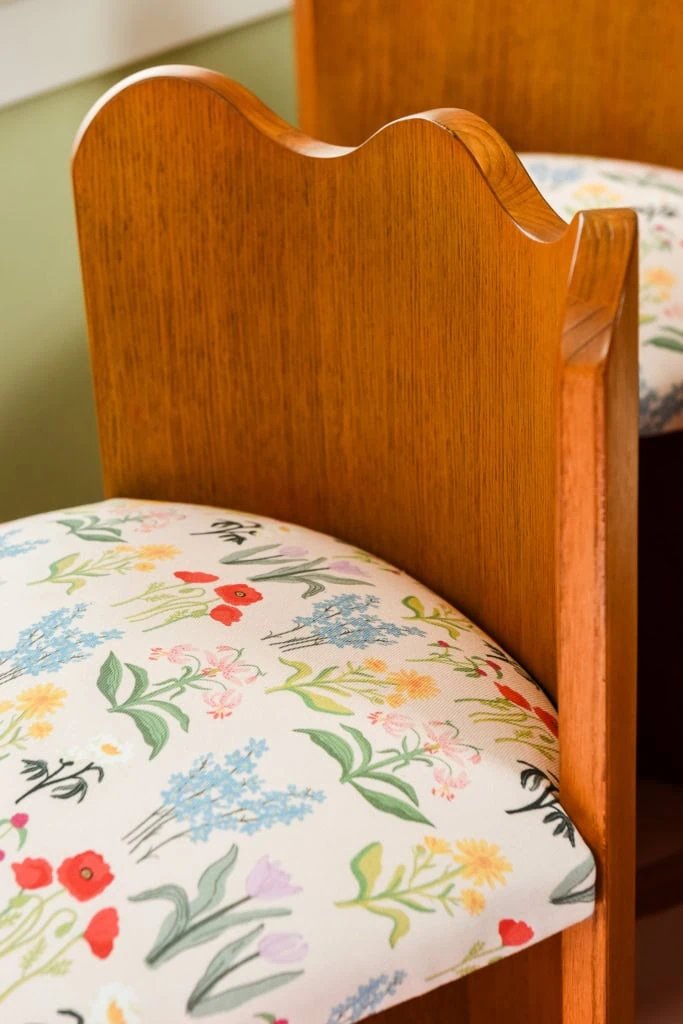
Now, onto the fabric. One of the biggest projects that I wanted to do was our new ripple chairs by Sarah Sherman Samuel for Lulu and Georgia. They’re counter height so they are perfect for under our work table. It was the perfect opportunity to add in one of our fabrics so I picked out the cream botanical in a canvas. It was my first time hiring out the reupholstery and they initially came back quite…bad. There’s no other way to say it, but we worked it out and they look great now!
9. Custom projects in all the patterns!
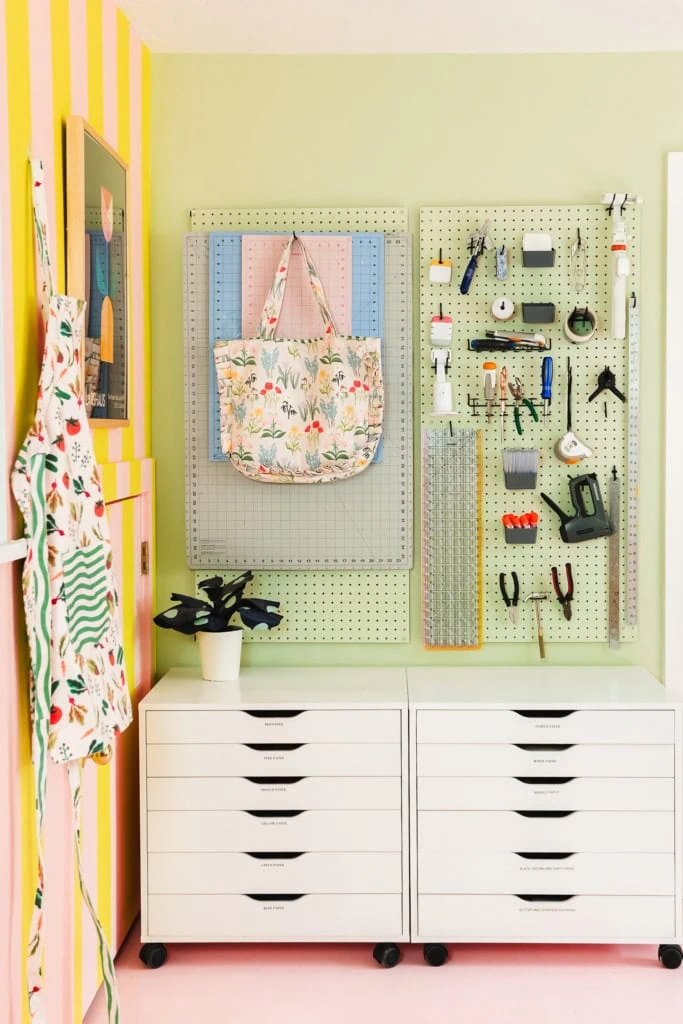
To top it all off, Casey, our old intern, made me, Jenny, Garet, and I all some work aprons with our new Farmer’s Market fabric. They are reversible so on the other side is the green wave. She used the apron pattern from our shop with the adjustable strap. They are SOOOOOO good!
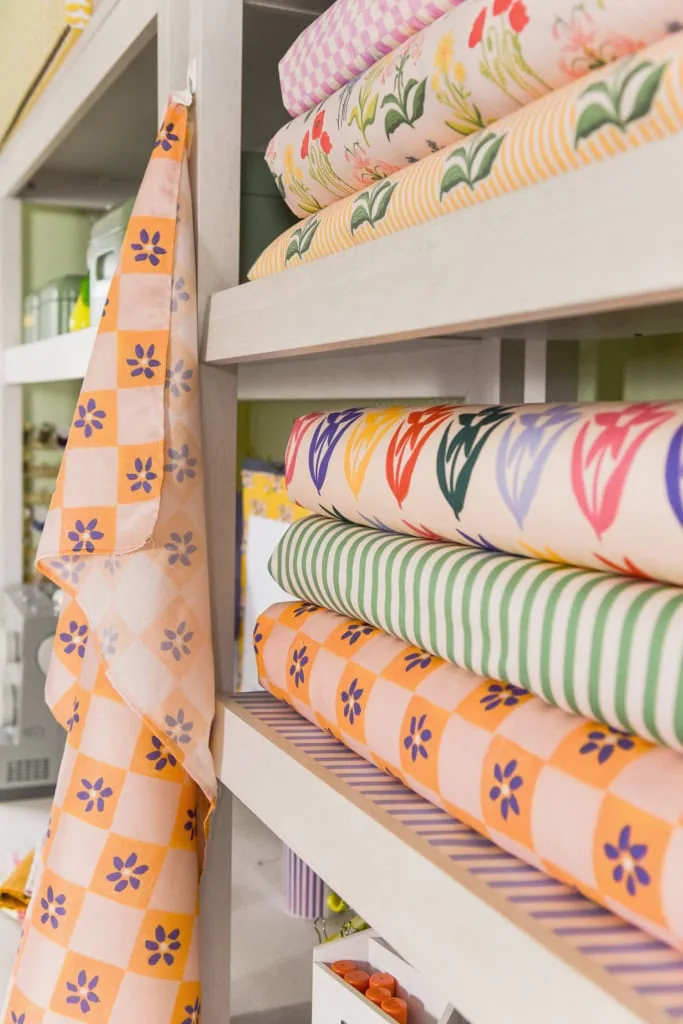
On top of that, we have a ton of projects from over the years with our own fabrics like bags, scarves, pillows, shoes, laptop covers and when I place them all around our studio they make me so happy! It’s incredible to see everything laid out!
Get the look
Scrapbox from CreateRoom | Shelving Units from Mr. Kate | Pegboard system | Lunchbag tutorial | Laptop cover tutorial | Craft the Rainbow book | Apron pattern | Ripple chair | All the fabrics and wallpapers seen in this post can be found here on Spoonflower!
I’m going to be following up this post with a focus on just the tiled work table. Stay tuned!
Now, I’m curious where you would start with adding pattern into your home? Tell me!


