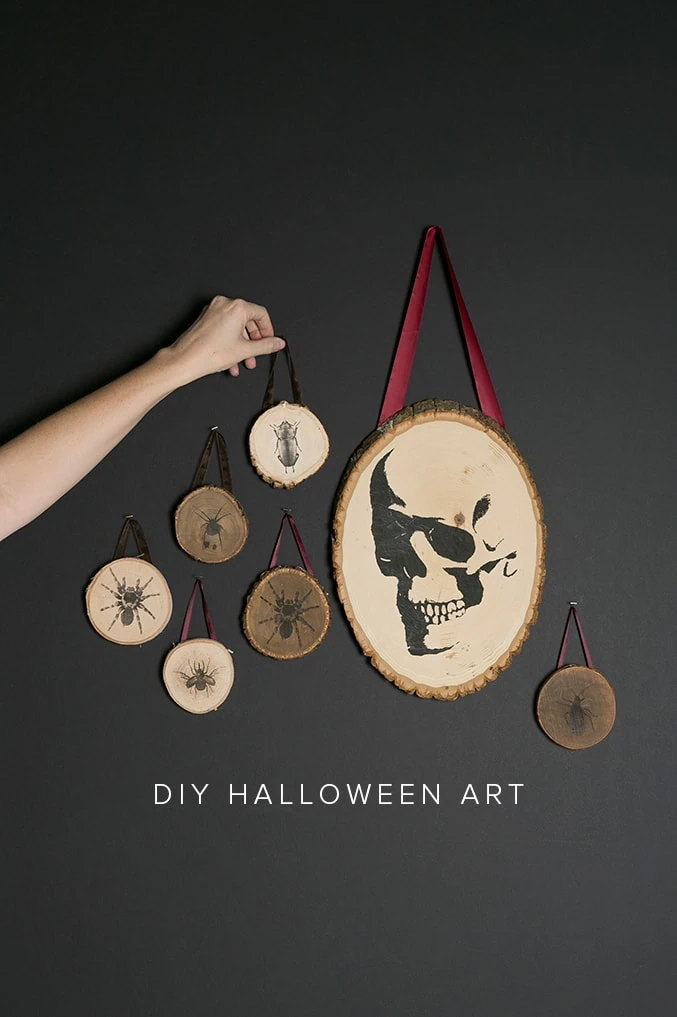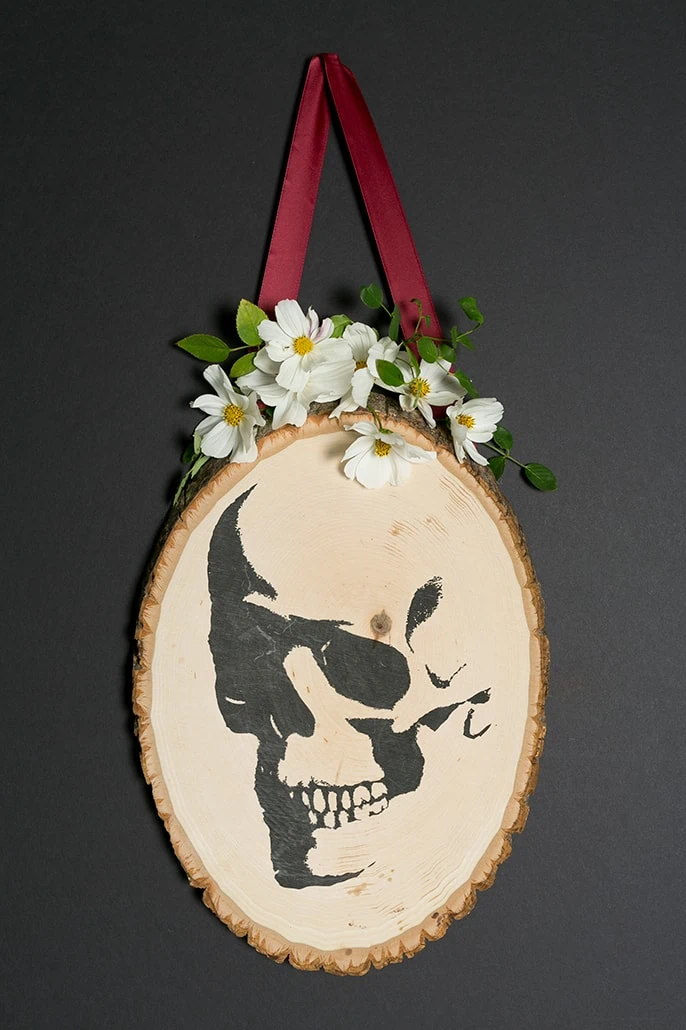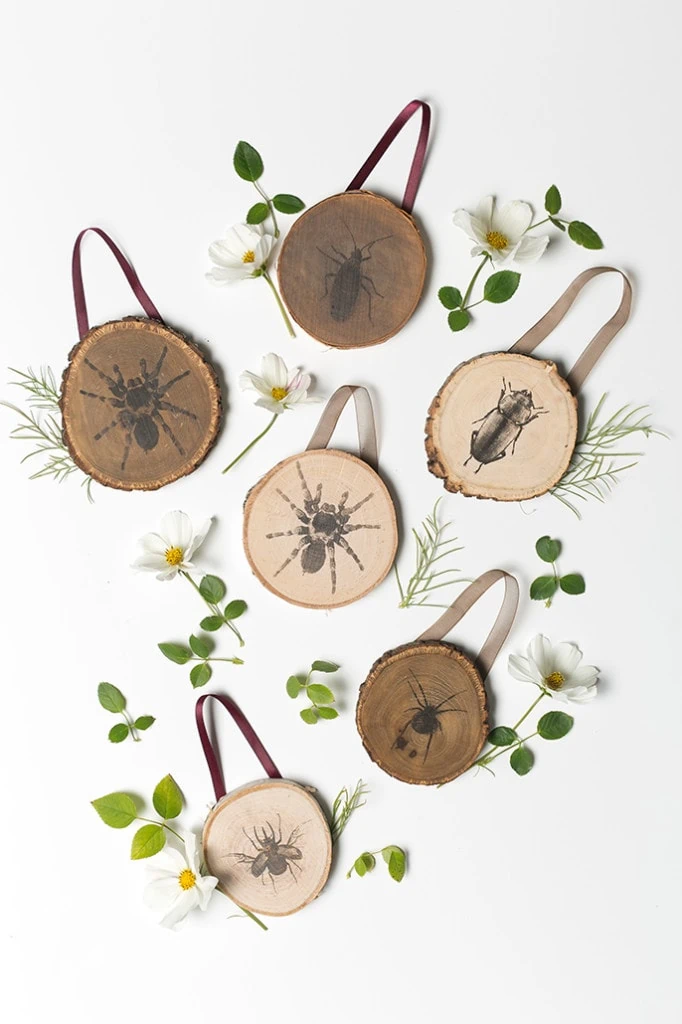
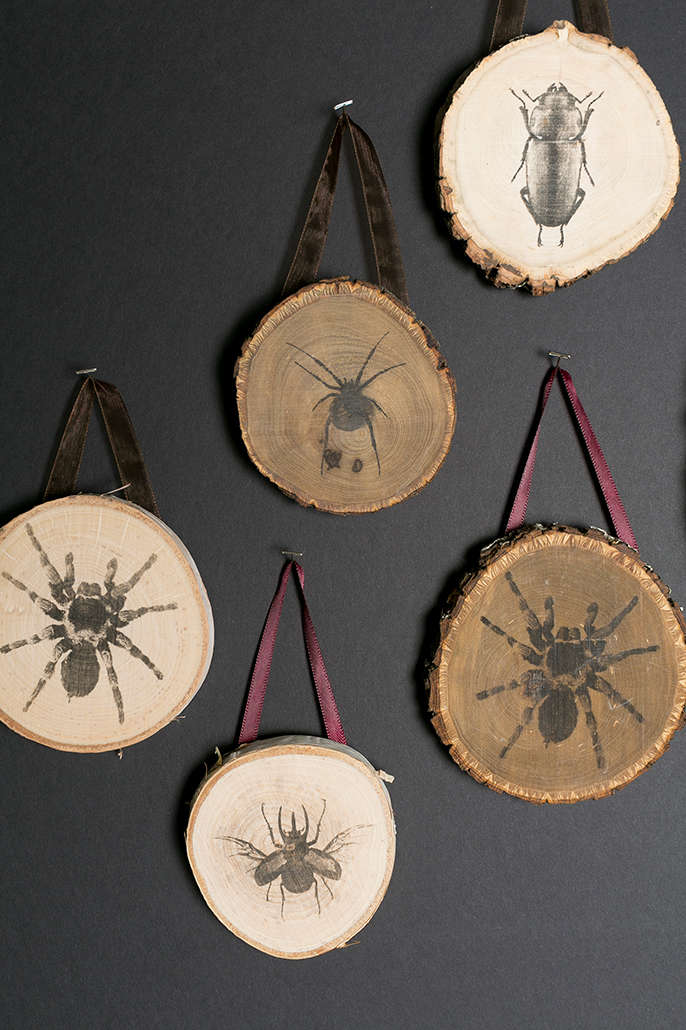
Halloween is a tricky one for home decor. You could go full-on Addams Family with creepy home decor or total corn ball with plastic orange pumpkins. Either style is welcomed wholeheartedly by me! We thought we’d attempt the seemingly impossible with a classy Halloween home decor project with these transfer wood plaques. Aren’t they pretty and slightly creepy?! Who doesn’t love insects and skulls adorning your home?!
Get the full tutorial and shop the supplies below!
Materials:
These rustic-chic transfer wood plaques are a favorite here at Lars. They’re the perfect combination of stylish and spooky, AND they match with any type of decor you may already have in your home. I’m tempted to keep these DIY Halloween Art pieces up year-round! Add some floral (or maybe some autumn leaves) to give it that sweet and spooky feel.
This year may look different holiday-wise, but don’t let that stop you from getting crafty and celebrating the holidays with Halloween projects! Plus, these plaques will last you years, and you can reuse them for future Halloween parties! Even if they’re just a part of your zoom background for now, you’ll be able to show them off at Halloween parties in the years to come! There’s something so rewarding about crafting your own decor, hanging it up, and being able to say ‘I made that!’ Especially now during COVID, I feel that home spaces need some extra love and creativity to keep spirits high during these not so normal holidays.
For a little extra Halloween spirit, pair these plaques with portrait luminaries for an extra spooky ambiance. Light the luminaries to highlight creepy photos (or more skulls and insects!) to complement your Halloween plaques. Or create this skull cake for a sweet and skull-filled Halloween. You don’t need to have a big party to enjoy a Halloween cake!
DIY Halloween Art – Wood Transfer Plaques
Materials:
- Insect and skull printable (download here)
- Staple gun
- Wood finish stain
- Bone folder
- Paintbrush
- Ribbon
- Wood plaques
- Blender marker (only this one will work)
Instructions:
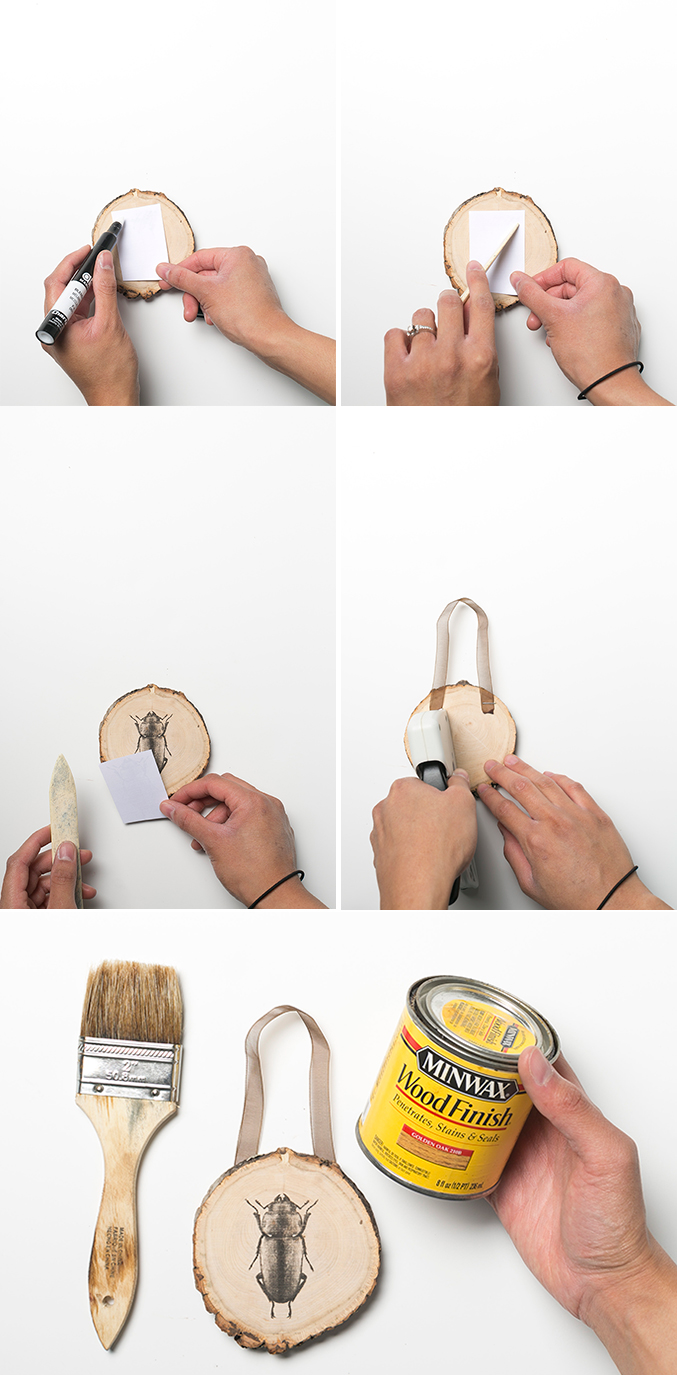
- Print the templates (black and white only! on laser printer only!) and cut it out to the size you’d like to apply it to.
- Position the design face down on the wood surface and rub it with a blender marker with a bone folder.
- Lift the design.
- Staple your ribbon into the wood on the back.
- Hang and enjoy!
For more Halloween decor inspiration, check our Halloween shop!


