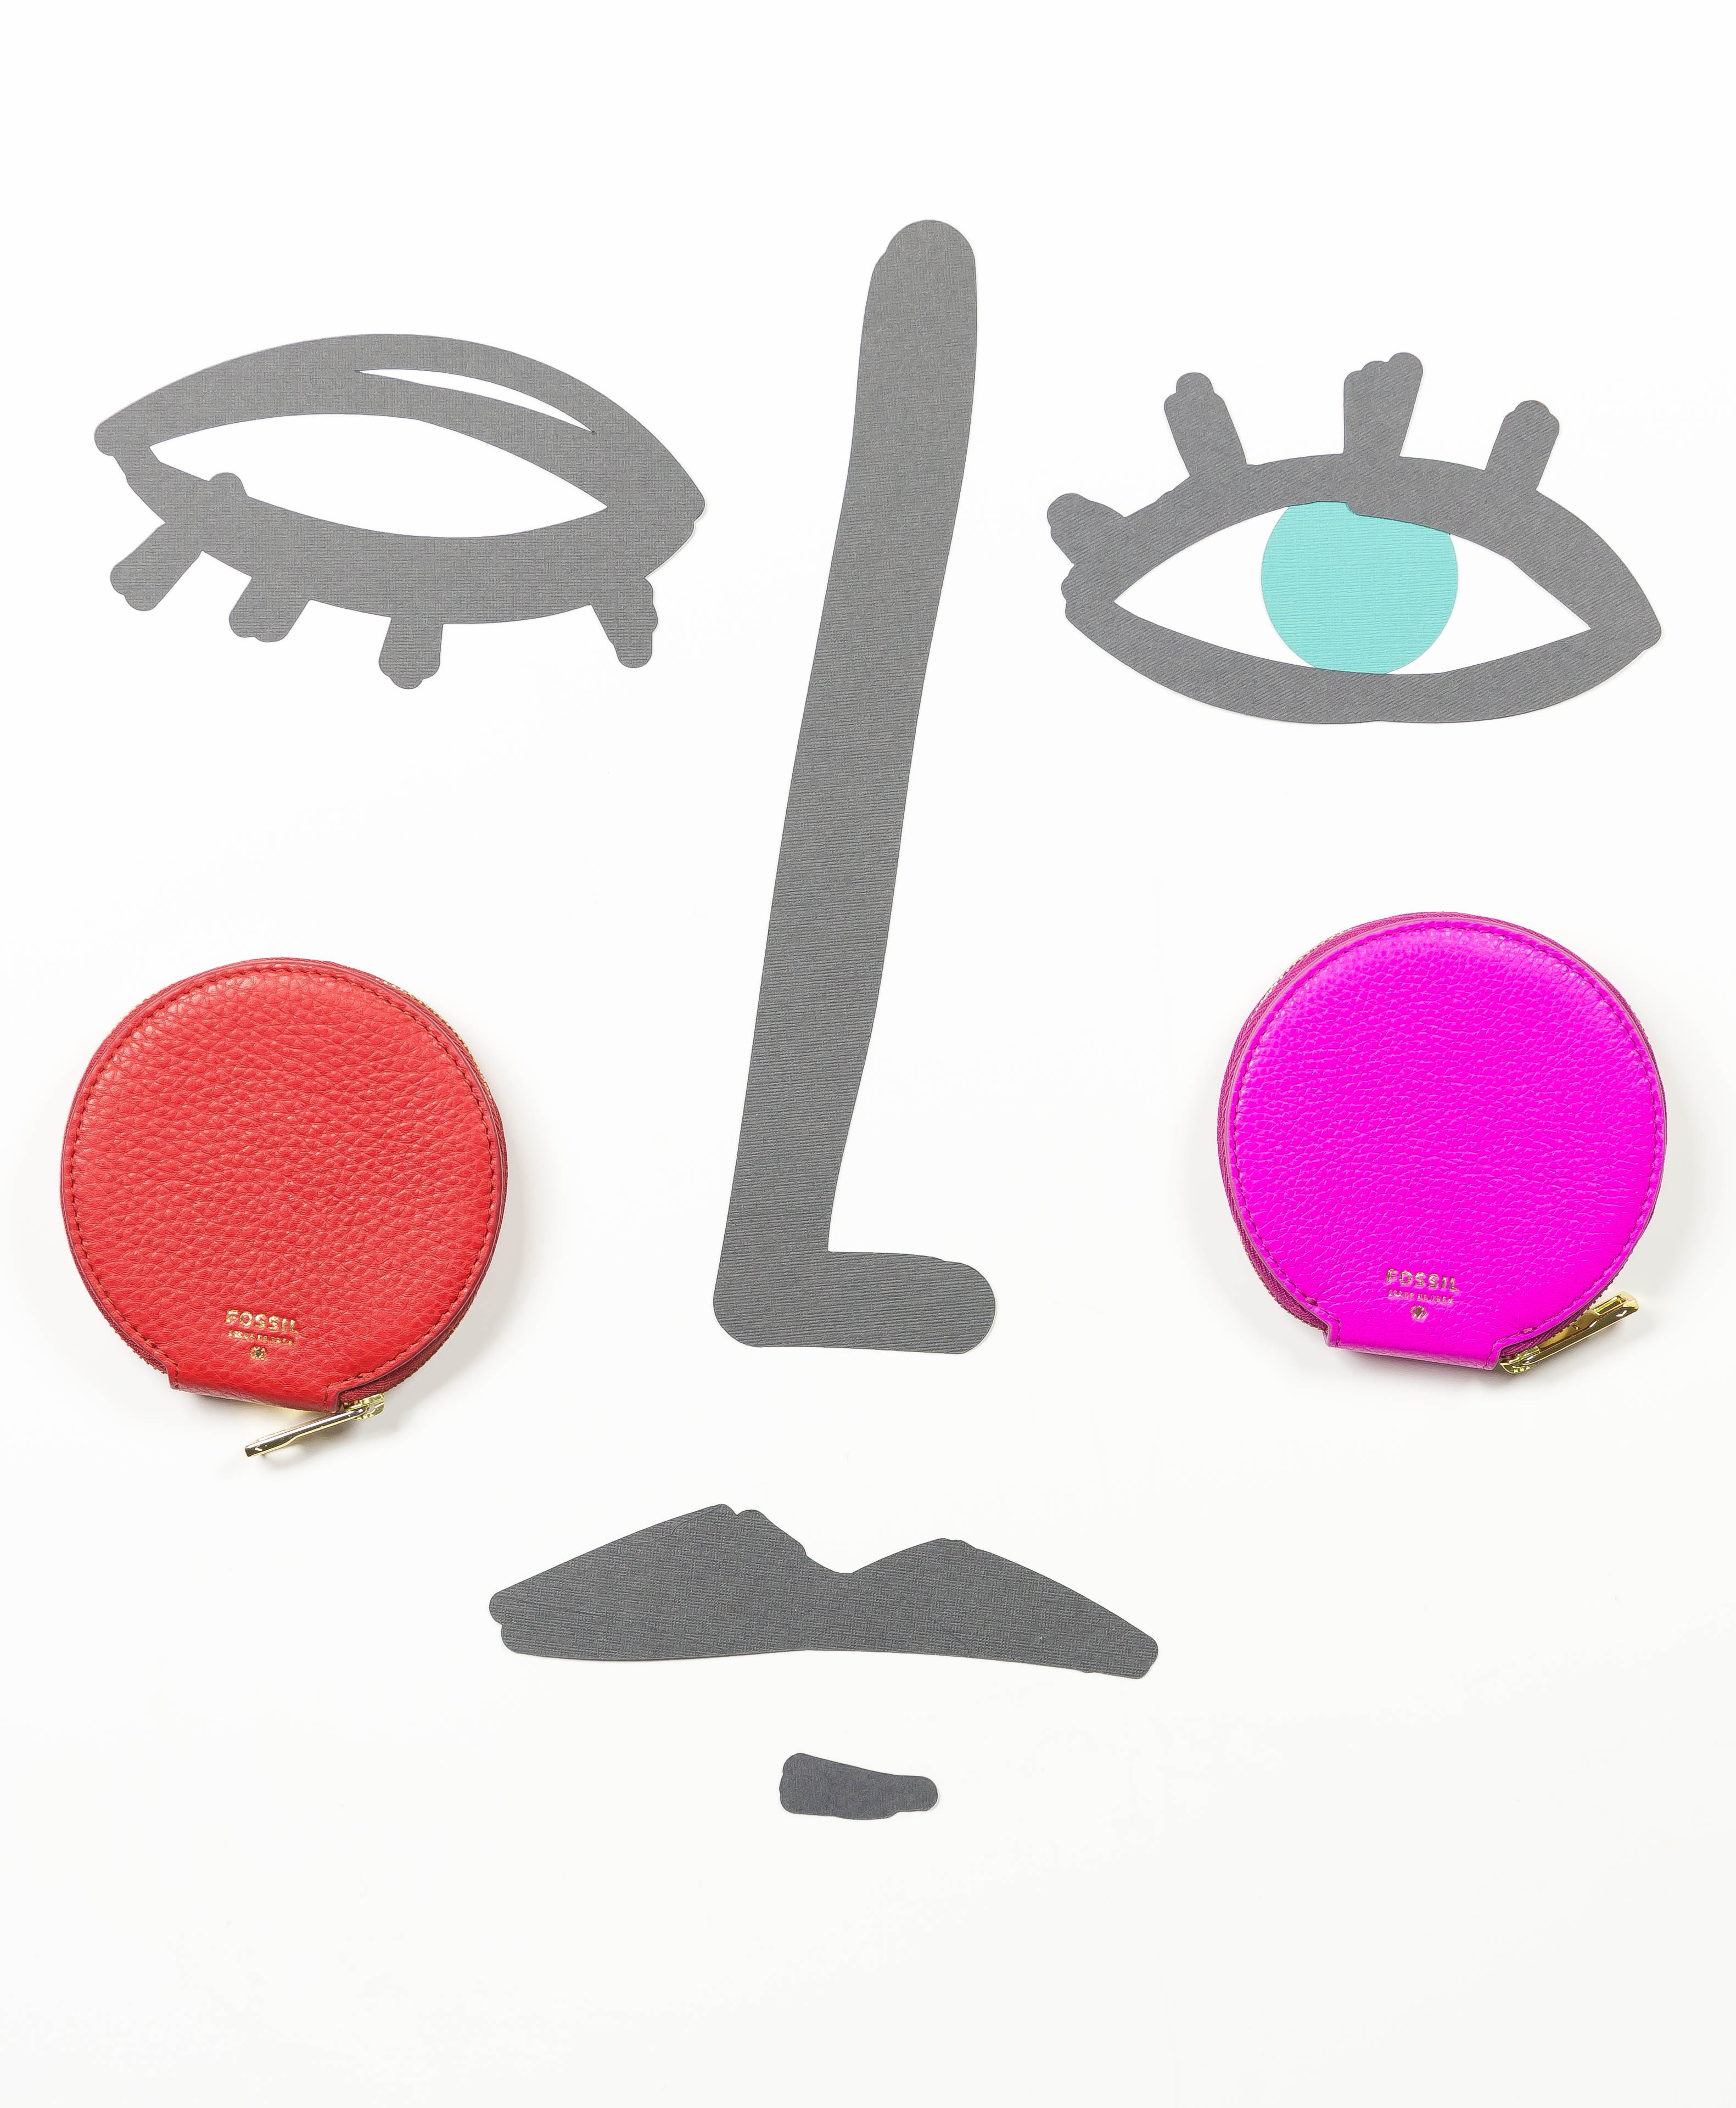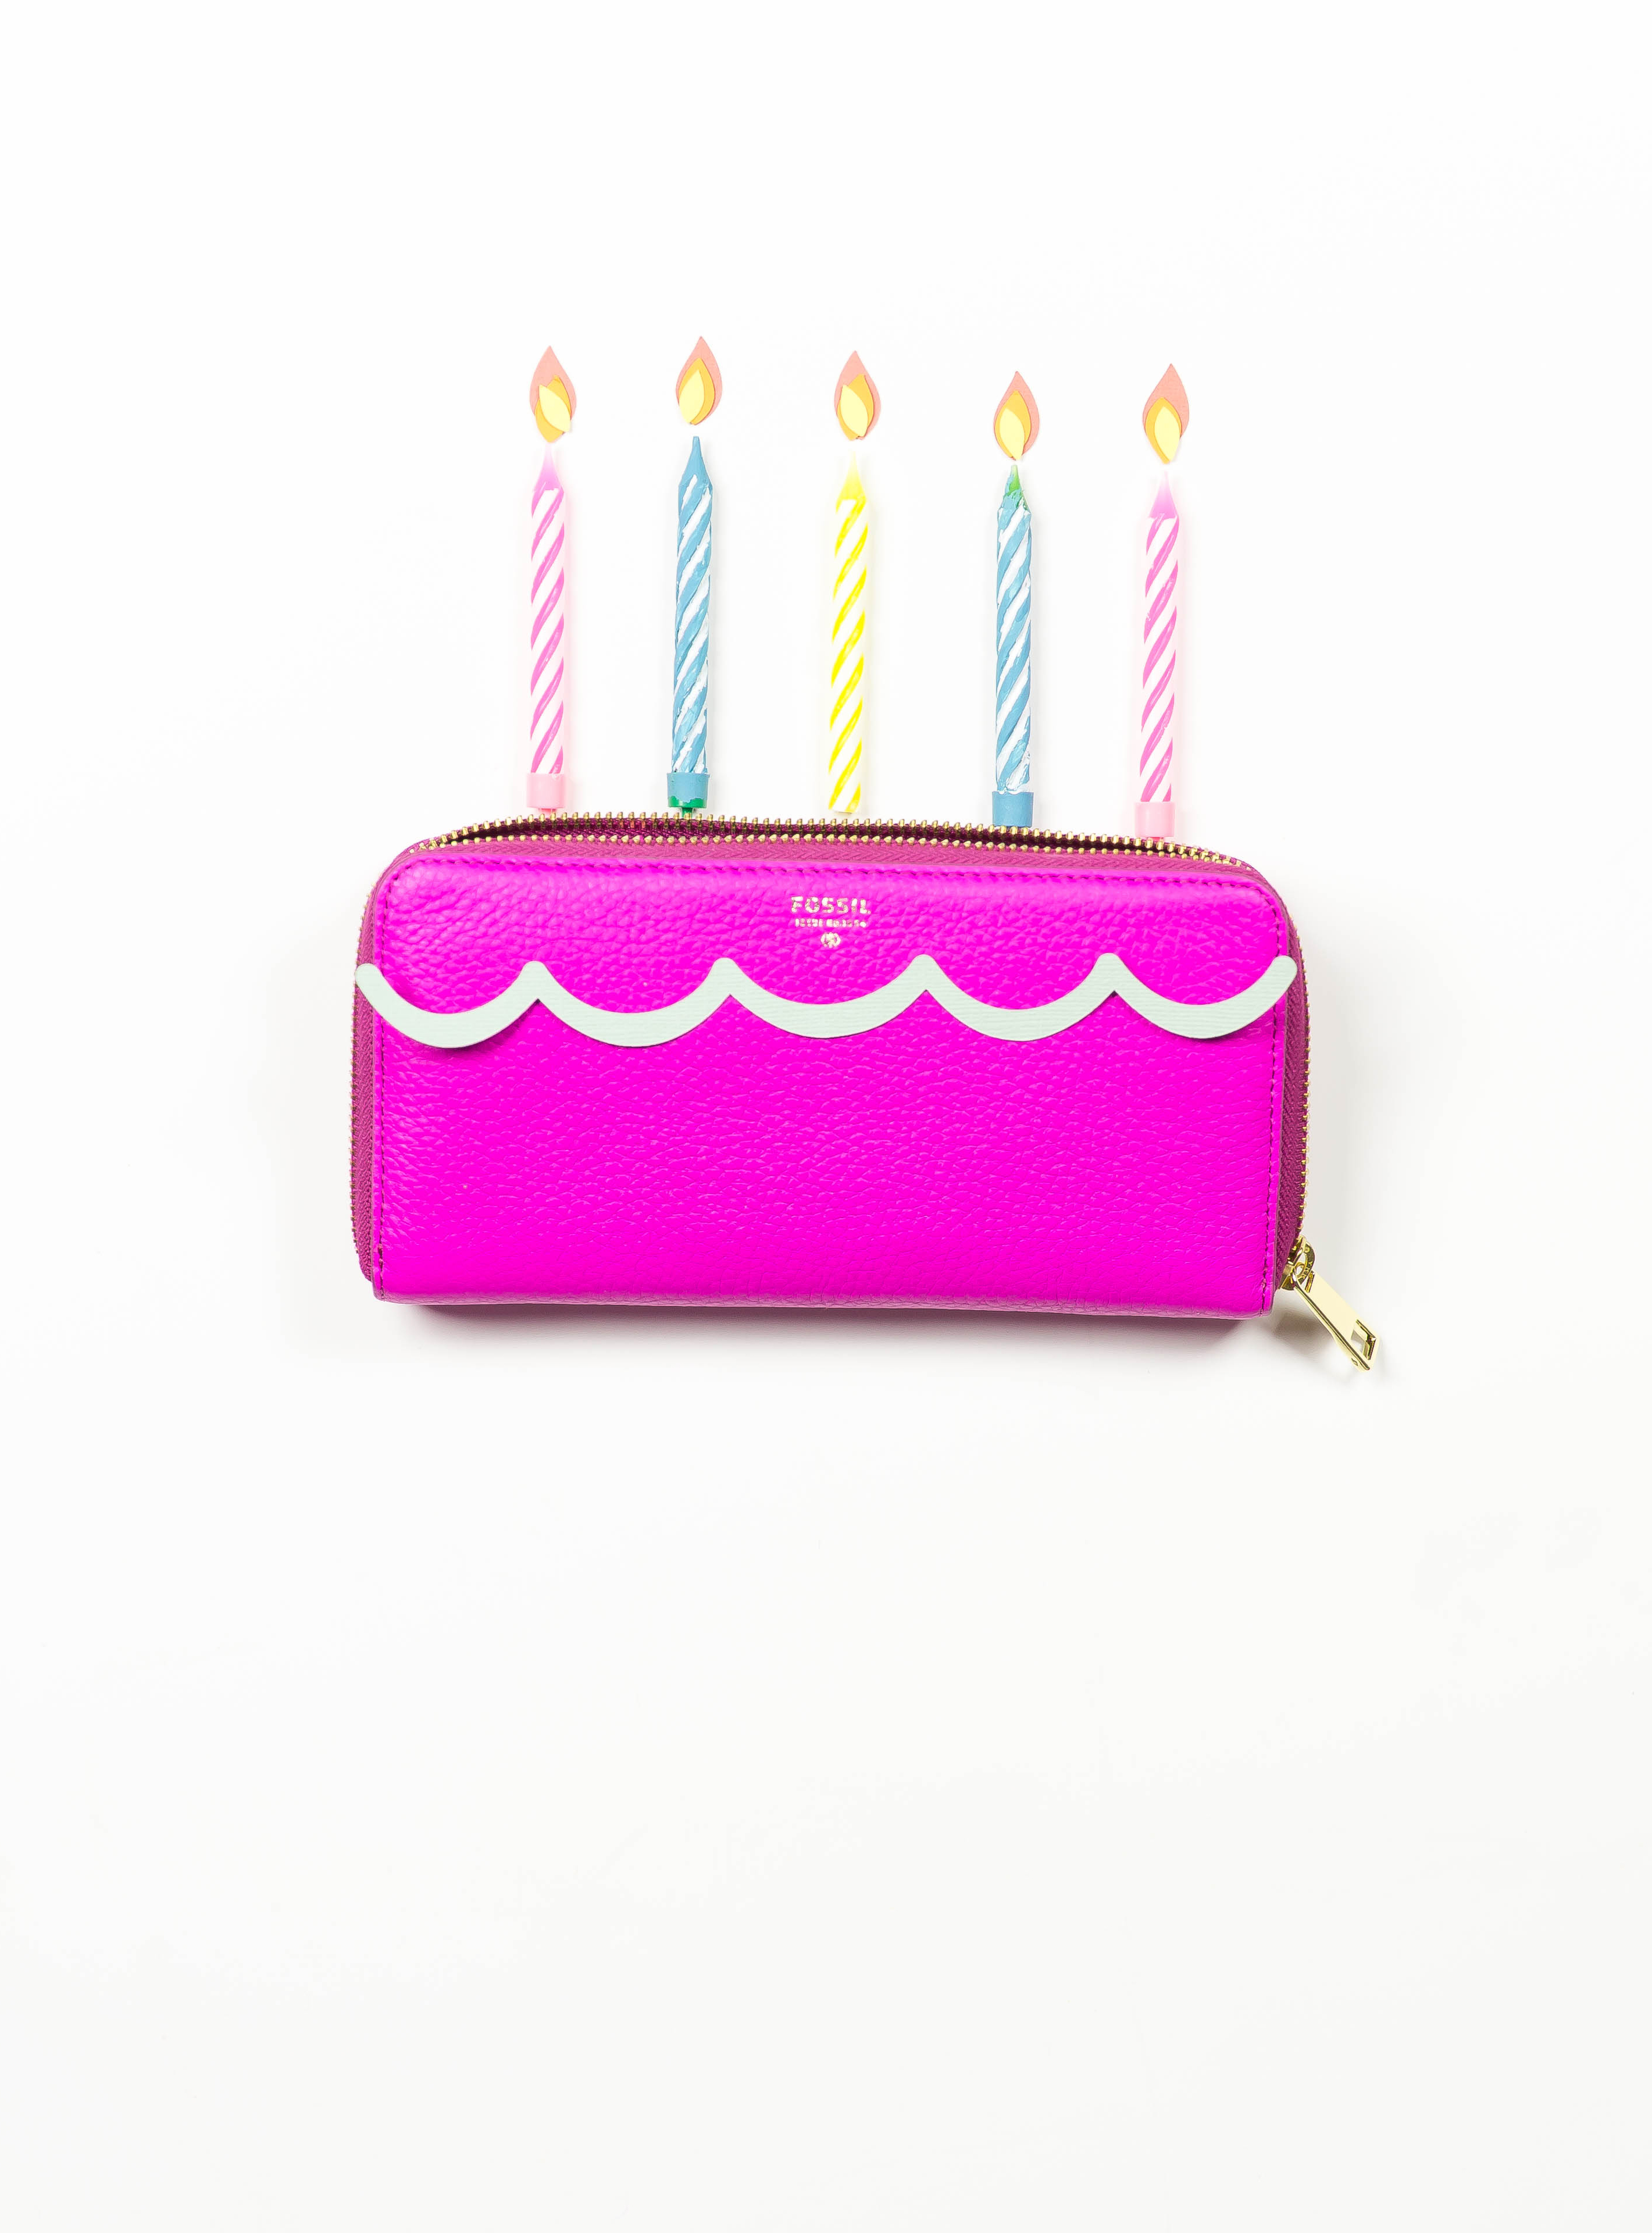
Growing up in my childhood house there was a spot on our highly textured 80s wall that, when looked at the right way, appeared to be an old man. Over the years, he became a sweet old fixture in the house. Little mirages, like this old man, appear to me all the time and have led to some of my best ideas (like the time I mistook a string of balloons for fruit, so I made this project).
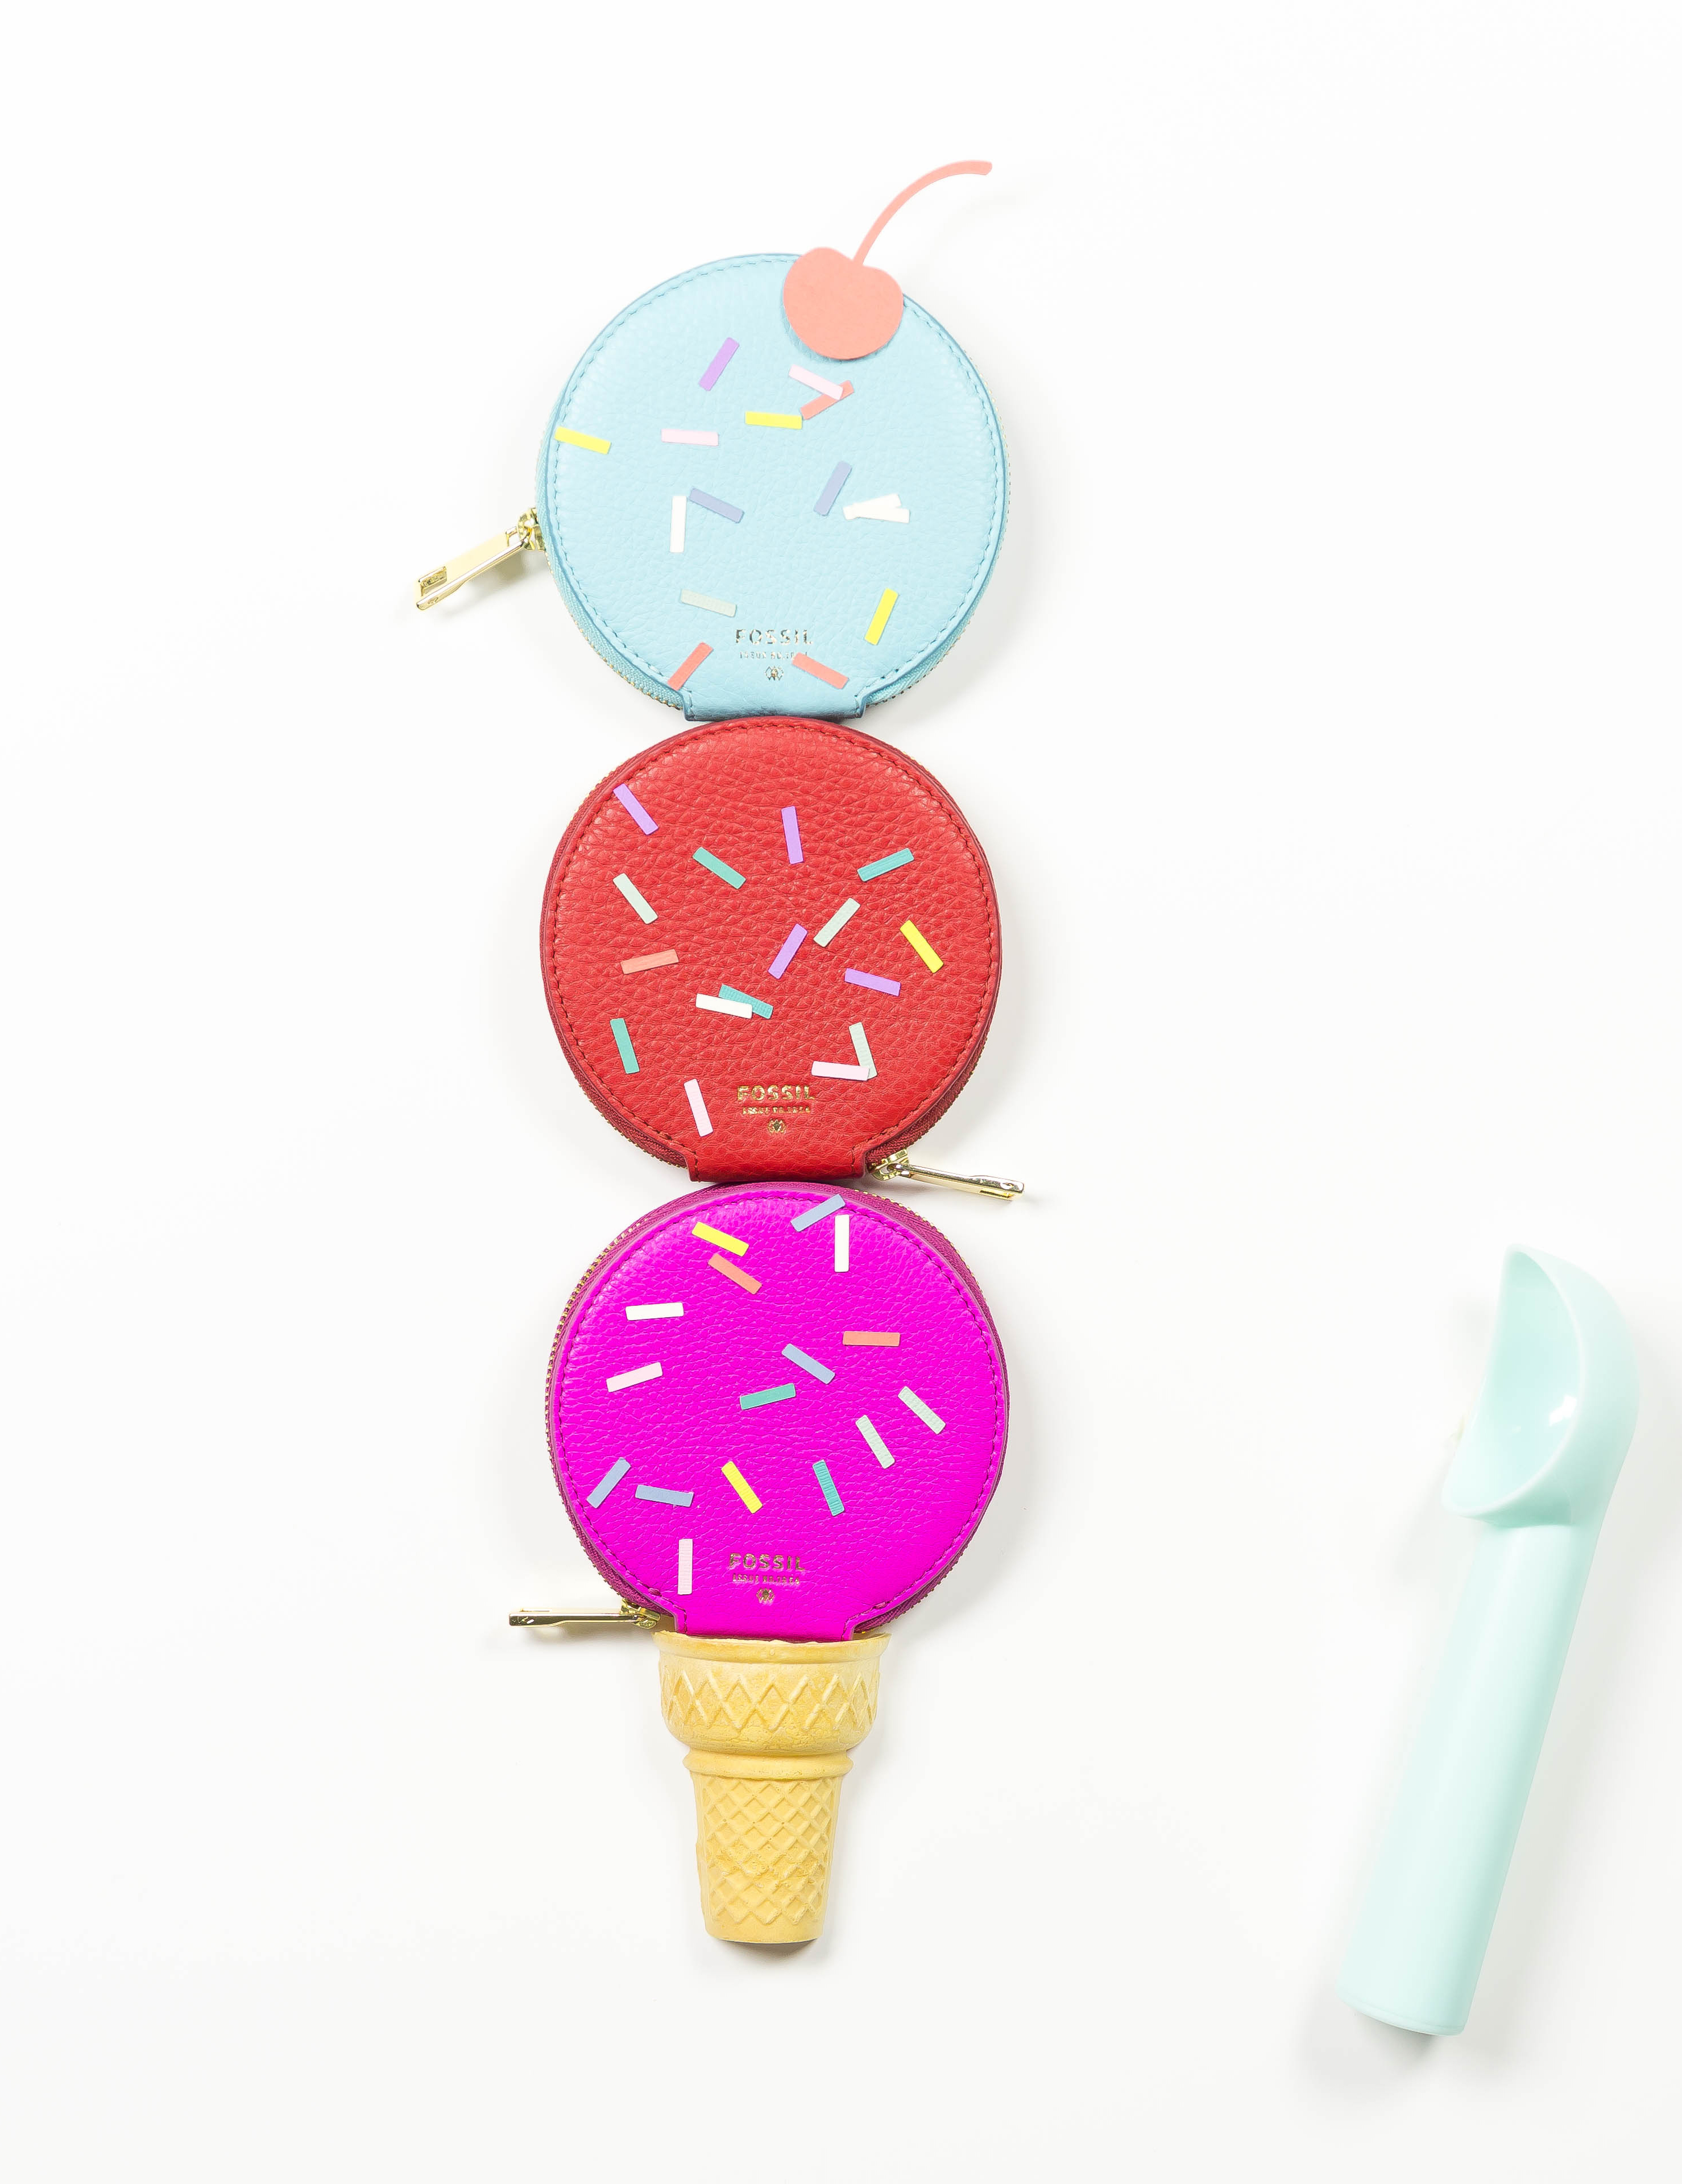
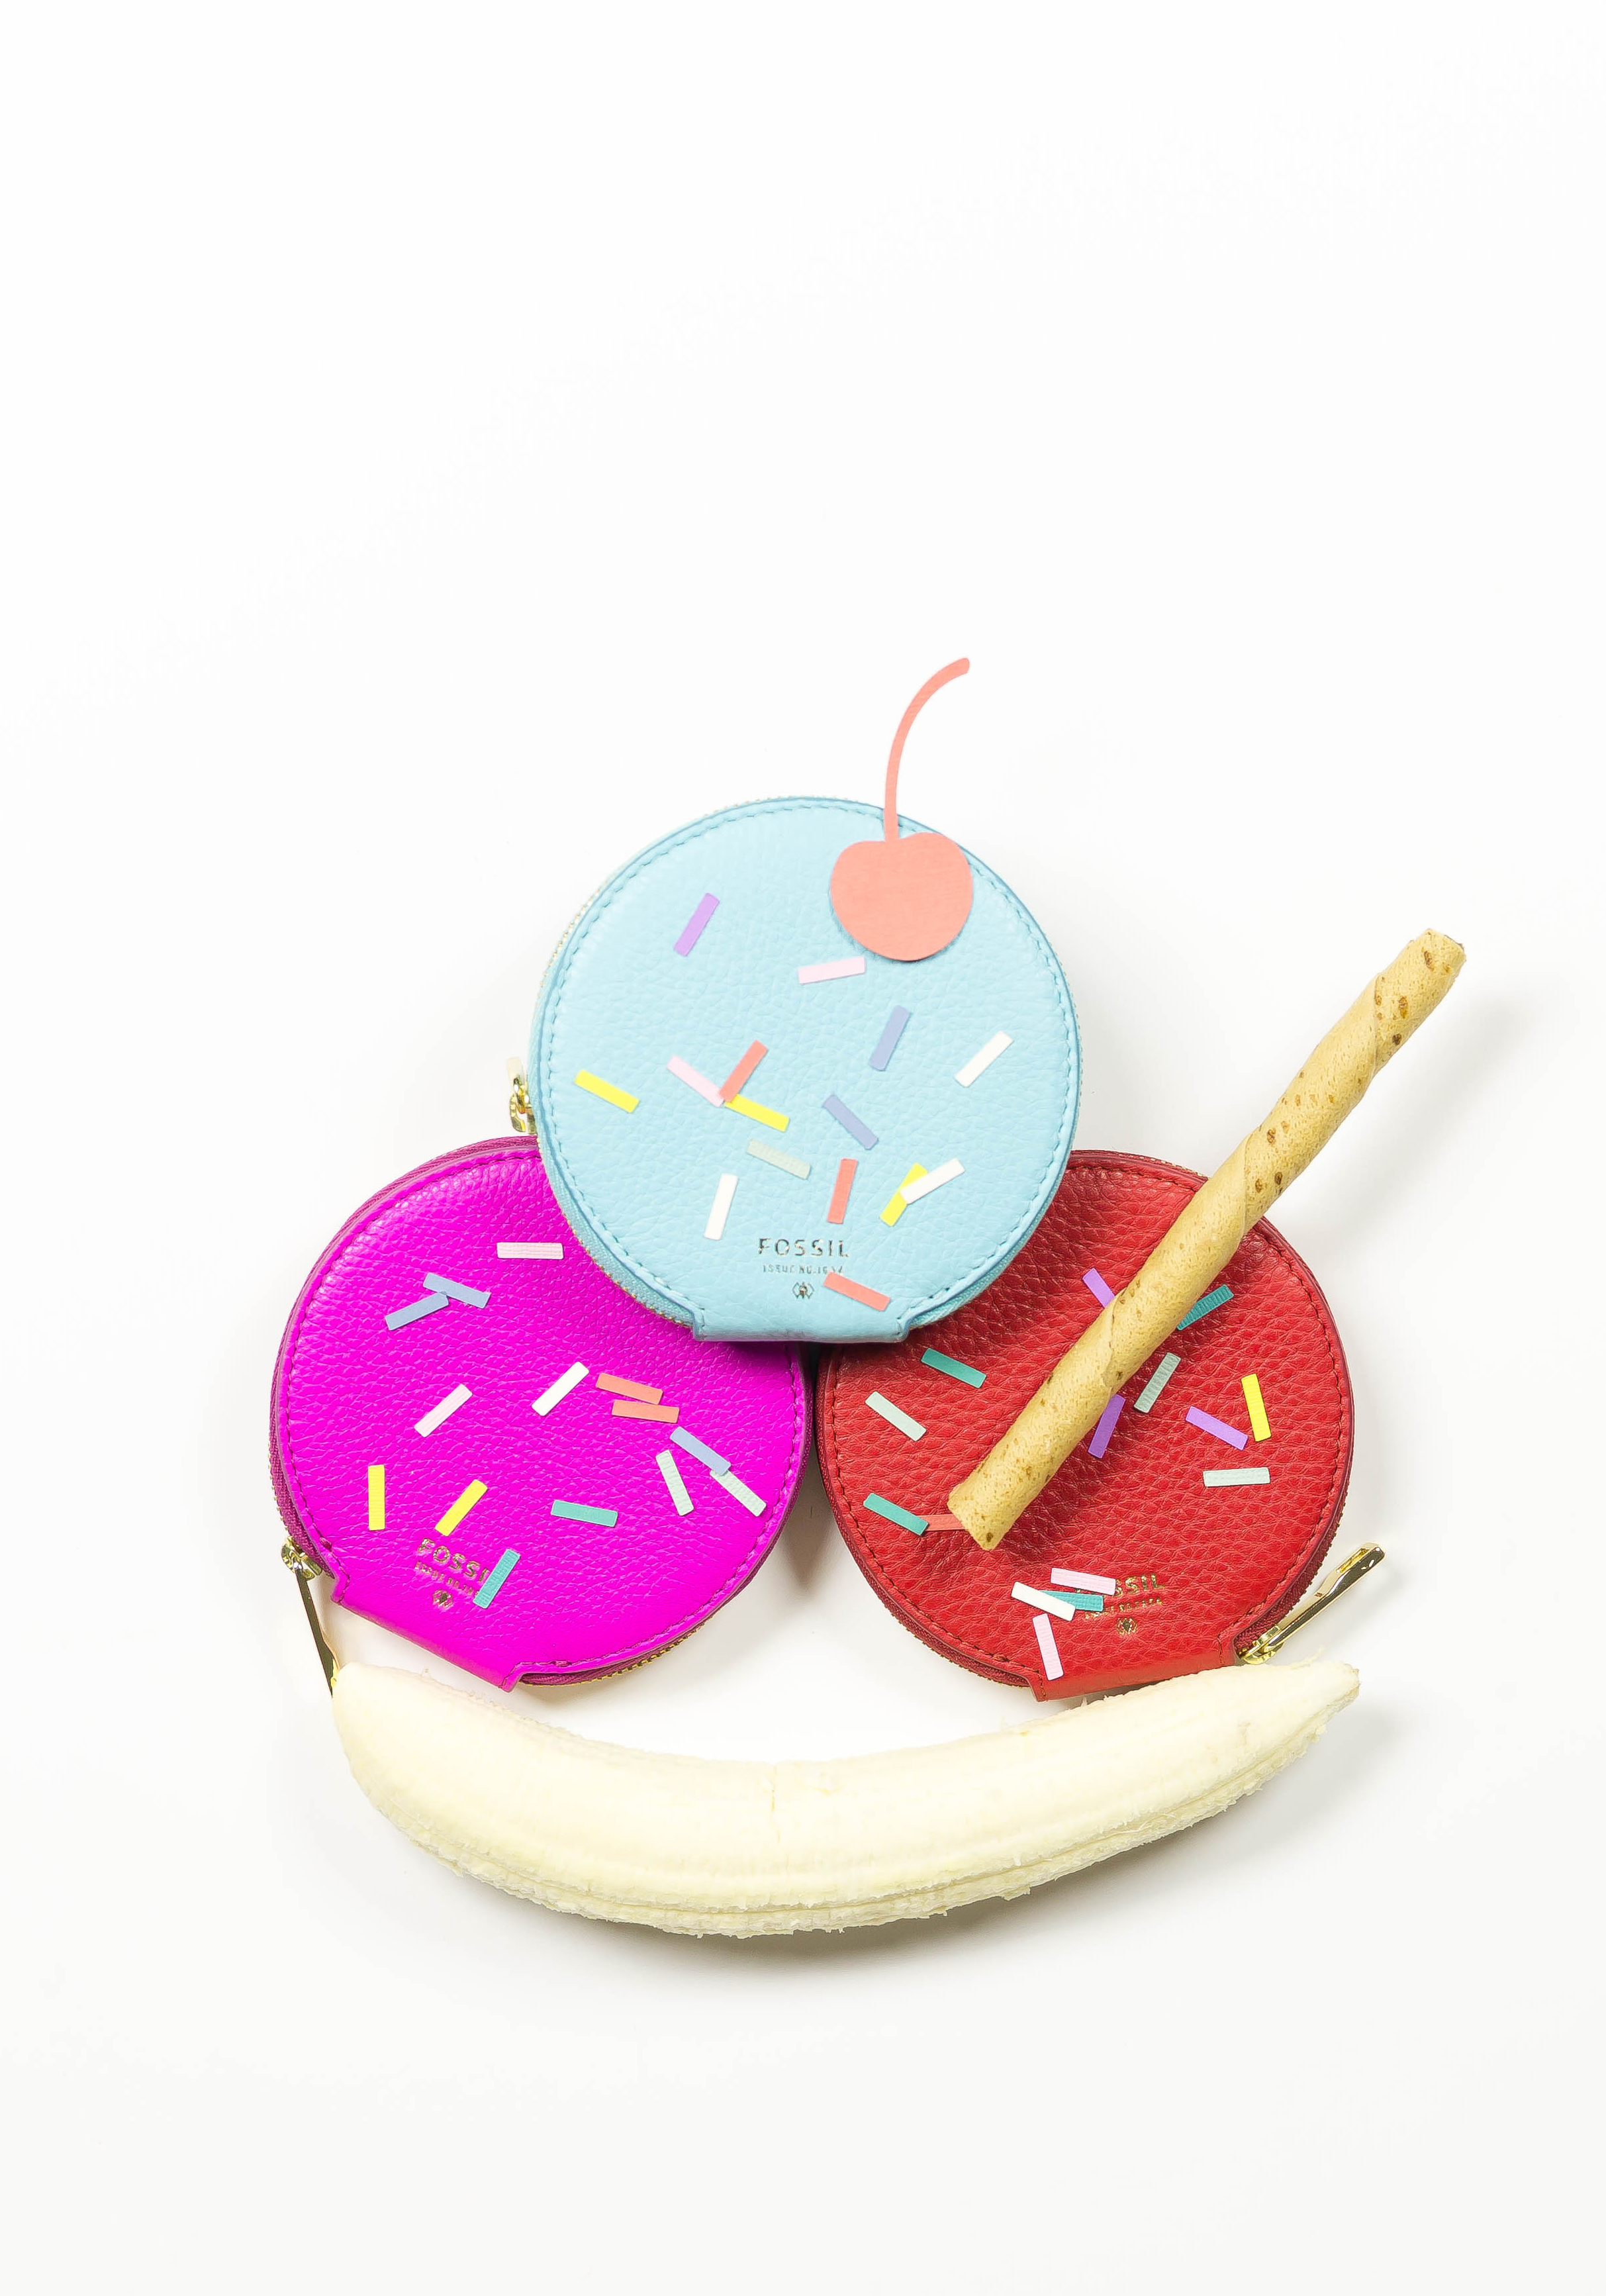
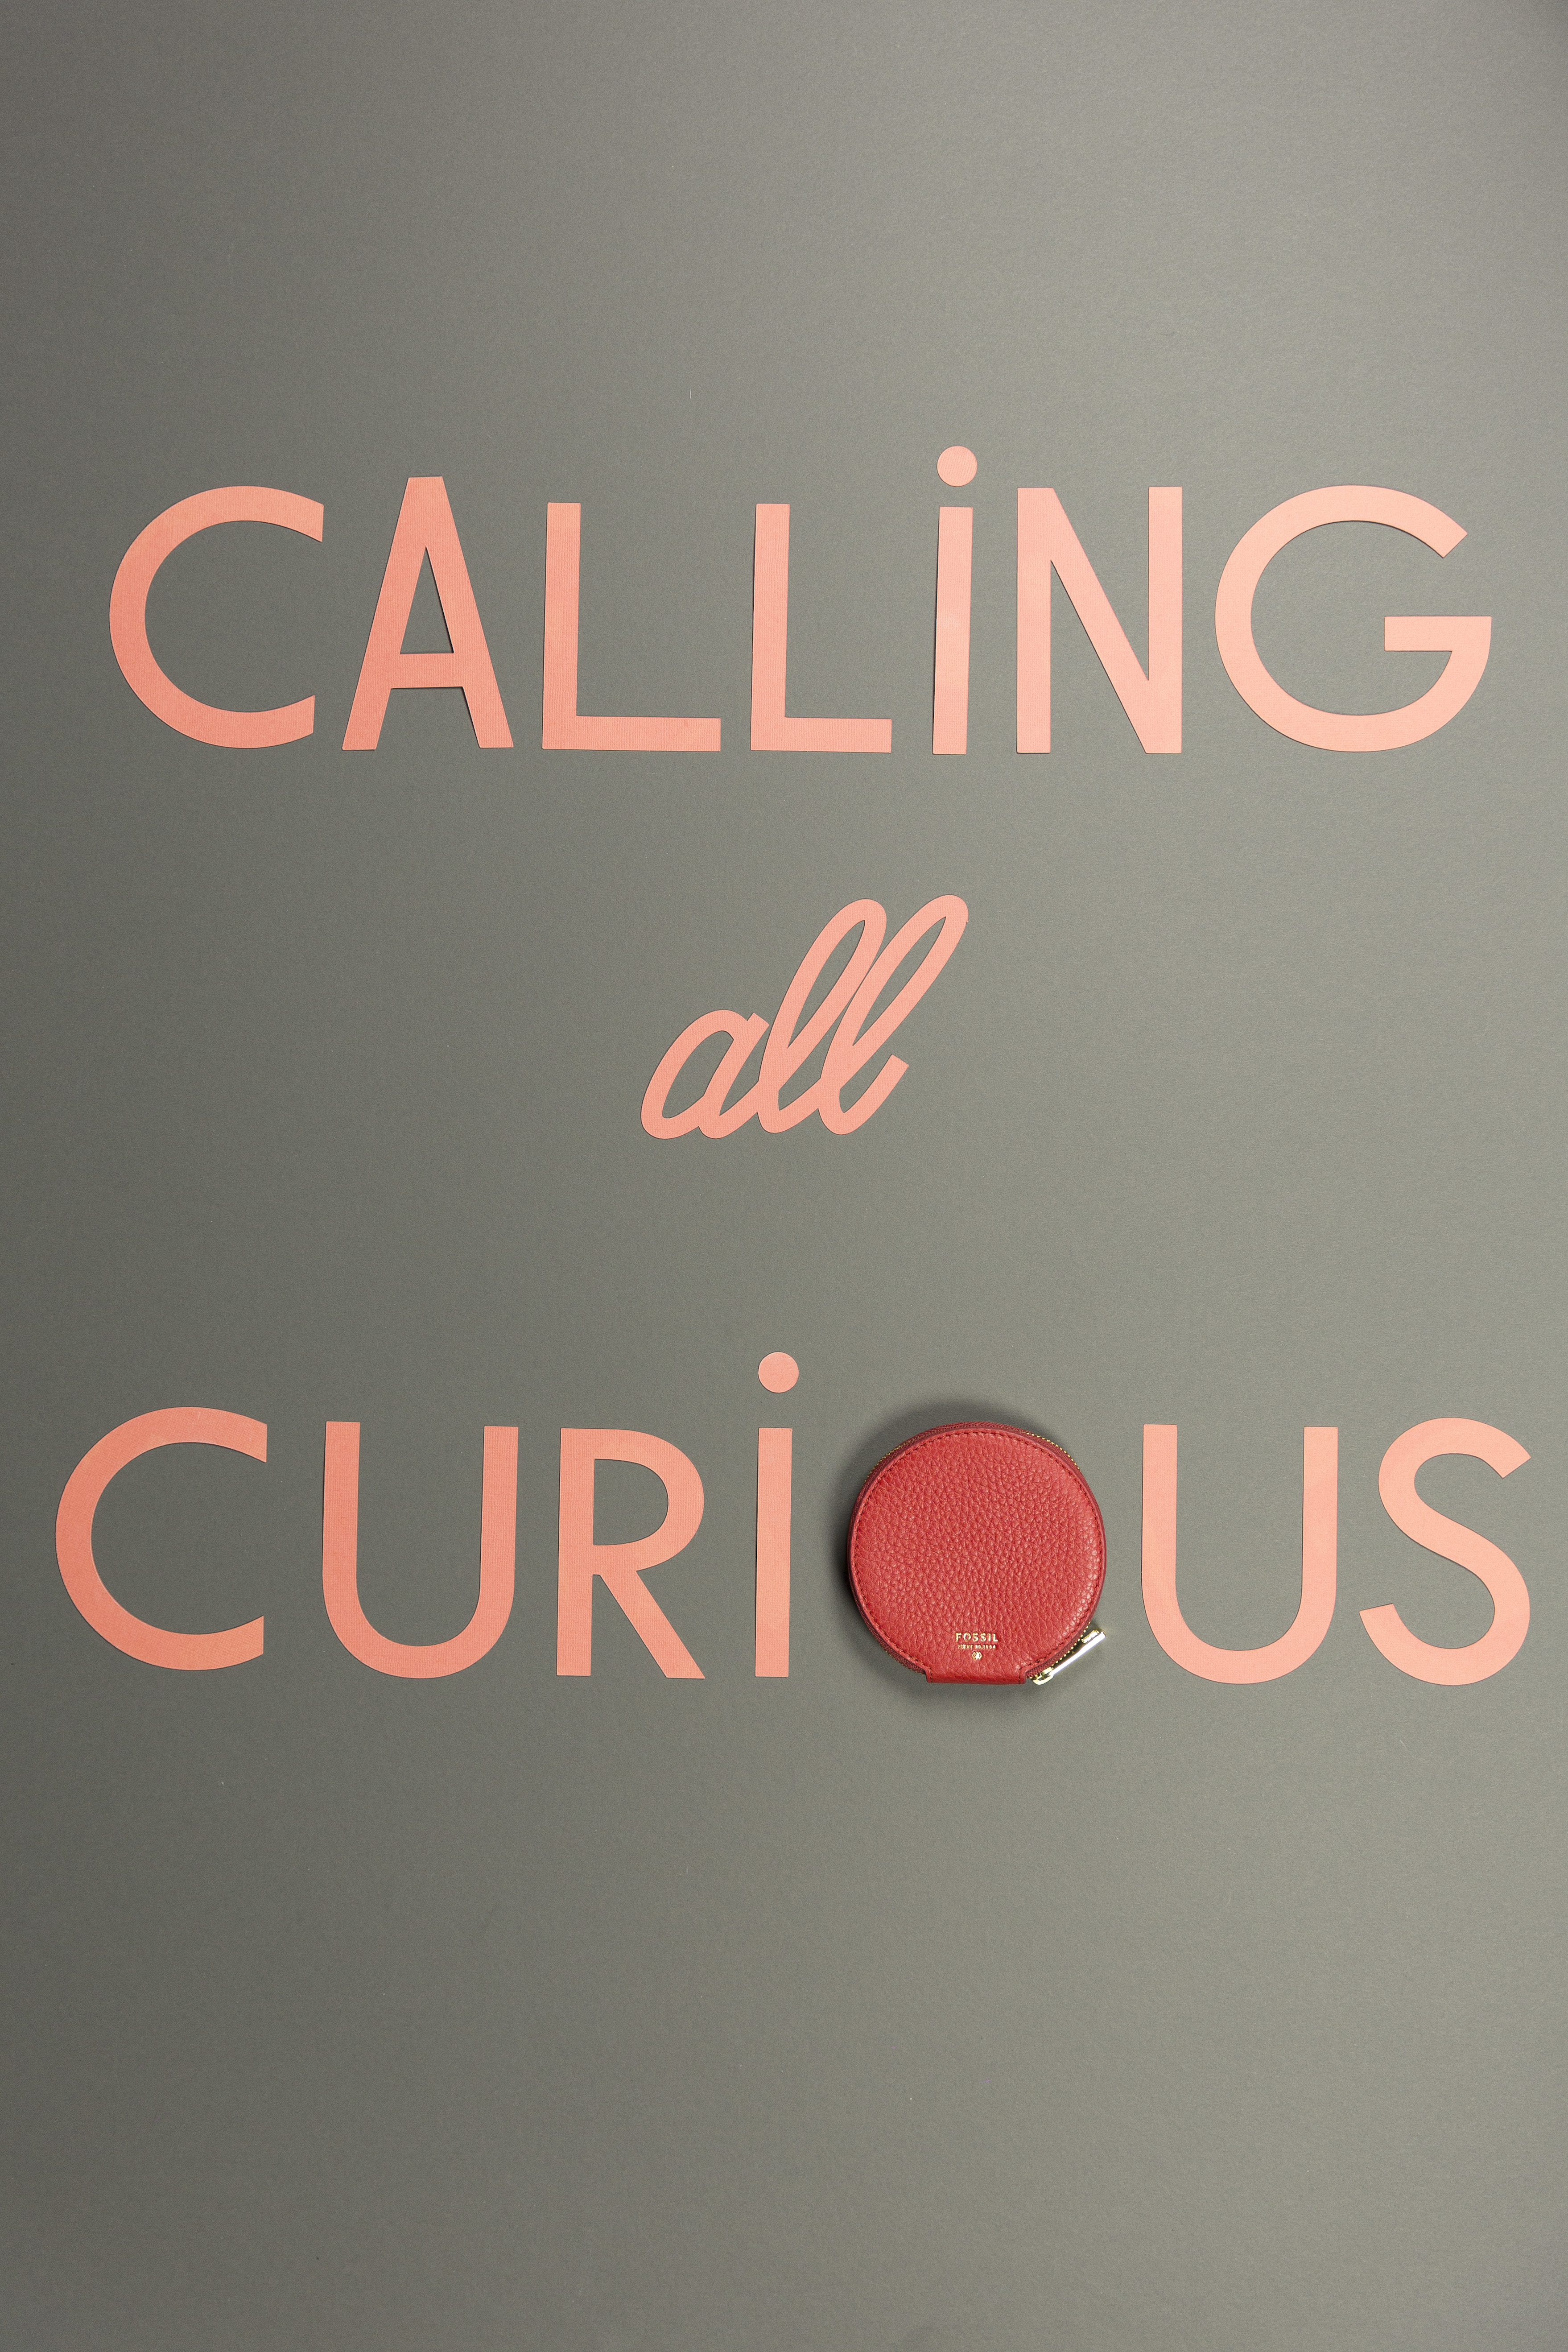
I was thrilled when one of my favorite brands, Fossil, asked to partner on their latest Calling all Curious campaign. This campaign is all about finding the unique in the everyday and we here at Lars love looking at the world in curious ways. Like clouds turning into faces, or coin purses reimagined as a banana split, we took the #CallingAllCurious challenge and found that we can find a fresh perspective on the ordinary every day, just like my childhood imagination.
Because it’s our job to create beautiful images every day, I find that I’m constantly on the search for new ways of viewing the world and identifying fresh inspiration. I realize that not everyone has the time or natural inclinations to do the same, but this search for new perspective has added meaning and wonder to my life. We teamed up with stop motion artist, Trisha Zemp, to create a stop motion tutorial that takes you through the process of how we work, reimagining Fossil products in new ways. This tutorial will teach you how to create rad Instagram photos from ordinary objects.
How to take unique Instagram photos with simple objects:
The goal here is to create a stunning, cohesive photo from ordinary objects
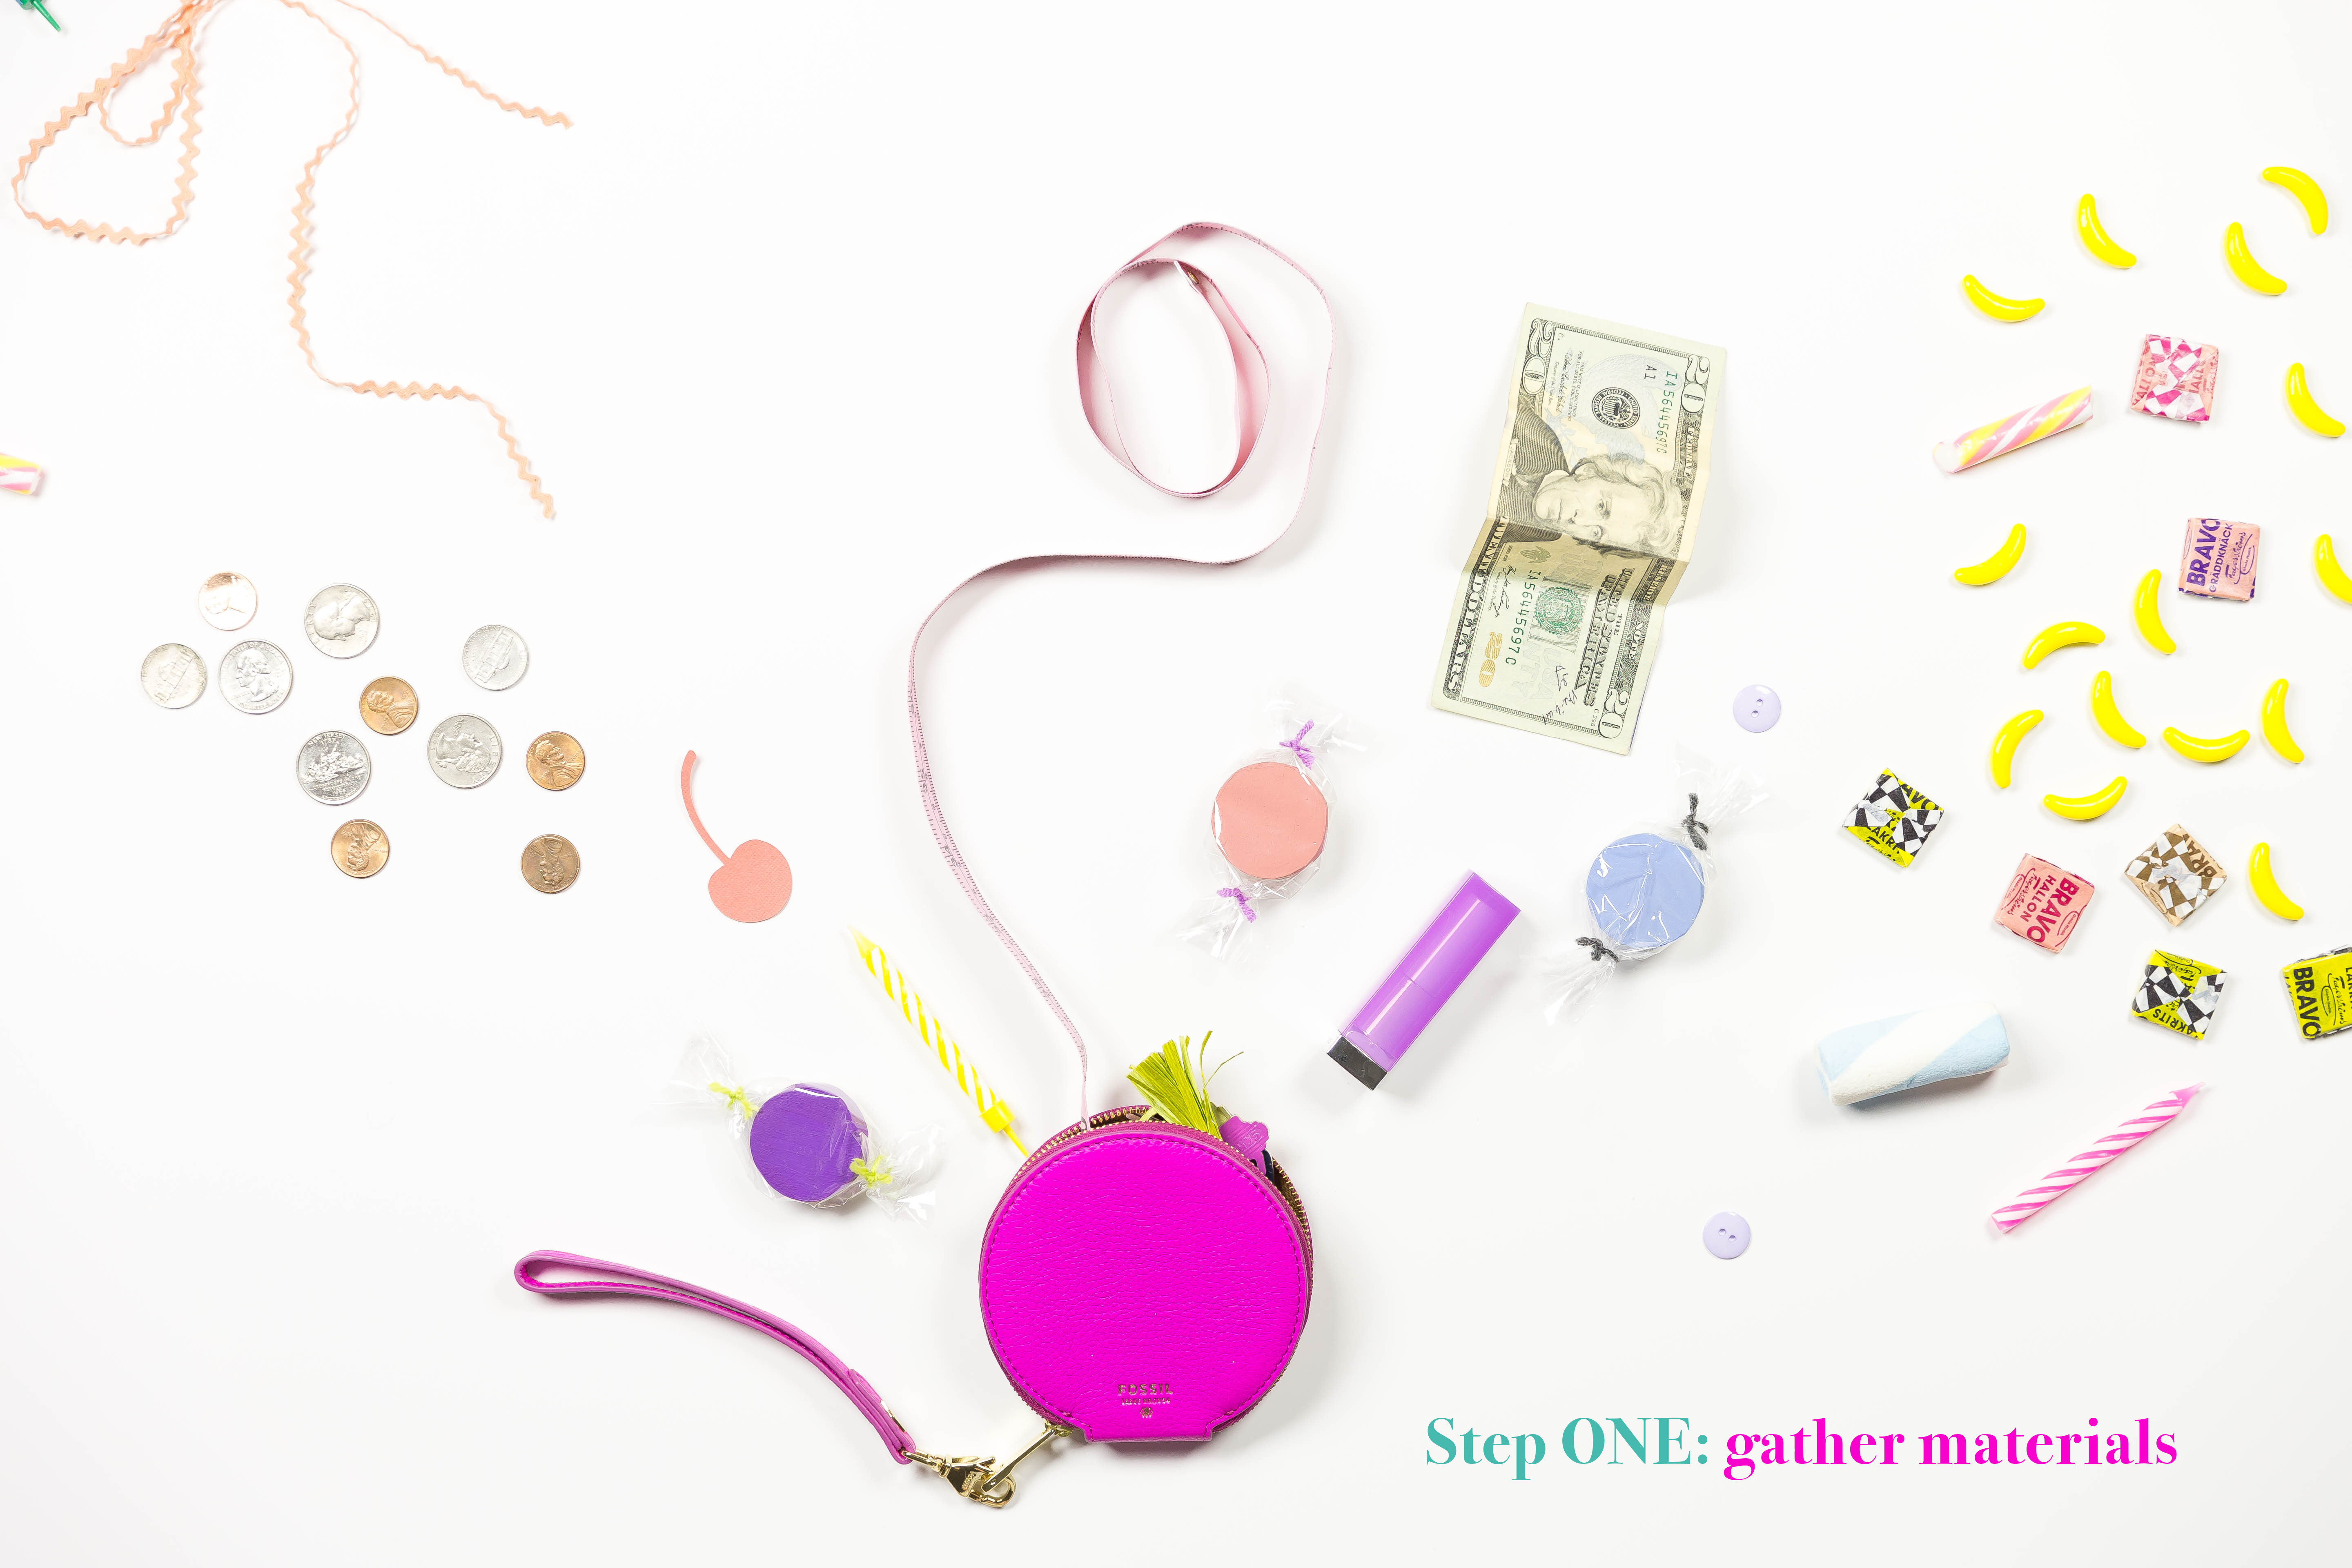
Step 1: Gather your materials. Collect everything you’d like to use to create your image. We chose a variety of objects that come in fun colors and that might be found in a coin purse or bag. Clearly, I have a lot of crafty items in mine.
Step 2: Choose a background color. We have a lot of background colors that we like to work with, but because the objects themselves were so colorful, we kept the background white so it would all stand out. We used foam core to do this. TIP: If you are using studio lighting, foam core acts as a great reflector and creates a fun, bright look to the photo.
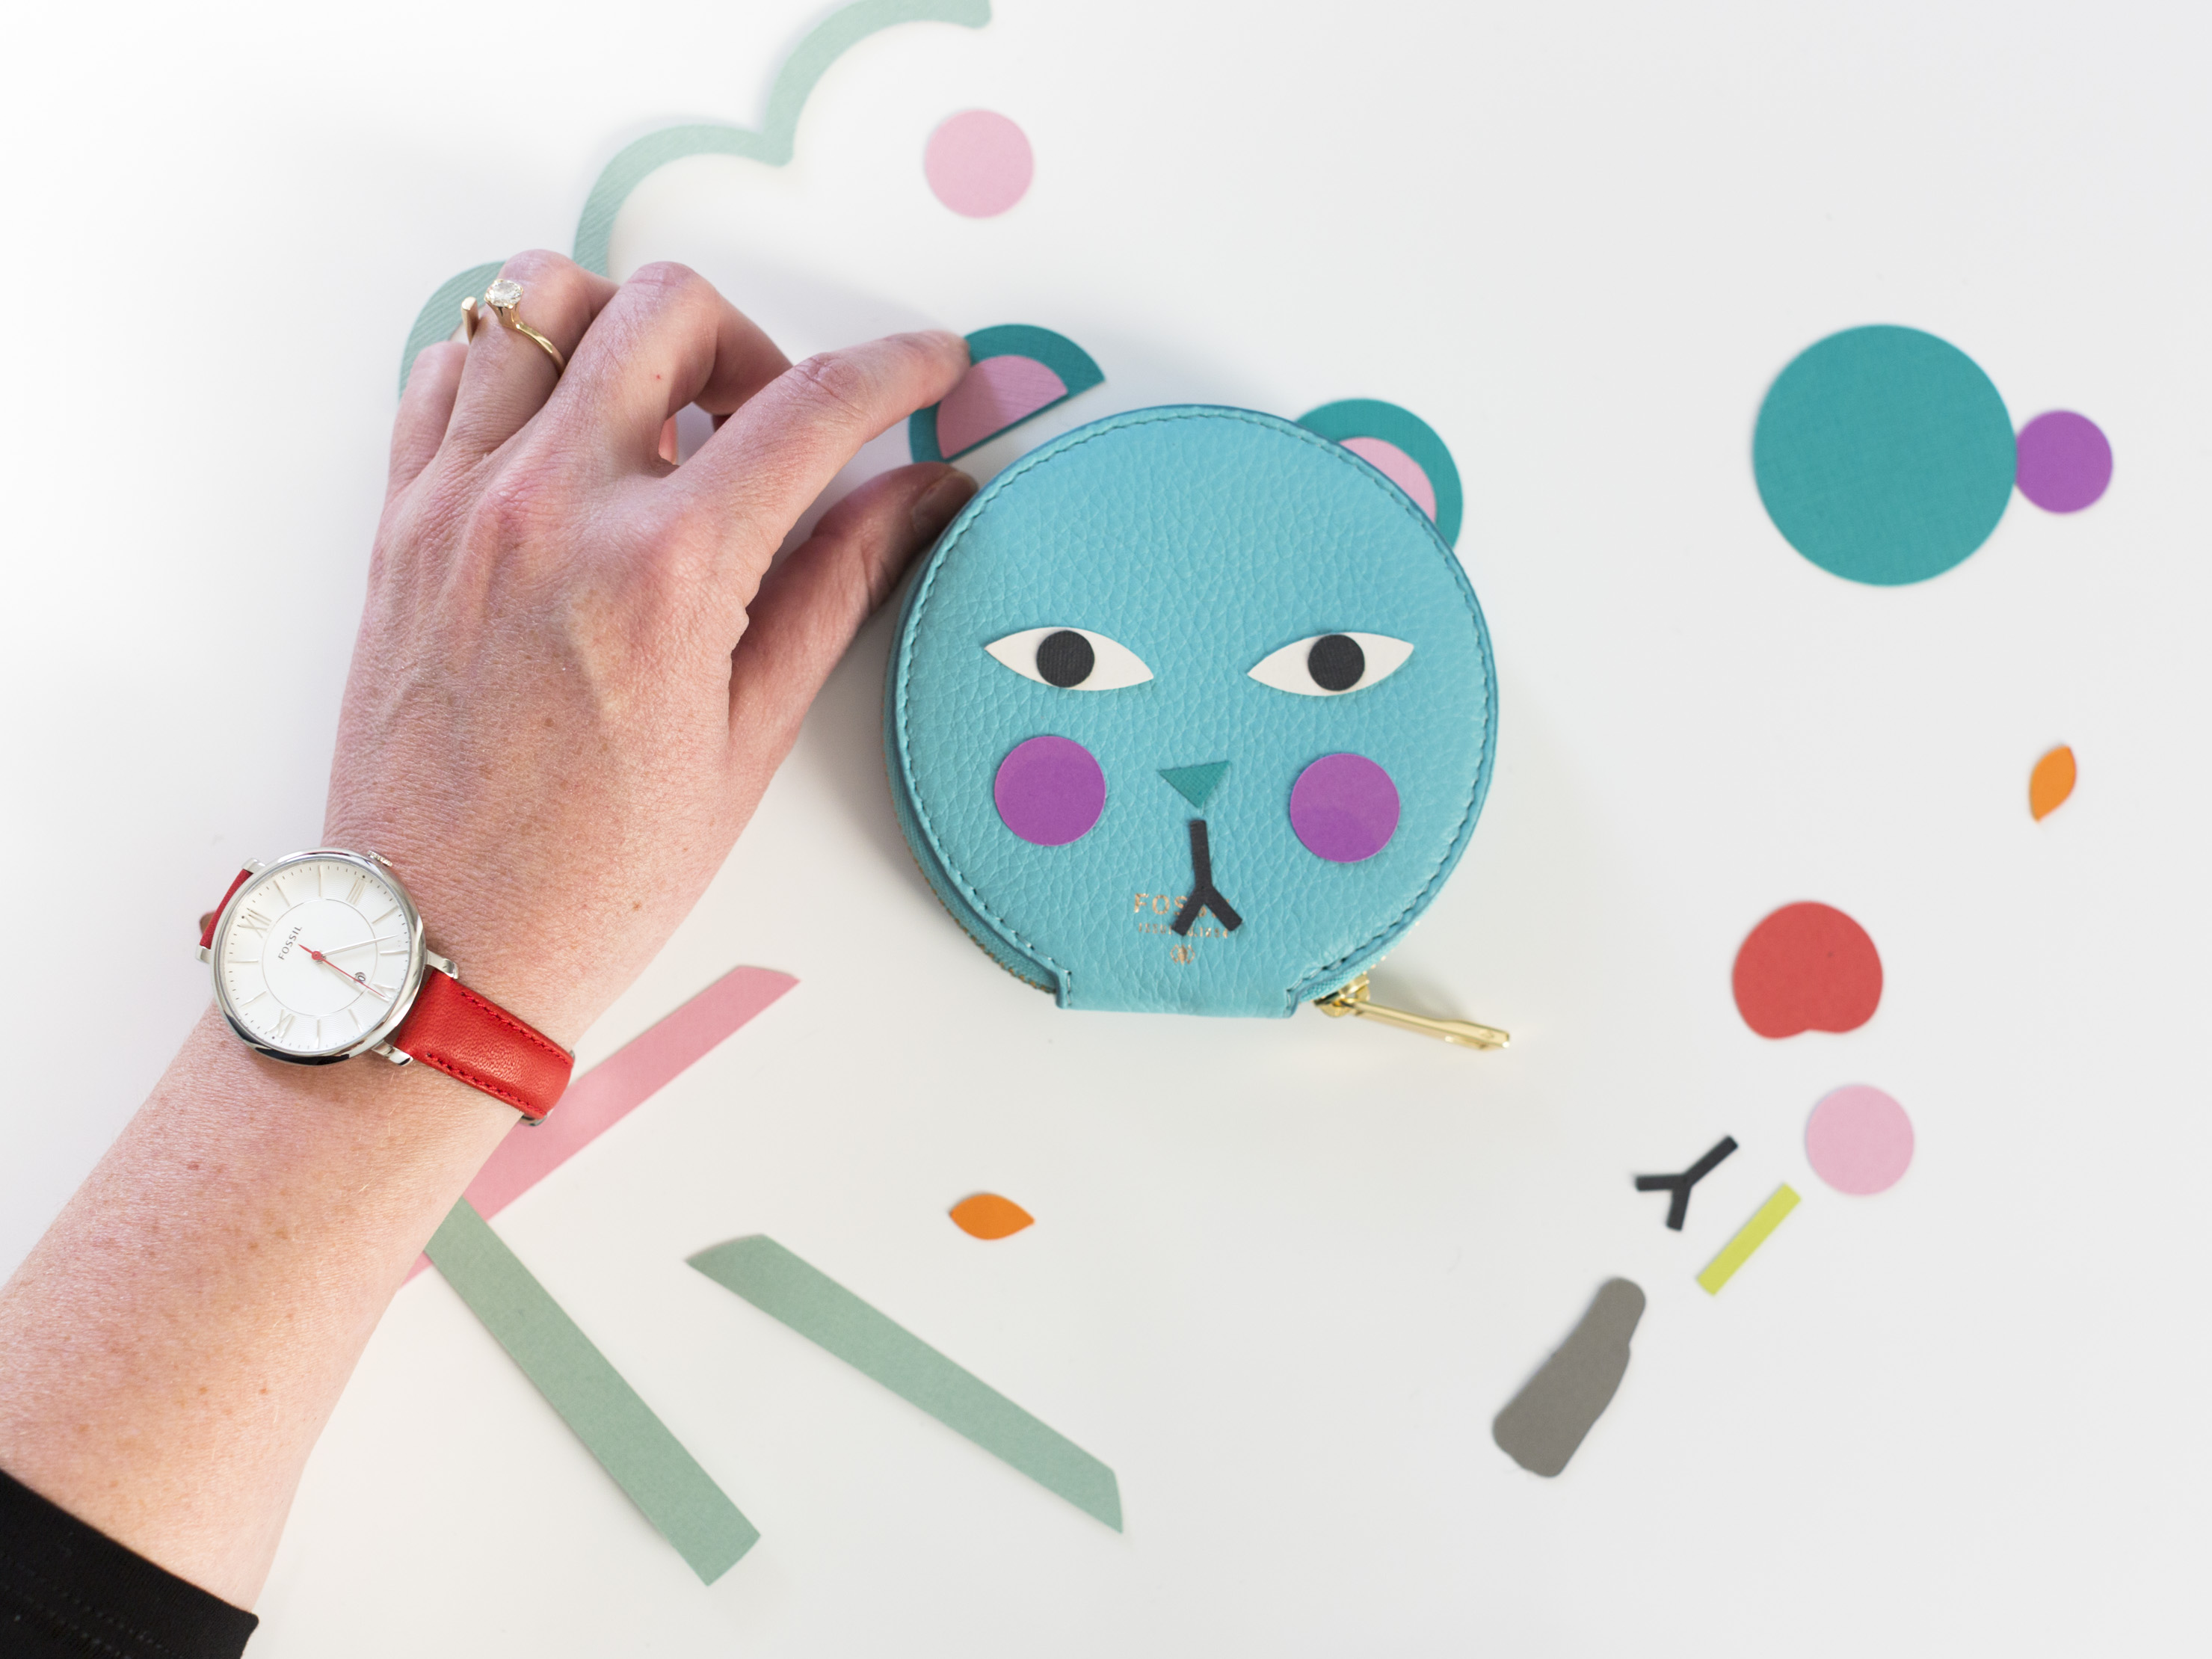
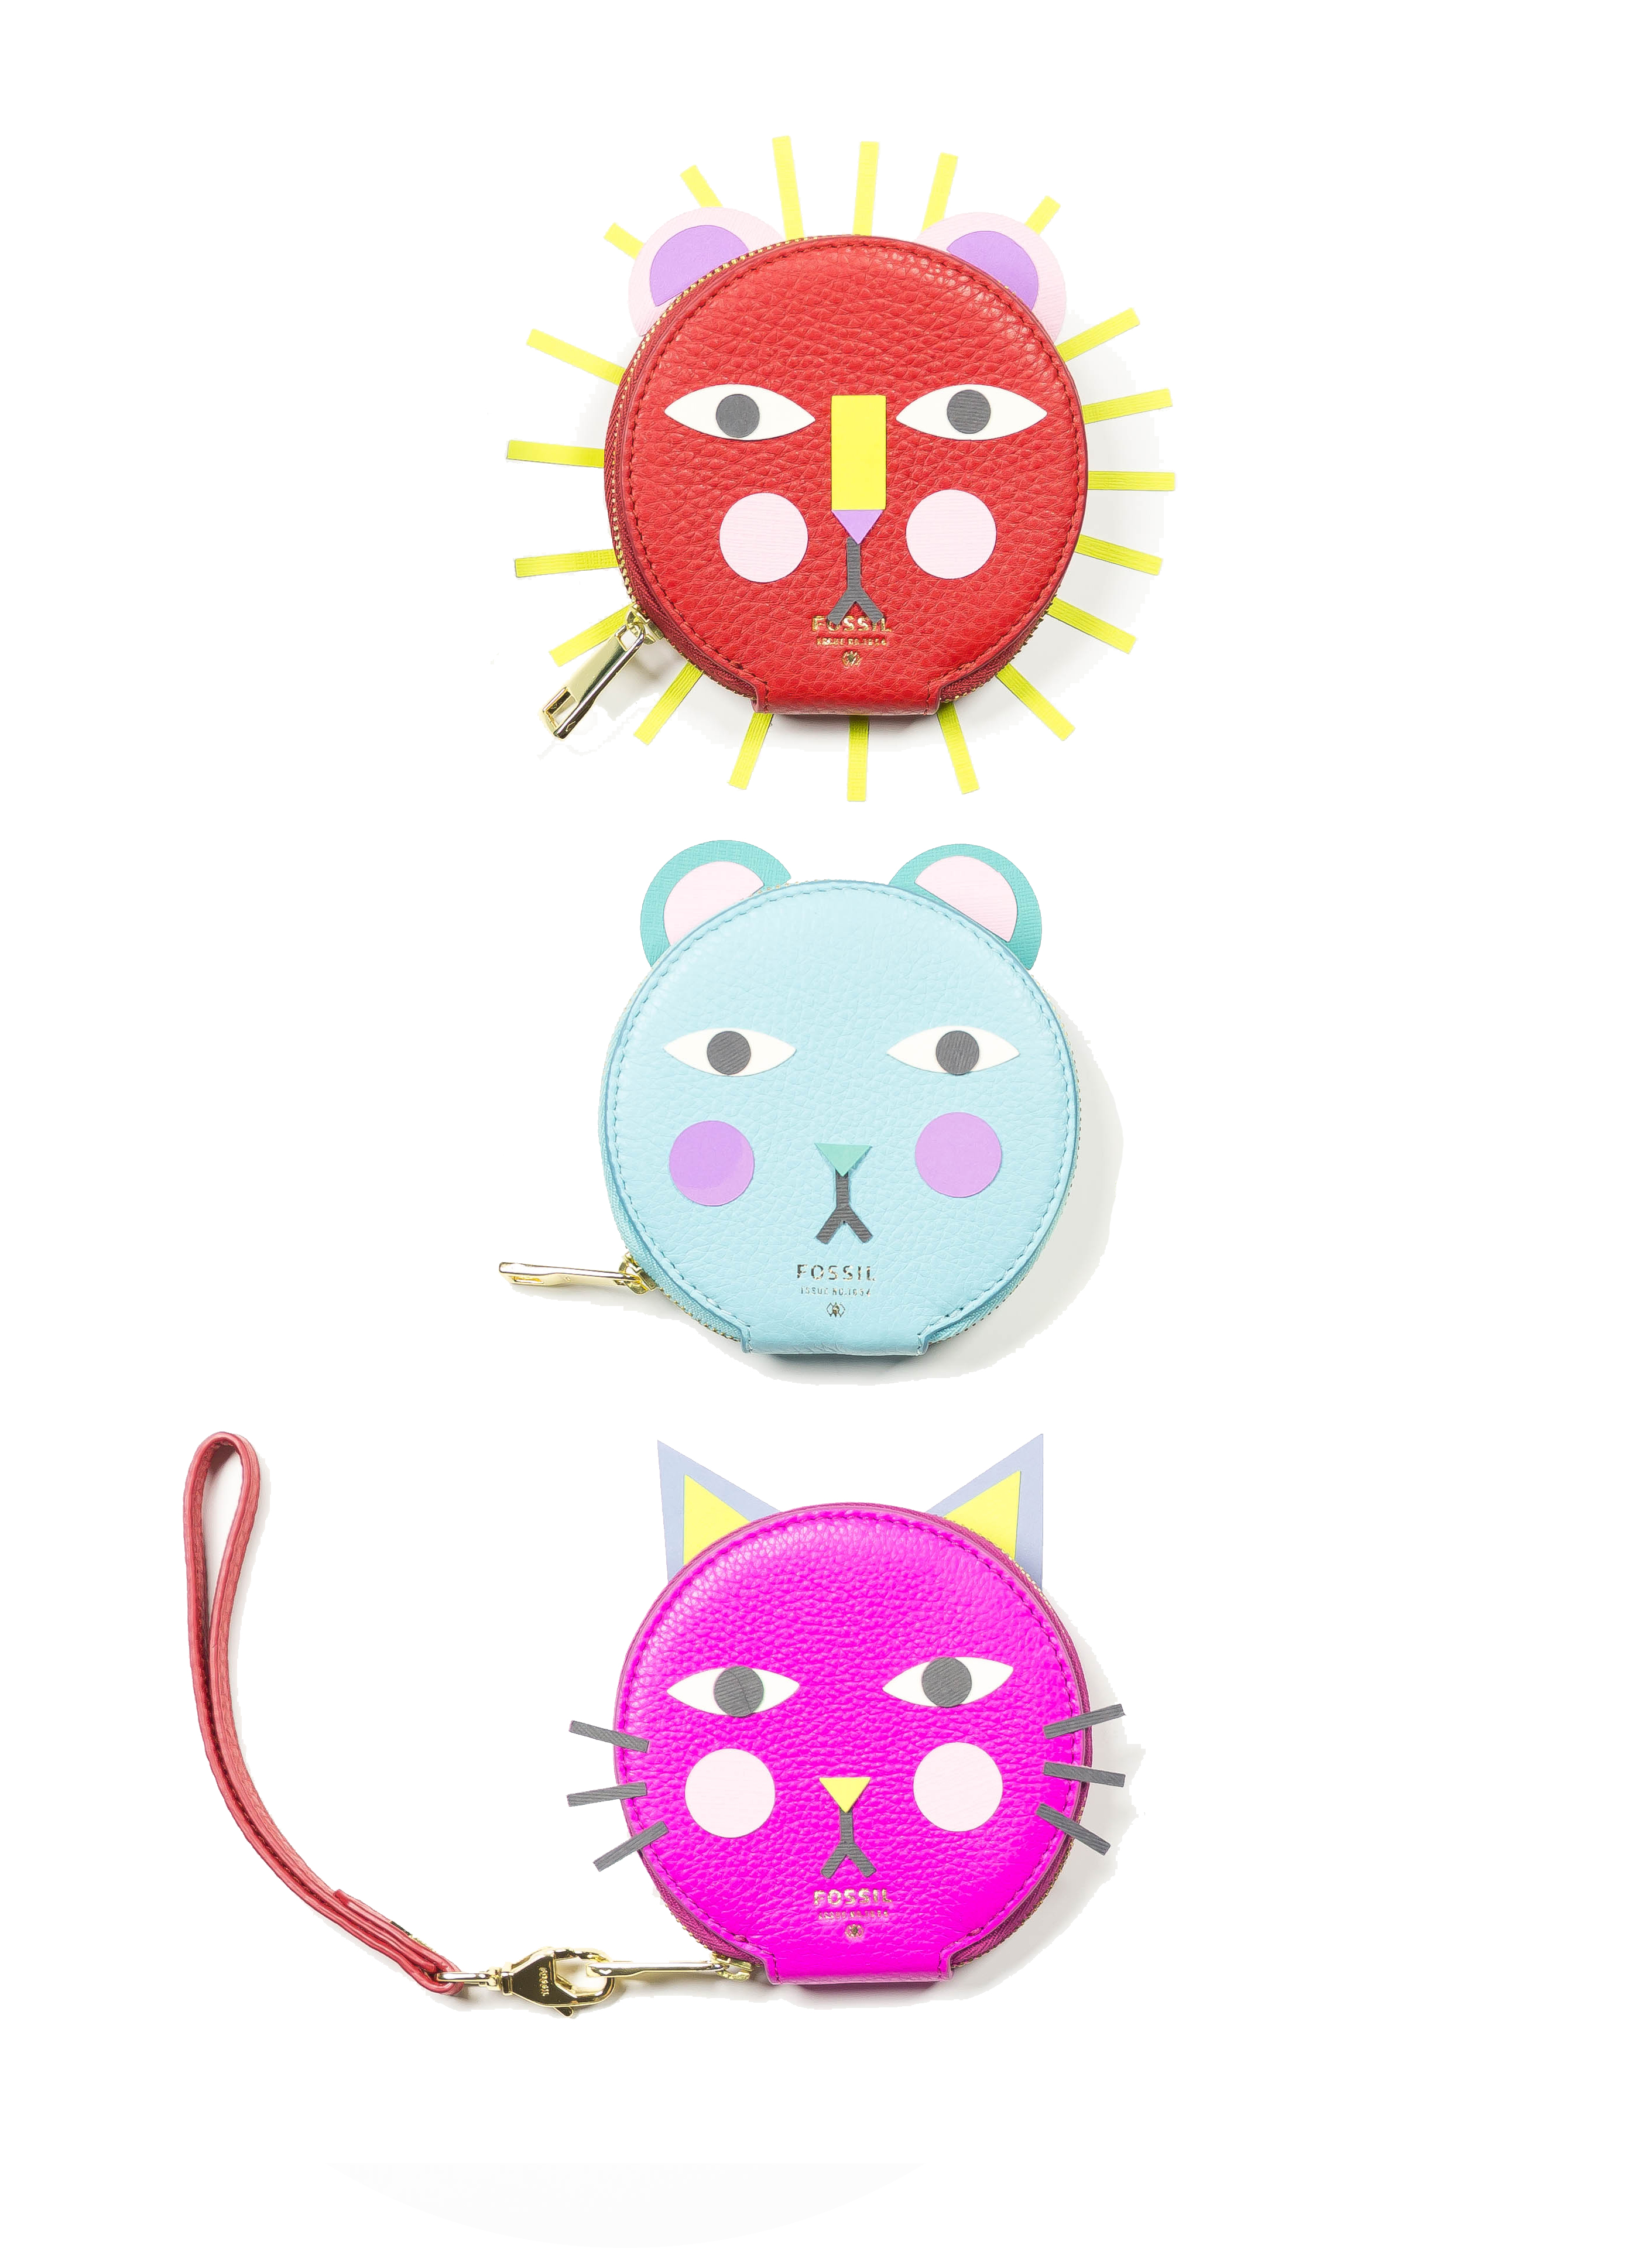
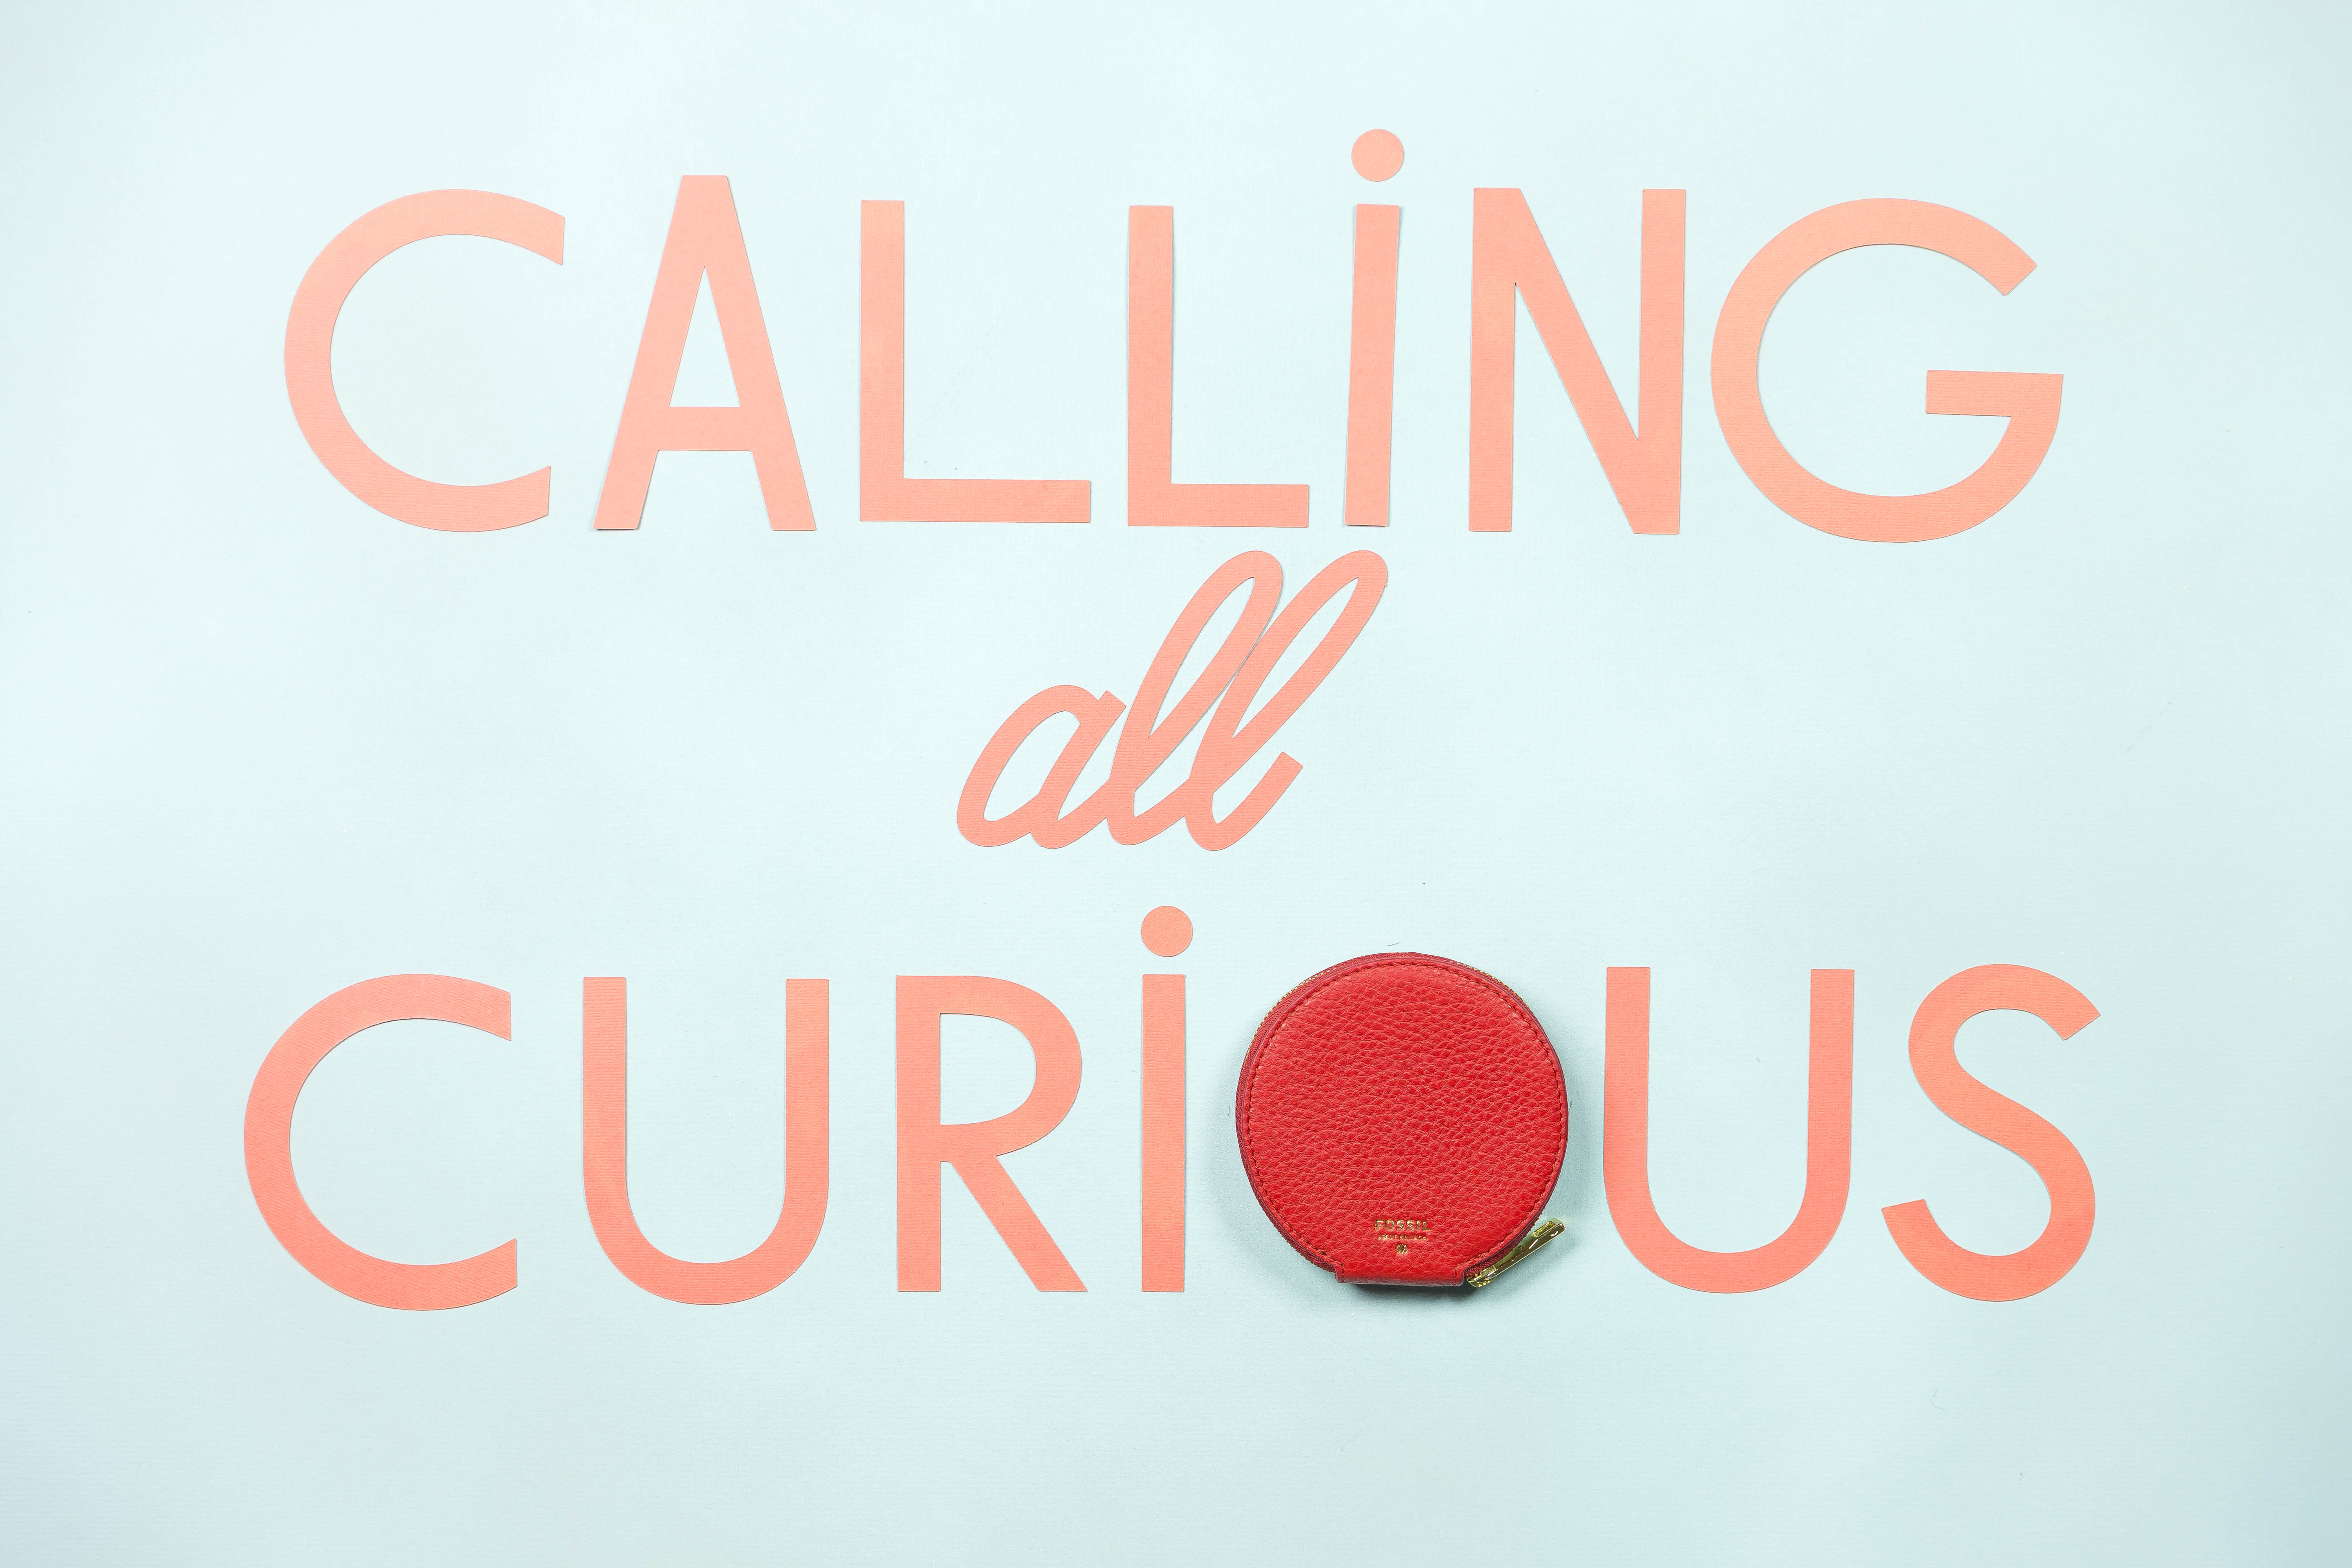
Step 3: Brainstorm. Write down all the things that your object could turn into. Here, we were working with circular coin purses from Fossil, so we brainstormed turning them into a sun, solar system, Big Ben (the clock face!), center of a flower, buttons, candies. We finally settled on ice cream scoops, animal faces, balloons, cheeks on a face, and the letter “o”. The options are limited, especially the simpler in shape they are.
Step 4: Experiment. Using your objects, try playing around with the objects. Not all of your ideas will turn out well (we had to exclude a few ourselves because they weren’t as successful as others!).
Step 5: Position. Position your objects into the center of your foam core or poster board or table, and start snapping from overhead.
Step 6: Snap! If you’re using a phone camera, which I often do, I find that the best photos are straight on shots, not angled. The phone camera can take great pictures, but oftentimes the perspective doesn’t turn out great with angled shots. If you know how to work a camera, get going! Use white reflectors to evenly light the space. Remember, Instagram now has the option to create vertical or horizontal photos, but for the most part, you’ll want to keep your objects right in the square for optimal viewing.
Step 7: Post! Post your picture to Instagram. And don’t forget to tag it with #CallingAllCurious. Check out the tag to see other people finding a fresh perspective on ordinary objects.
Photos and stop motion by Trisha Zemp
This post is sponsored by Fossil Group, Inc. All thoughts and opinions expressed are my own.


