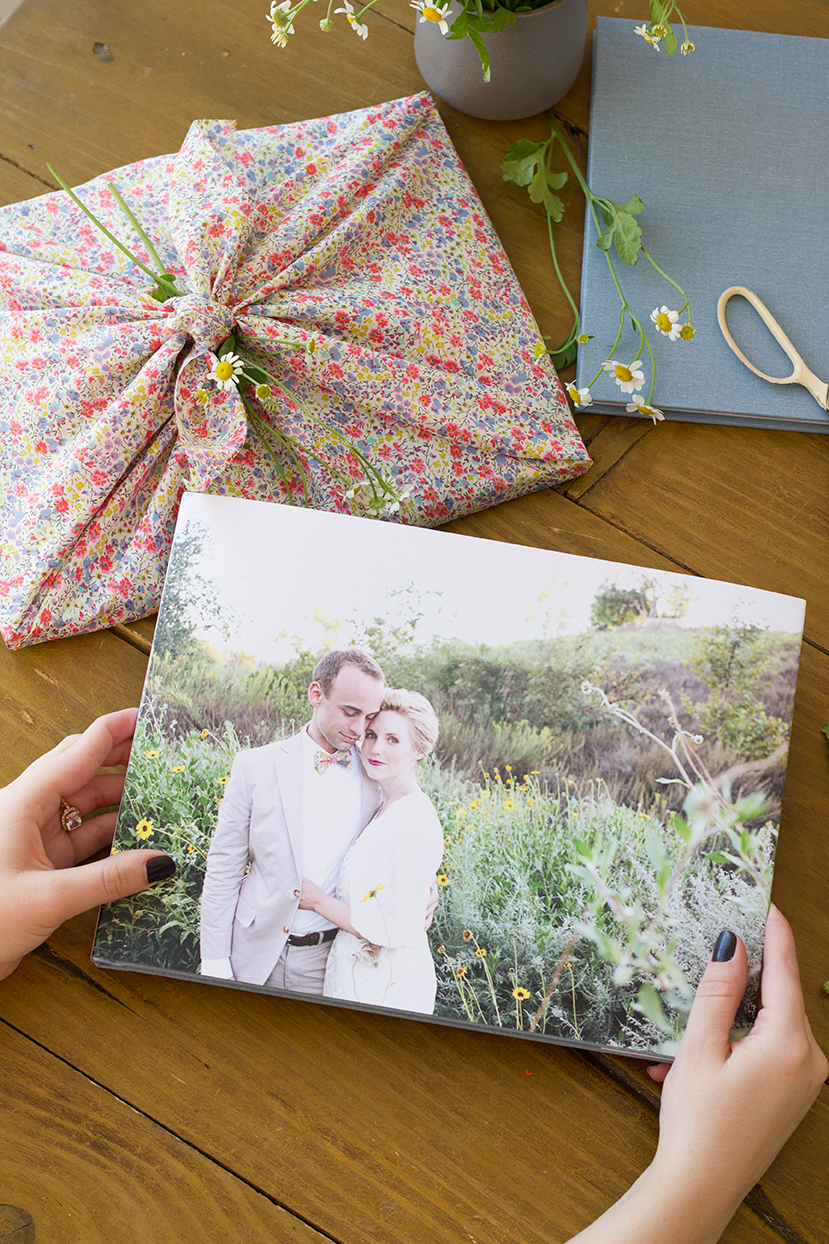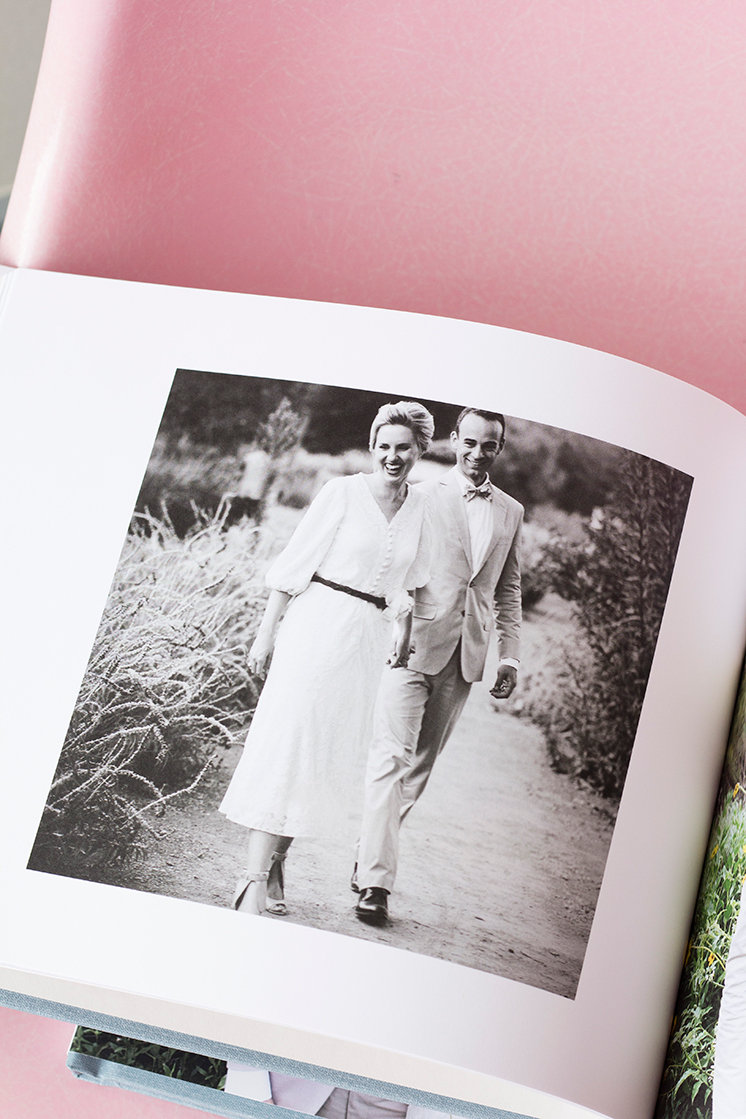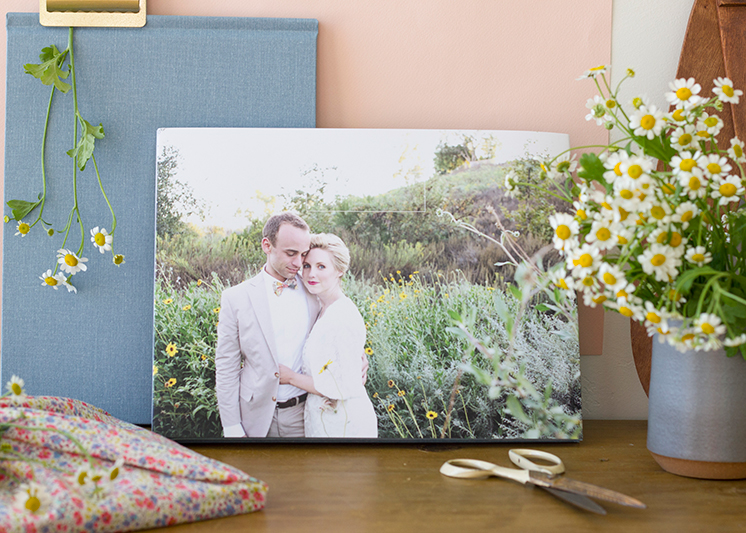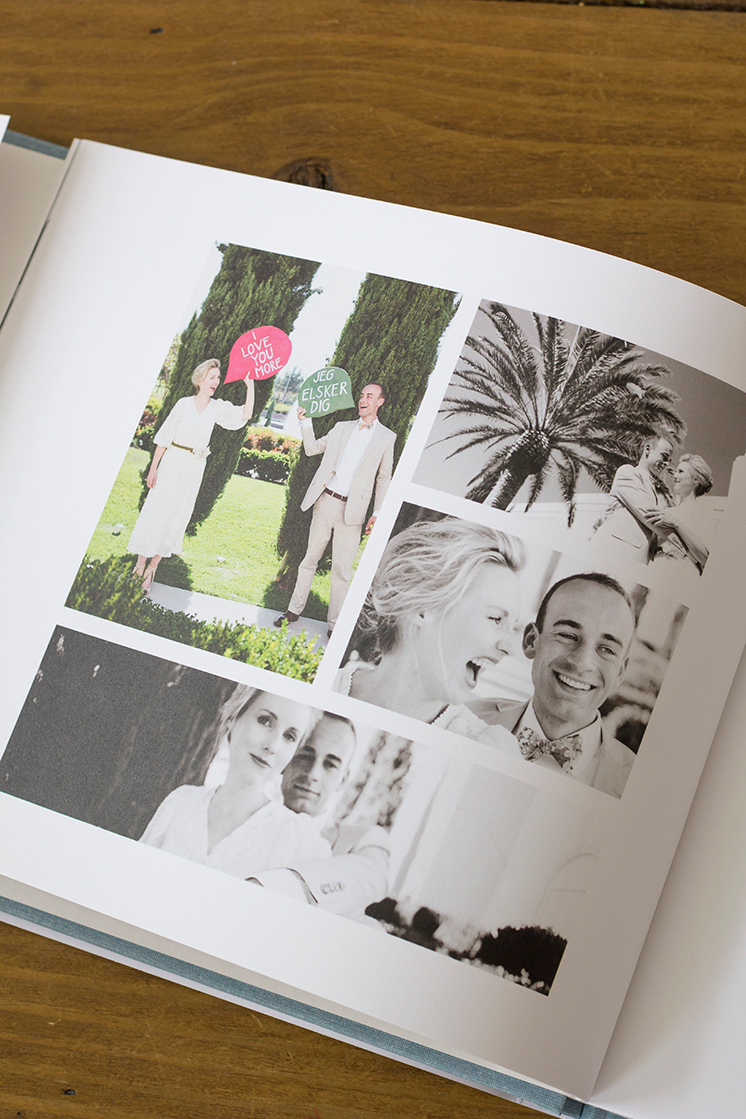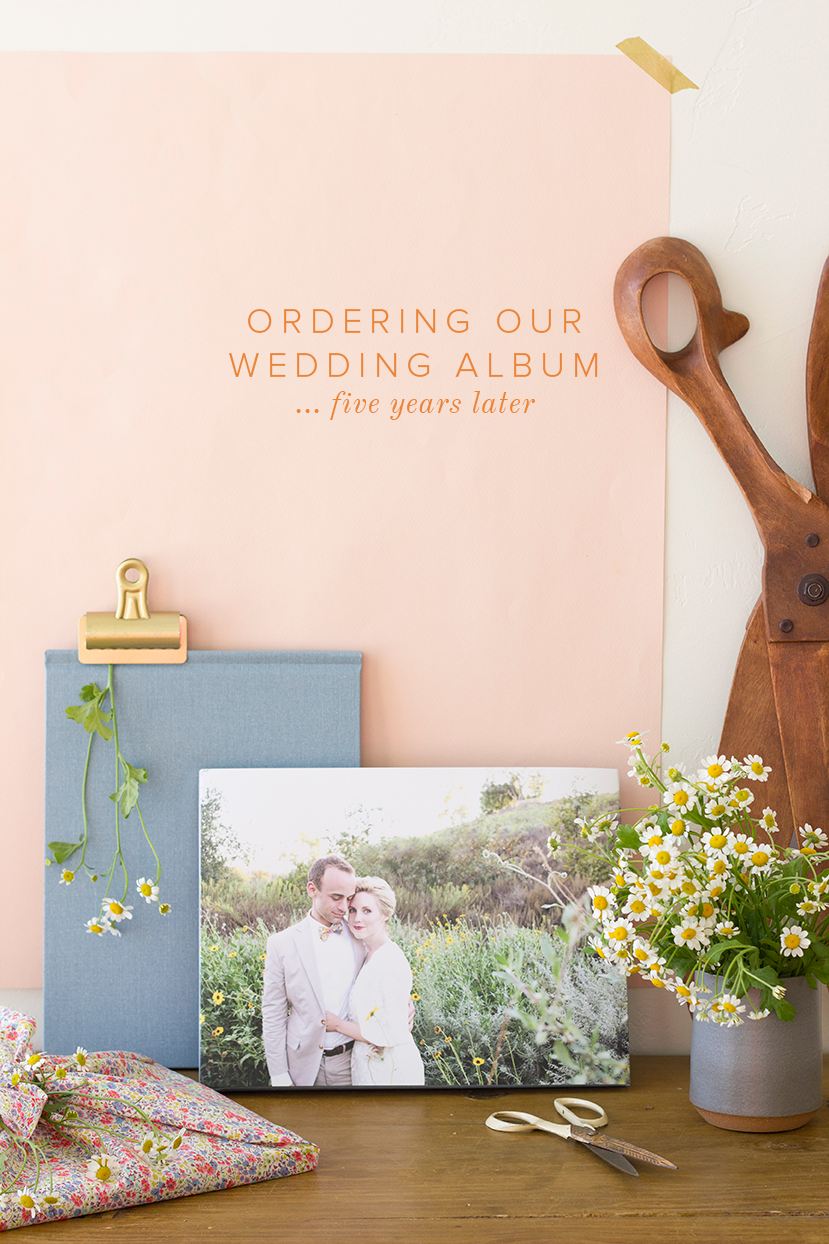
…and 5 years later we finally have our wedding album printed! Ha! How’s that for taking our time?! Clearly I wasn’t in a rush to preserve our photos to paper but now that it’s to the point where “are we ever going to get this done?” I decided that I should probably put it down as one of my New Year’s resolutions for 2016. Luckily I was able to team up with Preservation and Creation once again to help me get the job done. I ordered a couple of extra so I can gift them to our parents and used some gorgeous fabric to wrap them up to stick in the mail.
With Preservation and Creation you have the option to create a beautiful, memory-keeping books in soft and hard cover forms with easy to use their drag and drop features.
Funny note: Paul had NO idea what he was getting himself into for our wedding. He was living in Denmark, I was in Washington, DC and the wedding and wedding prep was in California. That meant that we could sneak around and do whatever we wanted. Ha! When he finally got there he stunned to see that our house had turned into a paper flower factory with flowers piled up to the ceiling.
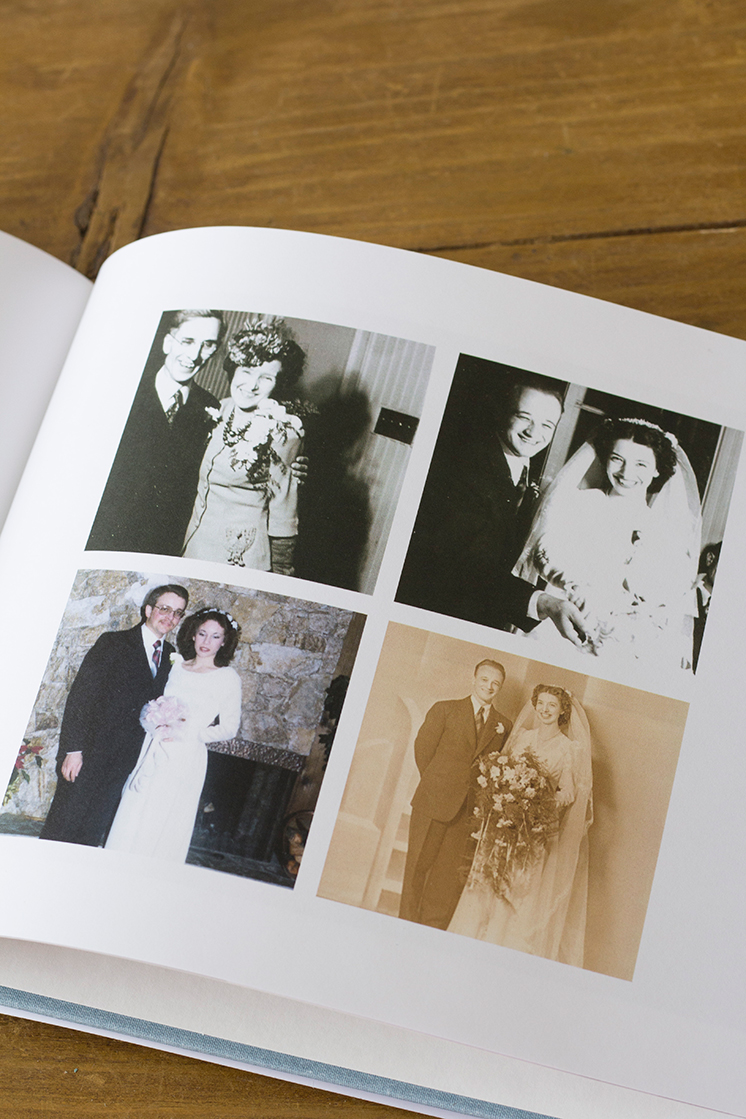
I included a few wedding photos of our parents, grandparents and great grandparents so we could keep track of our family heritage as we go. I love seeing how each decade celebrated in such stellar style.
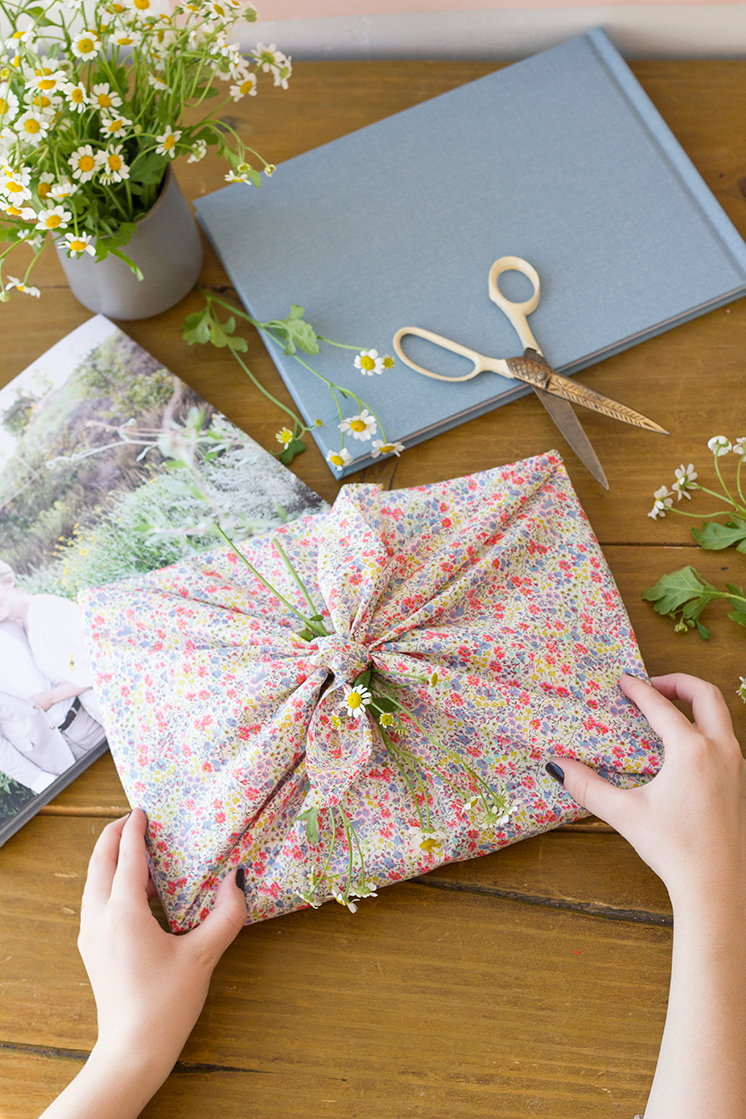
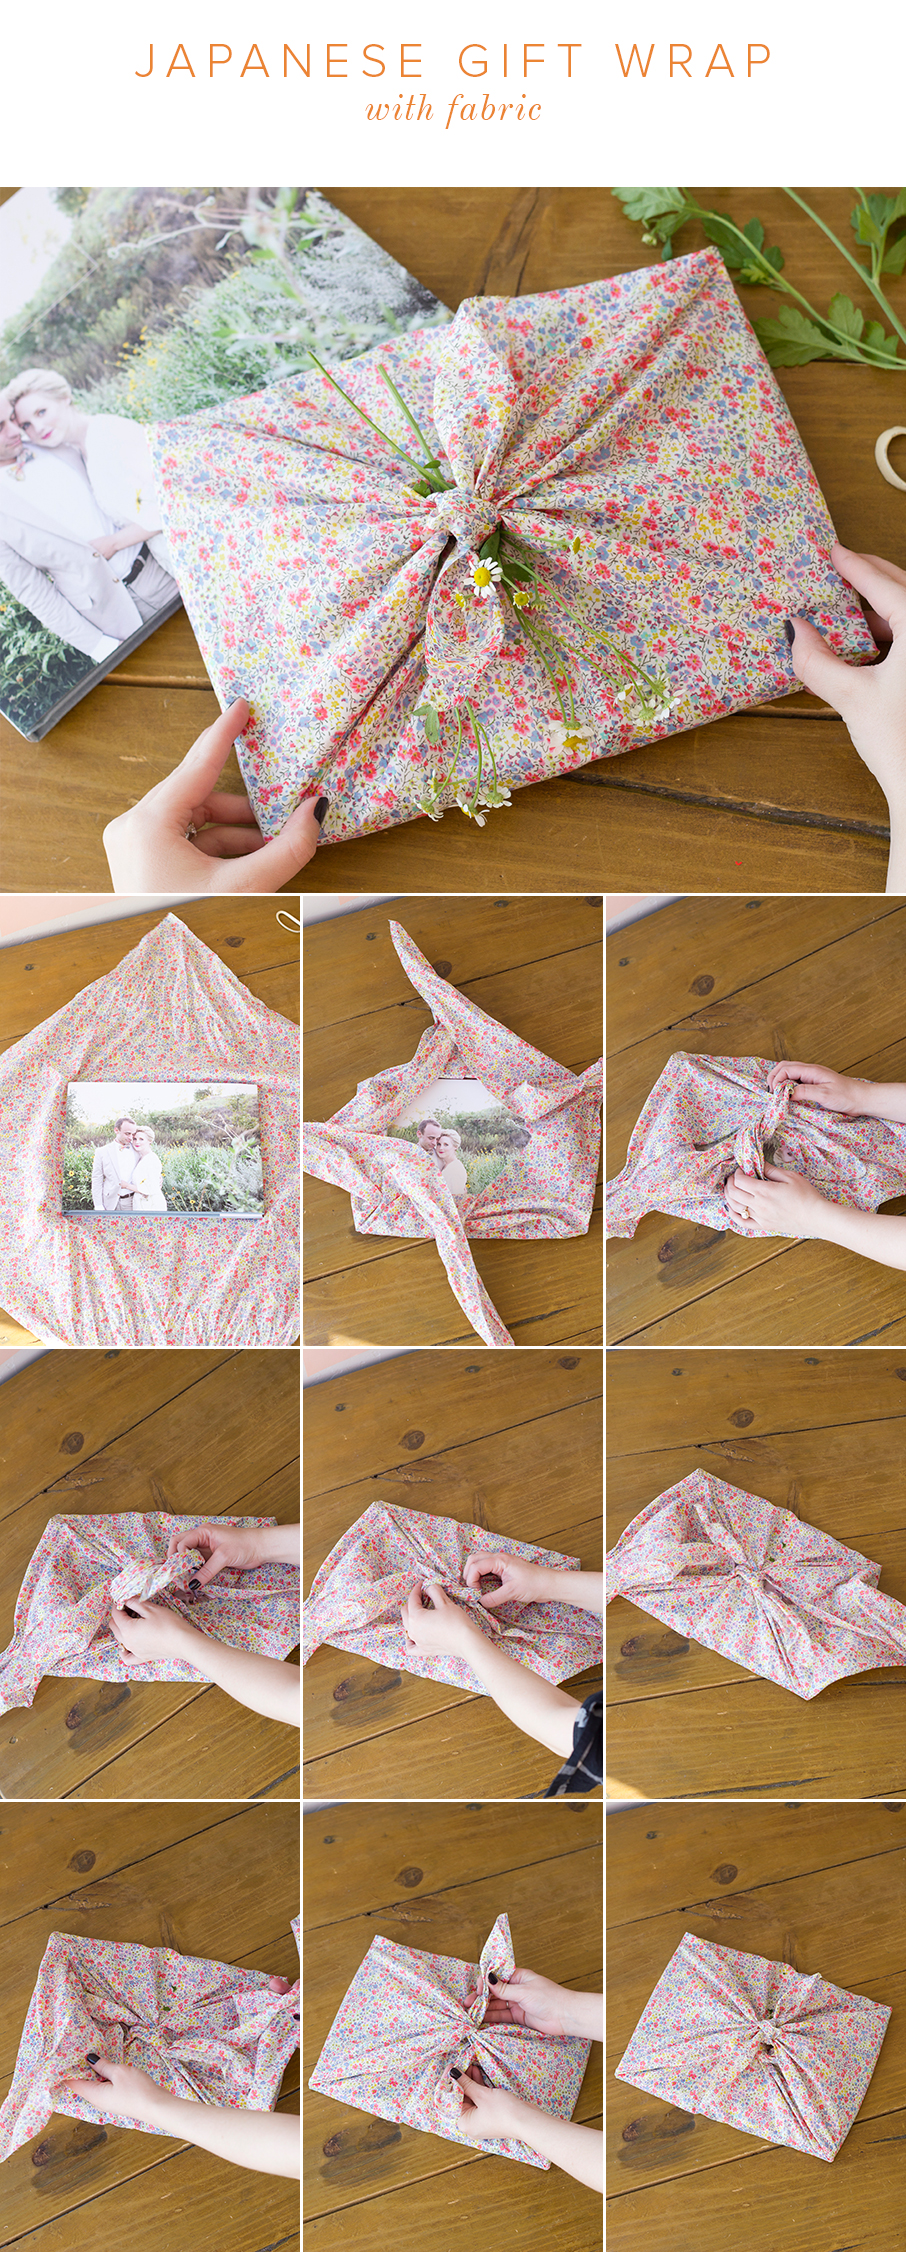
See how we gift wrapped these albums to give as gifts to our parents along with some never before seen wedding photos!
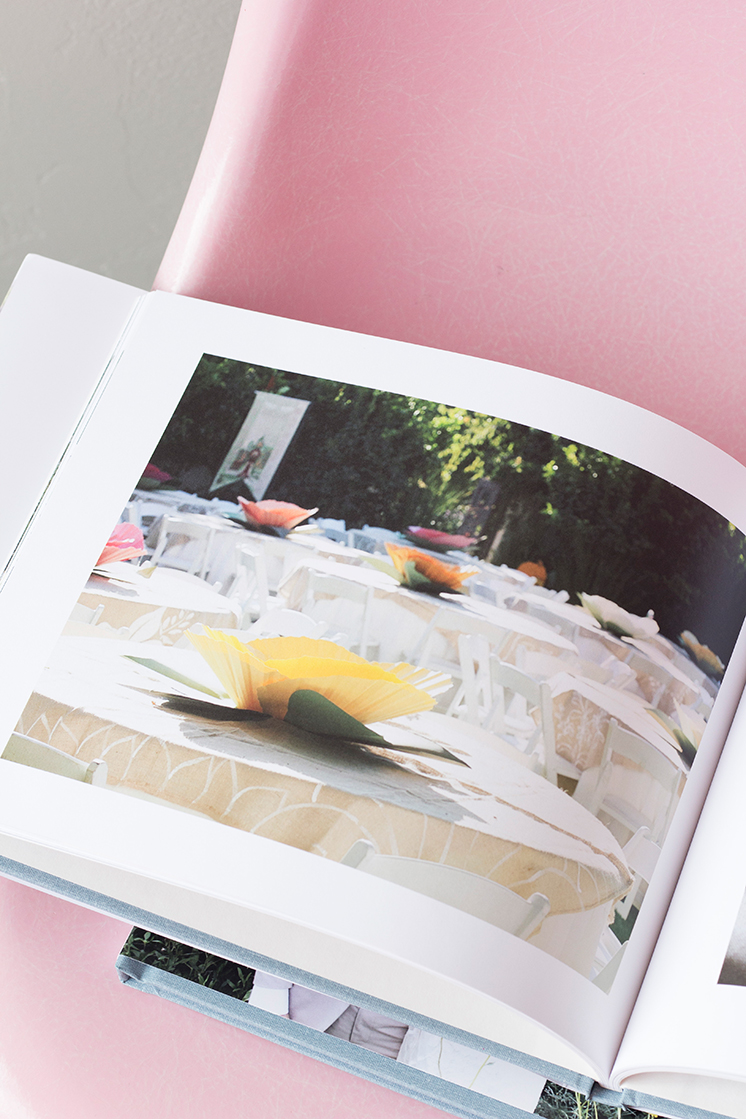
These are the infamous paper flowers we used as centerpieces on each table. (Get the full tutorial here and see more wedding photos here)
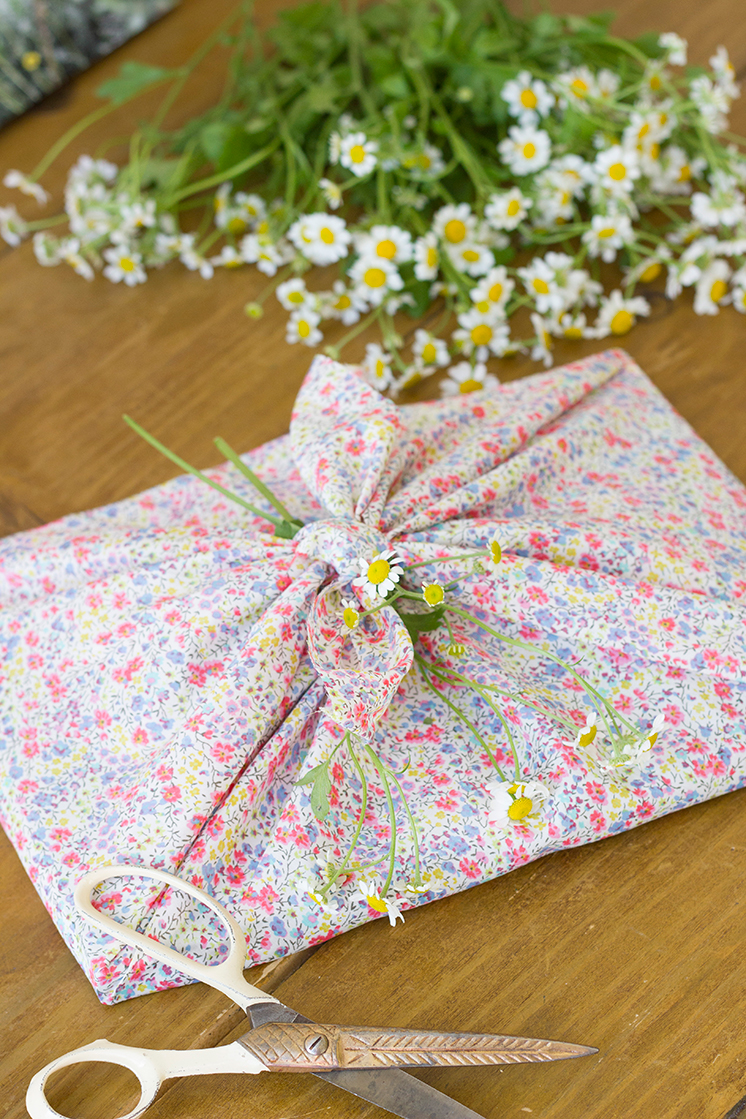
I ordered 3 copies total so I could give an album to Paul’s parents and my parents and wrapped them in fabric using the Furoshiki fabric wrapping method. We used a gorgeous Liberty of London fabric (swoon!) but any fabric will do!
How to wrap gifts with fabric (Furoshiki)
Materials: fabric with the longest dimension at least 3x the size
- Cut your fabric to a square
- Bring in two opposite sides tightly up to form a square knot at the top.
- Bring the remaining two sides up to tightly form a square knot at the top.
- Voila!
This post is sponsored by Preservation and Creation.
Photos and styling by Brittany Jepsen


