
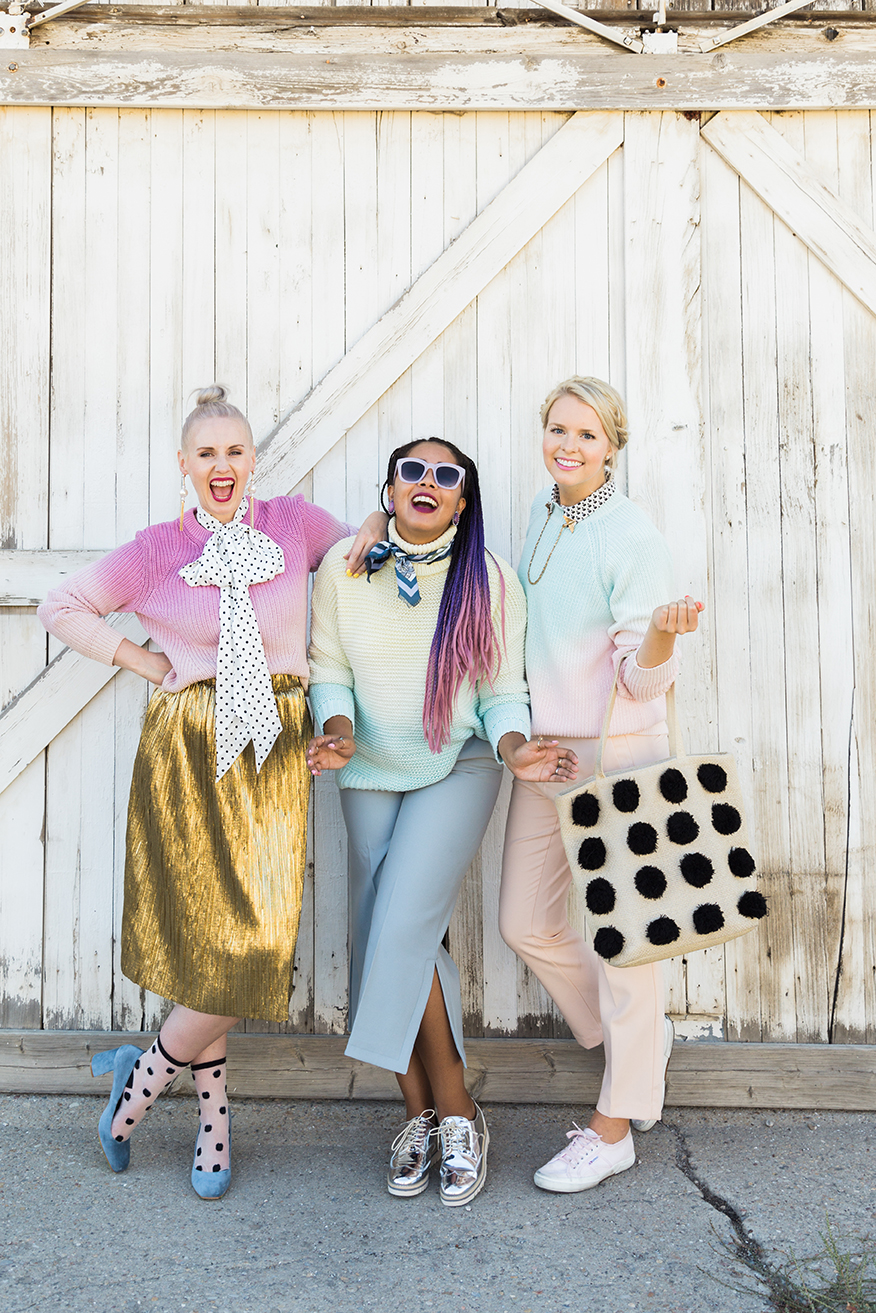
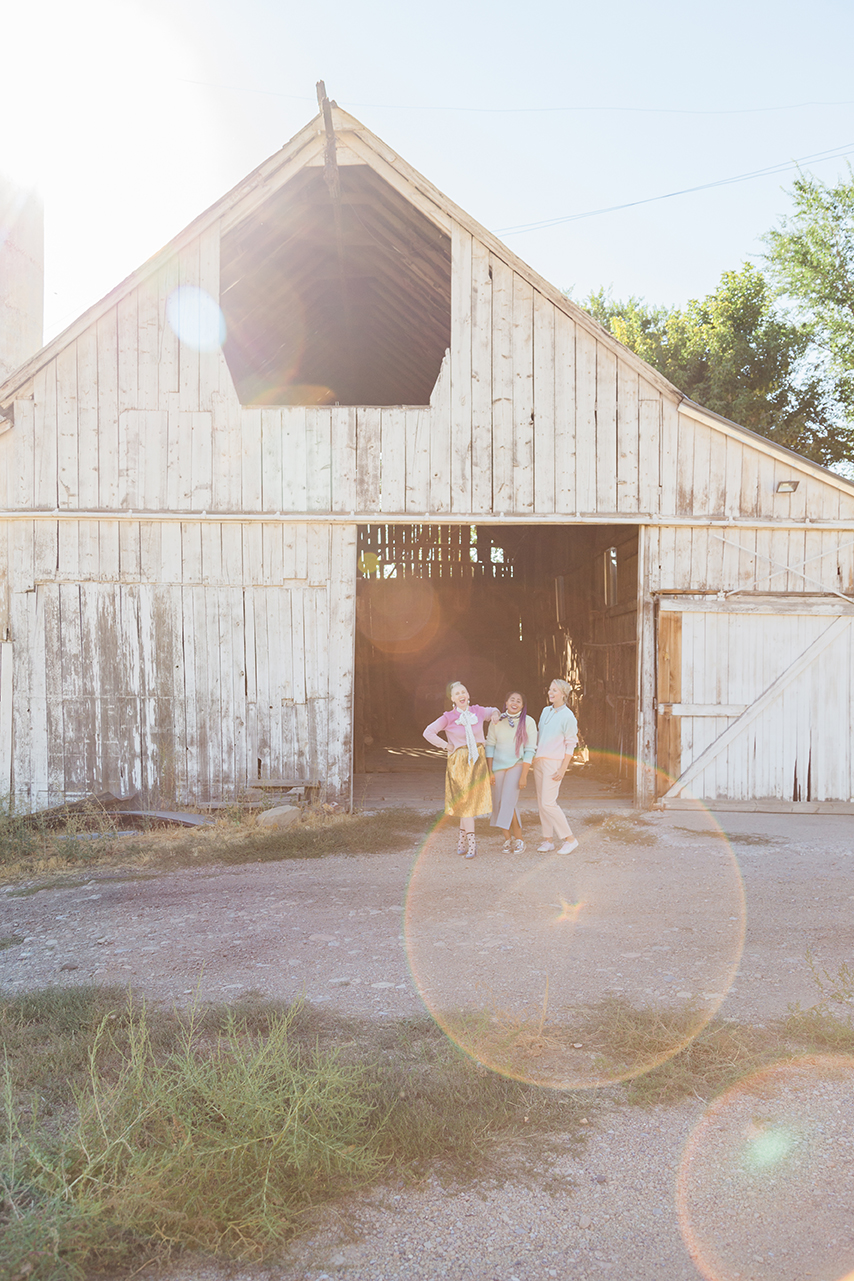
I’ve been wanting to do some dip dyeing for some time now and the perfect opportunity arose when method challenged us create a fashion project for fall. I knew exactly what we were going to do.
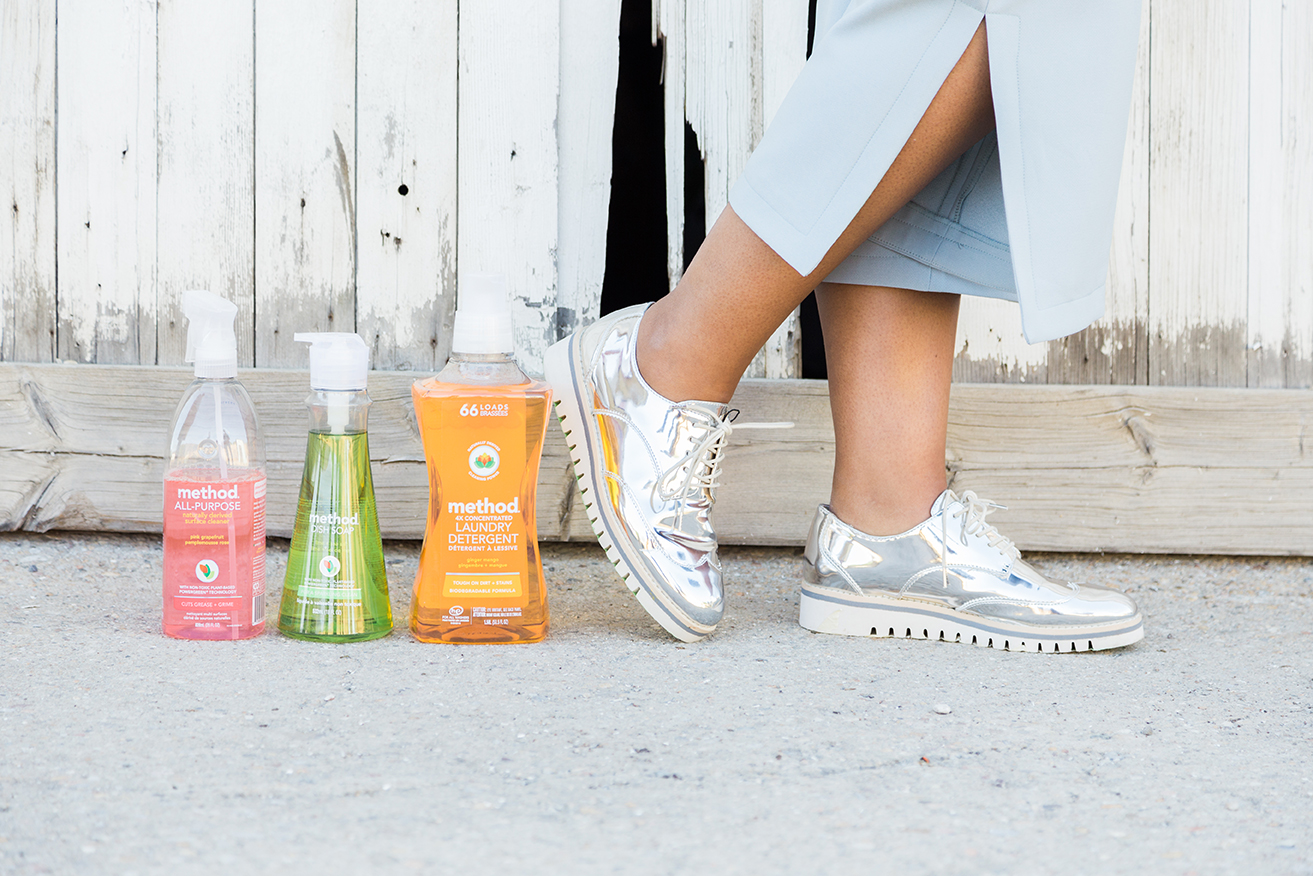
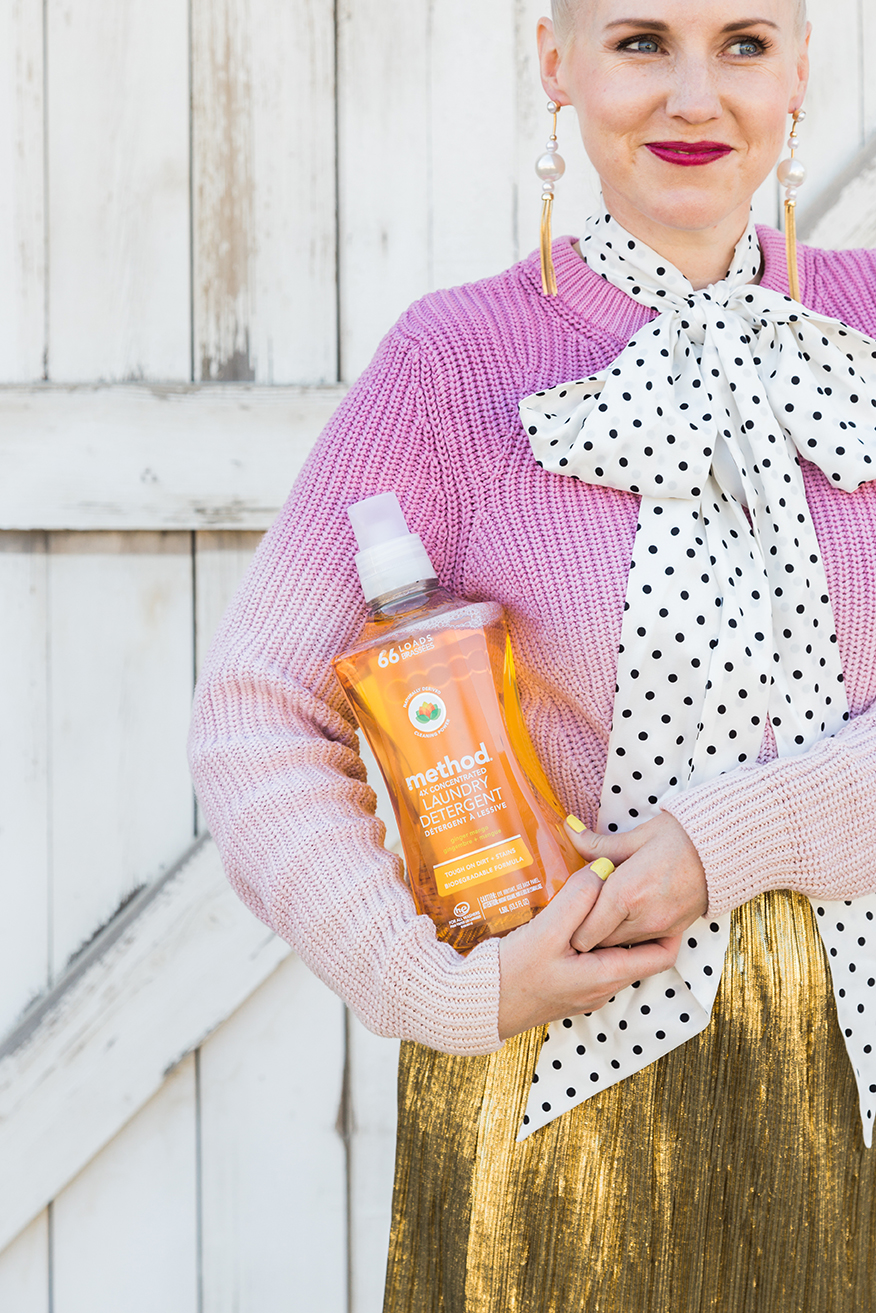
Dyeing fabrics can prove to be challenging due to the fabrics you work with and how they take to the dye. You have to use the right type of dye with the right type of fabrics. I knew method’s laundry detergent would be handy for the occasion because you have to set the dye by washing it before wearing it.
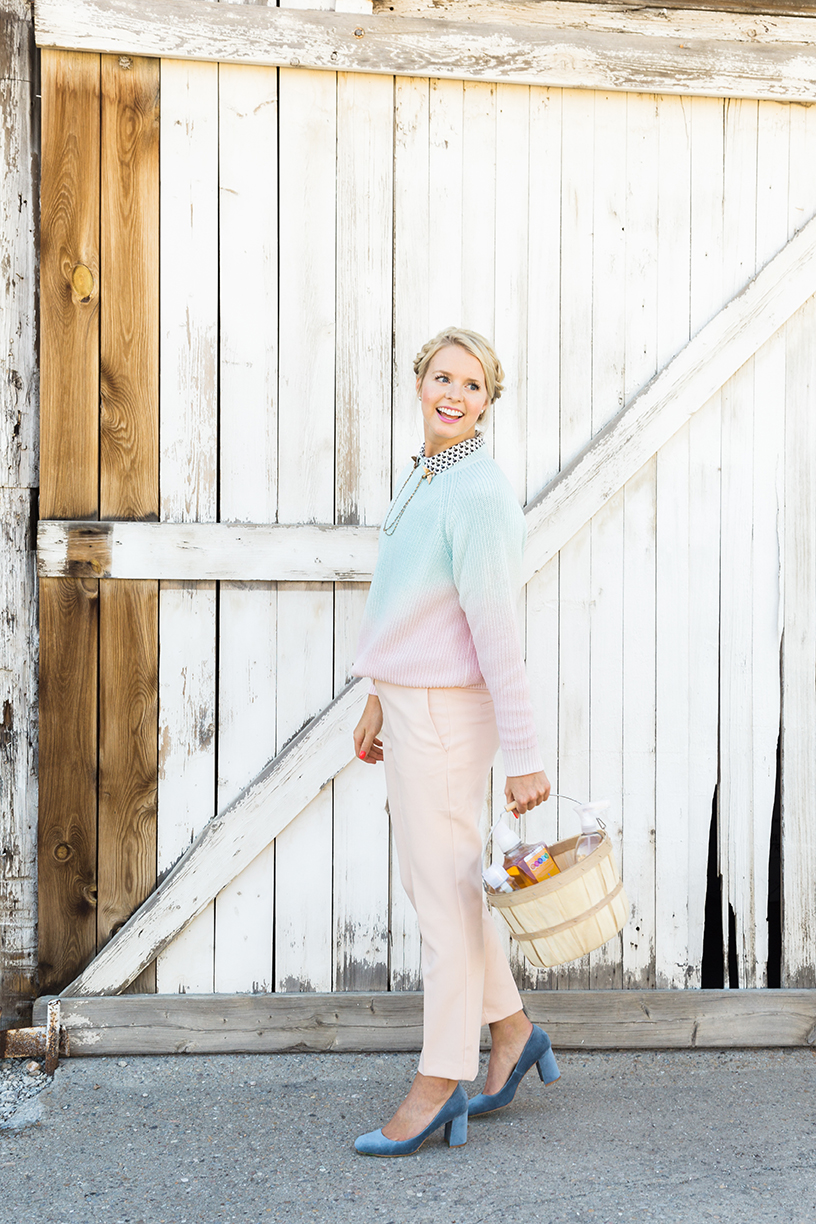
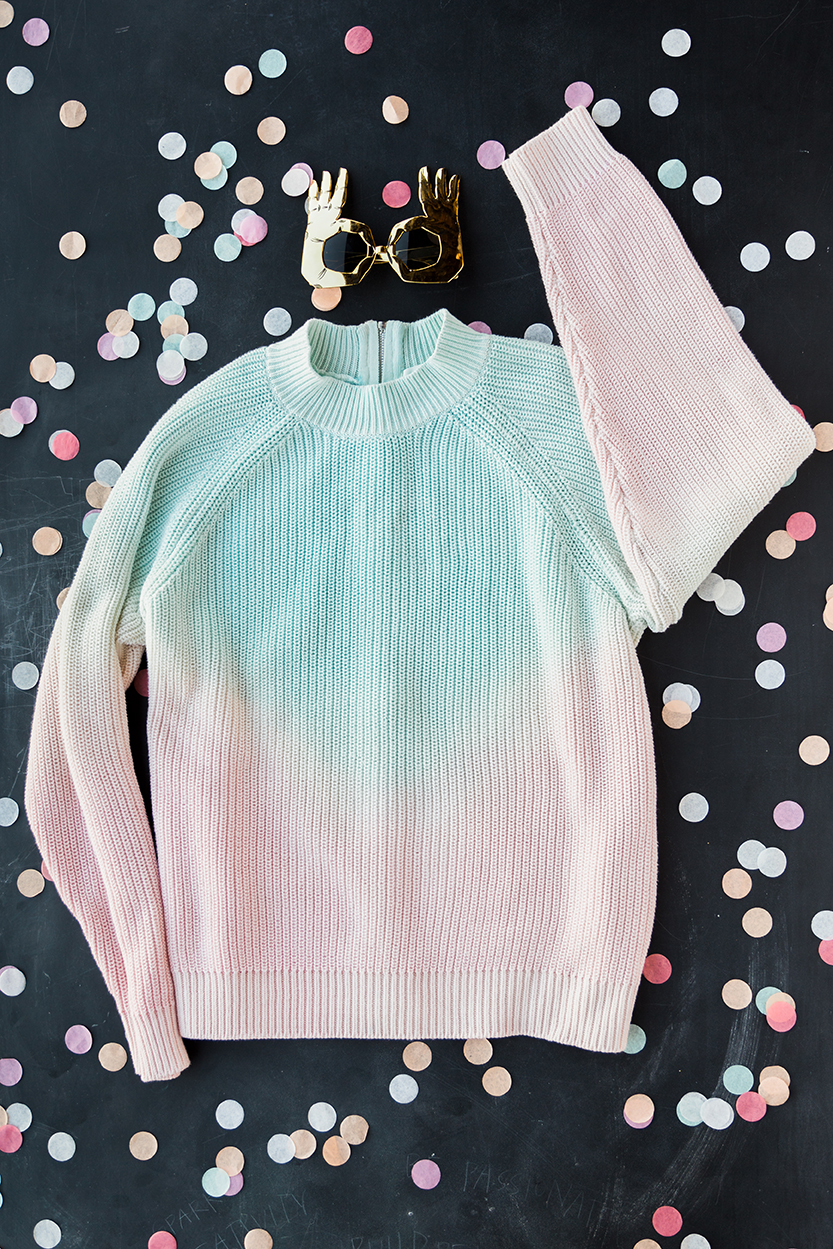
We were lucky enough to enlist the help of Danielle Wilson, textile and color extraordinaire, who helped us figure out the right way to do it. Here’s what she did!
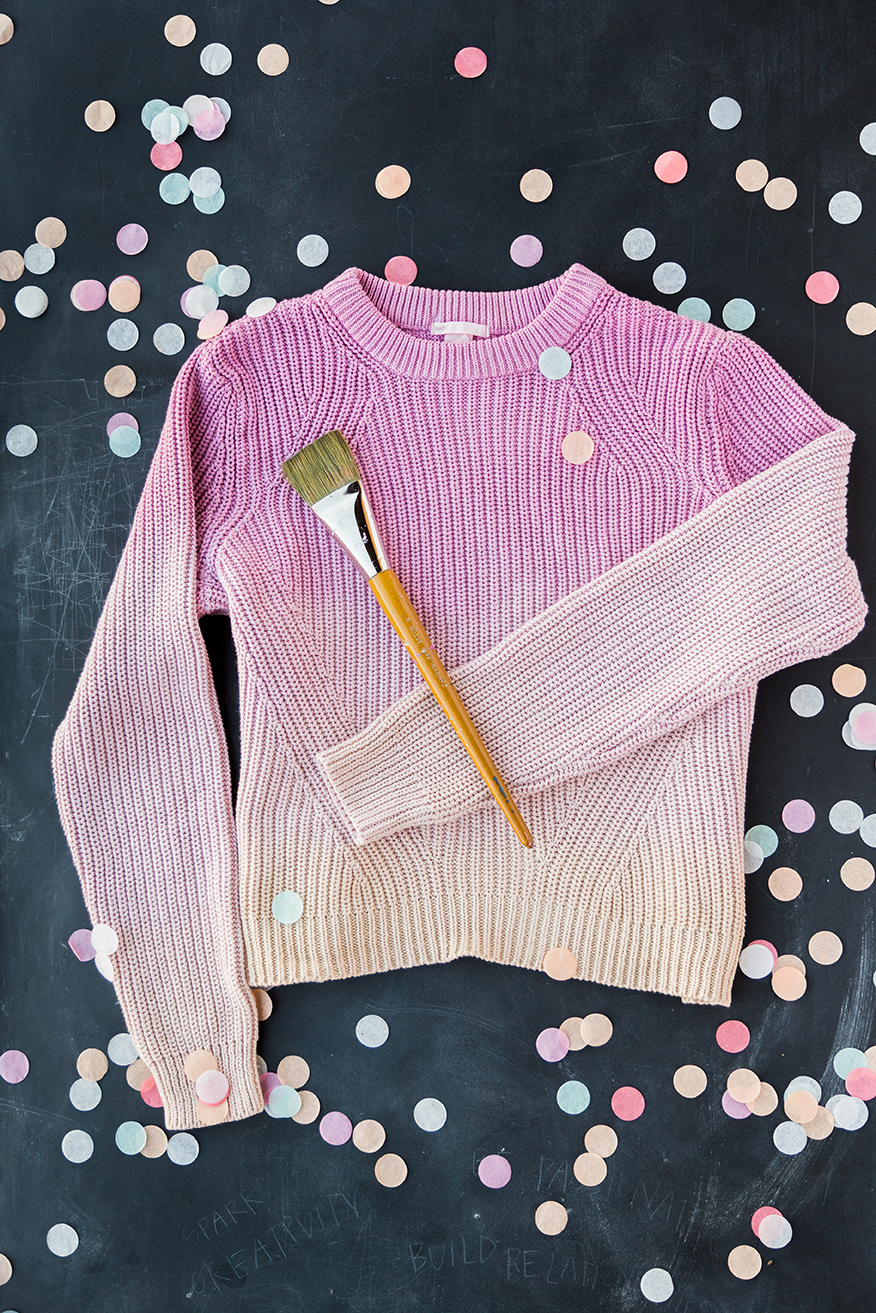
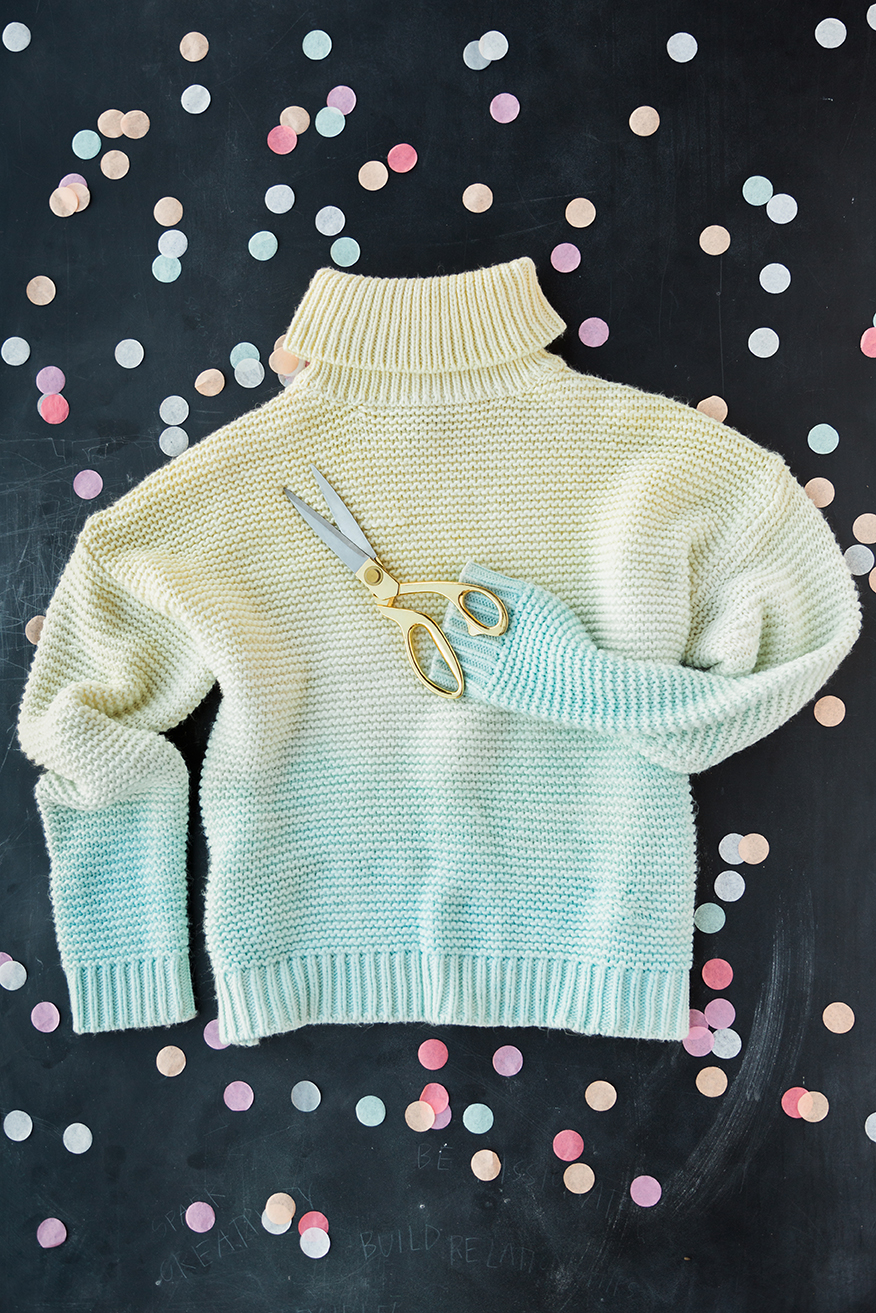
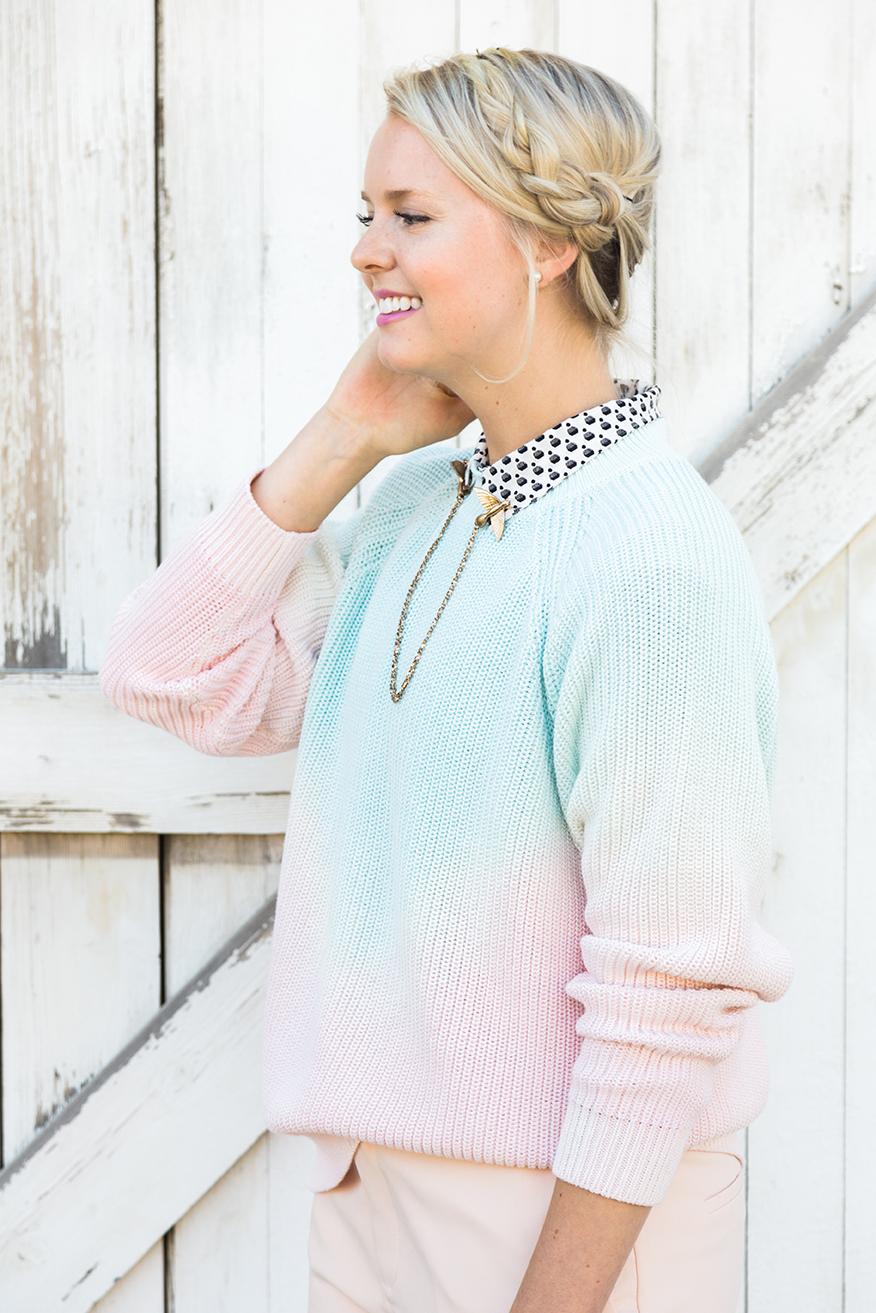
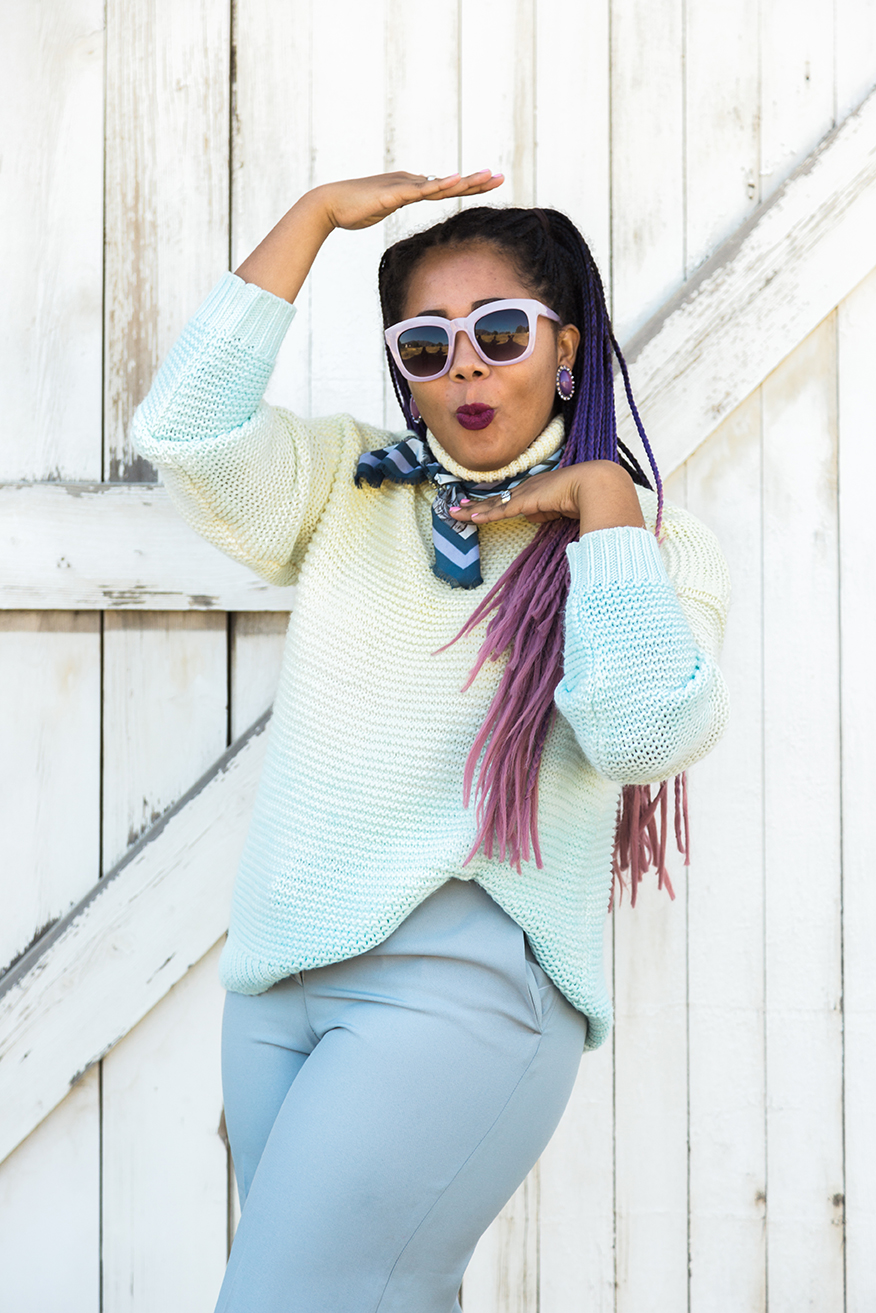
DIY dip dye sweaters
-
Dye appropriate for the fiber content of your sweater- I like using liquid dye for ease of custom color mixingSalt OR white vinegar depending on the fiber content of your sweater, or other additives suggested by dye manufacture
Large plastic tub (that you don’t mind possibly staining)
Rubber gloves
Plastic sheeting to protect work surfacesPaper towels etc. for cleanup
-
Prewash sweater according to manufacturer instructions, to remove any finishes and to dampen sweater. Leave sweater wet.
2. Protect work surfaces with plastic. Any accidental splashes that occur on surfaces should be quickly cleaned up using bleach.
3. Mix dye and any additives needed for your fiber in plastic tub, according to the dye manufacturers directions. I prefer using liquid dyes and customizing the colors by mixing two or more. RIT has a menu of colors on their website, but keep in mind color recipes will look different on different fibers and depending on the original color of your sweater. I like to mix my colors and then test on a small, non-visible area such as the inside hem, and adjust as necessary. You can also dip a piece of paper towel to test the color. Keep in mind that the more diluted the dye is, the lighter the color will be. For this look, it’s better to start with lighter colors. You can always add more dye if you’d like to darken things up, but once it’s dark, it’s hard to go back!
4. Using gloved hands, Place the desired section of your damp sweater into the dye bath. Keep in mind that the longer you leave it in, the darker the color will be and vice versa. For an ombre effect, quickly dip the desired section, and then pull out slightly, letting the remaining section sit longer to achieve a color gradient.
5. When desired color is reached, gently wring out the excess dye. Then, I like to hang the sweater for a few minutes with the dyed side up and let the color bleed down onto the undyed portion, to give the color a softer edge, but that is optional. Rinse sweater in warm water until water runs clear.
6. Repeat steps 3-5 for any additional colors. Clean your plastic tub thoroughly if reusing. Keep in mind that leaving a small space between 2 colors on your sweater, will allow them to naturally bleed together and create additional lovely shades. Consider this when choosing dyes.
7. After final rinse, Give sweater a wash in method, either by itself or with an old towel. Gently reshape sweater and lay flat to dry.
Photography by Anna Killian | Crafting by Danielle Wilson | Styled by Aliza Wride | Art directed by Brittany Jepsen
This post is sponsored by method. However, all content presented in this post represents my own opinions. Thanks for supporting the brands that keep Lars thriving!



Comments