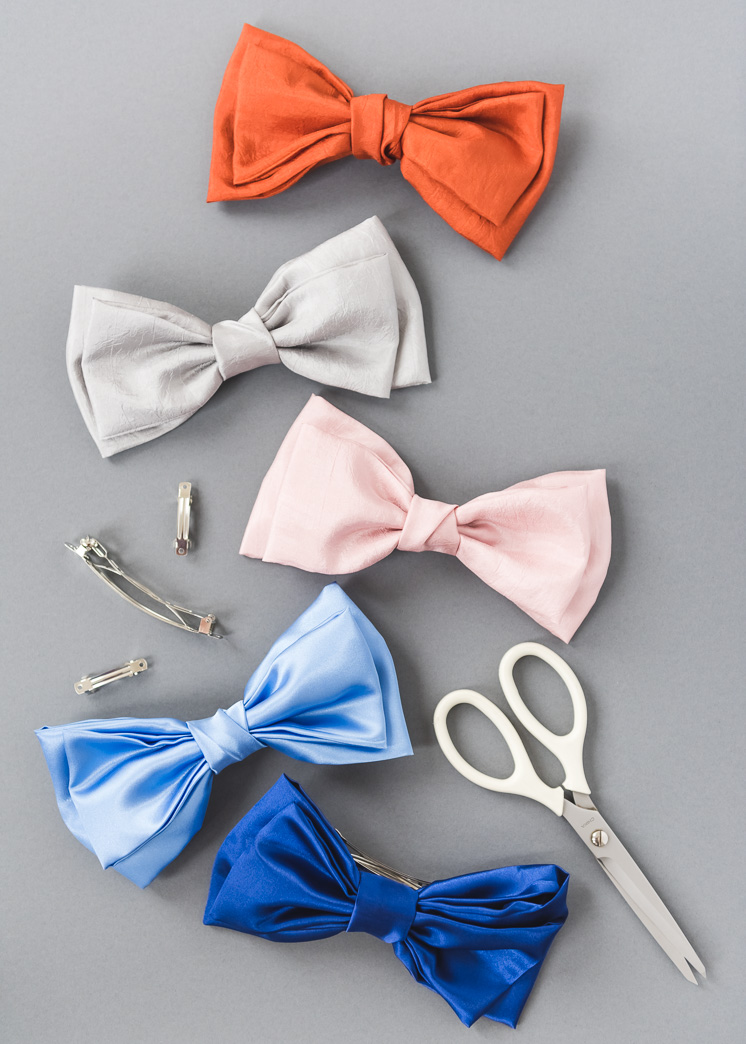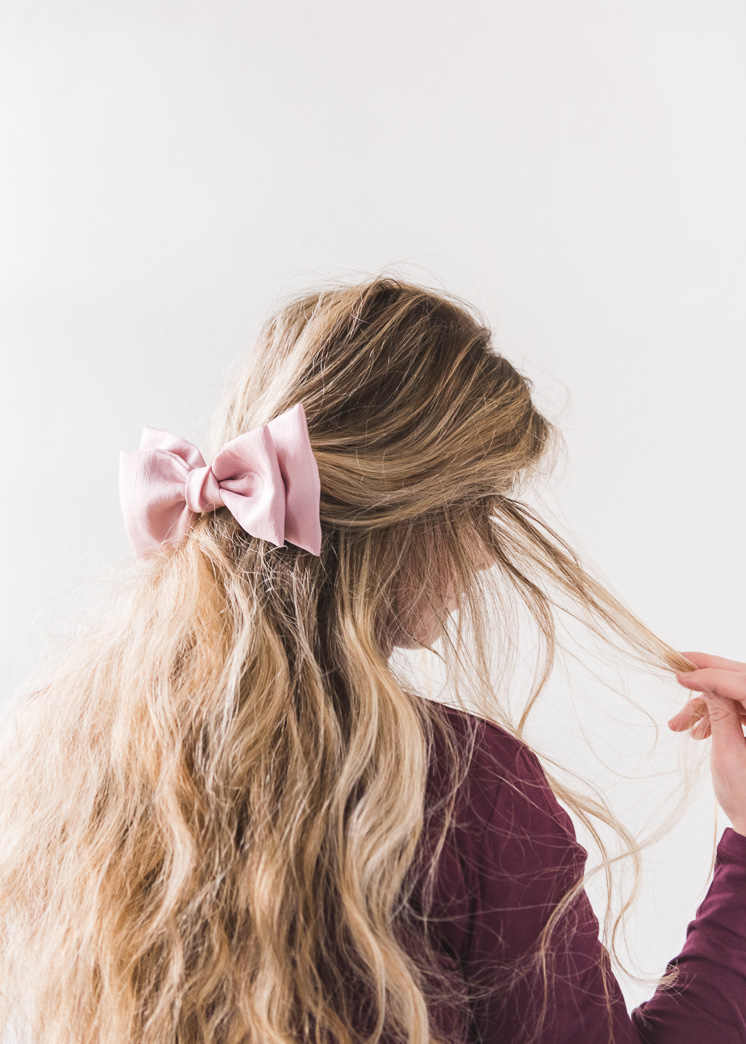

 DIY Silk Hair Bows
Materials:
- 1/4 yard of silk, or silk-like fabric, for each hairbow
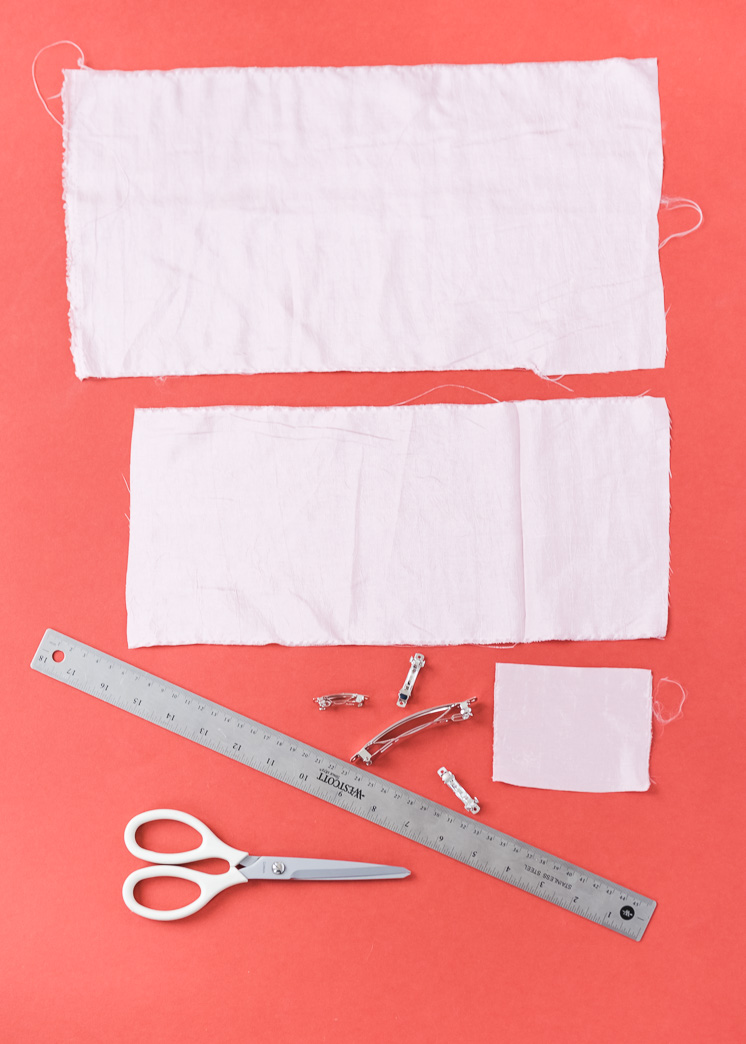
- Scissors
- Sewing machine or fabric glue
- Spool of thread (you need this whether or not you’re sewing)
- Hot glue gun
- Hair barrettes
- Iron
Instructions:
- With your silk, cut out three pieces: (Piece 1) 16.5 inches by 8.5 inches, (Piece 2) 14.5 inches by 6.5 inches, (Piece 3) 3 inches by 4 inches.
- For all three pieces, fold in half lengthwise (so 8.5 turns into 4.25, 6.5 turns into 3.25, and 4 turns into 2) and sew/glue the two edges together with a 1/4-inch seam allowance to create a tube.
- Iron the seam allowances open, and flip the tubes side out. Set small rectangle aside.
- For the two larger pieces, fold in half widthwise so the sides with the seams are facing out, and sew/glue the edges together.
- Flip inside out, so all the seams should be on the inside.
- Layer the smaller rectangle on top of the larger one, centering the smaller one directly on top.
- Pinch the middle of the 2 rectangles to create the middle of the bow. Try to make small pleats leading to the center.
- Wrap some thread around the center a few times and secure with a knot.
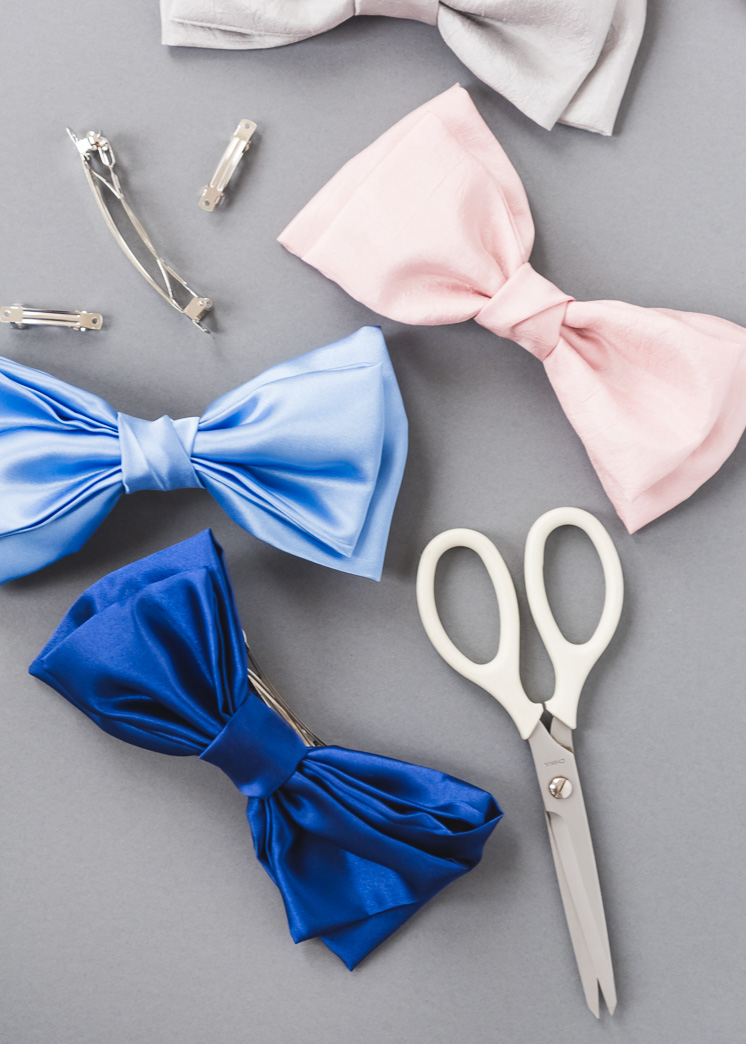
- Take your small silk rectangle and wrap around the center of the bow, twisting slightly and securing with hot glue at the back. Fold under the raw edge before you glue to keep the fabric from fraying.
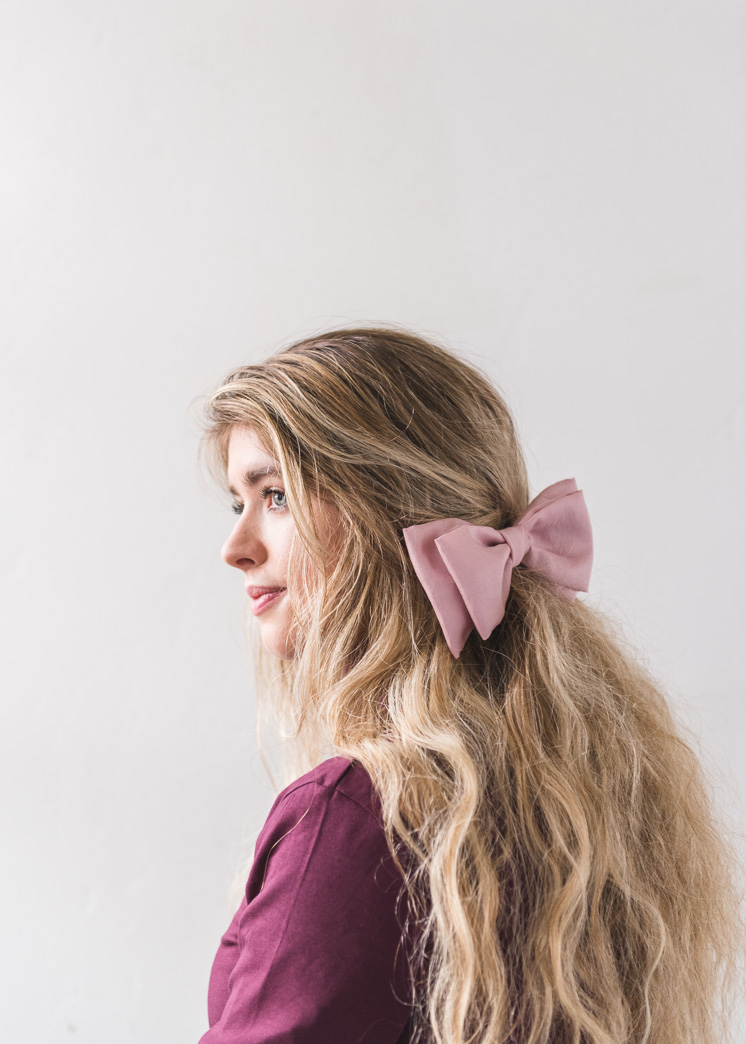
- Hot glue a hair barrette onto the back.
And if you don’t want to make it, here are some places to purchase them!
Photography by Jane Merritt | Crafting by Rebecca Hansen


