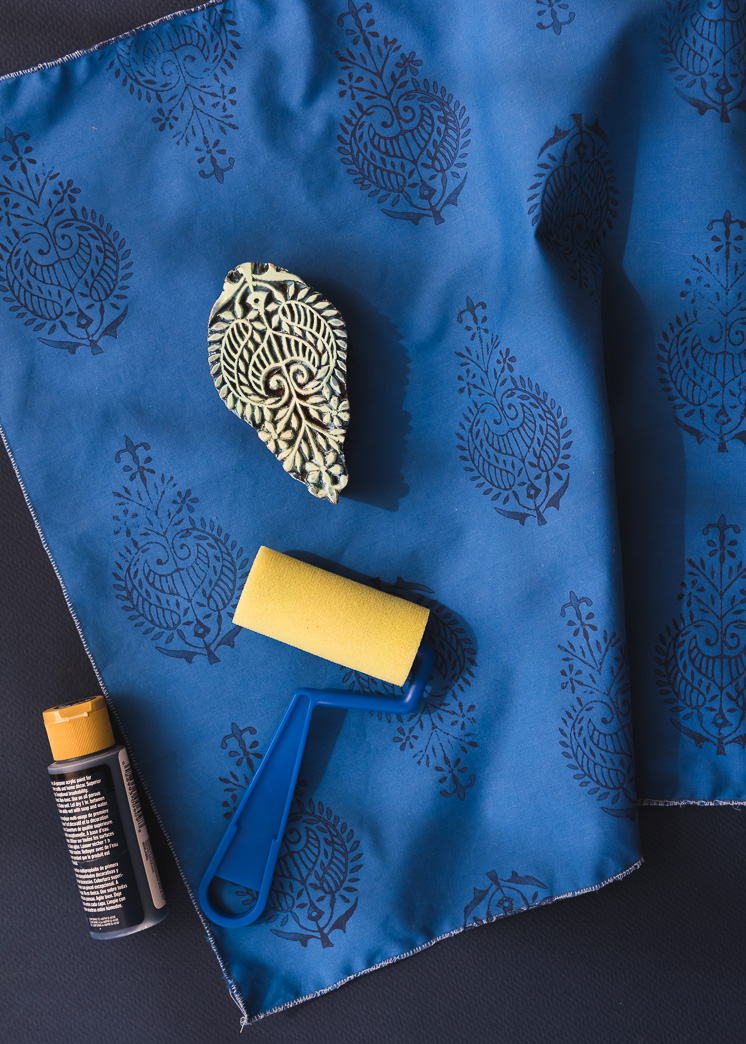
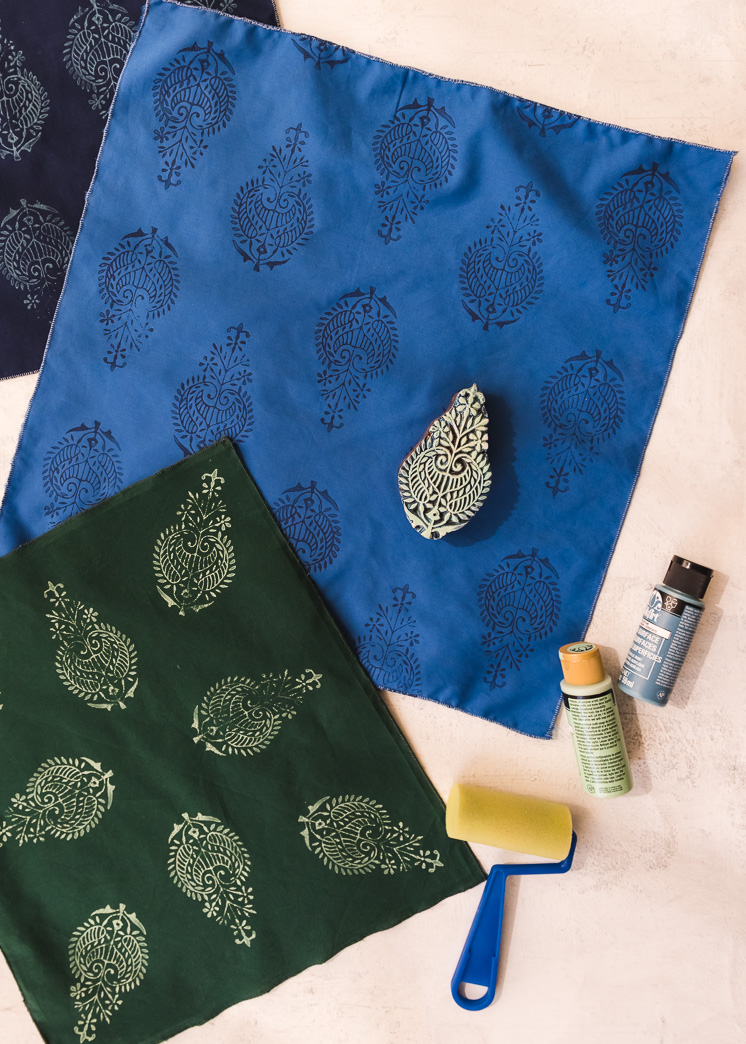
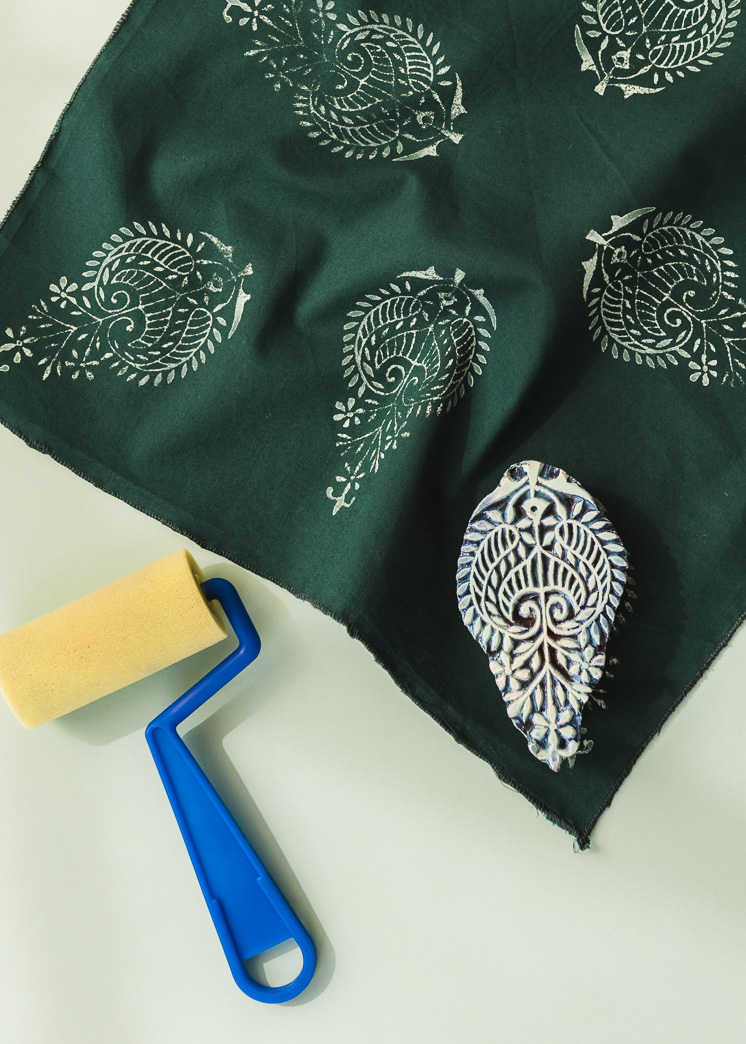
Are you familiar with Indian Block Printing? If you’re not sure, chances are you’d recognize it if you saw it. I absolutely love the look and have been searching for Indian block printed everything lately. From curtains to dresses to bedding, it’s such a versatile look and there are countless design options. We wanted to try our hand at the technique, and though we’ve simplified the process quite a bit, we’re thrilled with the end result! We also discovered that there is a treasure trove of Indian blocks available for purchase on Etsy at a reasonable price. This is a great technique to use on items that need a little refreshing: think tea towels or scarves, or you can try it on a piece of fabric and transform it into anything!
Follow the steps and try your hand at DIY Indian Block Printing!
DIY Indian Block Printing
Materials:
- Fabric of your choice
- Fabric or All-Purpose acrylic paint
- Small foam roller or sponge
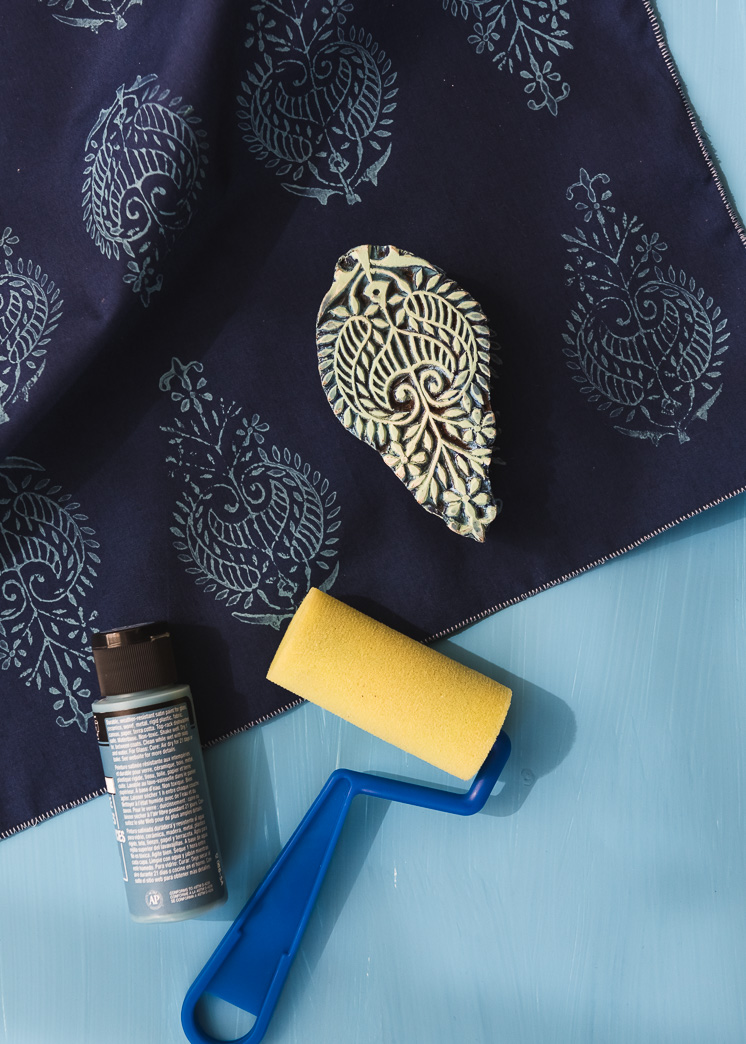
- Indian Block
- Iron and ironing board
Instructions:
- Prepare your fabric by pre-washing and ironing. We created neckerchiefs by cutting fabric squares and finishing off the edges.
- Roll your sponge or roller generously in the paint and roll evenly onto the Indian block.
- Place the stamp firmly onto the fabric and press down evenly along the stamp surface to ensure the paint is transferred to the fabric. You may use a mallet or hammer to help.
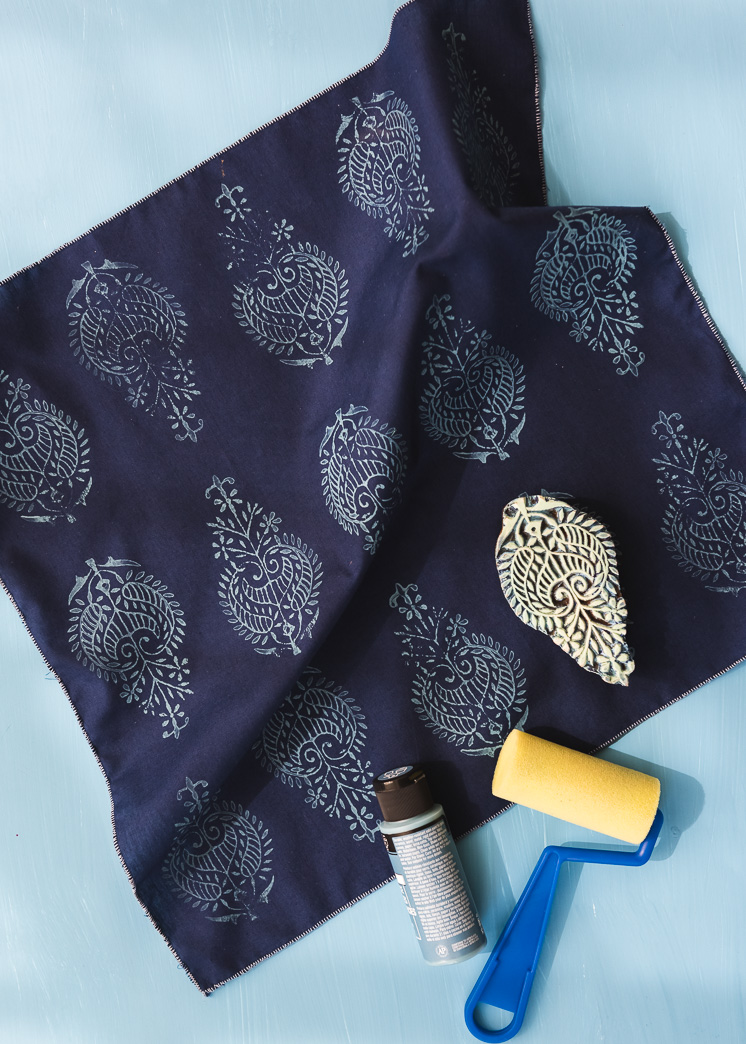
- Continue steps 2-3 for the rest of the fabric to create your desired pattern.
- Once you’ve completed your pattern and it has had time to dry, heat set the paint with your iron, using a press cloth to make sure it the ink won’t transfer.
Now enjoy your new Indian block printed creations and share with us your designs by tagging @houselarsbuilt!
Photography by Jane Merritt | Crafting by Rebecca Hansen





Comments