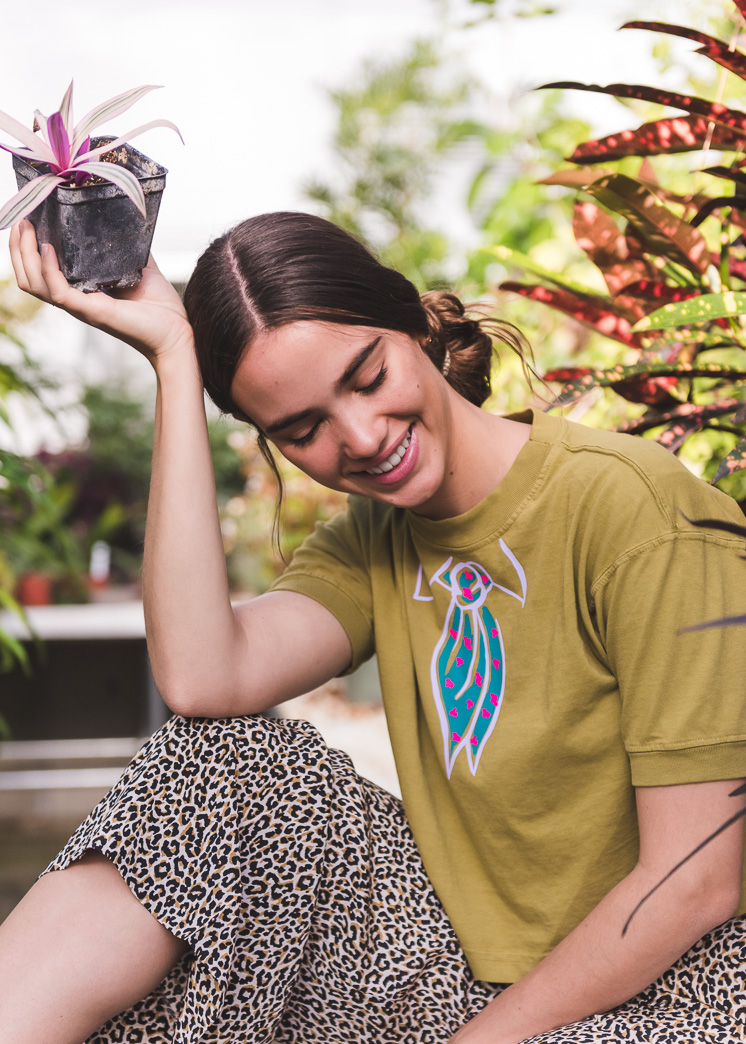
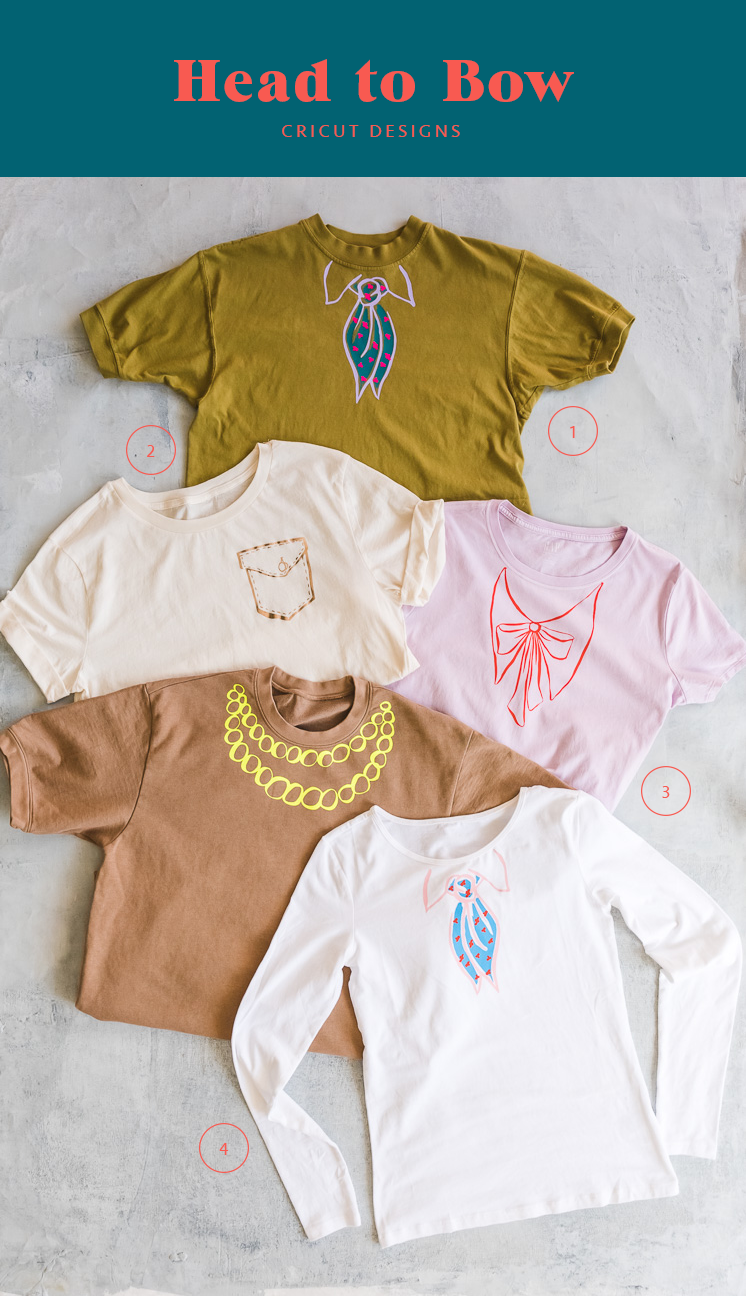
 Are you familiar with Trompe-l’oeil? It means “deceive the eye” in French for those linguists out there. It’s a technique that makes a painting or design appear three-dimensional through optical illusion. The technique originated in the Baroque period and it’s still going strong today! When brainstorming our second T-shirt (If you missed our Matisse T-shirt line, make sure you check it out), we wanted to create whimsical Trompe-l’oeil-inspired designs, and that’s what the ‘Fooled Ya! T-Shirt Collection’ is all about! No need to add too many additional accessories because these shirts include them for you, Take a look at all the designs and let us know which one is your favorite!
Take a look at all the styles and download the templates to make your own!
Shop the Look:
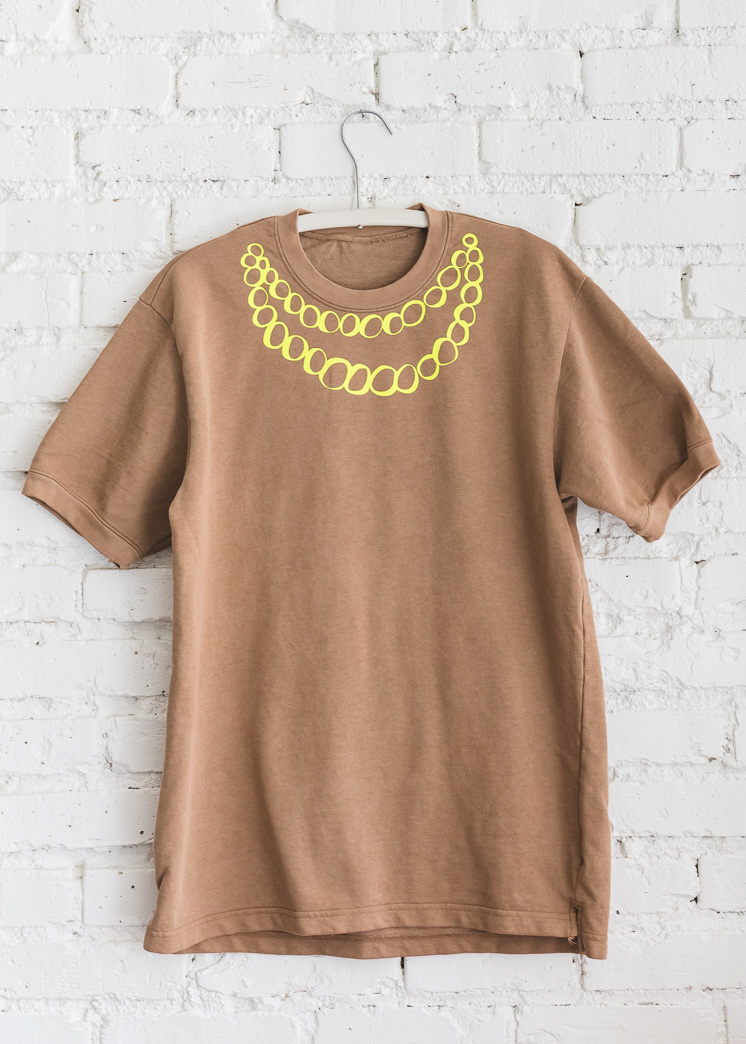
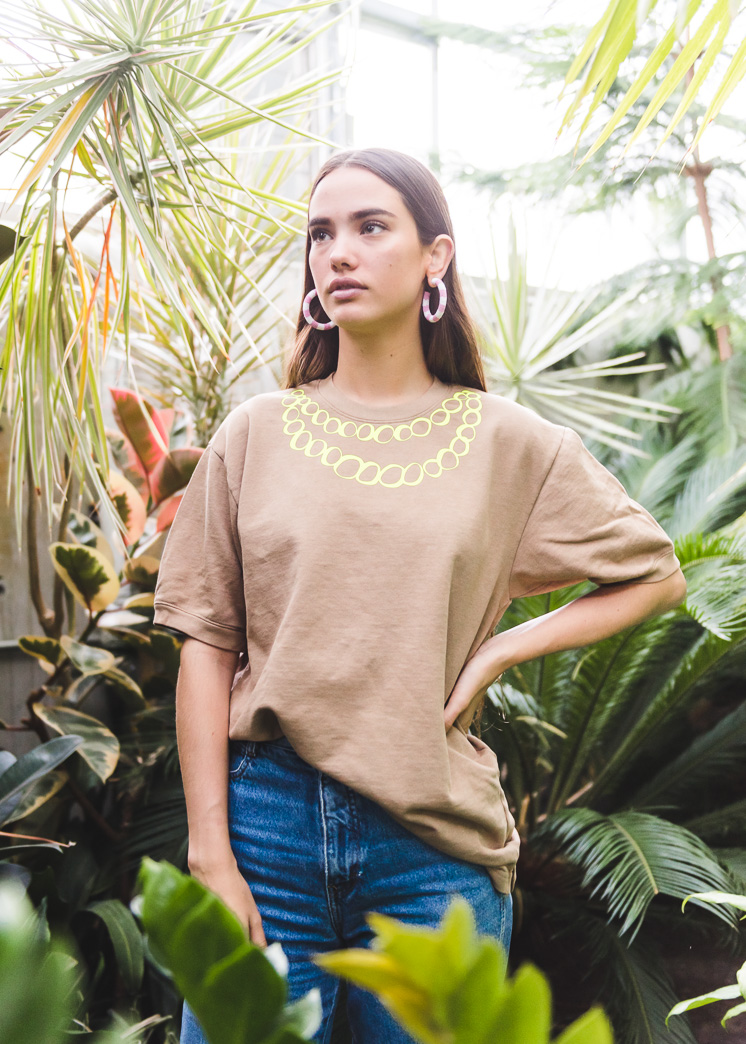
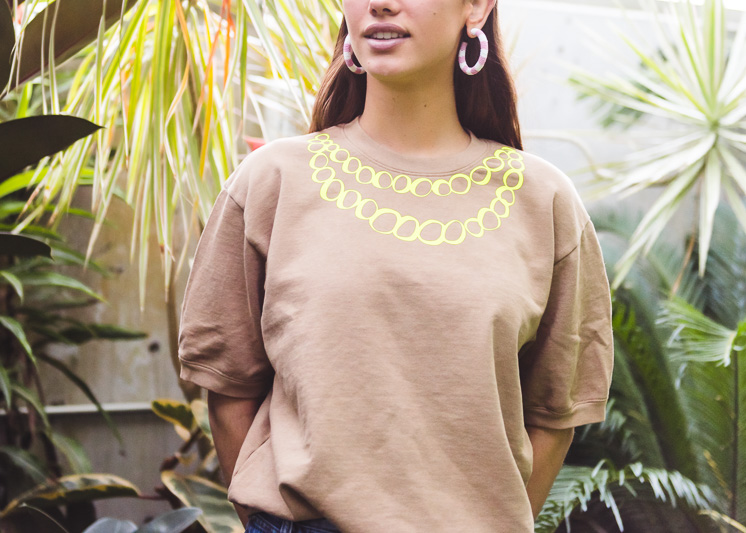
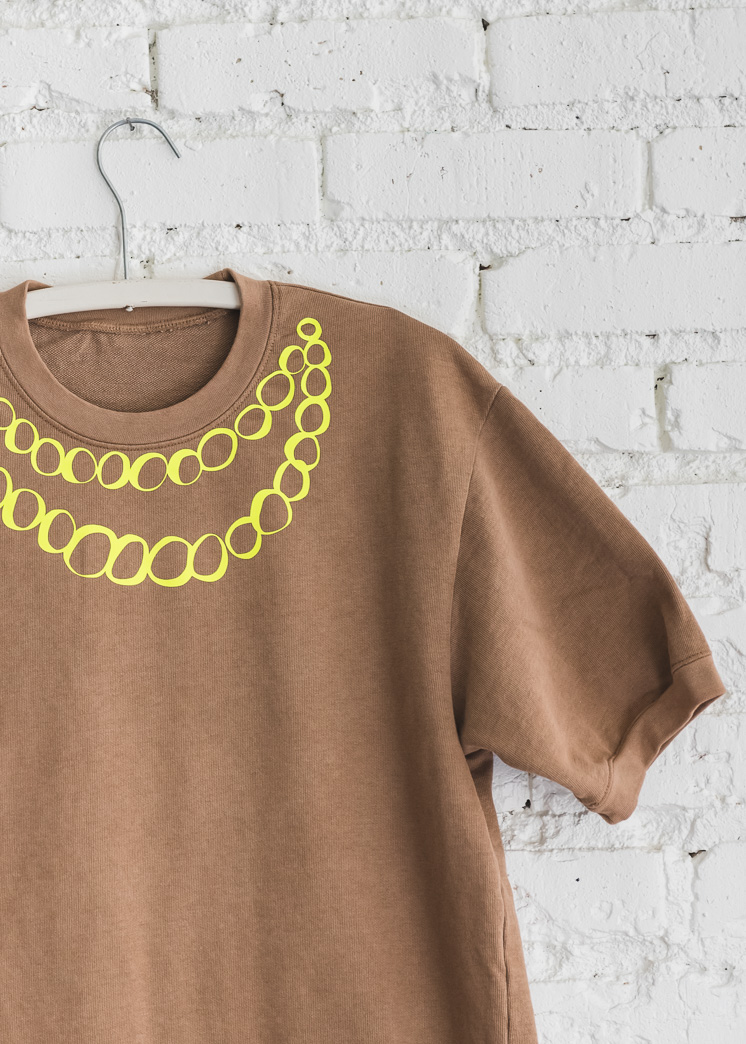
Pearls a plenty:
– SportFlex Iron-on in Fluorescent Yellow
Shop the Look:


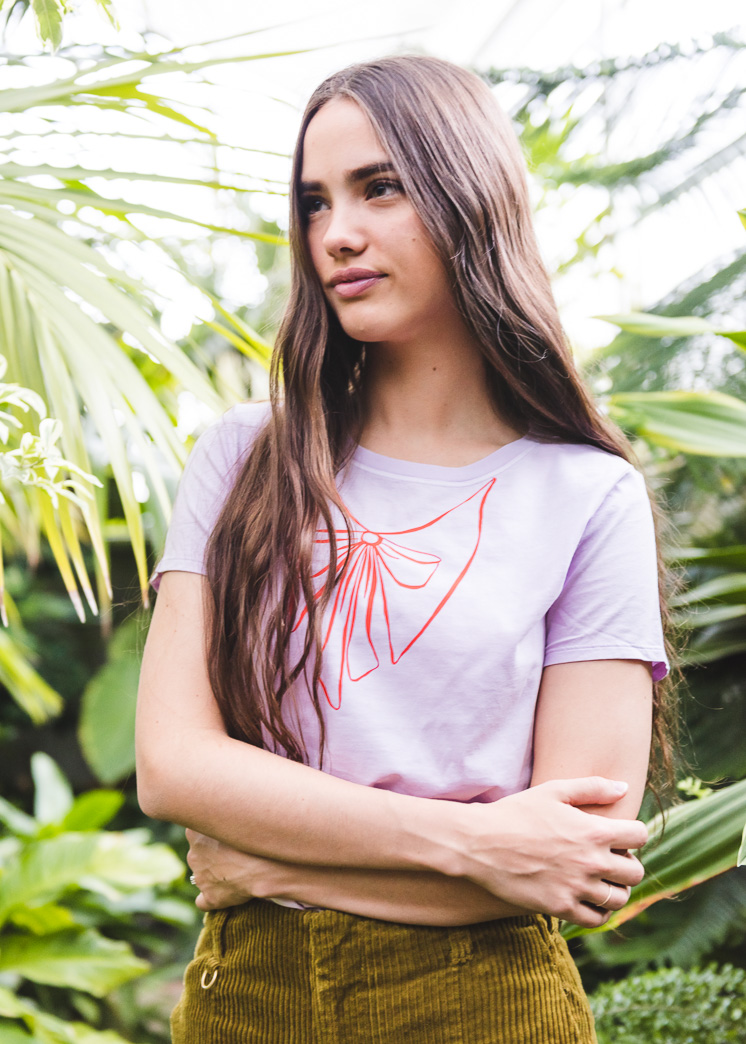
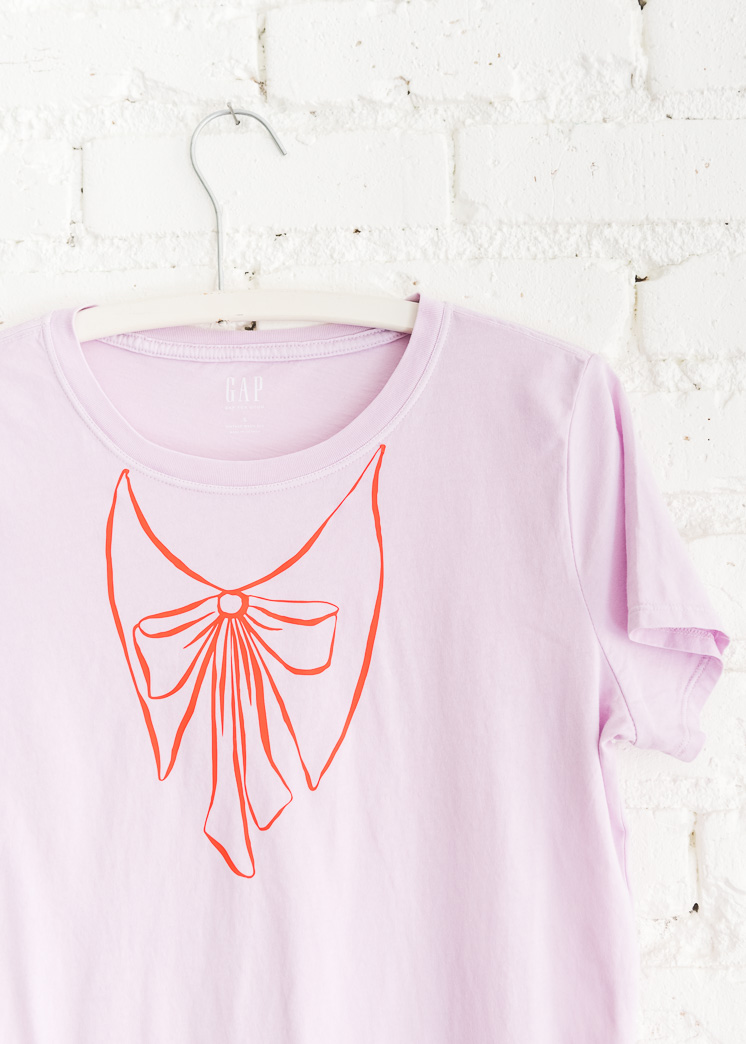
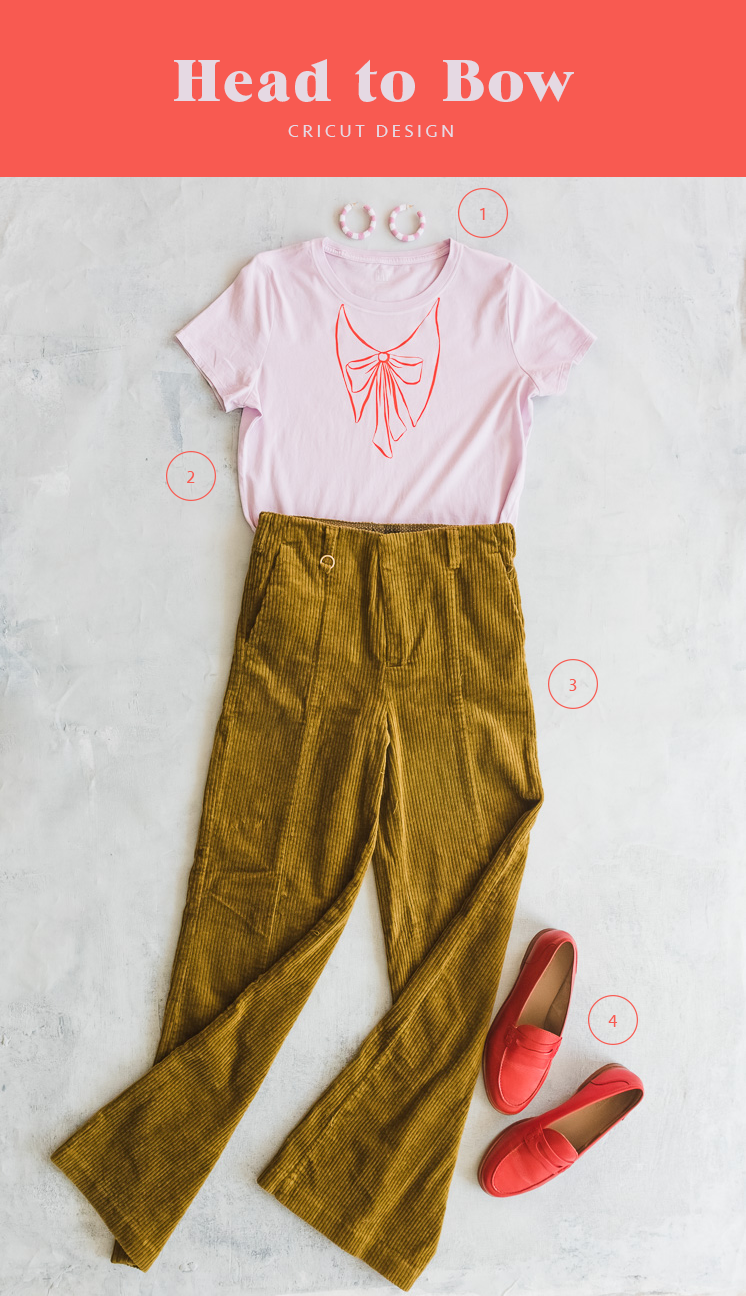
Head to Bow:
– SportFlex Iron-on in Fluorescent Orange
Shop the Look:
- Earrings
- T-shirt
- corduroy pants
- loafers
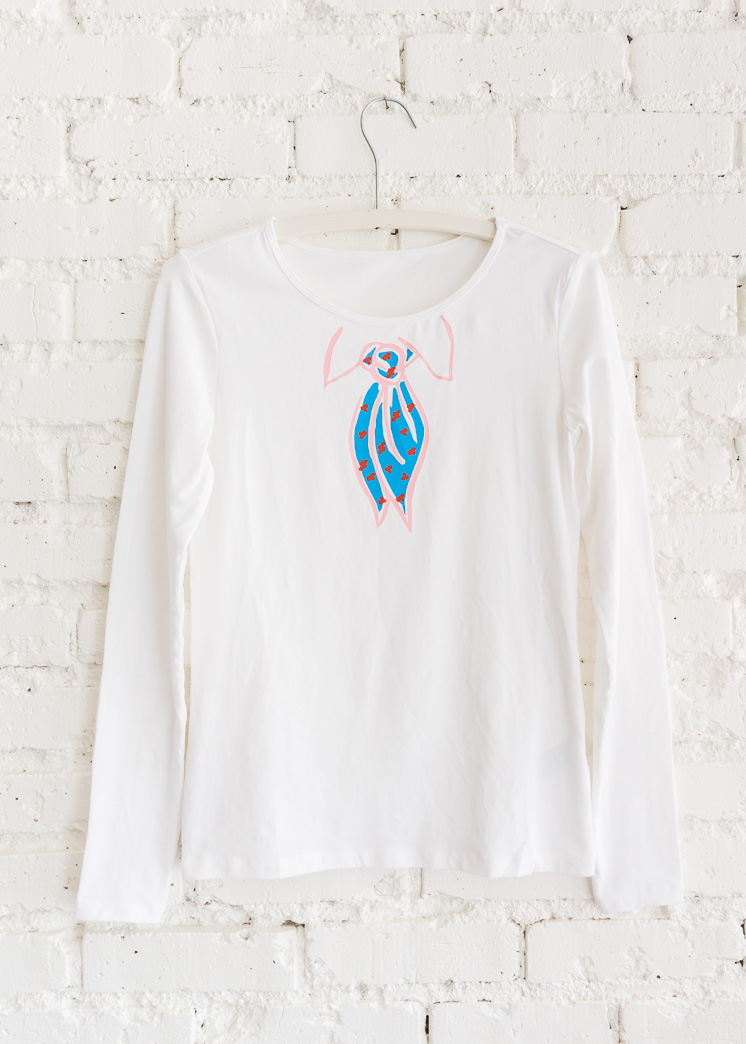
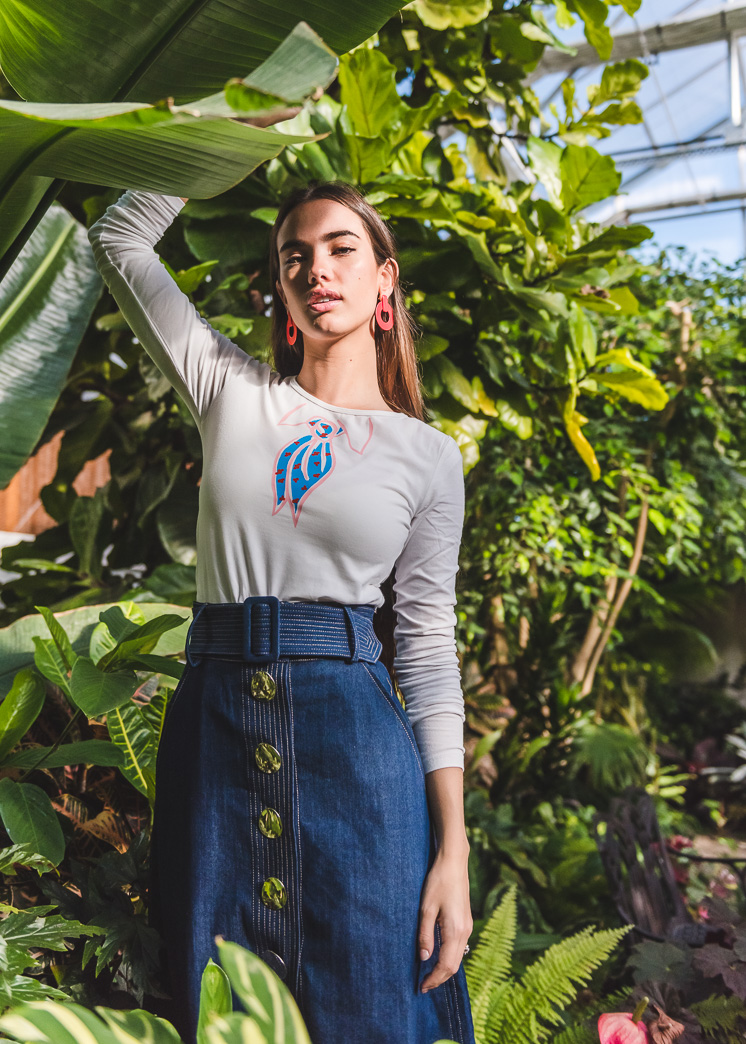
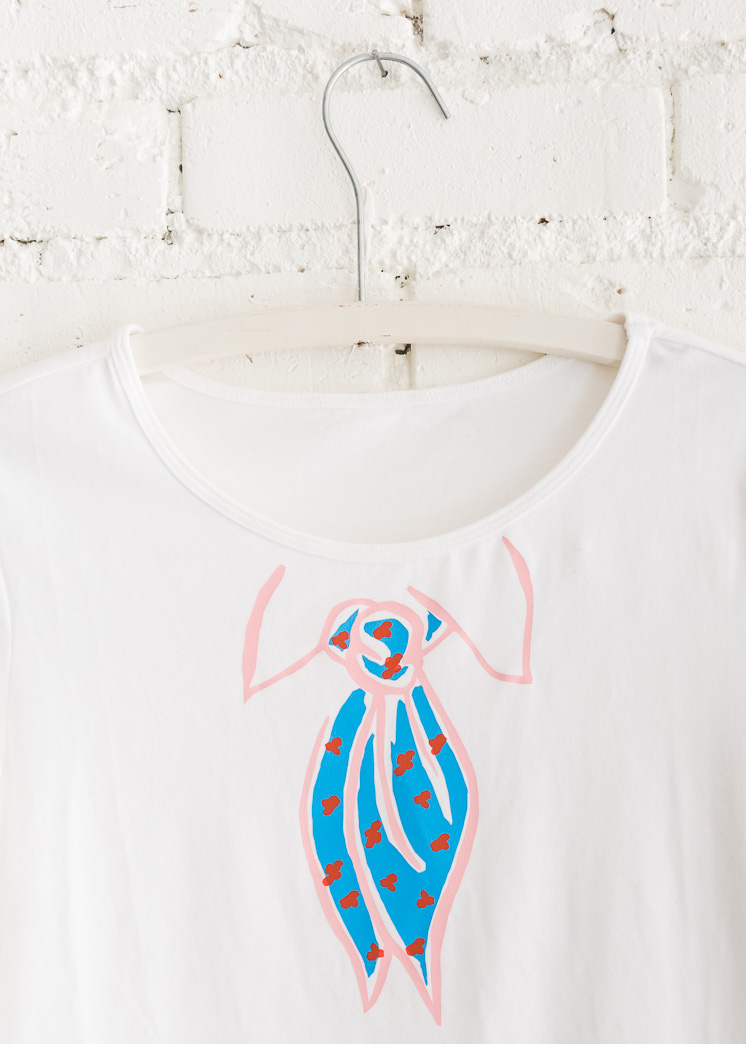
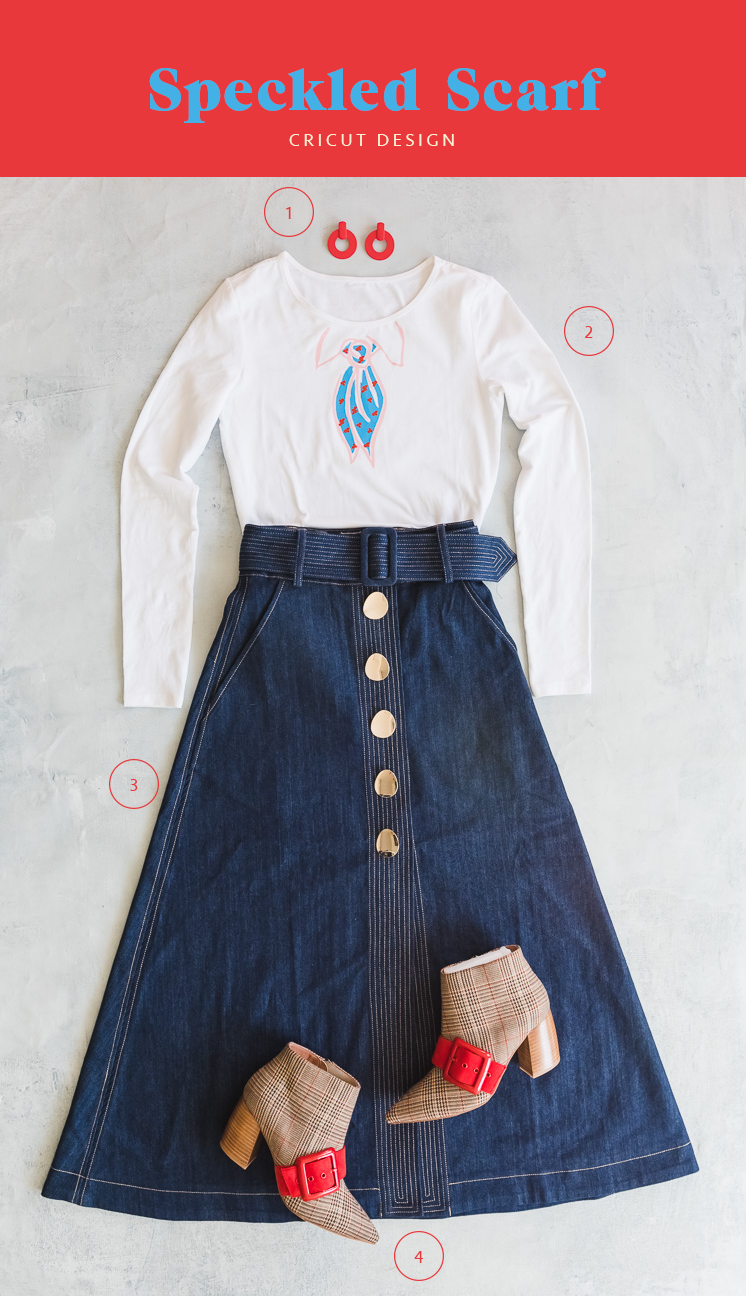
Speckled Scarf 1:
-Everyday Iron-on in Pink-Blush, Red, Sky Blue
Shop the Look:
- Earrings
- long sleeve t-shirt
- denim skirt
- tweed boots
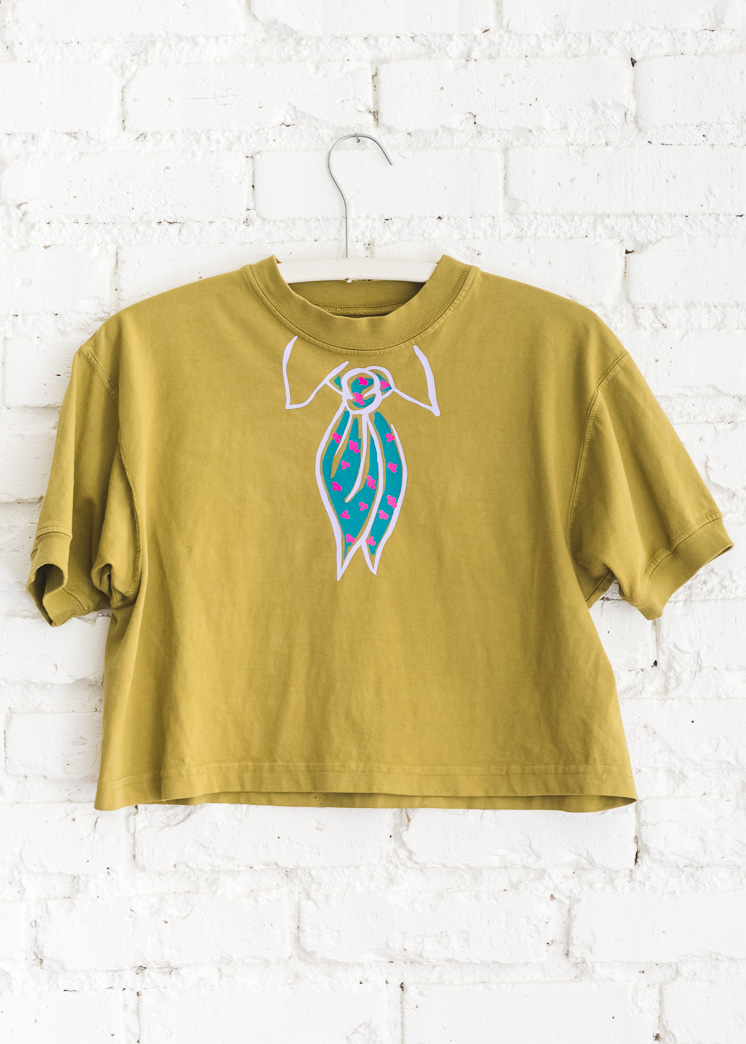
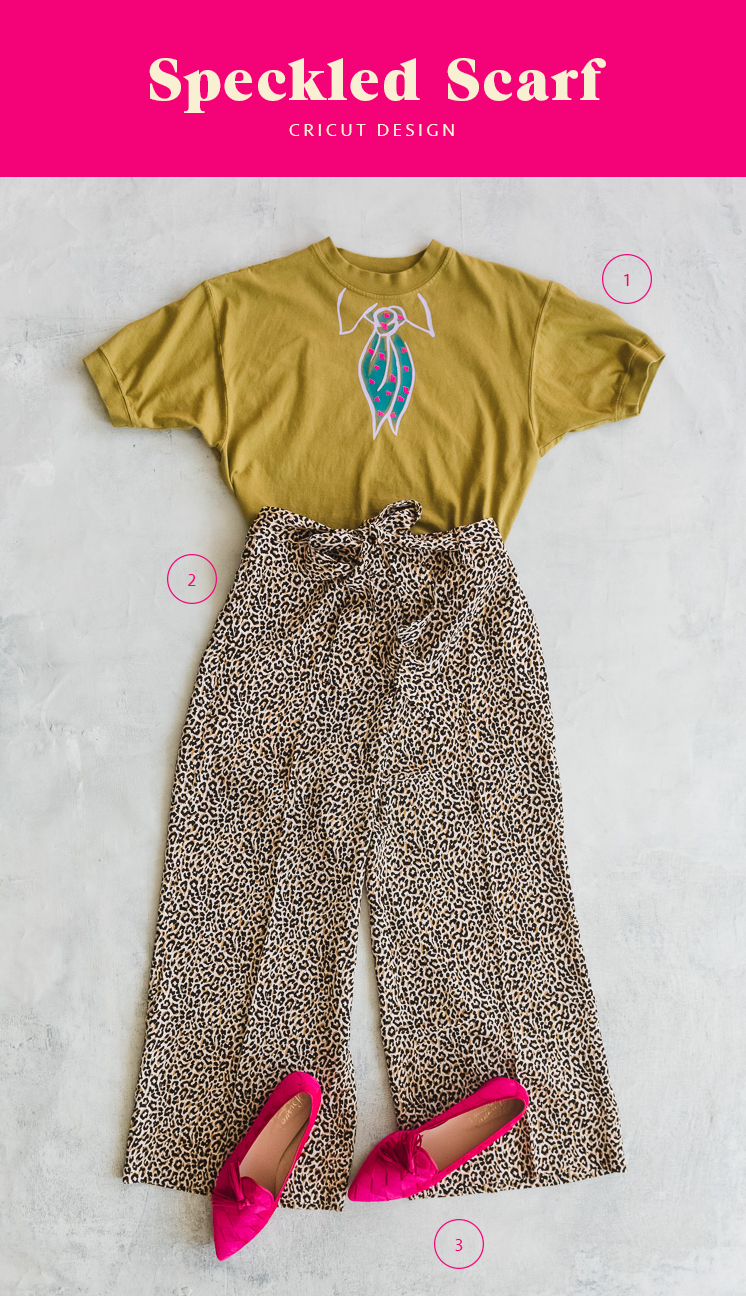
Speckled Scarf 2:
-Everyday Iron-on in Lilac, Fluorescent Pink, Teal
Shop the look
- t-shirt
- leopard pants
- shoes
Everything Else
- Cricut®12″ x 12″ LightGrip Adhesive Cutting Mat
- Cricut EasyPress™, or iron and press cloth
- Cricut EasyPress Mat™, or ironing board
- Cricut® Tools Weeder
- T-Shirt
- French Terry Crewneck T-shirt we used for the pearls. The specific color we used is no longer available but they have some other fun options!
- Vintage Short Sleeve Crewneck T-shirt in Freesia for the Bow
- Modern Long Sleeve Crewneck T-Shirt in White for the necktie
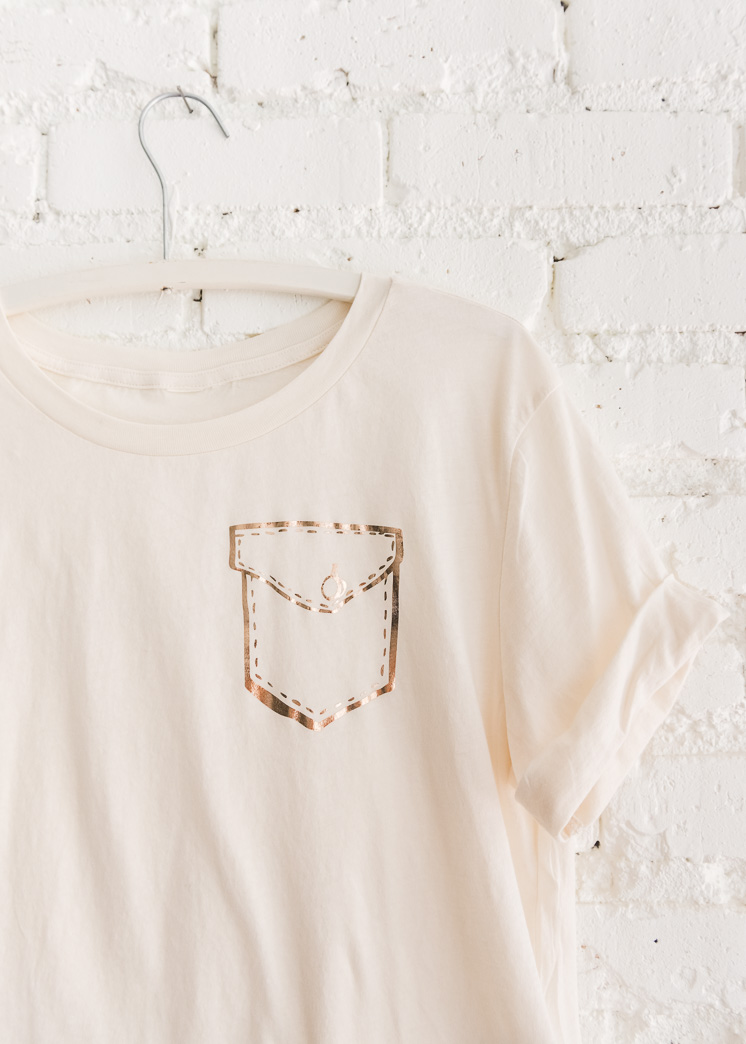
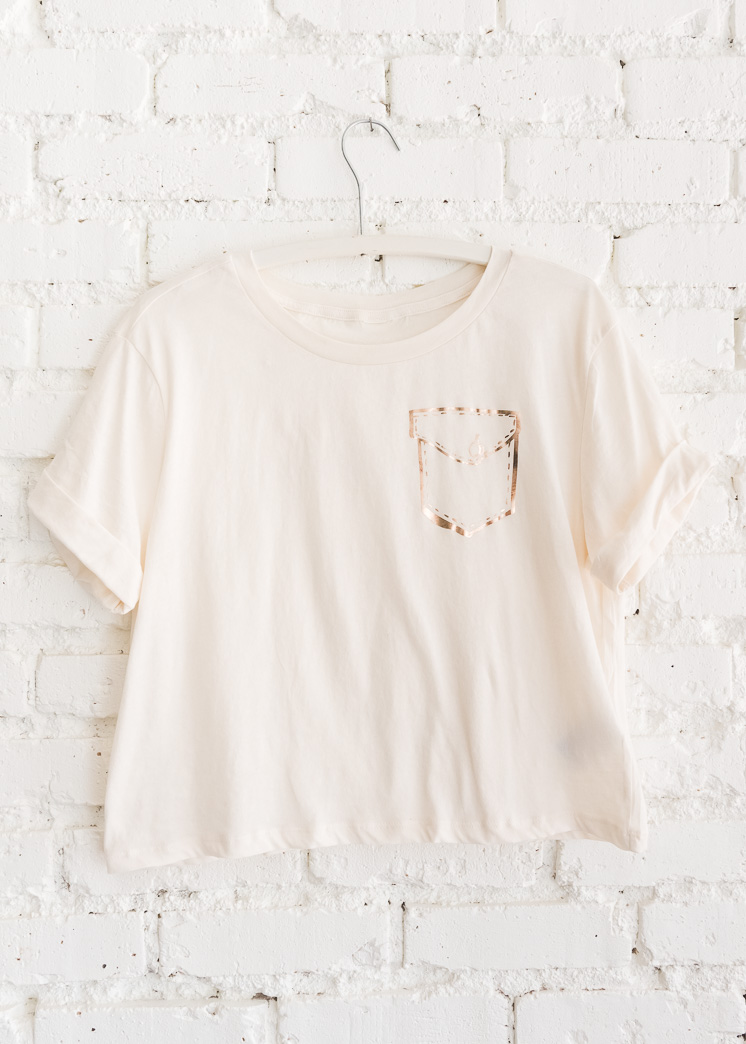
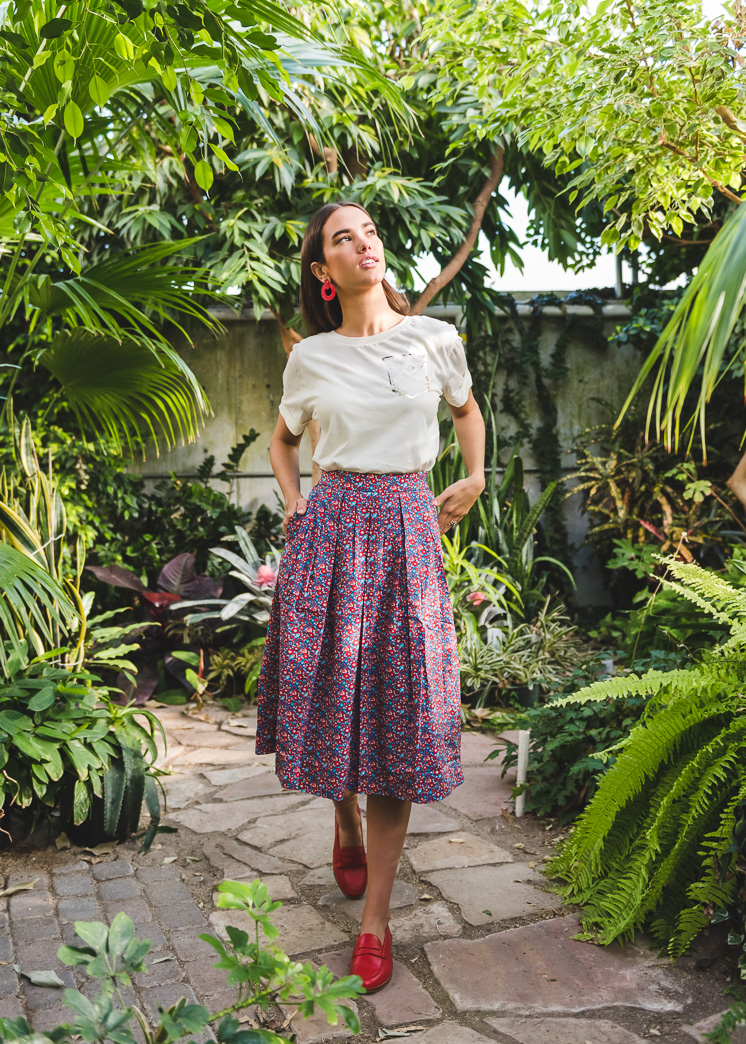
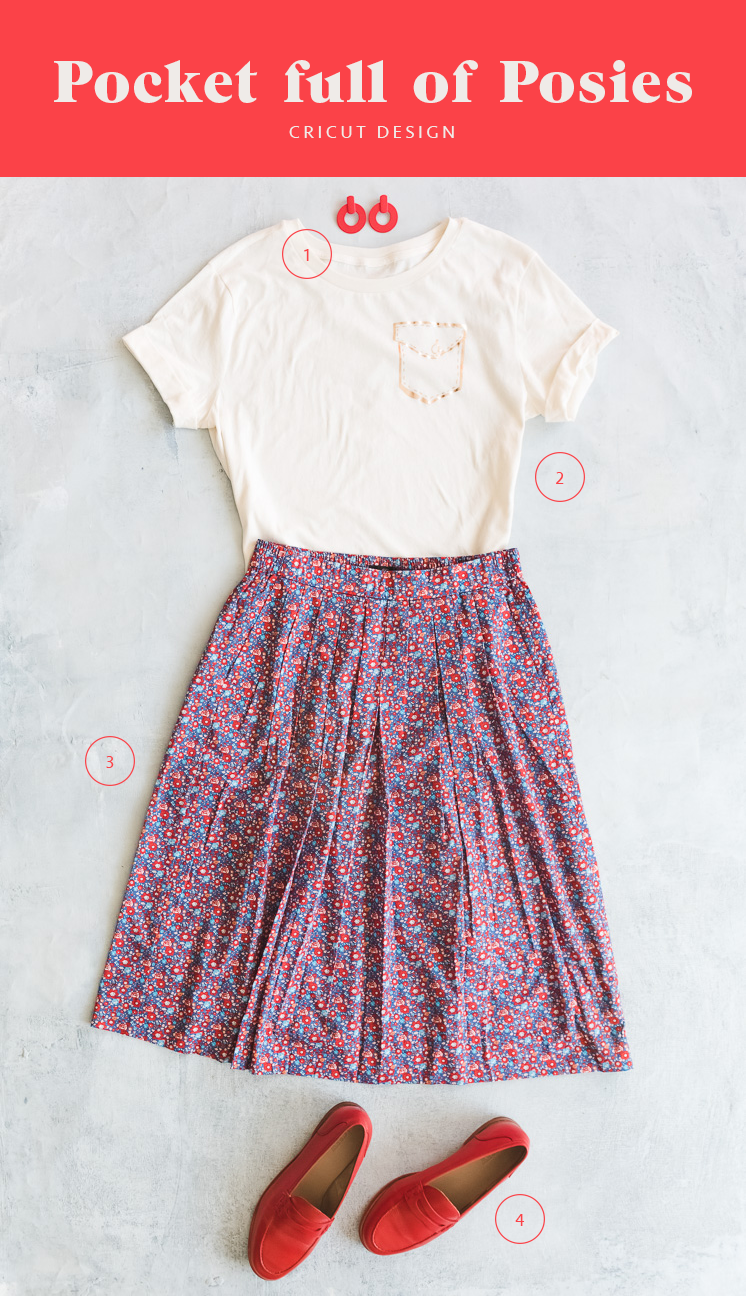
- Wide-cut T-shirt in Natural White for the gold pocket
- Urban Renewal Remnants Crew-Neck Cropped Tee in Green for the second version of the necktie
Preparation
- If you need to adjust the dimensions click Customize to open the project canvas. Resize the image in the Edit tab before clicking Make It.
Cut
- Follow the prompts in Design Space® to cut the images from the iron-on.
- Make sure to use the correct setting for the materials being cut.
Remember! When cutting iron-on be sure to click ‘mirror’ for each iron-on layer before cutting.
Assemble
- Use a weeder tool to remove the negative spaces from the iron-on liner. Leave the pieces of the design on the plastic backer.
- Apply the iron-on to your project using a Cricut EasyPress™, or an iron and a press cloth.
- Preheat the area of the shirt where design is being placed.
- Align and place the design on shirt and heat for the designated time, turn shirt over and heat the back side briefly.
- Wait for liner and shirt to cool then slowly peel away from the shirt.
Voila! Your wardrobe just got a major facelift.
This was a post sponsored by Cricut. Thank you for supporting the companies that allow us to create fun original content!
Photography by Jane Merritt | Modeling by Tiffany Blake
This is a sponsored conversation written by me on behalf of Cricut. The opinions and text are all mine.









Comments