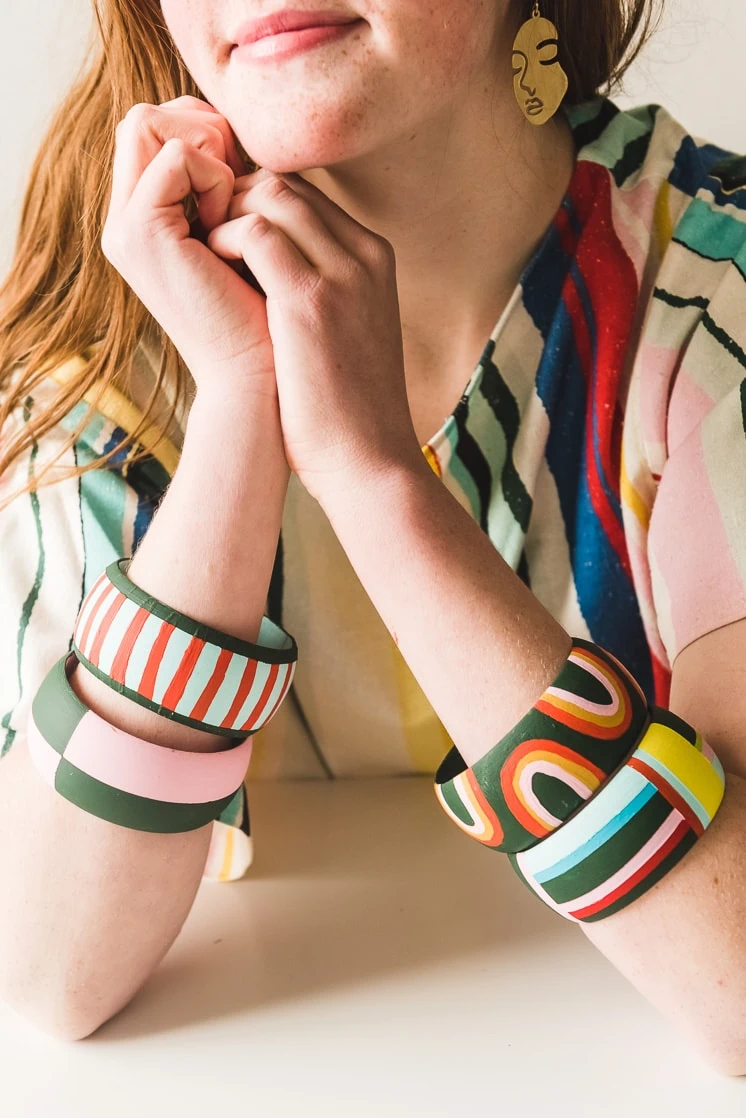
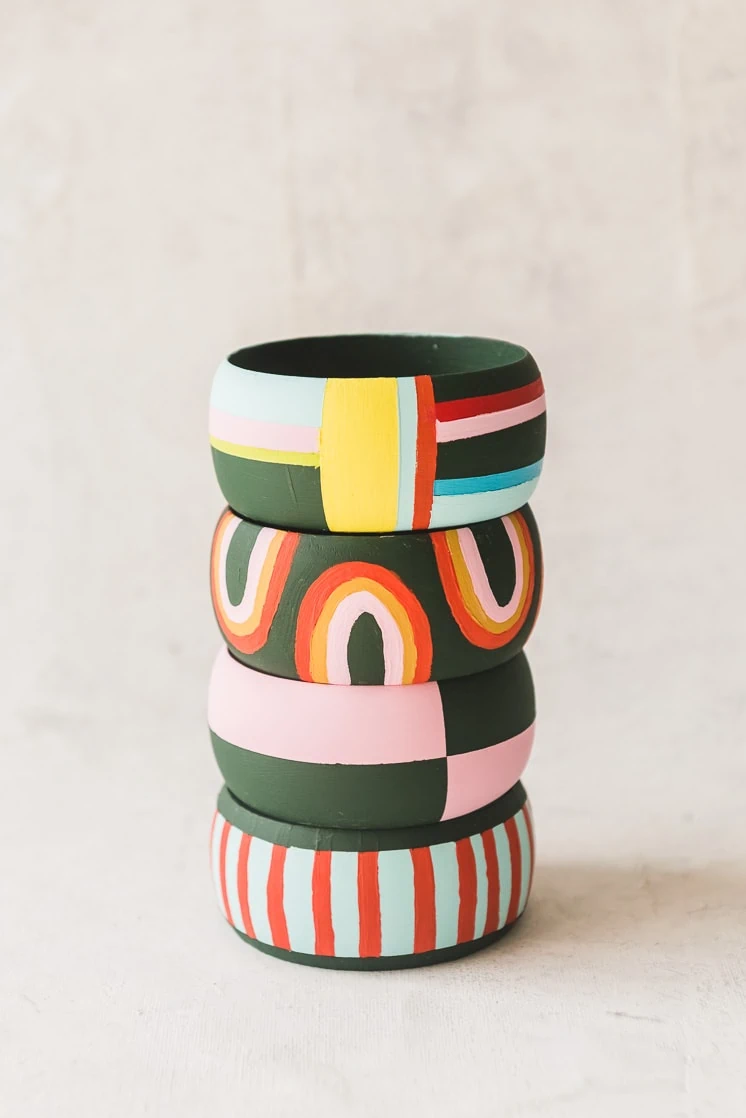
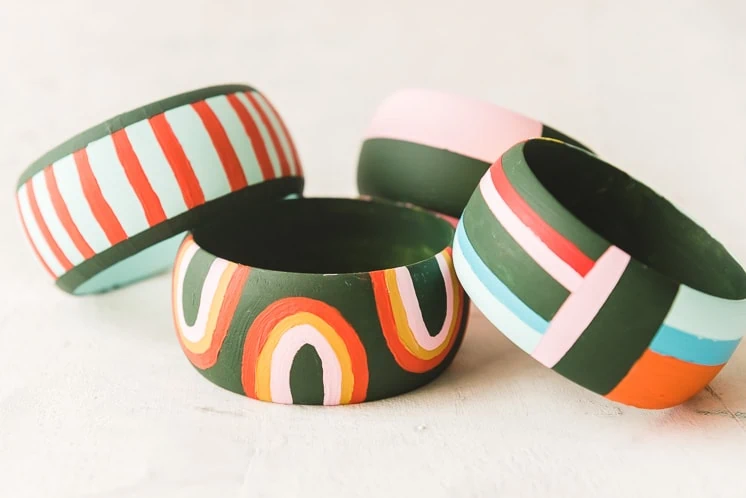
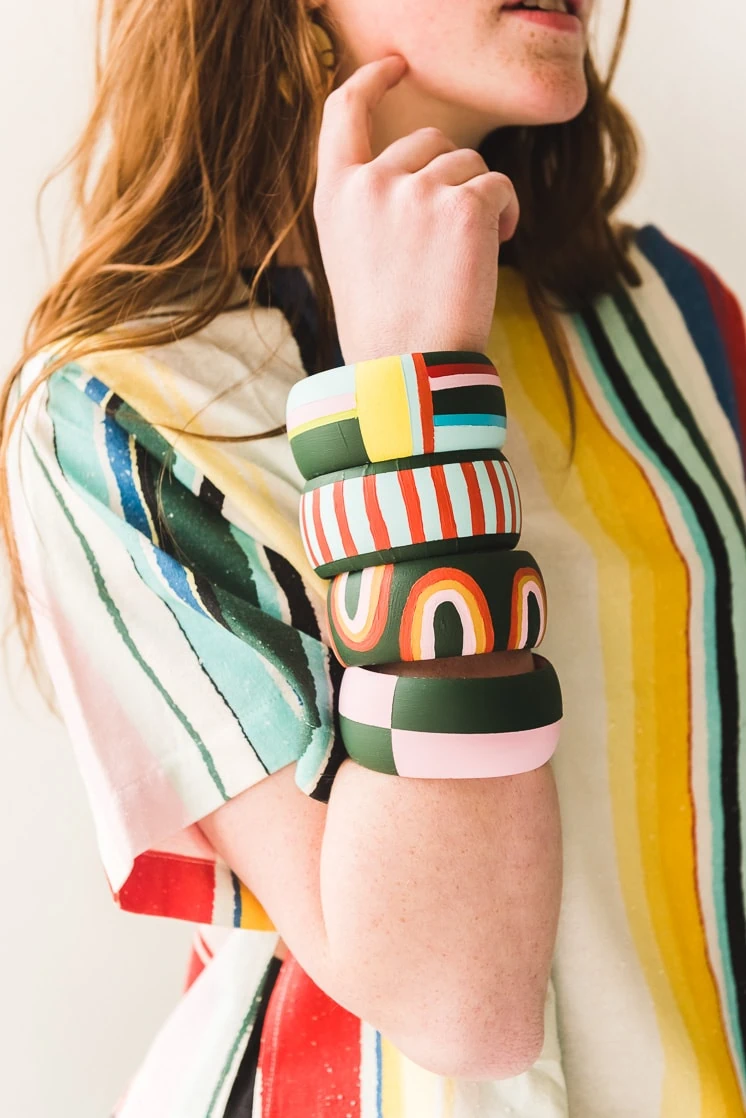
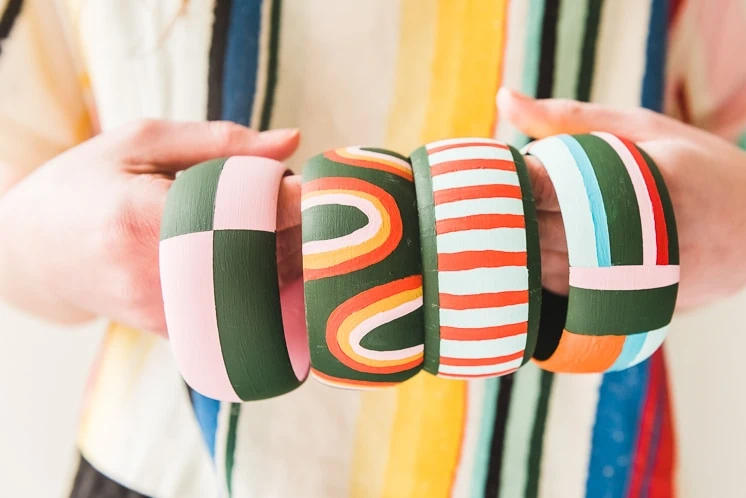
The season of rainbows continues! And this time it’s with some classy wood bangles. We found some blank wood bangles on Amazon (here) and thought they needed some color. We began creating these DIY Bangles for St. Patrick’s Day, but we think they are totally spring-worthy. And once we started we couldn’t stop–the more the better, right?! I LOVE how they turned out. We’ve got stripes, color-blocking, and of course, the obvious rainbows. Perfect for a punch of color here and there.
These bangles are so easy because all you have to do is paint. And the best part? You get to create the pattern and color scheme all on your own. The simple steps are below, so get to painting and have fun rocking your own colorful creation!
DIY Painted Wood Bangles
Materials
- wood bangles (four pack found here)
- acrylic paints (love this brand or this one)
- paint brushes
- painter’s tape
- stencil (for rainbow pattern)
Rainbow bangle
- Paint a base coat of dark green on the inside and outside of the bangle.
- Each one of these Rainbows is 1.5″ wide. Measure 1.5″ for each rainbow with a 1/3″ space. There will be six rainbows total, 3 upside down and 3 right side up.
- Once you have measured the distance between the rainbows draw the curves of your rainbow. Use the stencil to trace around the rainbow and paint onto the bangle.
- Once you have all the details stenciled in grab your paints and start painting. (We recommend you do one color at a time and allow it to dry before working on another ring of the rainbow)
Pink/green colorblocking
- Use painter’s tape to tape off the short-width center mark of the bracelet. Use the tape to mark off half of the bracelet going the other way. Paint it pink.
- Once it’s dry, add tape on top of the bracelets and paint in green.
Mini stripes
- Paint the bangle light blue. Let dry.
- Hand-paint on red stripes. Let dry.
- Use painter’s tape down the middle of the bangle and paint the edges dark green.
Multi
- Use the painter’s tape to mark off colors in various short and wide width shapes. Start with the light colors first as dark colors will be harder to paint over.
- Add in each color by color. Make sure you let each color dry before removing the tape and moving on.
If you make one, please share and tag your creation with #LarsMakes.




Comments