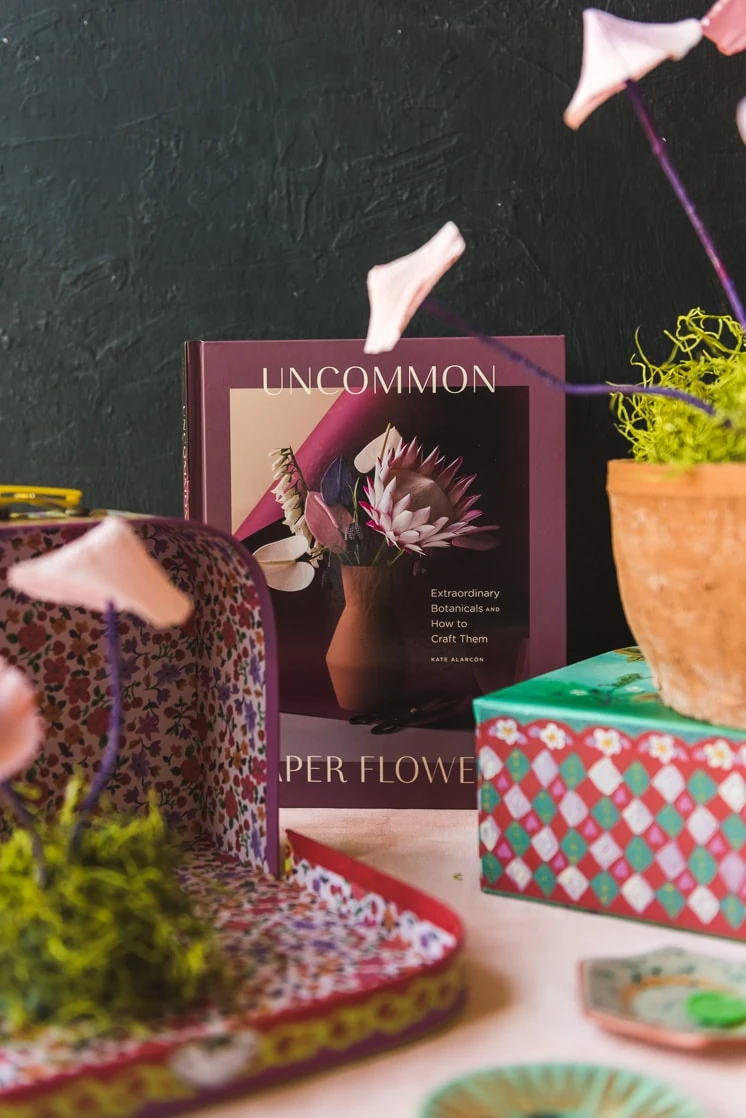
We’re back at it presenting you with yet another beautiful crafting book! Uncommon Flowers by Kate Alarcón is, dare we say, a masterpiece. The book launched recently and we couldn’t not share it with you! Included are 30 different types of plants (and we’re not talking your everyday plants) along with step by step instructions on how to create them! This book includes a series of some of the most elegant paper plants we have ever seen over here at Lars. You are going to want this one for your craft collection.
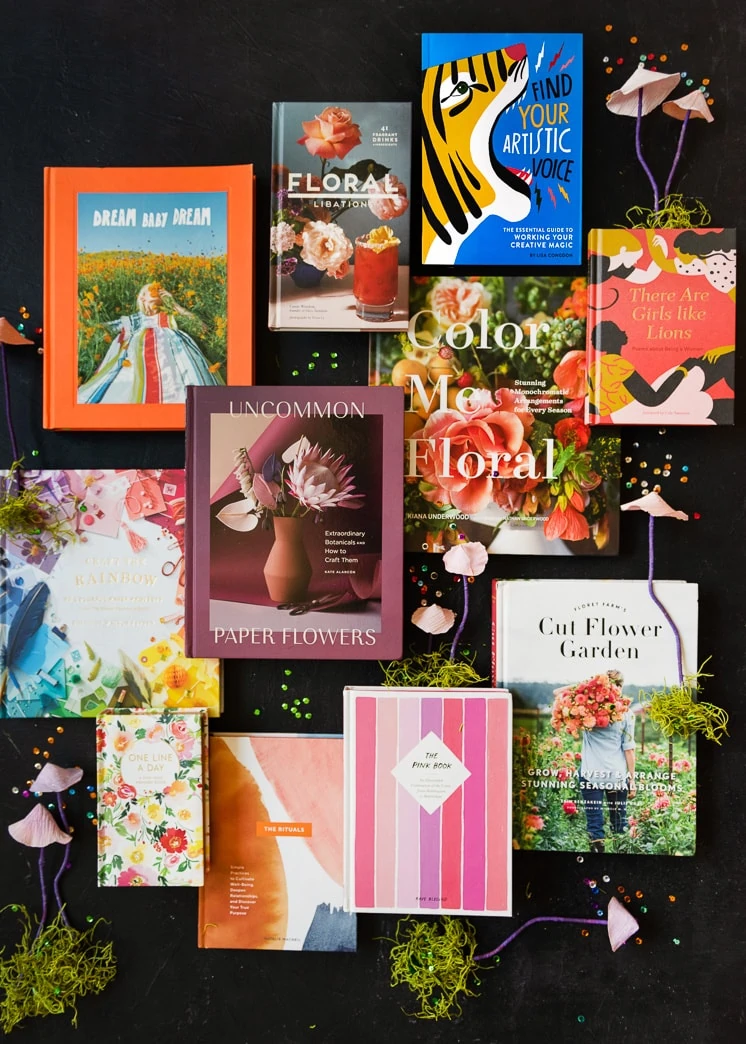
We were so inspired by Kate’s new book, Uncommon Paper Flowers, that we thought we’d give it away along with some of the most inspiring selections from Chronicle Books and our own, Craft the Rainbow. One lucky reader will win this full collection!
To Enter:
- Like this photo (on Instagram)
- Follow @HouseLarsBuilt
- Tag 3 friend!
- Repost the giveaway to your story for 5 bonus entries!
What’s included!
- Craft The Rainbow @houselarsbuilt
- Uncommon Paper Flowers @cobralilyshop
- Color Me Floral @tulipinadesign
- Cut Flower Garden @floreflower
- Dream Baby Dream @jimmymarble
- Find Your Artistic Voice @lisacongdon
- Floral Libations @decotartelette
- There Are Girls Like Lions @karolinschnoor
- The Pink Book @kayeblegvad
- Floral One Line a Day @yaochengdesign
- The Rituals @nataliemacneil
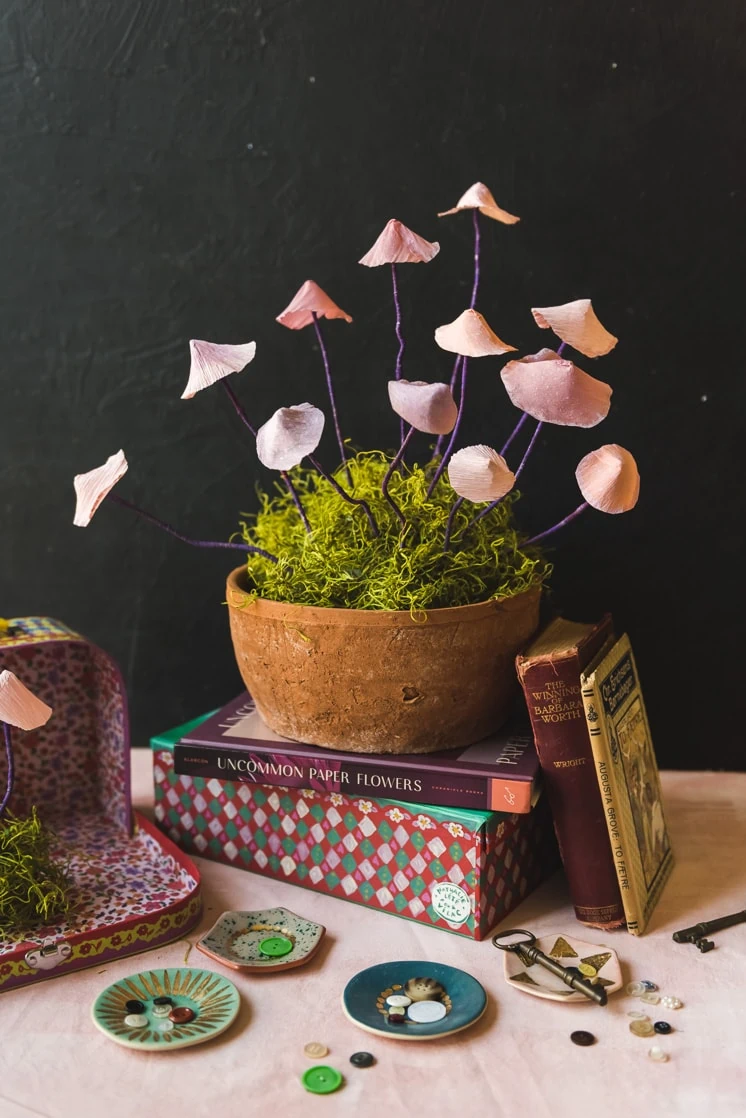
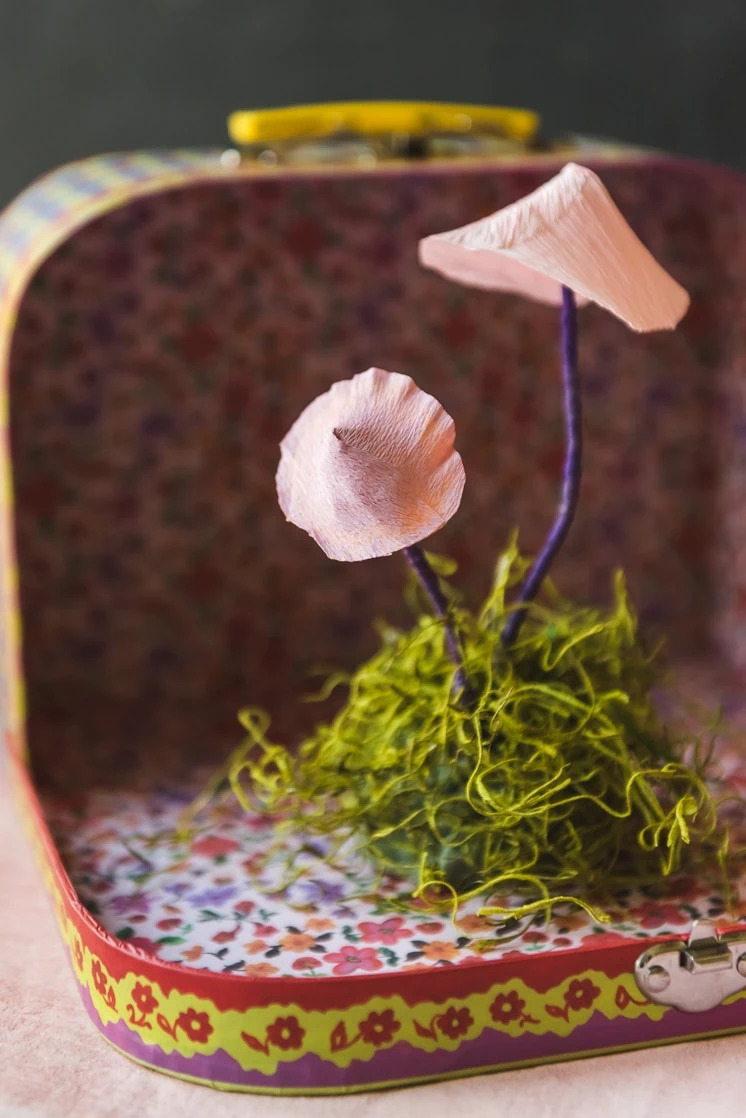
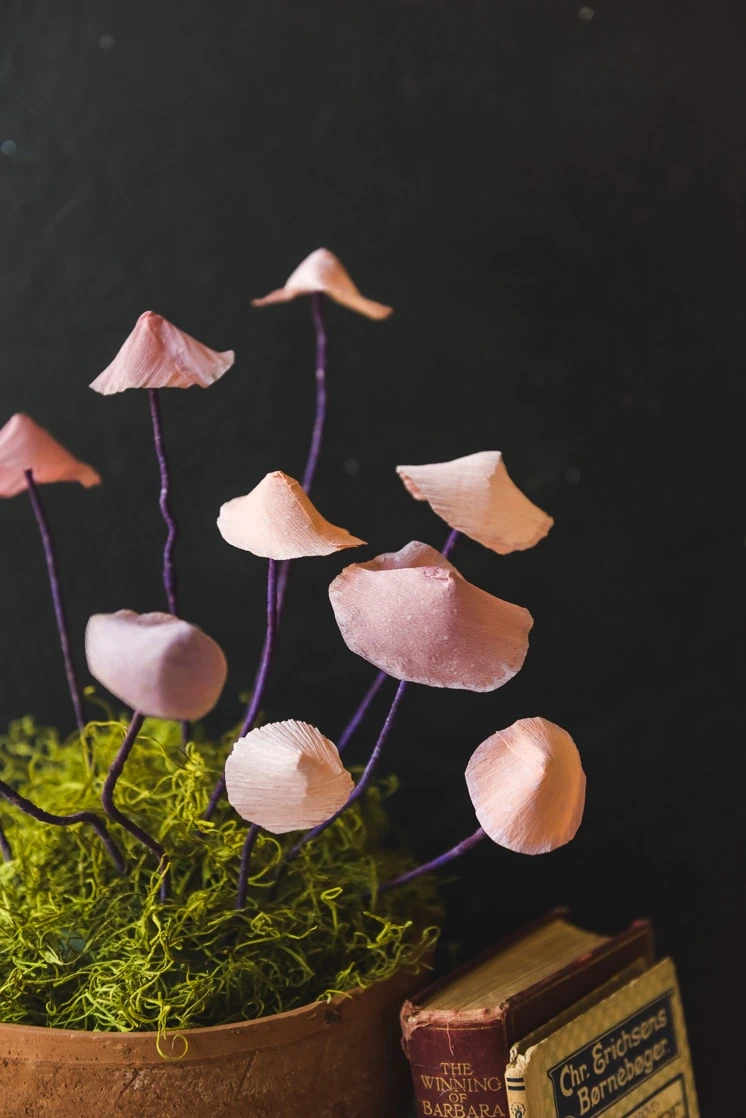
While you’re waiting for your copy of Uncommon Flowers Kate has graciously supplied us with the Bleeding Mycena tutorial to keep you busy until your copy arrives!
Bleeding Mycena Tutorial:
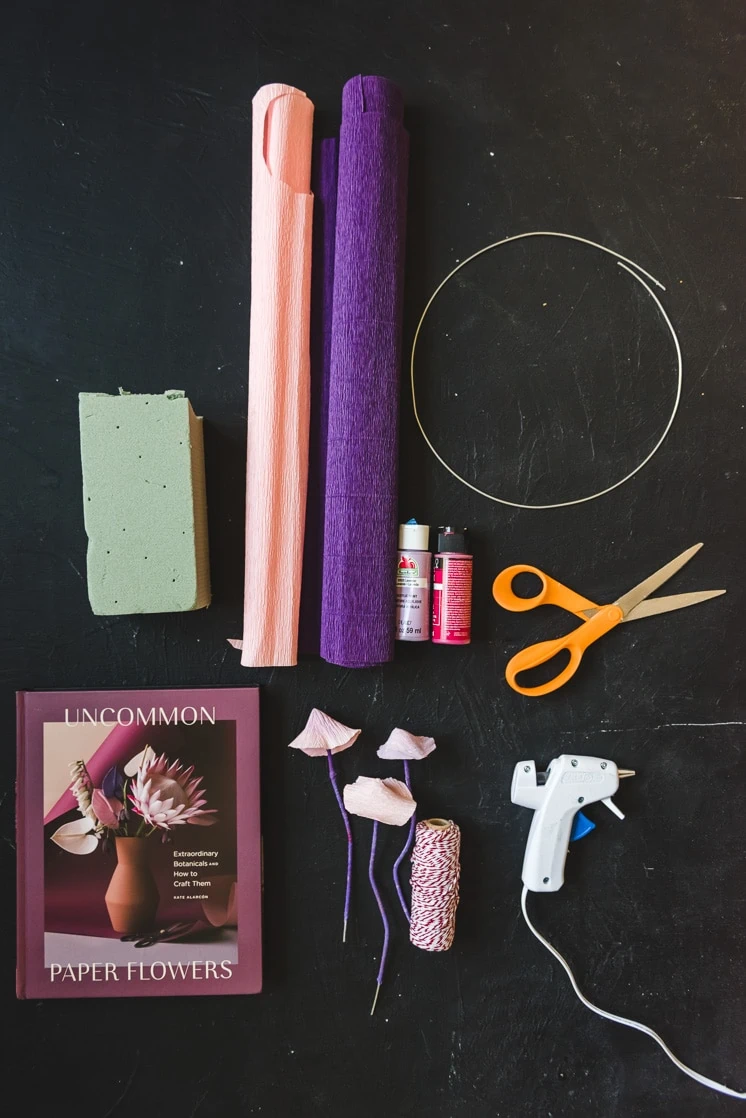
Supplies:
- Scissors
- Doublette medium-weight crepe for the caps (IÕve used Honeysuckle/Coral)
- Copic alcohol ink marker in Warm Gray (W1)
- AleeneÕs Original Tacky Glue
- Small paintbrush or makeup brush
- PanPastel in Permanent Red Tint (340.8)
- Eye protection
- Wire snips
- 18-gauge cloth-covered stem wire
- Aubergine extra-fine crepe, to cover the stems
- Templates
- OPTIONAL BASE
- 2¾ in/7 cm polystyrene half ball for base Freeze-dried moss
- a variety of light brown paper for dead leaves or Bright Moss heavy crepe to cover base Olive green thread
- OPTIONAL “BLOOD”
- Red glue stick
- Hot glue gun
- Wax paper
Directions:
- Making the caps
- Because these funnel-shaped caps are built from paper that crinkles in just one direction, the caps will pull themselves out of form, creating strange little oblong shapes. Feel free to trim around the cap if it seems too lopsided, but in general, I think it’s best to let them be a little bit quirky—it adds to the overall effect.
2. Cutting the caps
- I’ve included several sizes of the cap template to give the mushroom cluster variety. Choose one and use it to cut a cap from the doublette crepe. The arrow should be parallel with the grain of the crepe.
3. Coloring the cap
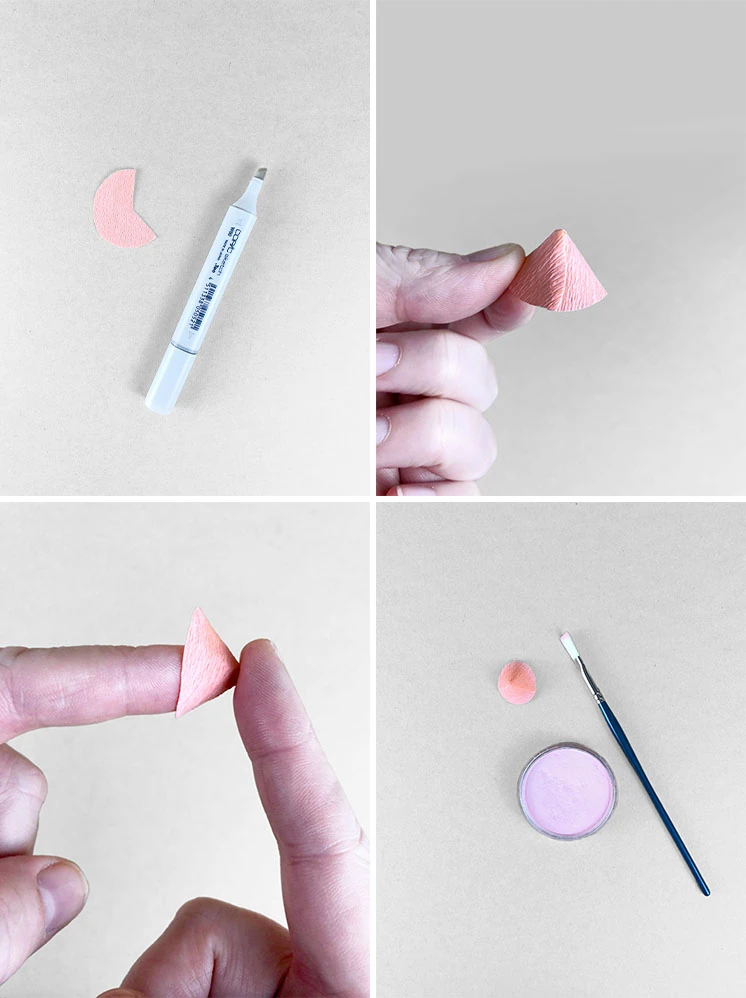
- The challenge in creating these mushrooms is that their color is a very subtle, brownish pink, rather than the bright, clear pinks usually available in doublette crepe. Additionally, the cap’s color fades toward the edges. Color the cap as desired. I’ve used a beige gray Copic marker to color my whole cap, subduing the pink in the Honeysuckle/Coral doublette.
4. Building the cap
- With the colored side facing up, dot glue on the left side of the little wedge cut out of the bottom of the circle. Close the wedge by curving the cap into a funnel shape and pressing the right side of the wedge over the glued section on the left side. Hold this seam together for three seconds. Then, while the glue is still wet, round the cap by placing your finger into the tip of the funnel and gently pressing it into your hand or another finger. For the smaller caps, insert the small brush instead of your finger. If needed, trim the cap to make it a little bit more even.
- For lighter edges, use the small brush to apply the pastel in short, vertical strokes, all the way around the cap, then blend the edge where the pastel stops.
- For a slightly ruffled edge, gently stretch around the edge of the cap. You won’t be able to stretch all the way around because of the way the grain falls on the cap, but even a little bit of frilling adds interest and personality.
- To create a cluster of mushrooms, make several caps using a mix of the cap templates included.
5. Making the stems
- Using eye protection and wire snips, cut a stem for each cap. For a single mushroom, 2 in/5 cm is a nice stem length. For a mushroom cluster, you’ll want several lengths of cloth-covered stem wire, ranging from 2 to 3½ in/5 to 9 cm.
- Using the instructions on page 92, cut several stem strips, and wrap the stems in Aubergine crepe.
- Dot the tip of the stem with glue and gently press it into the underside of the mushroom cap. Repeat for each additional cap until every mushroom has a stem.
- The part of the mushroom cap with the seam is the rear of the cap for display purposes; the seams should all face the same direction. Once the glue is dry, gently bend the stems, allowing them to lean away from the center of the wire cluster. For mushrooms that are growing out of the side of something, bend all the wires up about 45 degrees from the wrapped bottoms of the wires.
6. Styling
- To add moss, hold clumps of freeze-dried moss against the foam shape, and secure it by wrapping it with the olive thread. Repeat until the entire foam shape is covered. Clip the thread, leaving 5 in/12.5 cm of thread at the end, and tie this end tightly to the other end of the thread to form a knot. Clip excess thread. Push the wrapped bottom 1 in/2.5 cm of the stem wires into the middle of the half ball. You can cover this half ball with freeze-dried moss, “dead leaves,” or “moss.”
- Add the mushrooms, pushing the bottom 1 in/2.5 cm of the stem wires into the foam.
- To add “blood” to the stem of a mushroom, load the red glue stick into the glue gun and dot a few drops on the bottom of the stem. For full-on oozing, lay the mushroom on wax paper, and apply drops from the bottom of the stem and down onto the wax paper. When the glue cools, peel off the wax paper.
Trust us! You are going to want this one on your self! Tag us with #larsmakes or #LarsPaperFlowers so we can see your creations!


