We have been soaking up all of the outdoors time we can get this summer. After gathering our favorite outdoor activities for the whole family to enjoy, we have had endless entertainment (no screens needed.) And you know us, we like when our games match our decor. All of our design senses have been focused on our outdoor furniture recently, which makes today’s project the perfect blend of all our summer priorities.
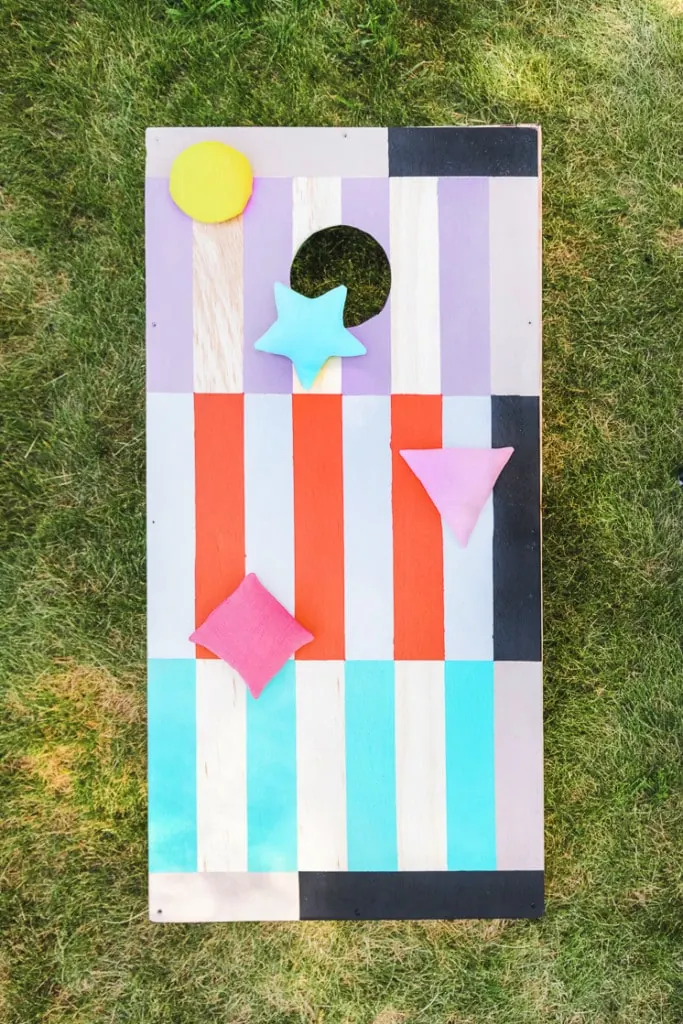
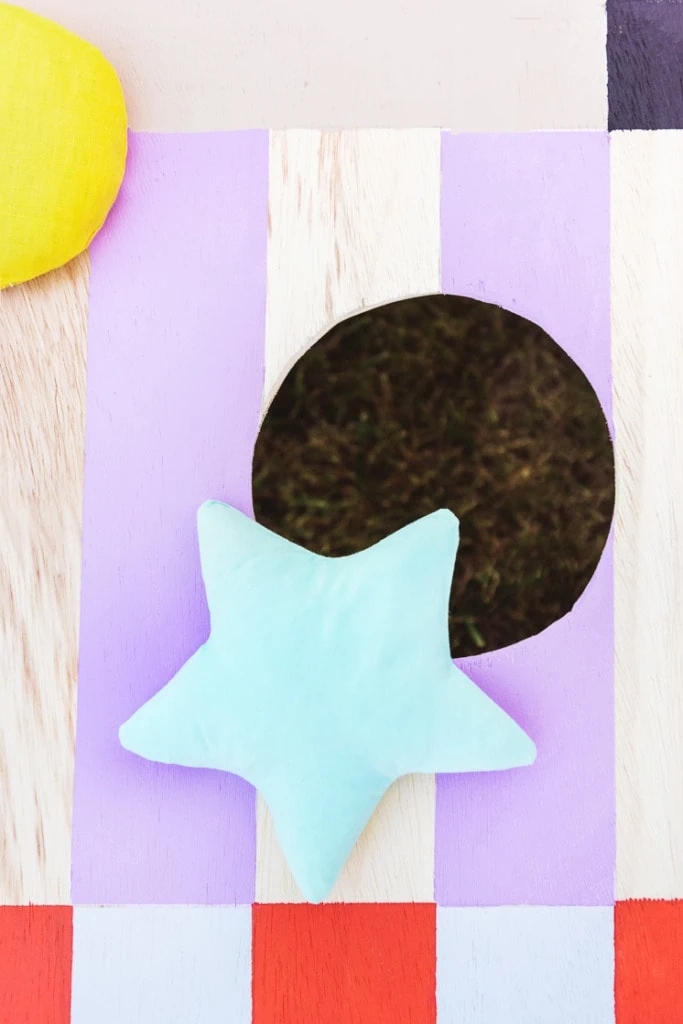
Keep reading for our tips on making your own DIY colorful cornhole set with matching bean bags! We have all the steps you need, our ideas on how to paint your cornhole set to match your outdoor furniture, and a pattern to make your bean bags simple to sew!
Materials:
DIY Cornhole Set
Most of the cornhole sets for sale online cost around $80. We were able to make our own DIY painteset for around $40, buying the wood ourself! We already had some of the tools needed on hand.
Instructions:
- Used this guide for the measurements
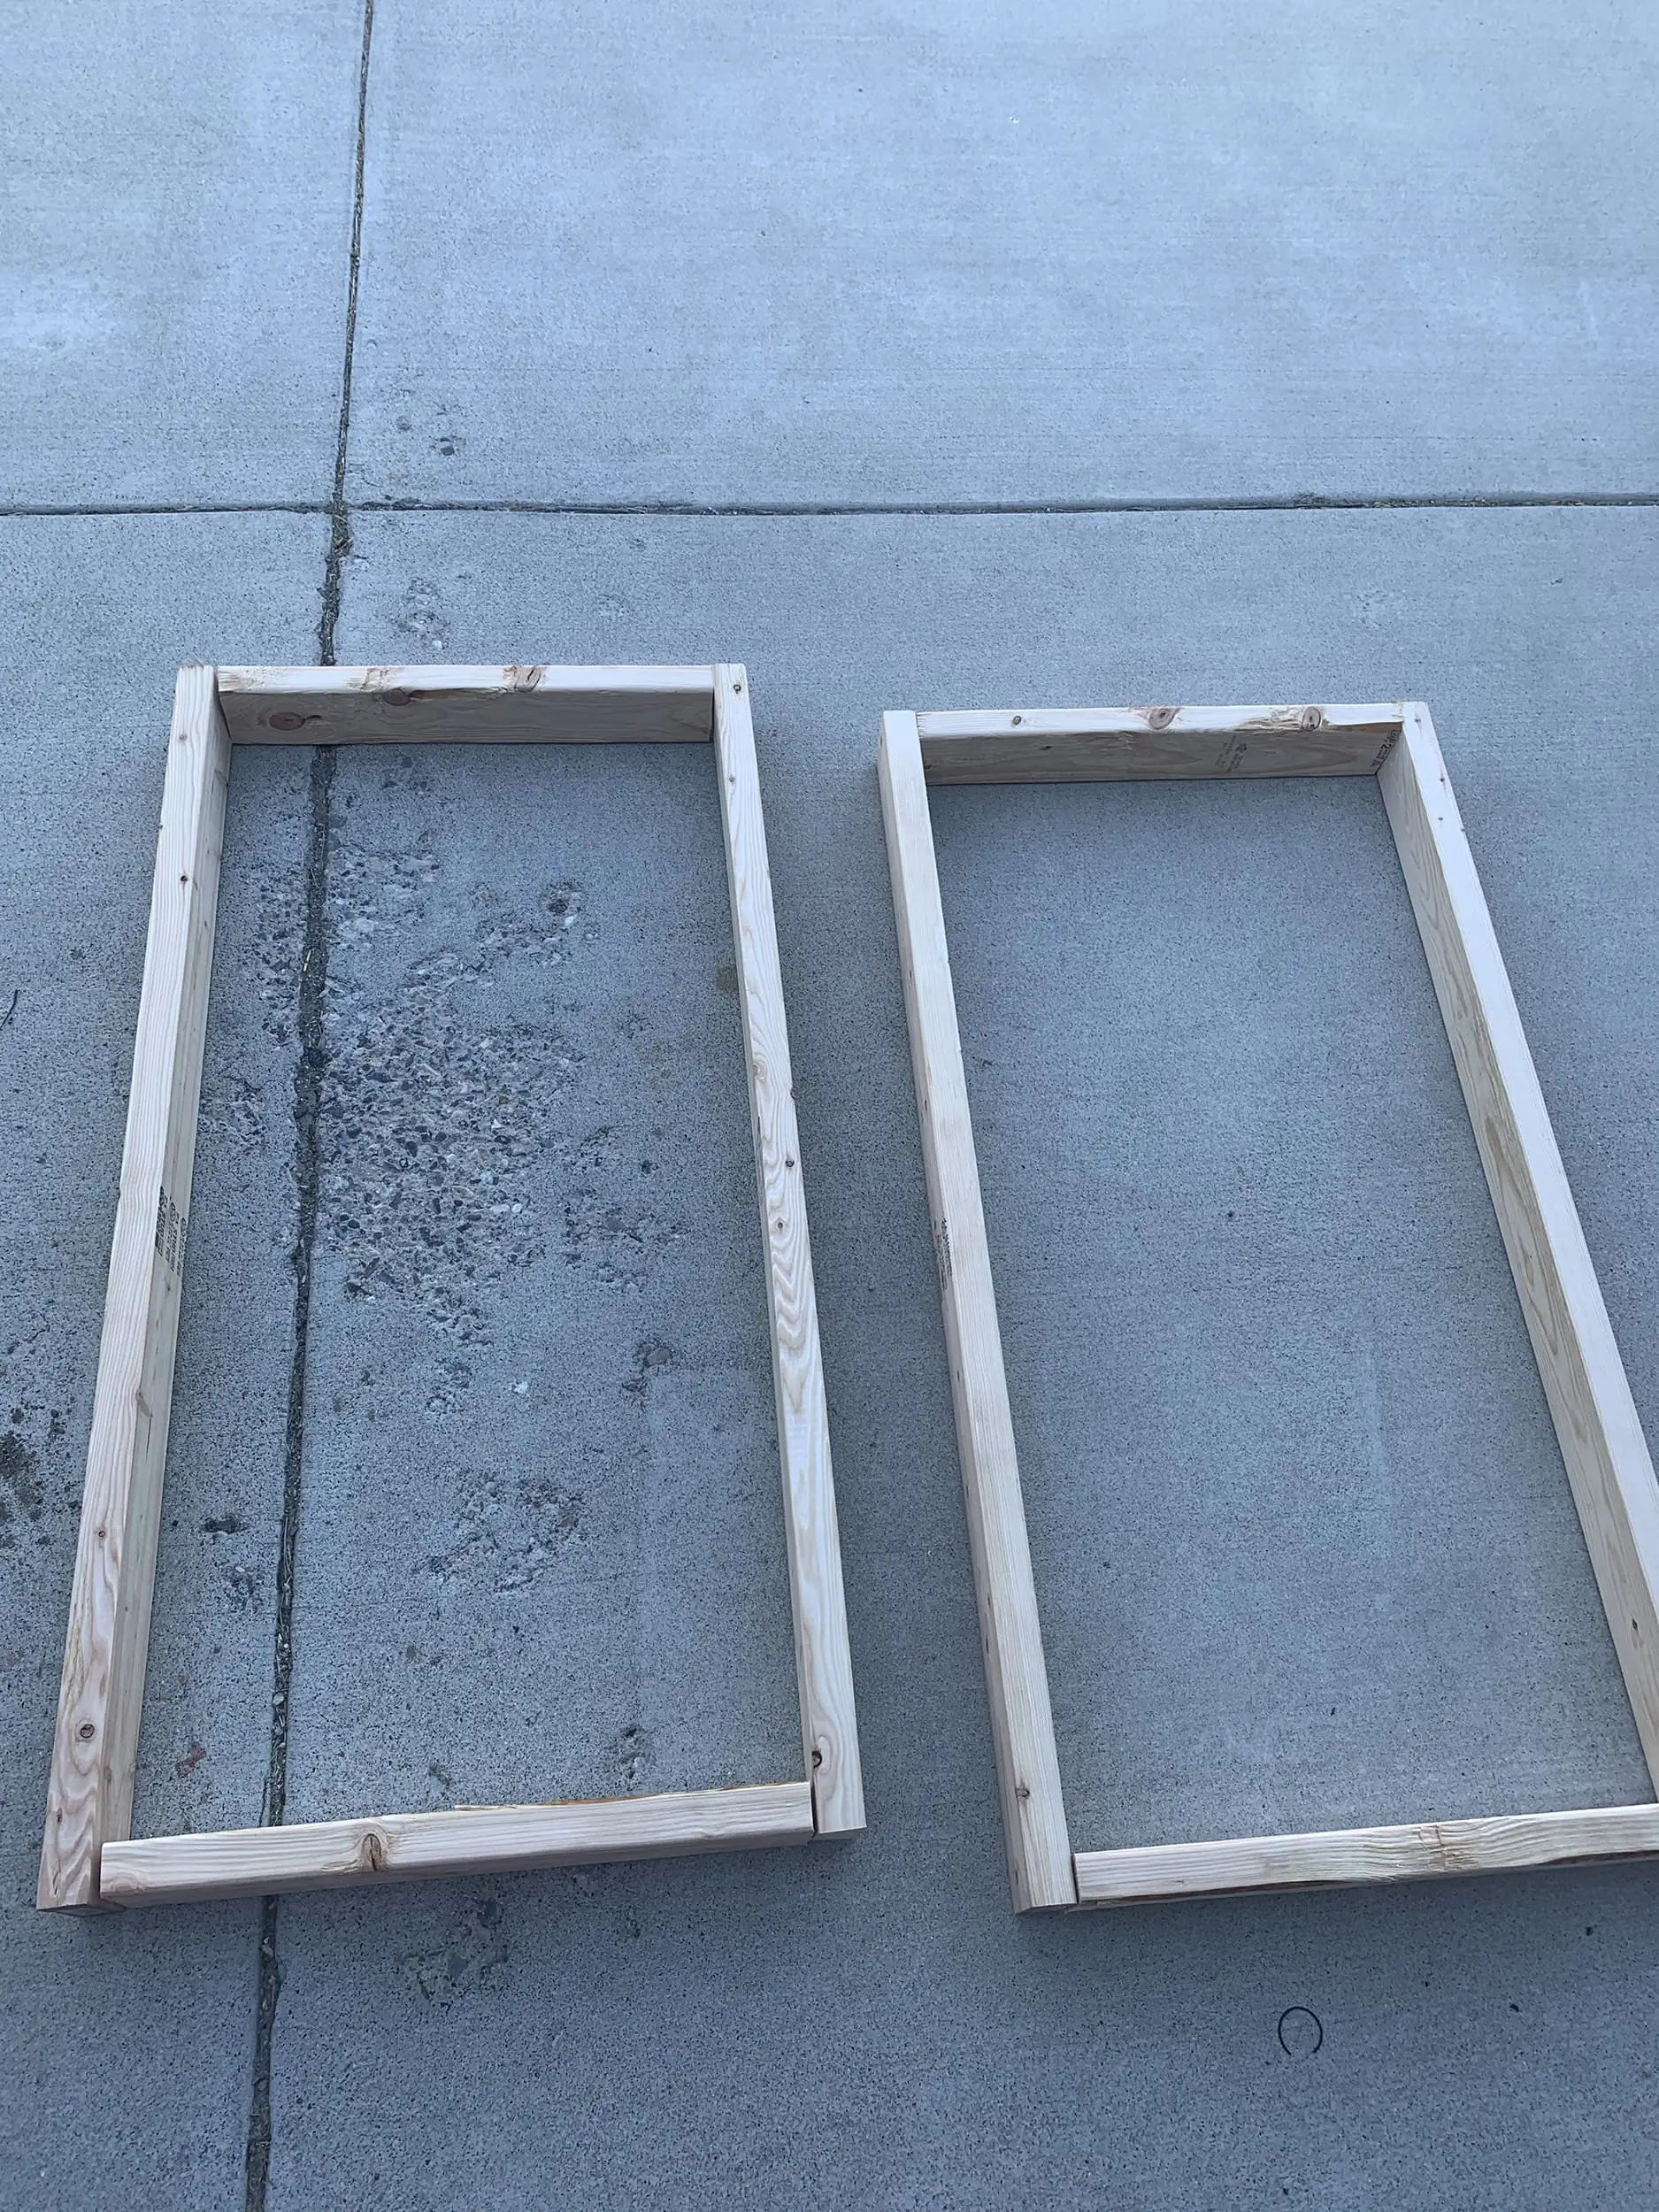
- Cut 2 of your 2x4s in half, to create (4) 4 foot long sides for your cornhole set.
- Cut (4) 21 inch long pieces out of 1 of your other 2x4s, to create the inside edges of your borders. All of the pieces you have cut so far will create the border shown below, you will have one for each cornhole board. Screw these pieces together.
4. The (2) 2 foot x 4 foot plywood pieces you have are already the perfect size! Screw the plywood boards to the boards you created in steps 1-3.
5. Now to cut out the holes – On each of these boards, use a 6 inch wide bowl to trace the edge of the circle, placing the circle 6 inches away from each edge of the board, as shown on this guide.
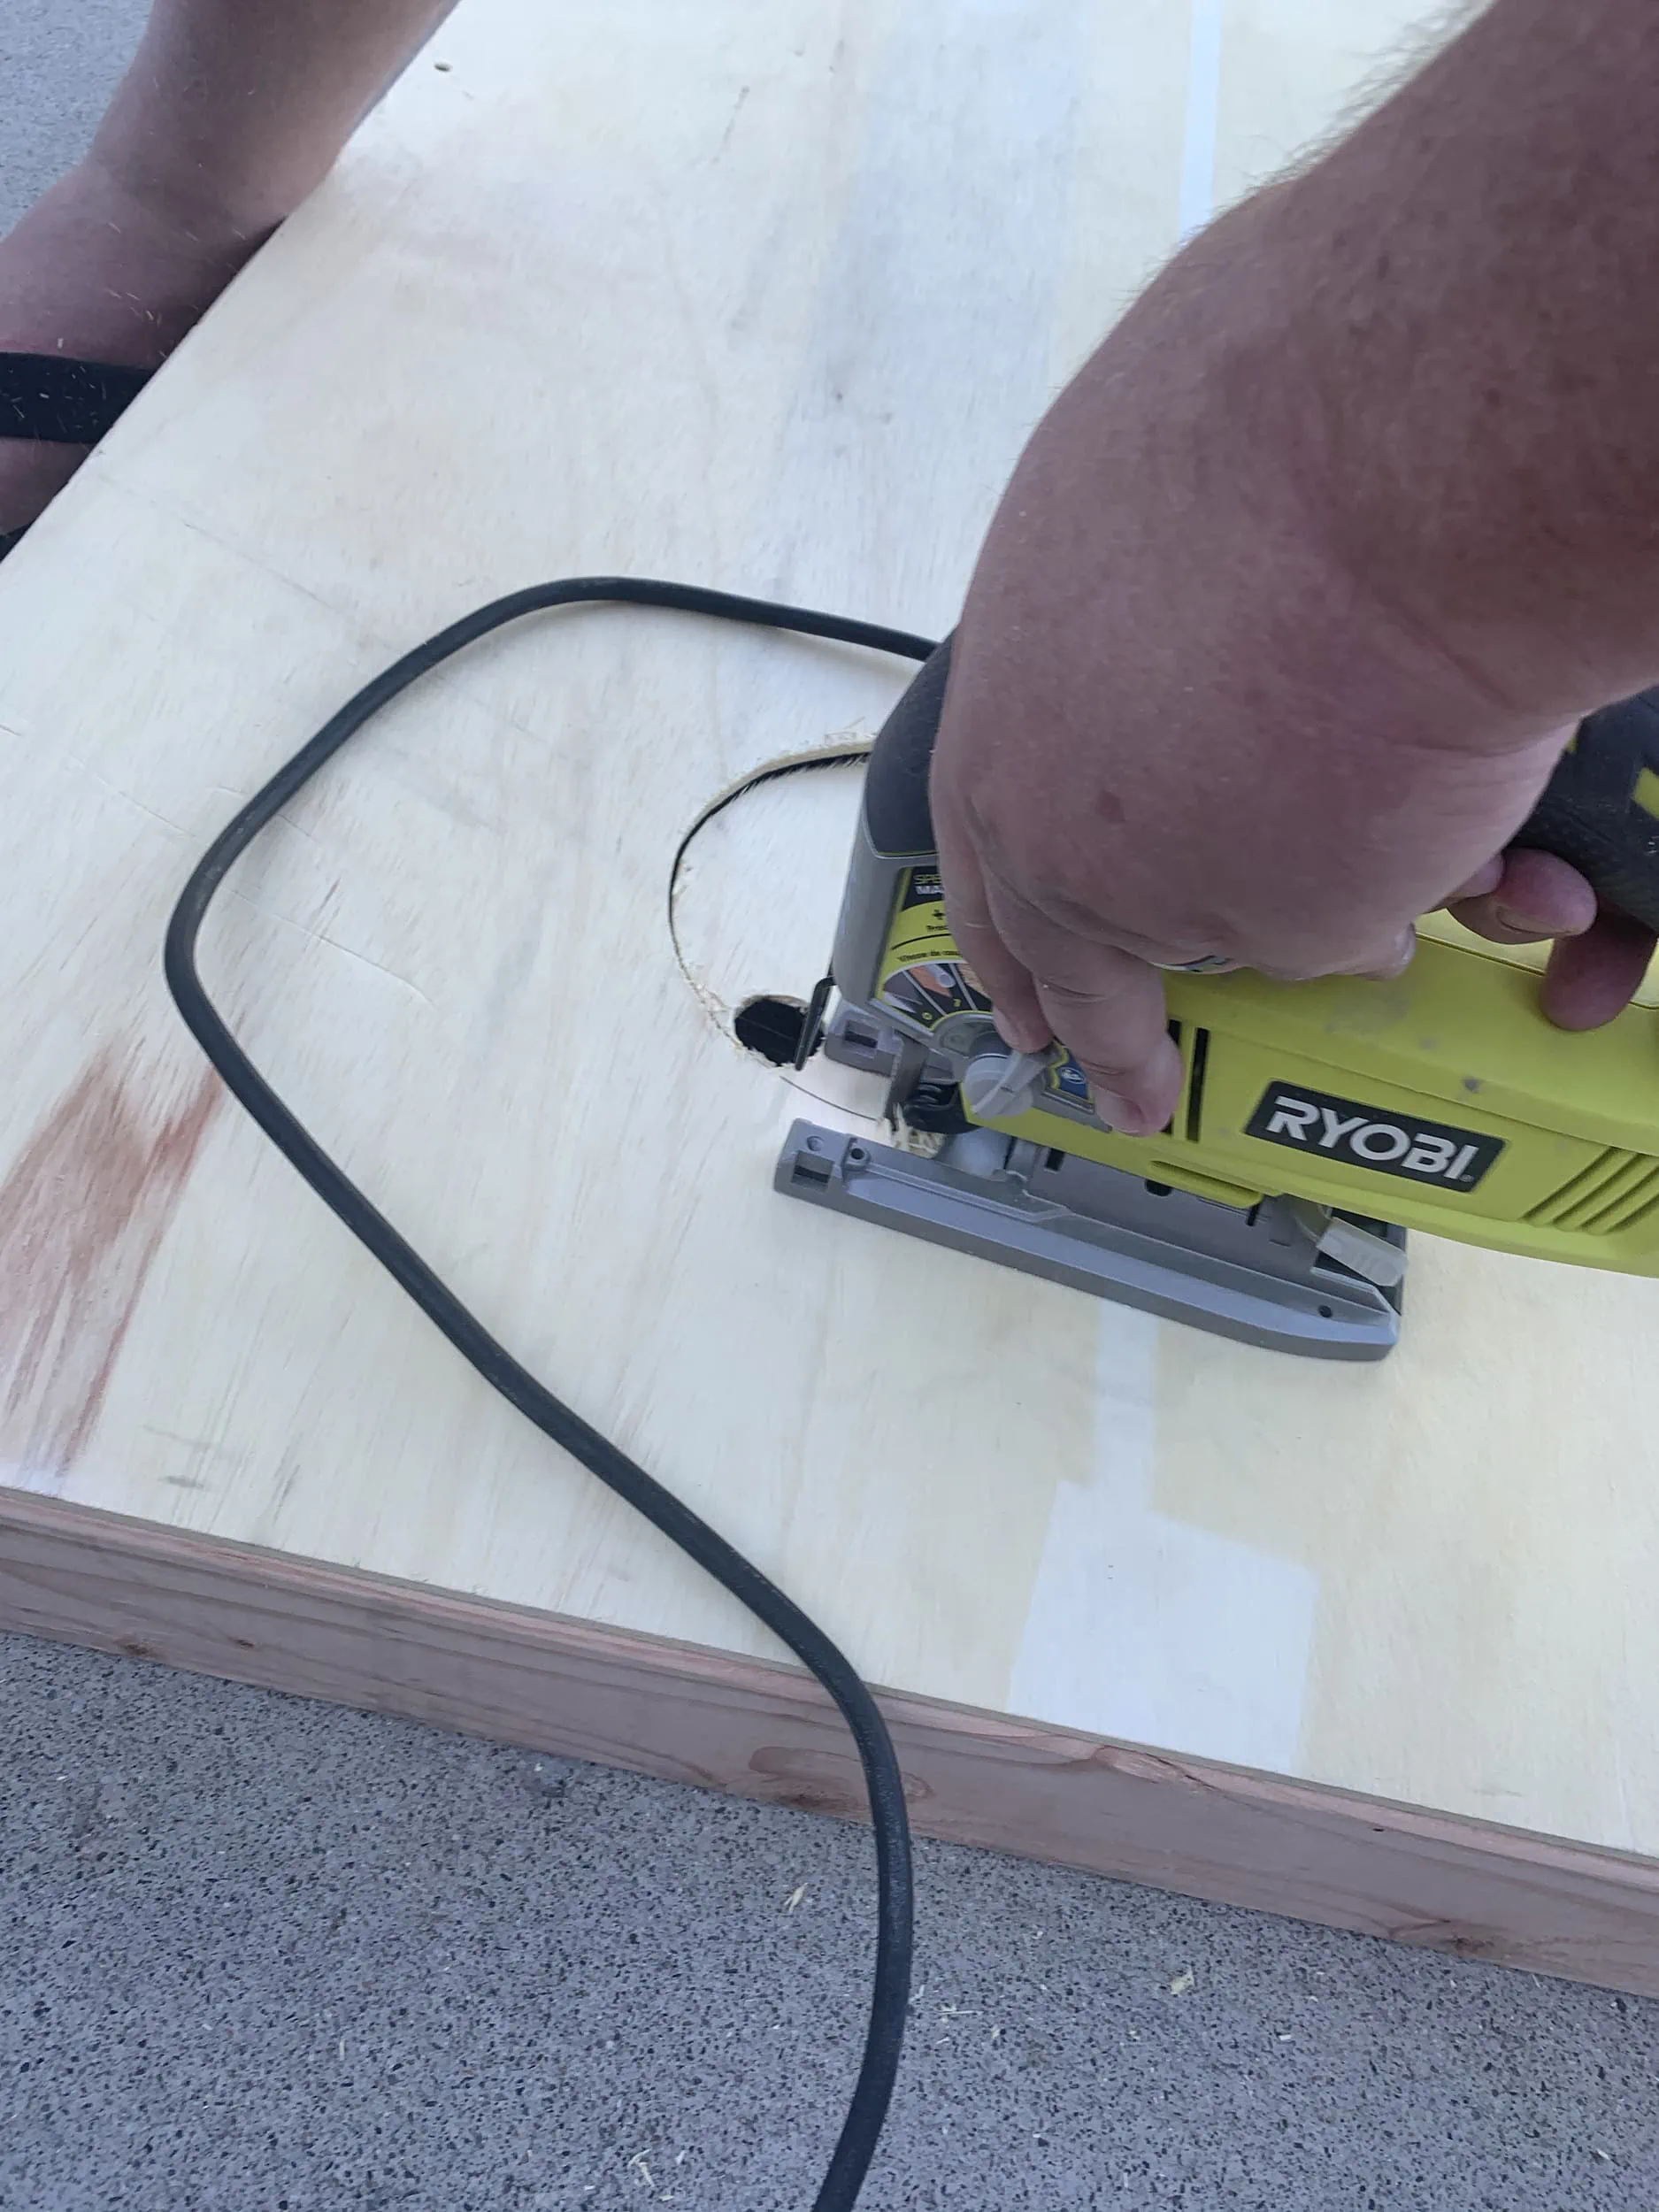
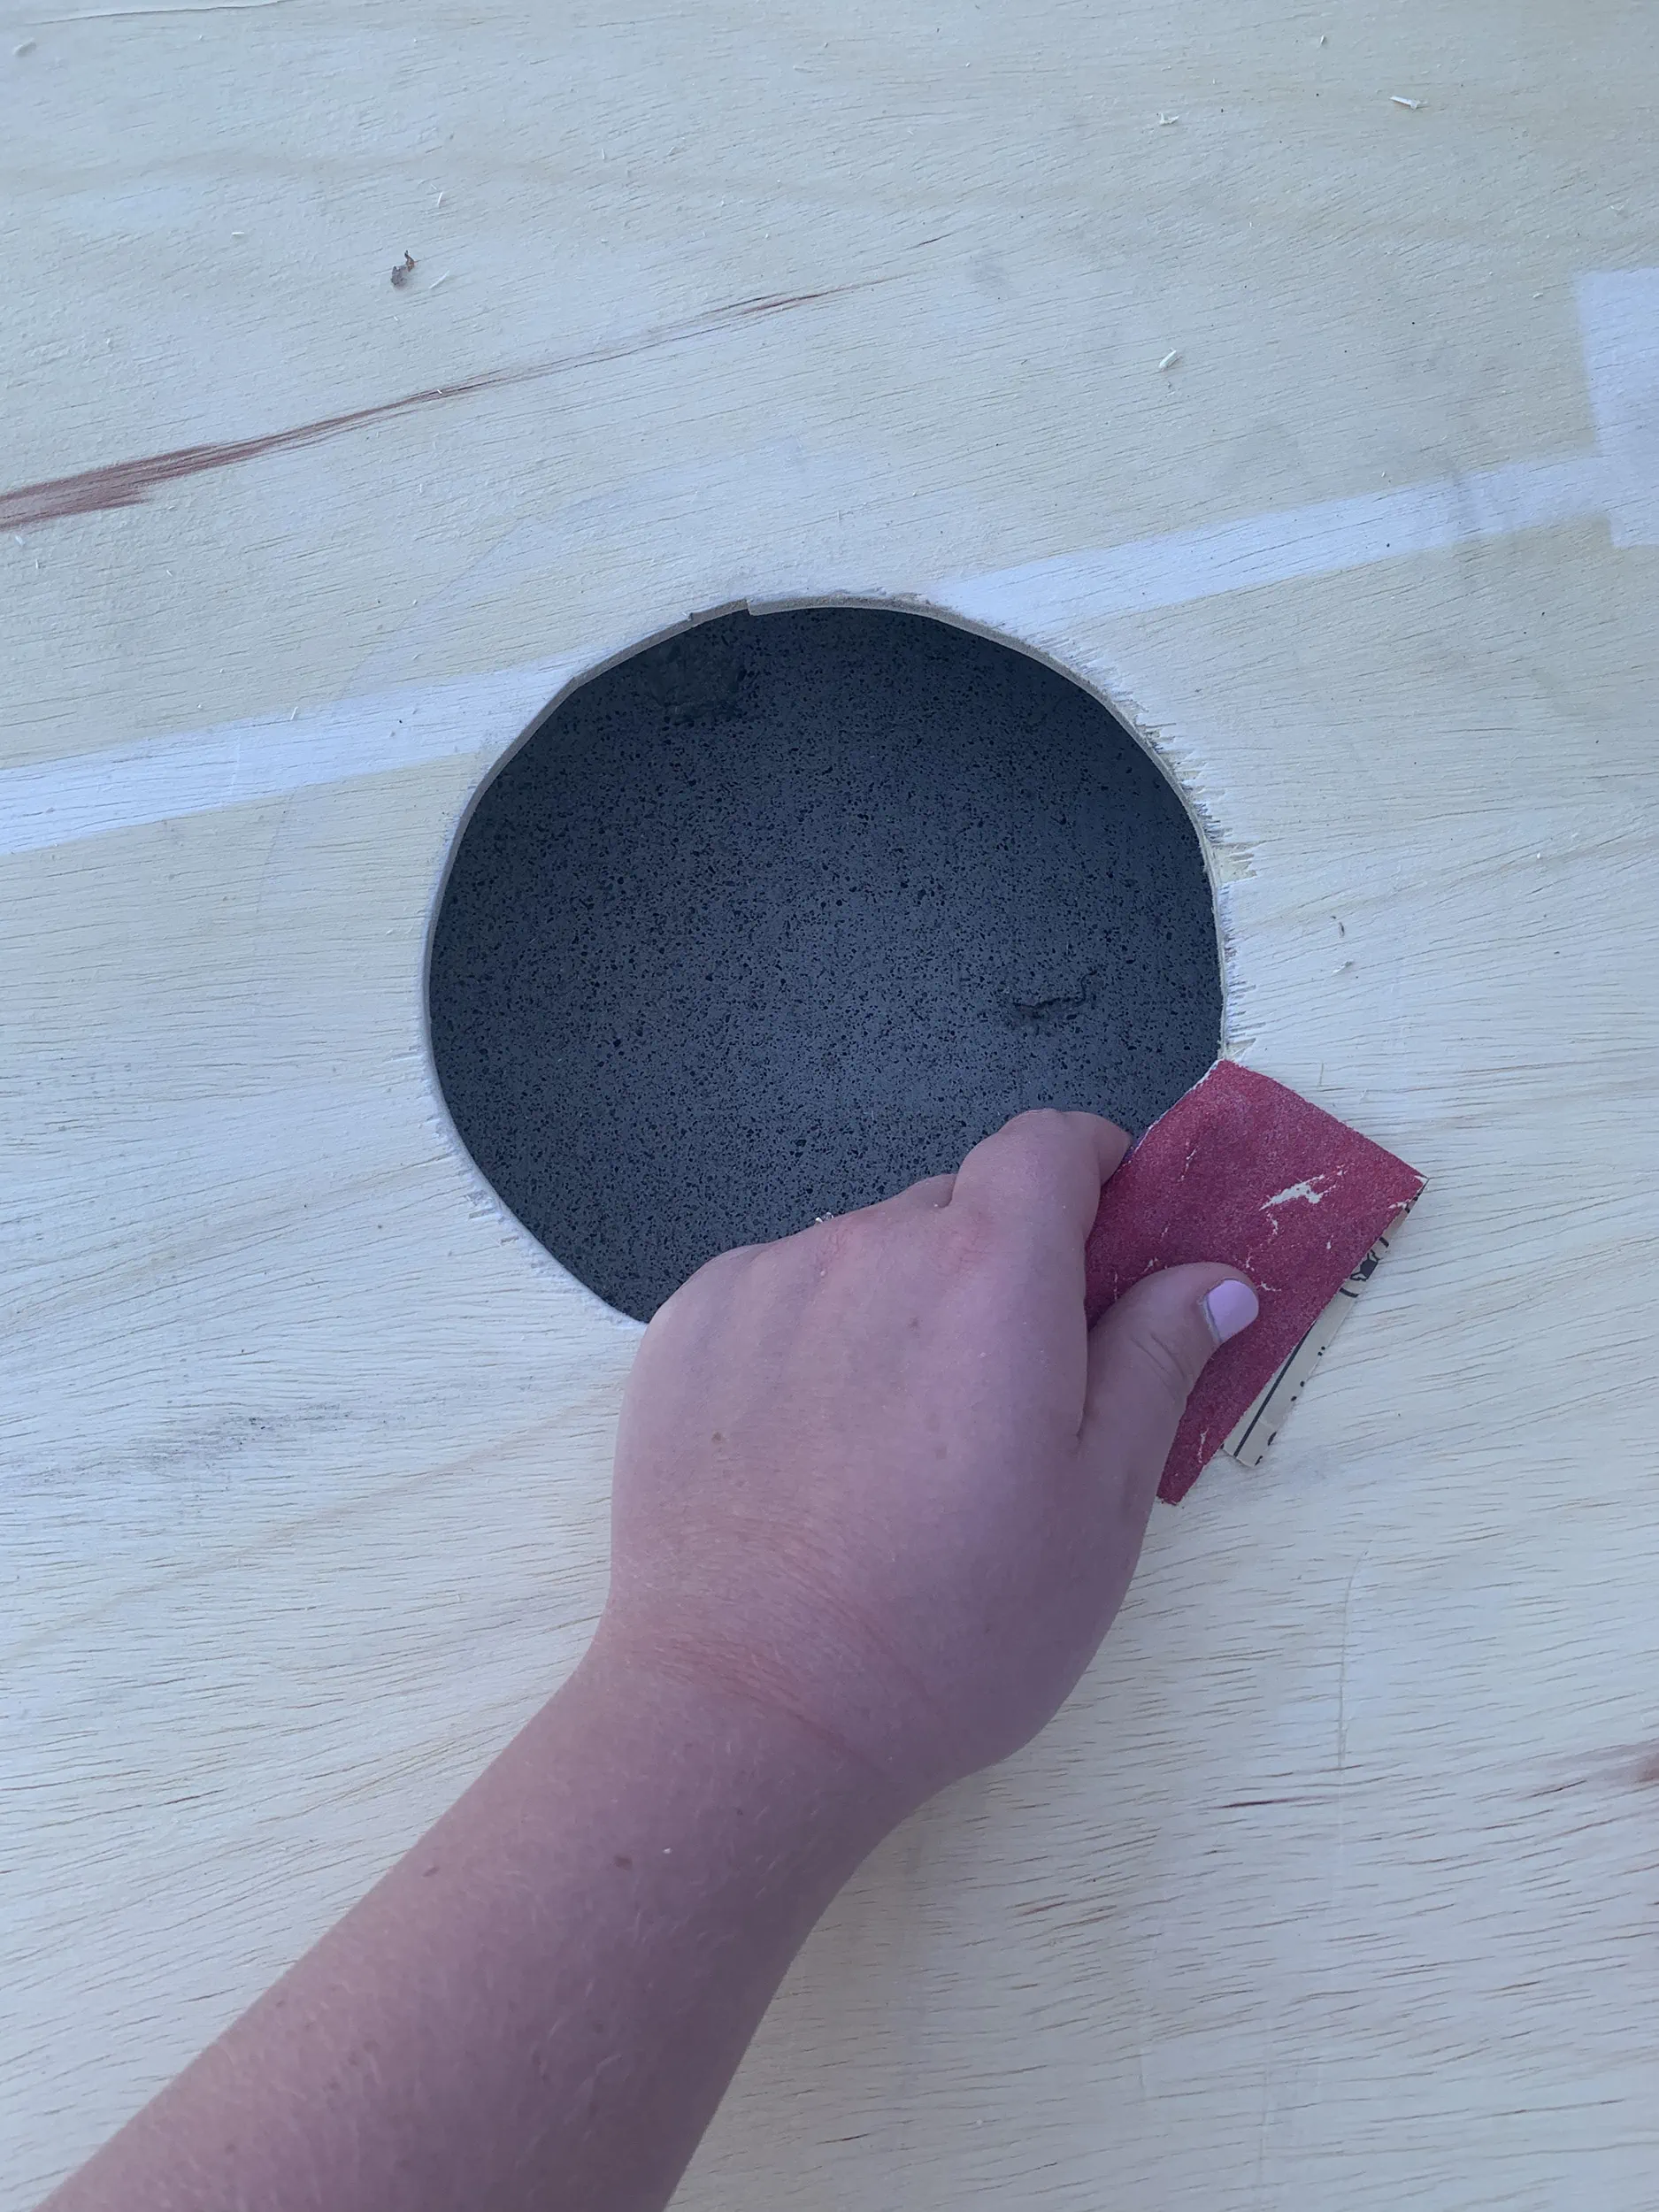
6. Use a jigsaw to carefully cut around the circle edge you drew. Once cut, use sandpaper to smooth the edge.
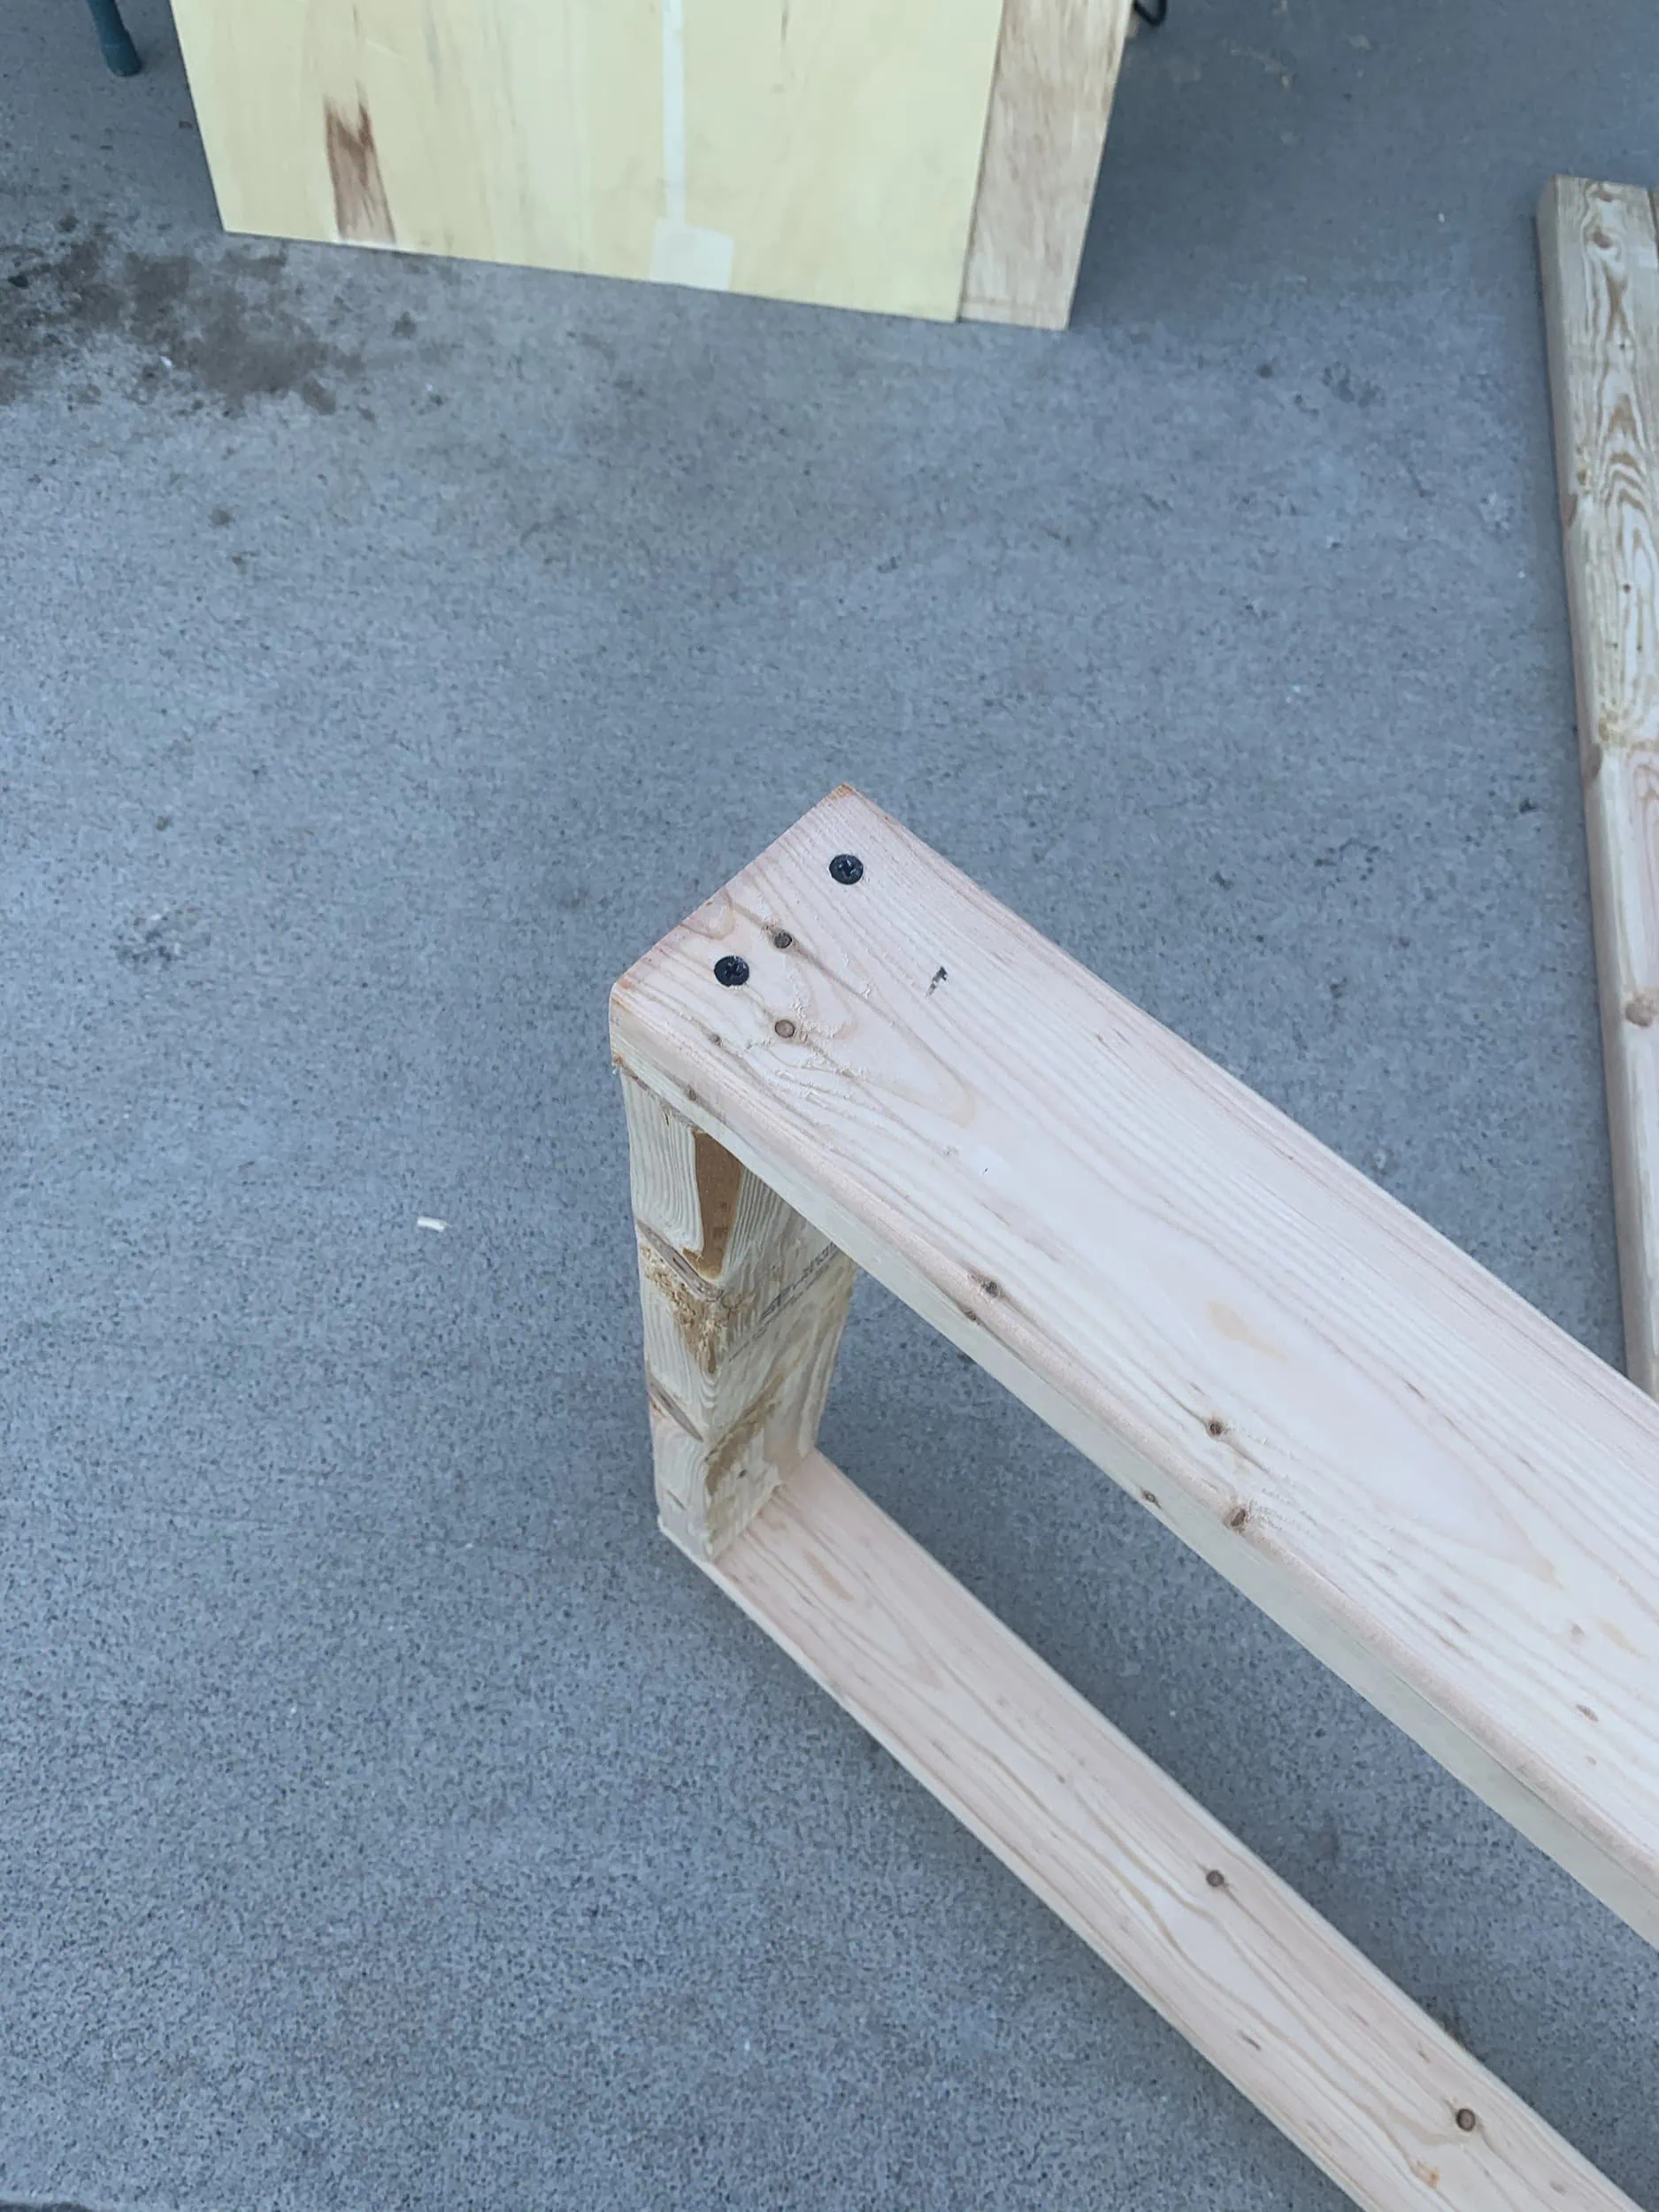
7. Now you just need to add the legs! Cut (4) 10 inch long legs our of your remaining 2×4.
8. Place your board on top of something that raises the top edge 12 inches off the ground.
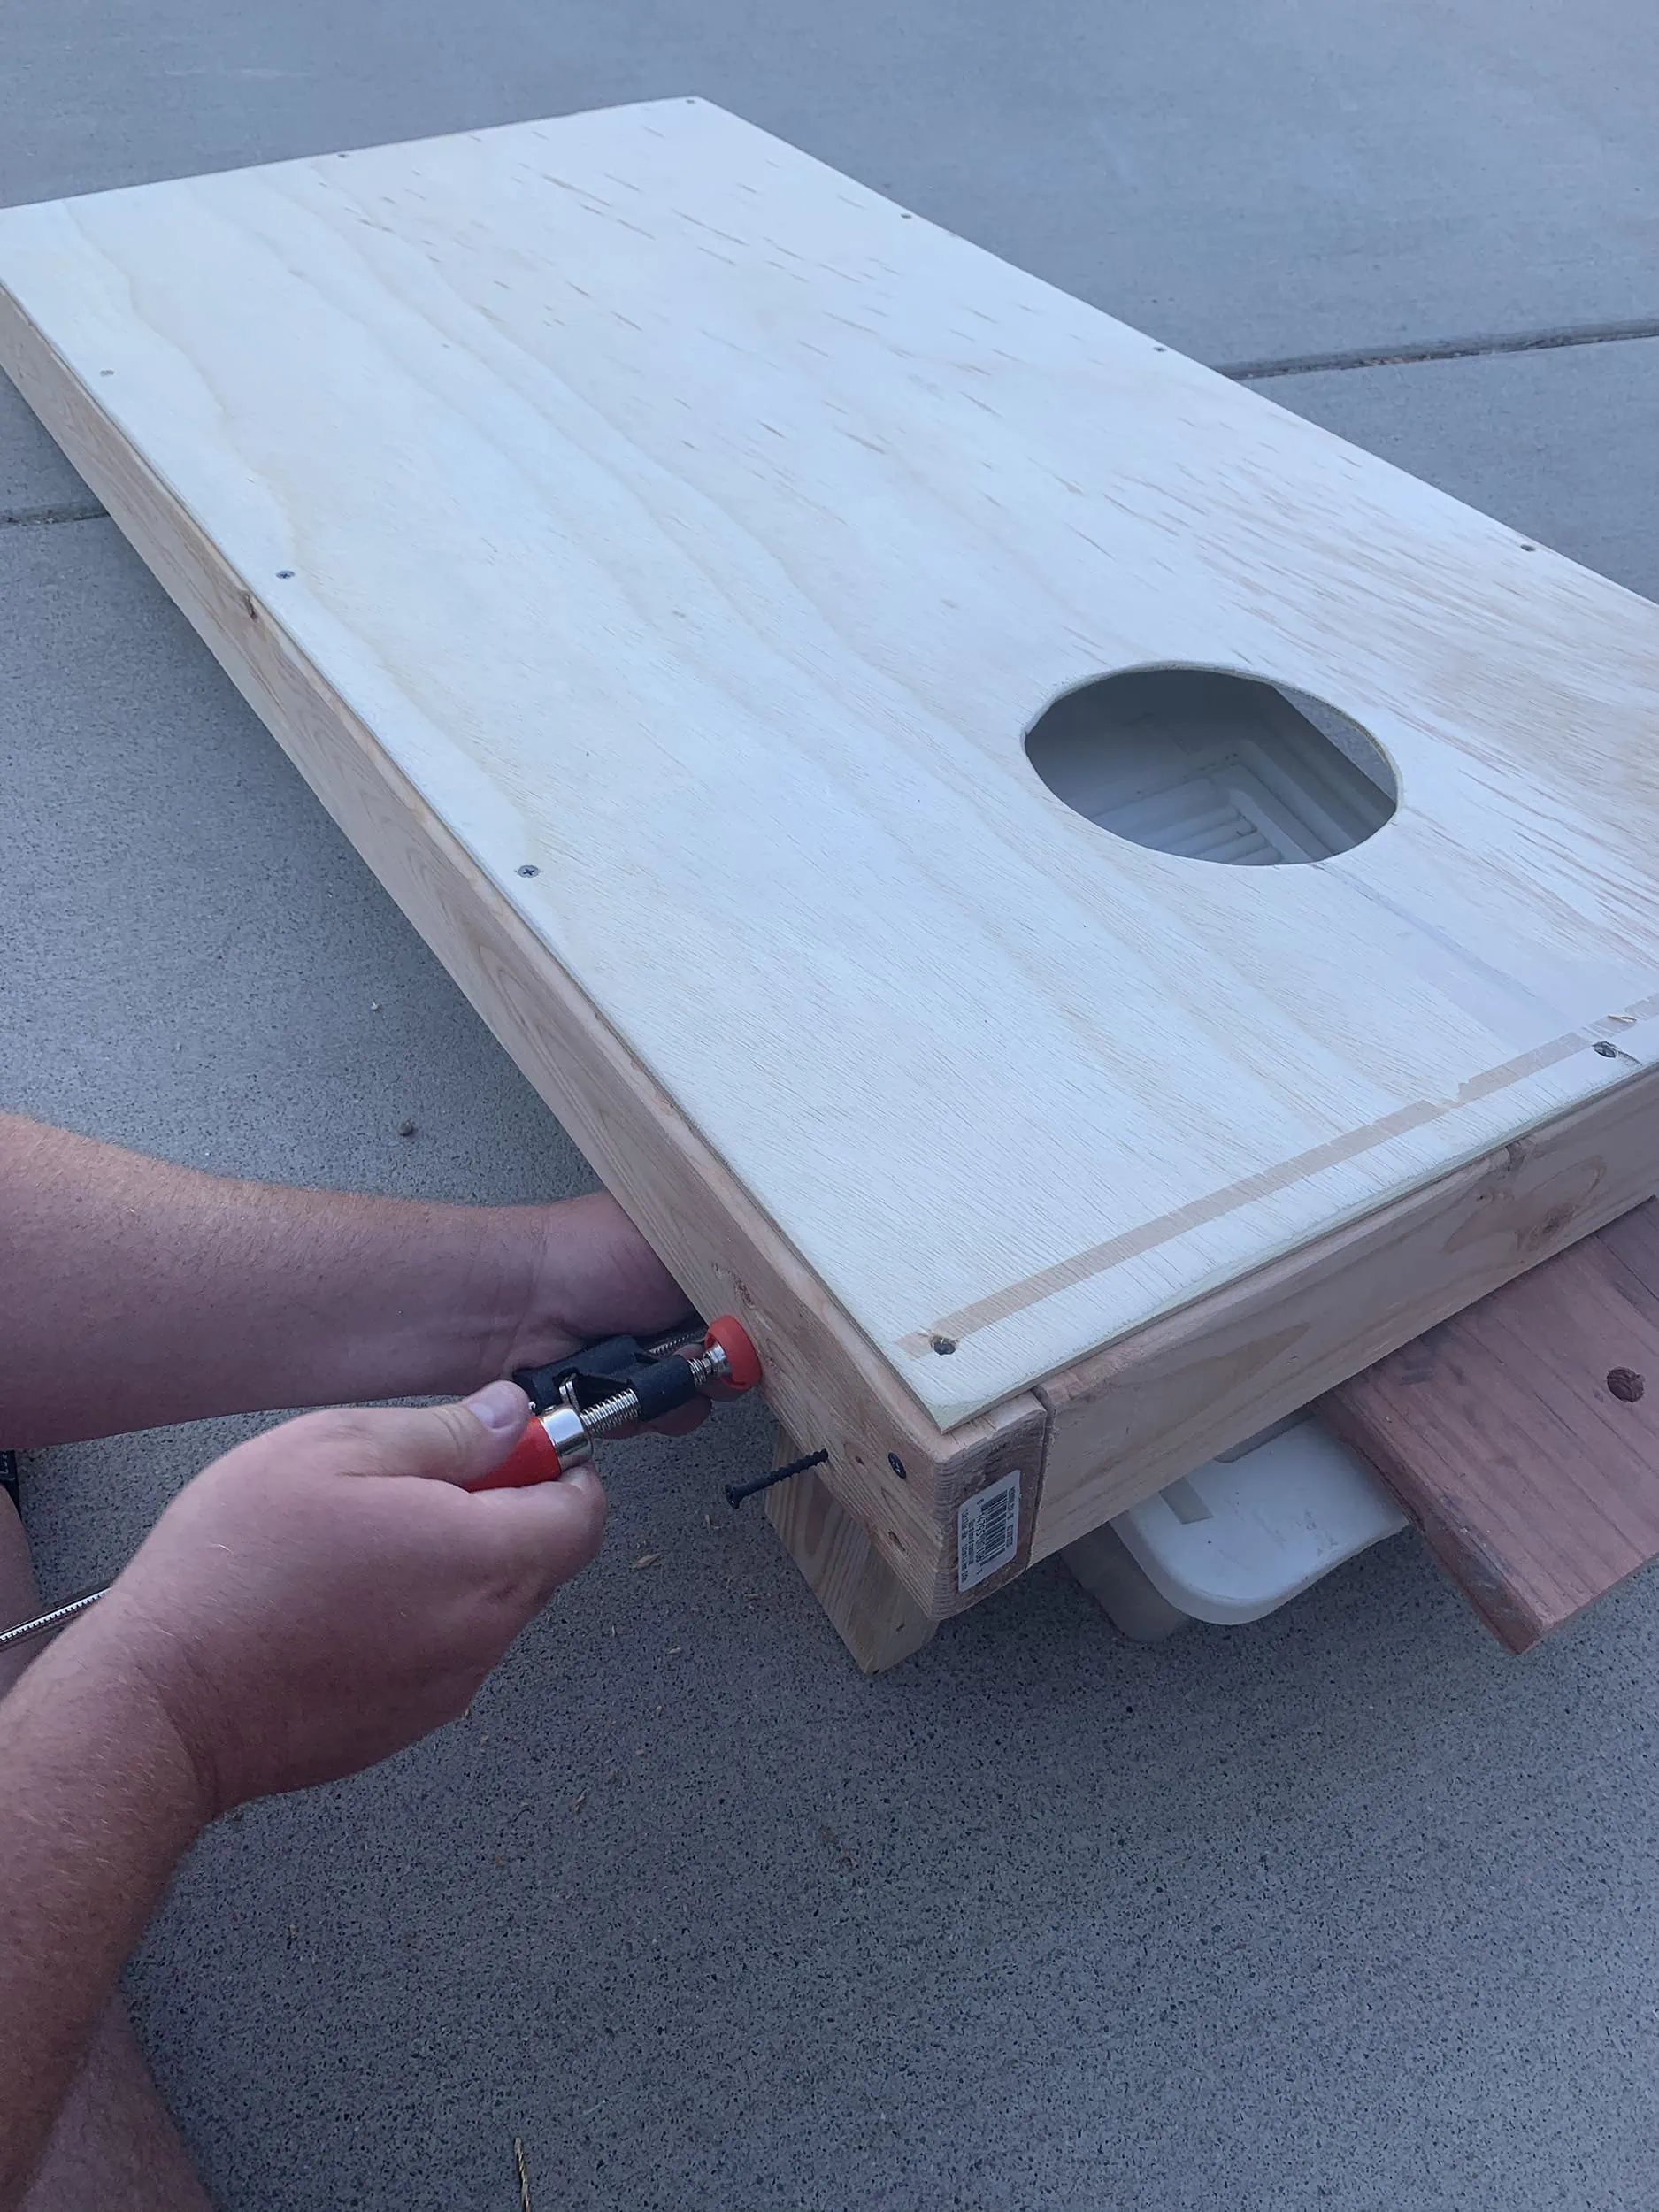
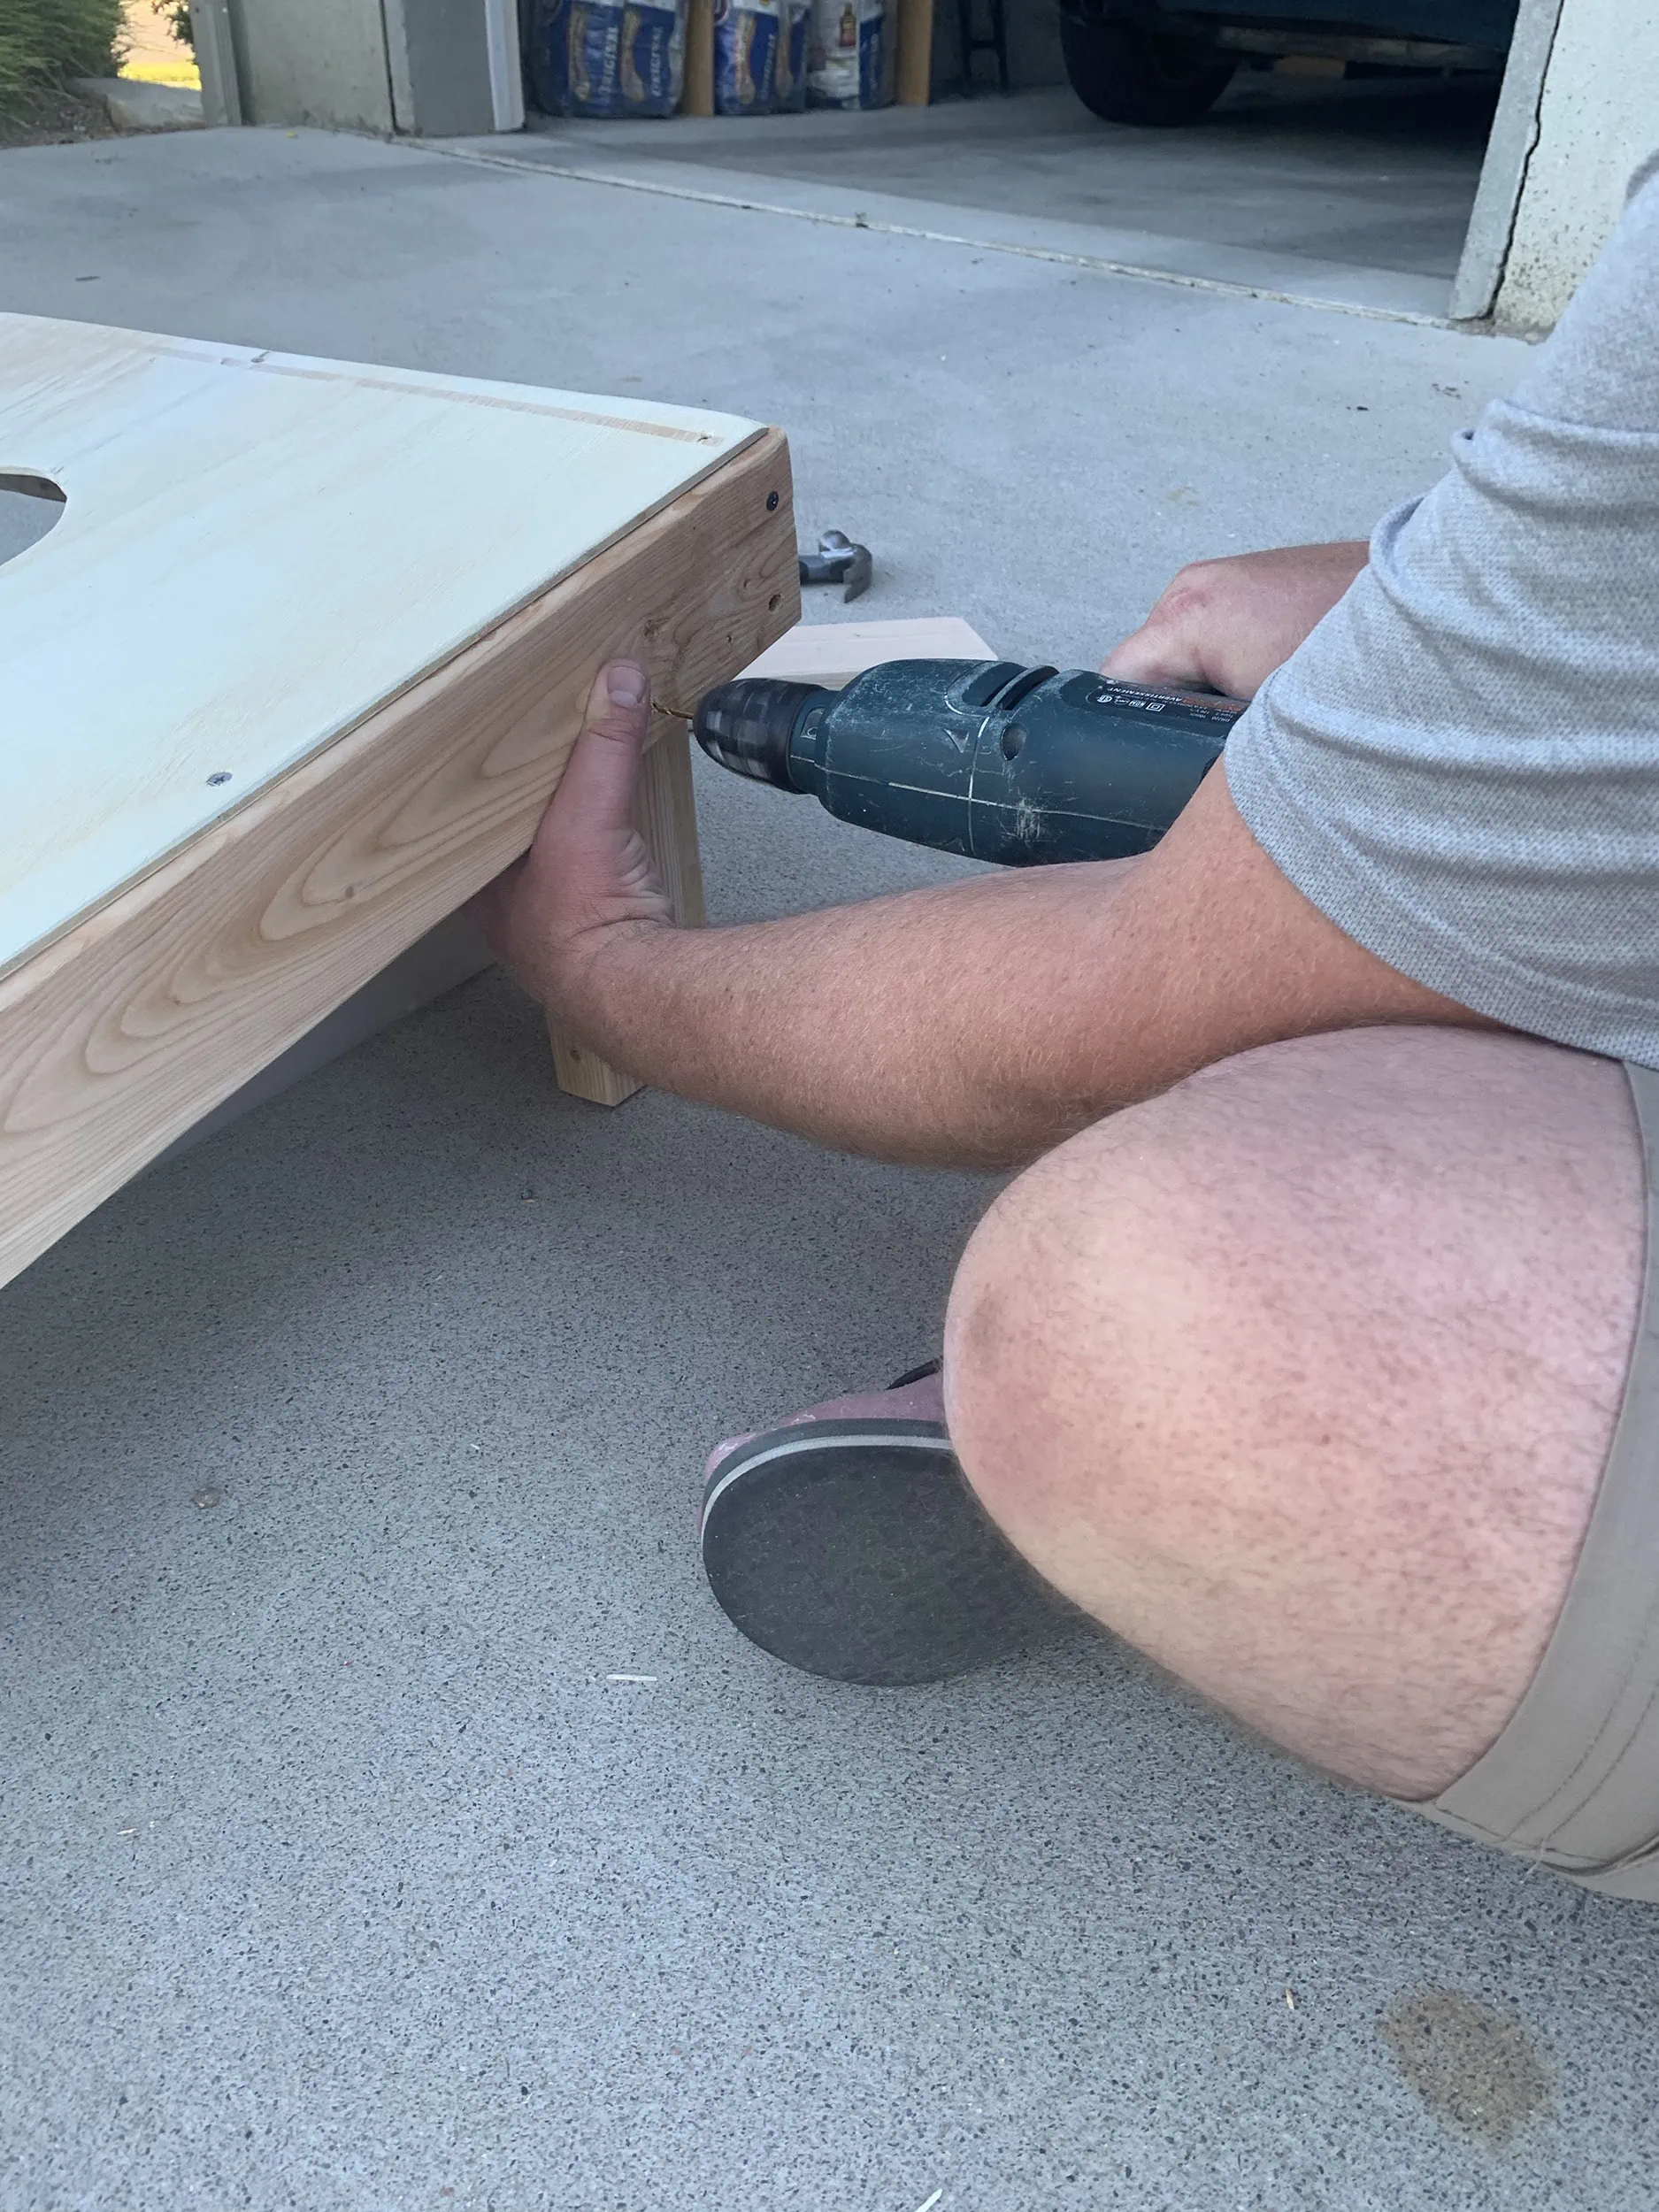
9. Use a clamp to hold each leg in place while you drill it in place. Complete these steps for the other cornhole board.
Other resources
If you do not have a jigsaw to cut the circle out of your wood, you can also purchase these pre-made cornhole boards here and just add the border and legs yourself.
If you prefer to buy a pre-made set to paint yourself, here are the best options we were able to find:
Paint your own cornhole set
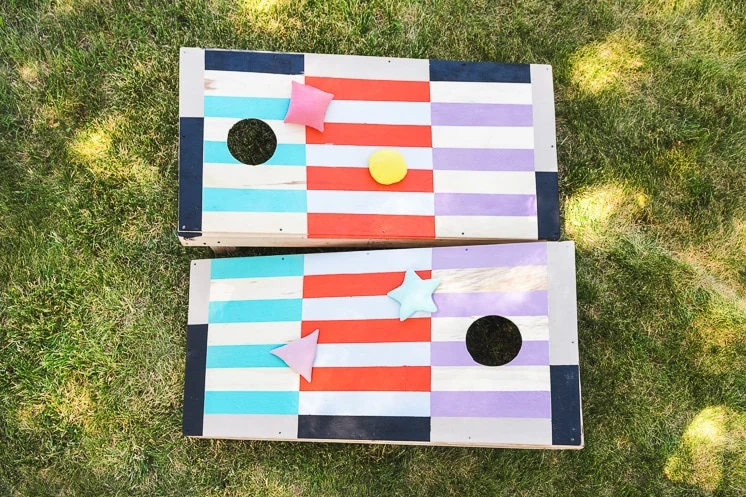
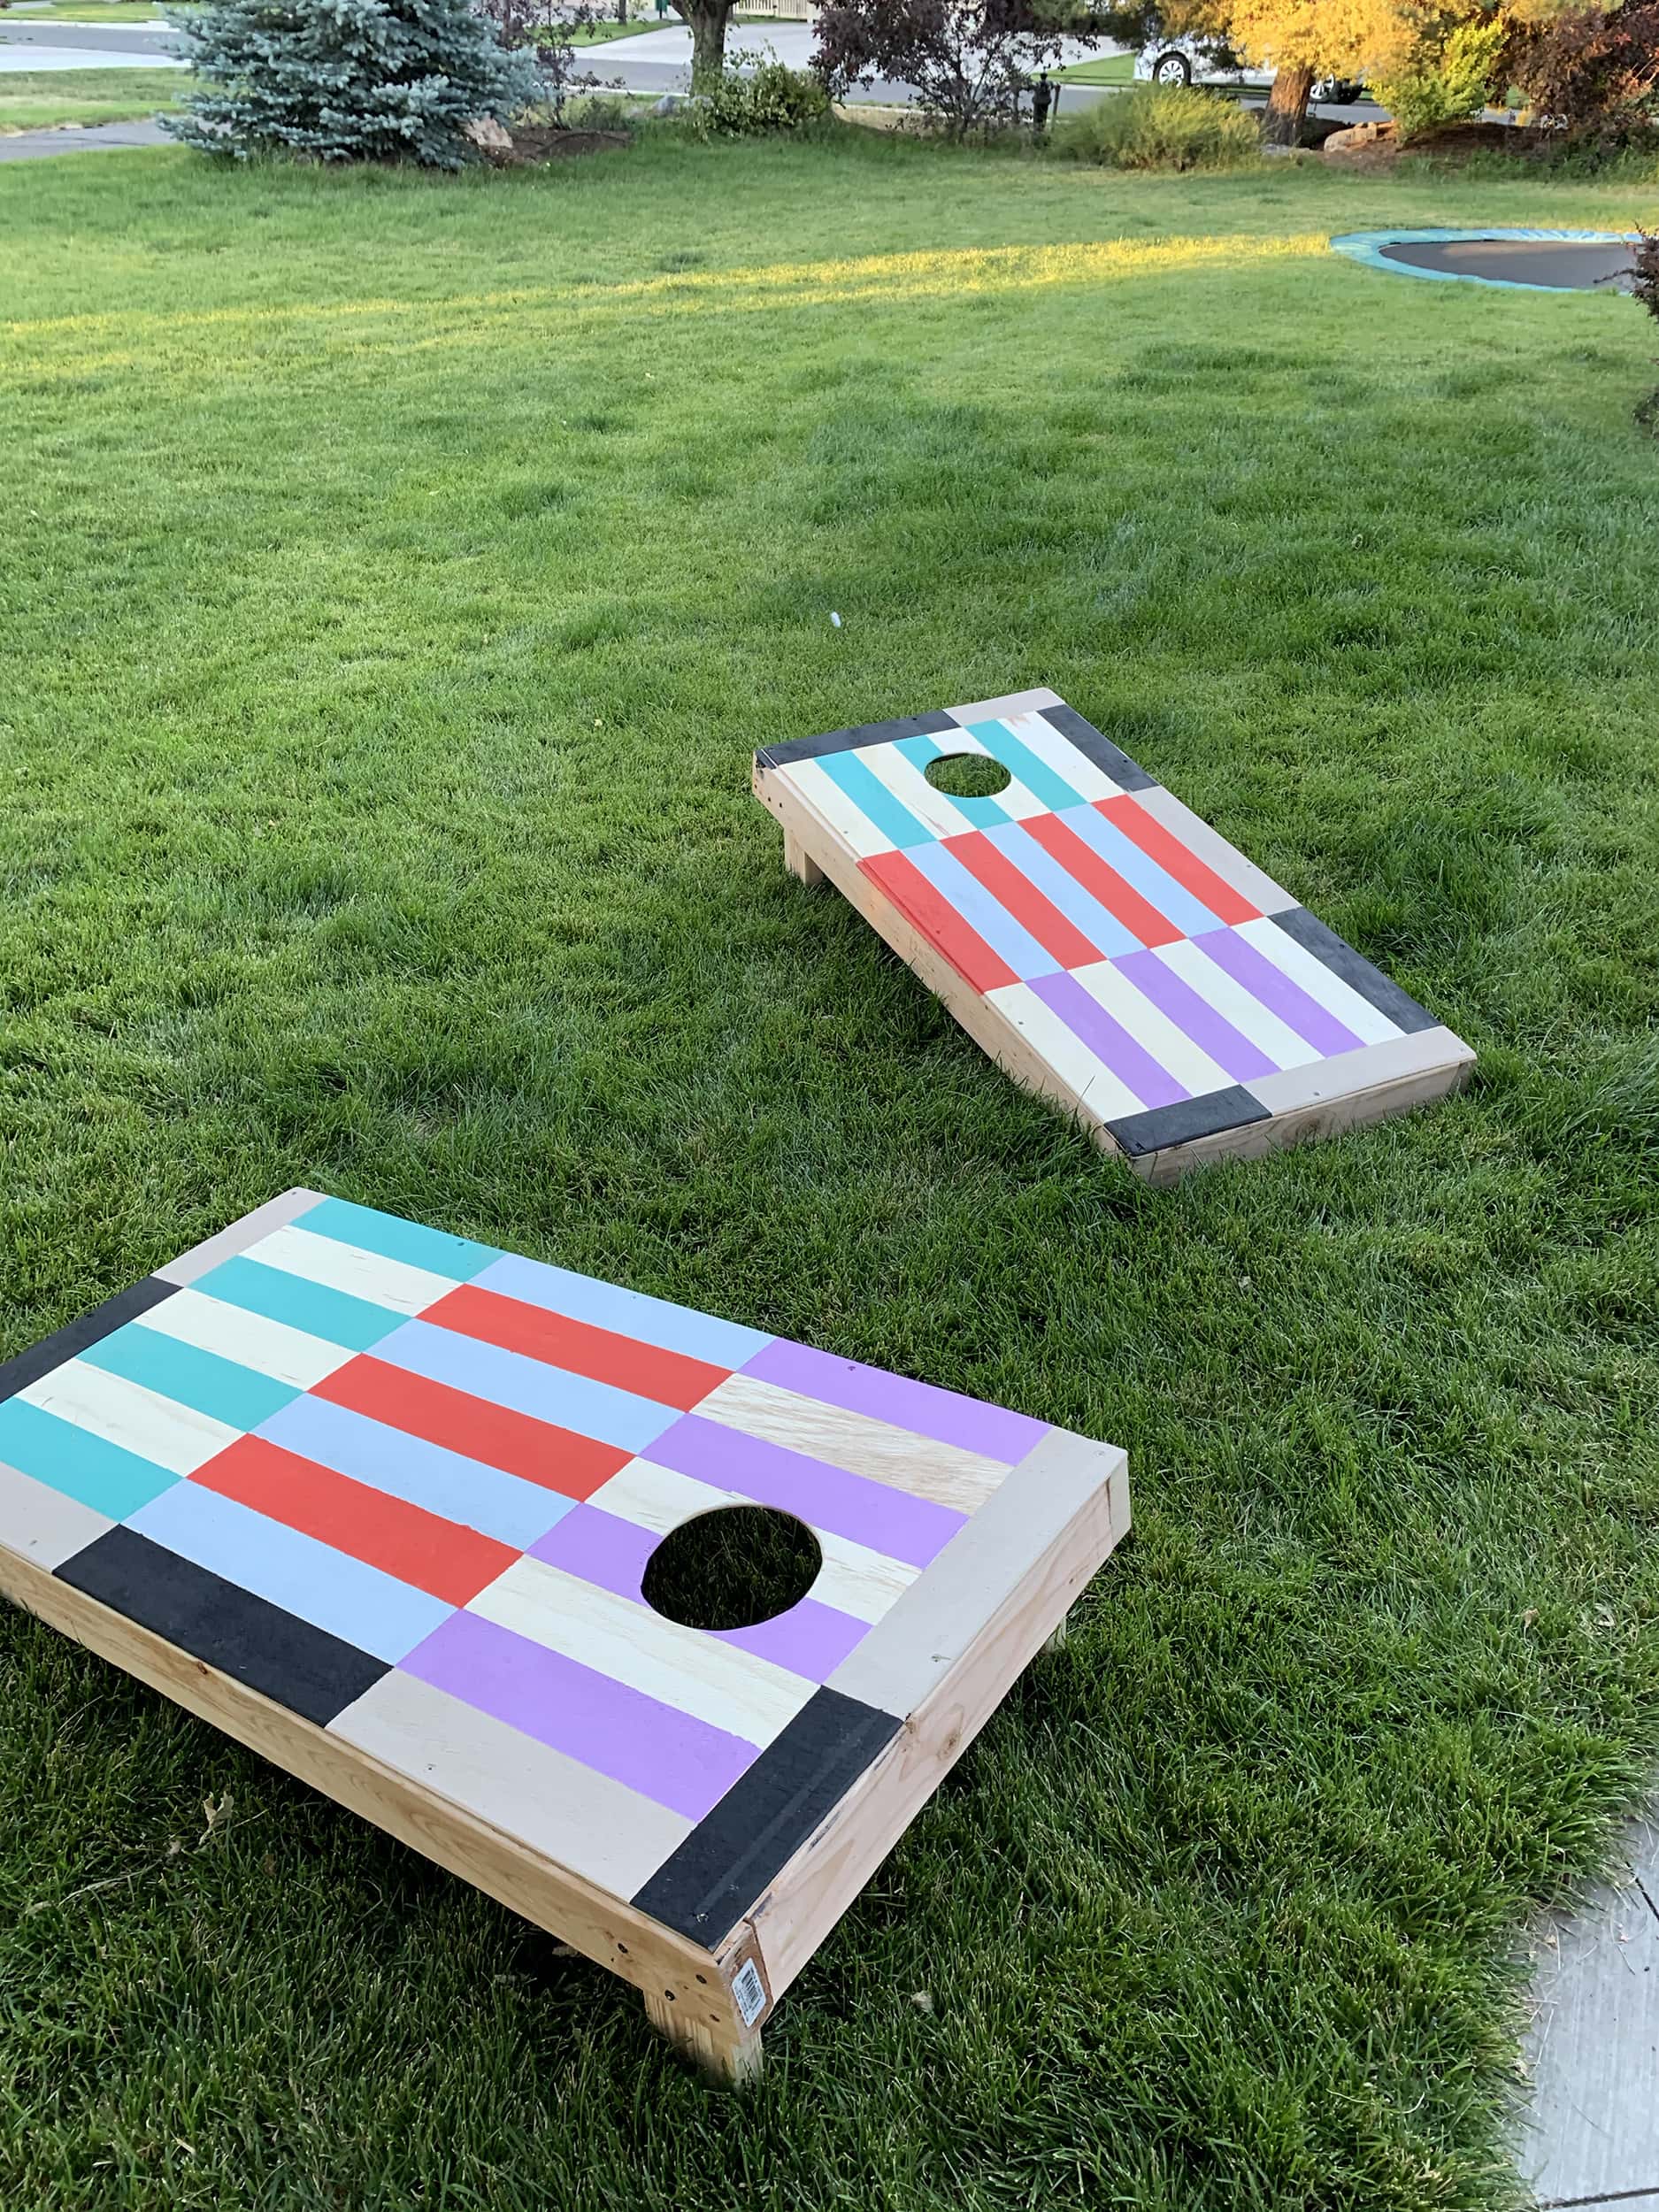
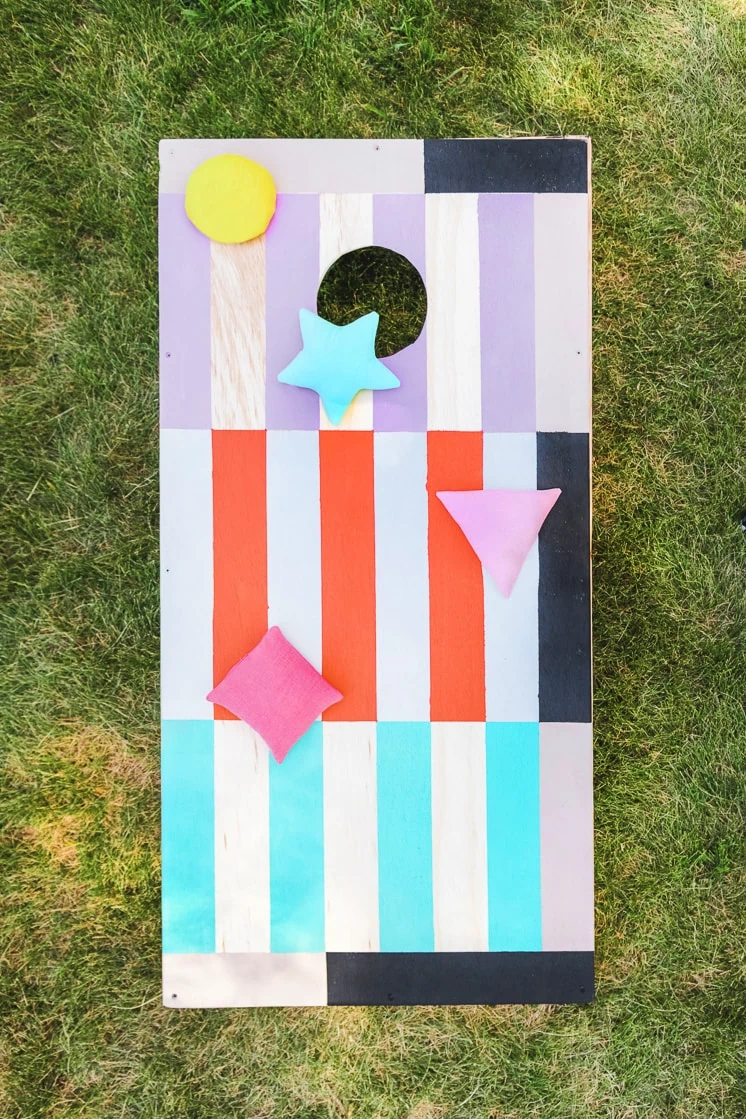
We choose this pattern because it is fun and bold, yet easy to tape off! Choose your paint colors, and get to painting!
We took a nod from one of our favorite design companies, Dusen Dusen and their awesome stripes!
Painting tips
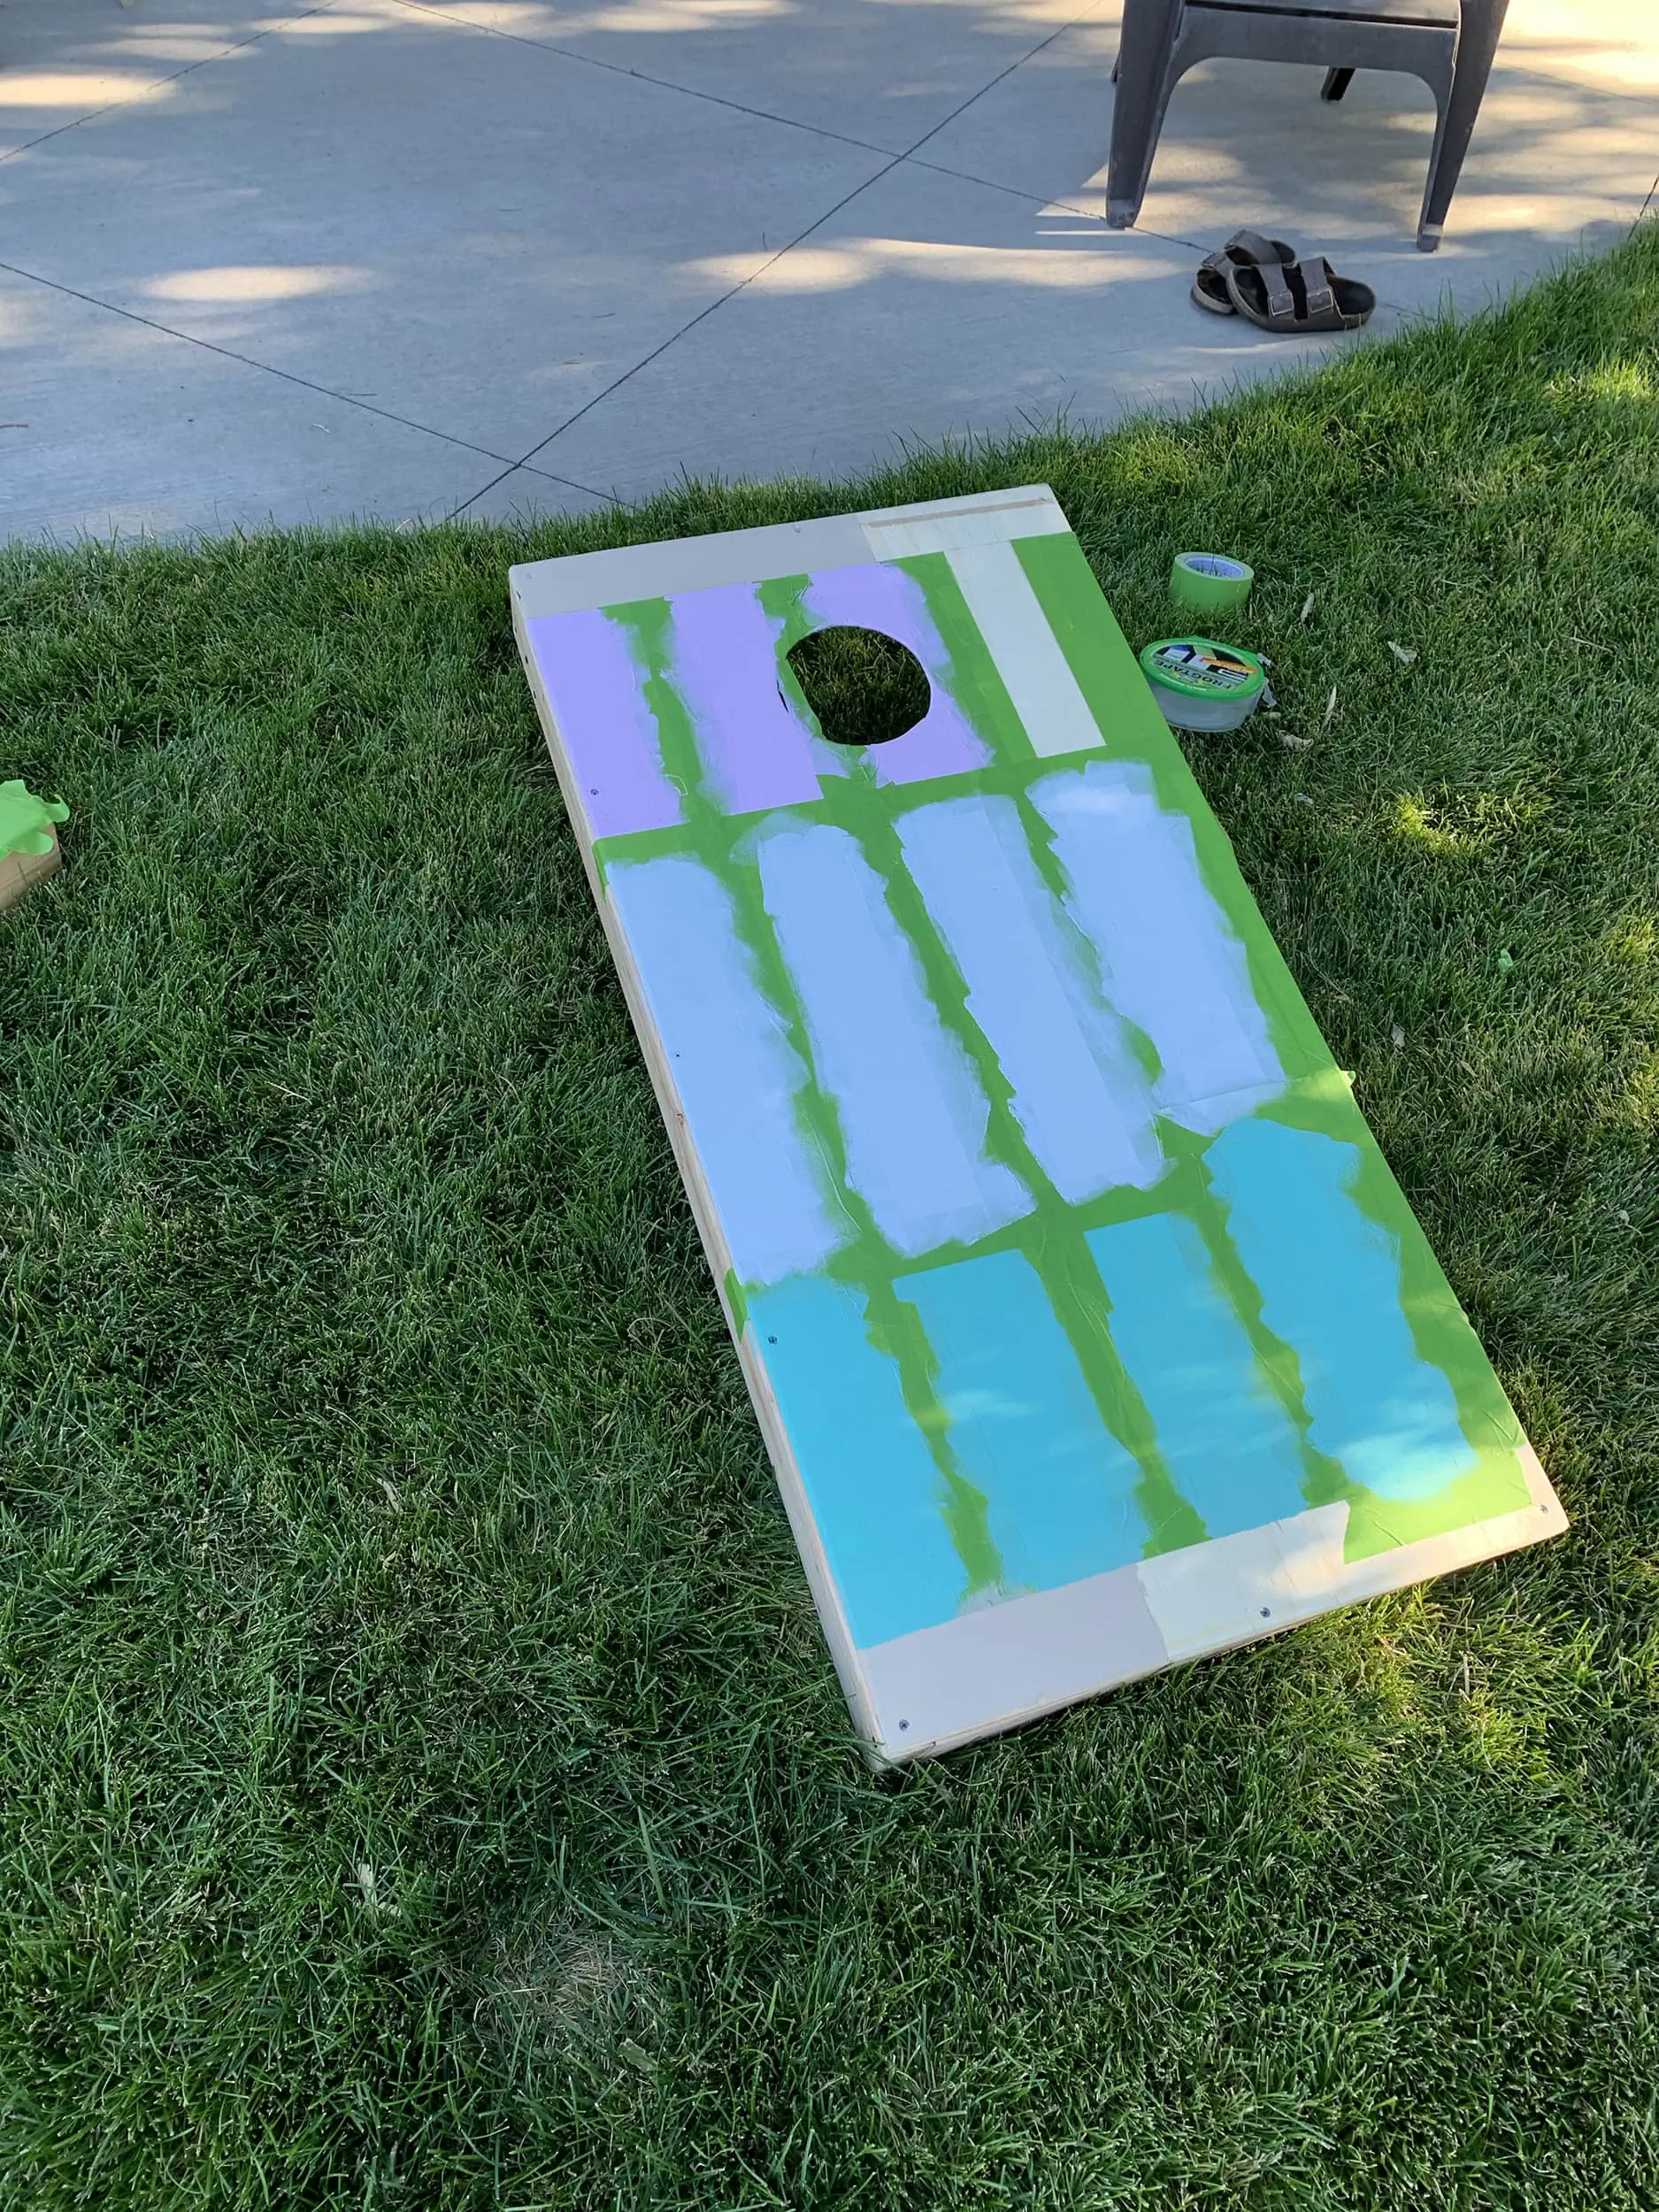
We recommend taping off every other column, painting those blocks your desired colors. Then, once those areas are dry, tape off the reminding columns and finish painting those. Doing it this way will save you time and tape! This way you will only have your change the vertical tape one time, and will only need to move the horizontal tape for each color change. You can see what we mean below – we painted the purple, pale blue, and bright blue columns first, before retaping the vertical lines and adding the other colors.
As you can see above, we painted our cornhole set so that when the 2 boards are next to eachother the pattern is complete!
DIY Cornhole Bean Bag Set
Now that your DIY painted cornhole set is complete, all you need are bean bags before you’re ready to play!
Check out our favorite fabrics for projects like this here! Pick out a fabric that matches your outdoor decor and your painted cornhole set, to complete your yard’s look this summer!
Instructions:
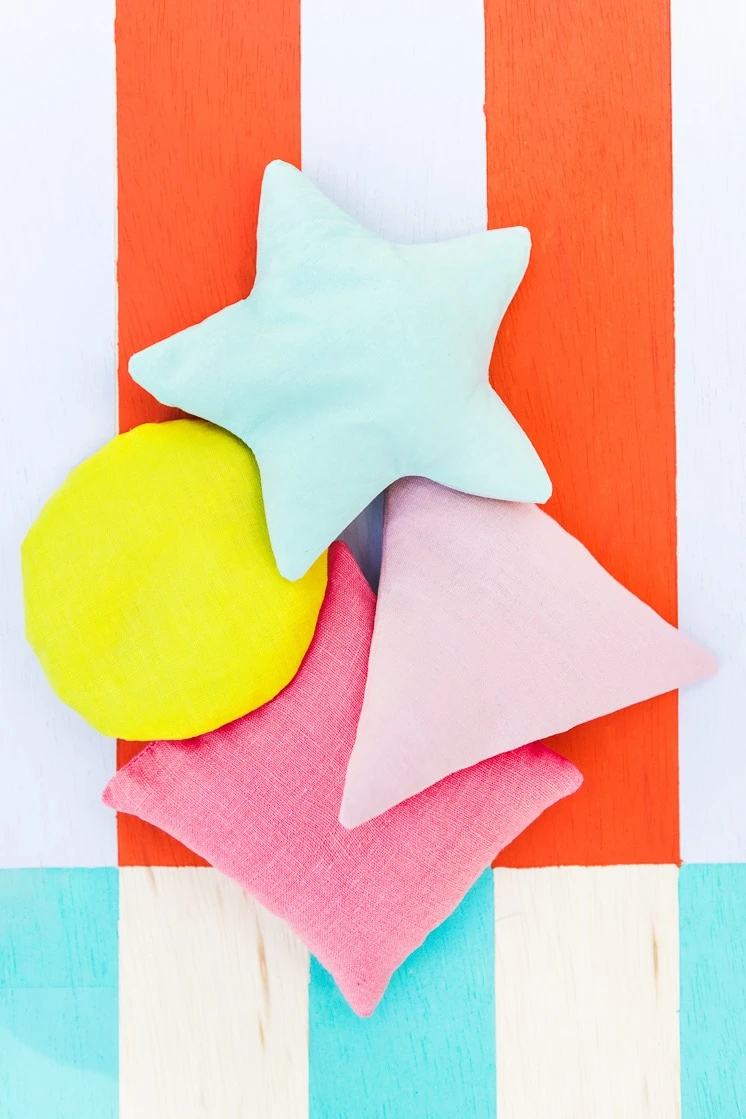
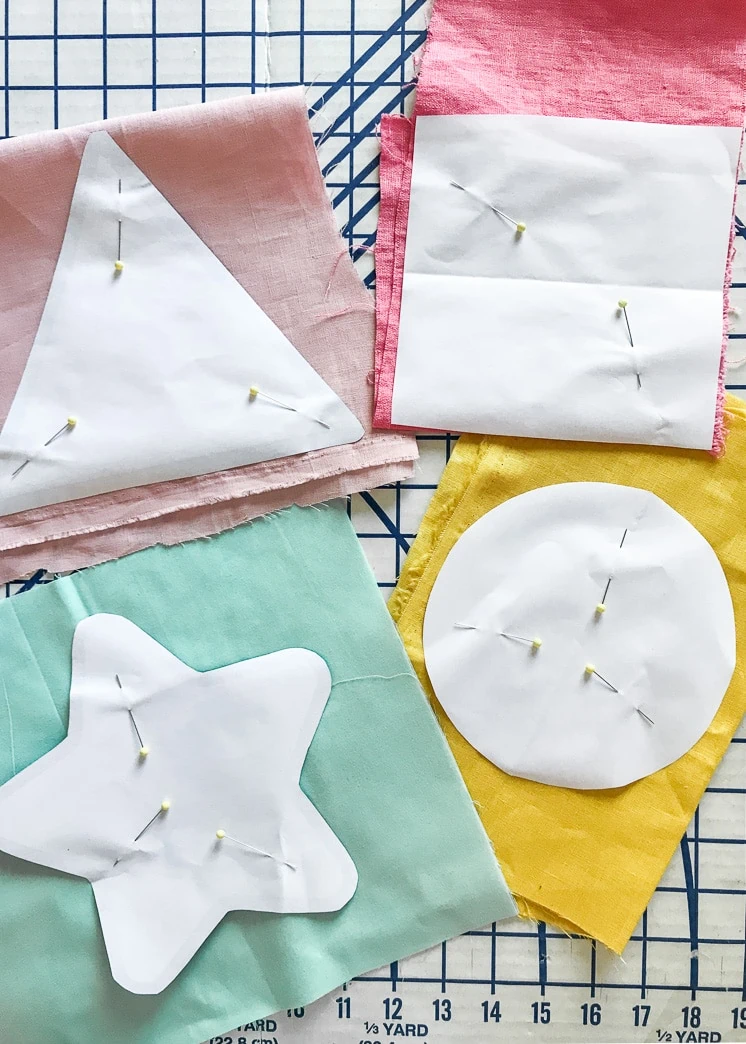
1. Using a tailor’s pencil (you can use a regular pencil too, when finished you won’t see the lines) to trace the outline of bean bag patterns (star, triangle, circle & square).
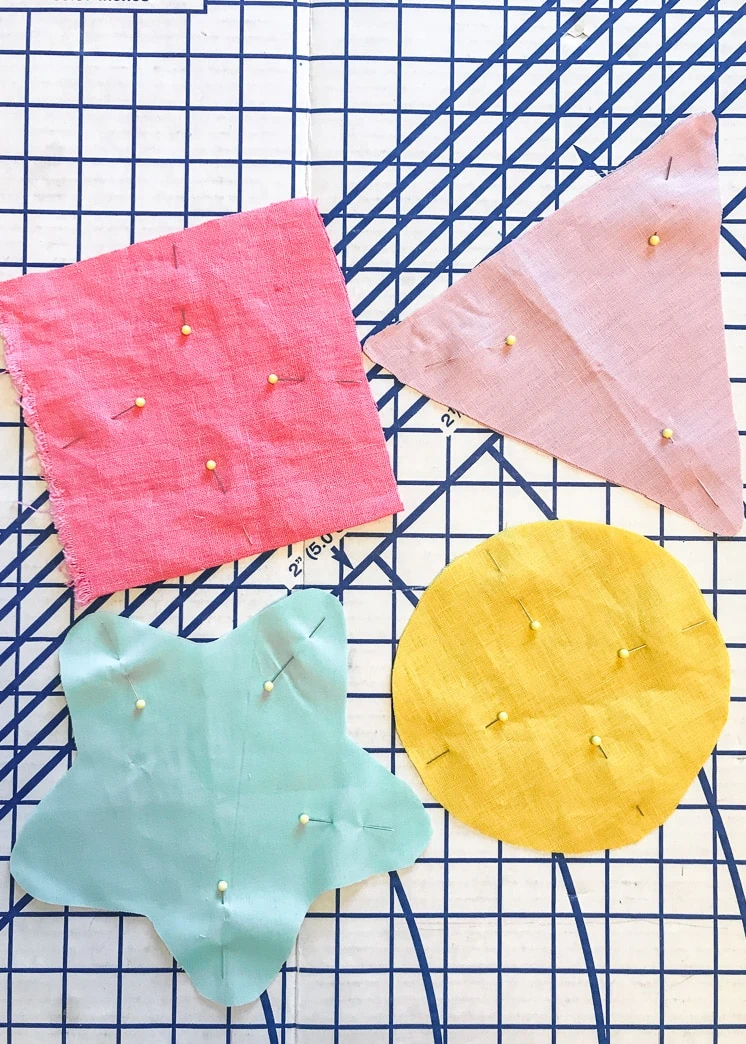
2. Cut out 2 of your bean bag templates for each shape. We layered our fabric and cut two at once.
3. Once the pieces are cut out pin them together and begin sewing a 1/4” seam around each shape.
4. Start sewing from the bottom (backstitching at the beginning of your sewing and at the end) and once you return around the shape leave 2″-3″ of the seam open so you can flip the pattern inside out.
5. Clip and notch the curves appropriately.
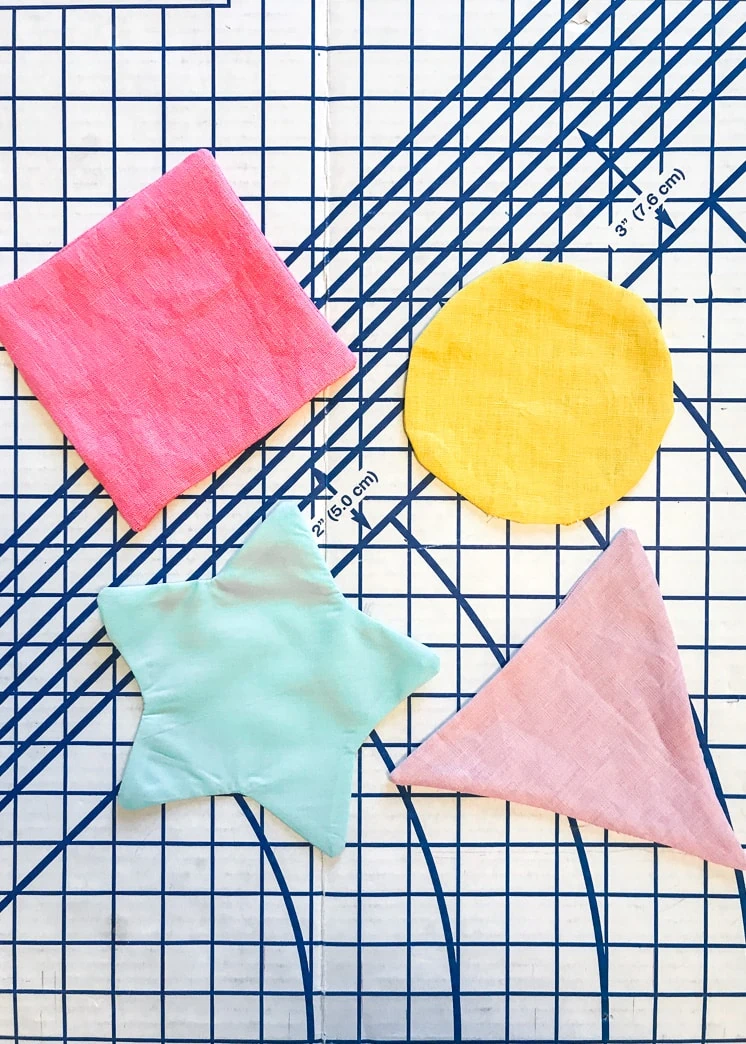
6. Once sewed flip your pattern right side out. You can use a crochet hook or chop stick to push out all the edges.
7. Use an iron to press out any wrinkles.
8. Begin stuffing your bean bag with beans or rice.
9. Once your bean bag is stuffed to your liking, use your need and thread and close the opening using an invisible stitch!


