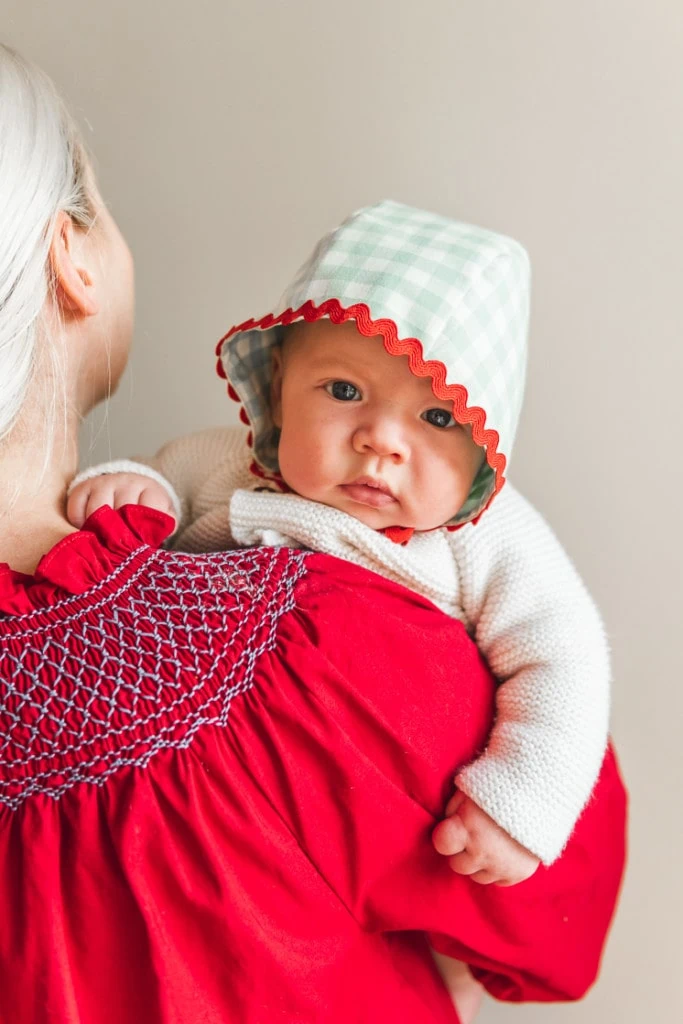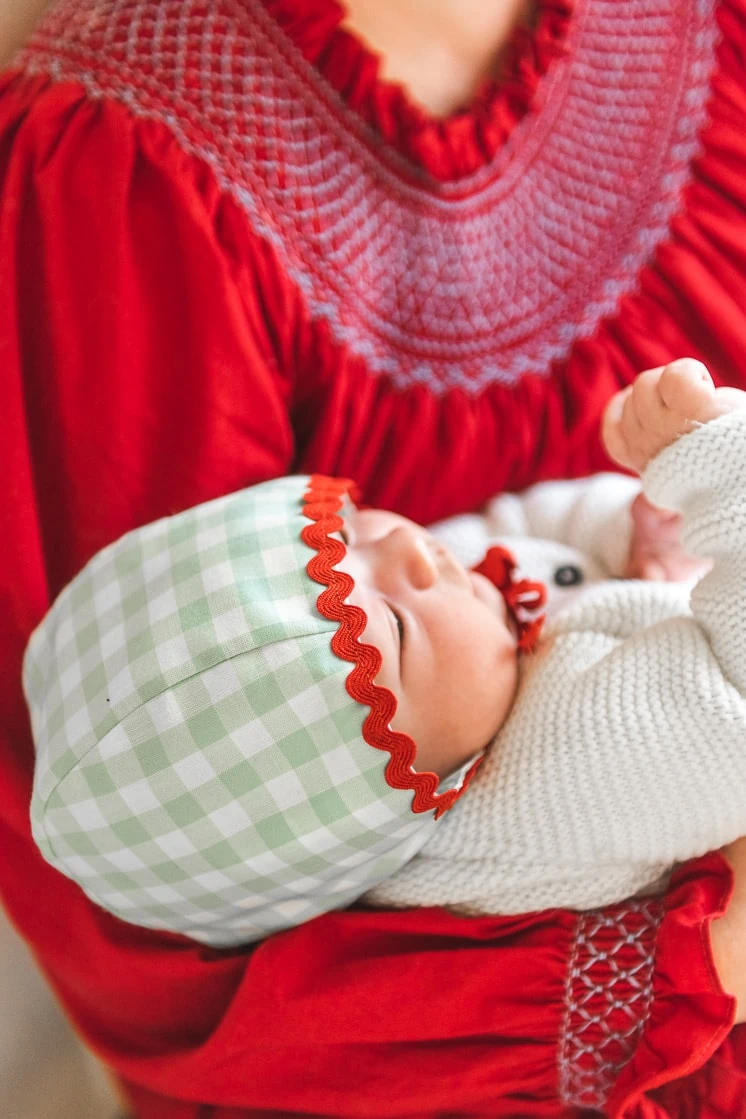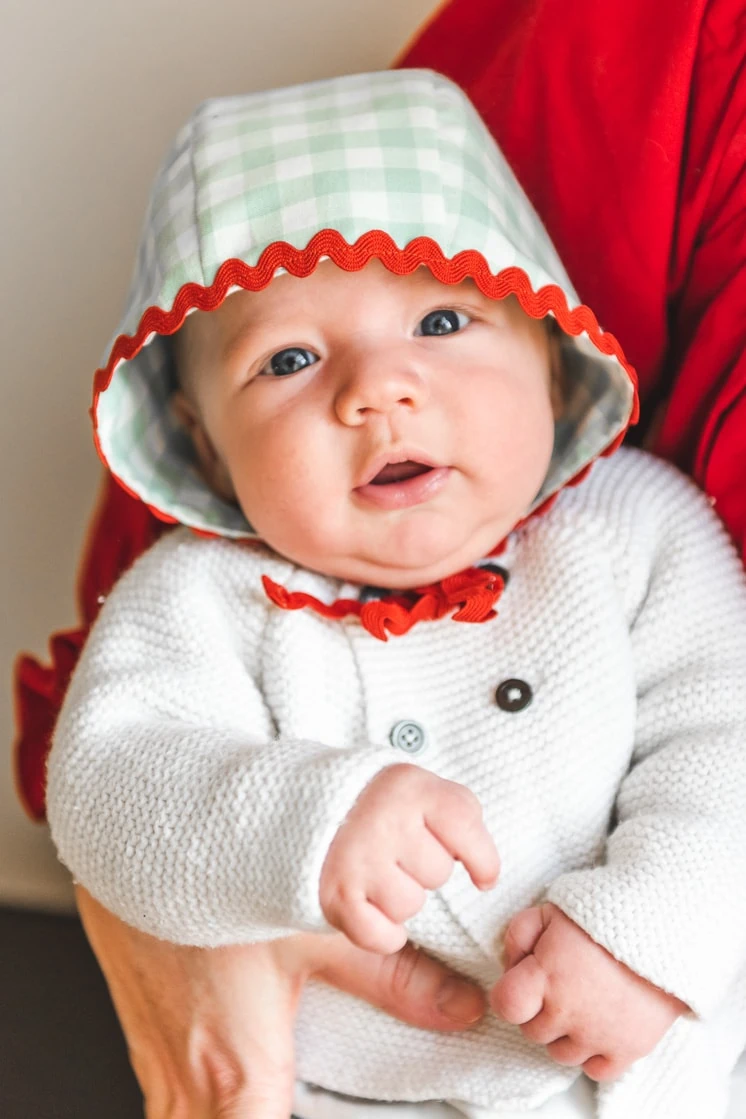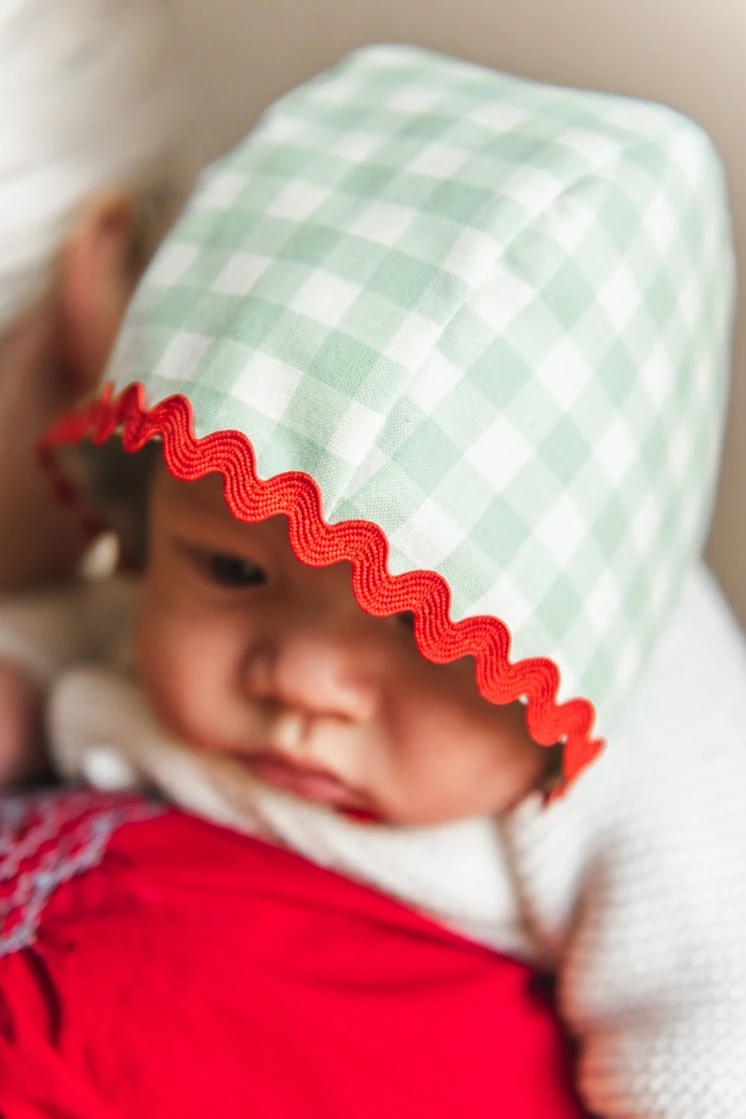
Is there anything cuter than seeing a baby in a bonnet? You may have read our recent roundup of our favorite Easter crafts, and one of the posts included these adorable baby bunny bonnets. I still can’t get over them! So precious. We knew we had to add regular bonnets to our collection and created a template for you! If you or someone you know recently welcomed a child, these bonnets are the perfect little hats to keep the child’s head warm as they summon all the awws and kisses.
Materials:
Baby bonnets may be used in the fall and winter to shield your baby from the cold winds and air. They may also be used in the spring and summer to block harsh UV rays and prevent sunburns. Best of all, they can be worn anytime without reason, just because they’re so cute! We have made a baby bonnet pattern for you to use for all seasons and reasons. Download the template and follow the instructions below.
Enjoy the season of being able to dress and accessorize your child because one day soon they will grow up and no longer want to wear the carefully coordinated outfits you pick. They will learn to use to their own hands and fingers to throw off the hat, headband, and bow. They will also develop opinions. Seize the opportunity while they’re still little (and acquiescent!) to dress them up as you please. Pick out your favorite fabrics and download the baby bonnet pattern to create one for all occasions! Don’t forget to use the hashtag #larsmakes to show us your creations!
Making your baby bonnet
Supplies
Half a yard of cotton fabric (I have been swooning over ginghams lately so I chose this sage color from Robert Kaufman’s Kitchen Window Wovens collection), a yard of medium rick rack, matching thread, our baby bonnet pattern, sewing pins, a sewing machine, an iron, an ironing board, and your trusty sewing scissors
Instructions
- Download and print the baby bonnet pattern. Cut out the pieces and tape the two rectangular “bonnet backing” pieces together on the double line to create one longer rectangle. Hint! Make sure that you download the size that will best fit your wee one’s head (I made the 3-6 months version and it leaves Felix with room to grow).
- Lay out the pattern pieces on your fabric and cut out the correct amount of each piece. If your fabric is printed on one side, you will need to cut two pieces with the curve on the left and two with the curve on the right.
- Take one of your bonnet sides and one of your bonnet backing pieces and pin the pieces together along the curved edge line. If your fabric is printed, put the printed sides together. You may notice a bit of overhand at the back of the bonnet on the backing piece, but fear not! That will be used to close the bonnet up later.
- Making sure that you are pinning the pieces so that the seams will go on the same side (printed sides together), pin the other side of the backing piece with another bonnet piece.
- Sew the bonnet pieces to the backing pieces on the curved edge. Now you have half of your bonnet sewn!
- Repeat steps 3-5 with the remaining pieces. You should have two identical structures that each look like the shape of a baby bonnet. One will be the outside of the bonnet and one will be the inside.
- Because you’ve sewn a curved seam, trimming just a tiny notch into the seam allowance (don’t cut into the line you have sewn!) will help it all the parts lie flat.
- To keep the bonnet from getting bunchy, iron the seams flat on both pieces.
- It’s time to put the two pieces together! With the seams aligning, pin the inside and outside of the bonnet together. Make sure that the seams are facing OUT on both pieces because you will flip it right-side-out soon.
- If you don’t want to use rick rack or another ribbon to trim your bonnet, you can add in straps here. Pin them in at the front bottom corners. When placing the straps you will place the ribbon sandwiched between the two pieces. You might find this confusing but once you flip the pieces the right way your strap will stick out.
- Leave the back of the bonnet (you know, those longer bits of bonnet backing hanging off the end) open so you can flip it the right way later.
- Beginning next to the open back of the bonnet, sew the two pieces together. Backstitching at the beginning and end of the seam will make your bonnet lots sturdier and is generally a good idea when sewing.
- Using the opening you left at the nape of the neck, flip the bonnet inside out. Use a pencil or dowel to form the corners of the bonnet.
- Does it look like a very cute but very deflated football? That’s okay. Lay the bonnet flat and iron the bonnet into shape, making sure that one of the sides is nestled inside the other.
- The longer tails of bonnet backing should be folded up inside the bonnet body. Iron the opening so that it is flat and tidy.
- If you aren’t using rick rack, top stitch close to the edge all around the bonnet.
- Measure a length of rick rack that will reach from one bonnet corner to the other along the nape of baby’s neck. Pin this to the bonnet. It will cover the opening you used to flip the bonnet inside-out.
- Top stitch the rick rack to the back of the bonnet. The opening is now stitched up.
- Measure another length of rick rack for the front of the bonnet. Make sure that it is long enough to both cover the front of the bonnet and hang down as ties. I cut mine about 18 inches longer than the length of the bonnet front so that I could have 9 inches of tie on each side.
- With the middle of your rick rack centered at the top, pin it to the front of the bonnet.
- Top stitch the rick rack.
- Finish the rick rack straps by folding them over onto themselves and stitching back and forth a few times.
- Well done! Now it’s time to perch your bonnet onto your baby and revel in the cuteness.
Enjoyed this tutorial? Check out this post about Easter-themed baby bunny bonnets (and say that five times fast)!


