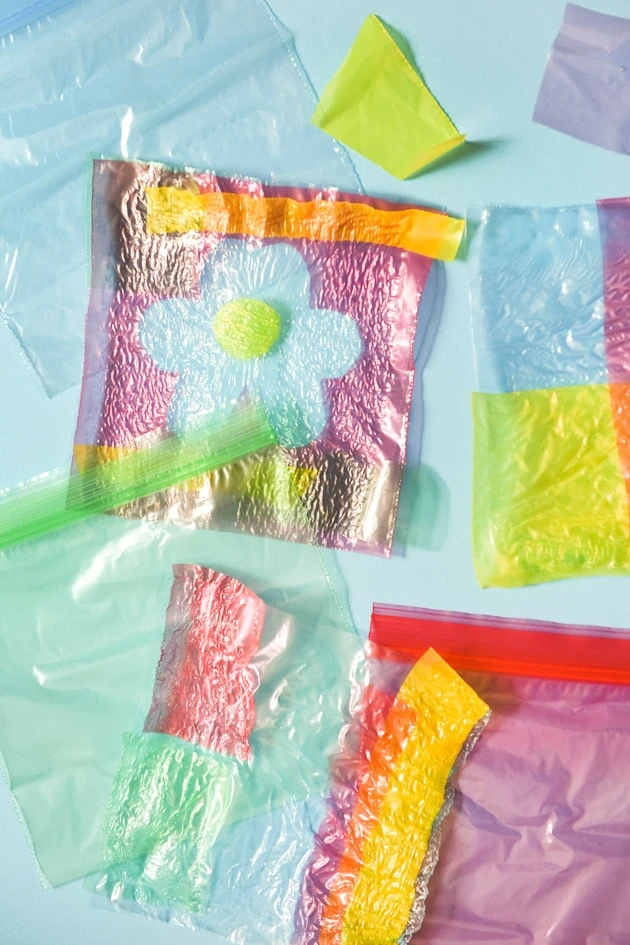
Welcome to Camp Lars! This week we’ll be sharing some crafts you can do with your kiddos this summer. Essentially, it’s your very own DIY at-home summer camp so your kids stay entertained and you stay sane until they go back to school come August. Today we’ll be making some fun projects with fusible plastic bags! This is a great craft if you’re looking for a simple craft that looks pretty and, bonus, keeps plastic outta those landfills. Scroll down to learn how!
Materials:
An Environmental Quandary
Ever forget to bring a reusable bag to the grocery store with you and end up with a pile of single use, plastic ones? I know I have. I try to be environmentally conscious, but it still slips my mind on occasion. So what to do when that happens? And what on earth to do with all those plastic bags?! We’ve all probably heard by now that not everything you throw in the recycling bin gets recycled, and I really hate thinking about my plastic grocery bags filling the landfill.
The Perfect Recycling Solution
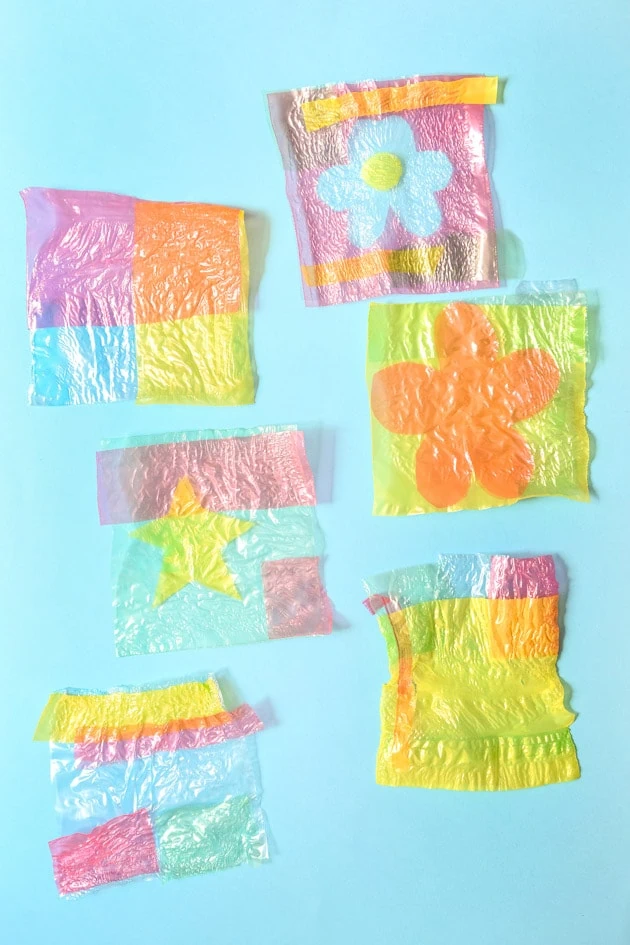
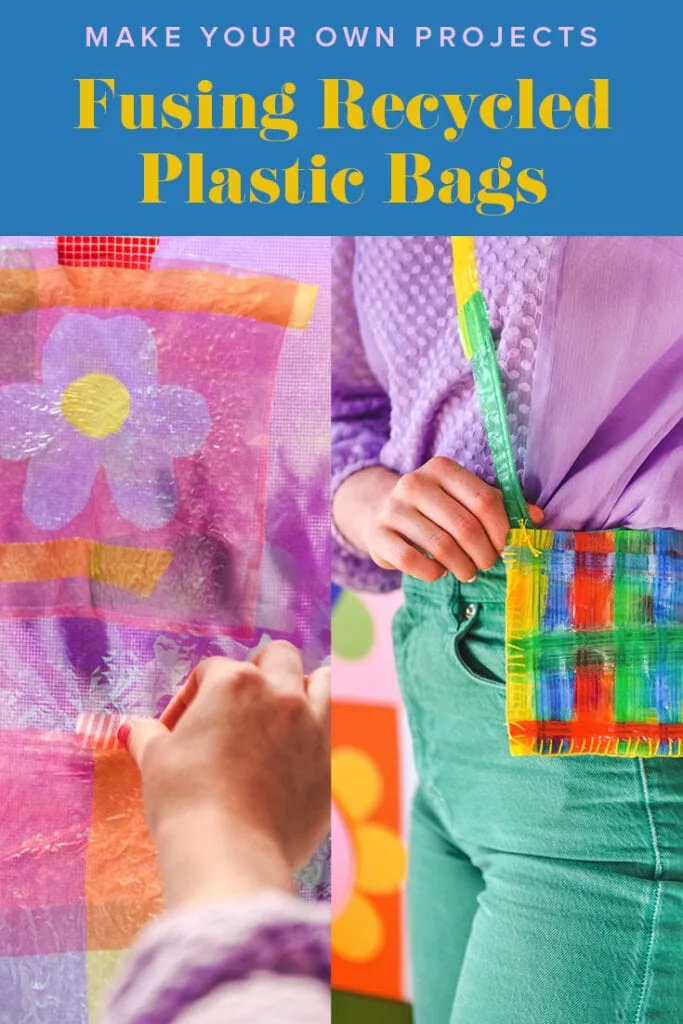
Well, it turns out that this super simple DIY craft is the perfect solution to all those conflicted feelings about plastic bags! Generally we create waste by crafting, too, right? Paper scraps and bits of fluff galore. Well not this time! Introducing fusible plastic bags. Did you know you can make DIY stained glass and all kinds of pouches and purses by fusing plastic bags together? Save those bags and turn them into these cute little crafts instead. Here’s how:
How to Make Stained Glass with Fusible Plastic Bags
Prepping the Plastic
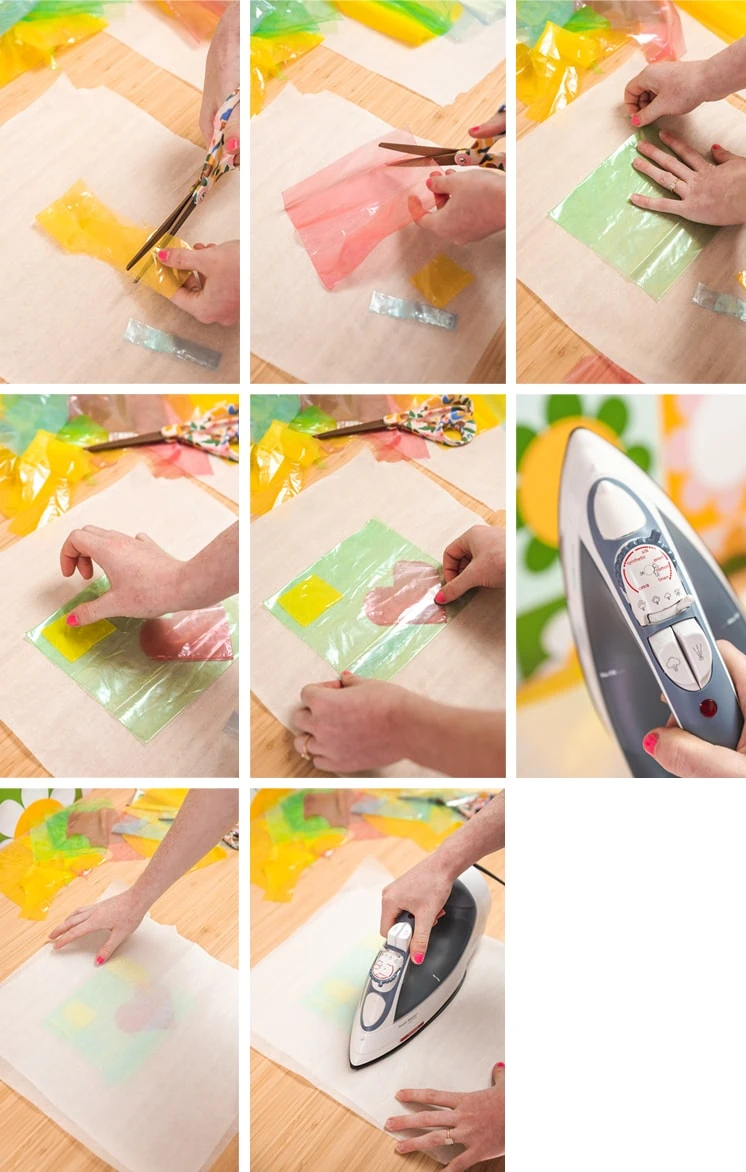
- First, tear a large piece of parchment paper to go under your work. Tear another 1-2 pieces to go between the iron and your plastic bags.
- Now take a few plastic bags of each color and cut the top seals off.
- Next, cut the bottom and side seams to open the bag as big as it can be.
- Now get creative! Keep a few plastic bags big and cut the other bags into fun shapes of different sizes.
- Once you have enough pieces cut out, lay down a large plastic bag. Start assembling your design on top. You can also layer the colors to experiment and blend the colors.
- When you’re happy with your designs, you can prep to fuse them together.
Fusing the Plastic
- To fuse your project, take your parchment paper and place it on top of your assembled work. Be careful to not knock anything out of place!
- Set your iron somewhere between synthetic and silk. If you have a Cricut Easy Press, set it to 215 degrees. Once it’s hot, gently press it across your work once, then lift up the parchment paper to see if it’s fused yet. If not, repeat again. Note: Be very careful to not hold it for too long as your work might melt and shrivel up. The goal is to have the plastic melt together but not shrink.
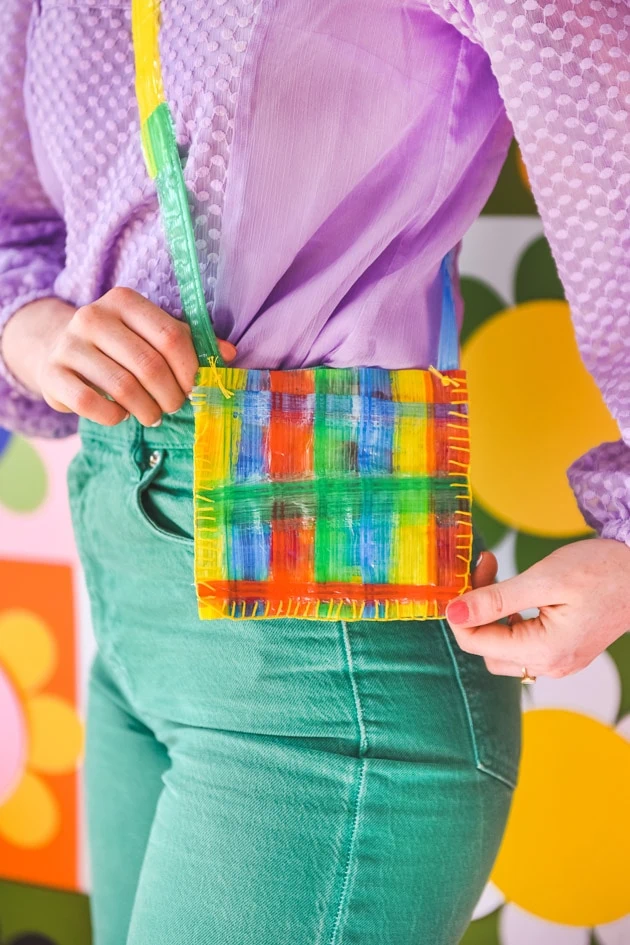
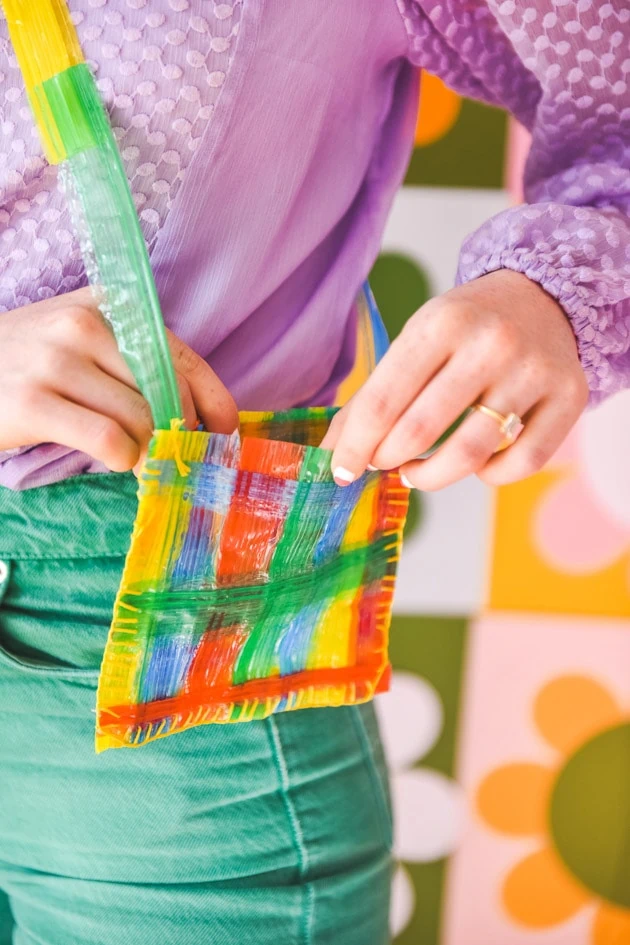
How to Make a Crossbody Bag with Fusible Plastic Bags
To make this bag, you’ll use the zipper tops of the ziploc bags you used for the stained glass. Waste not! If you’re not using ziplocs, cut strips of plastic bags and double layer them, then fuse.
Prepping your Bag
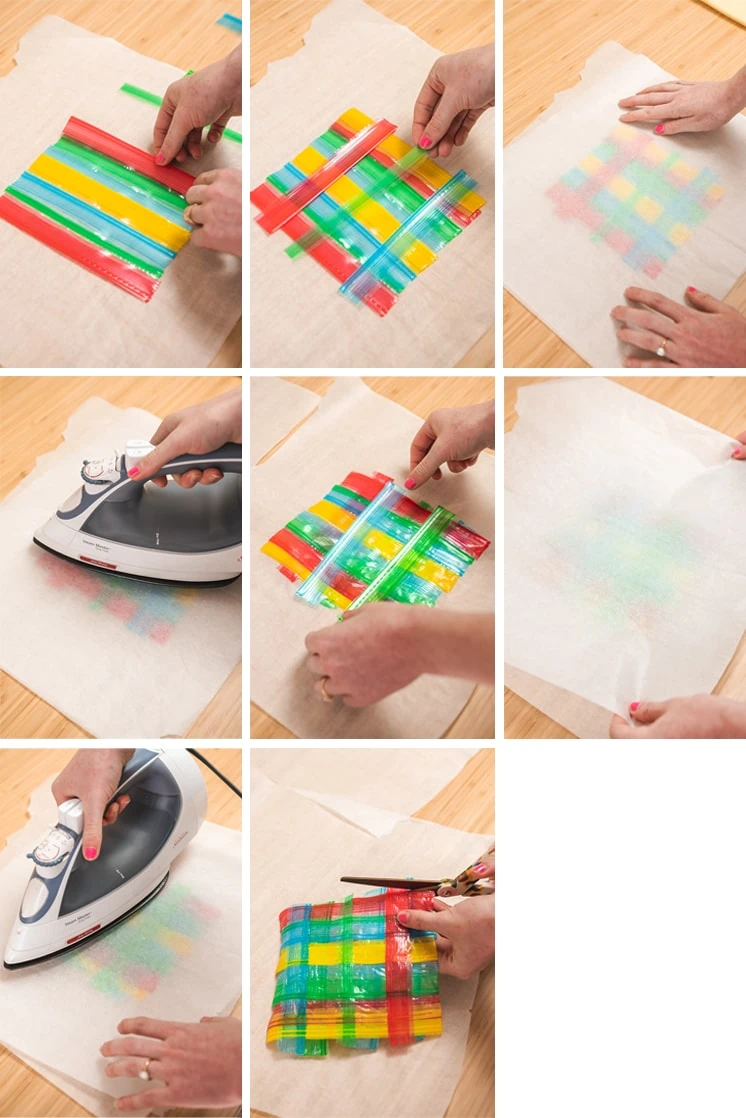
- First, tear a large piece of parchment paper to go under your work. Tear another 1-2 pieces to go between the iron and your plastic bags.
- Now lay out a few tops an inch apart from each other alternating the colors. Lay another row going the opposite direction. You can also weave the tops if you want.
- Take your parchment paper and place it on top of your assembled work being careful to not knock anything out of place.
Fusing your Bag
- Set your iron to silk/wool or your Cricut Easy Press to 275 degrees. Once it’s hot, gently press it across your work once, then lift up the parchment paper to see if it’s fused yet. If not, repeat again.
- Flip your work and do the same thing on the other side
- Once your work is melted together and feels secure, trim any edges that are uneven to make the desired shape of your bag.
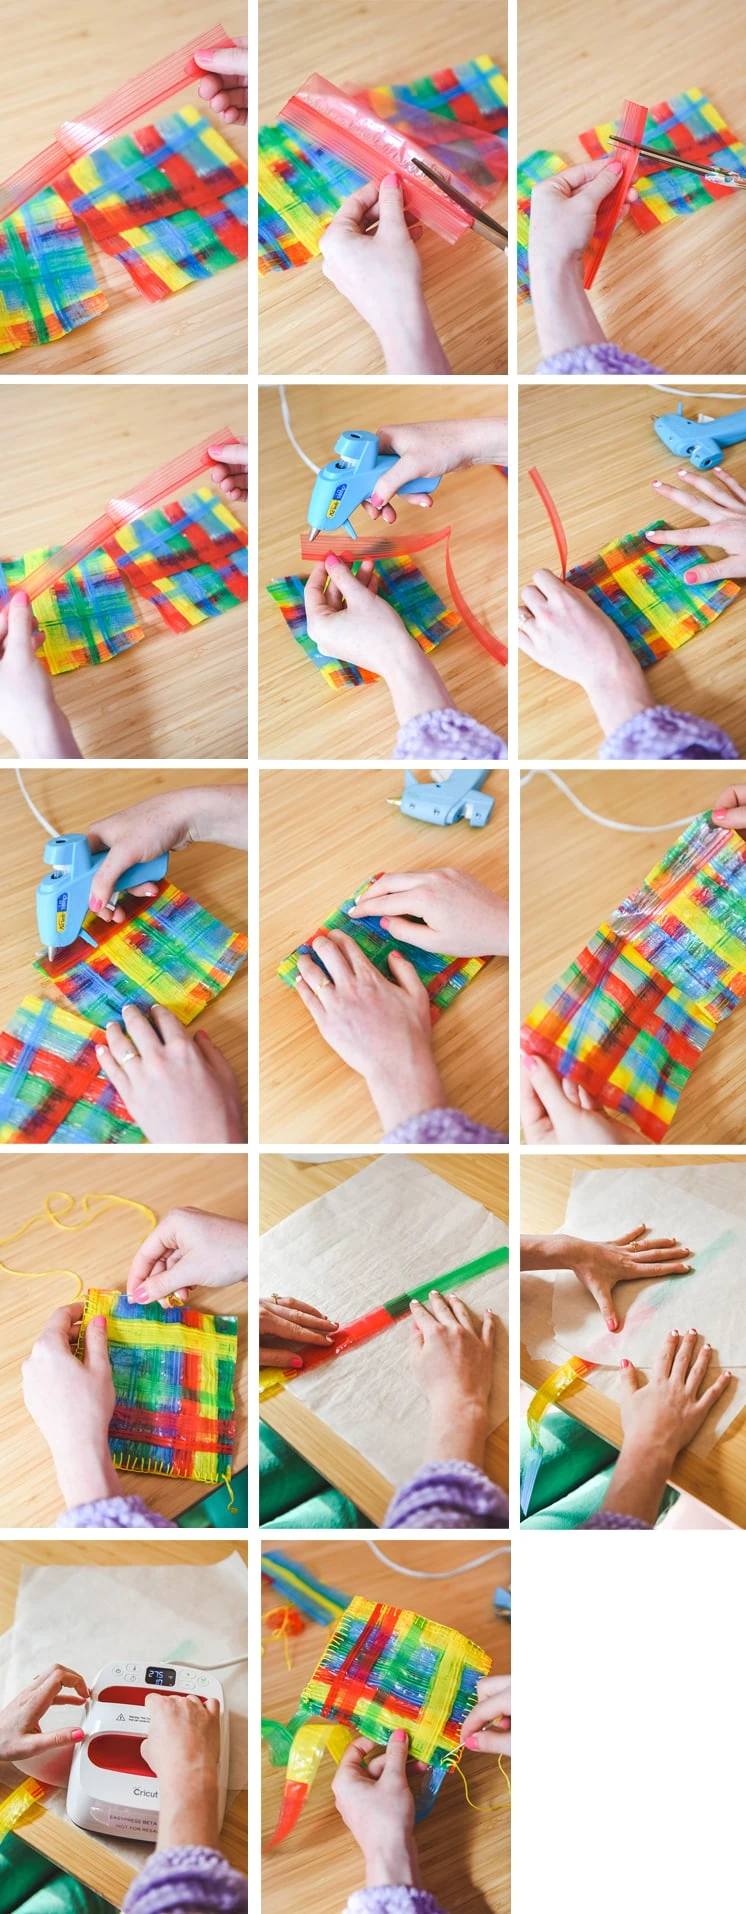
- Repeat this for the other side of the bag.
Creating the Strap
- To create the strap, take 4-6 plastic bag tops and cut them apart into individual sides. Use your iron at silk/wool or your Cricut Easy Press at 275 degrees to fuse them together overlapped by 1 inch. Put this off to the side.
- Take another plastic bag top and your two bag sides and hot glue them together to form the base of the bag. Make sure you don’t glue the bag shut, you want to be able to open and close it.
- Now, take embroidery thread and a needle and work a blanket stitch all the way around the sides of the bag. On the top corners, secure the bag’s closure with a few stitches and the beginning and end.
- When you finish, take your handle and attach it to the top inside corners with a few embroidered stitches. Add hot glue for extra security.
What to Do With Your Fusible Plastic Bag Projects
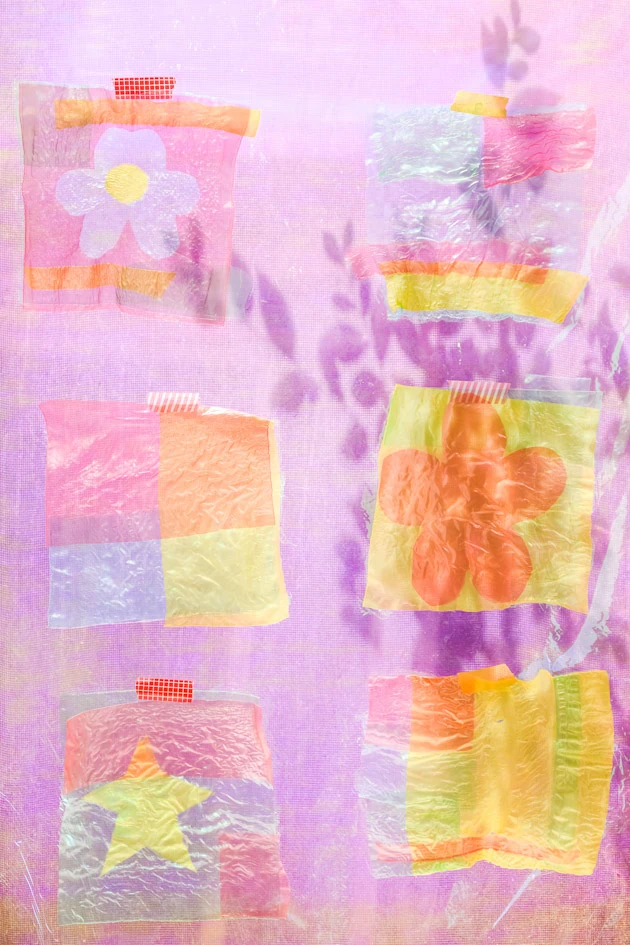
Woohoo, you’ve successfully made your fusible plastic bags into something beautiful! Now, what to do with them? We love using the plastic stained glass in windows–the light that filters through the plastic is really striking, especially in the afternoon when west facing windows are fully lit. It’s magical! If you don’t have many window options, though, you can also frame them, make a garland or banner with them, or pin them up anywhere. Let your kids get creative, there are so many options!
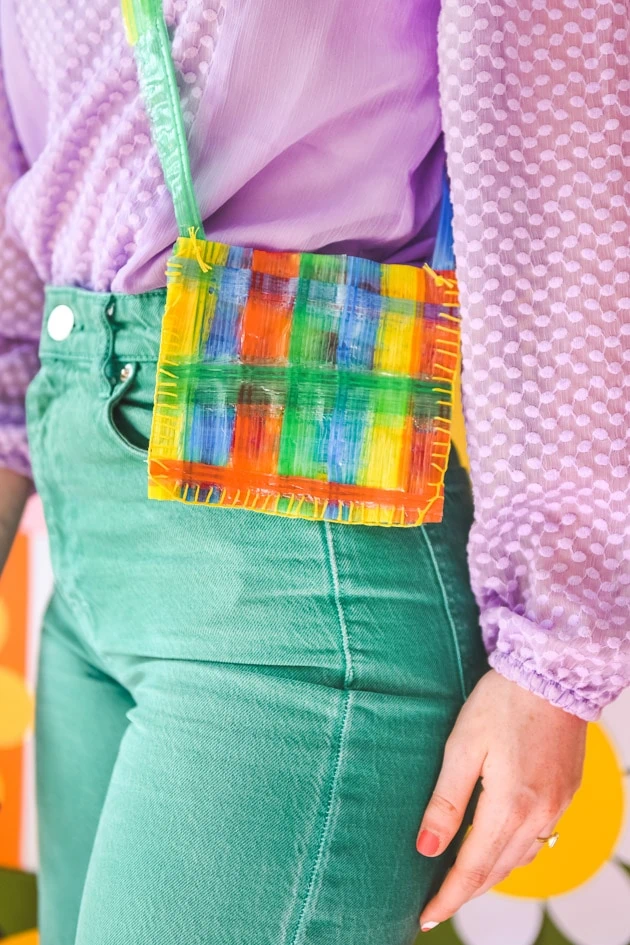
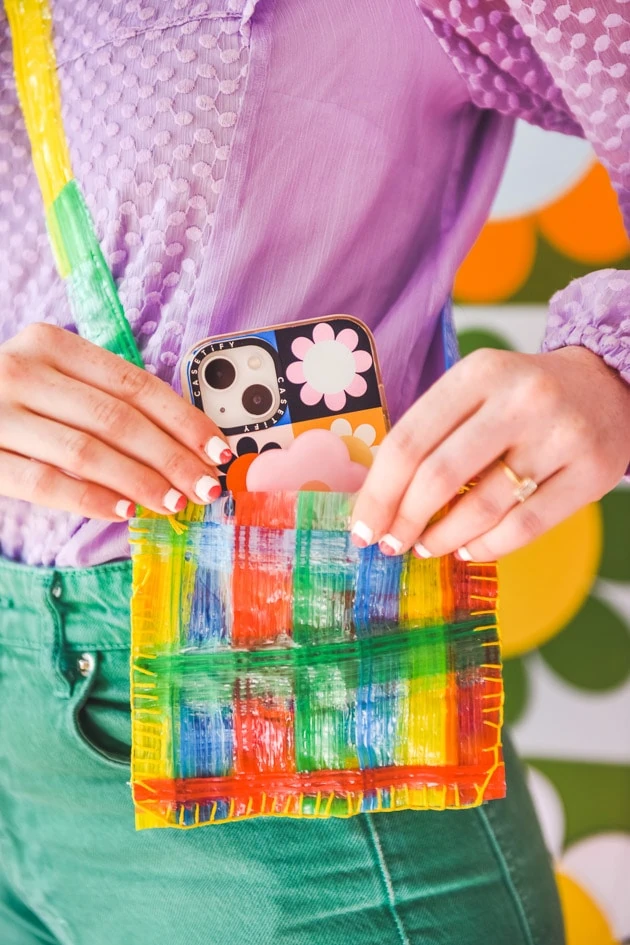
As for the crossbody bags, use ‘em! They’re the perfect size if you don’t want to carry around your phone in your hand or if you don’t have pockets. Don’t want to use them? Consider it another opportunity for some unique wall art and get decorating!
What are you going to do with your fusible plastic bags? Let us know below!
More Inspiration
Loved this tutorial on fusible plastic bags and want more kids summer craft ideas? Not to worry! We have so many options for you to choose from. Check out this amazing hack to make a custom puzzle! Also see this compilation of kids activities from our archives.


