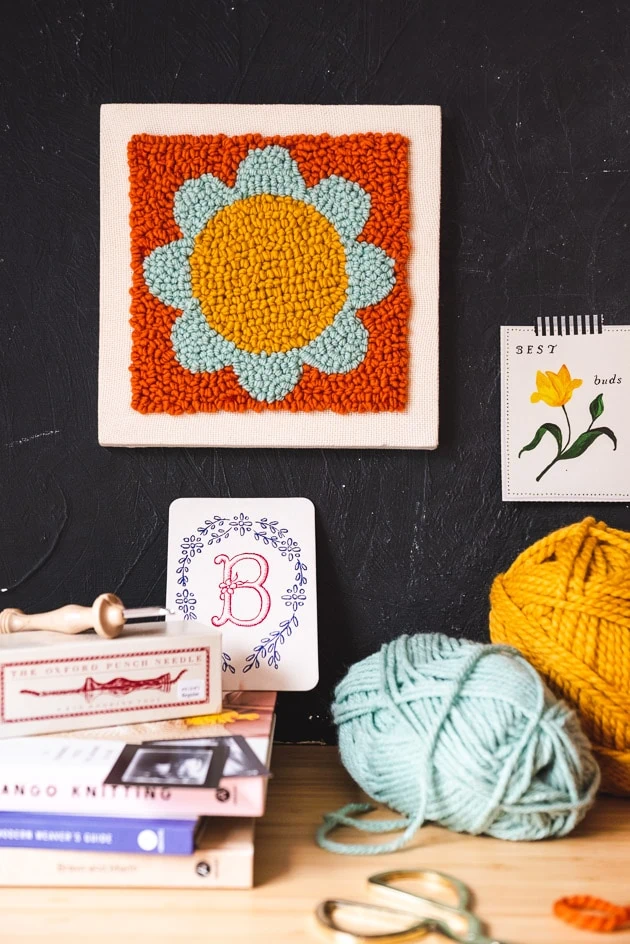
Well, school is back in session pretty much everywhere by now! We’ve been musing about dorm room decor for a while now (see this post for some ideas to start you off, if you haven’t already). We decided it was high time for some DIY wall art for your dorm needs! I’ve been in enough sad, patched-together college housing situations to know that it’s a struggle to make the college living situation feel like home. I speak from my own experience and that of others, and today we have the perfect solution! Introducing our punch needle wall art.
Materials:
Punch Needle Art
We’ve been wanting to do a punch needle project for a while now. Then, when our project manager, Jenny, started here at Lars last winter, it was as if the stars had aligned. She has a side tufting business and it inspired us to finally try it out! (You can check out her business, Thread Haven, here–it’s honestly incredible). Jenny has a fancy tufting gun, which was a little advanced for us, so we decided to go with the more beginner-friendly, handheld version: a punch needle.
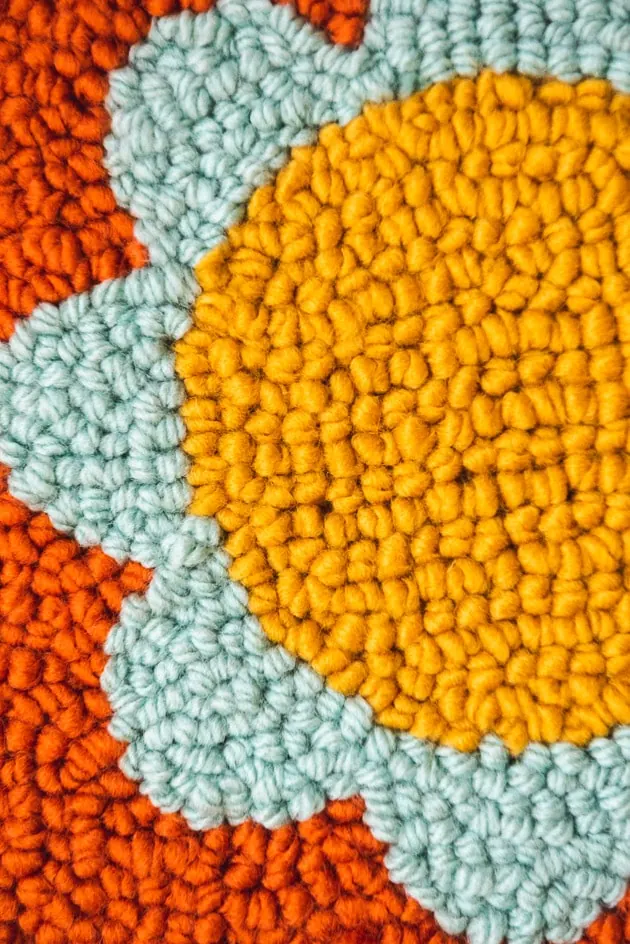
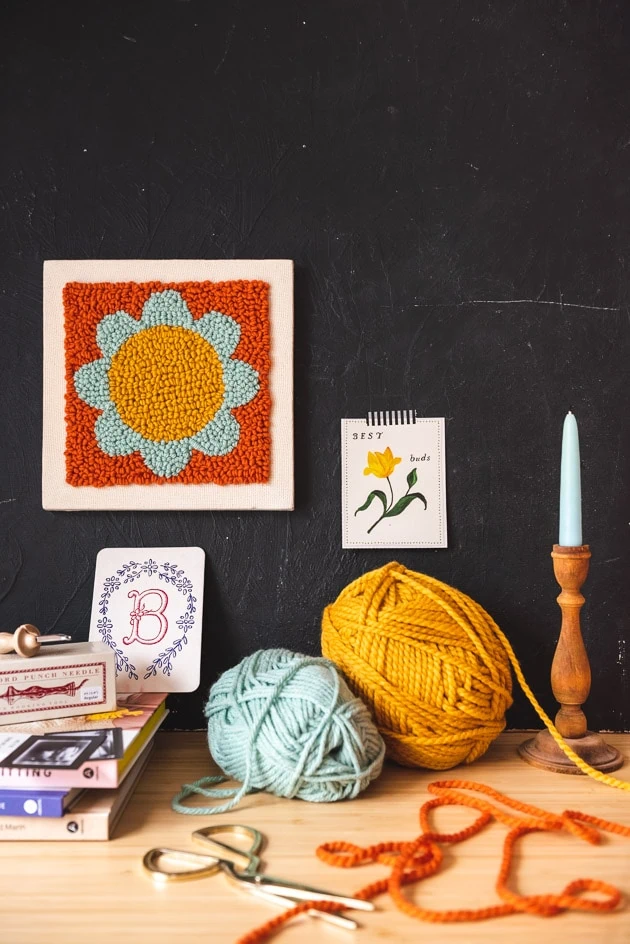
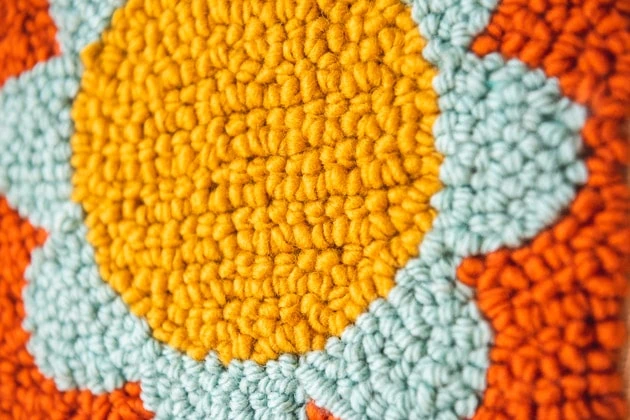
Punch needling is surprisingly easy, once you get all the right supplies! The way ours turned out was so amazing. Jenny helped demystify punch needling for us and made the most adorable punch needle wall art featuring our retro floral motif. It’s the perfect addition to any wall, and will help to make your dorm (or wherever you live, not limited to dorms!) that much more cozy.
Make Your Own Punch Needle Wall Art
Here’s all you need to know make your own punch needle wall art:
Supplies
Let me explain the supplies, so you know exactly what you’re getting into:
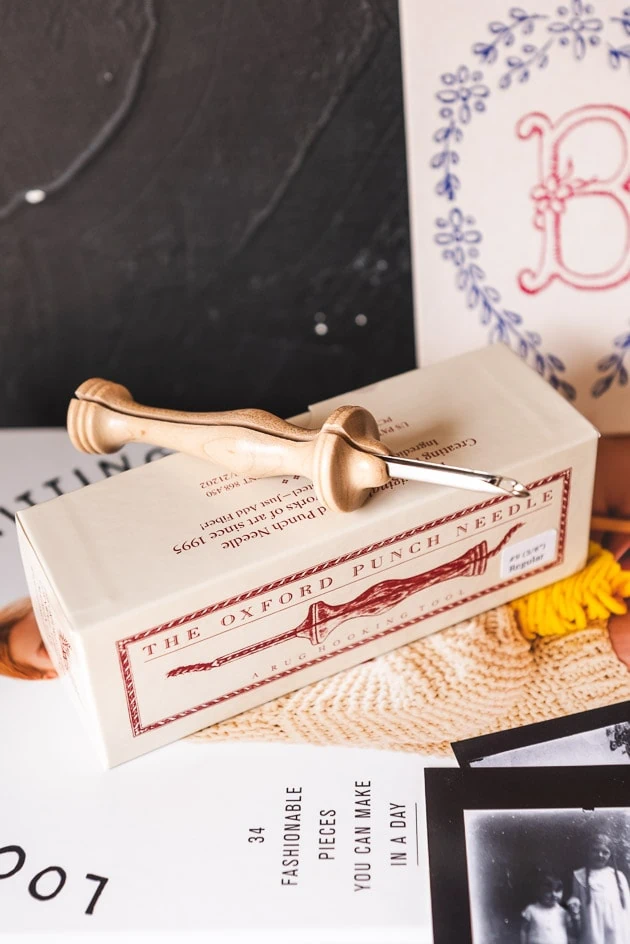
- Punch needle. This is a must. You can’t punch needle without it! The problem is, there are lots to choose from, and many are far from satisfactory. We did the research and found one here that’s good quality and does the job well. (we went with a #9 regular, ⅜” loop).
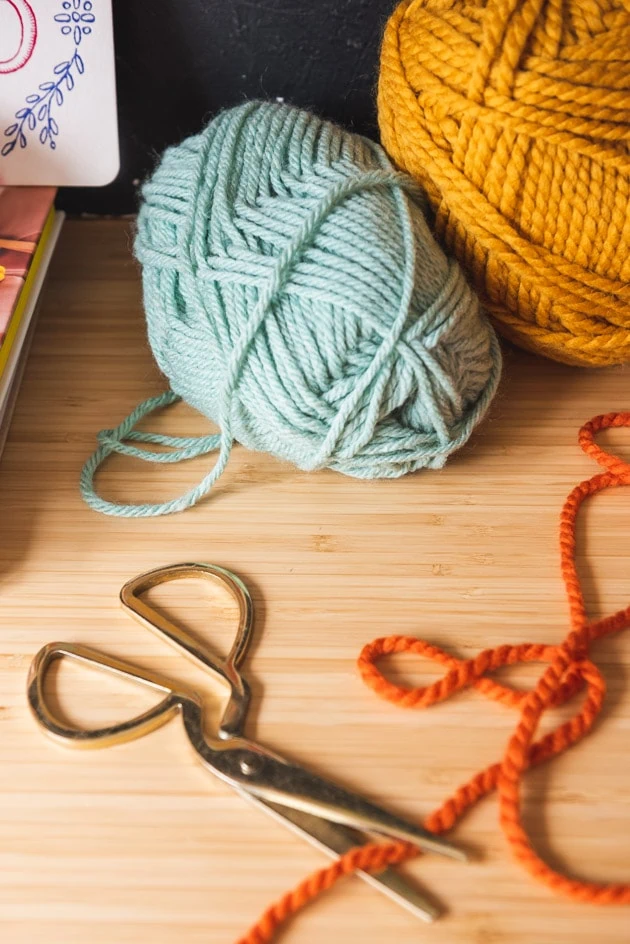
- Yarn. Go with a more bulky yarn and the end result will be fluffy and lovely! We got ours at Michael’s. Colors: yellow, red/orange, and a blue/green. (or whatever colors you want).
- Punch needle loom. You need fabric that has the right weave, as well as something to hold it taut. The perfect solution is this punch needle loom, so you don’t have to manually staple the fabric to anything. We went with the smallest size, but you can do any size you choose.
- Retro floral template. If you want to make yours look like ours, the easiest way is with this simple template! All you have to do is download and cut out on a Cricut Maker or with scissors and you’re set.
There you have it! That’s all you need!
Instructions
- First, use the template to trace your design onto the back side of your punch needle loom. See our photos for reference.
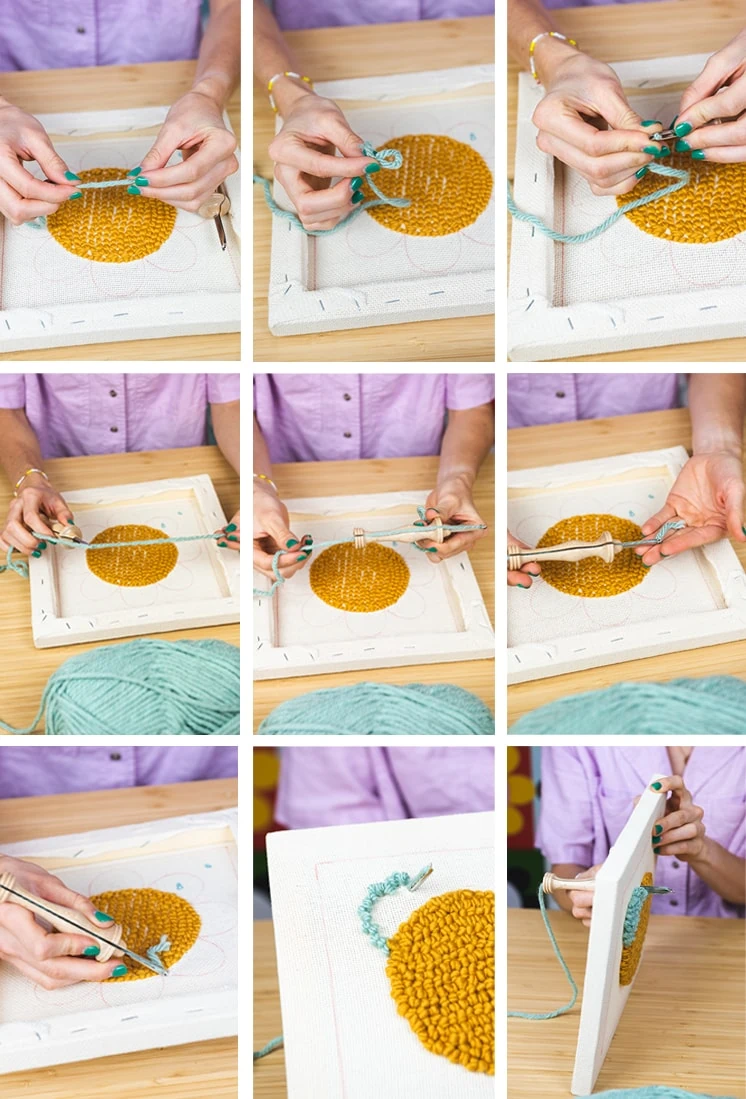
- Now start with the flower center. Take the color of yarn you want to use for the center and thread it through the punch needle (for help threading the needle, see this helpful video).
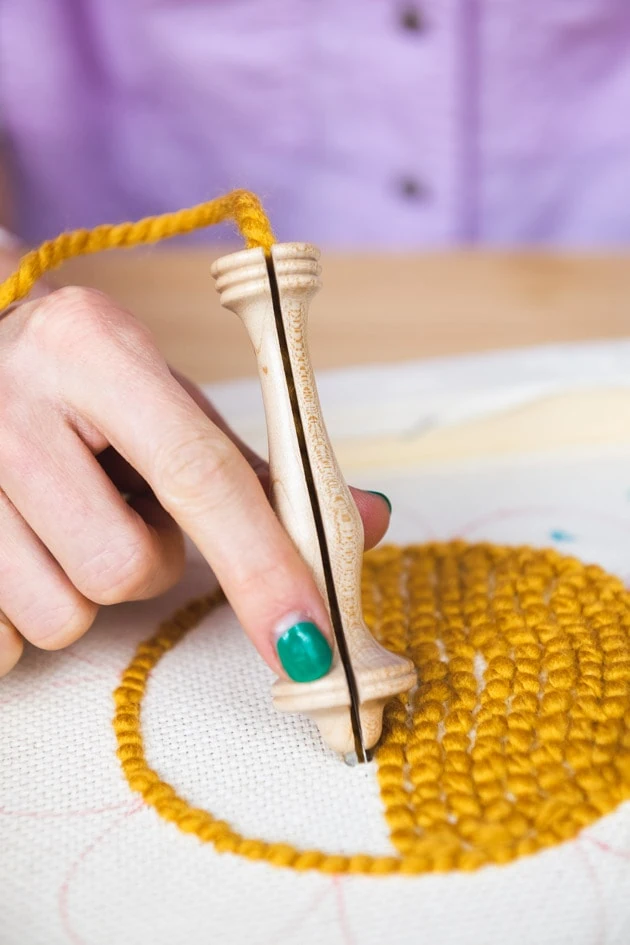
- After your needle is threaded, you’re ready to start punch needling! For this, start at the perimeter of the center. Poke the tip of the needle all the way down so the metal part is hidden and the fabric touches the wooden part of the punch needle.
- Now, pull the needle back out, move over a ¼ of an inch along the center’s perimeter and poke the needle back down all the way, as you did before.
- Continue this process until the center of the flower is full.
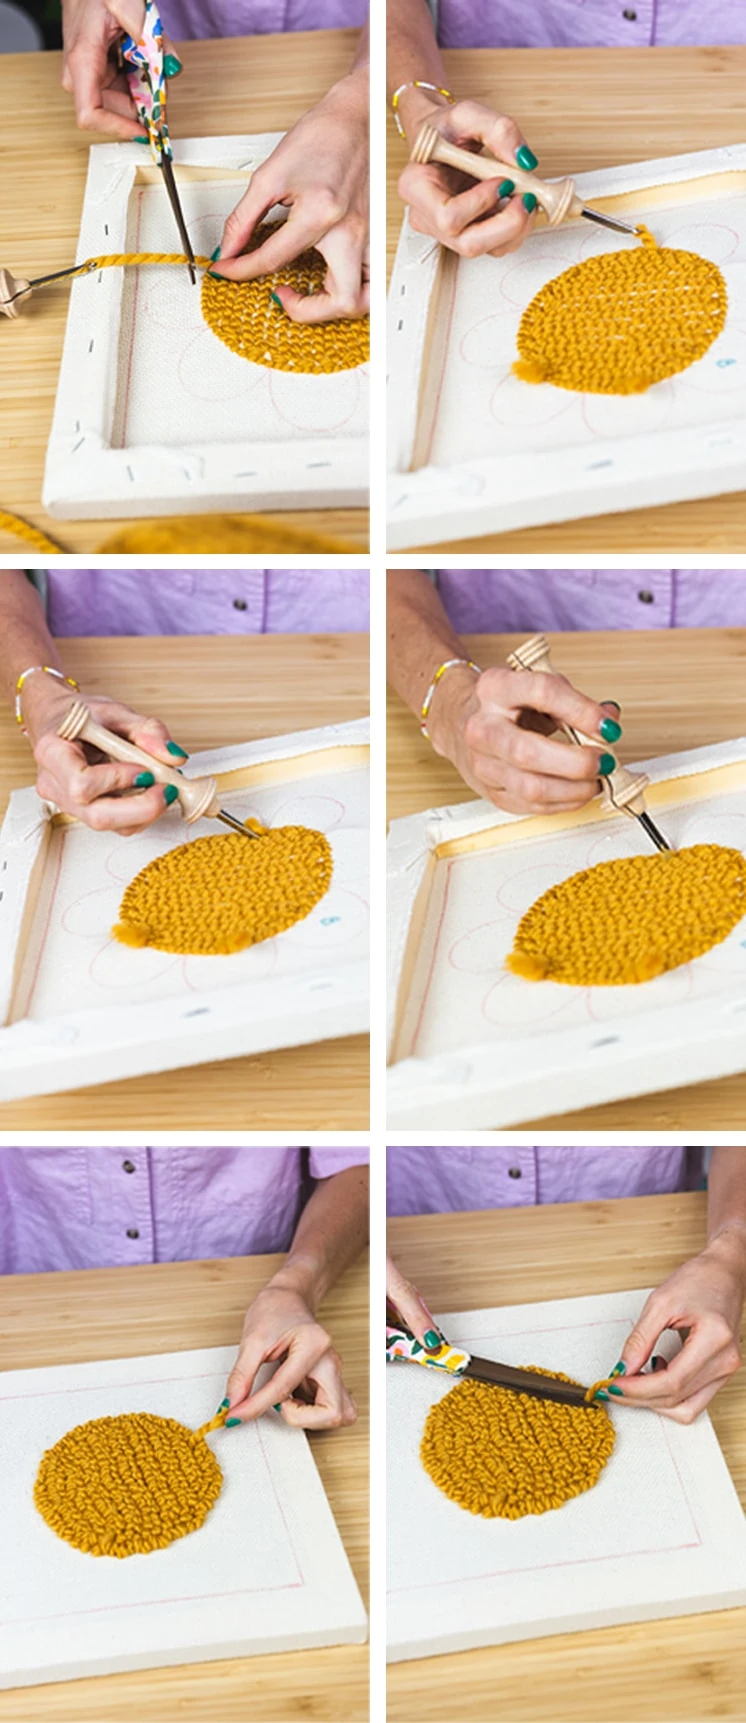
- When the center is full and you’re ready to move on to the next color, clip the excess yarn so there’s an inch or two of excess. Now, with the punch needle, poke that little tail back through the same hole so it pokes out in the front. Clip it down to about ¼” so it’s hidden amongst the loops.
- Now repeat steps 3-6 for the second and third colors. Note: when starting a new color, leave about a ¼” of space between the colors. If you start too close to the other colors, you could unravel the yarn. Don’t worry, the gap will be hidden on the front side of your project.
- Done!
Styling Your Punch Needle Wall Art
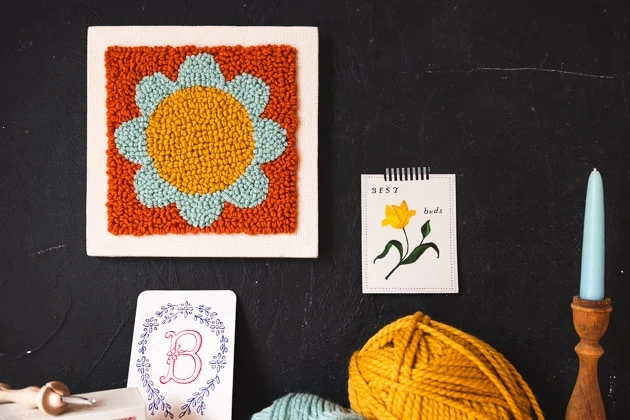
The thing I love most about punch needling is that it is incredibly versatile. We chose to make our punch needle project into wall art, by leaving it on the loom and hanging it on a simple pin, screw, or hook. But you actually have a lot of options! Once you’re done with the punch needling, you can remove it from the loom, finish the edges with a simple slip stitch and hang it loose, without the loom, too. If you’re feeling ambitious, you can make your art into a rug, throw pillow, or something else entirely! There are so many options.
We can’t wait to see what you make! Let us know in the comments!
More Inspiration
Need more dorm inspiration? Try this Lars girl’s back to school guide, as well as this and this dorm room makeover. Also try this simple DIY pencil case and fanny pack for your on the go needs!


Comments