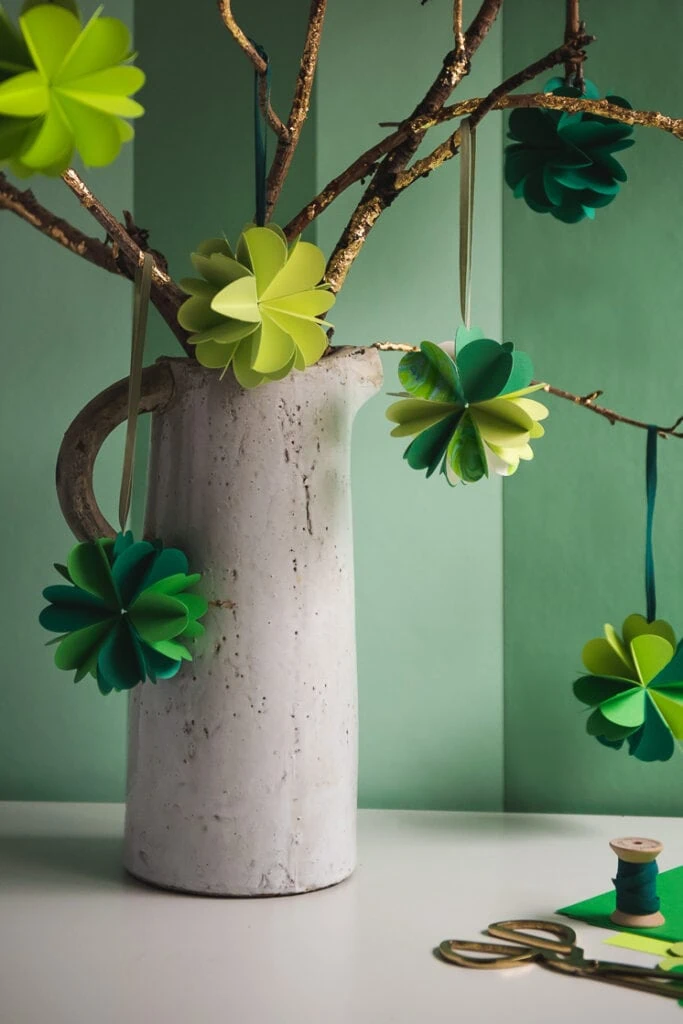
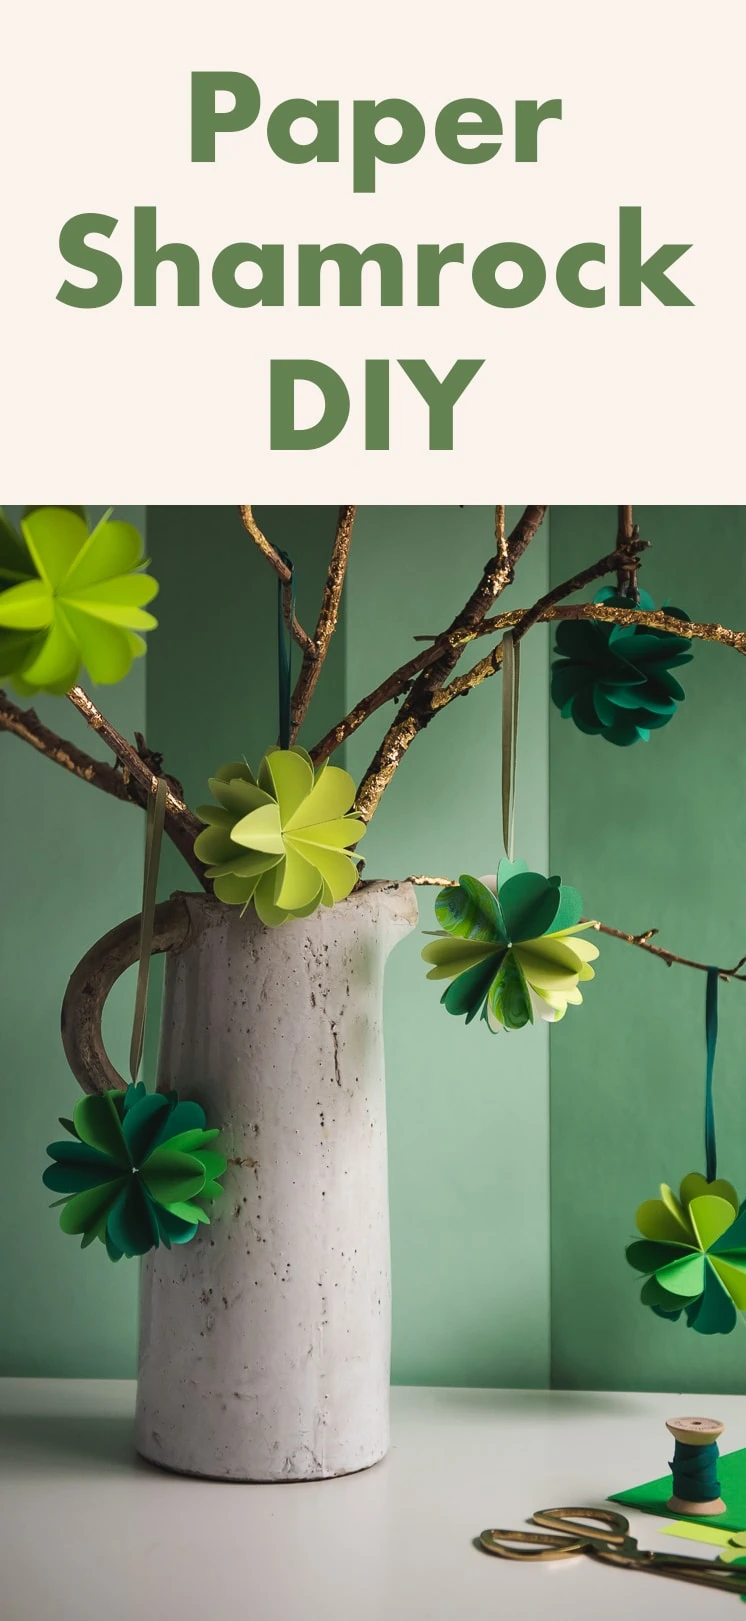
With St. Patrick’s day coming up and my Irish DNA test coming in at 39%, I wanted to make something fun and eye-catching that could be hung in windows, made into a garland, or even ornaments if your Christmas tree is still up.
This idea was actually born from some ornaments we made for Christmas (you can see those here) and I loved how simple and eye-catching they were. I wanted to see if we could adapt them for Valentine’s day so we used heart shaped sections, but then when they were all put together, it screamed shamrock. So now that it’s March, it’s time for these babies to shine!
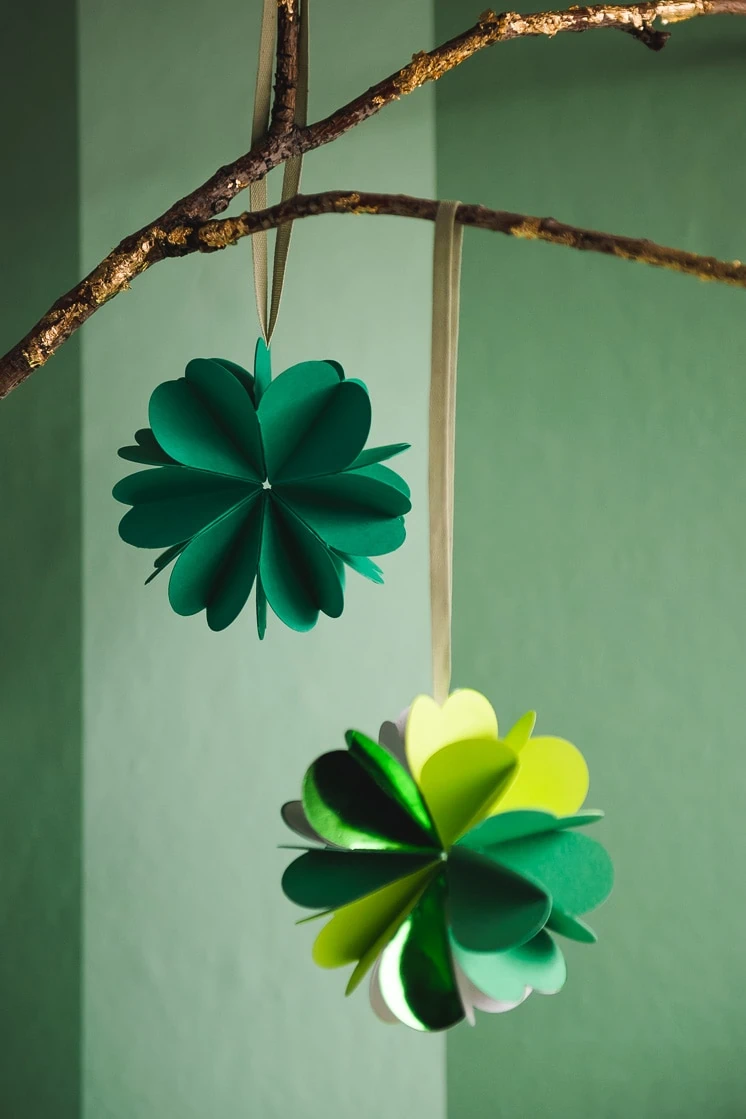
Paper shamrock decoration
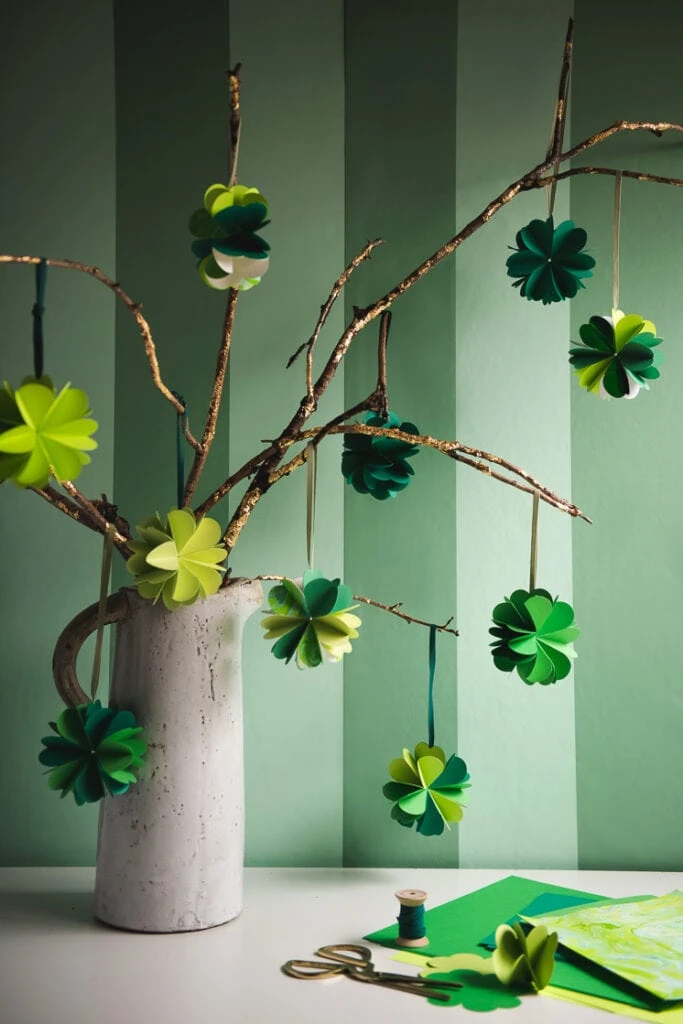
I have a tendency to go hard on making a tree for every occasion and I thought these paper shamrock decorations are perfect for branches. That said, I think they’d also be lovely strung together on a garland or, like mistletoe, hung up as a single. You can decide!
Here’s how to make a paper shamrock decoration
What you’ll need:
- Green paper
- Scissors
- OR craft cutting machine
- Ribbon
- Glue
- TemplatesTemplates
Instructions
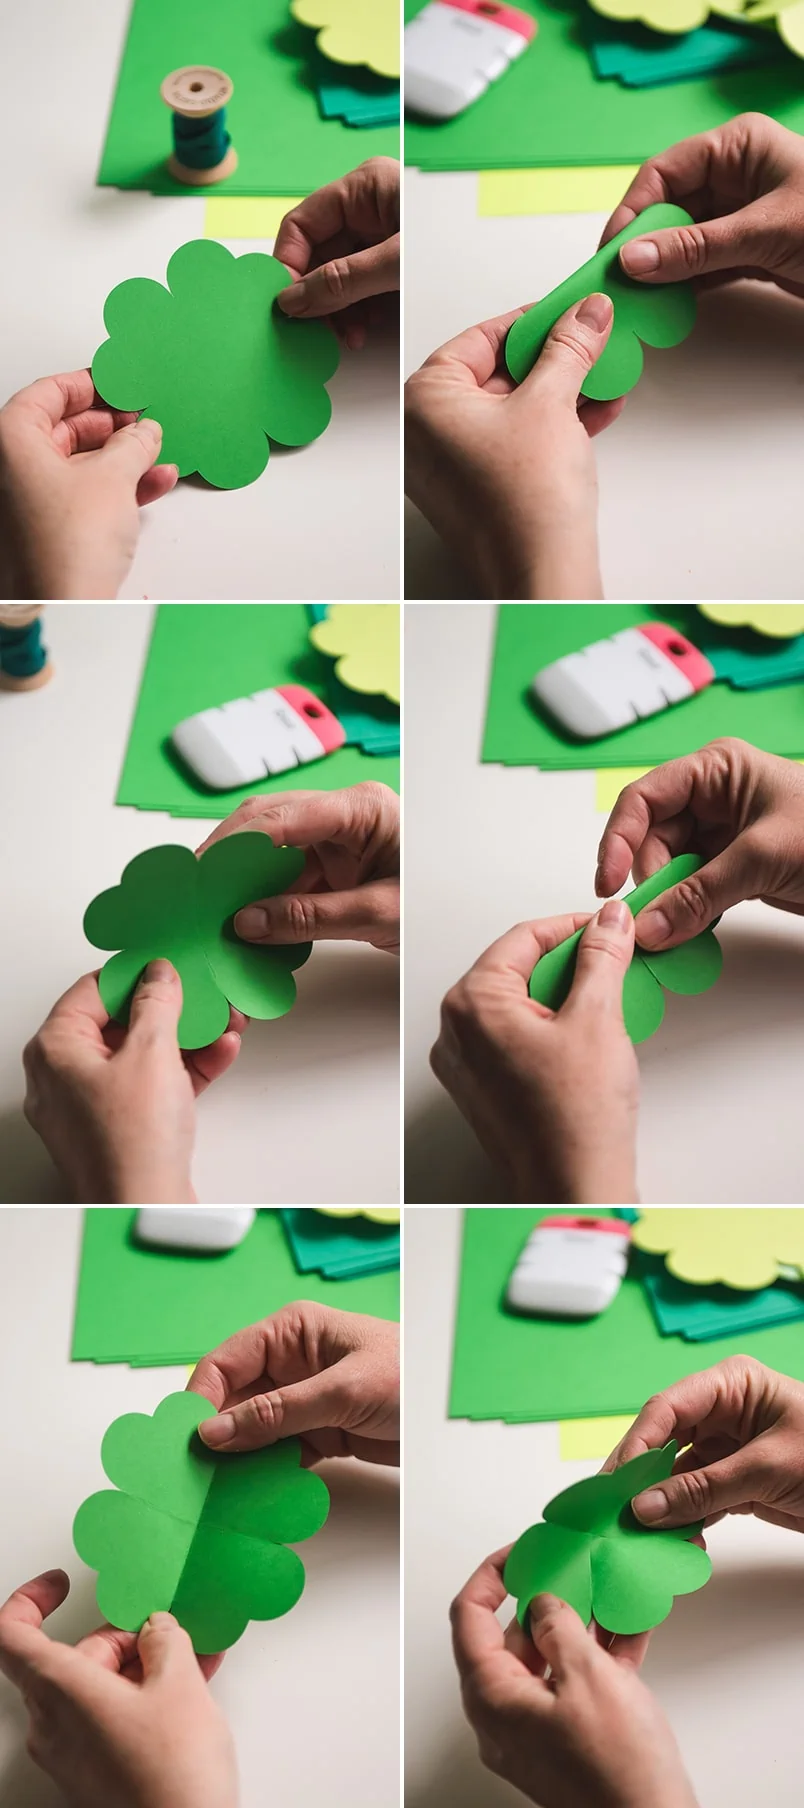
- Start with your template and cut out 6 of the clover shape, you can either do this with scissors or a craft cutting machine!
- Starting with one of your shapes, fold right in half. You’ll want to fold so that the rounded edges are not interrupted if that makes sense, fold where the divots go the deepest.
- Unfold, turn, and fold in half again so you have perpendicular folds through the center!
- Now, make another fold in the middle but this time diagonally so that it intersects the middle of the folds you already made. Unfold!
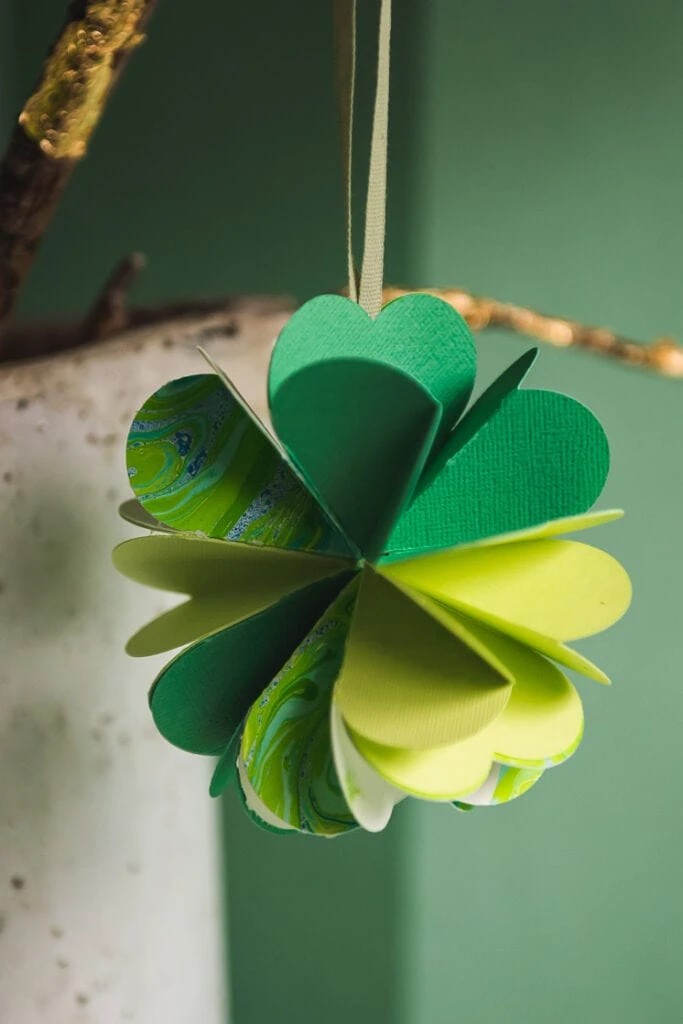
- Now you can place your fingers on the diagonal fold you just made and pinch in a little bit so they collapse into each other and hide behind a heart shape! They should look like little baskets or cups.
- Repeat on each of the 6 pieces you have!
- Now you can glue each of the sections to each other!
- Apply glue on the face of a section and put another one on top, repeat till you have a stack of all your glued pieces!
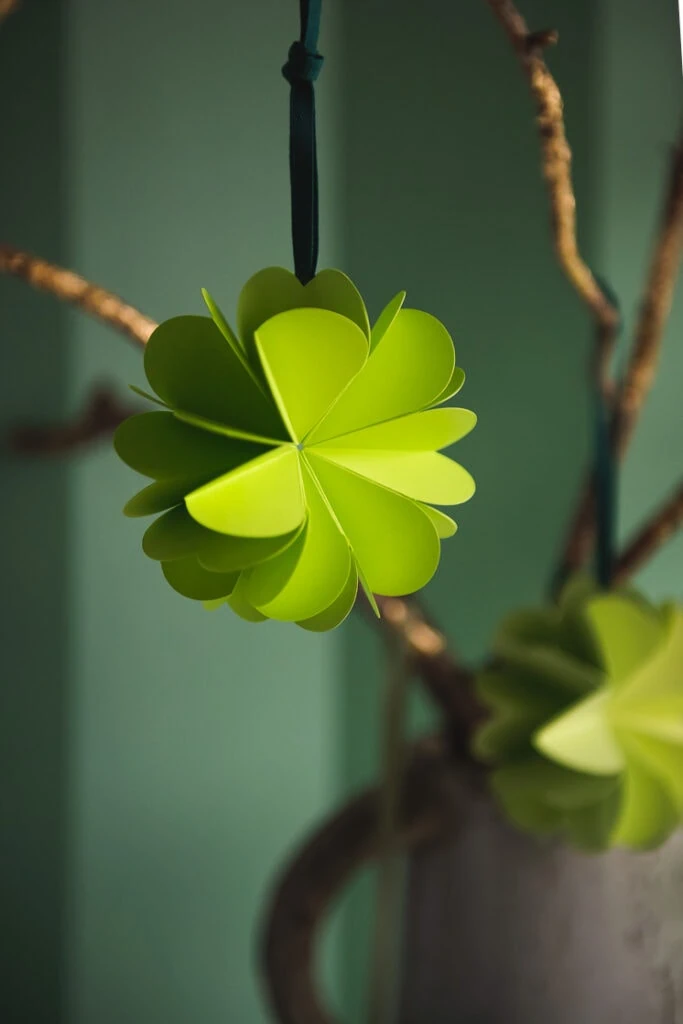
- Now you can open it up and make it into a circular shamrock shape!
- Cut a few inches of ribbon and glue each of the edges together making a loop.
- Insert this loop in between the two ends of the clover and glue together to secure!
You can make as many as you like, whatever size, color, or pattern you want. They’re so customizable which I love, and all together you can make a beautiful St. Patricks day scene. Tag us with #LuckyLars so we can see your projects!



Comments