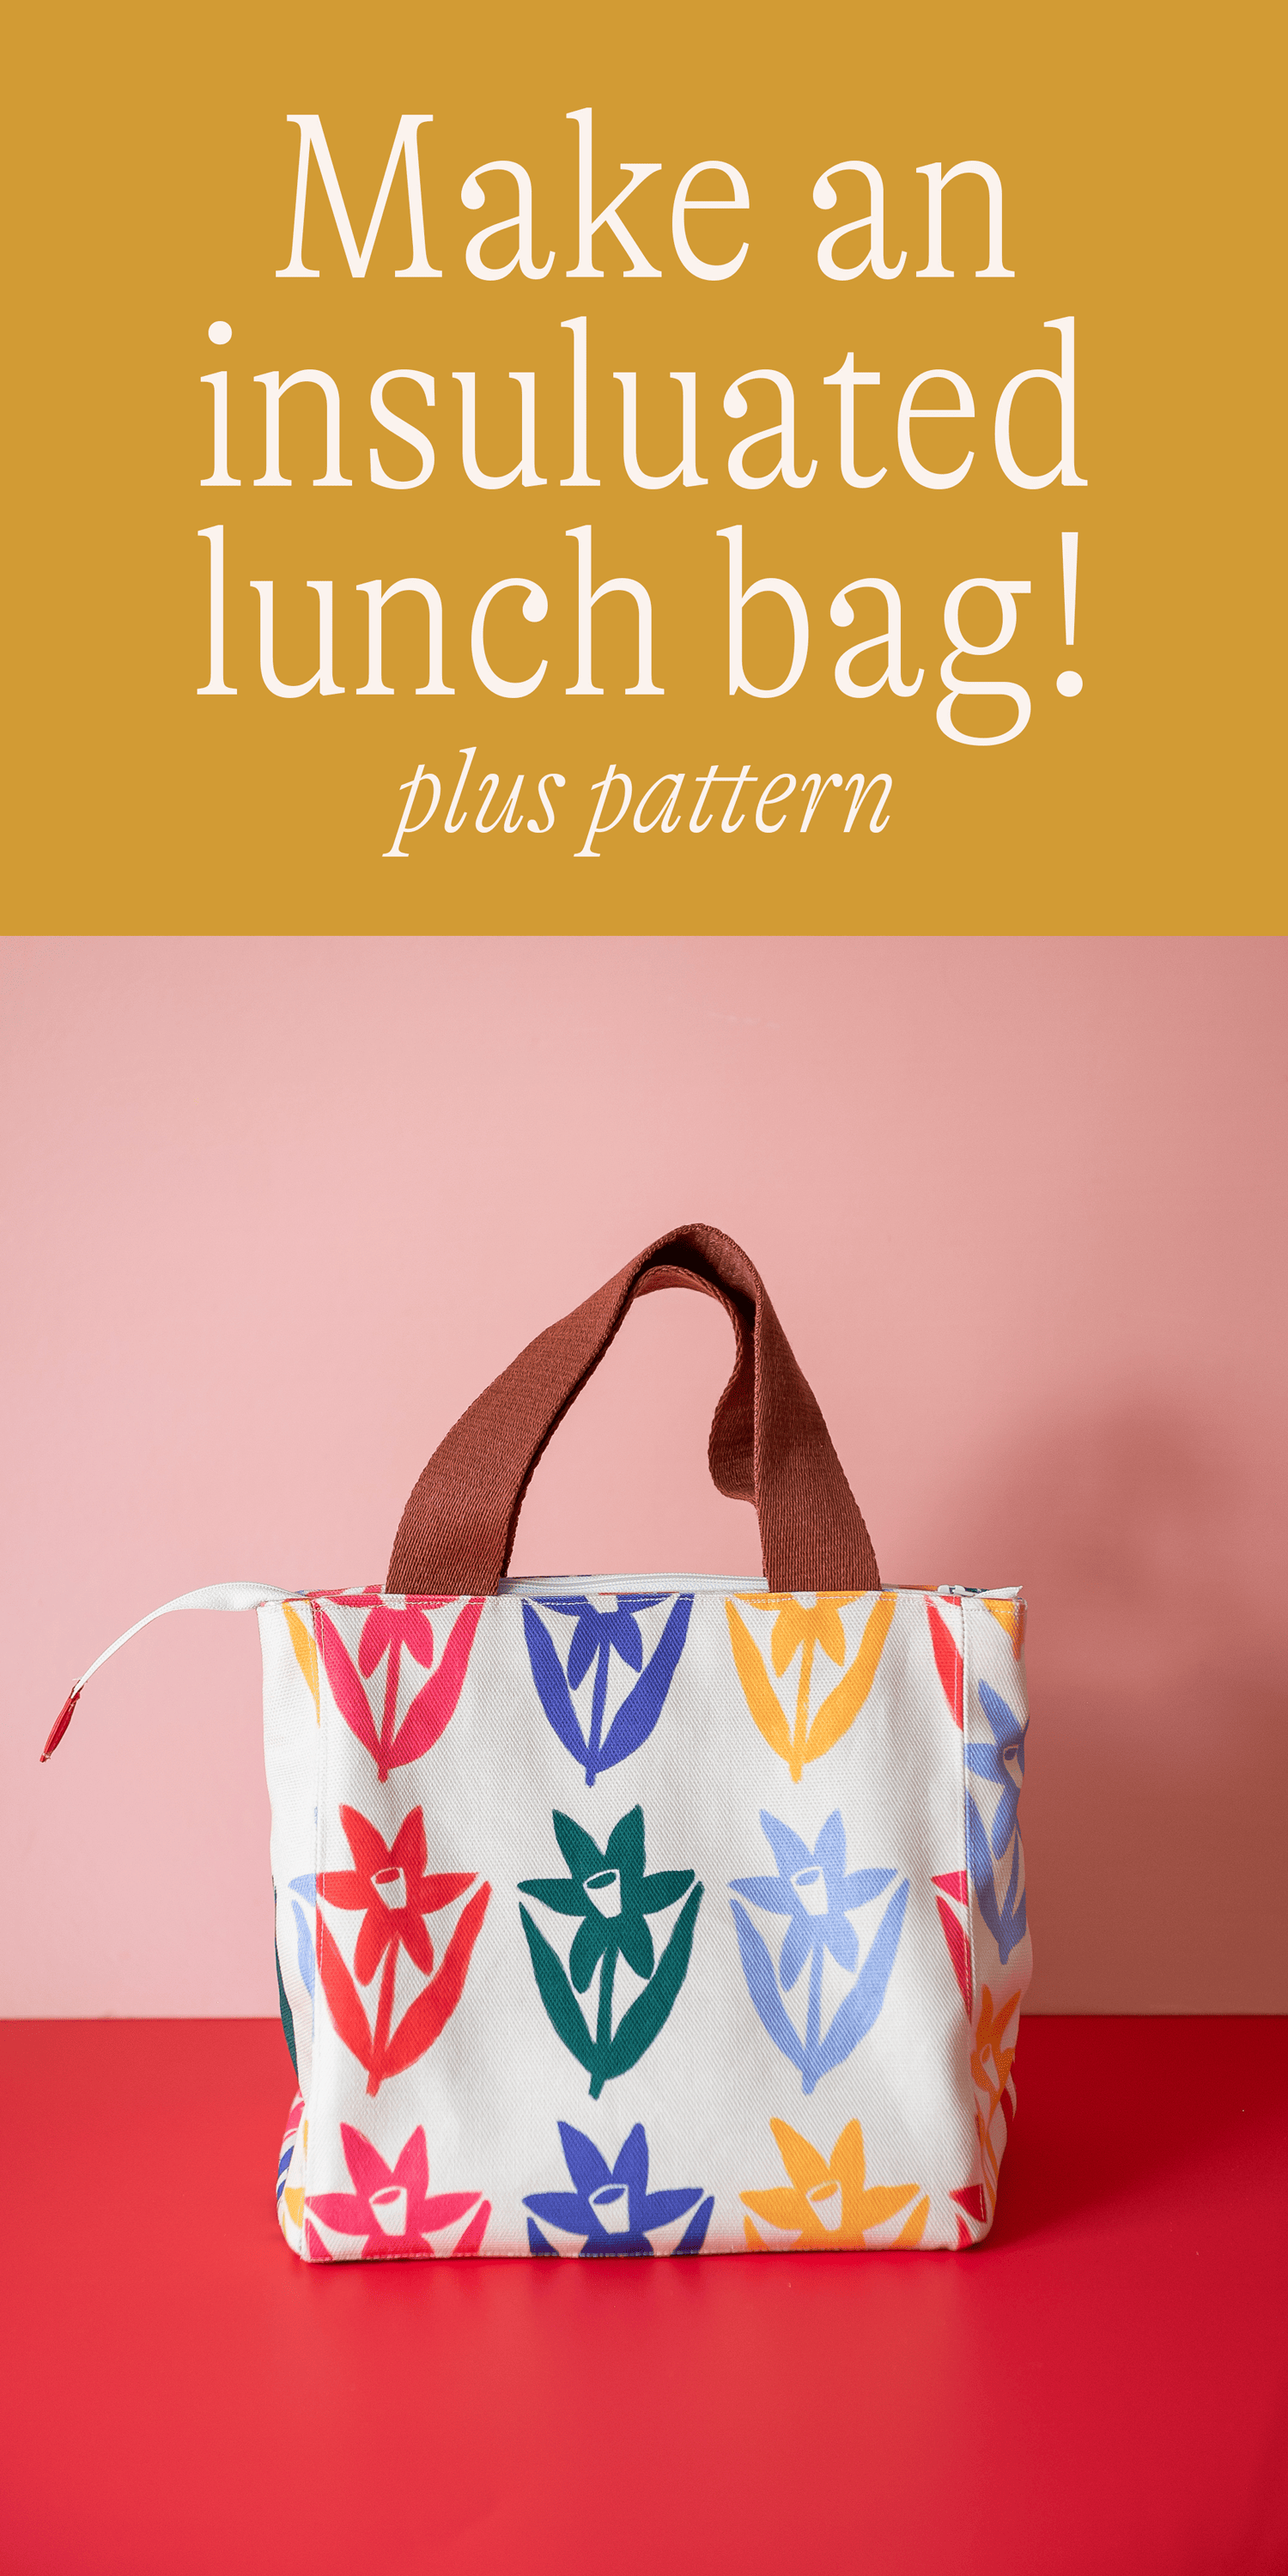
Are you all back to school yet? Jasper is in kindergarten this year. I can hardly believe it. There’s been so much going on preparing for back to school and we’re still not in a routine yet–getting there. BUT, I anticipate that happening soon so I wanted to share this DIY insulated lunch bag + pattern we designed using our own fabrics from our fabric shop. While I think it would be so wonderful to make it for or with your child, it’s too cute not to make for yourself. Honestly, I think I’m going to start carrying it around as my purse. Get ready to elevate your lunch game with a cute, personalized lunch bag that’s as practical as it is stylish.
Lunch pail options
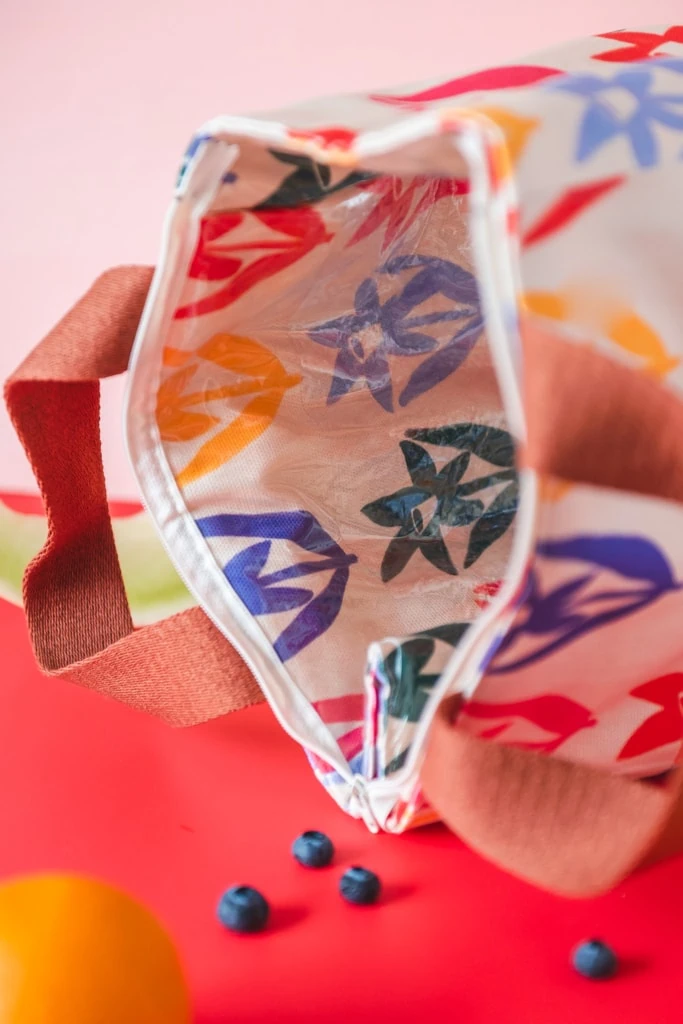
I’ve been rather picky with how I want my lunch bag to look and function. I wanted it to feel like a bag you could carry around and not stand out too much as a lunch bag. Sometimes I think the lunch bag comes across as too infantilized. We included some insulation and vinyl lining the inside for easy wipe-up and keeping things cool/hot.
Selecting the Perfect Fabric
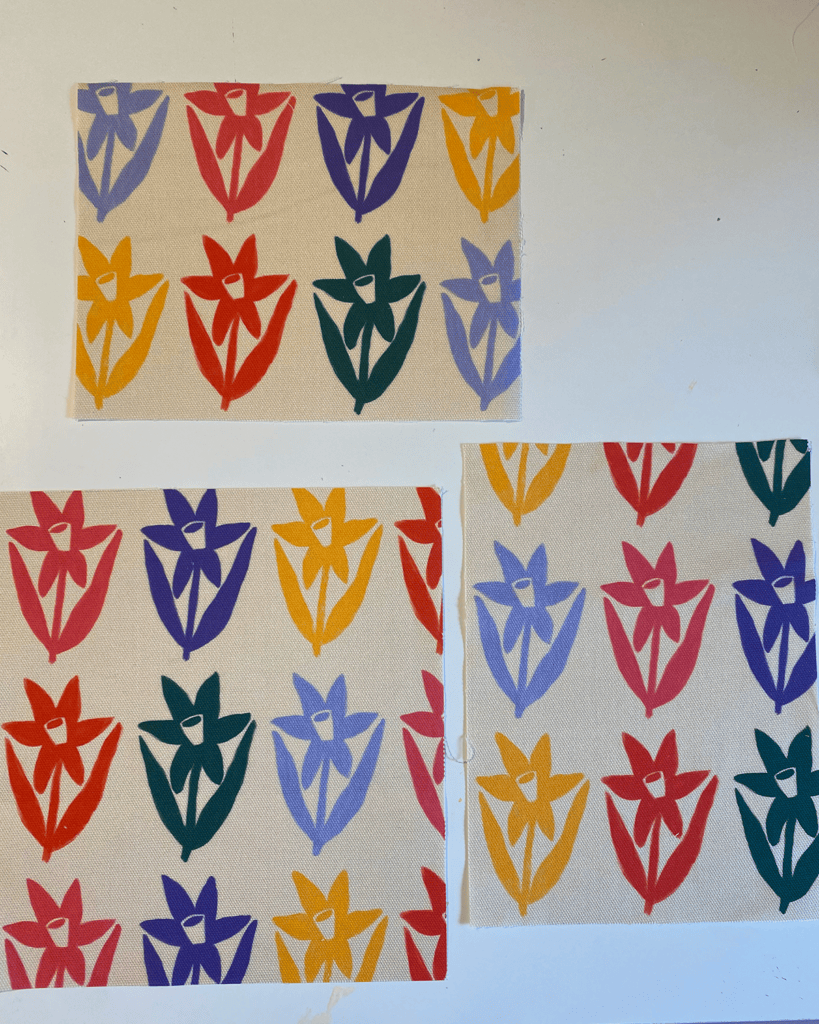
Creating a fabric laptop case begins with selecting the perfect fabric. Since we started putting our designs onto Spoonflower, we’ve loved creating a variety of projects with the fabrics. They have options for heavy canvas, light cottons, minkys, you name it. When you’re selecting designs for your lunch bag, consider the color palette and patterns that resonate with your personal style. Whether you lean towards pastel dreams or vibrant bursts of energy, there’s a fabric that’s just right for you. Remember, the goal is to infuse your lunch bag with your unique personality, so don’t be afraid to let your imagination run wild. I was looking for an excuse to use our Daffodil Field print and this was a perfect opportunity to do so.
How to make an insulated lunch bag
Difficulty:
IntermediateTime:
4 hoursMaterials
- 1 square yard of canvas/canvas cotton fabric
- 1 square yard of transparent vinyl
- Pattern
- Insulated lining fabric
- Coordinating thread
- Sewing machine
- scissors
- Pins
- Iron
- Measuring tape
- Ruler
- Fabric marker or chalk
- 14 inches of thick ribbon/strap
- 22 inch regular zipper.
Instructions
Choose Your Fabrics
- Select your favorite playful and colorful fabrics from The House That Lars Built collection. This is where you can let your creativity shine! Mix and match patterns to your heart’s content, making sure they complement each other.
-
Cut out your pattern pieces using the Lars lunch box printable pattern. For each side pieces, cut out 2 canvas print fabrics, 1 insulation, and 1 vinyl. Each side piece should have 4 pieces.
-
Begin by sewing the external pieces of the bag. Set aside the vinyl, insulation, and other canvas fabric. You’ll only be sewing with one layer of the bag.
Bottom panel: 1 piece (12 inches wide by 5 inches tall)
Insulated lining: Same as above dimensions
-
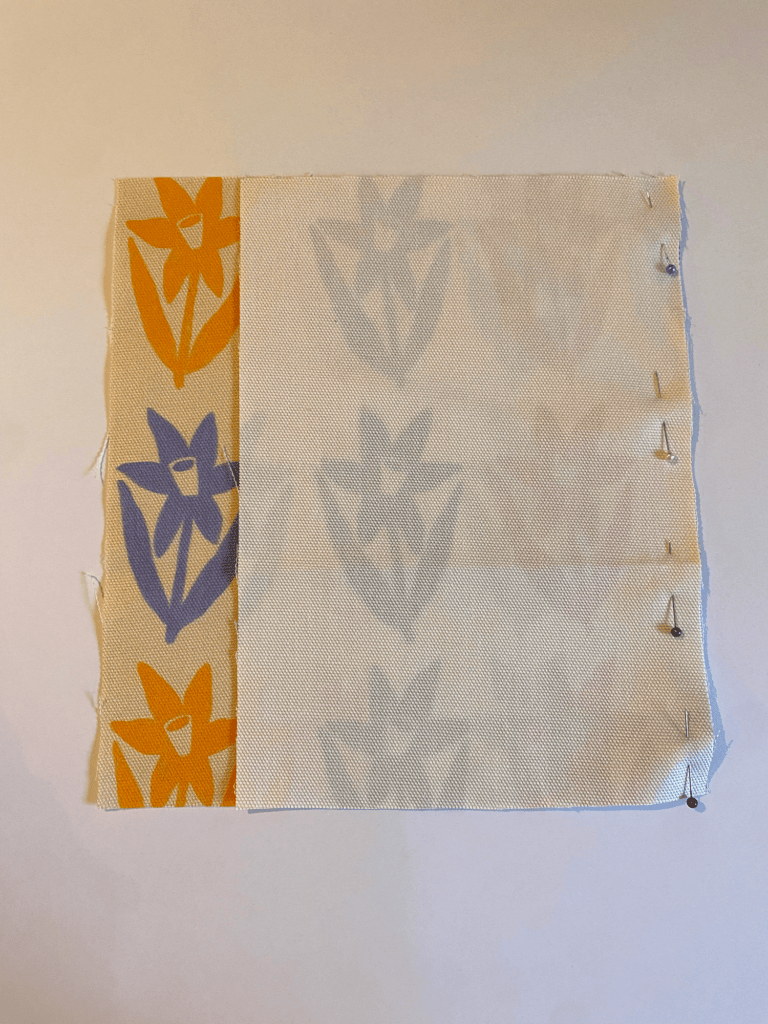
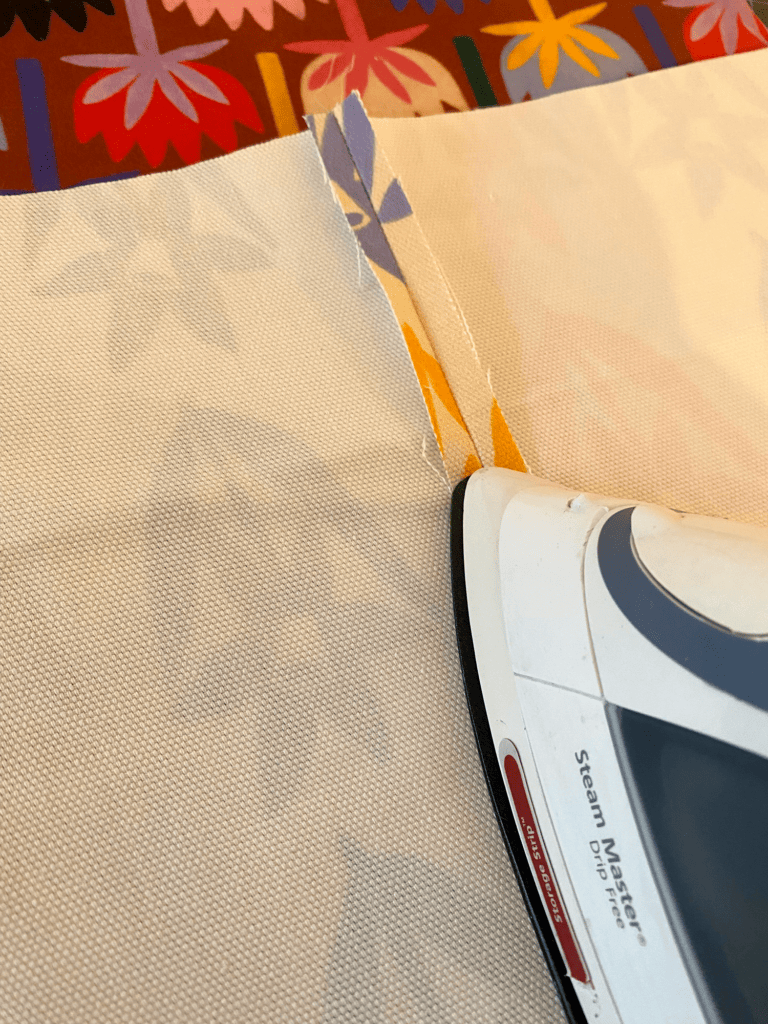
Pin one side piece to the front facing piece, pattern sides together. Sew using a ¼” seam allowance. Open seams and press. Top stitch along both sides.
-
Continue this process, pinning the back facing piece to the side piece that was just sewn to the front piece. Sew using a ¼” seam allowance and press the seams open and topstitch.
-
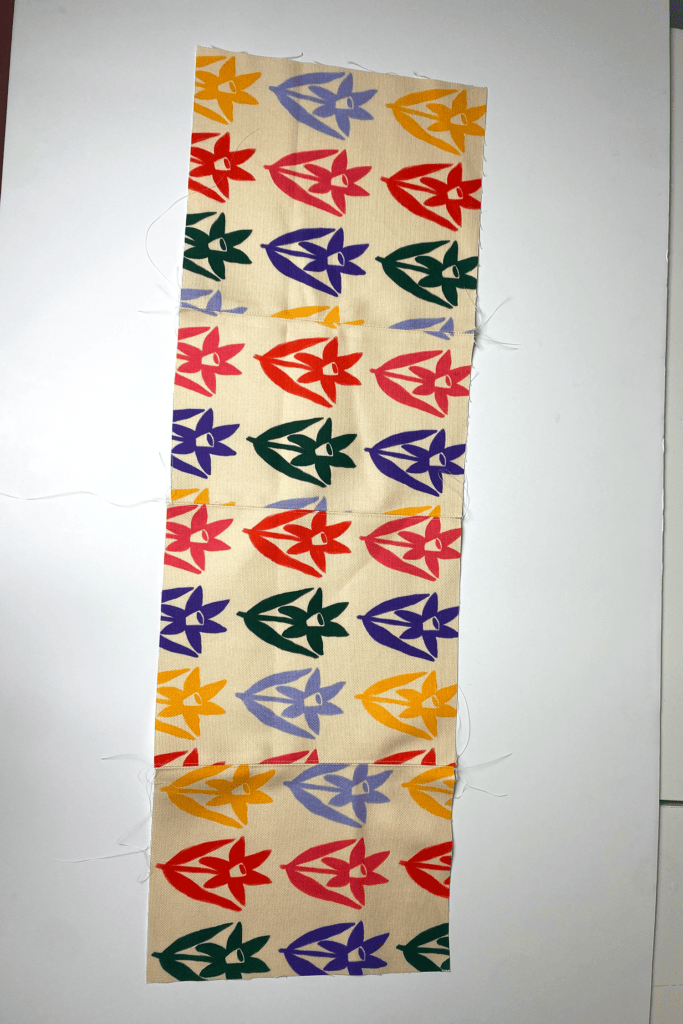
Pin the last side piece to the back facing piece, sew, open the seams to press and top stitch. You should have a long panel of alternating side piece, front piece, side piece, back piece. Make sure the connecting seams are all topstitched for a nice finished look!
-
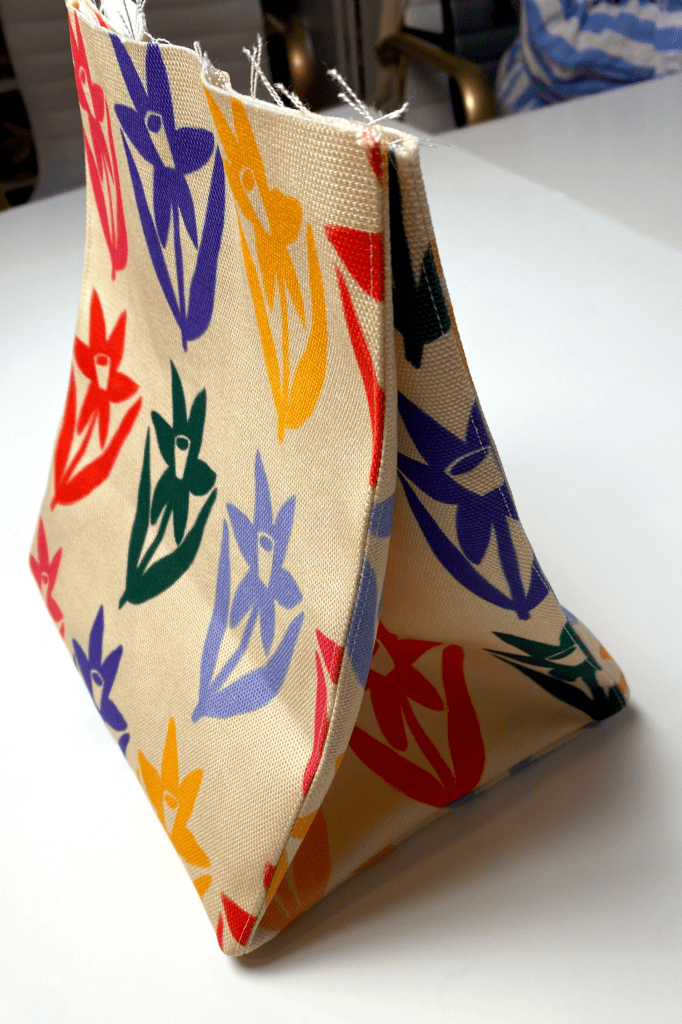
Bring the two edges together, patterns facing each other and sew so the panel creates a closed cylinder. It will be a little trickier, but press the seams open and top stitch.
- Take the other side of the unsewn base and attach it to the back facing piece on the other side of this cylinder bag patterns together. Sew, press open seam allowance, and top stitch both sides.
-
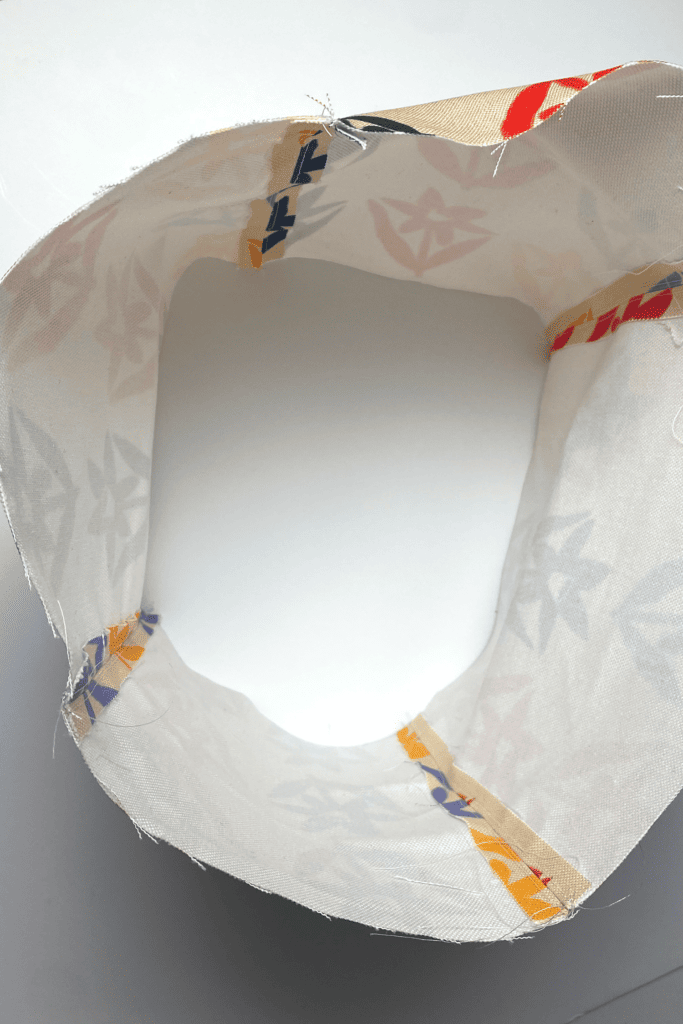
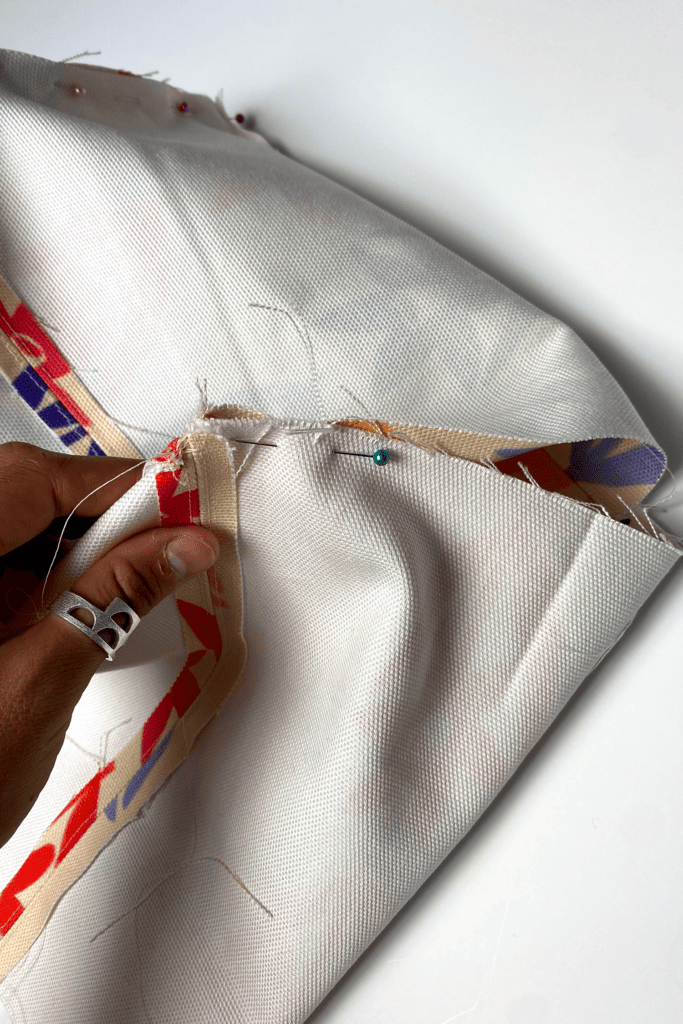
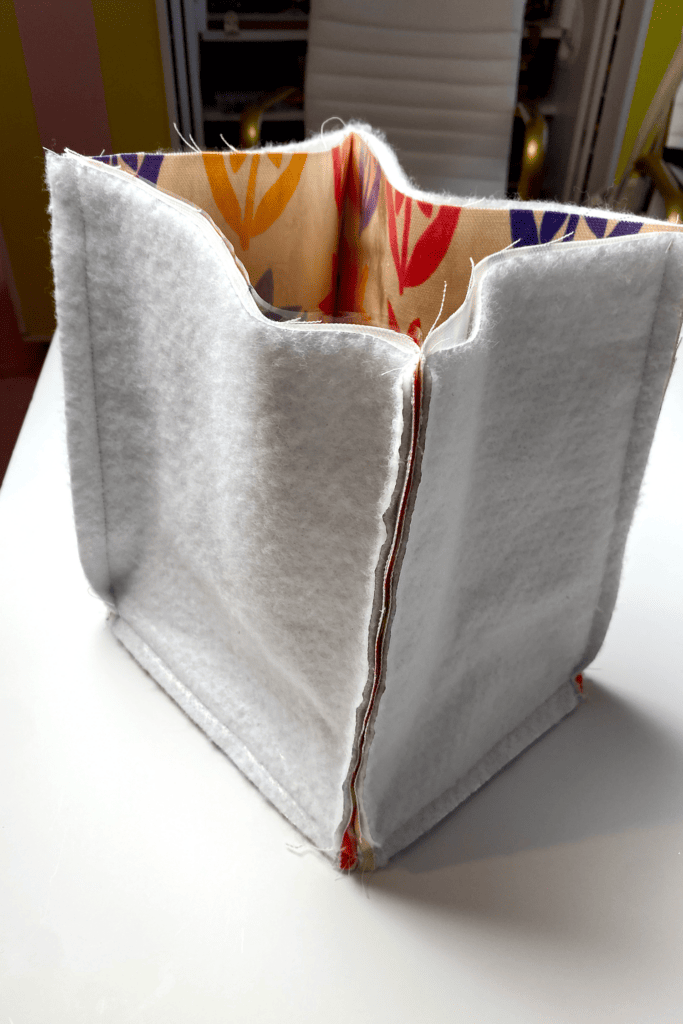
To attach the sides of the base to the sides of the bag, (L shape in between) turn the bag inside out and align the two sides together – there will be a hole in between, but close the hole by pinning the two sides together. Sew shut. Do not need to top stitch.
-
The outer layer of the lunch box is finished! Set aside.
Interior of the bag with insulation and vinyl
-
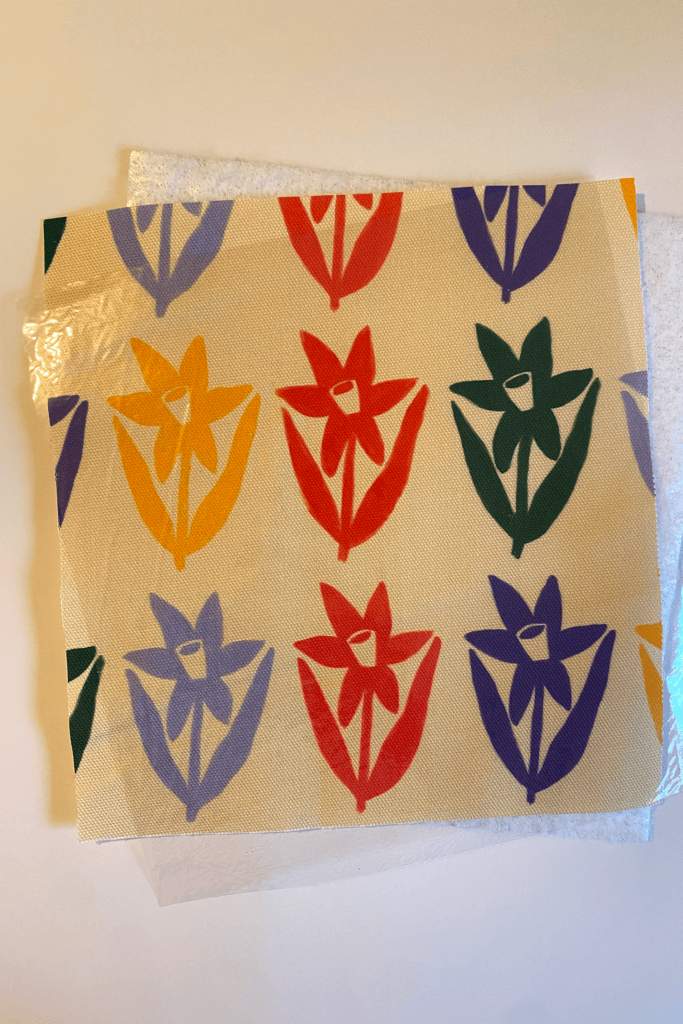
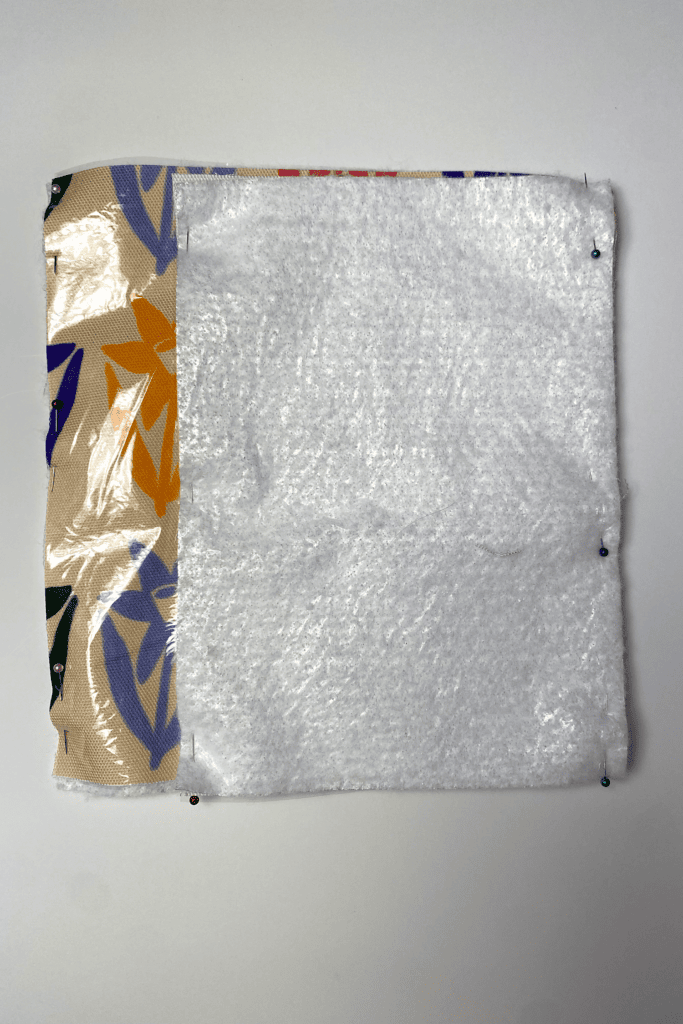
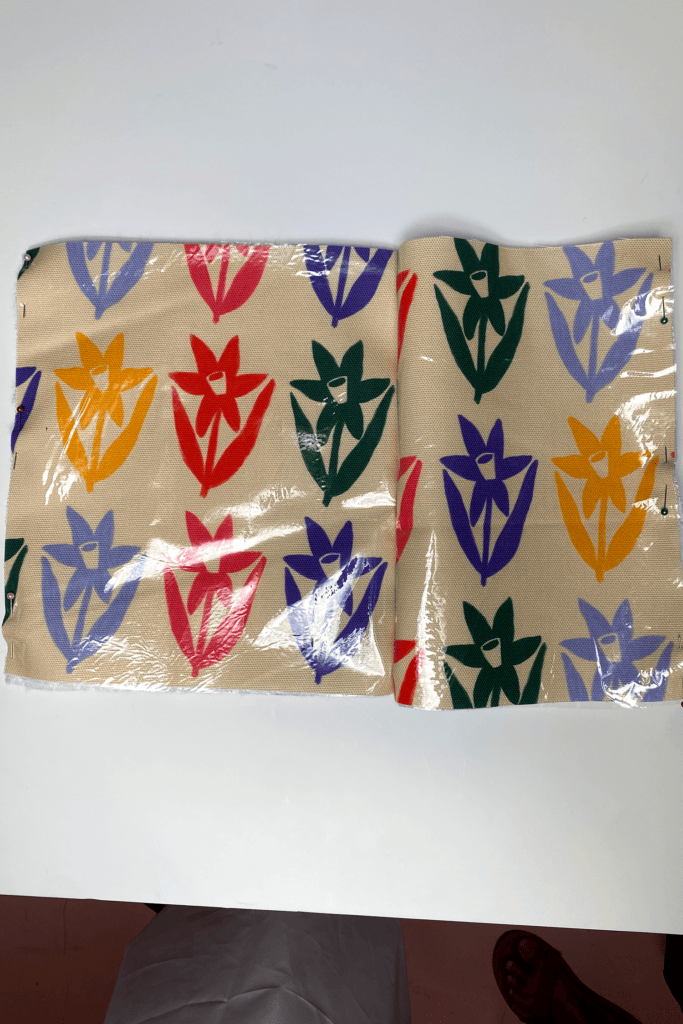
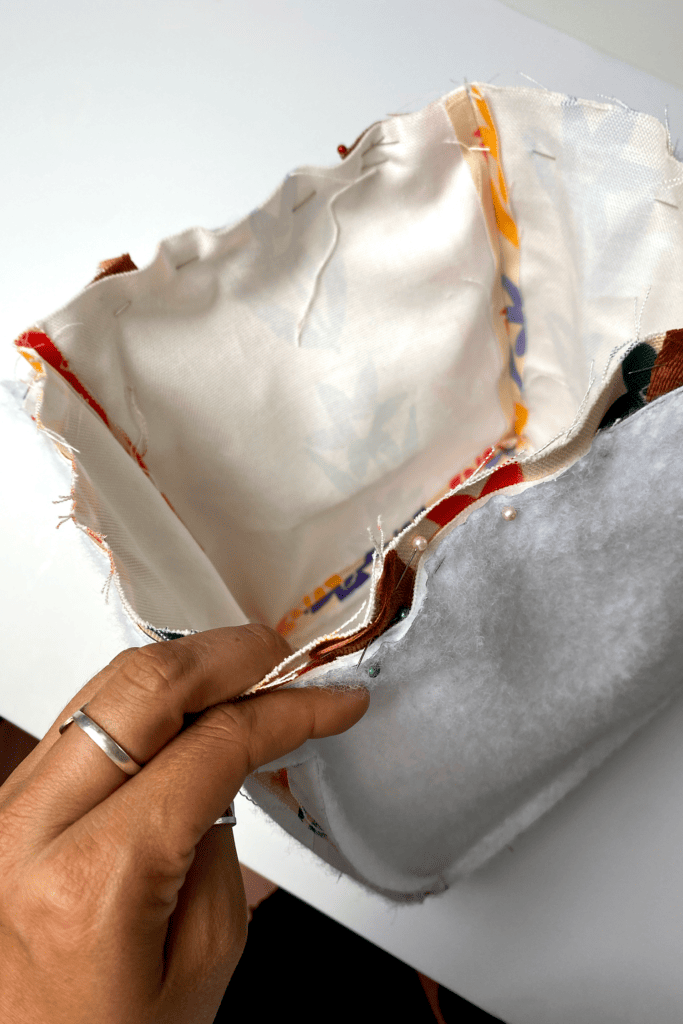
Repeat the same exact process as above using three layers this time – the canvas patterned fabric, the insulation, and the vinyl. Place these layers on top of eachother, with the insulation first, the canvas second, and the vinyl third on top. Pin each corner to keep the layers together.
-
You will sew the inside of the lunch box using the same process as the external layer of the lunch box, but NO TOPSTITCHING. Refer to instructions above.
Attach the strap handles
-
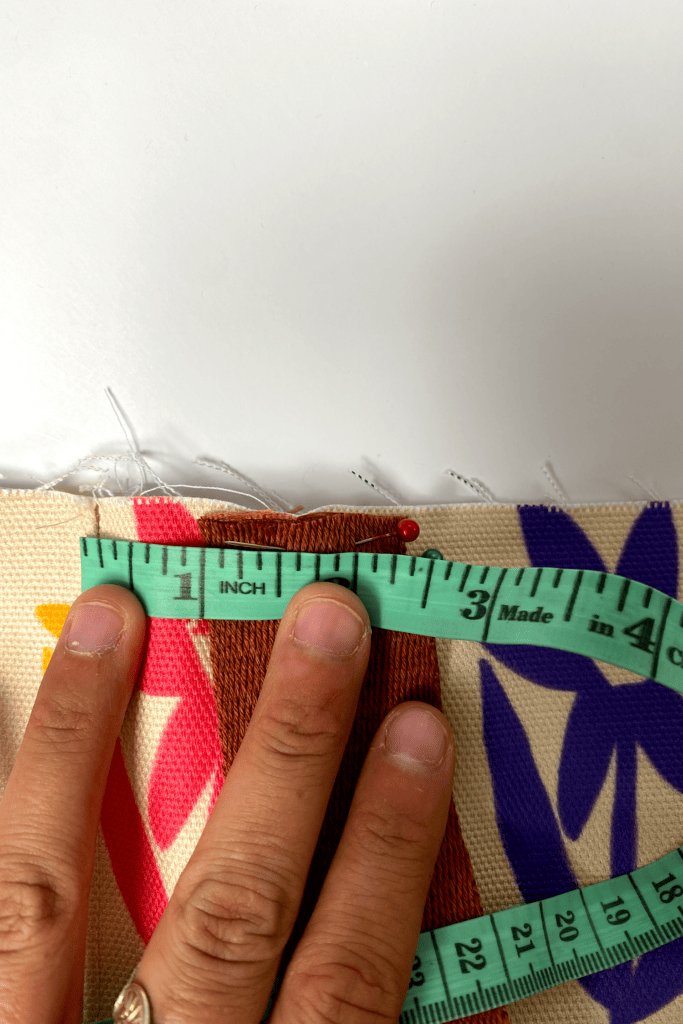
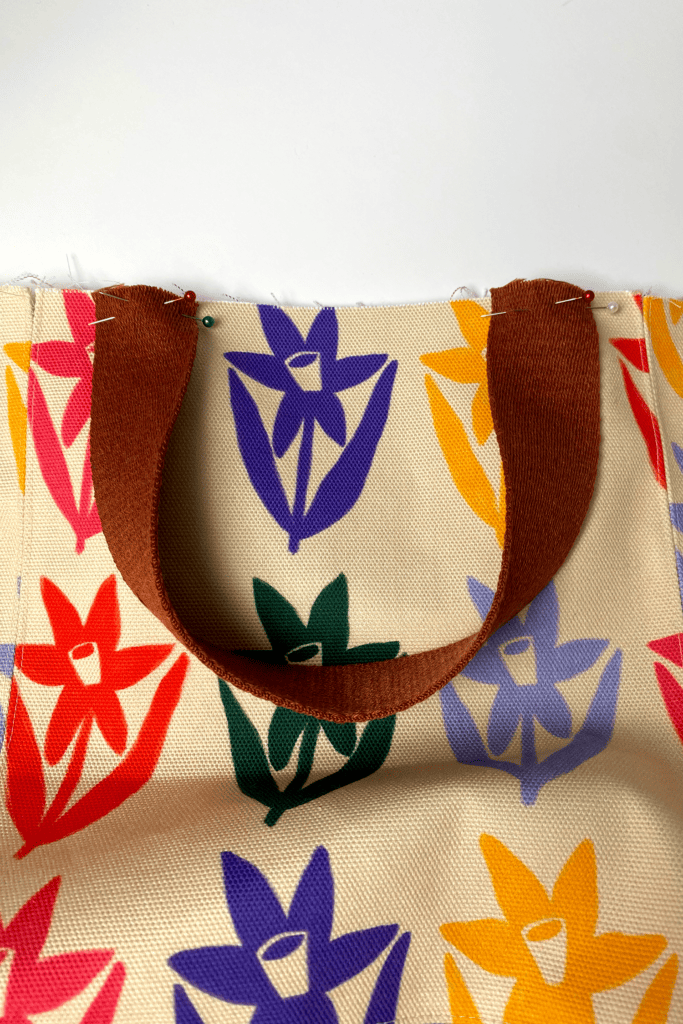
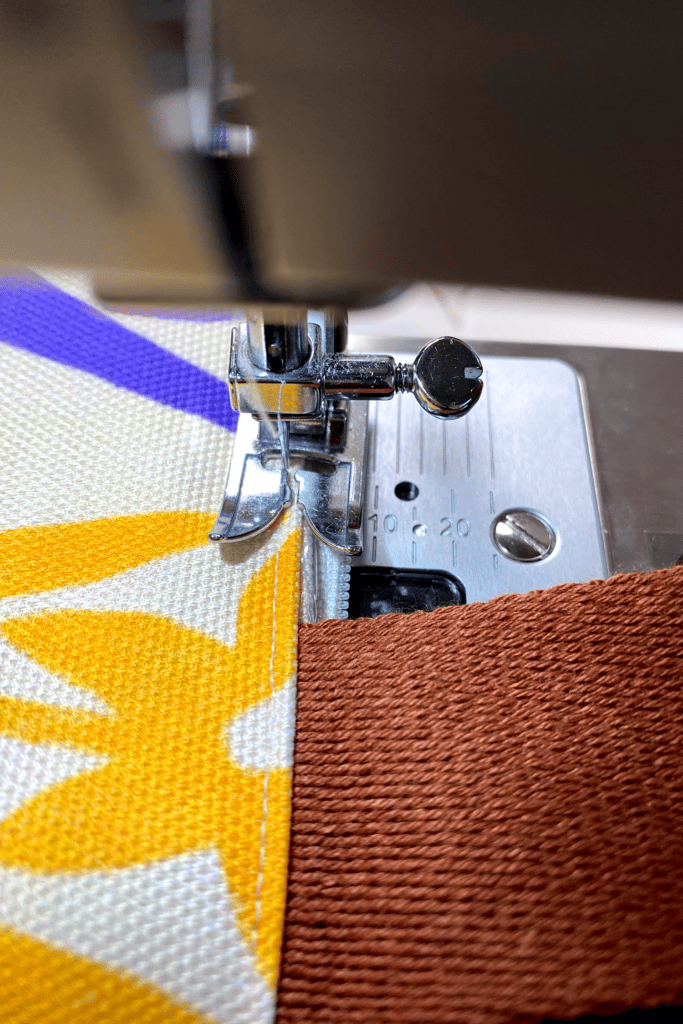
On the external single layer piece of the bag, measure a one inch allowance on both ends of the front and back facing pieces and place the two ends of one strap on each end. Pin. Do not sew yet.
Attaching the external layer and internal layer together
- Turn the internal piece (with the insulation and vinyl) inside out.
-
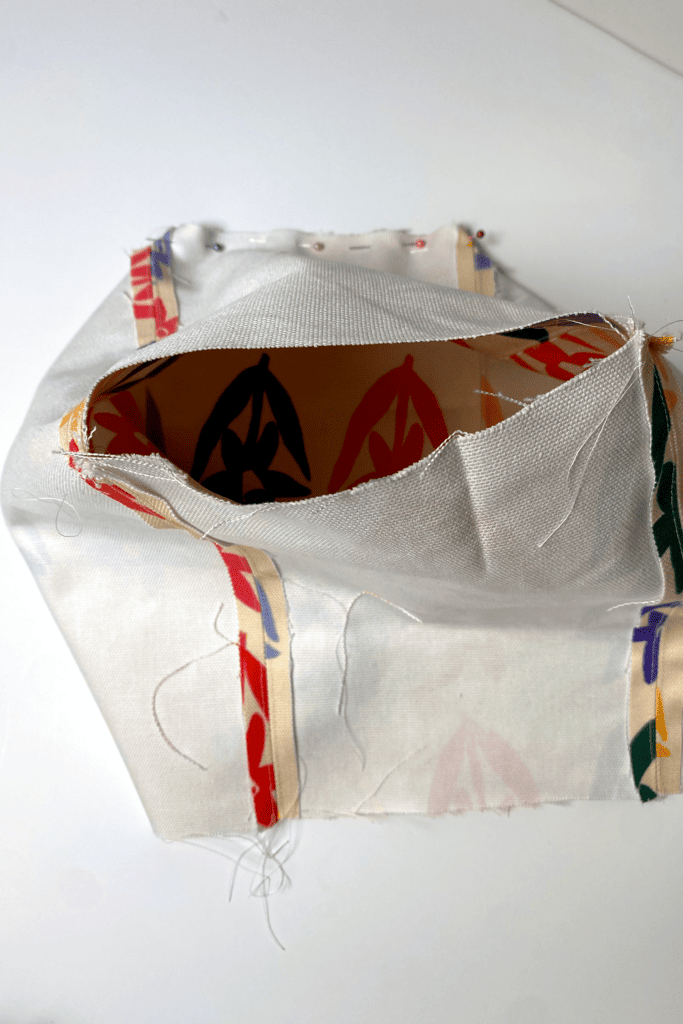
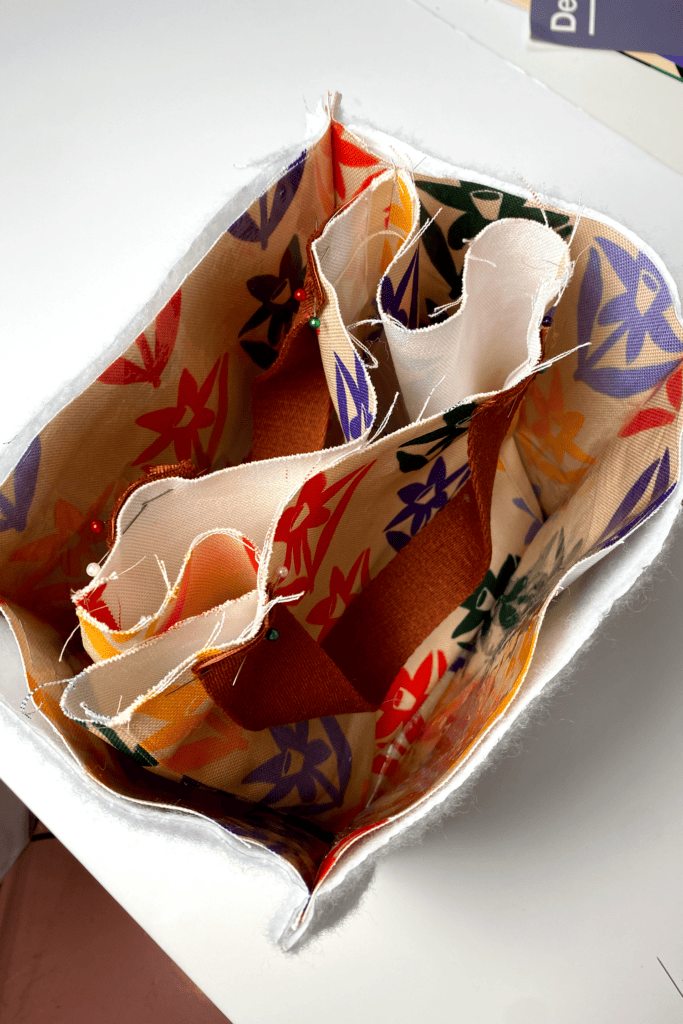
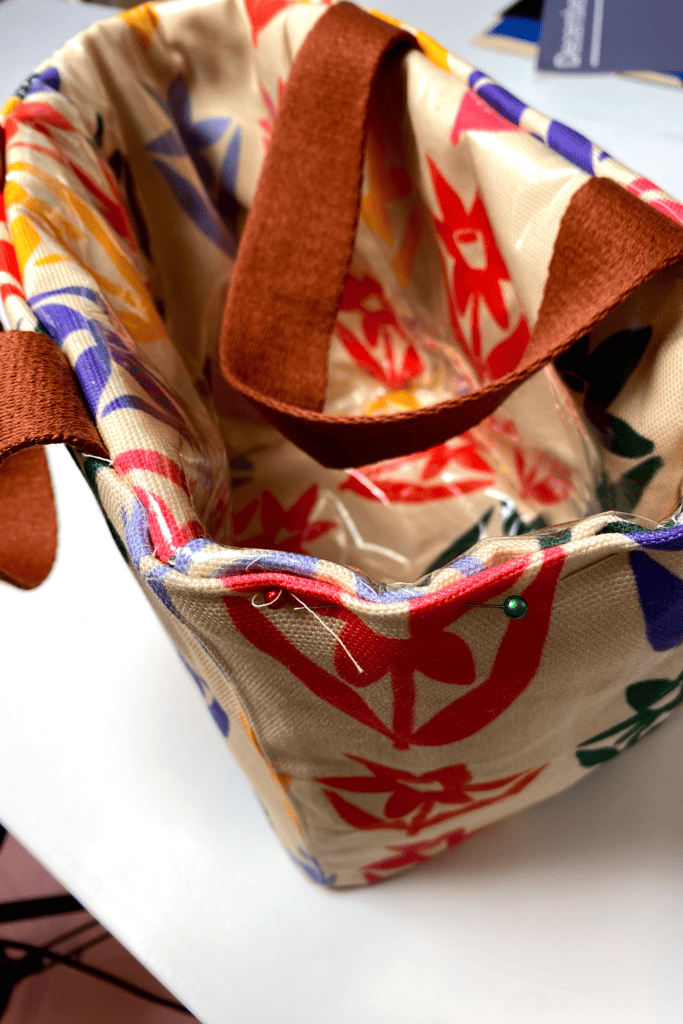
Place the external piece with the straps inside of the internal piece. Pin the top edges together, leaving an opening at one side of the bag.
- Sew along the top edge using a ¼” seam allowance. Remember not to sew the one side, because you need an opening to turn the bag right side out.
- Pull the inside of the bag out of the hole and adjust the bag so it is right side out, placing the insulated vinyl inside of the outside of the bag.
-
Pin the opening hole shut and top stitch around the entire top perimeter of the bag.
Attaching the zipper
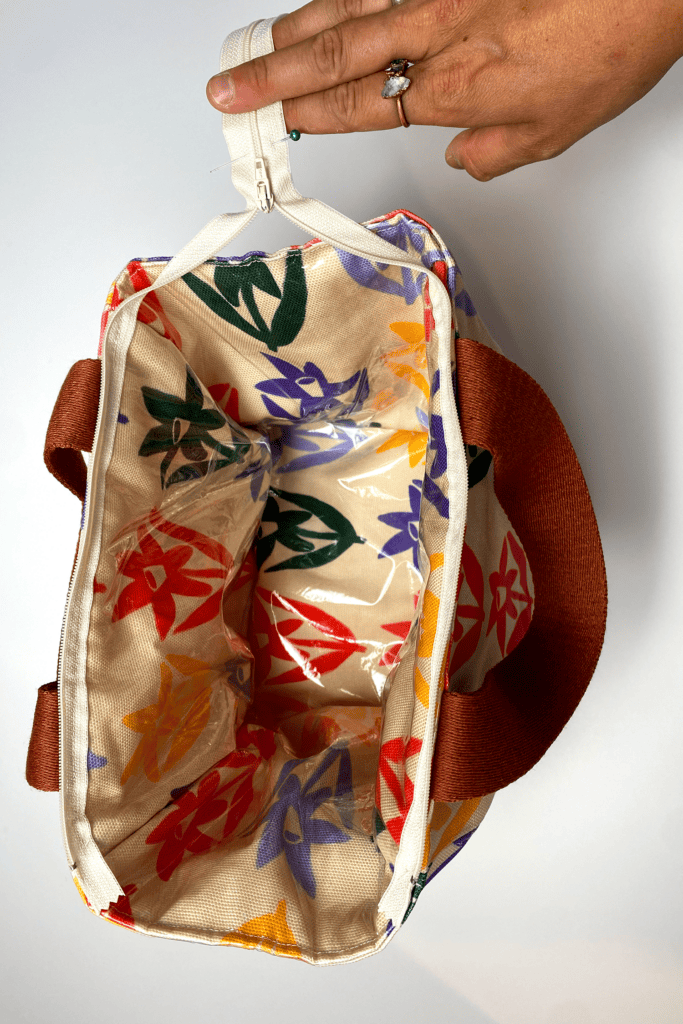
- Open the zipper.
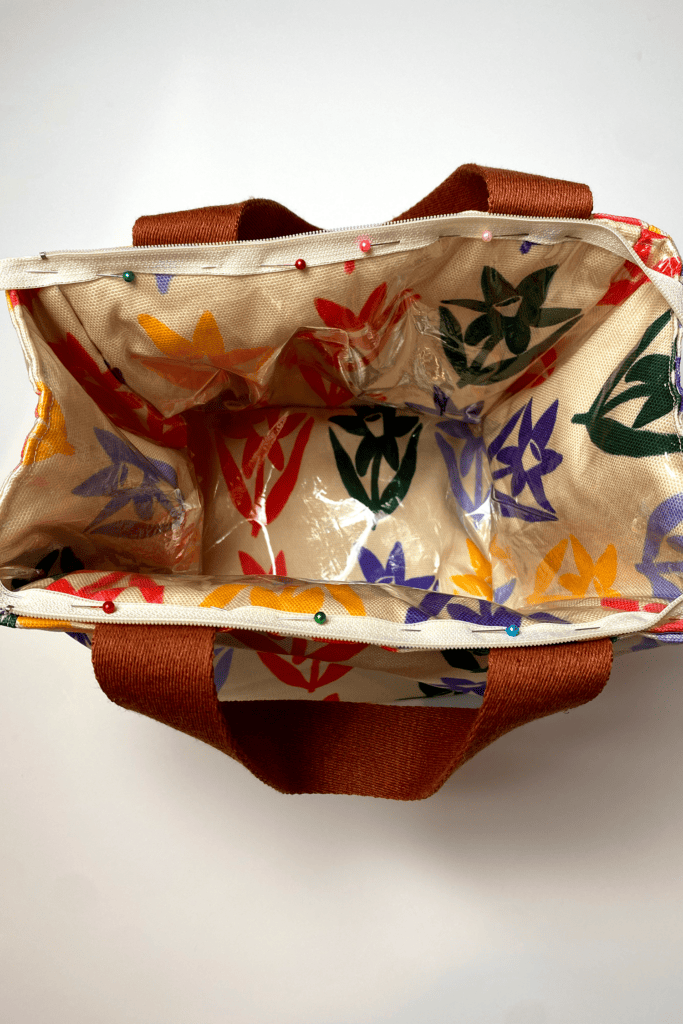
- Pin one side of the zipper to the entire top edge of the front facing side of the bag.
-
Pin the other side of the zipper to the entire top edge of the back facing side of the bag.
- The side panels should not have the zipper pinned. There will be a large amount of the zipper hanging off the edge.
- Open the bag up fully and measure how much the zipper needs to be opened in order for the entire bag to be opened. Pin 1 inch longer than where the end of the zipper lays.
-
Sew the two sides of the zipper to the top of the bag, following the top stitching line so the zipper stitching aligns with the top stitching.
-
Once the zipper is attached to both sides, cut the extra length of the zipper off and sew a fabric stop.
- Close your zipper and VOILA YOU HAVE YOUR OWN INSULATED WASHABLE A LUNCH BOX!
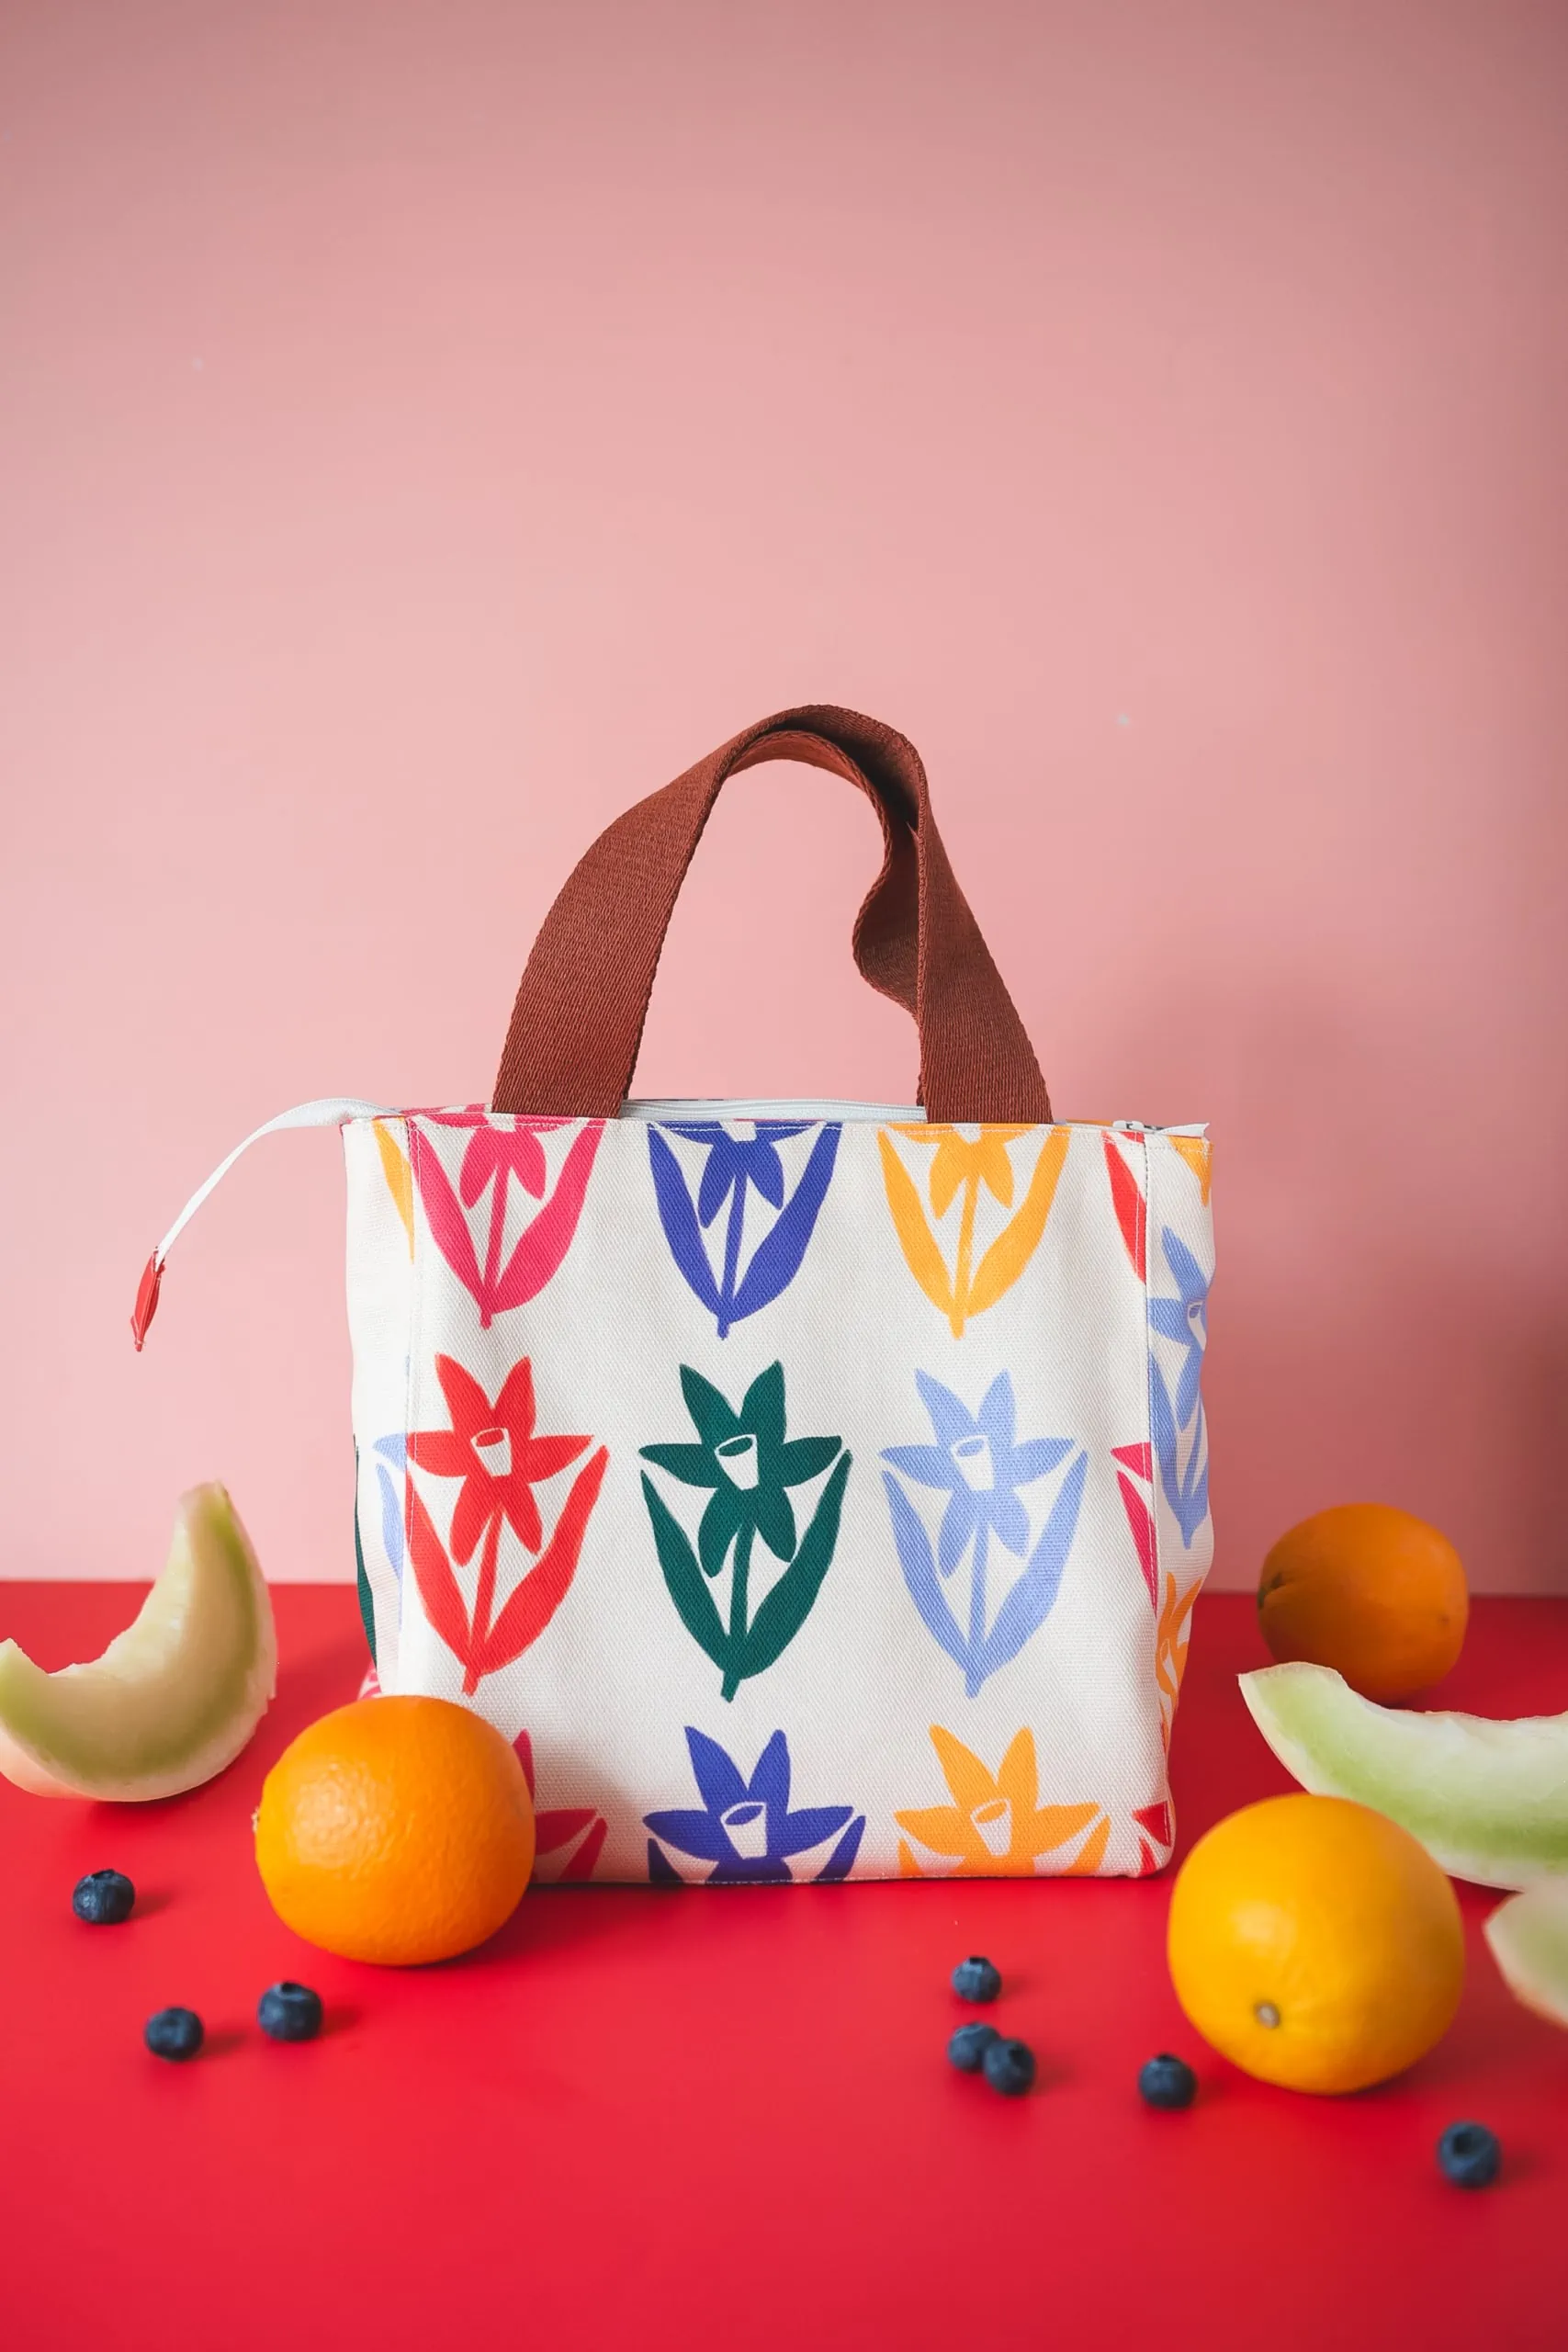
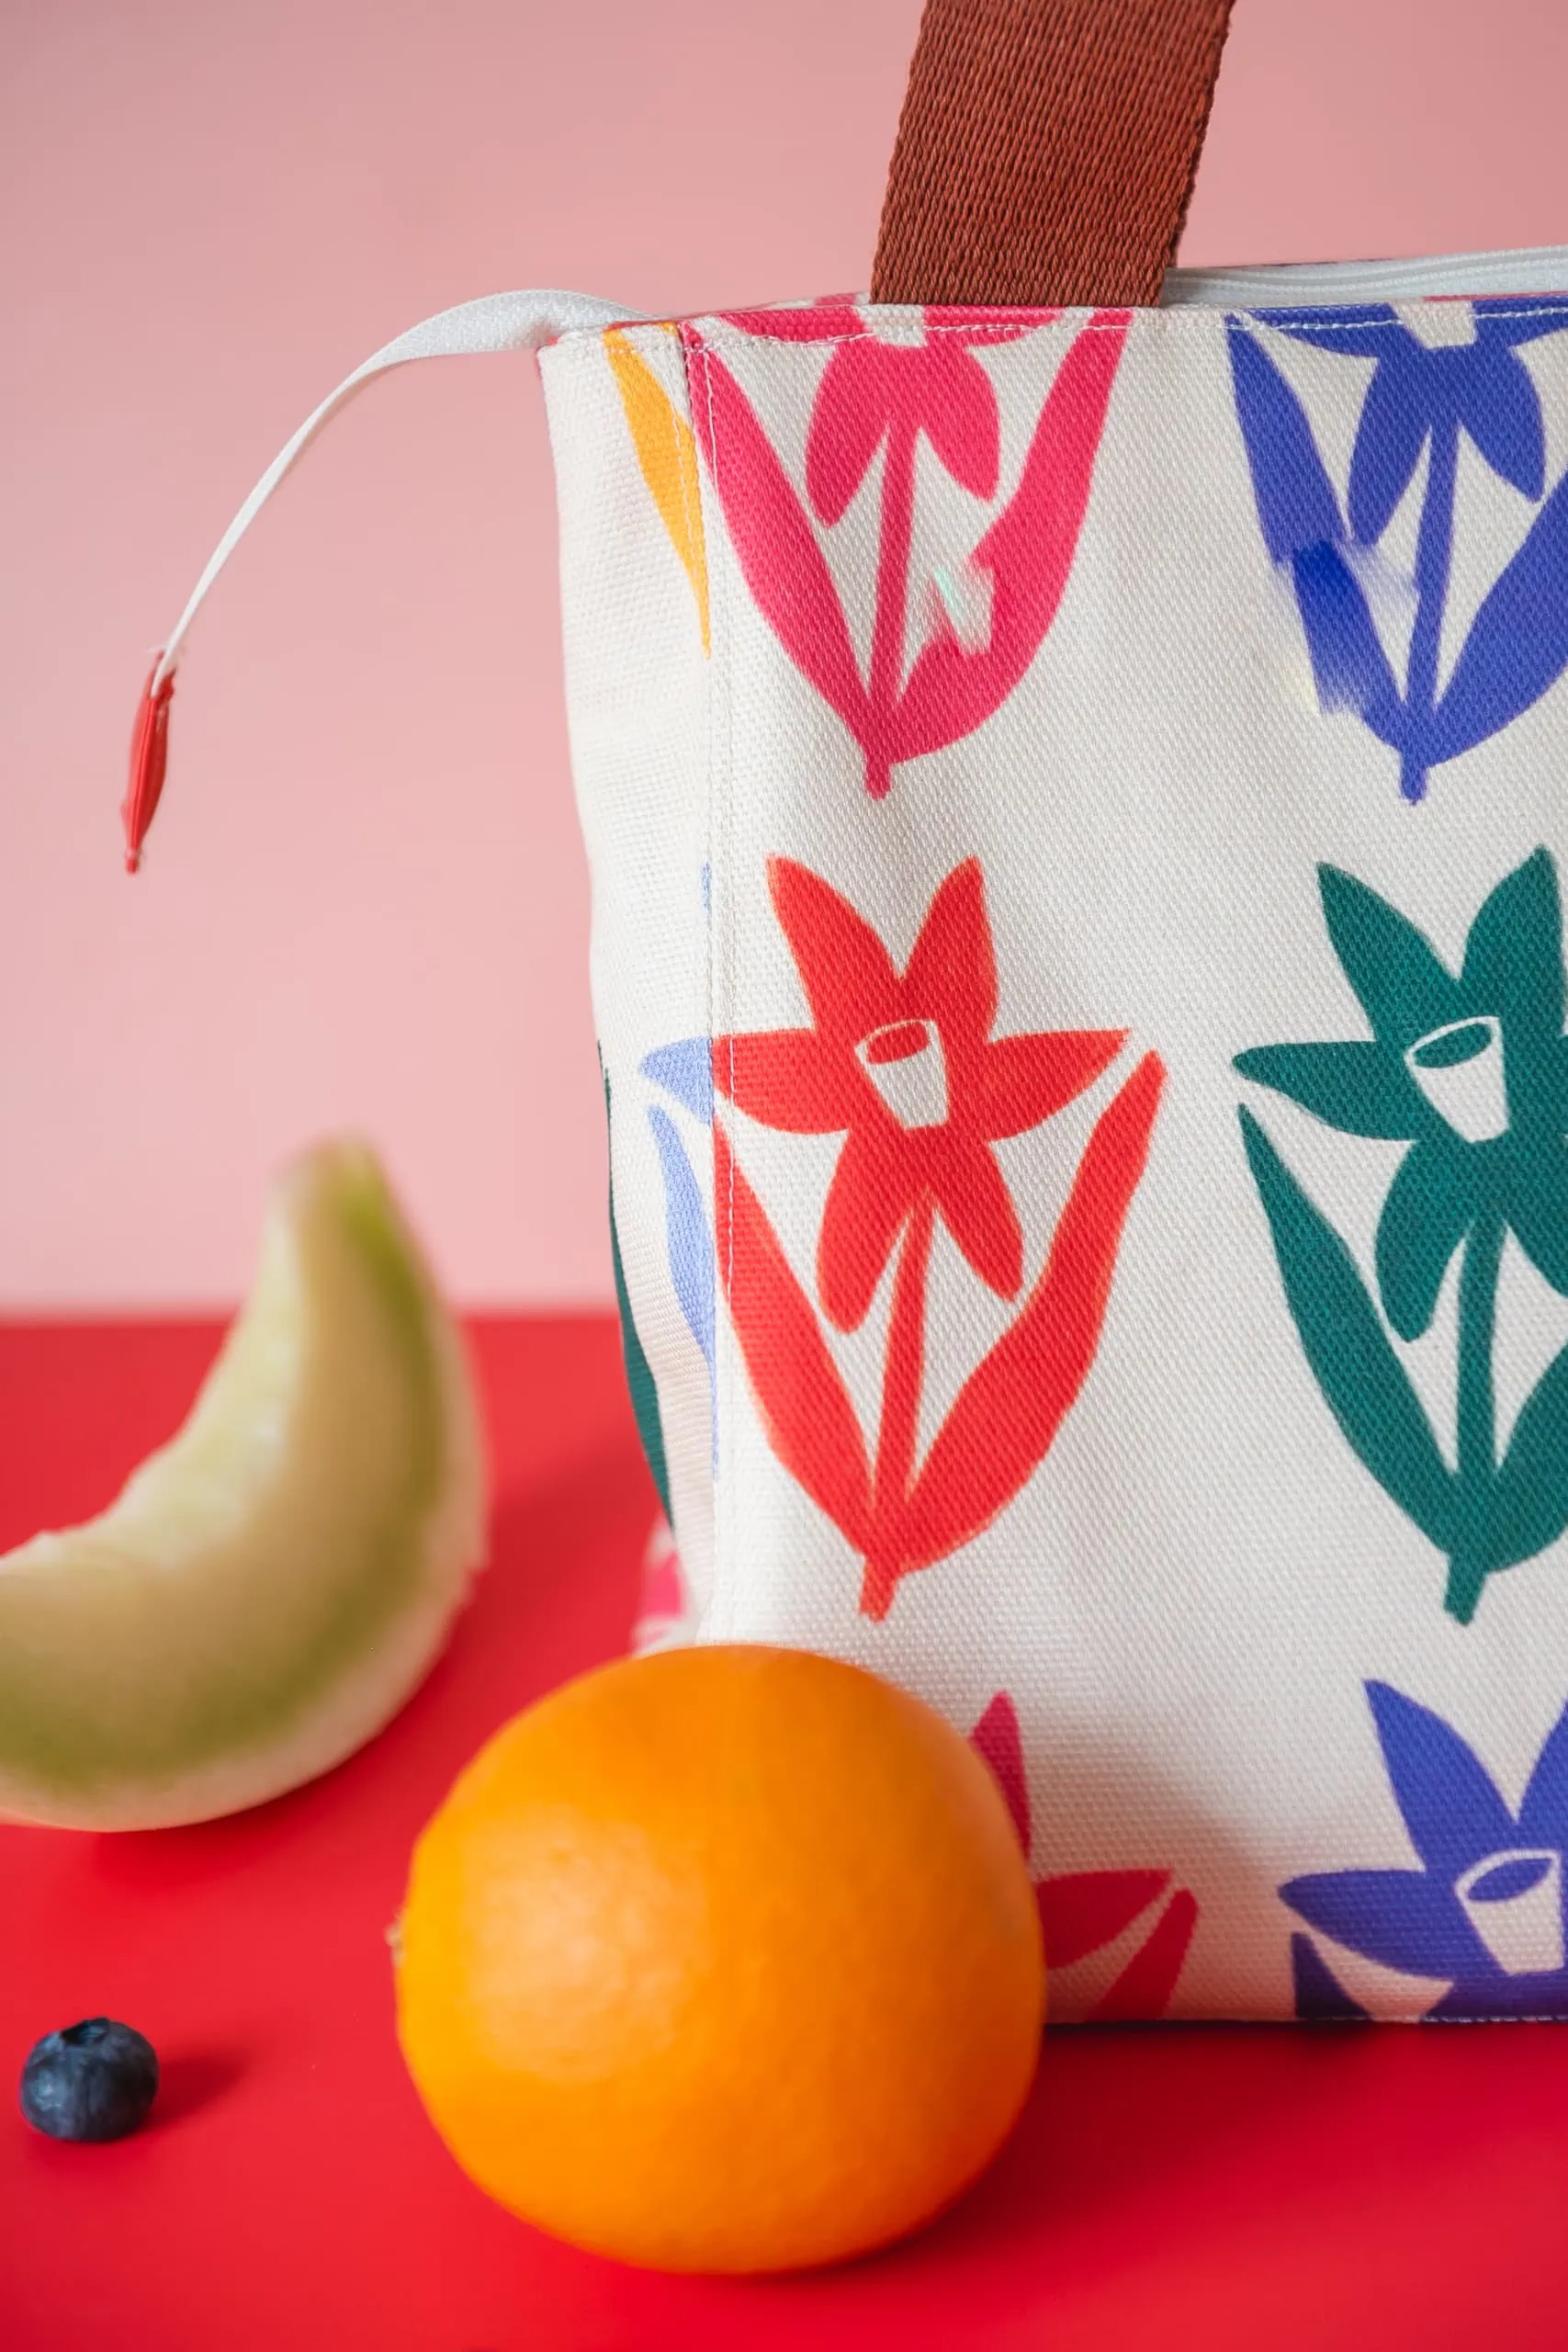
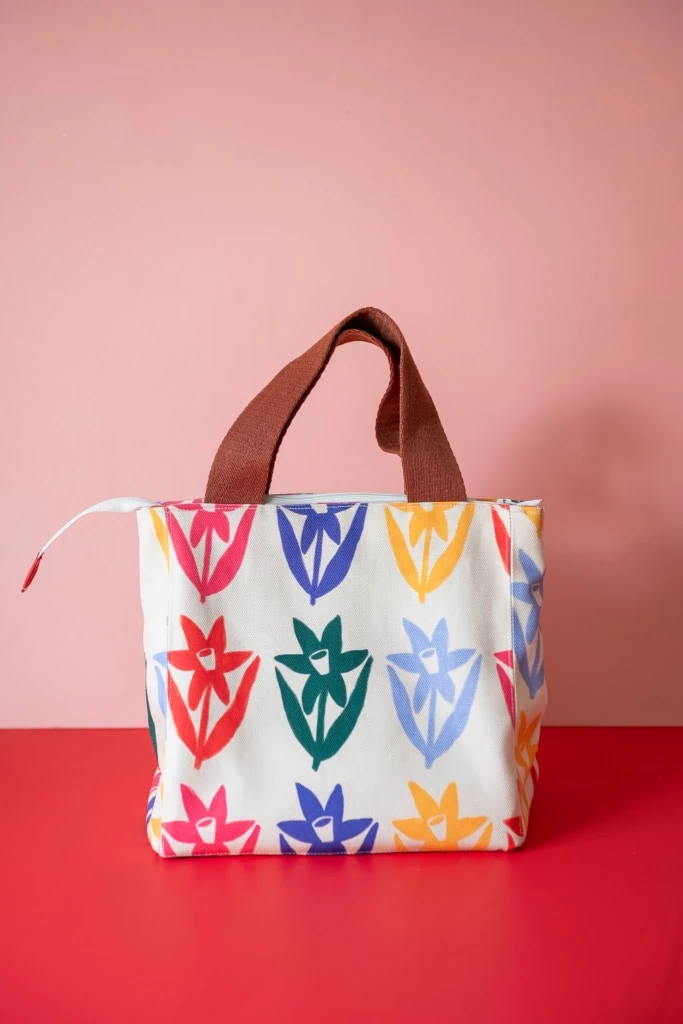
By following these step-by-step instructions and infusing your own creativity, you’ve made a personalized and stylish insulated lunch bag that’s bound to turn heads and spark conversations. Enjoy your newfound lunchtime flair! And show us what you make by tagging us with #LarsMakes. We love to see it all!


Comments