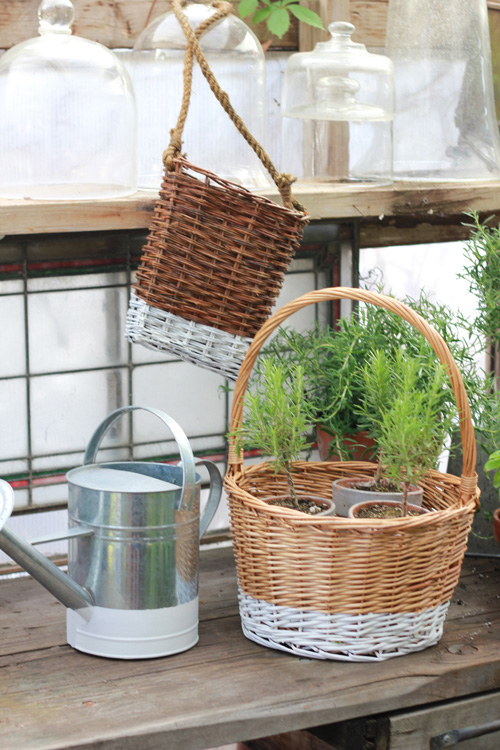
We love the dip dyeing trend! It just adds a little extra pizzazz to an otherwise plain object. Plus, you can dip dye almost anything! (I’m tempted to dip dye everything!). But, hey, when it looks this cute, who wouldn’t want to dip dye everything?
We’ve got a super easy tutorial below for (faux) dip dyeing. We dyed a couple of wicker baskets and a watering can, but you can use this tutorial to dip dye whatever you like!
DIY faux dip dyeing for Spring
Materials:
- White acrylic paint (or spray paint, just make sure everything is taped off)
- blue tape
- paintbrush
Instructions:
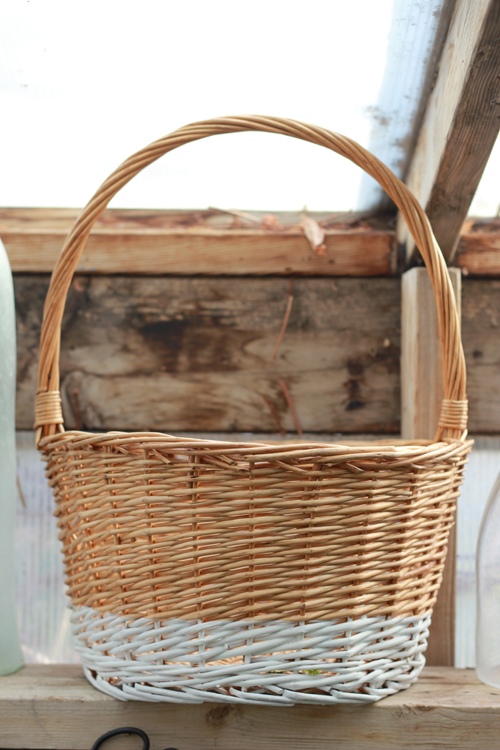
- On this decorative basket, below, I decided how high I wanted to go. The basket reeds were already placed horizontally so I picked the 6th row and used that as my guide.
- Get your brush out and paint. I started with a big brush to apply the initial stripe and then used a smaller brush to get into the details.
- Apply a few coats.
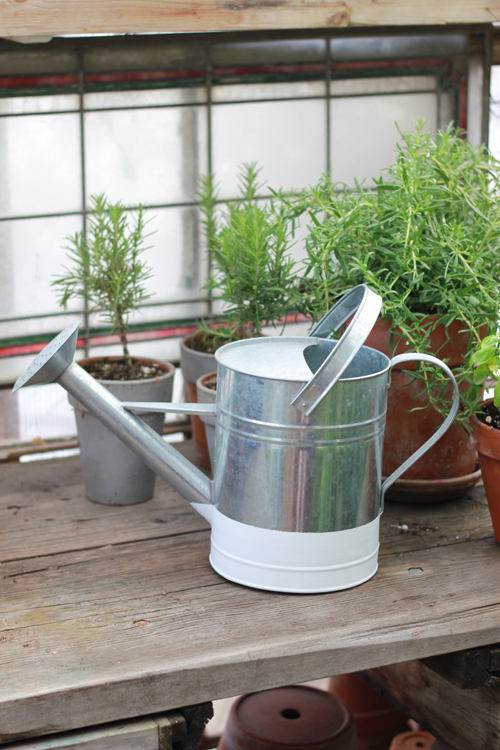
To apply on a metal object like this watering can:
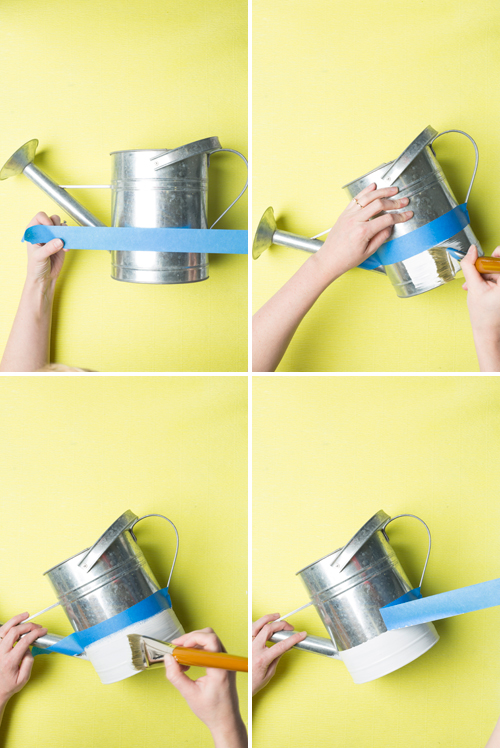
- Get your blue tape out and measure where you’d like to place it. I placed my line one third from the bottom. Make sure you secure your tape tightly onto the can so the paint doesn’t escape.
- Paint it!
- Paint a few layers until it’s nice and thick.
- Remove tape and voila!
Super easy, right? It would be so cute to add a bouquet of paper flowers to the dip-dyed wicker baskets! The perfect addition to your home decor for Spring!
Let us know in the comments how your dip dyeing crafts go!
step-by-step photos by Trisha Zemp
final photos by Brittany Jepsen
More dip dye and Spring crafts
If you loved dip dyeing baskets for Spring, check out our tutorial for dip dyeing sweaters! We created ours with pastel colors, perfect for Spring! For more Easter and Spring crafting projects, take a look at our tutorials in the archives.


