Today’s DIY comes from Lars contributor Corrie Beth Hogg. Check out her other DIYs here.
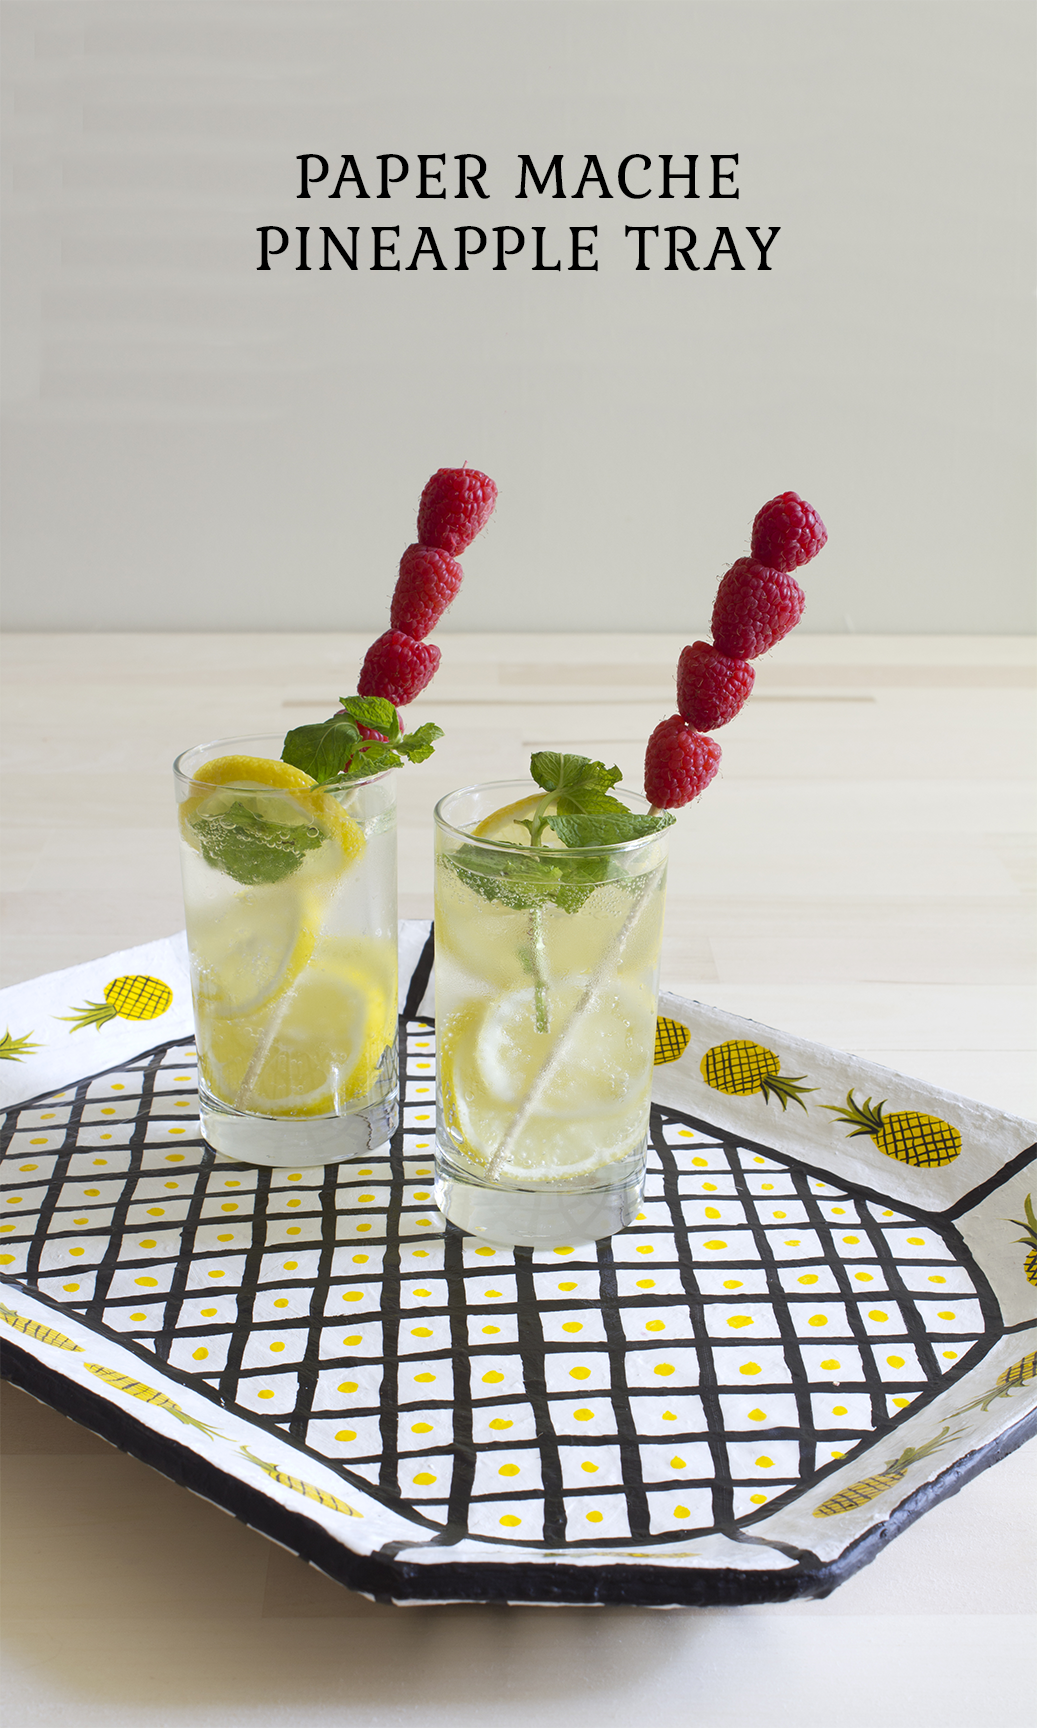
I am a firm believer that one can never have too many trays. They’re perfect for a coffee table, buffet, or for serving up your favorite treats! Plus, they are a great solution if you need a quick styling change around the house, a pop of color, or a hint of something unique. I love how easy and customizable this craft is, a simple papier mâché project made from supplies you already have around the house (and they’re surprisingly durable too). Make a thematic tray for the upcoming shower you’re hosting or a smaller version for jewelry on your bureau. These make great gifts too, the possibilities are limitless!
project and photos by Corrie Beth Hogg
Click below for the full tutorial below!
Here is what you need:
- cardboard and newspaper
- flour, water, mixing bowl and whisk
- masking tape
- pencil, ruler, and craft knife
- acrylic paint, brushes, and palette
- gesso
- mod podge
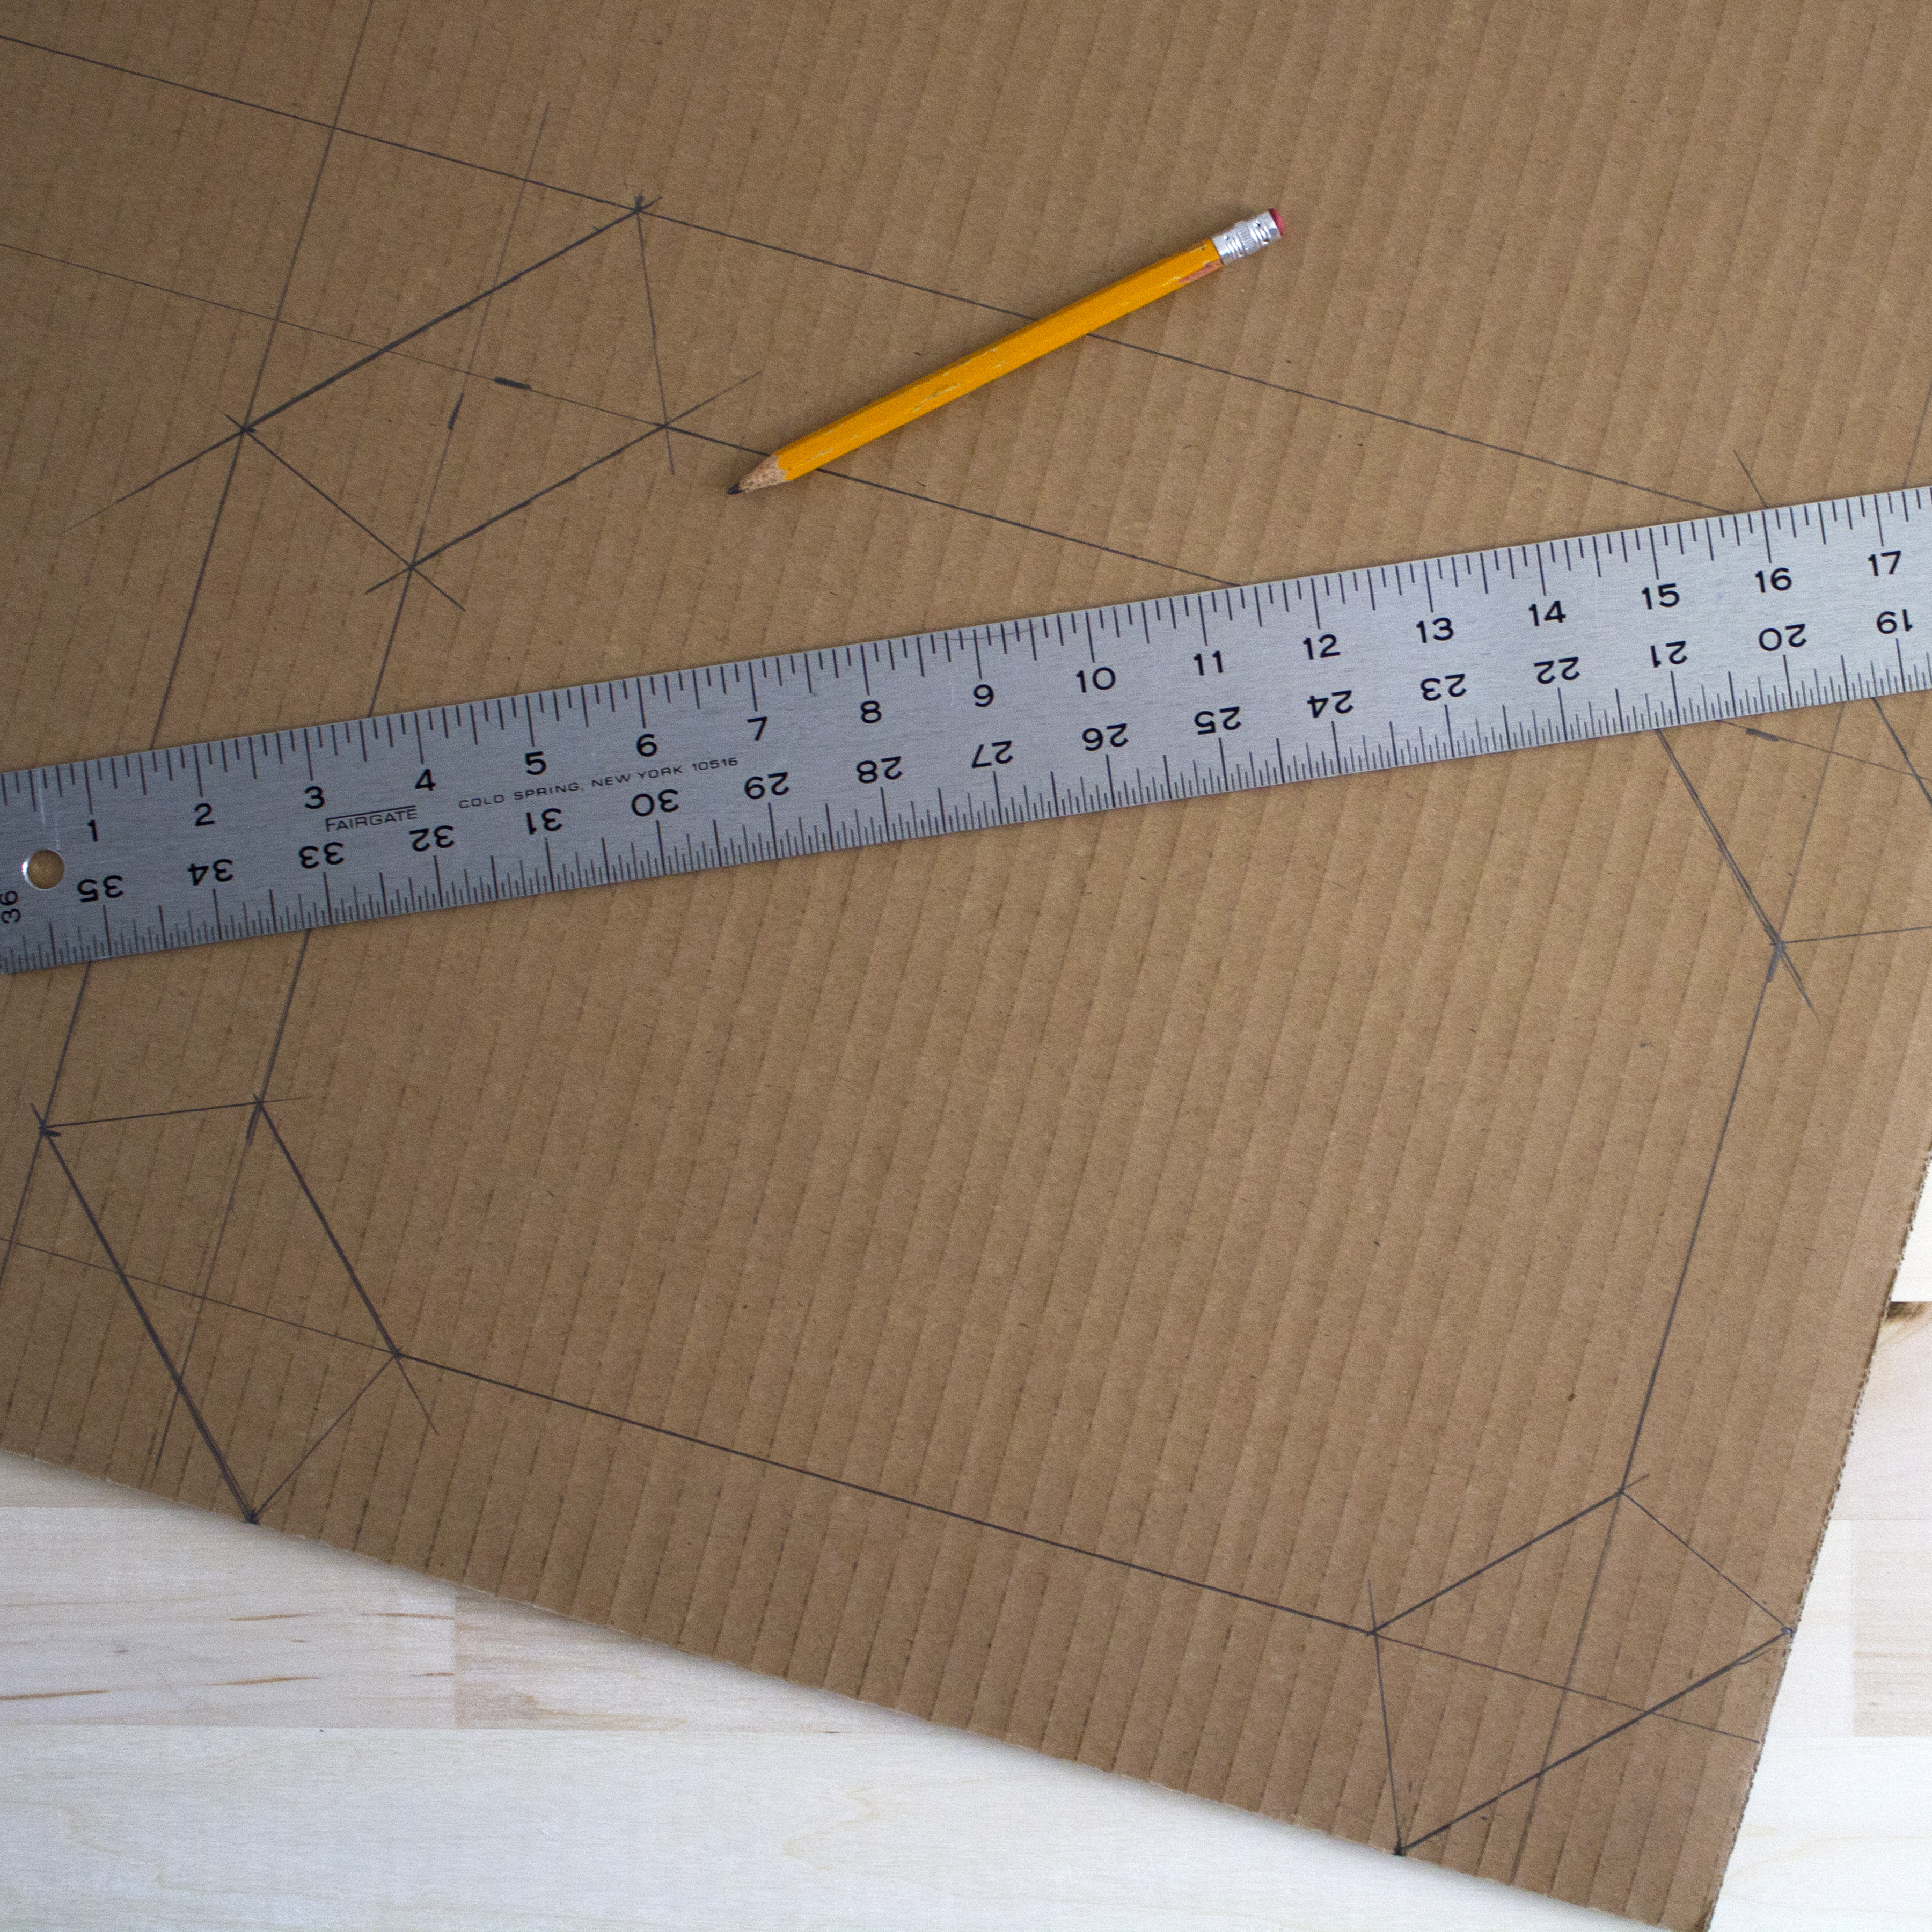
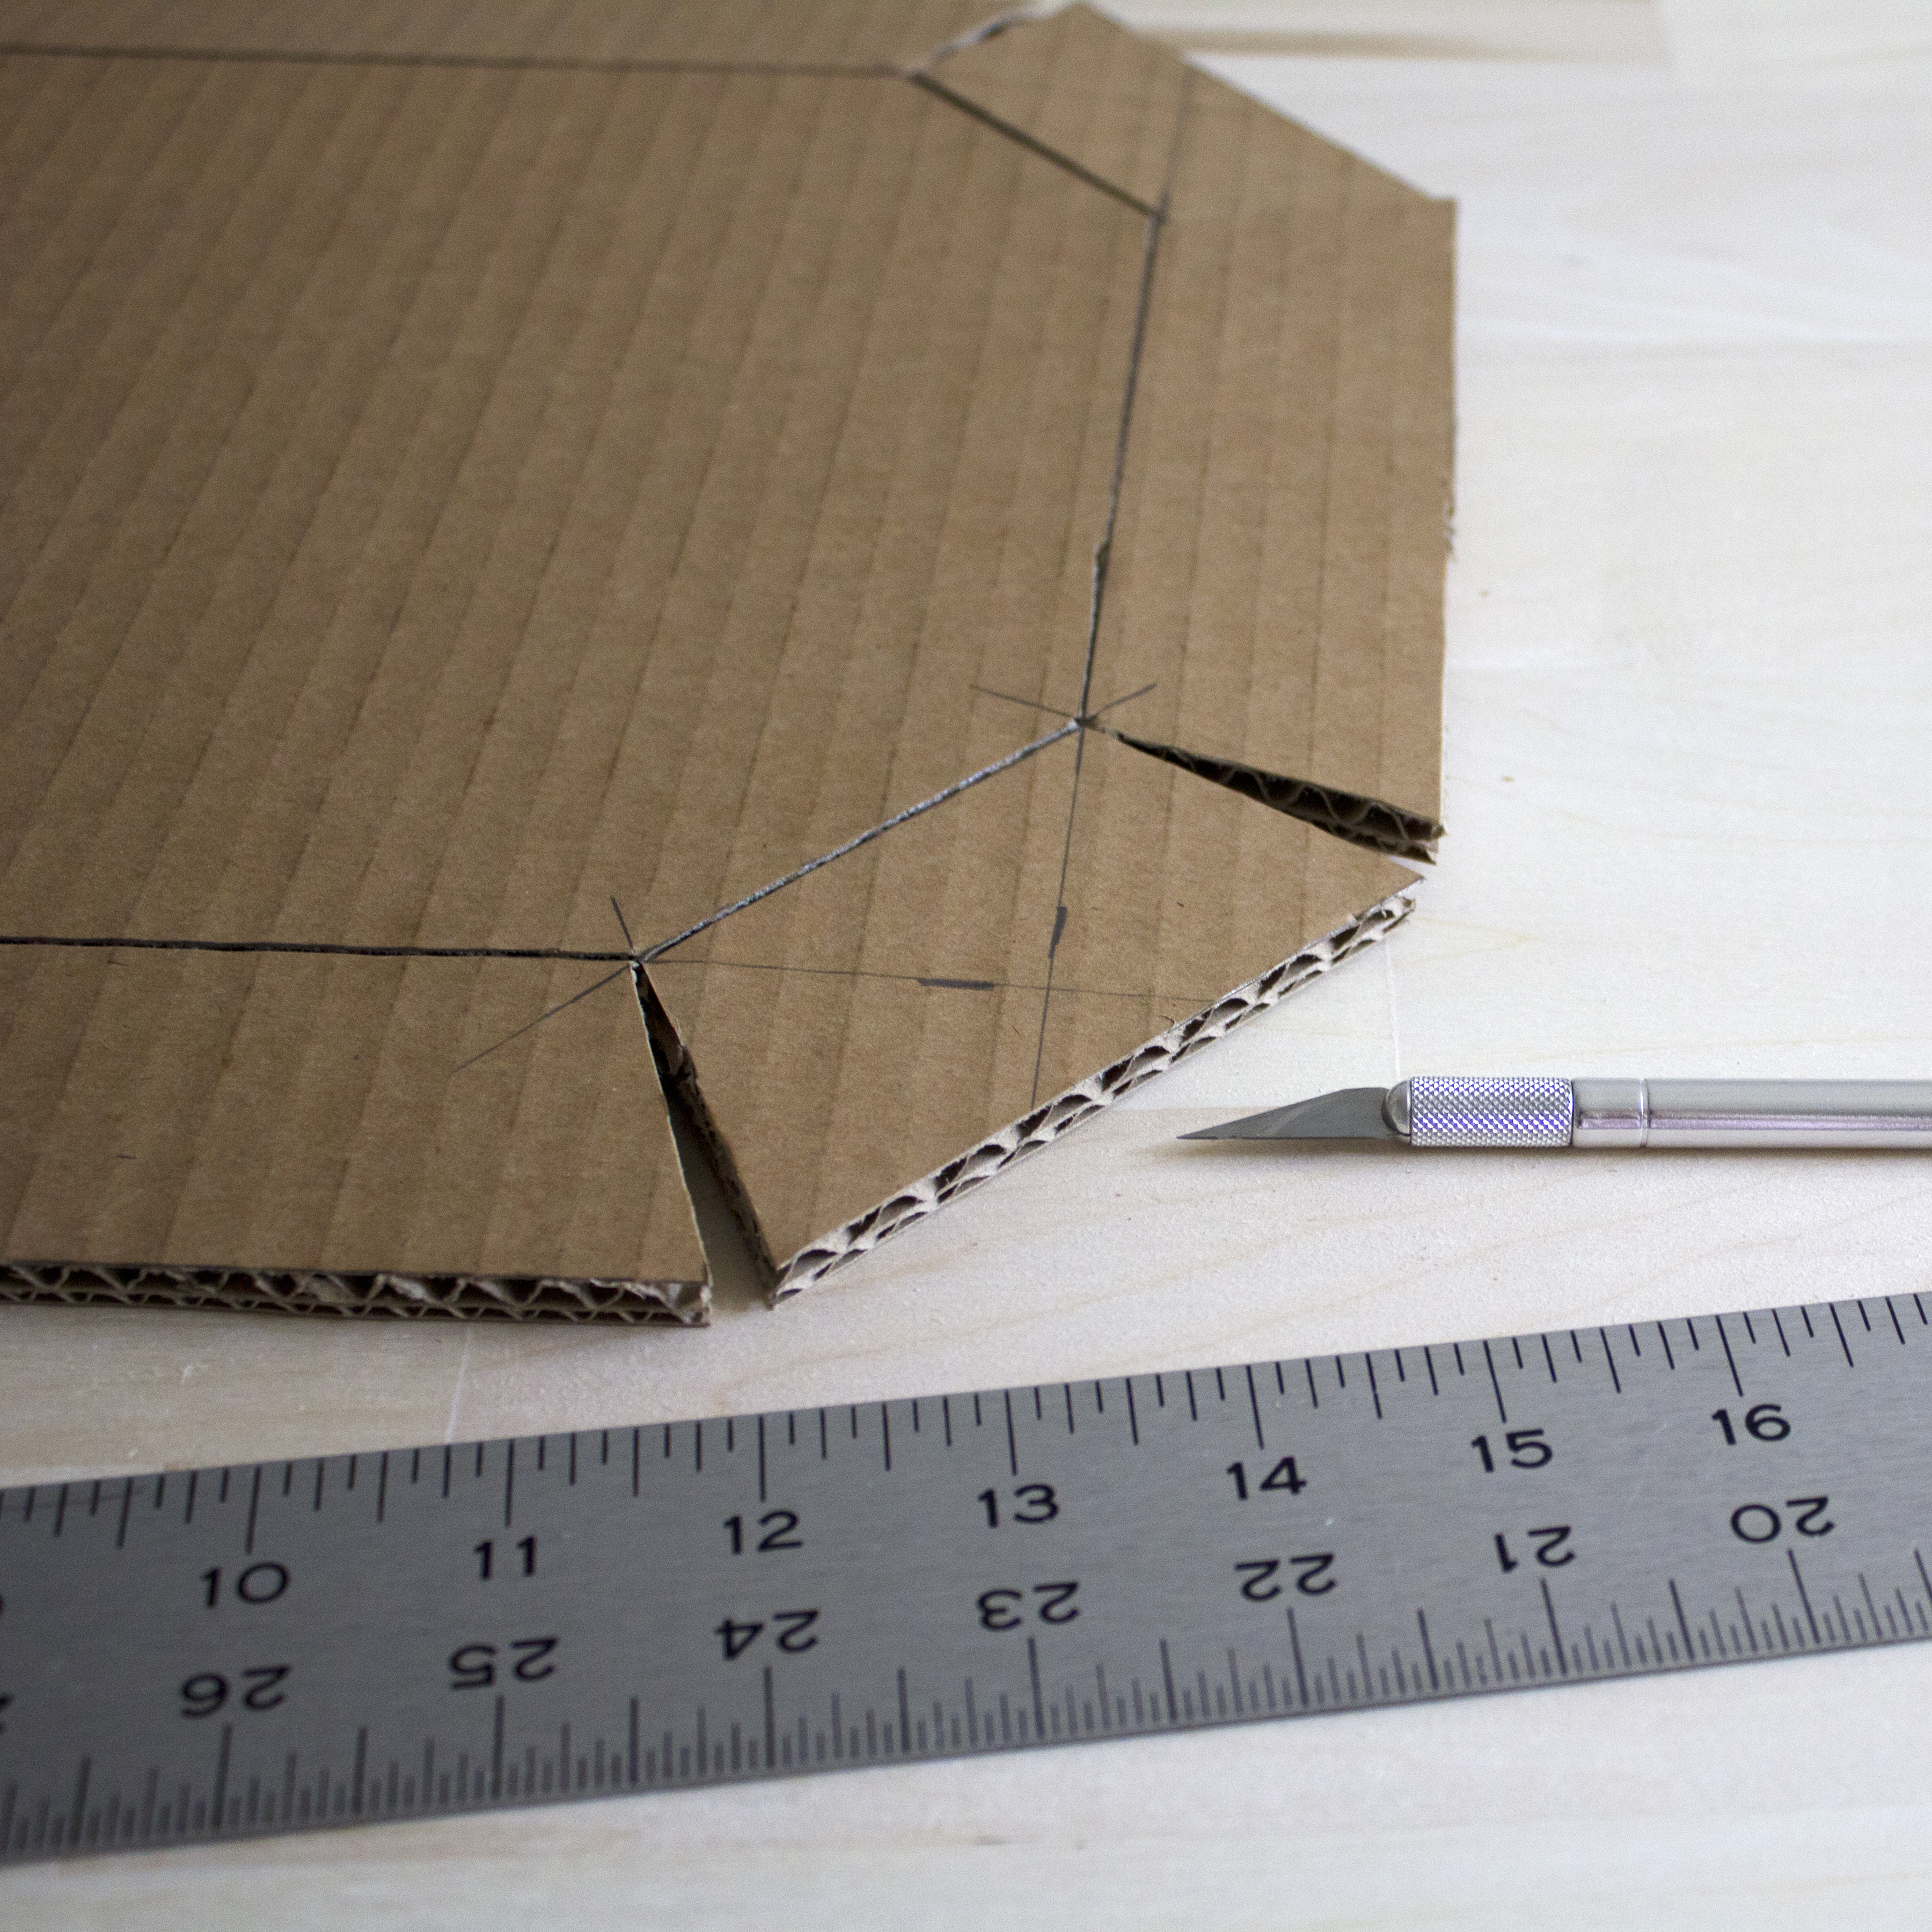
Step One: Sketch out your tray shape on the cardboard. I made mine with cut back corners, in a classic octagonal shape, but you can keep it simple here if you like and just do a four sided tray.
Step Two: Using your craft knife cut out your tray shape along the outside lines. Where the corners meet, cut out a wedge about 1⁄4” at the widest part to allow the tray’s sides to angle up slightly. Score all other lines (don’t cut all the way through).
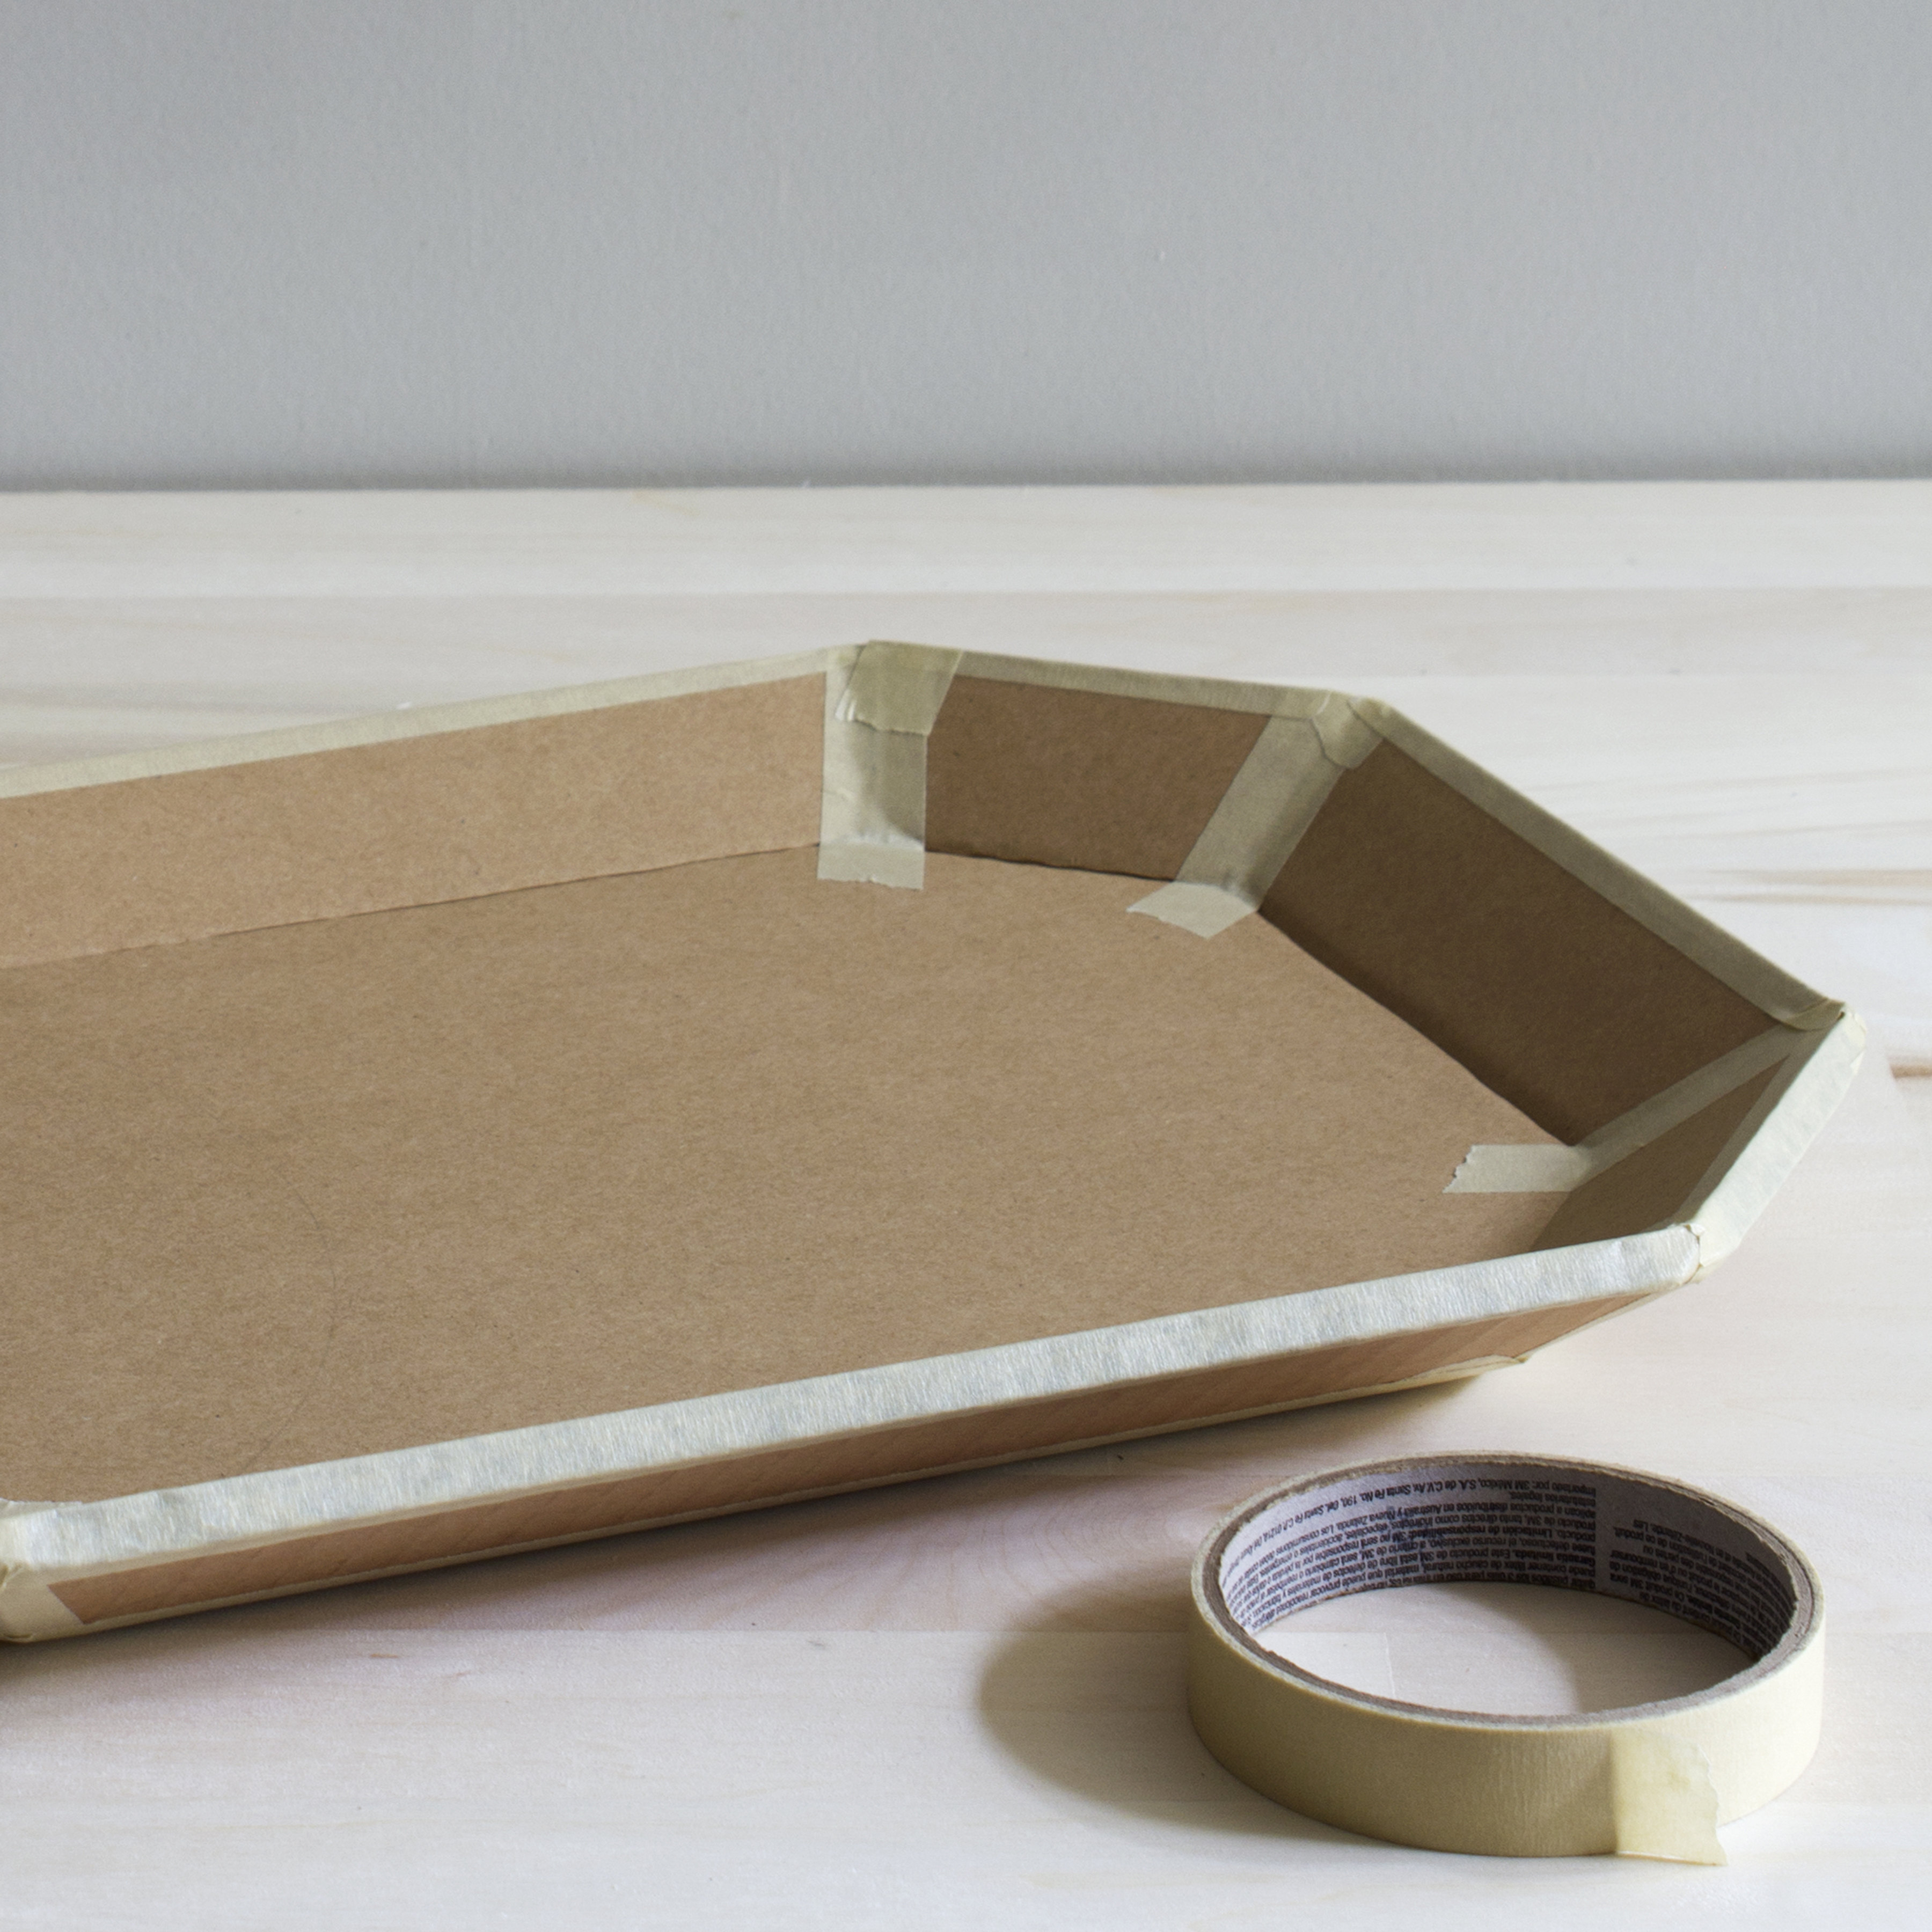
Step Three: Secure the corners together with masking tape.
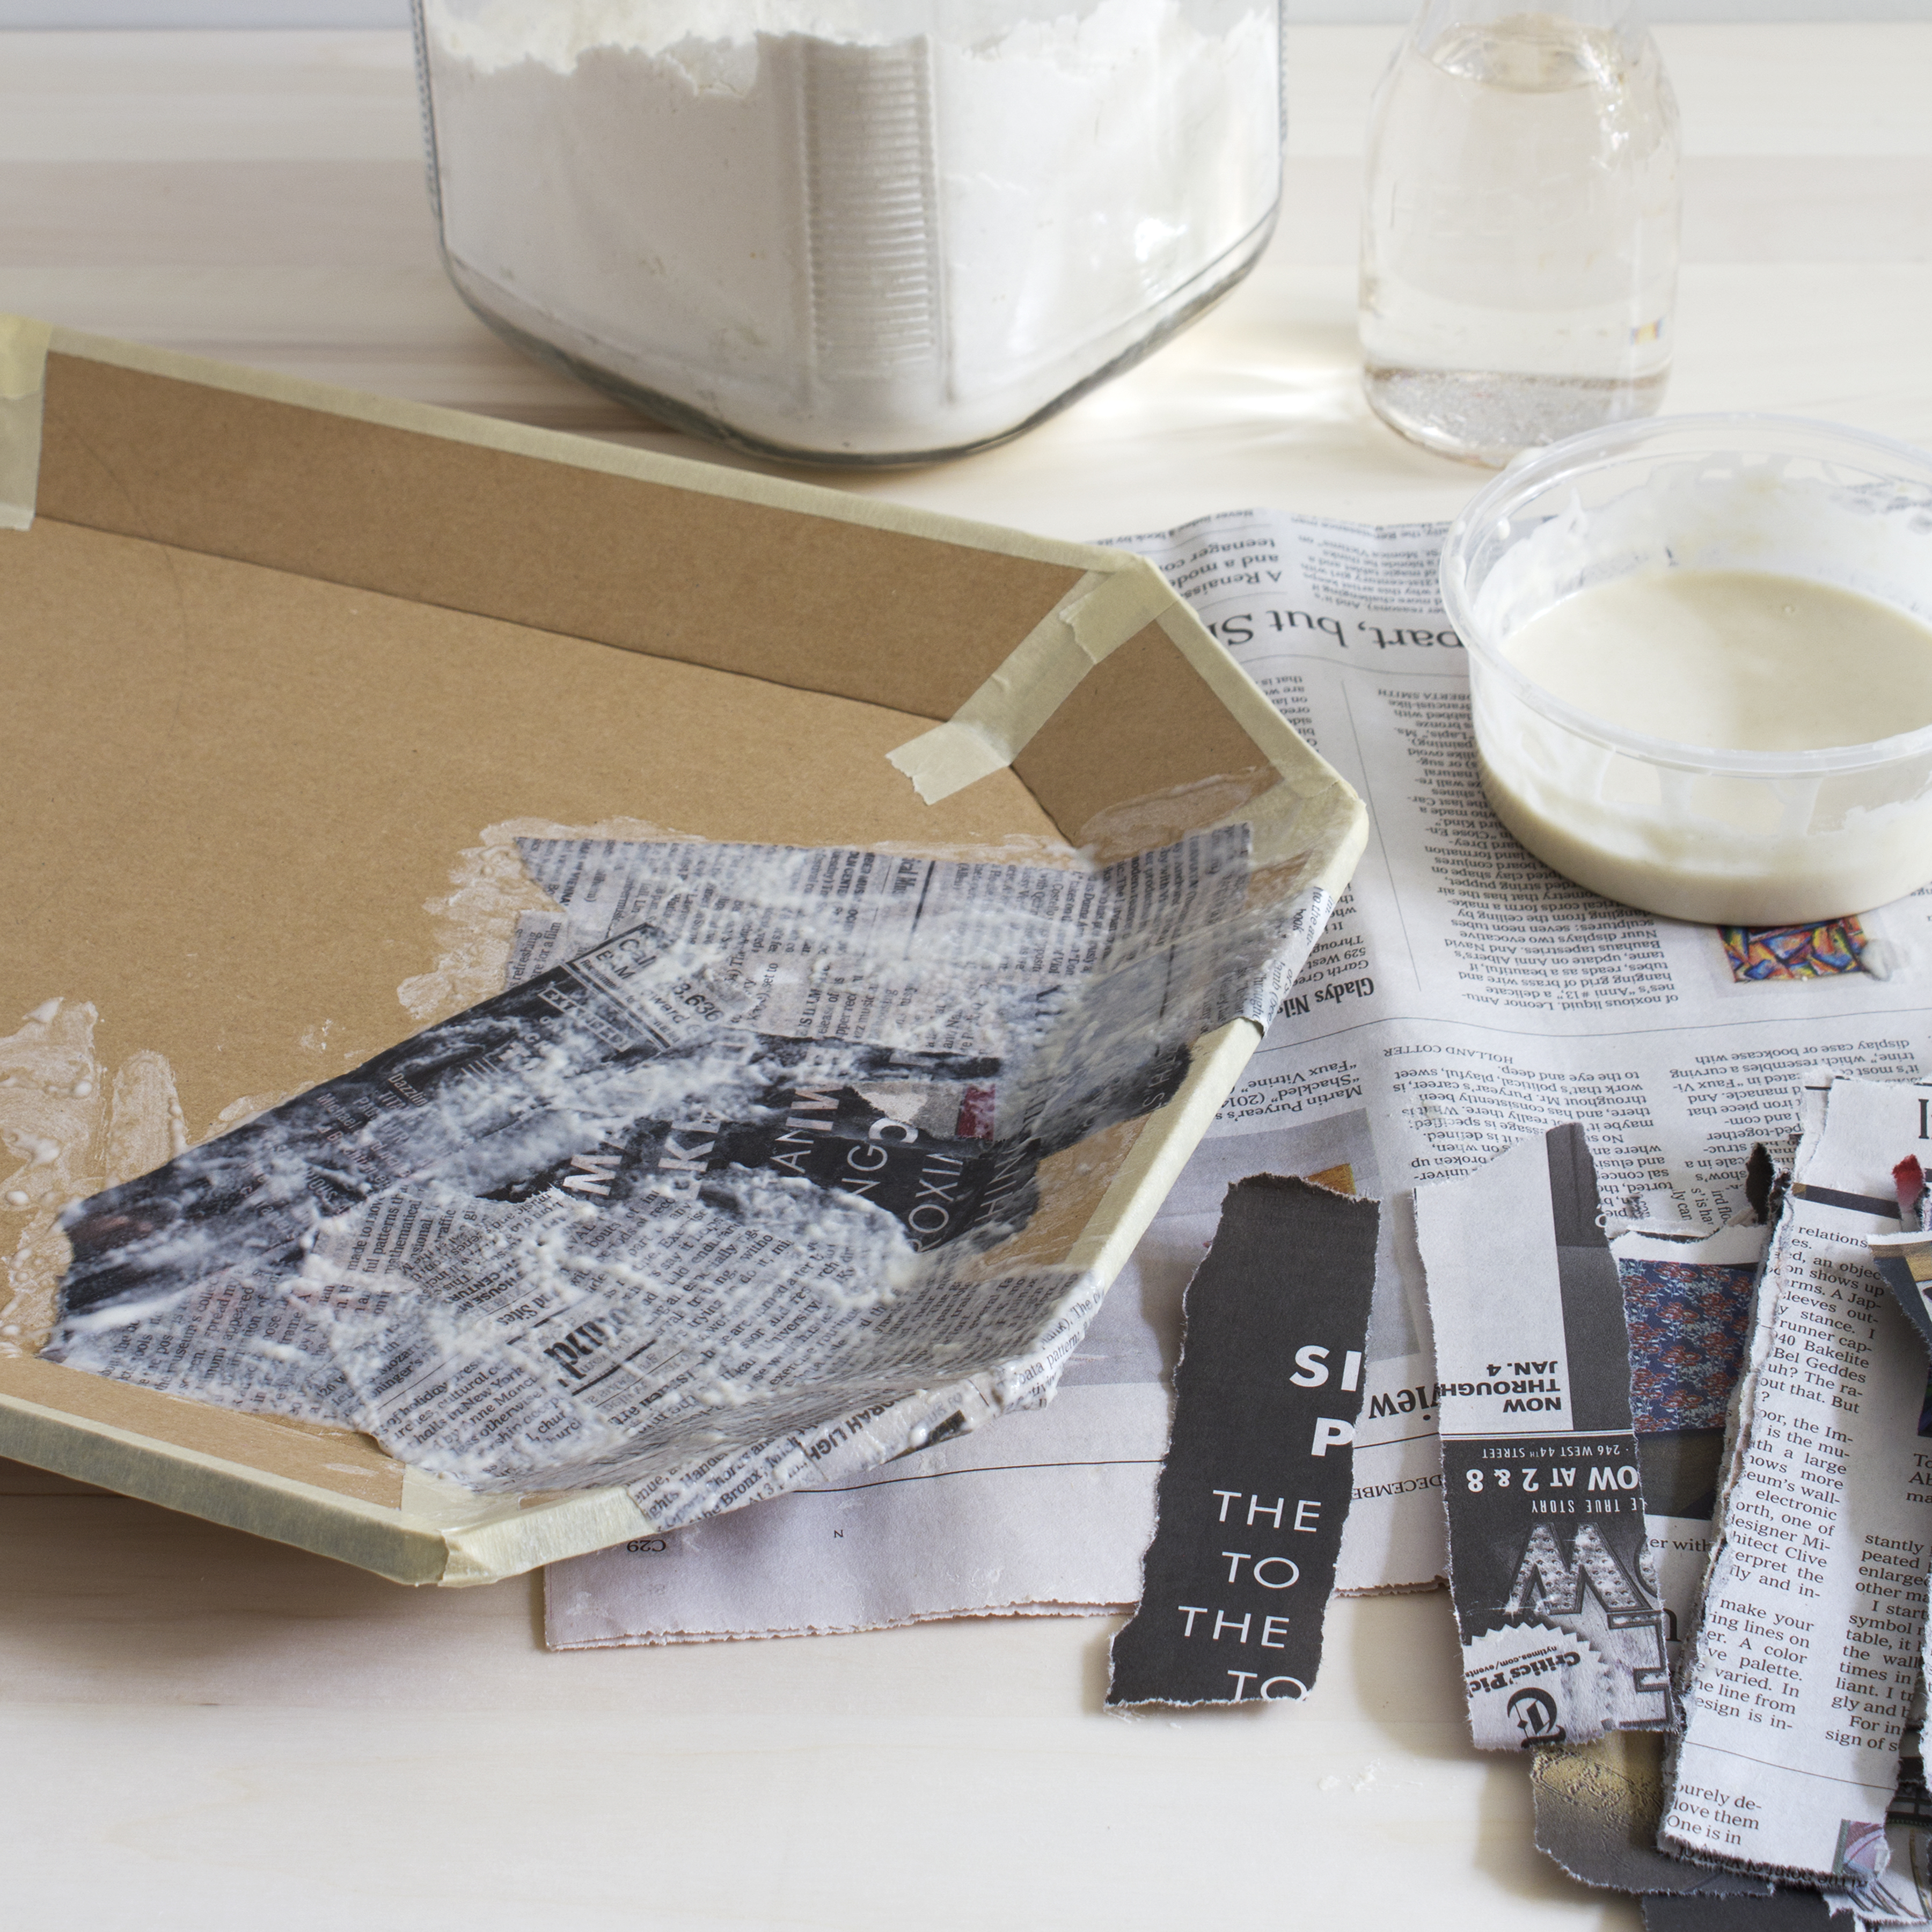
Step Four: Add 2 layers of papier mâché (with drying time in between) check back at our Papier Mâché Cake Stand DIY to get a full tutorial on the process. Allow to dry thoroughly, then paint 2 layers of gesso.
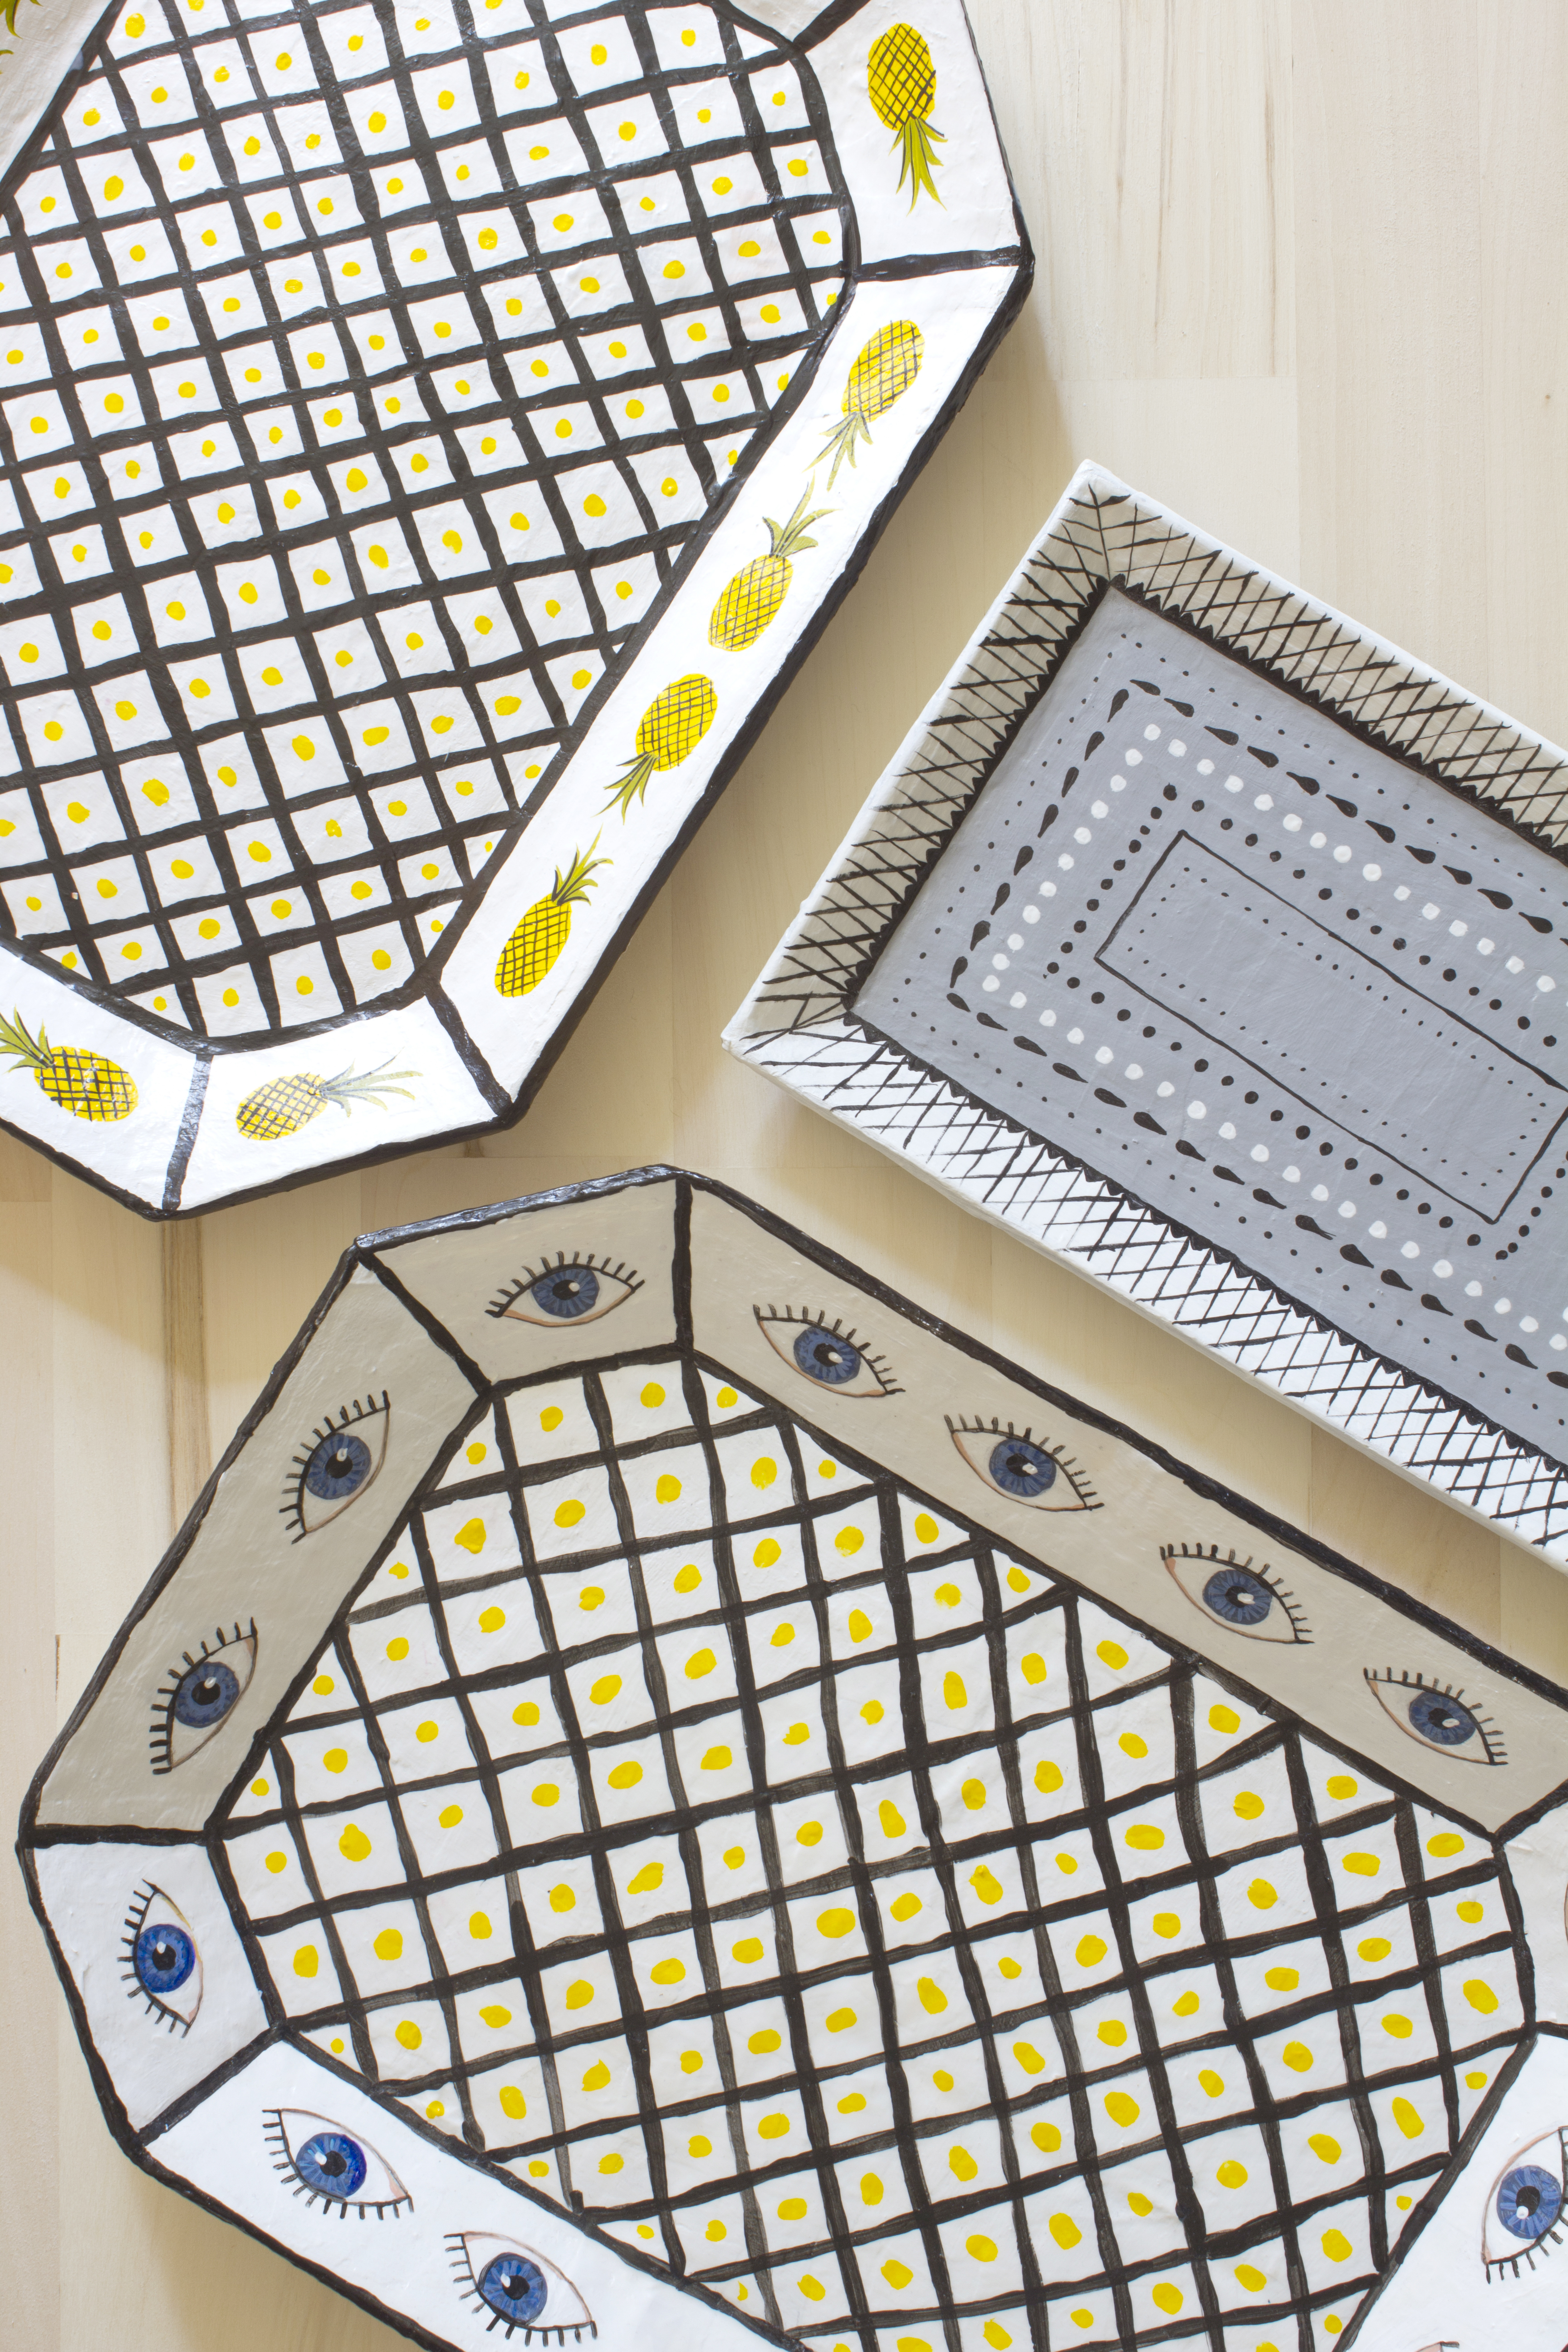
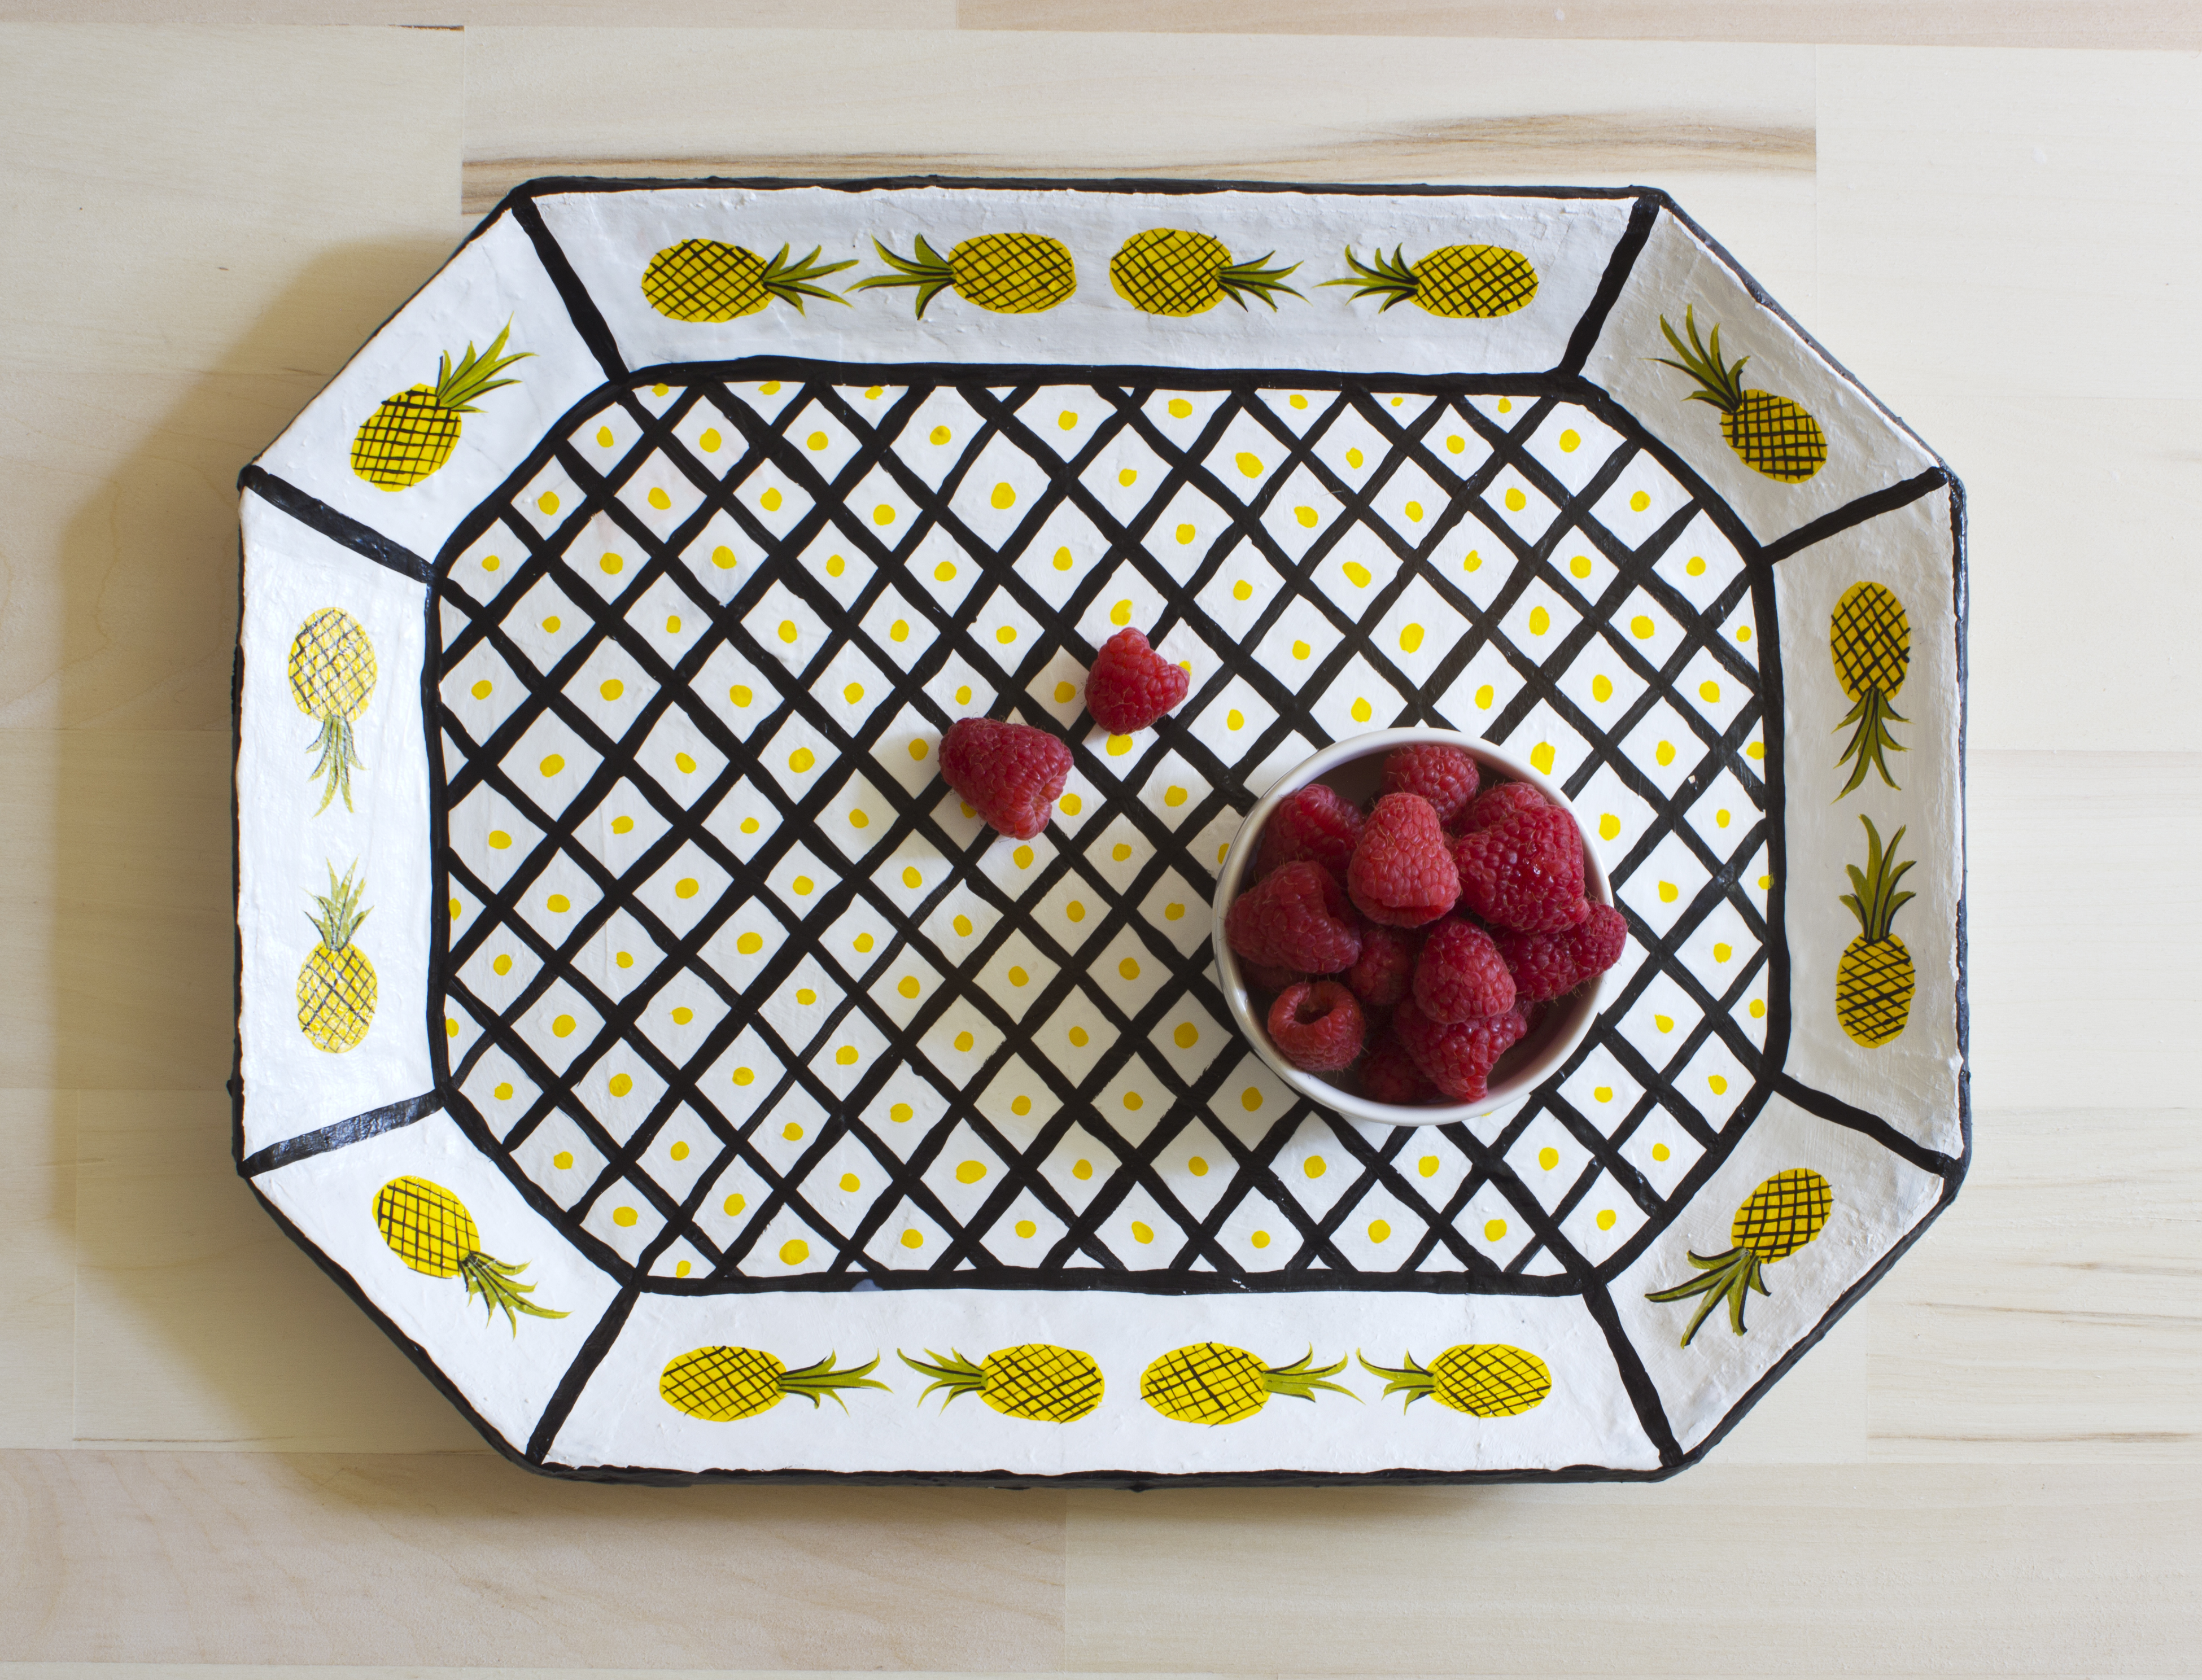
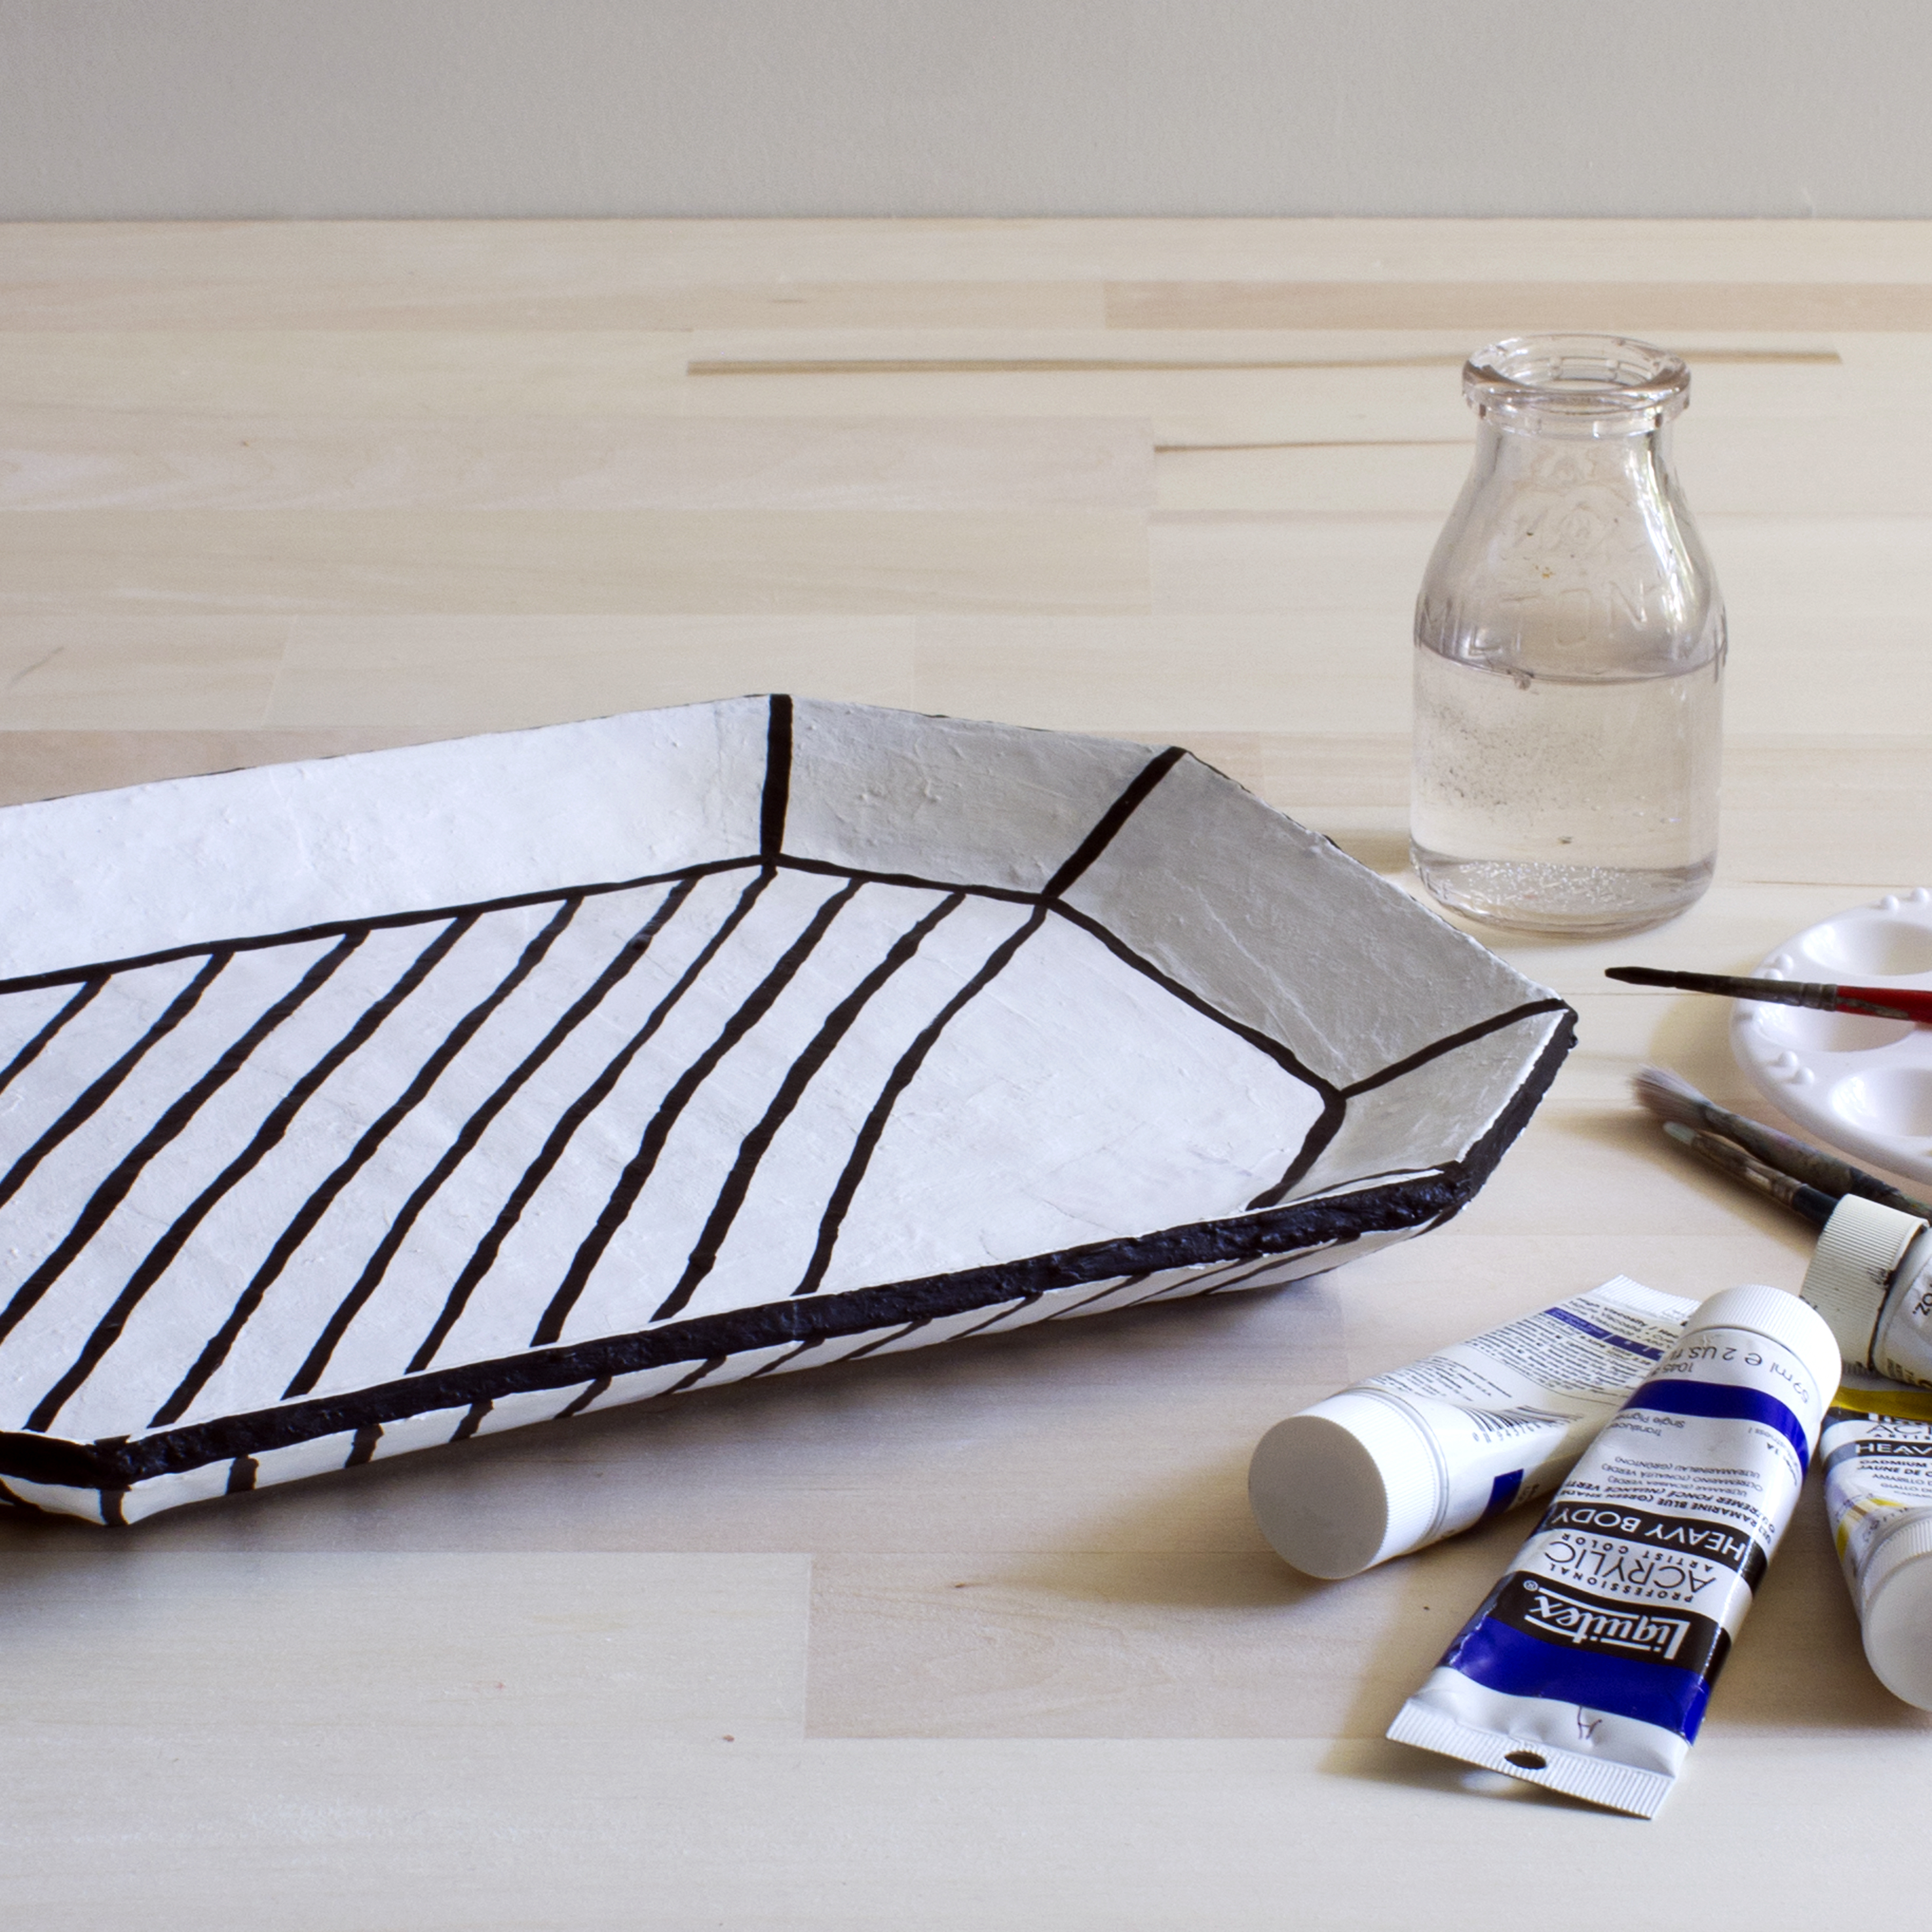
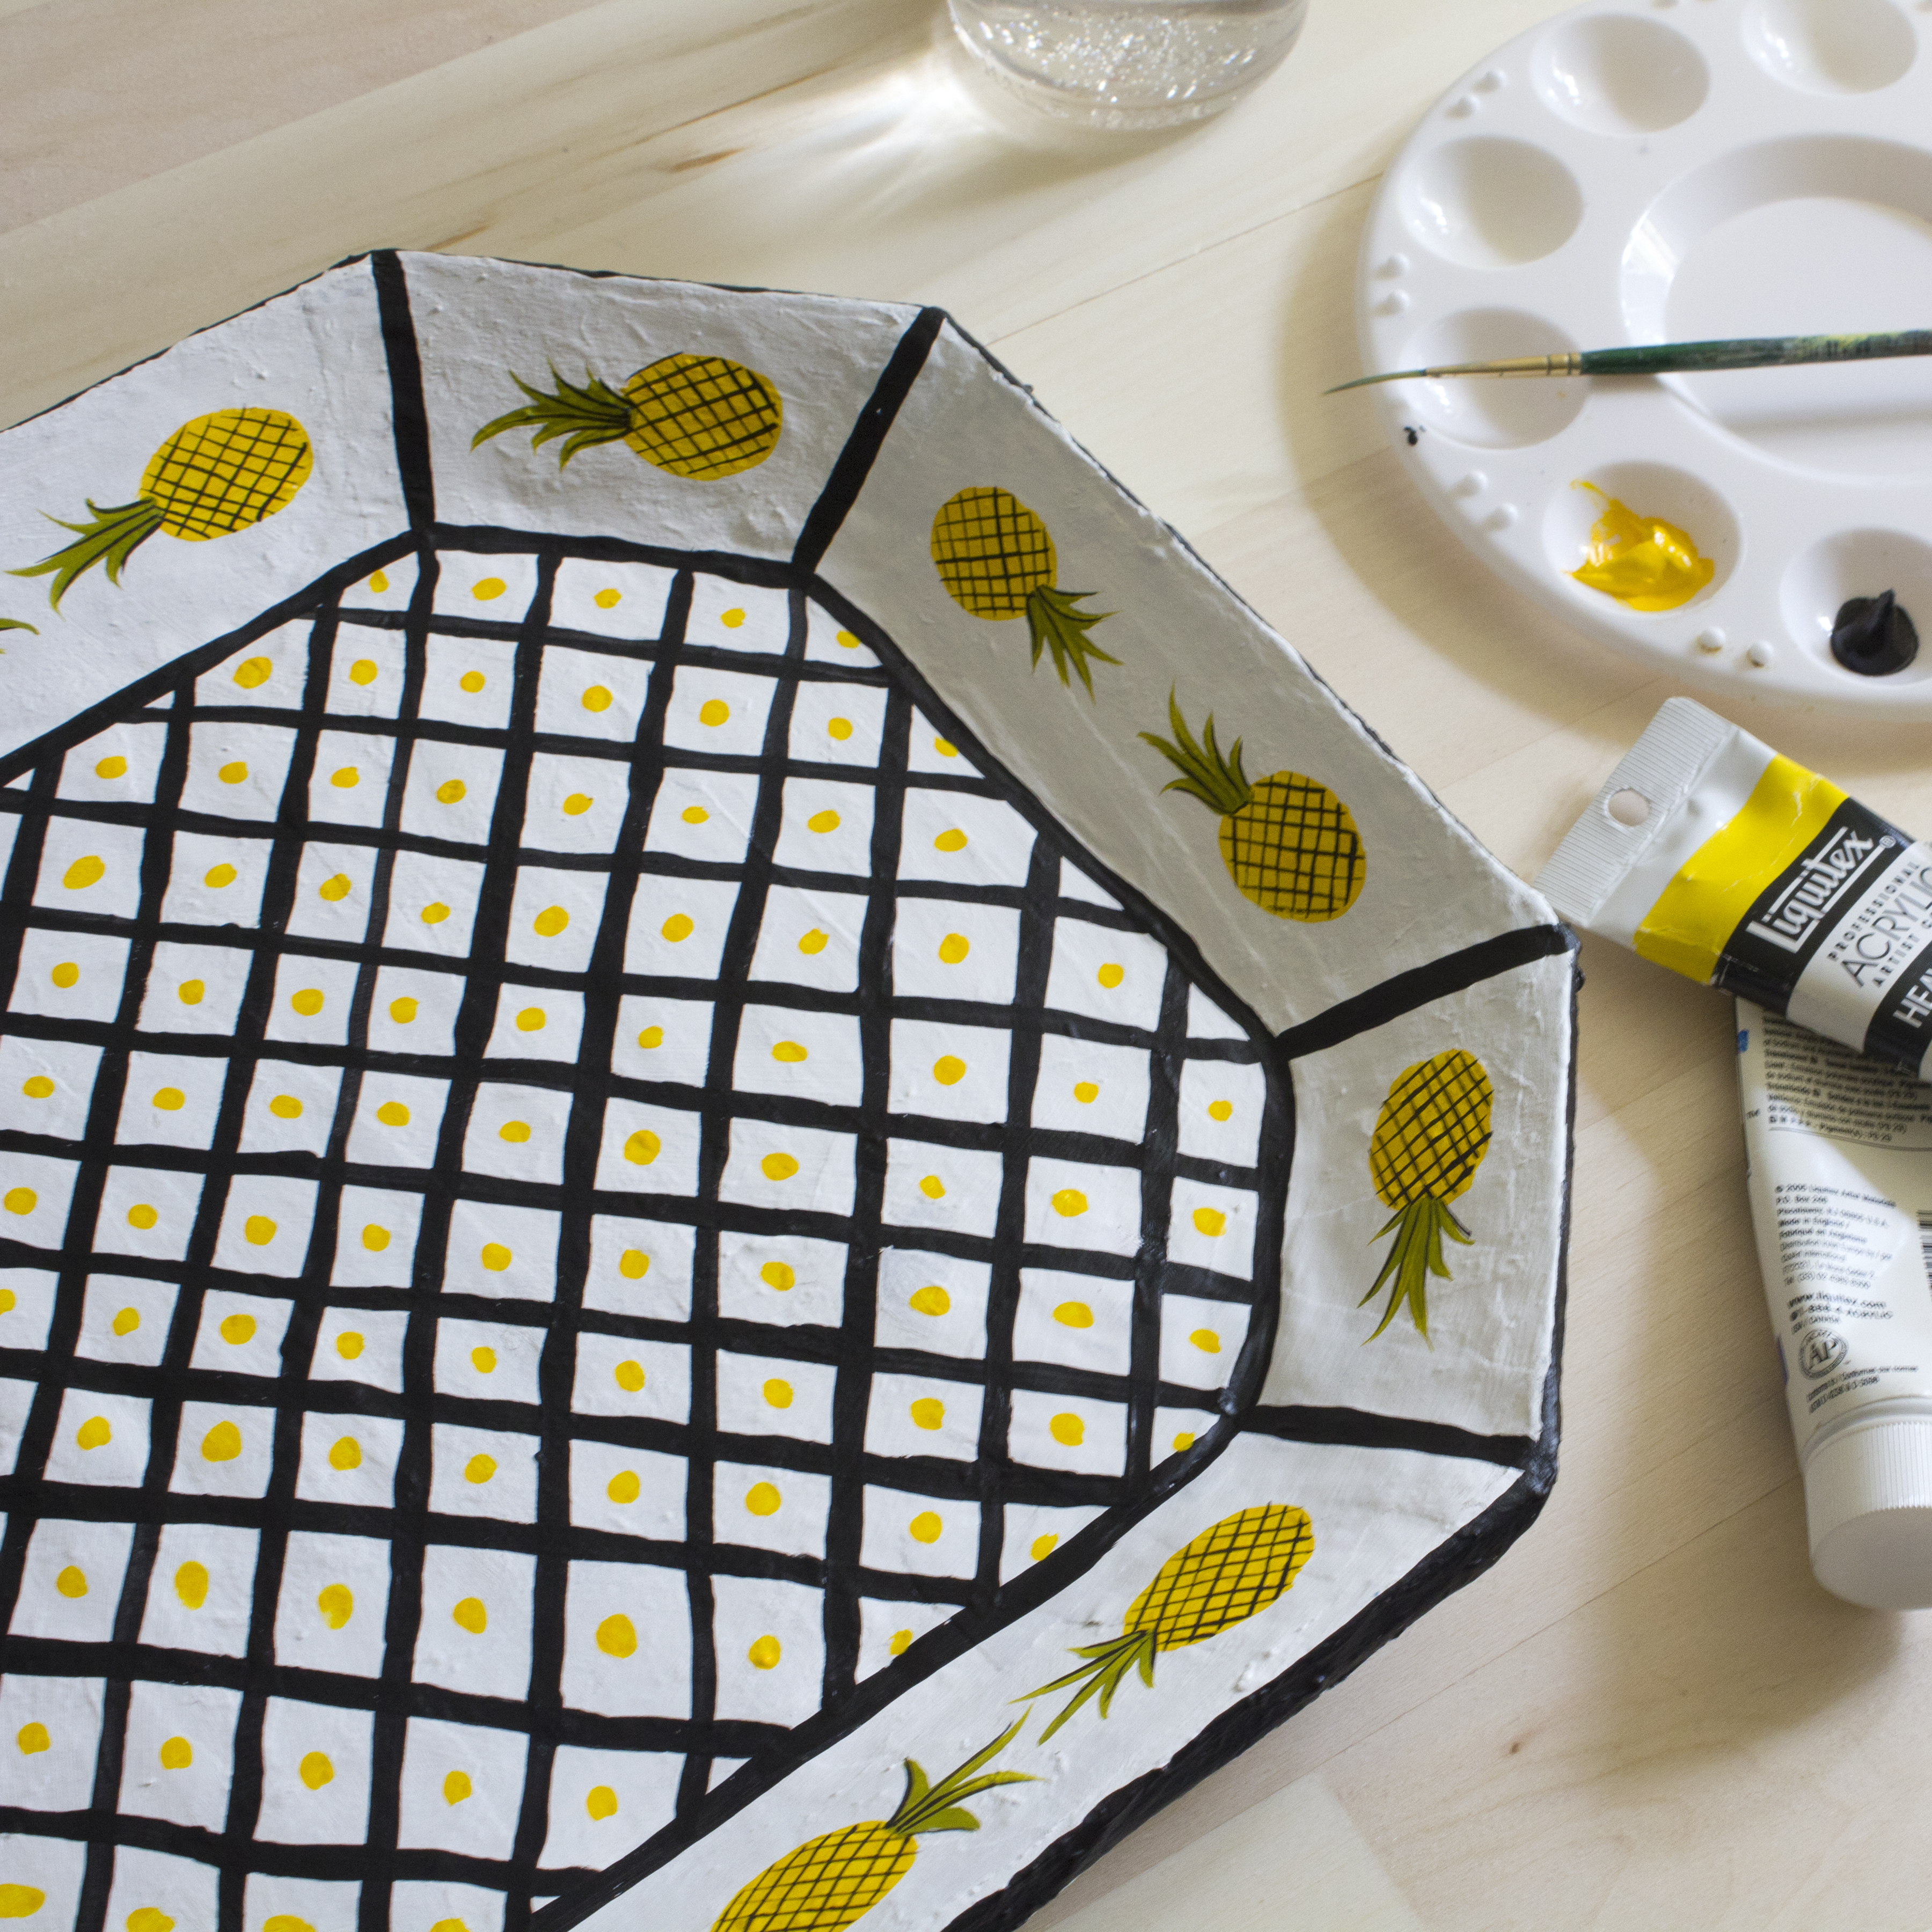
Step Five: Paint your tray any decorative way you like, add a pattern a plaid or polka dot, or go with a solid color. Hosting a themed party? Get creative with this part and add your favorite imagery. Be bold! I added pineapples to mine, simply because I love ‘em. Alternatively, let the papier mâché be your design, finish with a layer or colored tissue or cut outs from magazines.
Step Six:
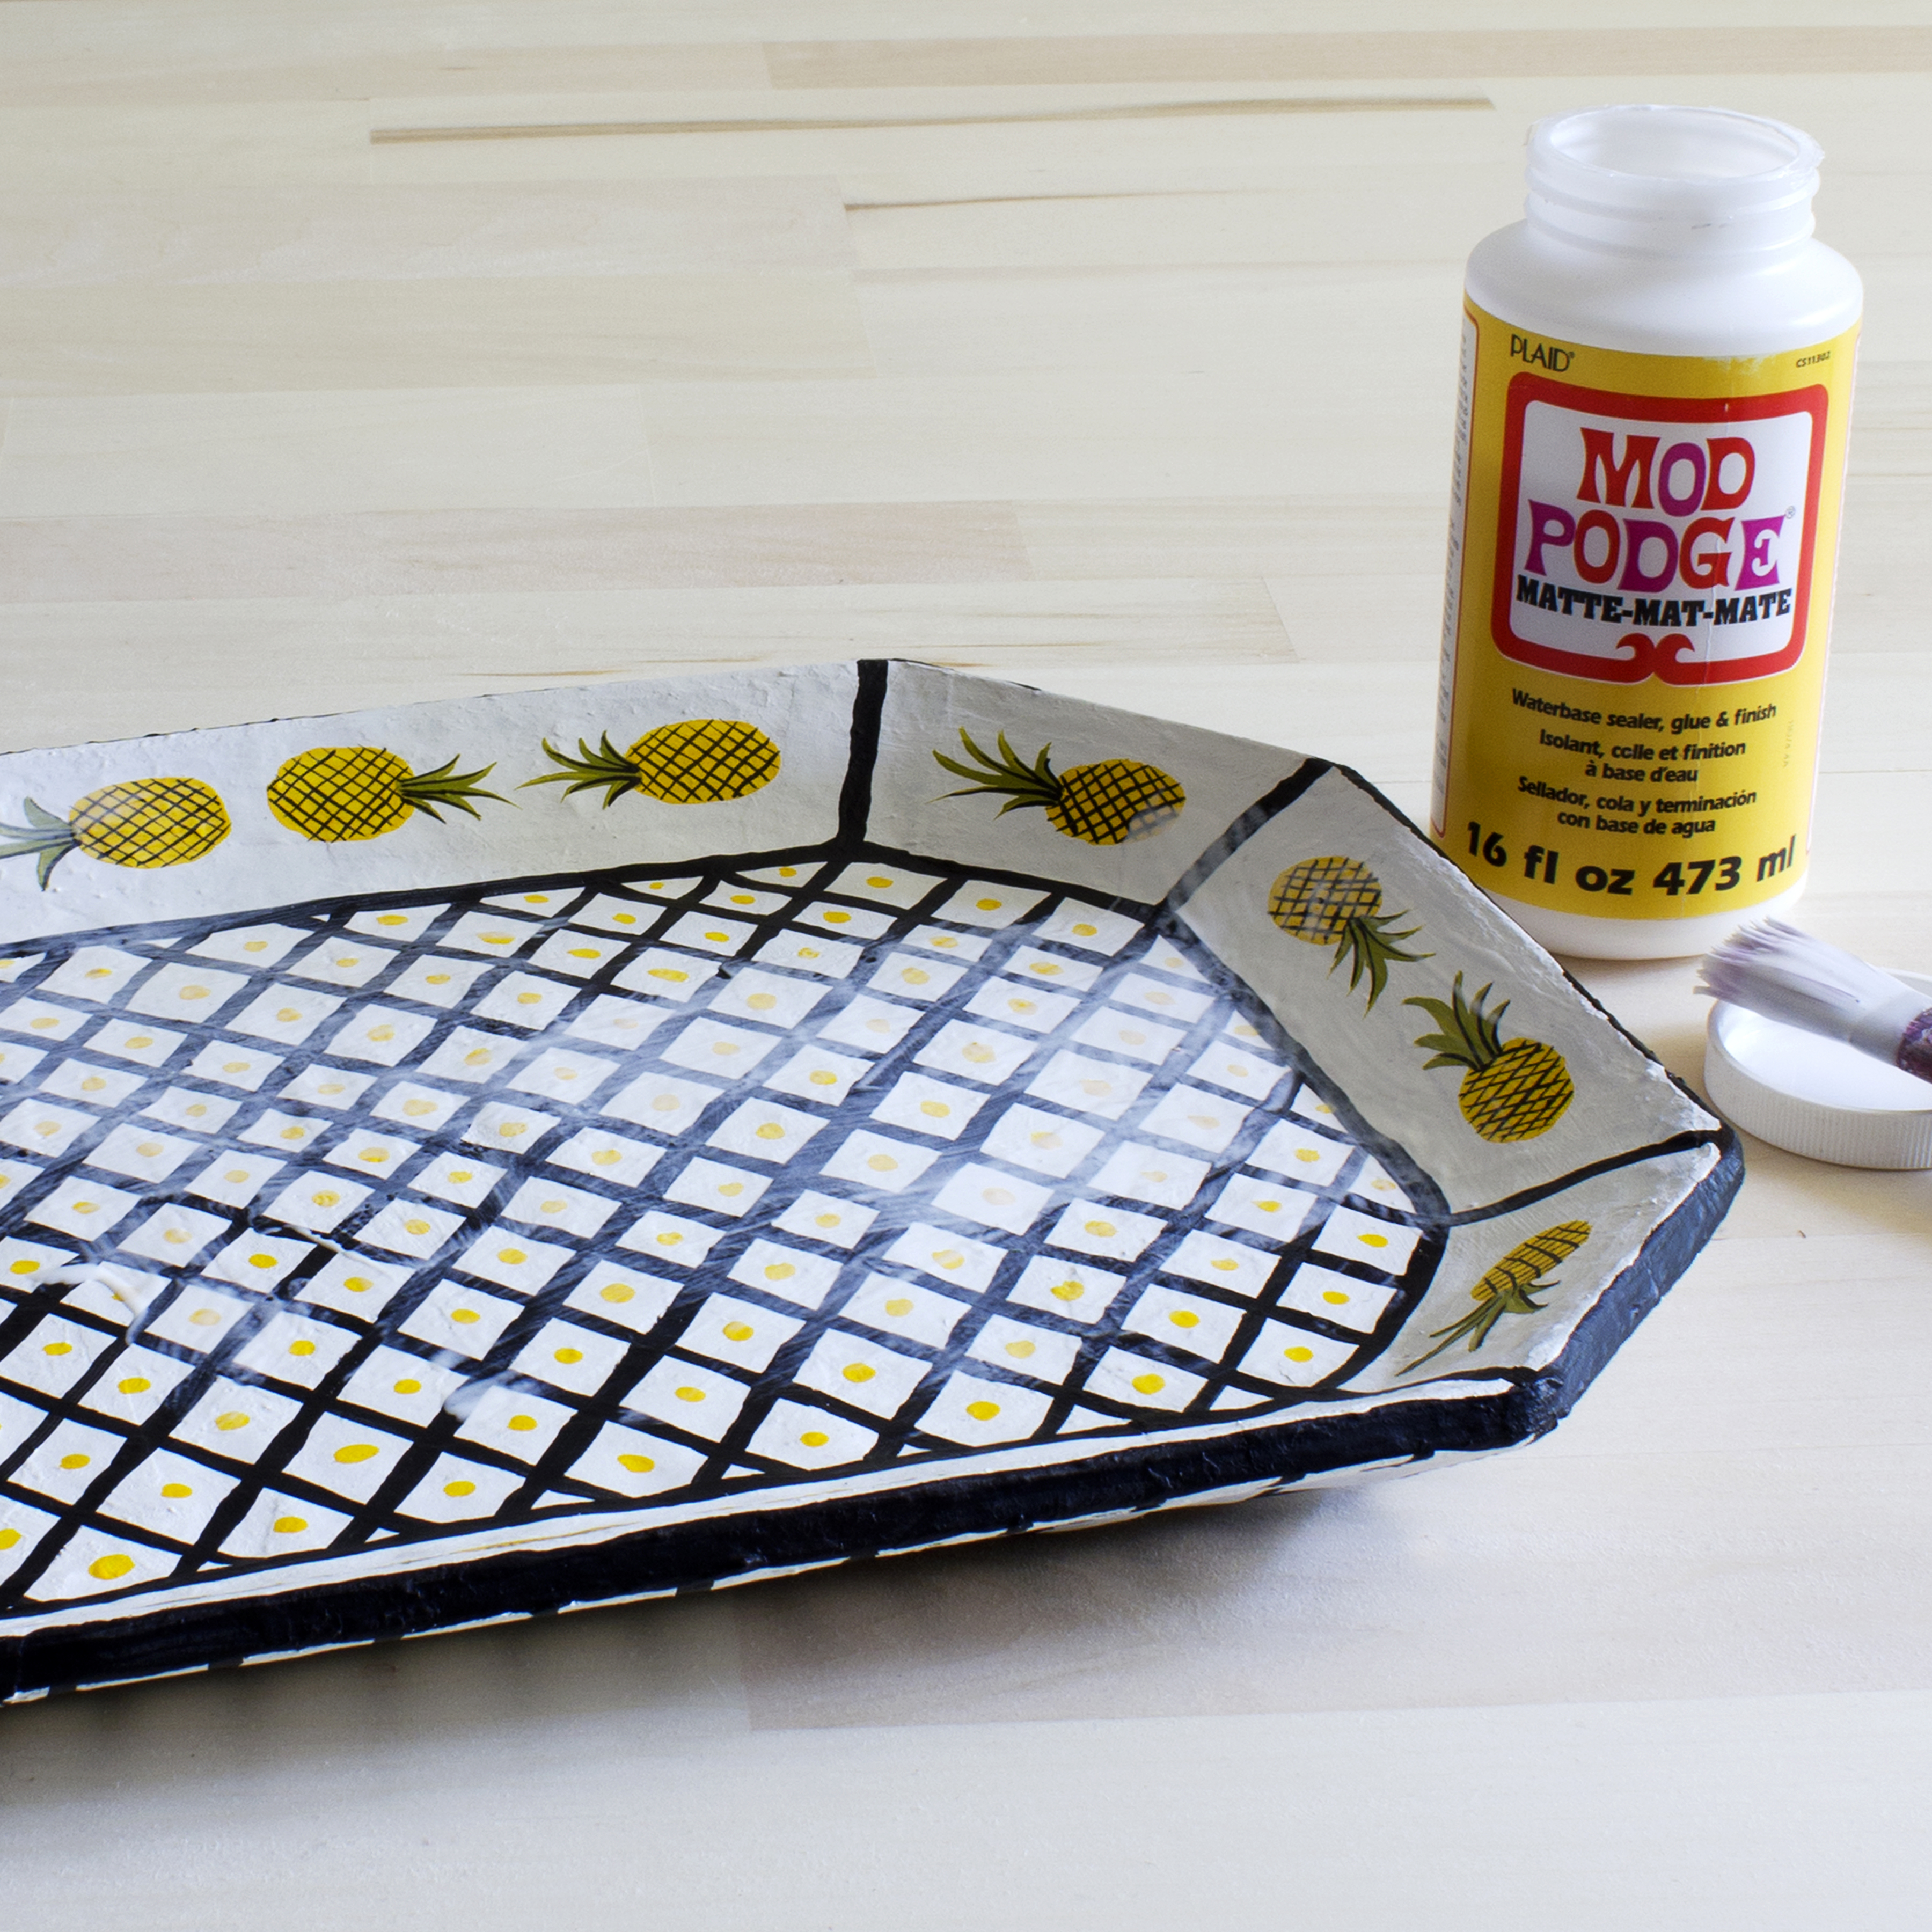
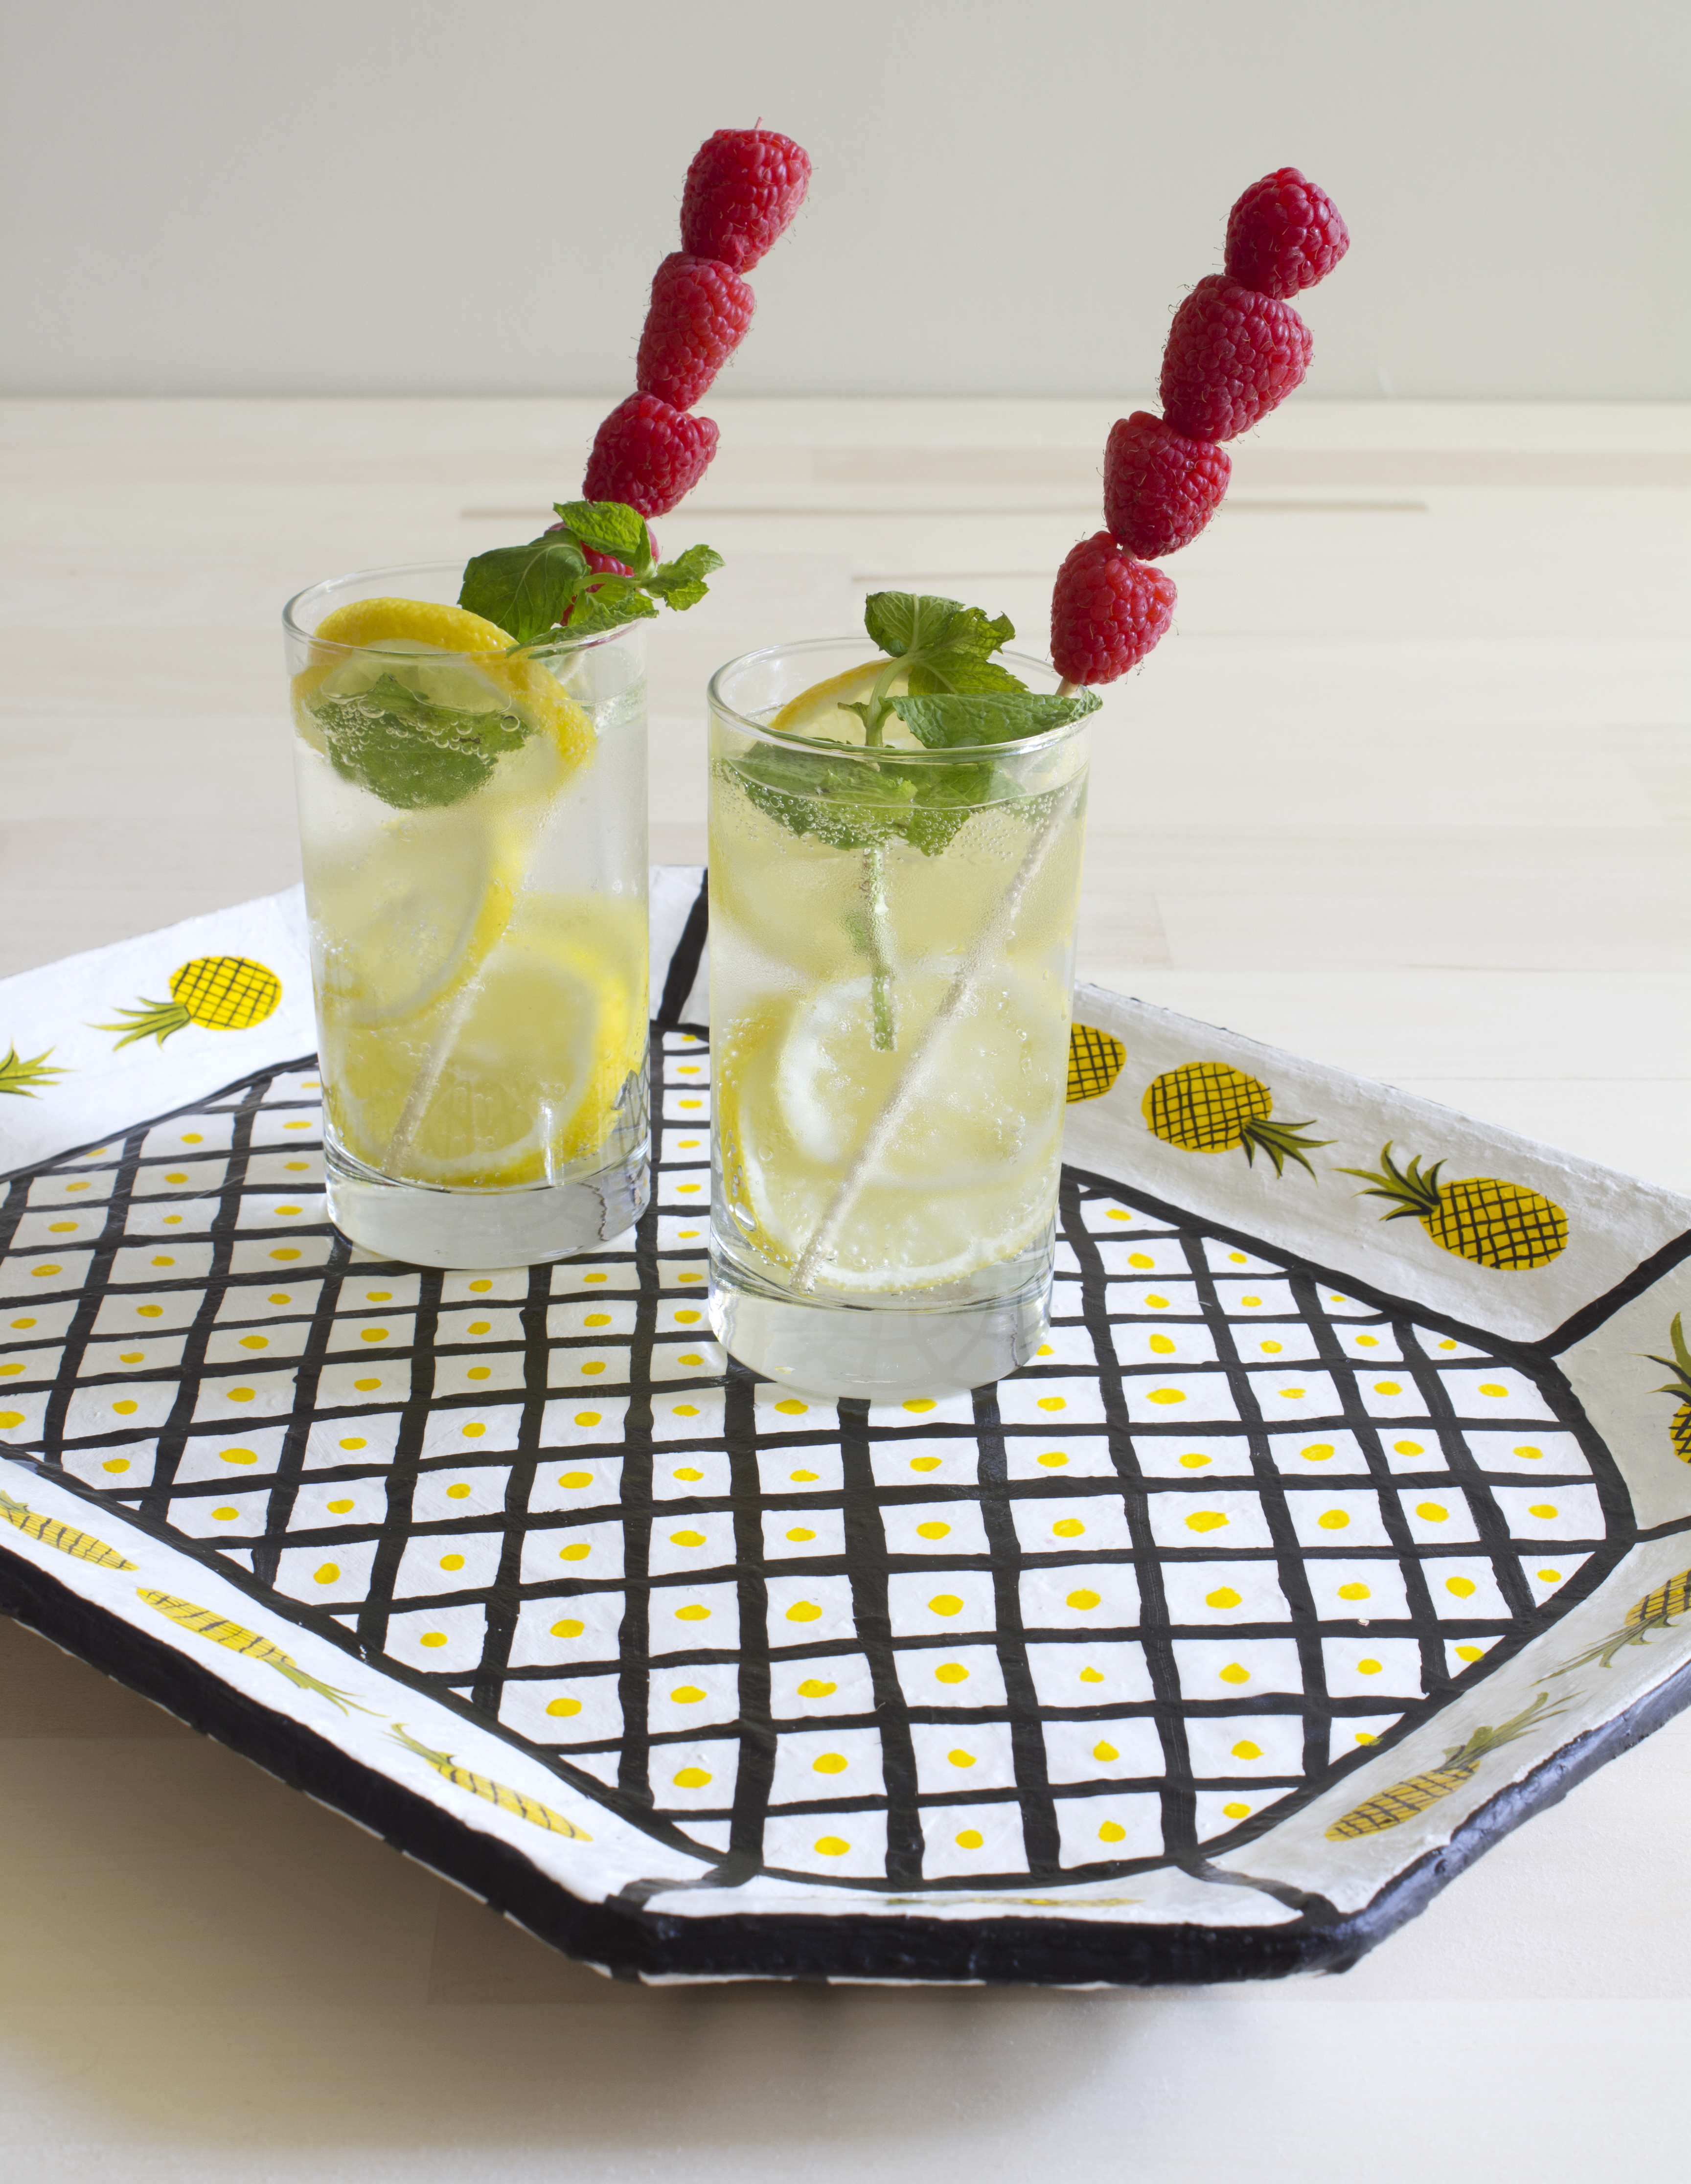
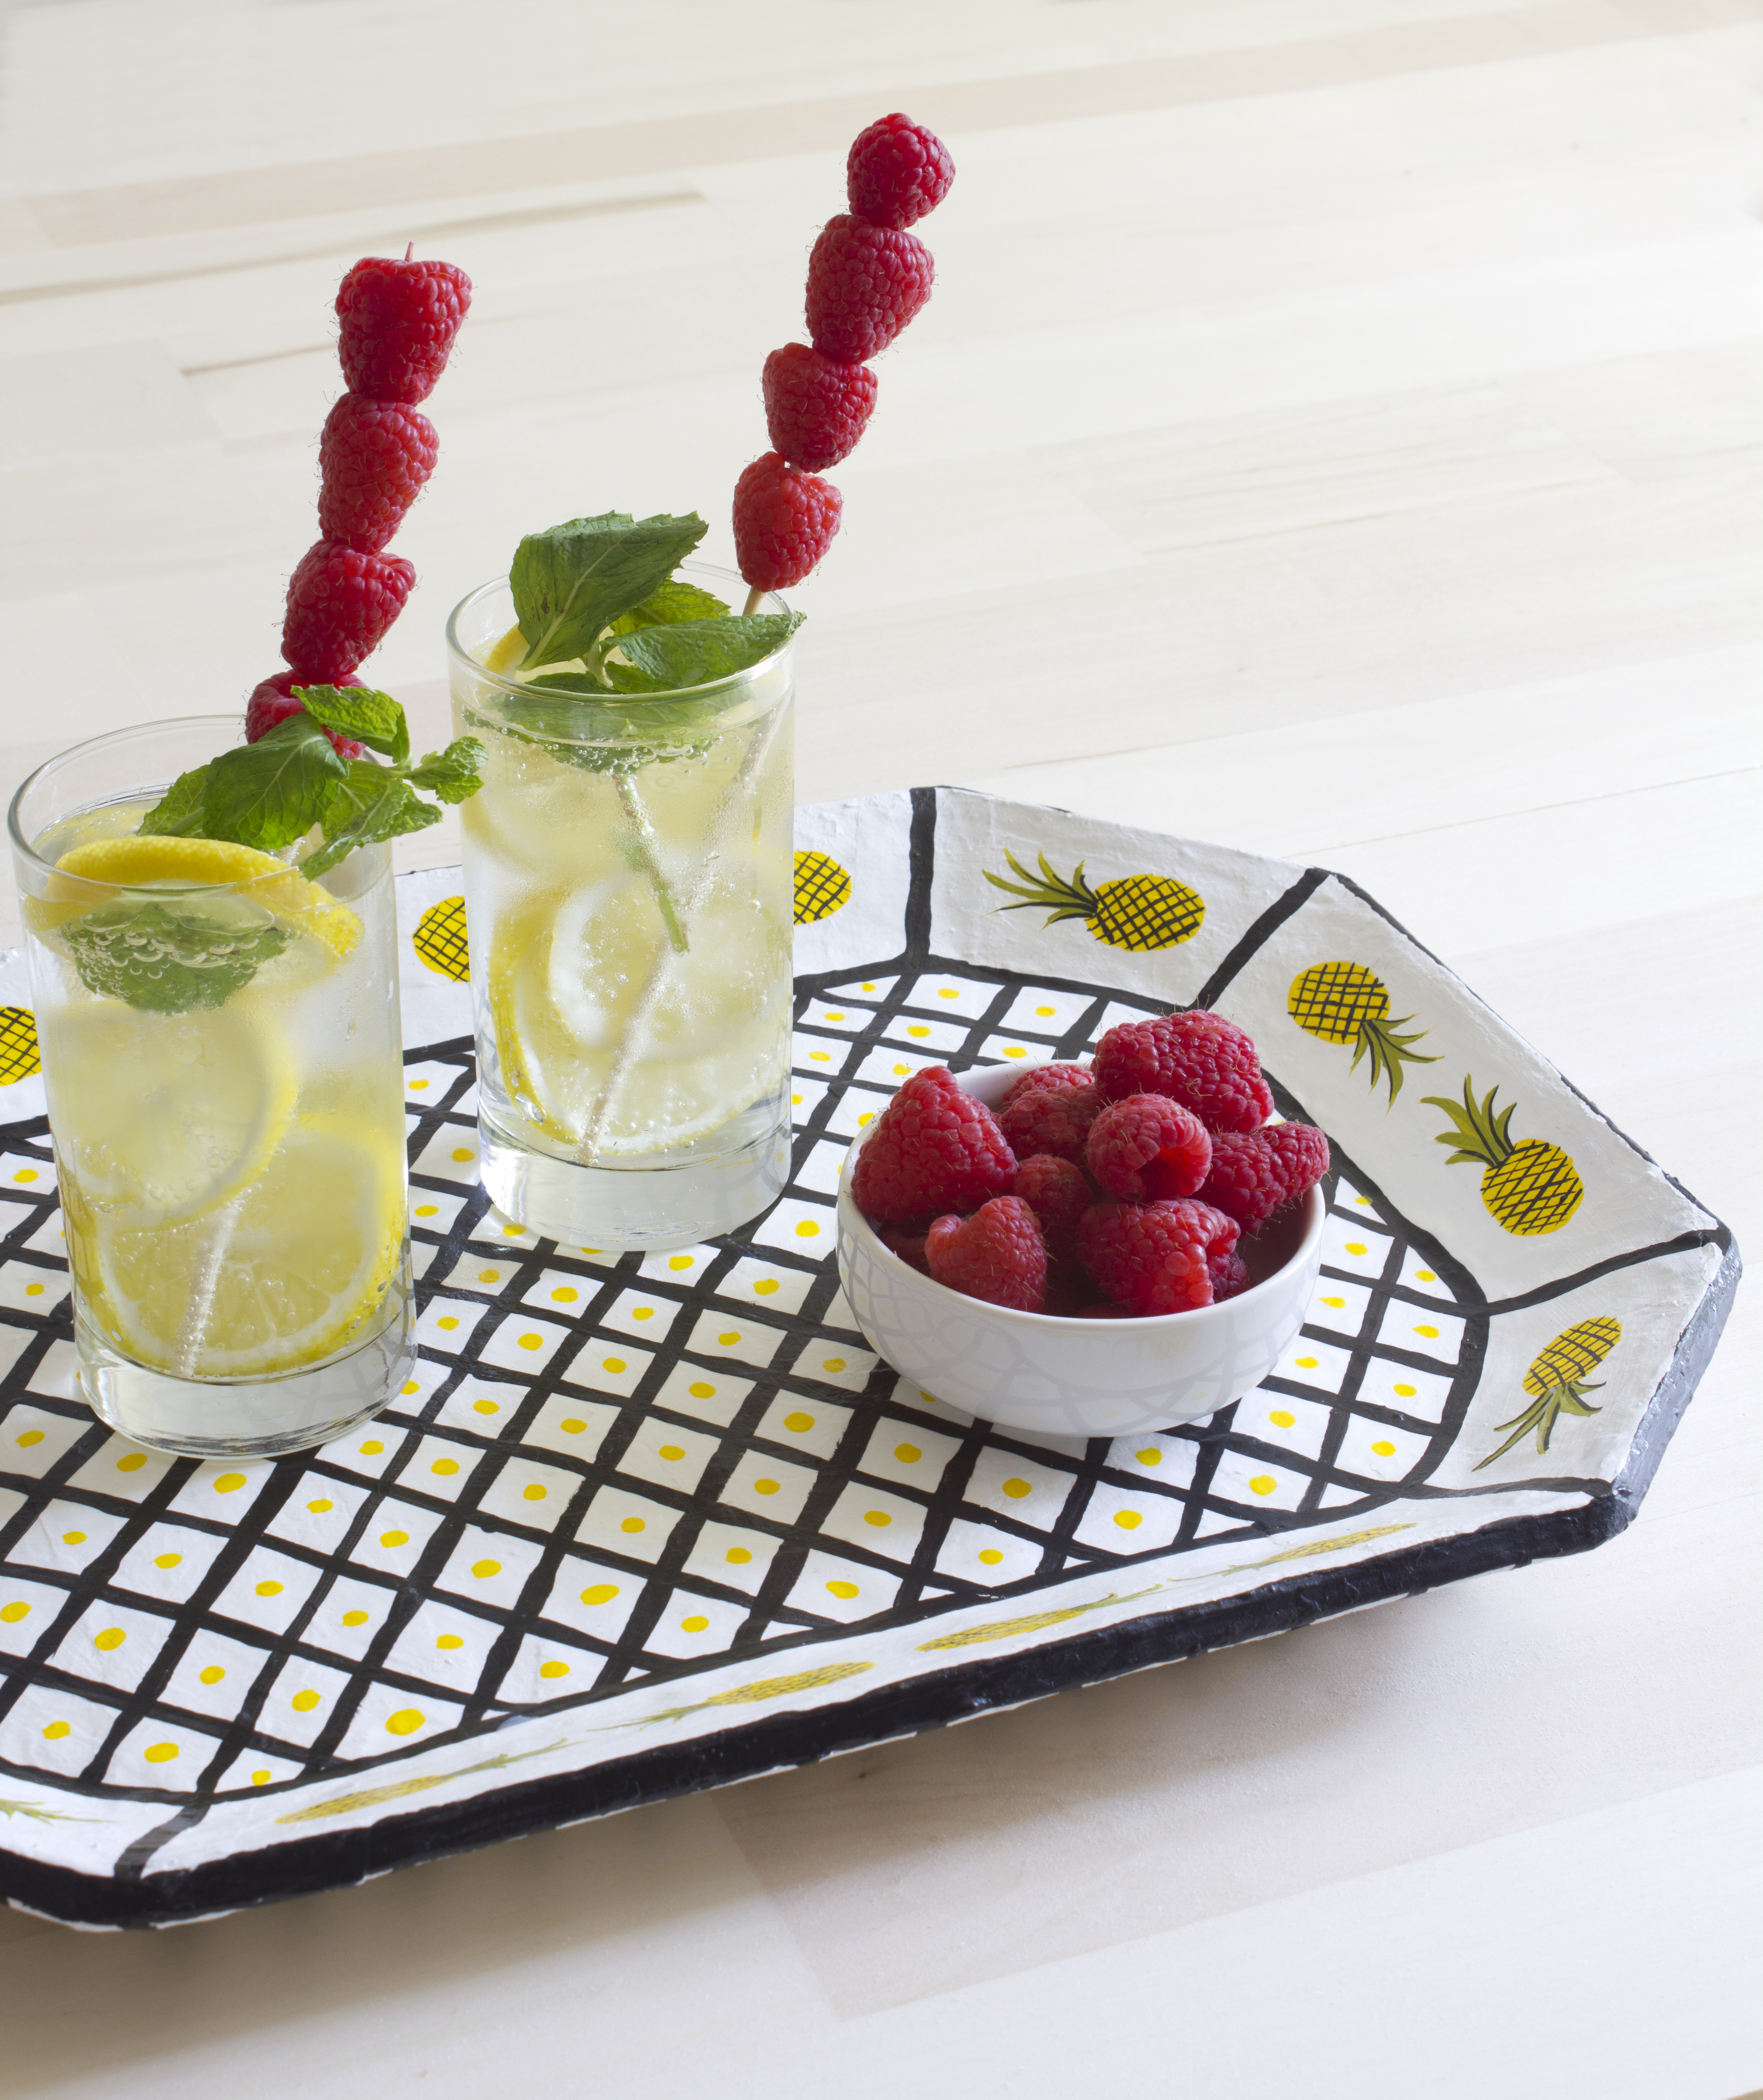
Allow the paint to dry thoroughly and add 2 layers of Mod Podge. Once the Mod Podge is dry…Tadah! You’re done! Serve up your favorite drinks, small bites, or sweet treats. Or, simply use as everyday décor for you home.
What kind of tray will you make? Show us your handiwork with the tag #MakingWithLars. We’d love to see!!


Comments