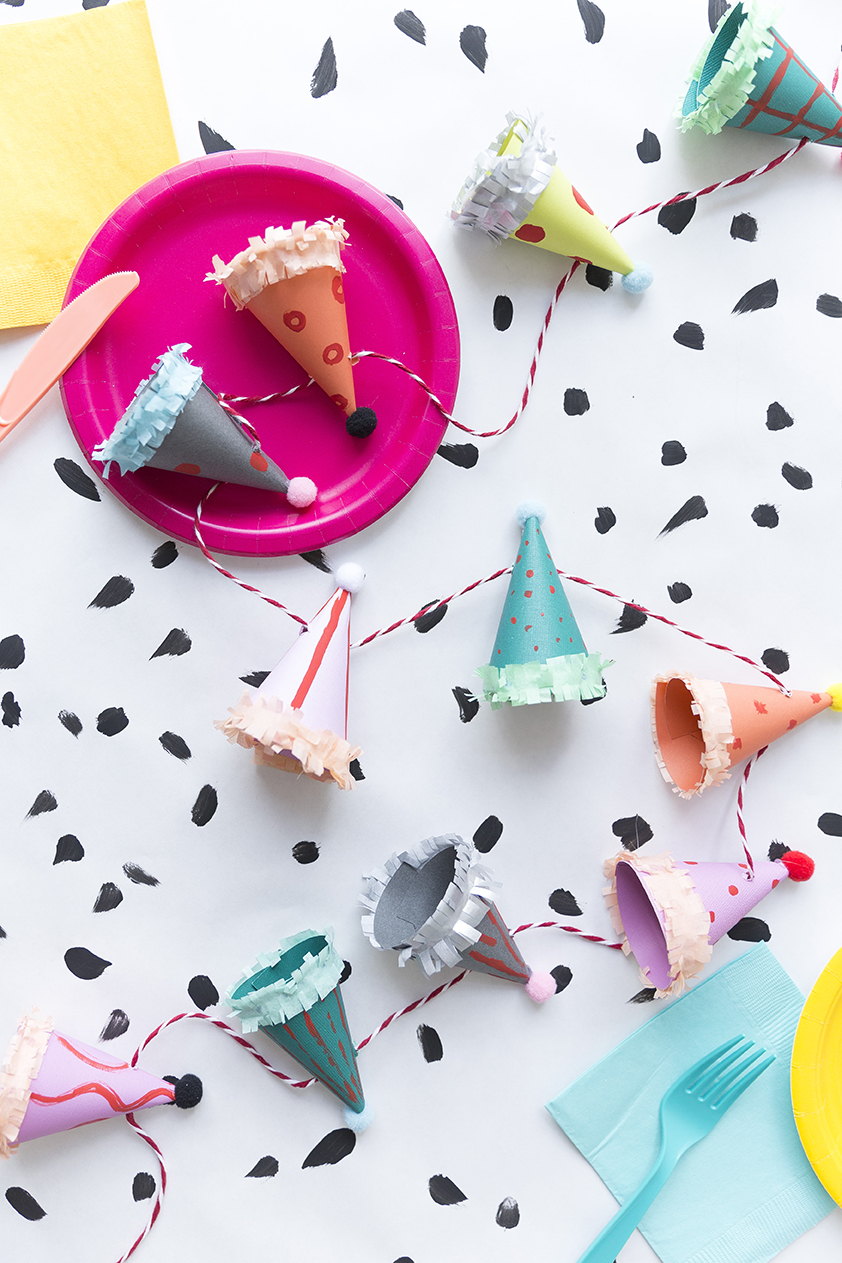
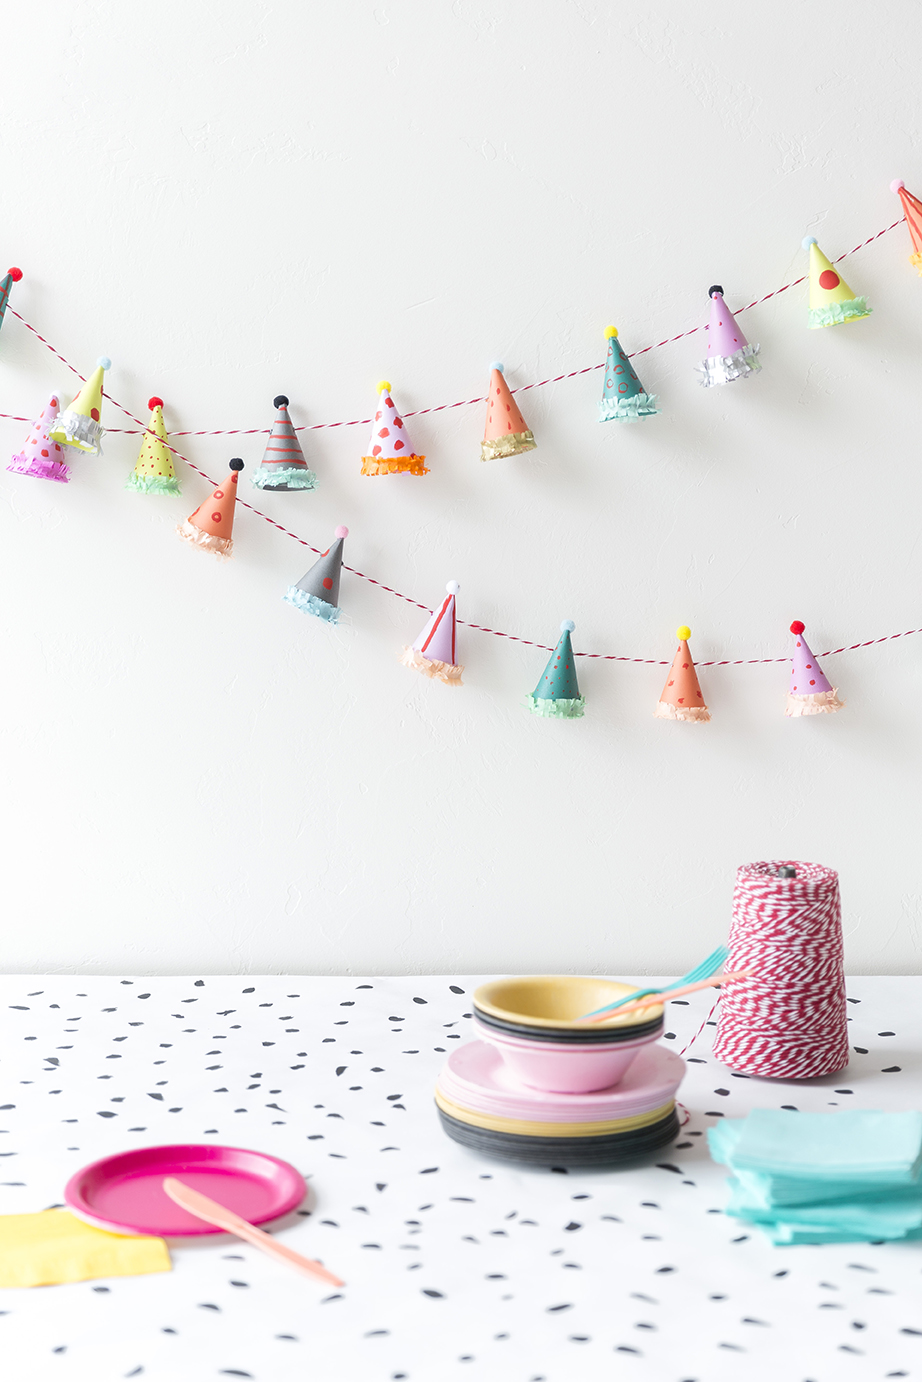
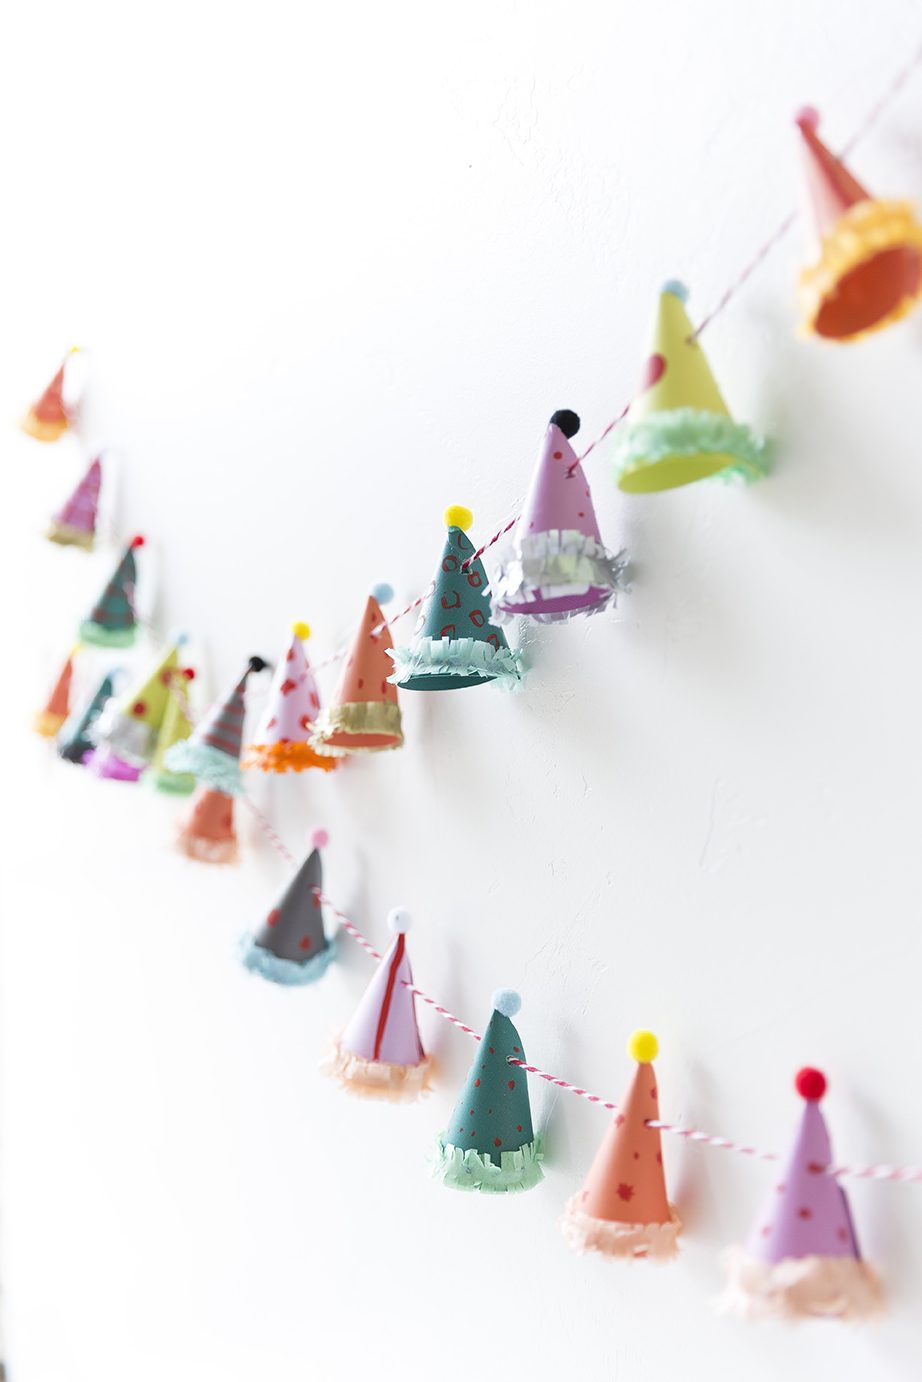
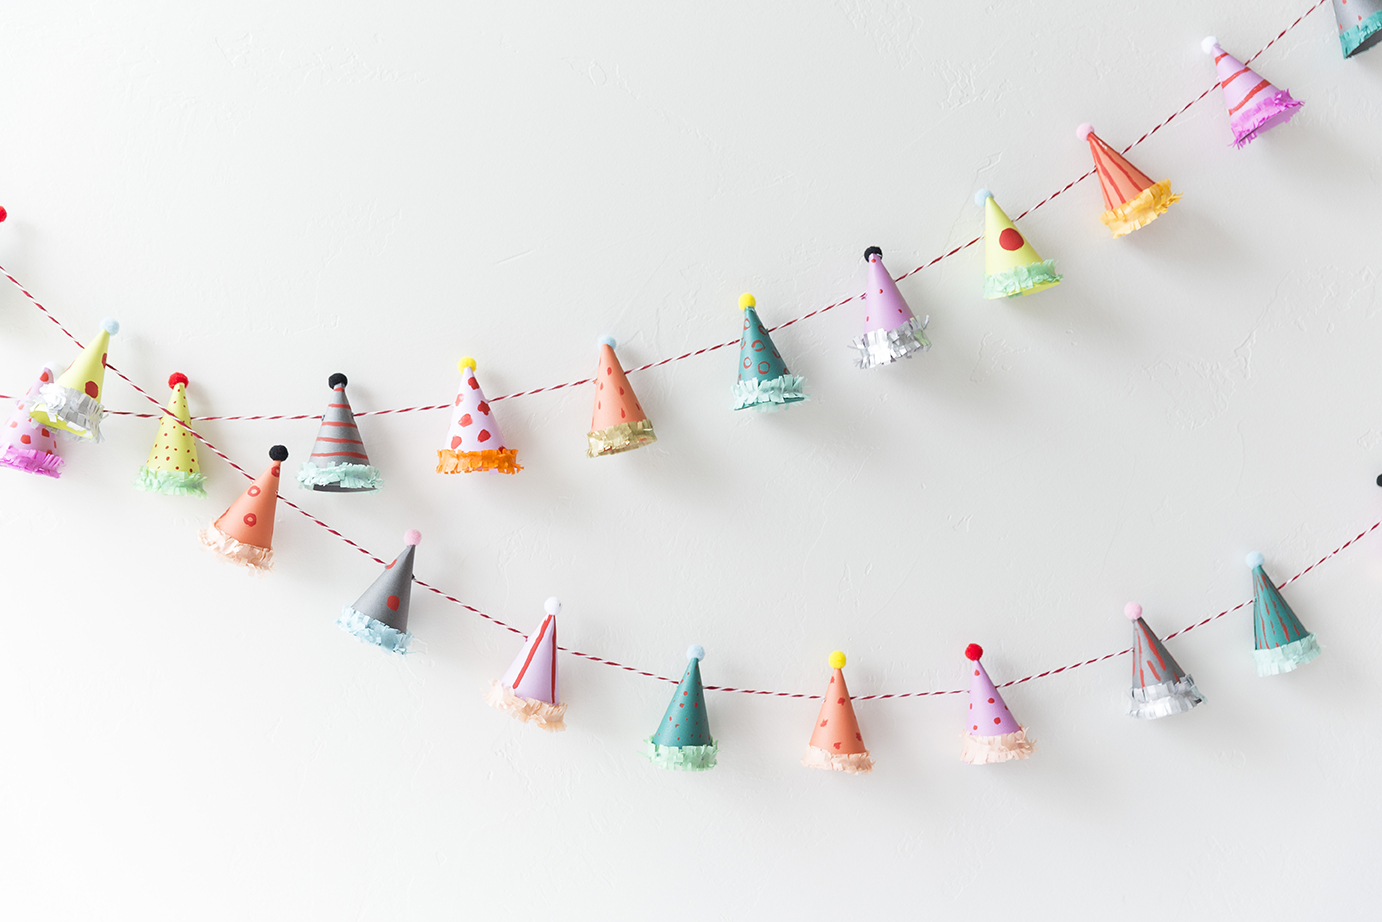
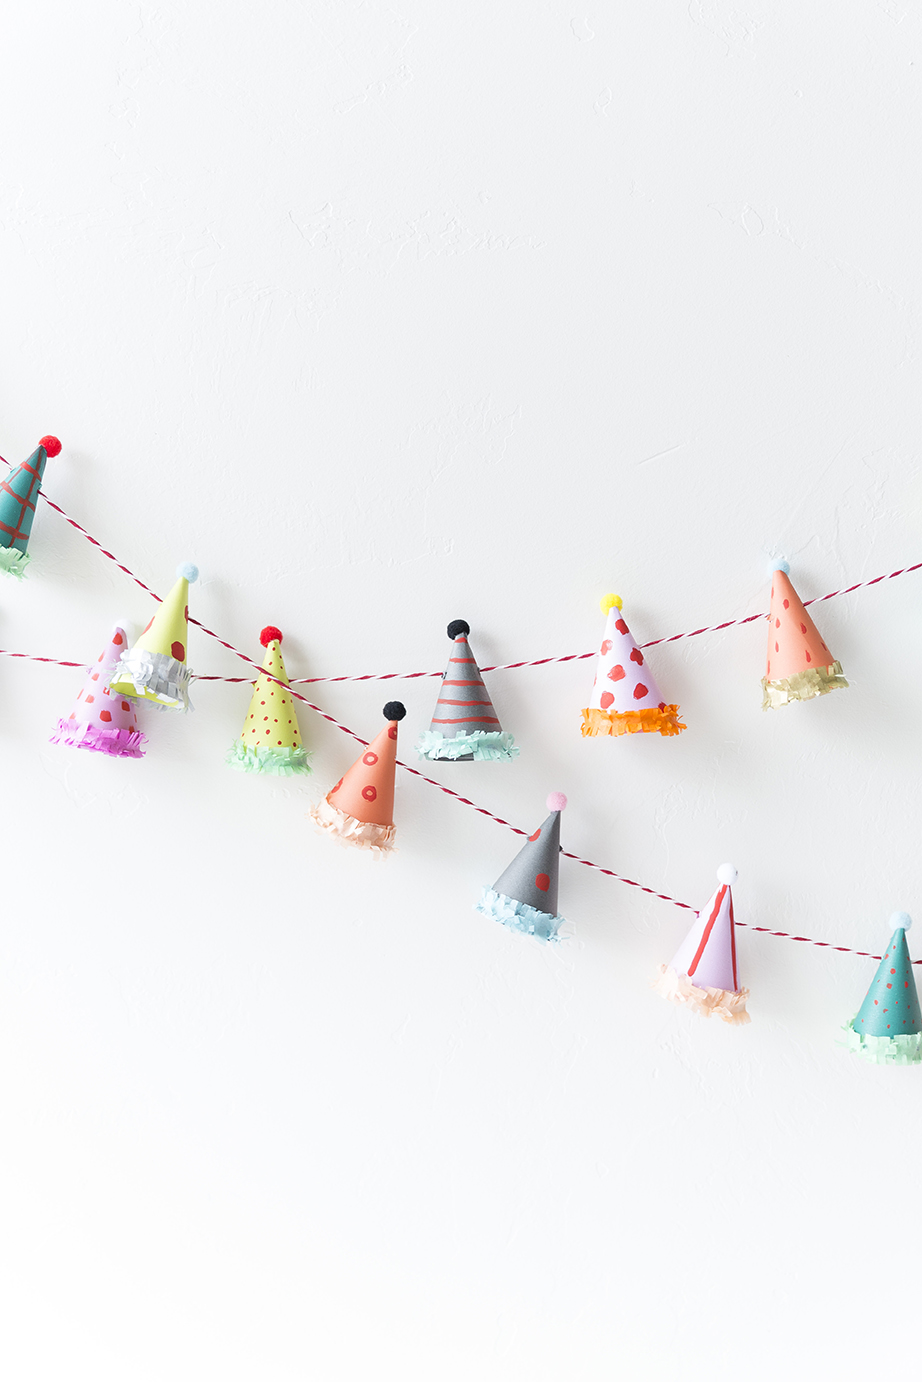
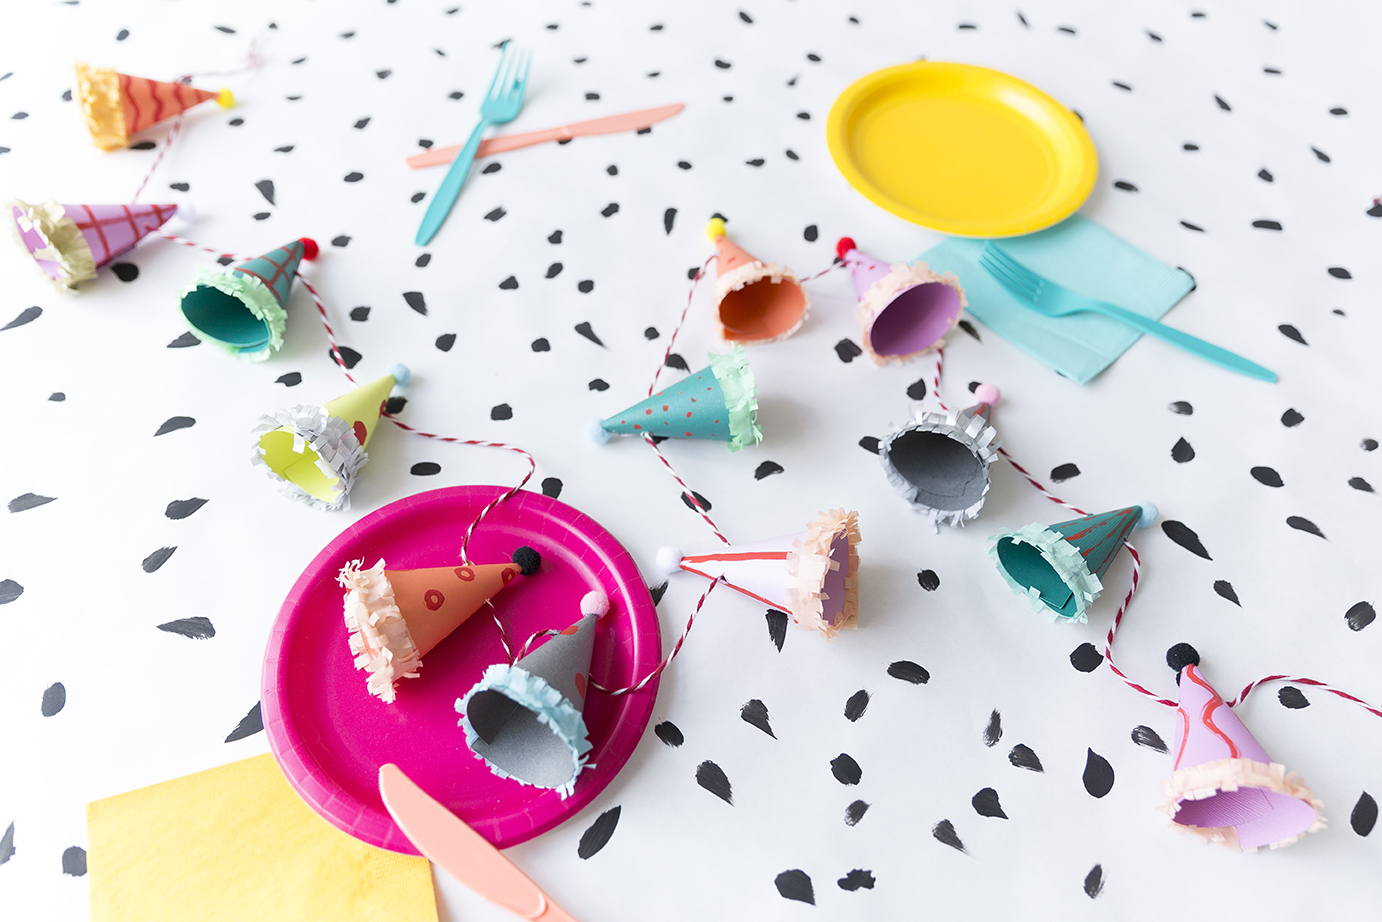
As you know, I love me a good garland. I love that they can be packed away and brought out for the perfect celebration. I’m preparing for a birthday soon and wanted something that screamed birthday so I created this mini birthday party hat garland for the occasion. Check out the full tutorial below!

Mini birthday party hat tutorial
Materials: tissue paper, scrapbook paper, red acrylic paint, paint brush, pom poms, bakers twine, craft knife, scissors, party hat template, fringe scissors, glue gun
Step 1: Cut out party hat templates (Use this one) out of your scrapbook paper
Step 2: Cut a strip of contrasting tissue paper about 1/2″ wide.
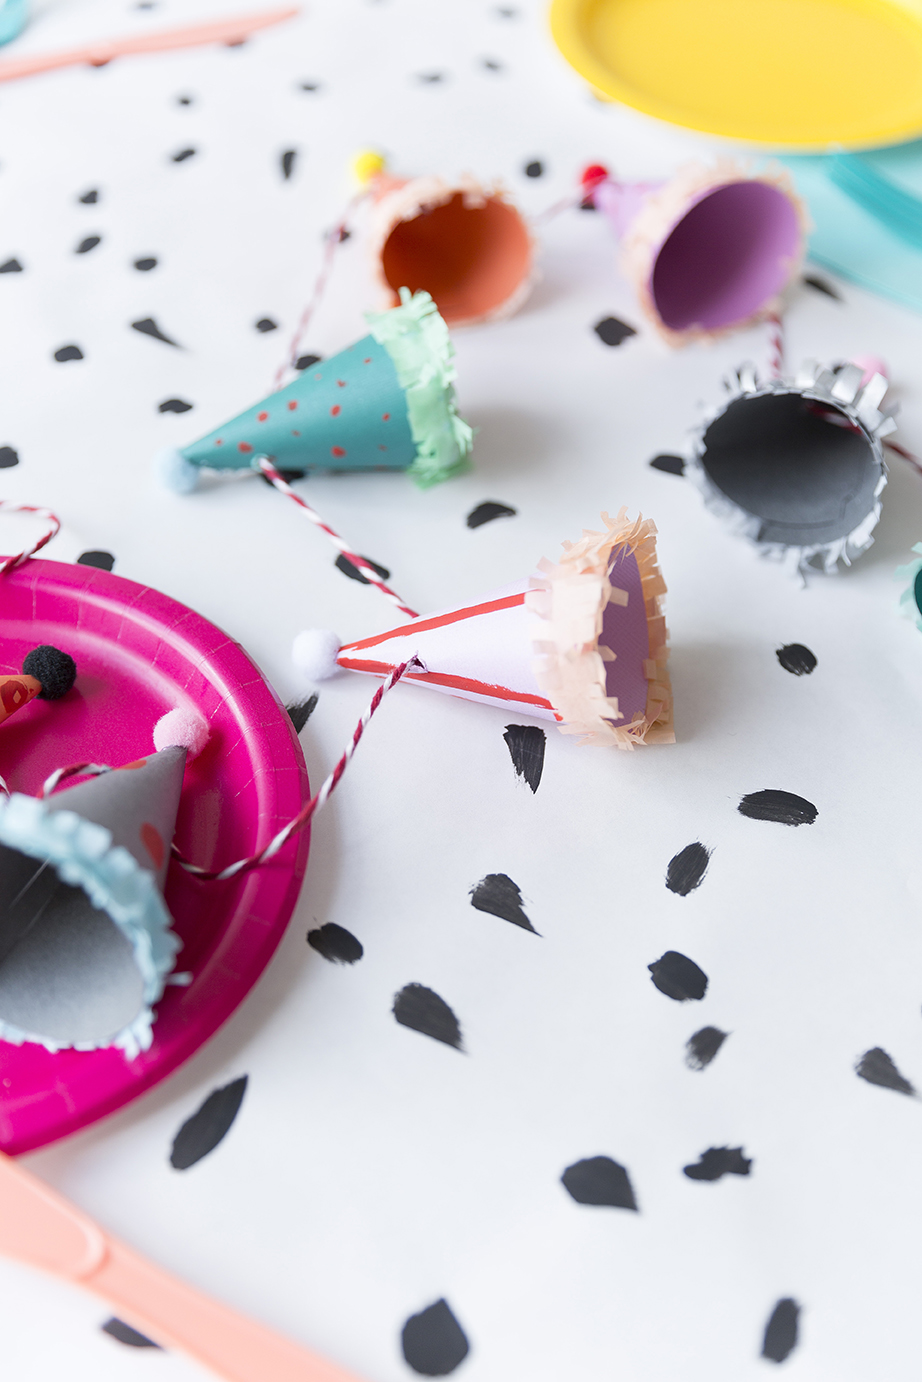
Step 3: Use the fringe scissors to create fringe on both sides of the strip of tissue paper.
Step 4: Assemble the party hats. Secure with glue gun if necessary.
Step 5: Glue the fringe to the bottom of the party hats.
Step 6: Paint fun designs onto the party hats with the red paint and paintbrush.
Step 7: Cut two holes on either side of the top of the party hats
Step 8: Insert twine into the party hats. If necessary, wrap a piece of tape at the end of the twine to help it glide in easier.
Step 9: Attach the pom poms onto the top of the party hats with glue gun.
Voila!
And you’re ready to party!



Comments