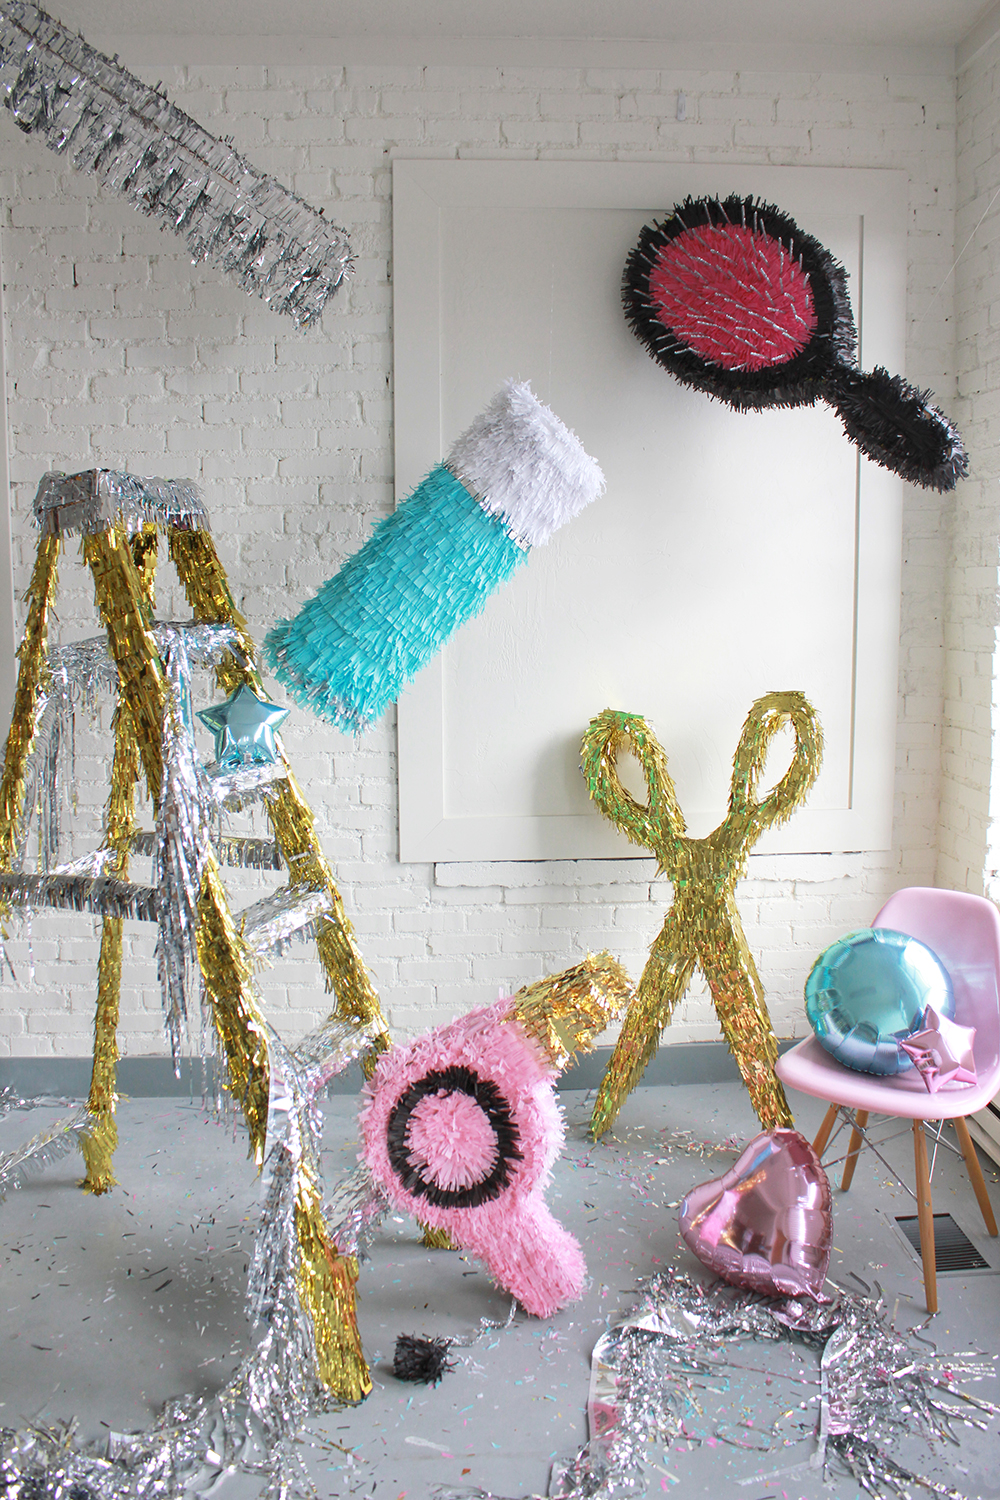
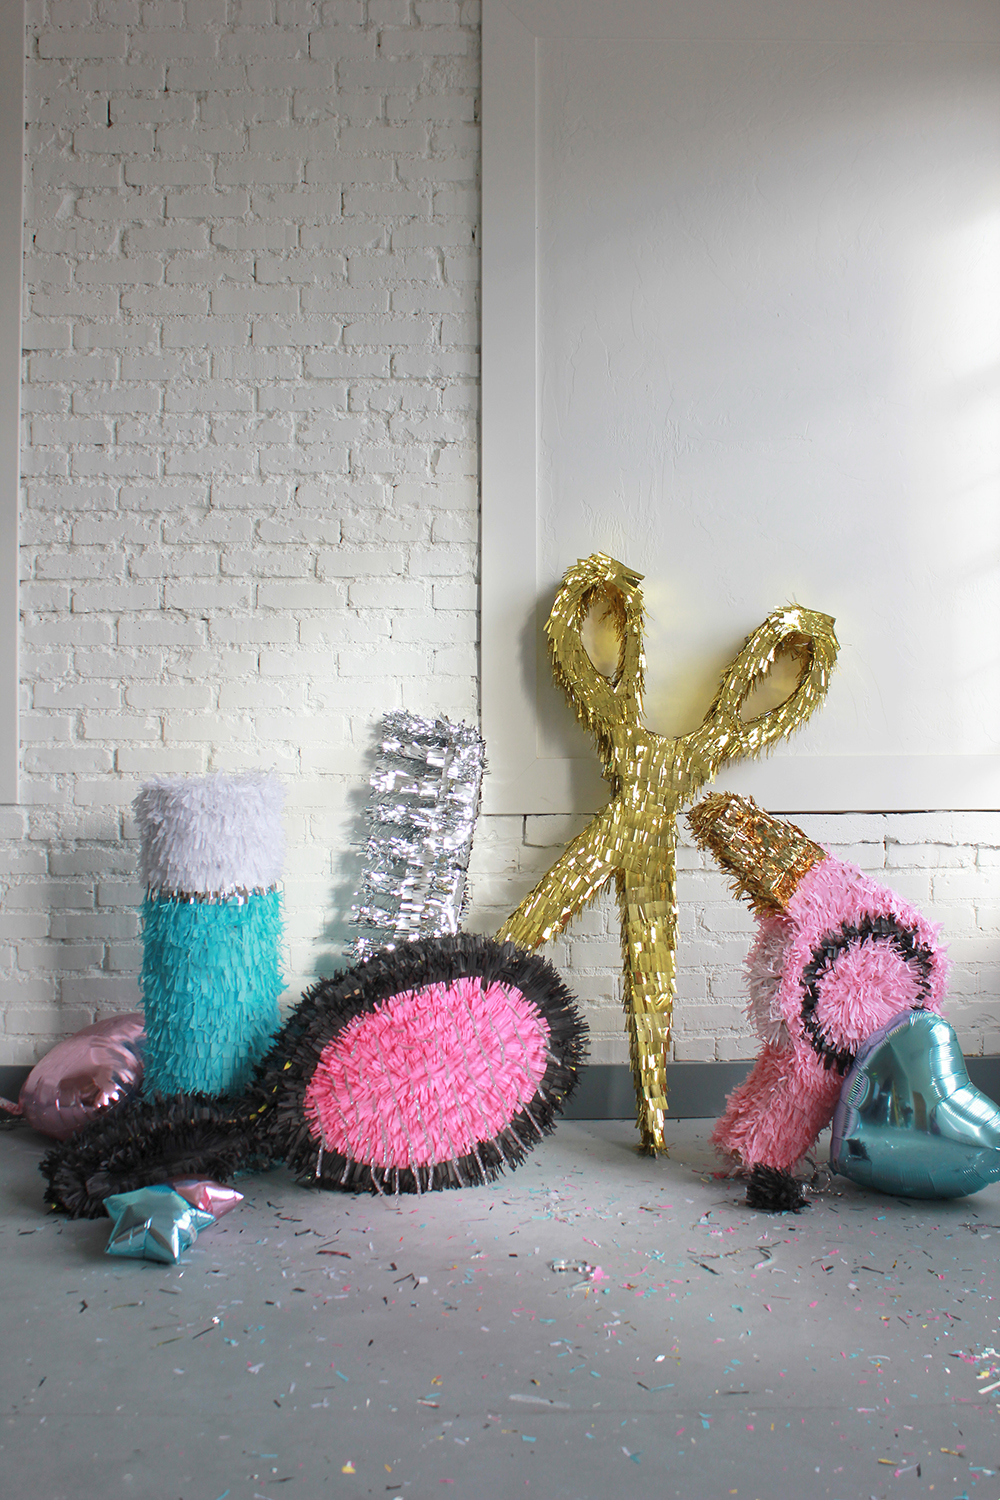
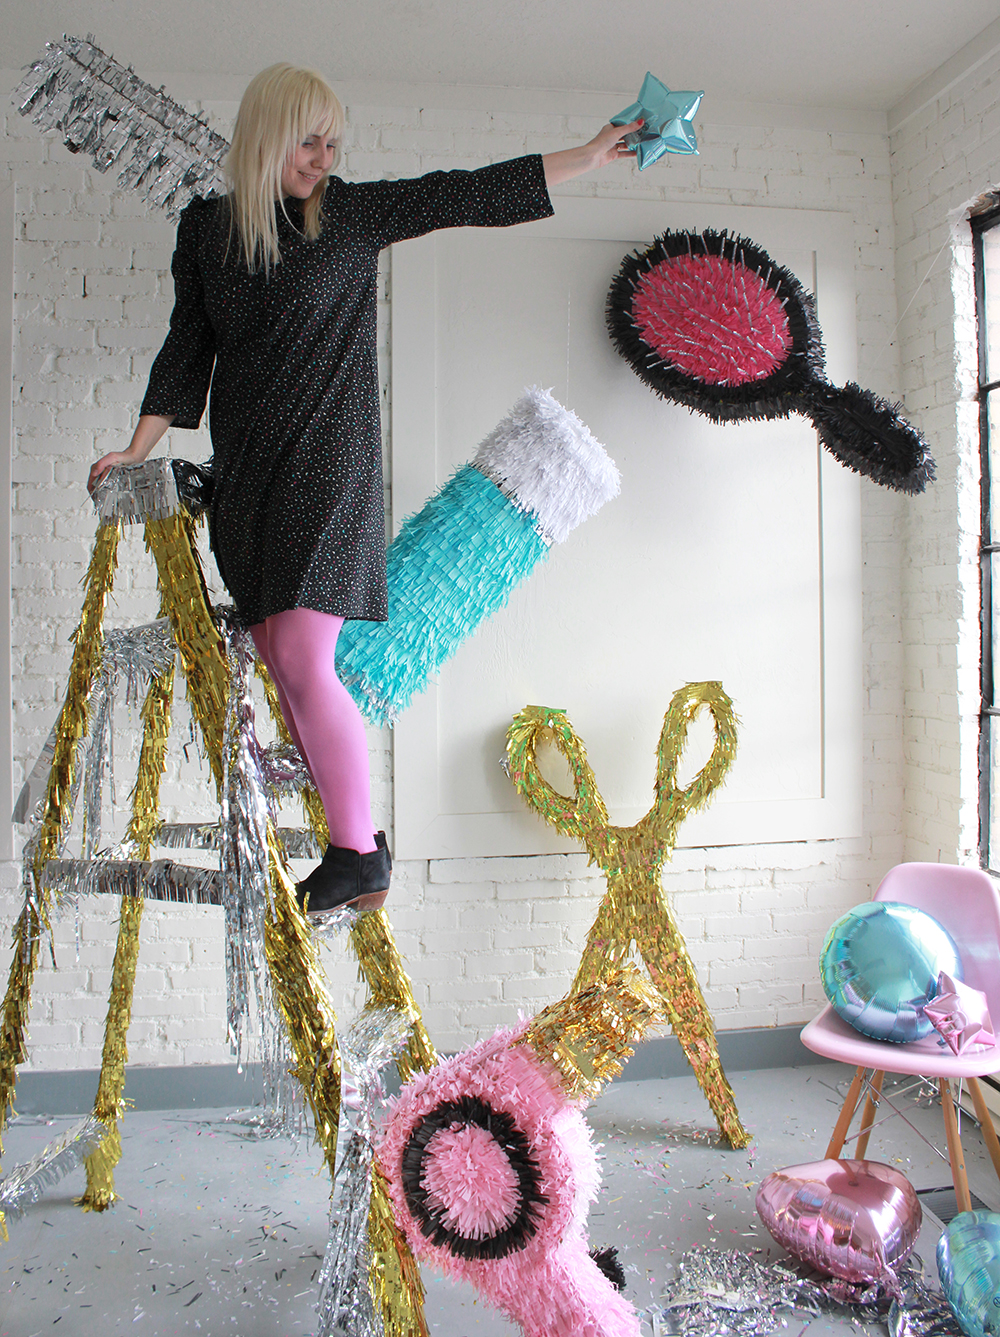
On Tuesday evening we were pleased as punch to host the release of Rubi Jones‘ book, The Art of Hair, with a braiding workshop and book signing here at the studio. We knew we needed something punchy and celebratory for the event so we decided to go all out with a brigade of hair-inspired piñatas. Along for the ride are a metallic comb, hair brush, blow dryer, shears (I was corrected that they are not scissors), and hairspray. “But, Brittany, what do I need a brigade of hair-inspired pinatas for?” Friends, the possibilities are endless (and I’m sure you can add to it):
- braiding party (a la the intro of Full House)
- treat yo’ self night
- your salon, your friend’s salon, your wanna be salon (a la, your living room)
- girl’s night out
- weekend retreat
- your bathroom/party room
- surprise at a friend’s door for a birthday
- and last but not least, Galentine’s Day party as shown by Kelly Of Studio DIY
You catch the drift.
Well, I’ve combined with Kelly of Studio DIY to complete the hair product brigade with an adorable hair spray complete with an air pouf along with a detailed step by step tutorial. Scroll down to see how hers completes the puzzle or check the full post here.
See the full troop and instructions below!
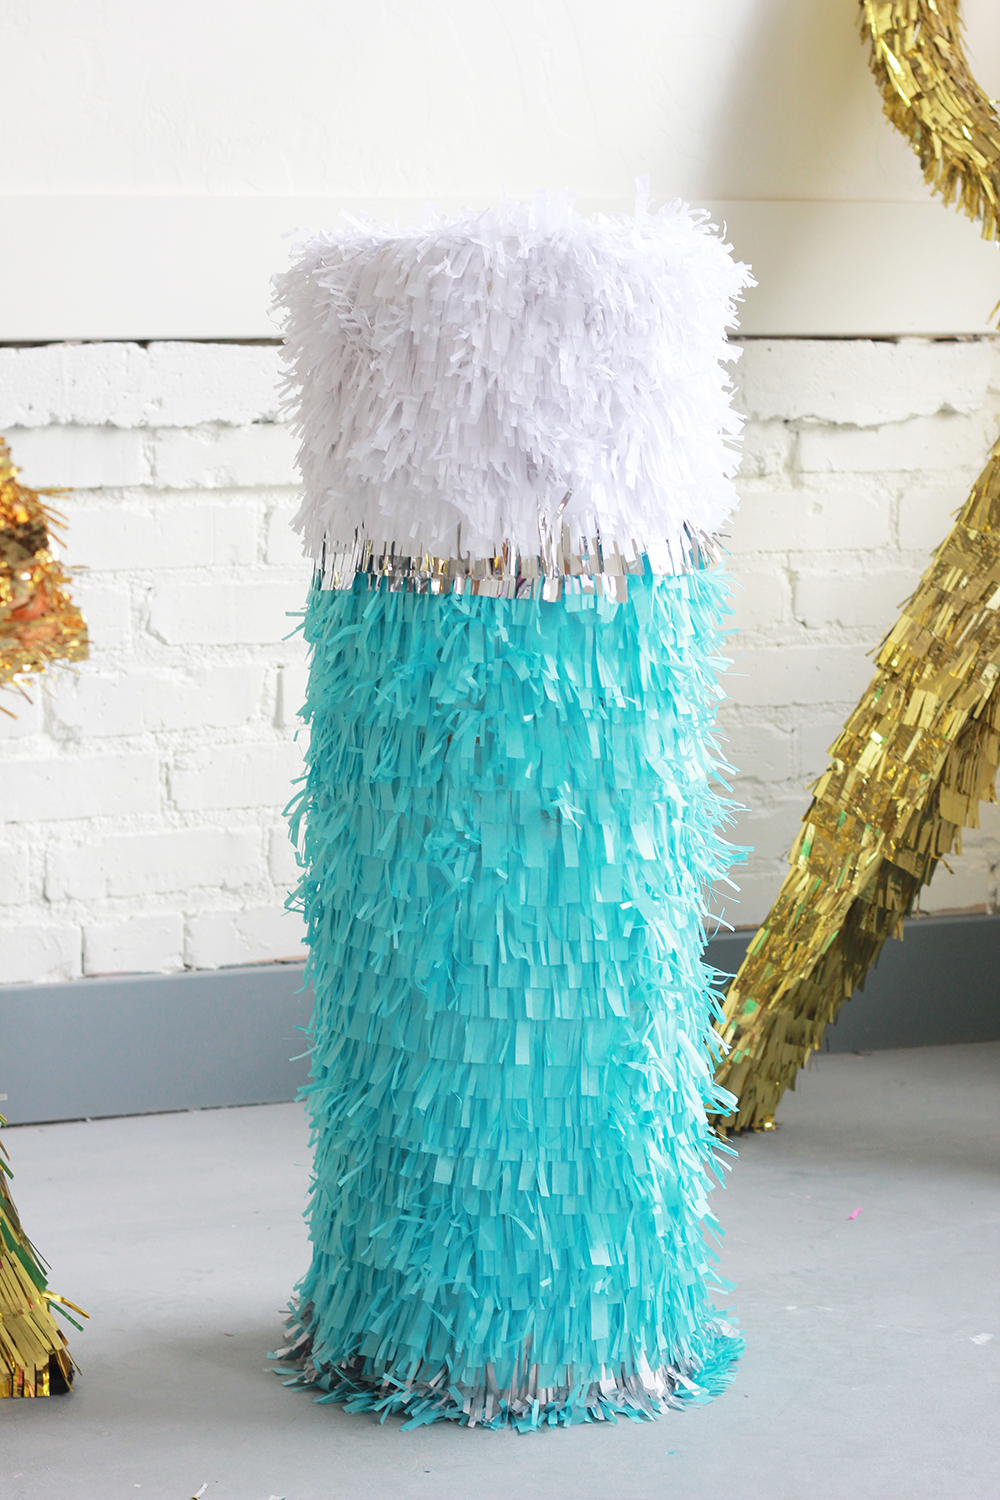
Hairspray pinata!
Kelly killed it with her huge hairspray, complete with an adorable puff. Her hair is looking mighty in place 🙂
Head on over to Studio DIY for the complete hair spray tutorial.
Photo by Jeff Mindell for Studio DIY
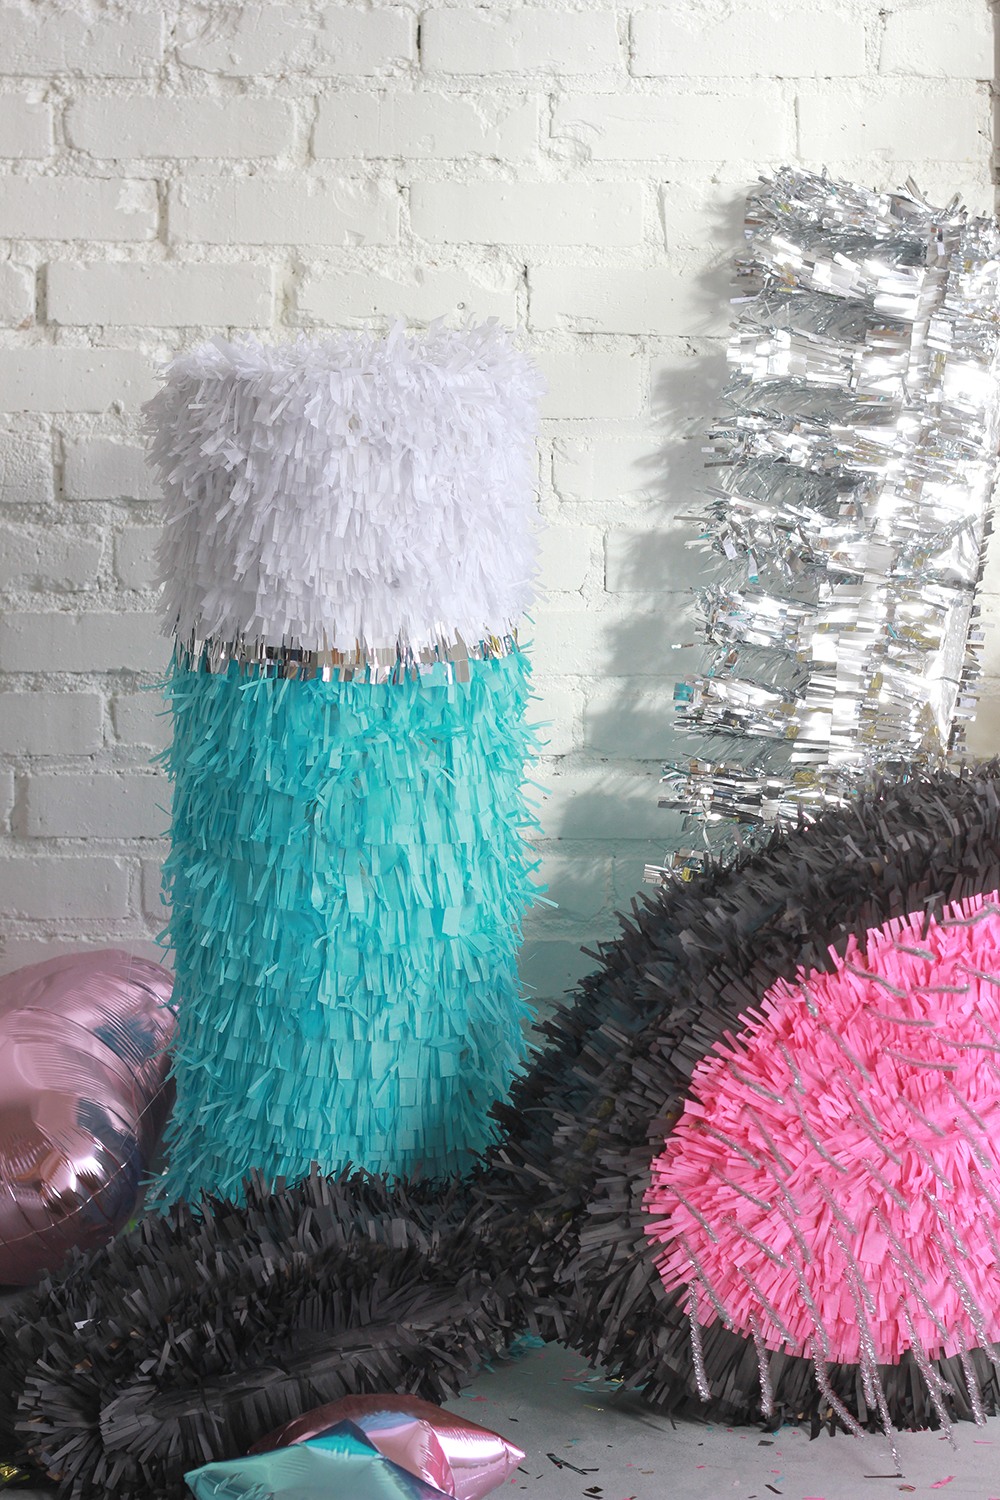
Ours was bit simpler with a retro bottle and cap. 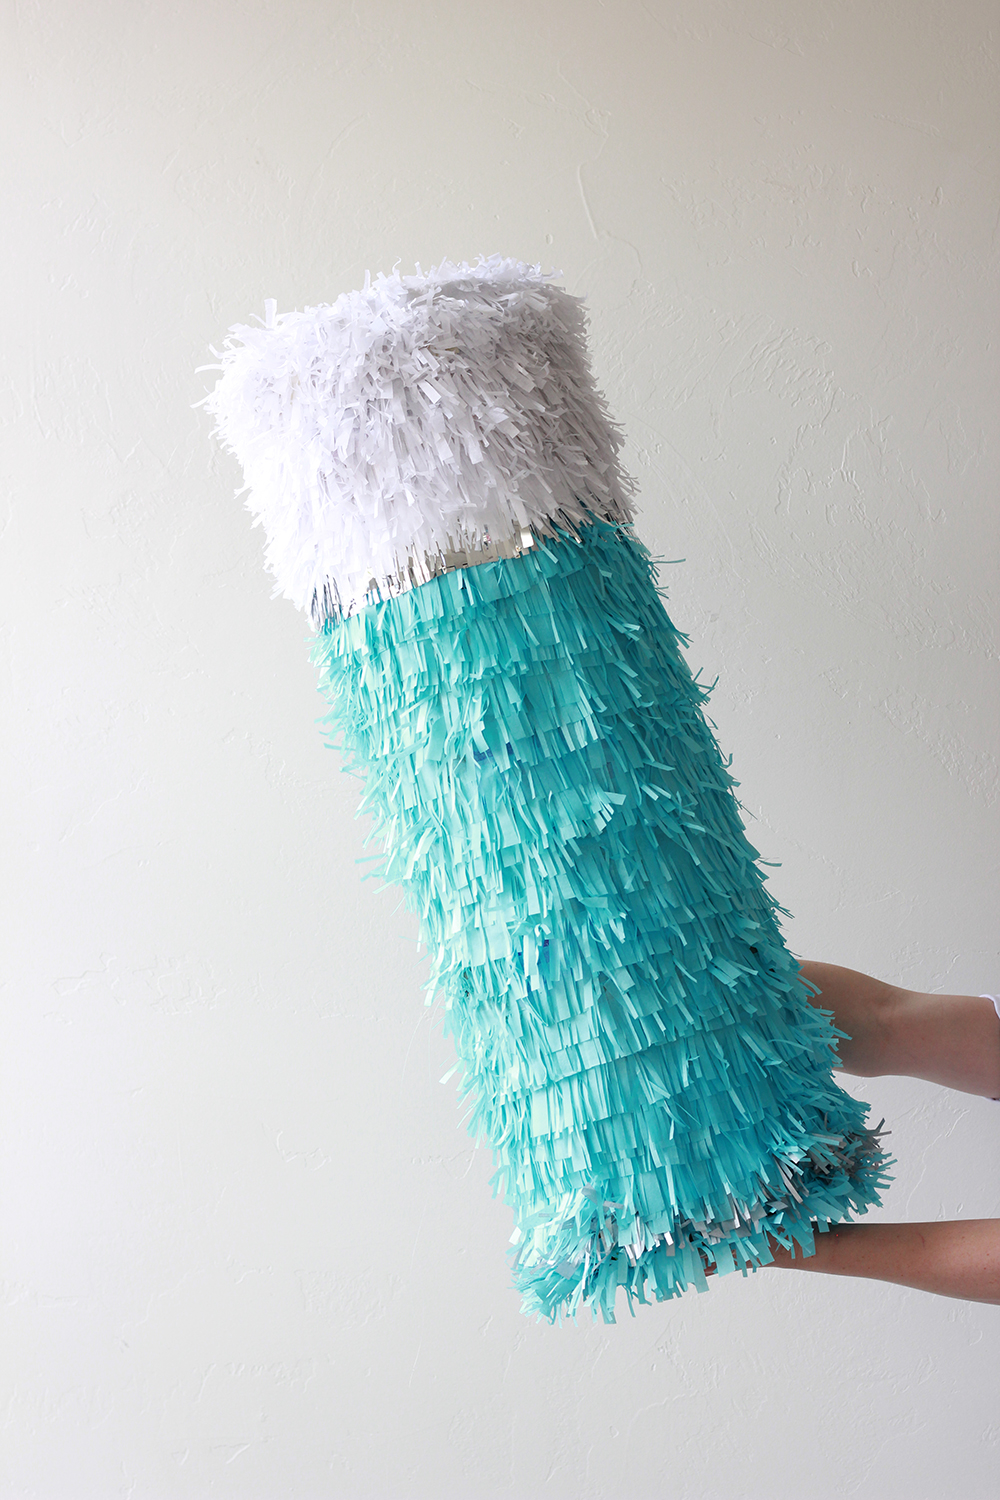
Materials:
- cardboard
- tissue paper in black and pink
- glue gun
- tape
- metallic silver pipe cleaners (often times called chenille sticks)
- craft knife
- pen or pencil
- fringe scissors
- template
- Scotch adhesive glue or tacky glue
- clear ruler
- permanent marker
- wire cutters
- scissors
- To get our exact shape, download the template to get the size. If you want to be exact, scale it up and print it off on an engineer sized print. If you’re good at drawing or just want to wing it, try creating the shape with a pen. Cut out two of them.
- Cut out a long piece of cardboard going against the grain about 5″ wide. This will be used as the sides of the brush.
- Cut out fringe by making 3″ strips of tissue paper and cutting in with fringe scissors leaving 1/4″ to 1/2″ space at the top.
- Draw the enter of the brush with an oval shape. This will be where the pink fringe goes.
- Start by working on the perimeter of the brush with the black fringe. Glue a line of glue to the top of the fringe then apply onto the box. Layer them leaving an 1′ or so space between each one (or however much space you want to leave to layer them).
- For the pink center, add on fringe by gluing the top of the fringe to the outside of the circle then working in.
- Once you get to the enter, add on 1″ segments going up the center strip to seal it up and make it look nice.
- Add black fringe to the sides and back of the brush.
- For the bristles, measure a grid with your ruler and place a dot every 1.5″.
- Use a craft knife to puncture an “x” into the box.
- Cut your pipe cleaners in half with wire cutters (but scissors should also work).
- Insert the pipe cleaners into each “x”. It should be snug enough that you don’t need glue, but if needed, add glue for security to the sides of the x.
- Make sure the pipe cleaners are as straight as they can be.
COMB PINATA
- cardboard
- glue gun
- scissors
- masking tape
- metallic mylar sheets
- template
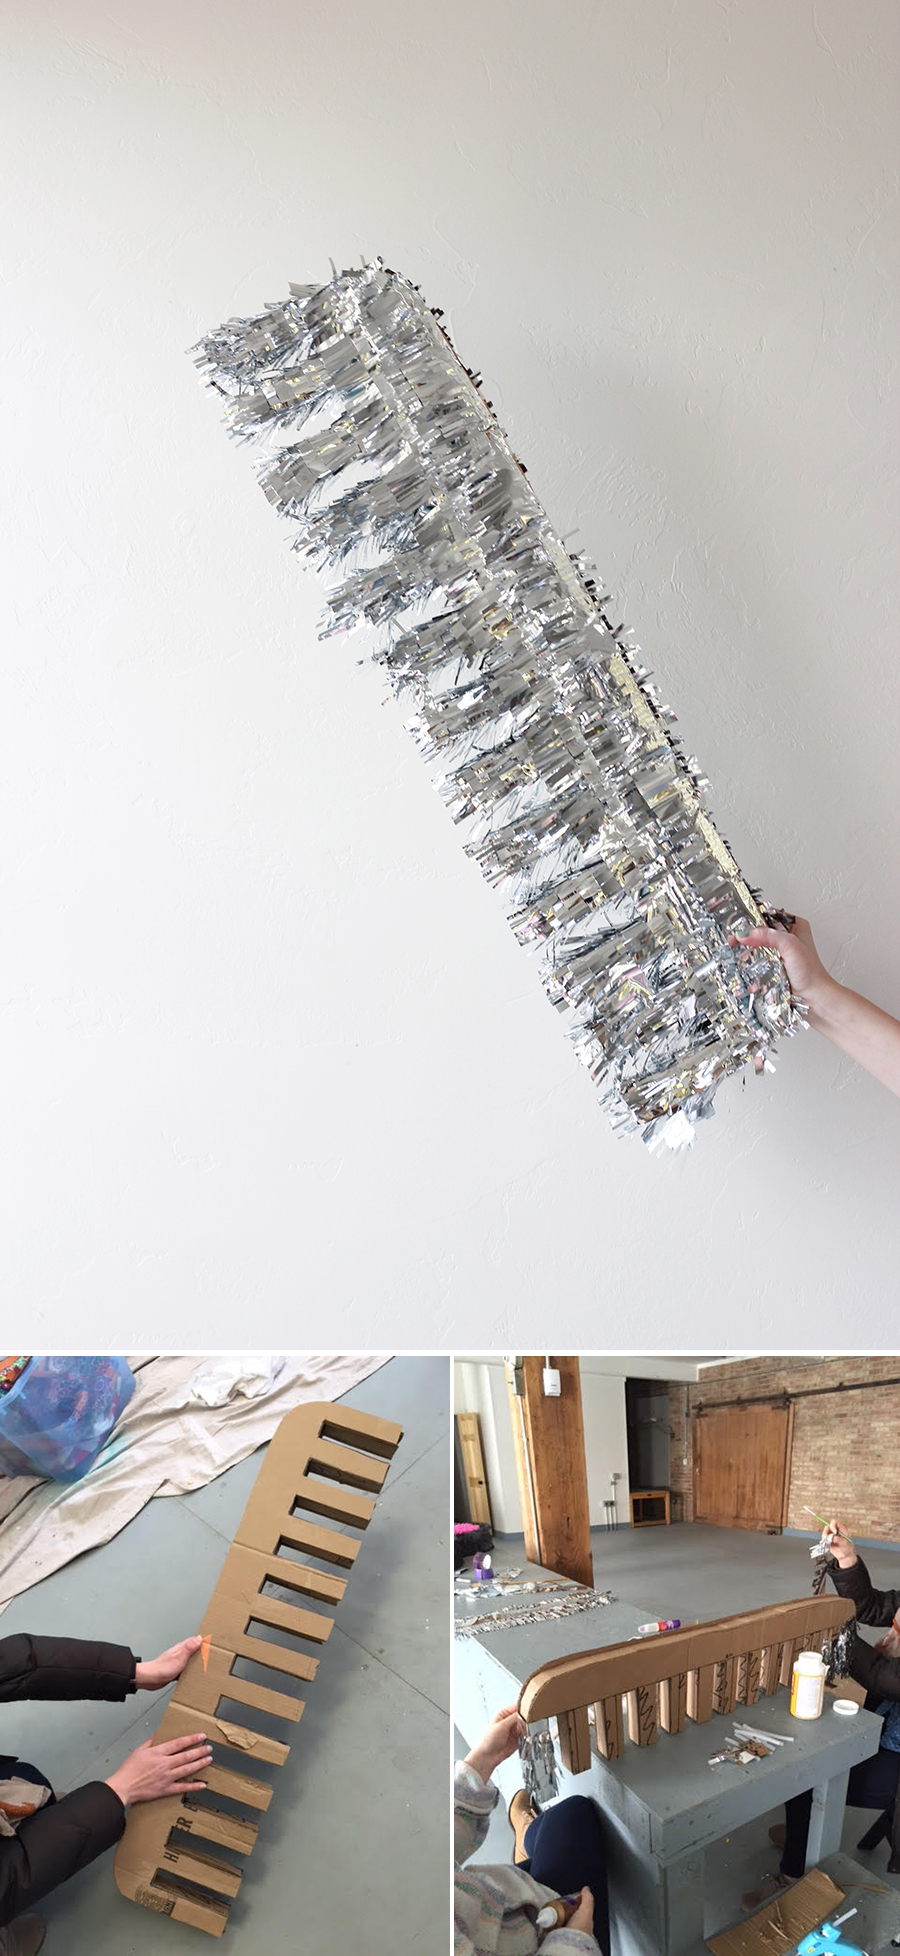
- Use the basic pinata tutorial (see hair brush above) to learn how to make a pinata.
- Use the template here to create the comb shape.
- Create the sides of the pinata with a 3″ width.
- Add the silver mylar strips to the pinata working from the bottom of the pinata up (crucial!).
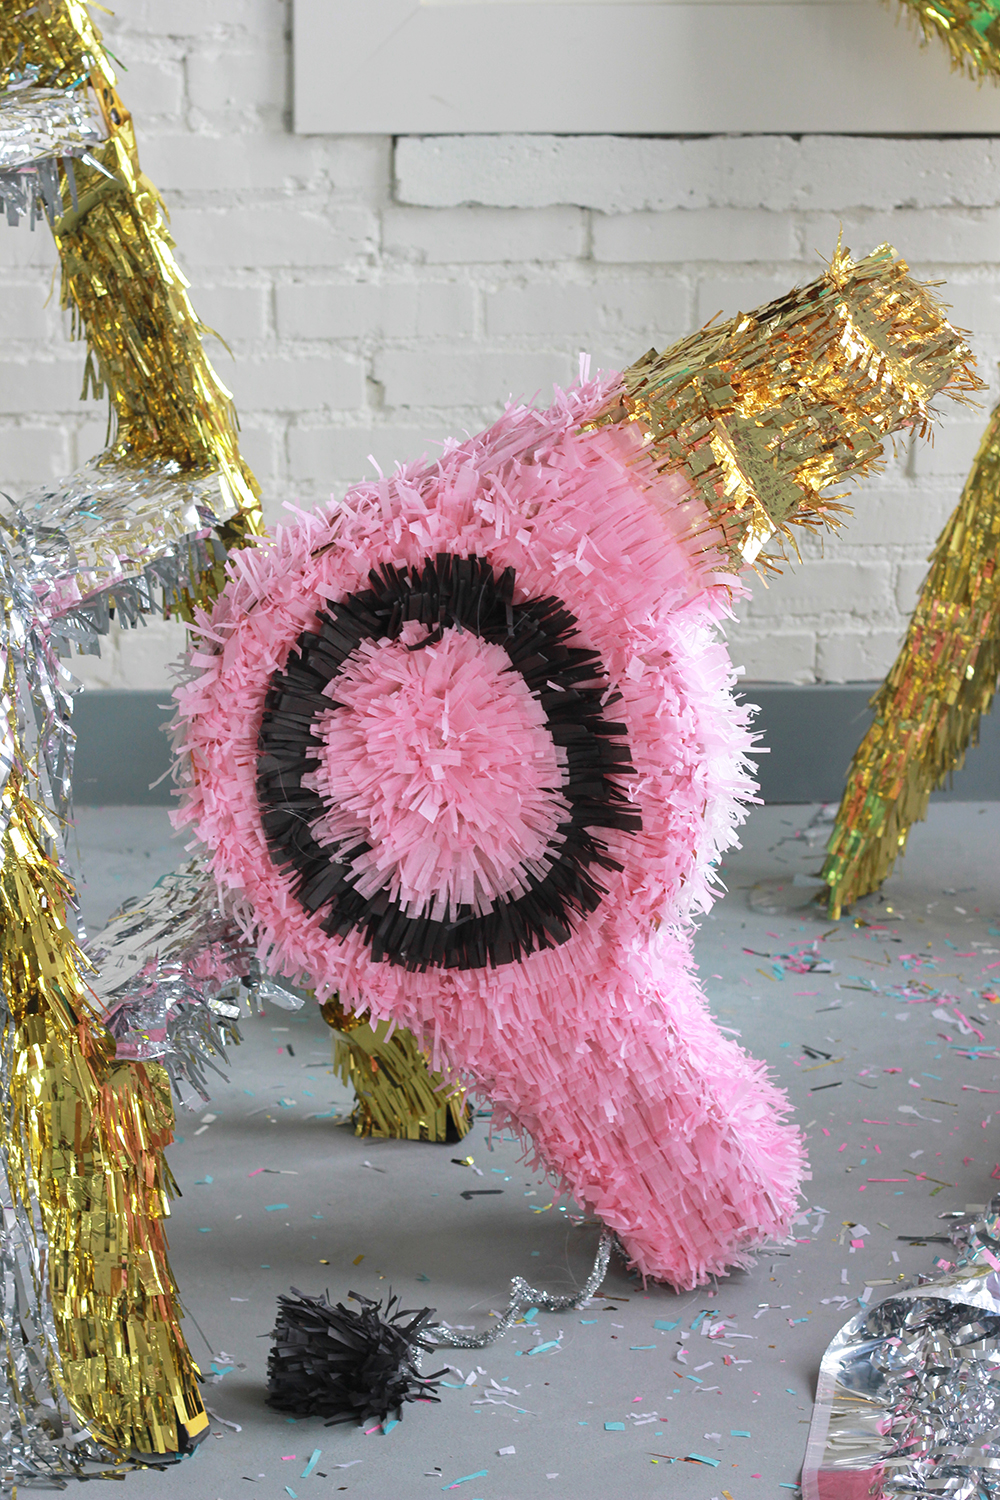
BLOW DRYER PINATA
- cardboard
- glue gun
- masking tape
- template
- pink tissue paper, gold mylar sheet, black tissue
- black pipe cleaners
- craft knife
- paint brush
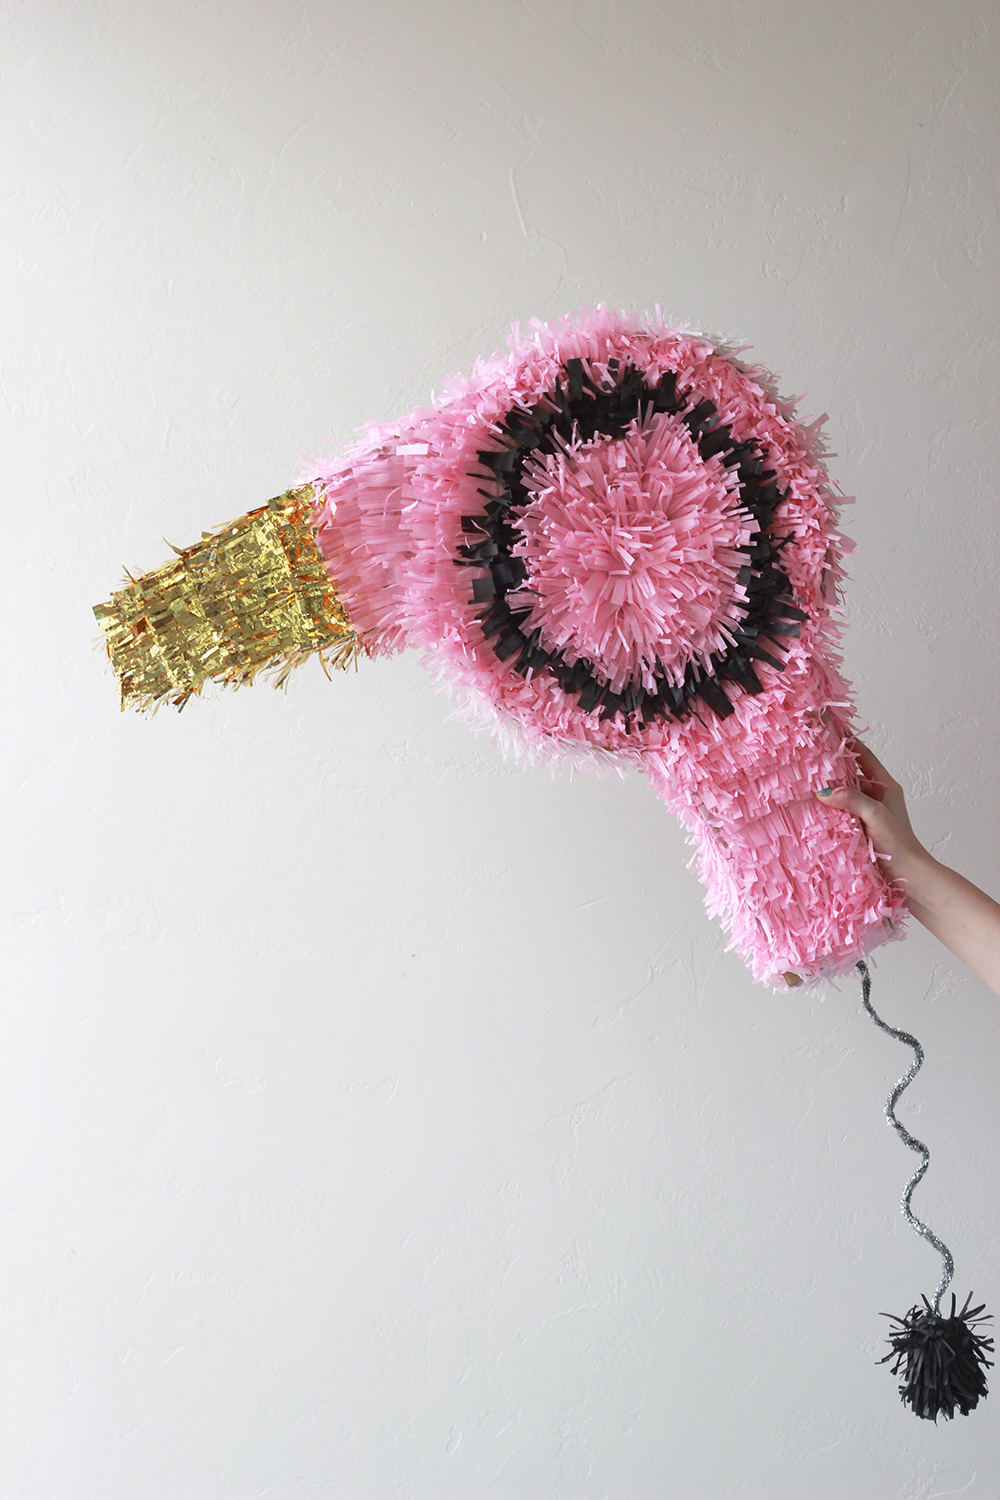
- Cut out your blow dyer shape using the template (or draw your own)
- Use a 4″ width for the sides.
- Once again, work from the bottom up starting with the pink at the handle of the blow dryer.
- For the round part, work outside in. Work in a black line for one or two rows of fringe to add definition.
- We added in a gold top at the end.
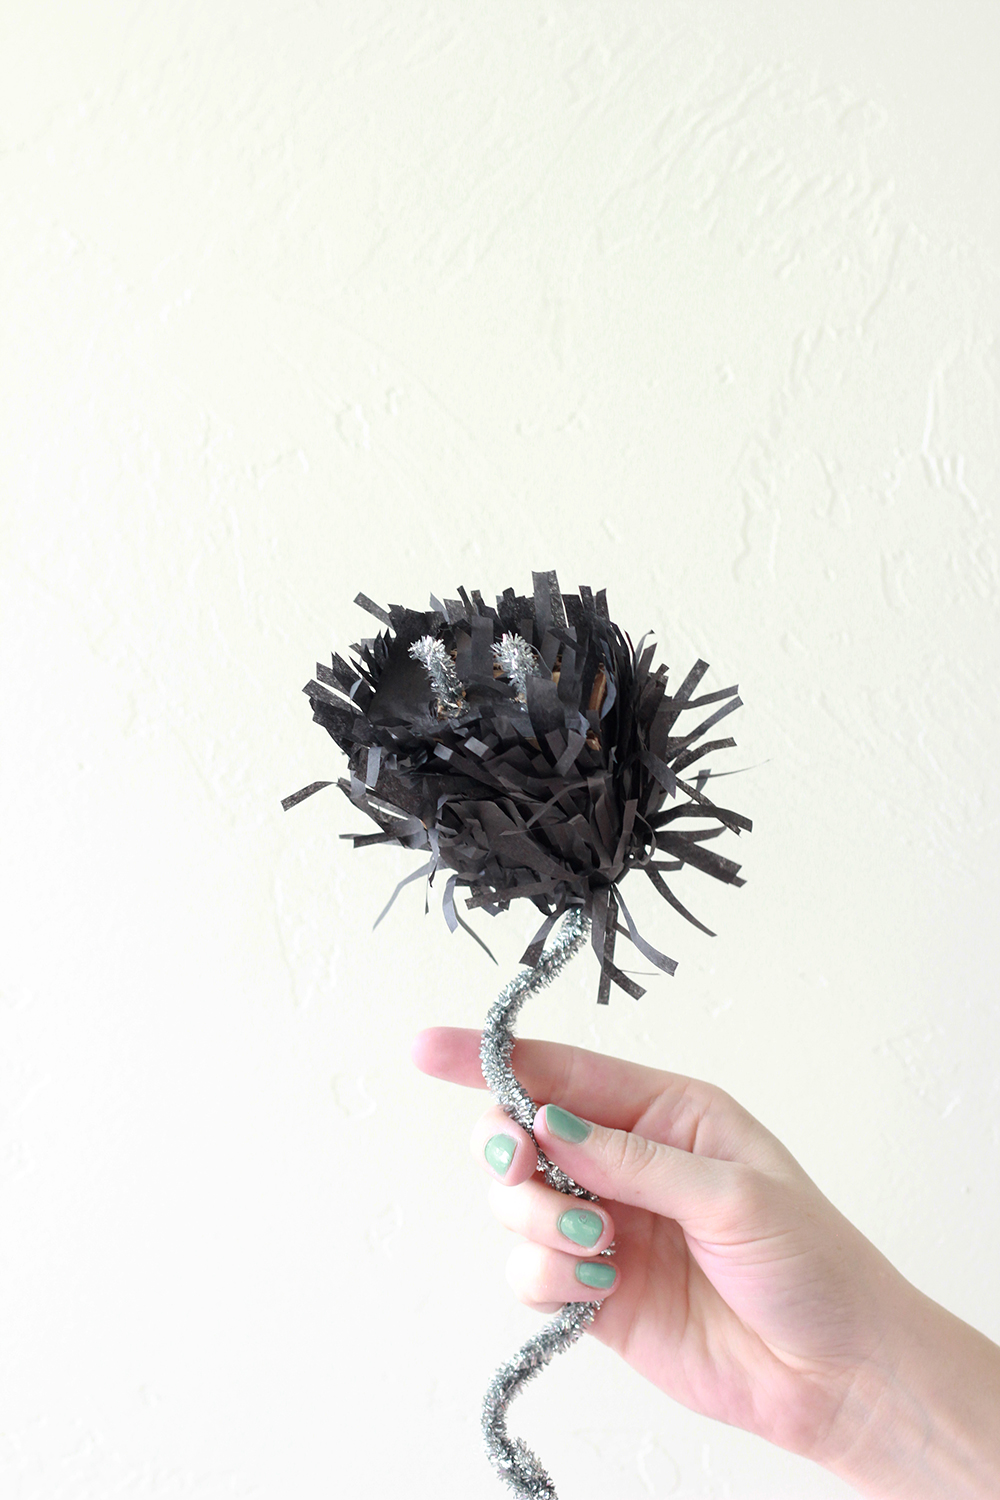
- For the cord, take three pipe cleaners and wind them together for the width. Use a paint brush and wind the pipe cleaners around to give it shape.
- Create a plug with black tissue.
- We added in a socket with two pipe cleaners with 2″ in length using the same technique as the hair brush bristles.
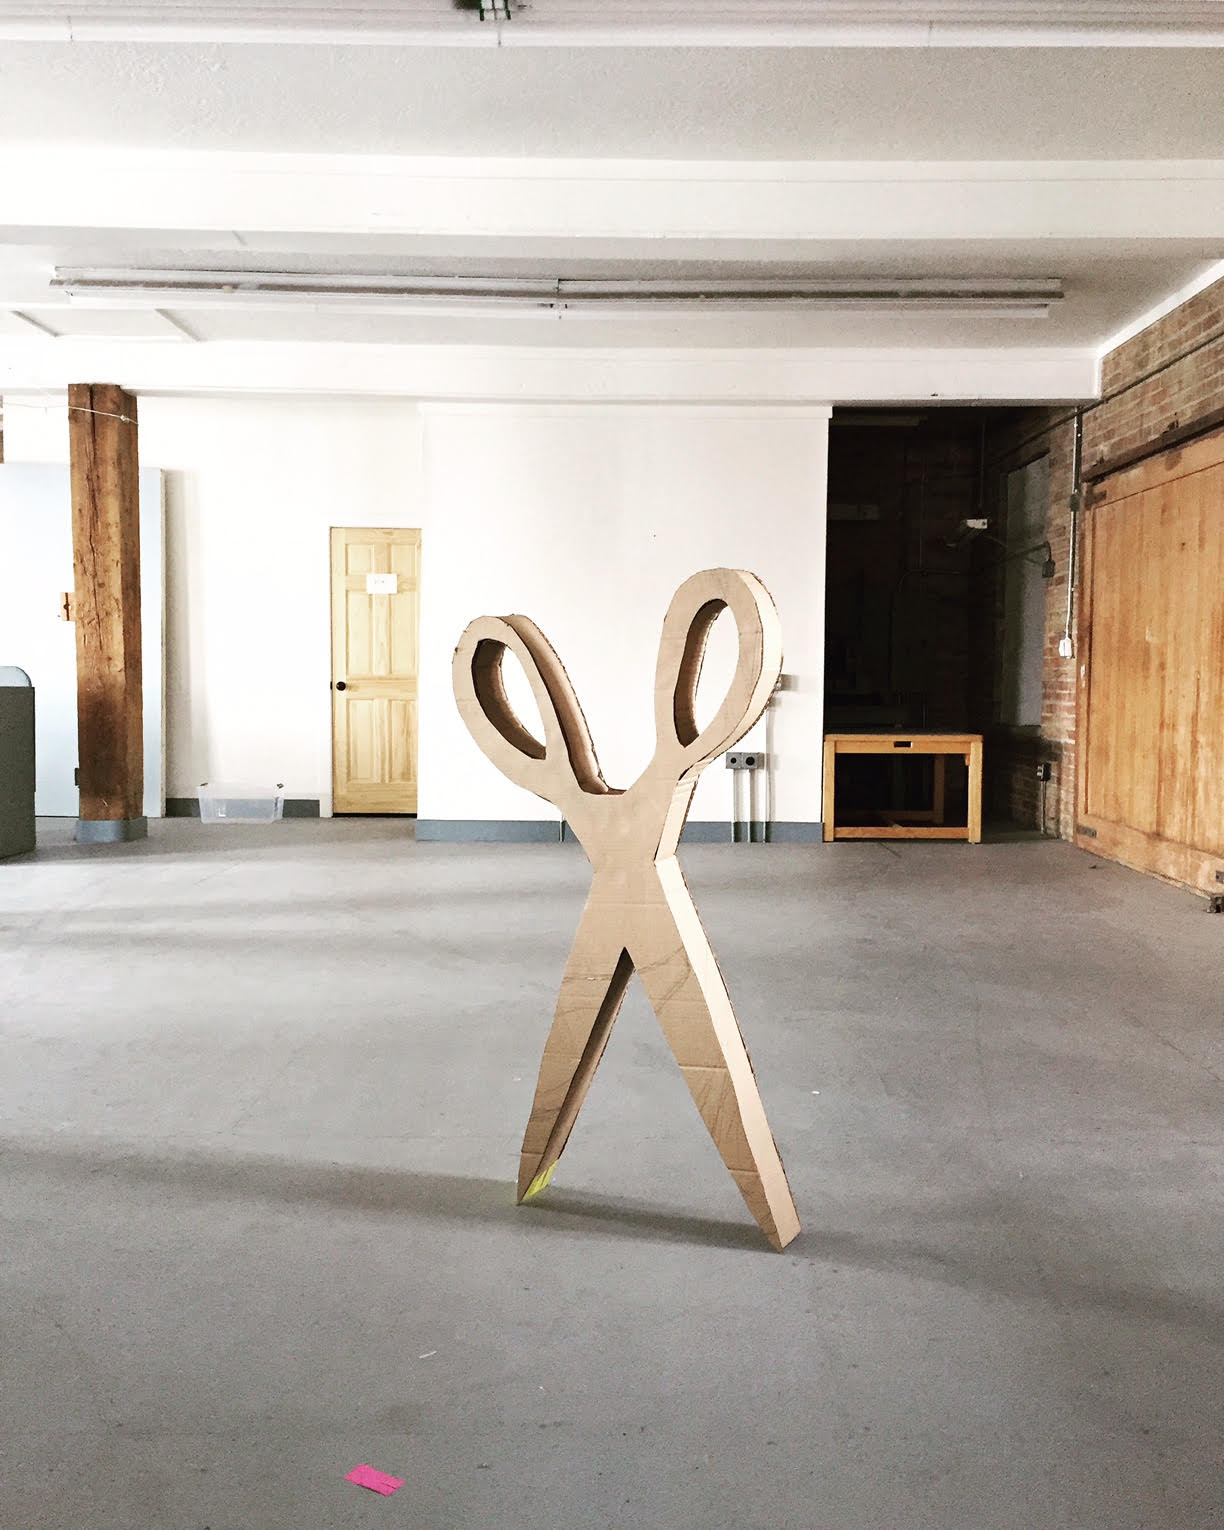
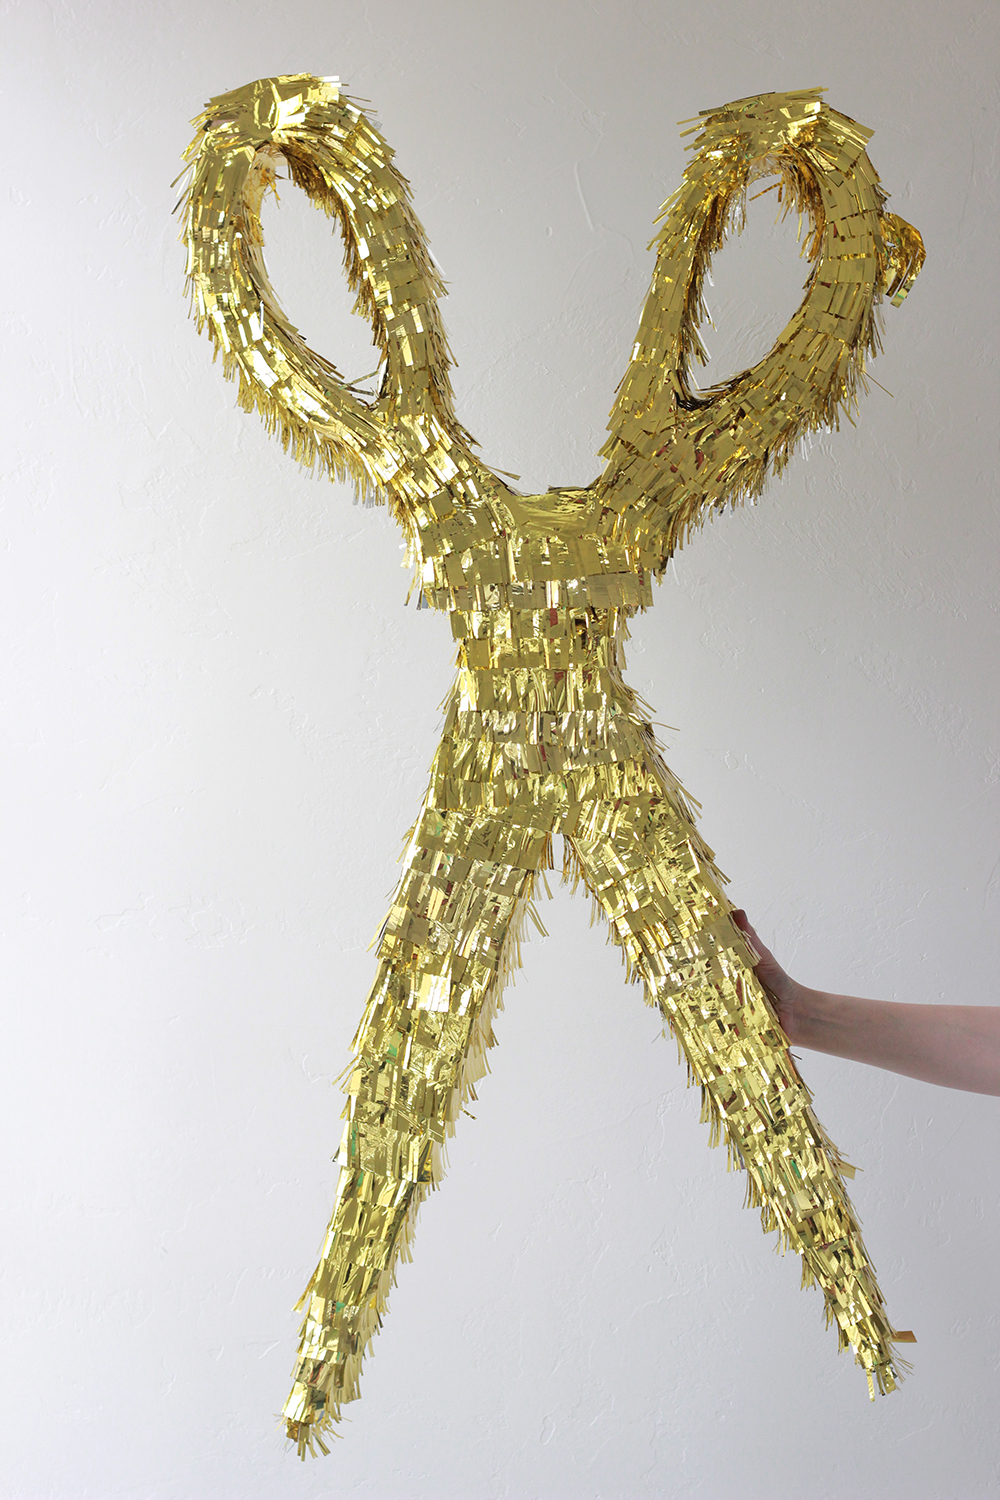
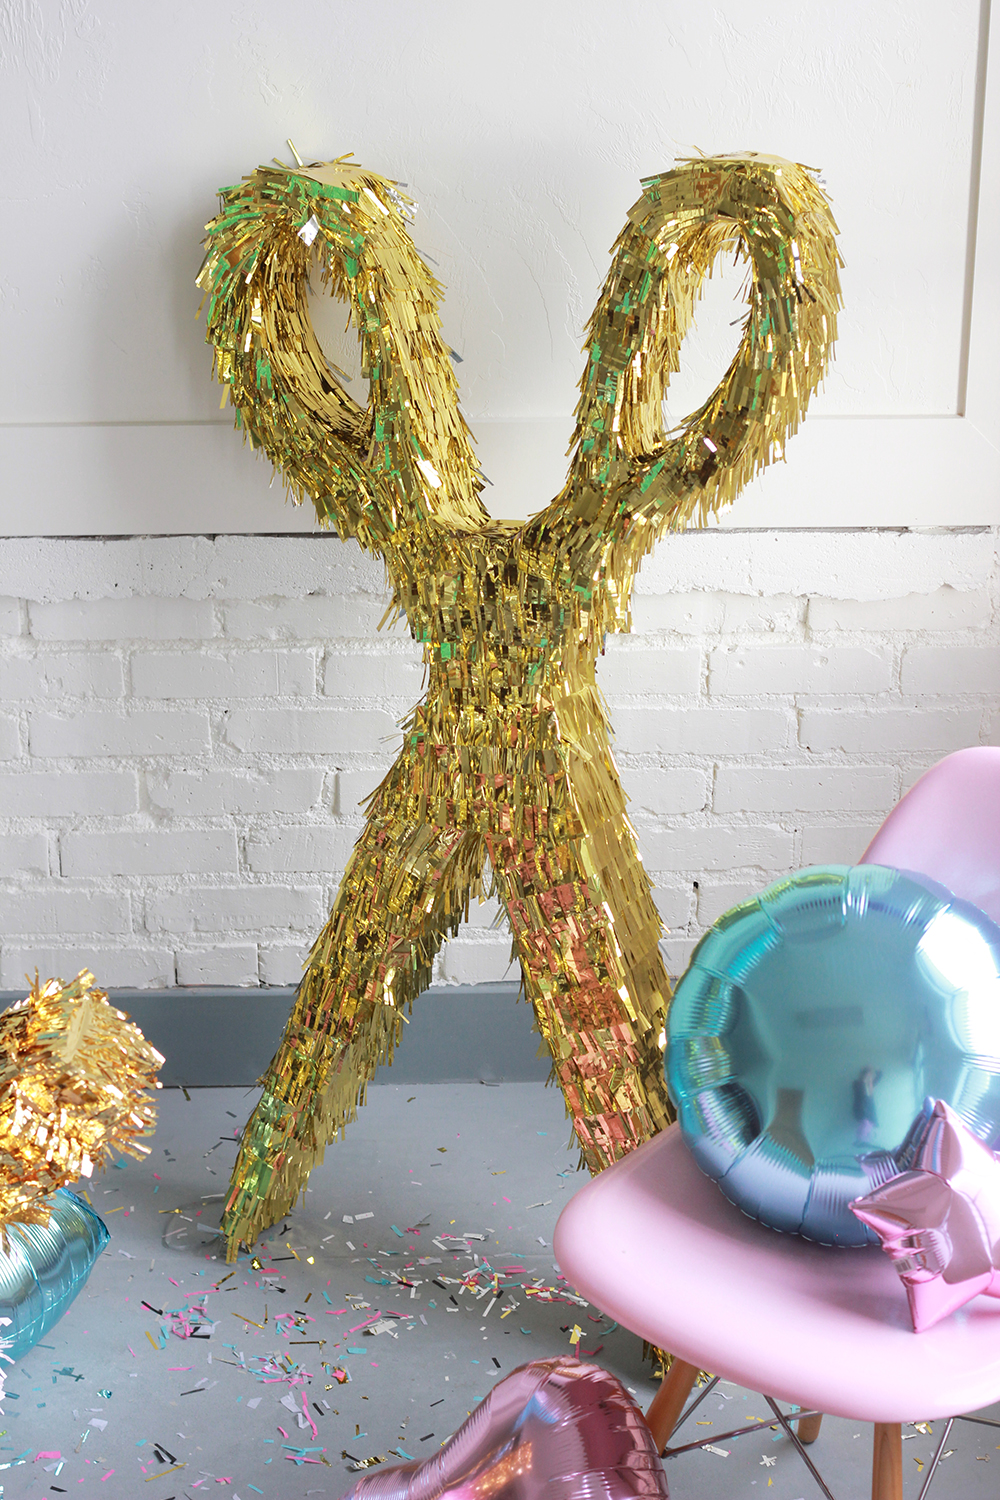
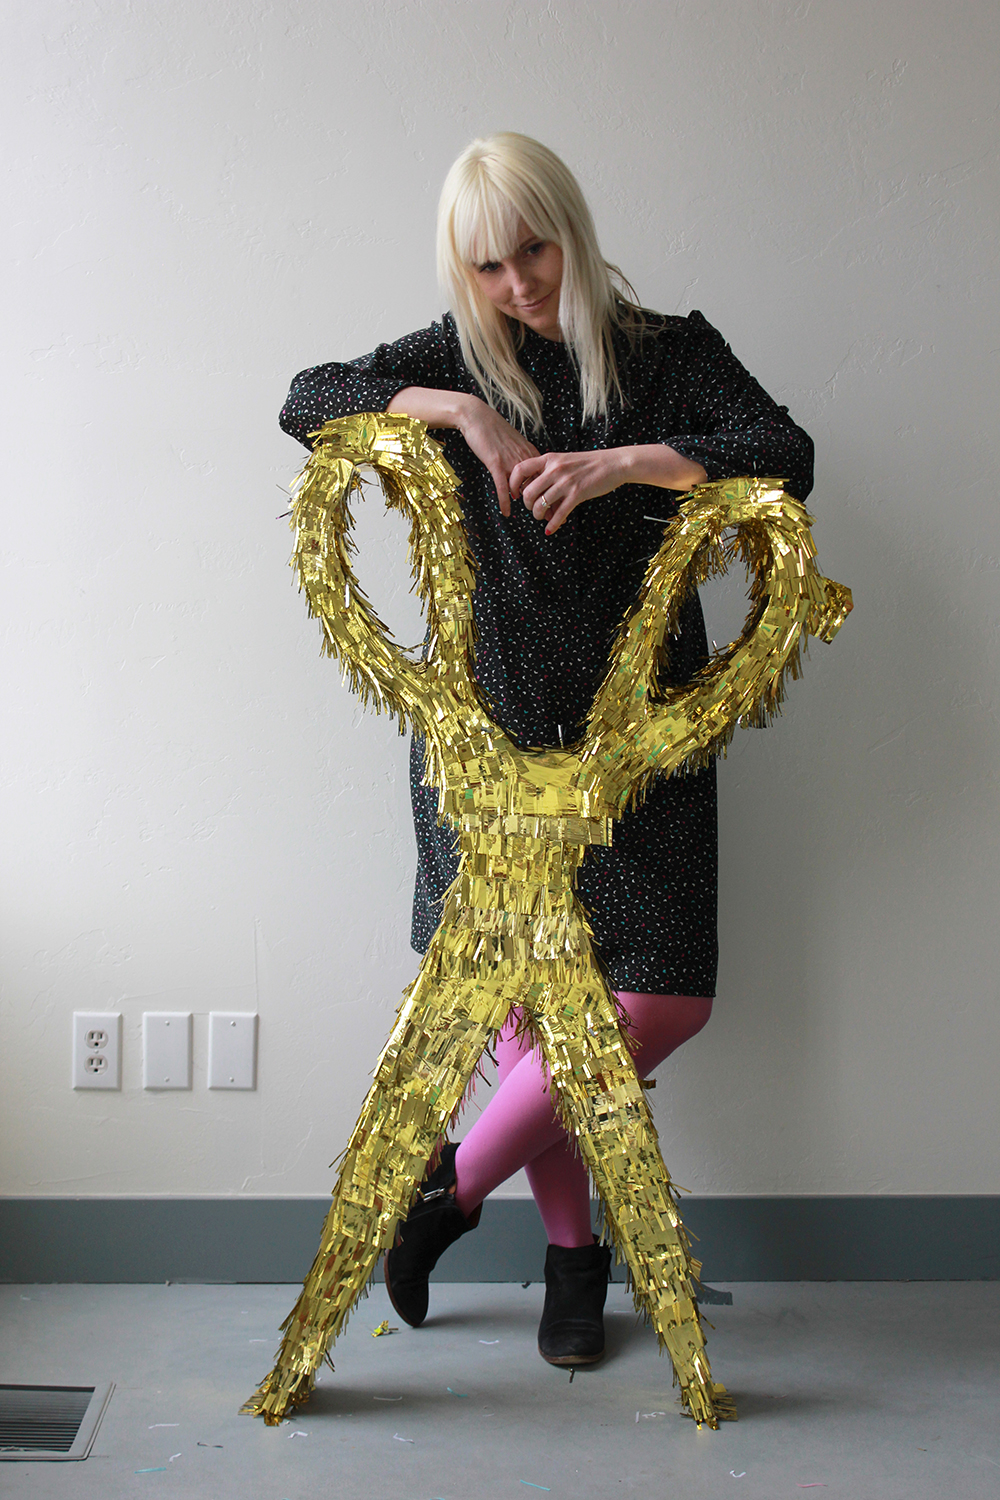
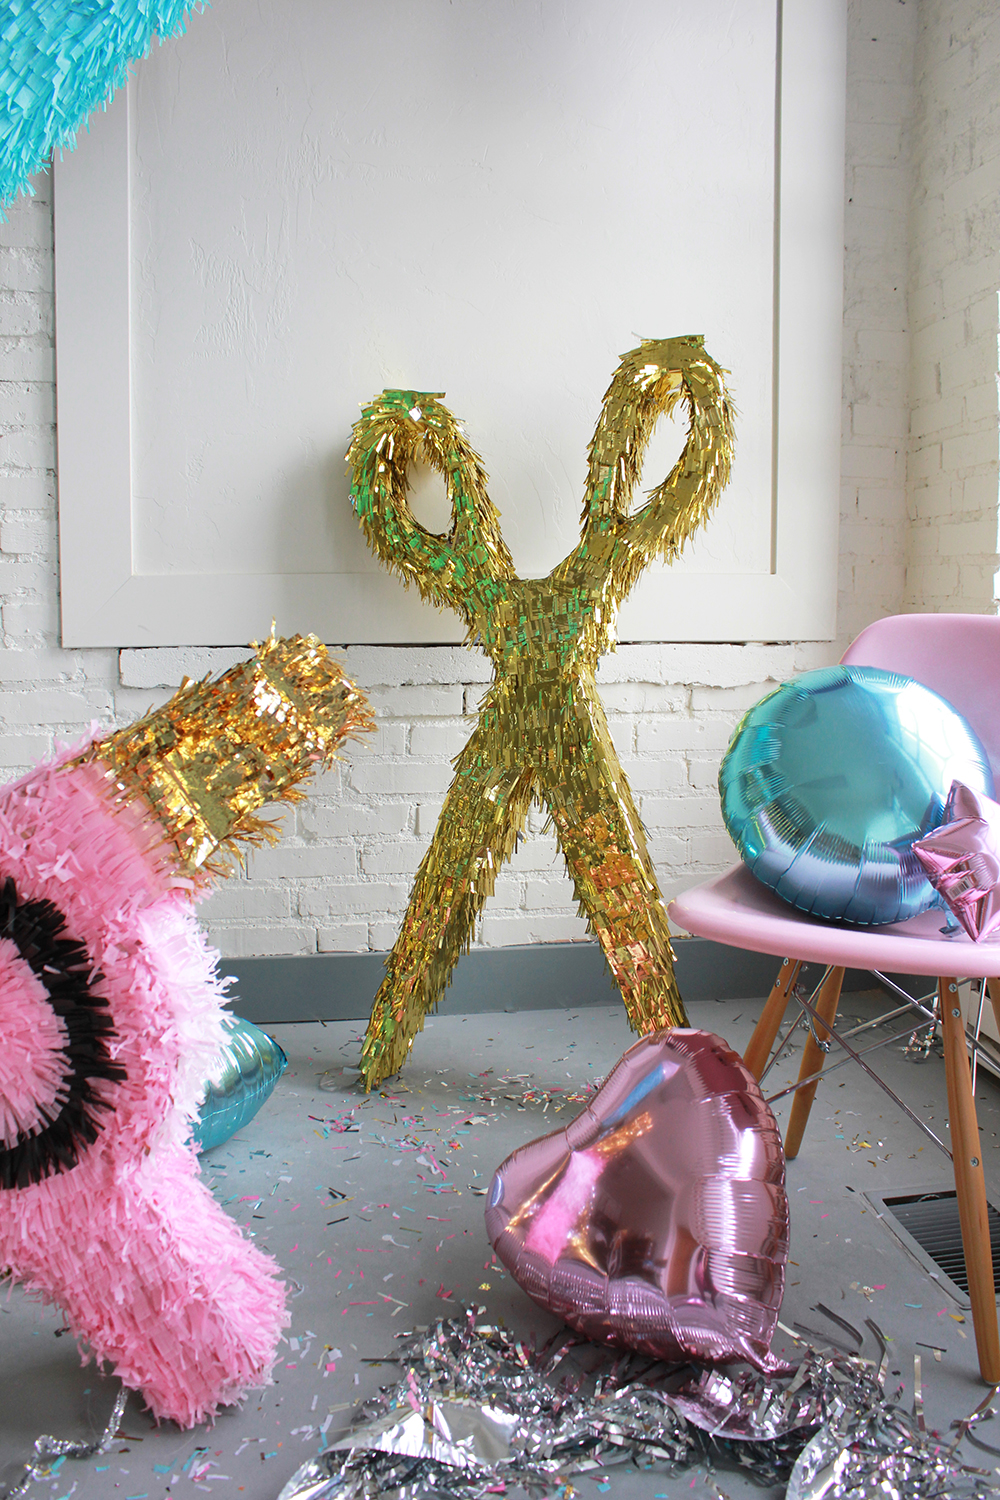
SCISSORS or SHEARS PINATA
These ones are my favorite! And will become a permanent fixture to the studio starting now!
Materials:
- cardboard
- gold mylar paper
- glue gun
- masking tape
- template
- Use the basic pinata instructions to create the shape using the template provided here. Or create your own shape.
- Start from the bottom and work up with the gold mylar.
Now, tell me, what will you be using your hair product pinata brigade for? 🙂
Photos and styling by Brittany Jepsen




Comments