I envisioned making a paper fiddle leaf tree a few years ago for our dark basement apartment knowing that they require a sunshine and that was a luxury I didn’t have. Well, time escaped me and I stumbled upon Corrie Beth Hogg’s apartment tour on Design*Sponge and spotted a DIY paper fiddle leaf tree and I was enamored. We’re lucky to have Corrie Beth here with us today to show us how to make the popular tree!
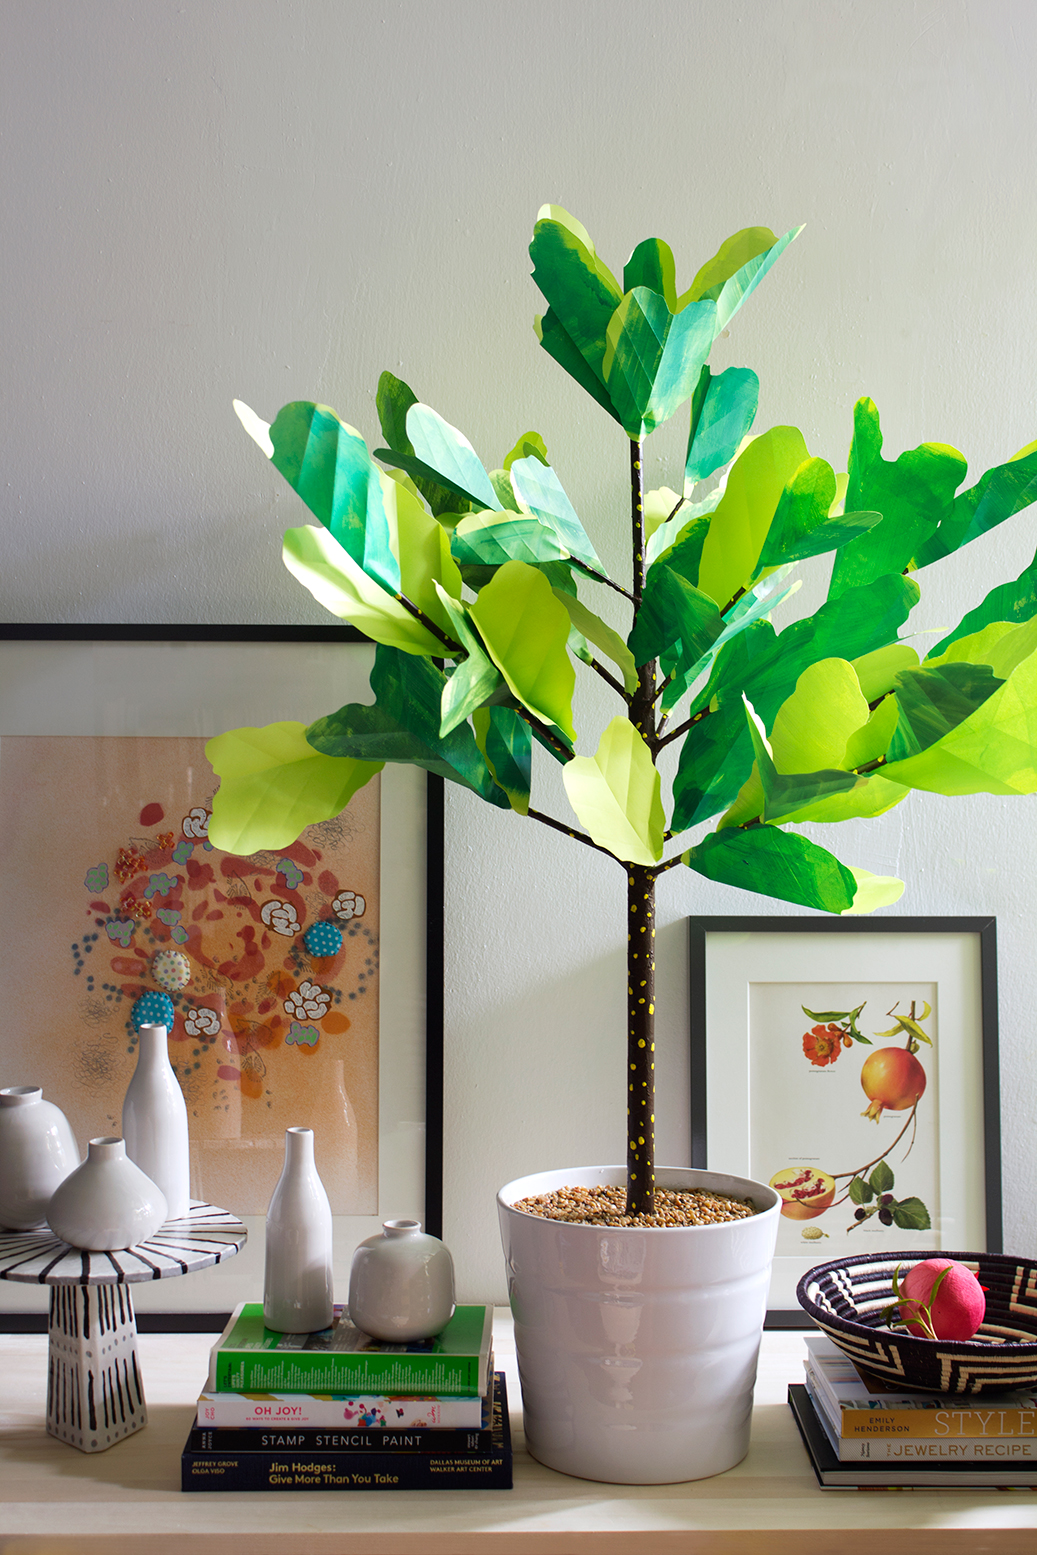
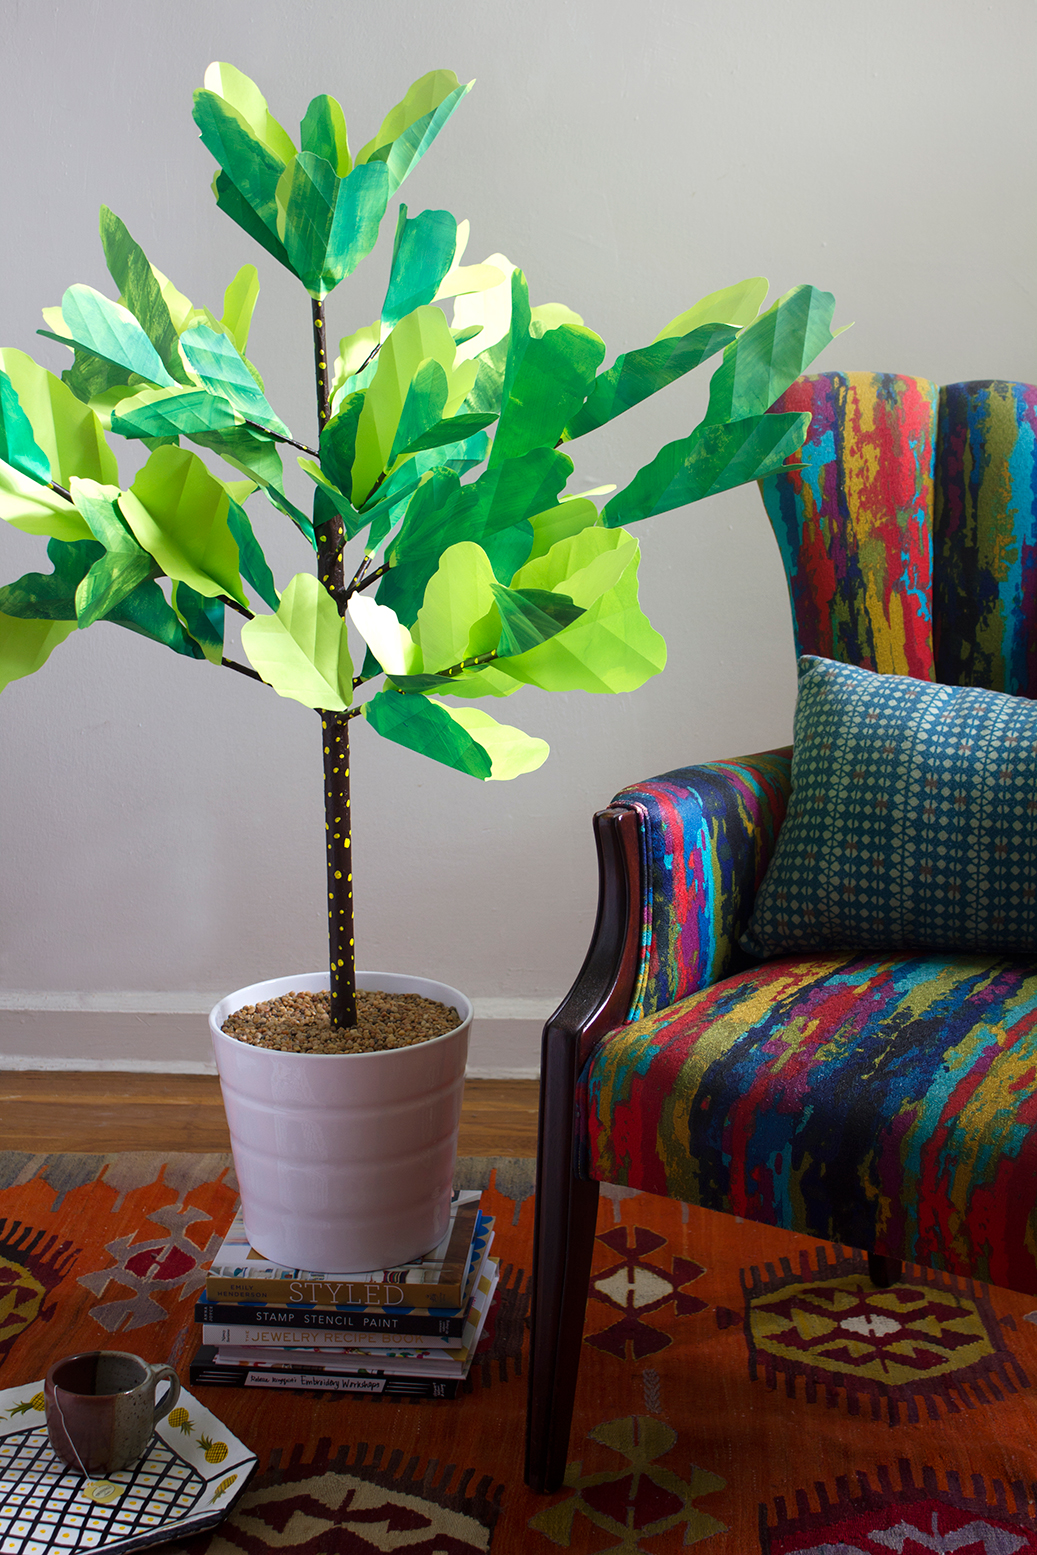
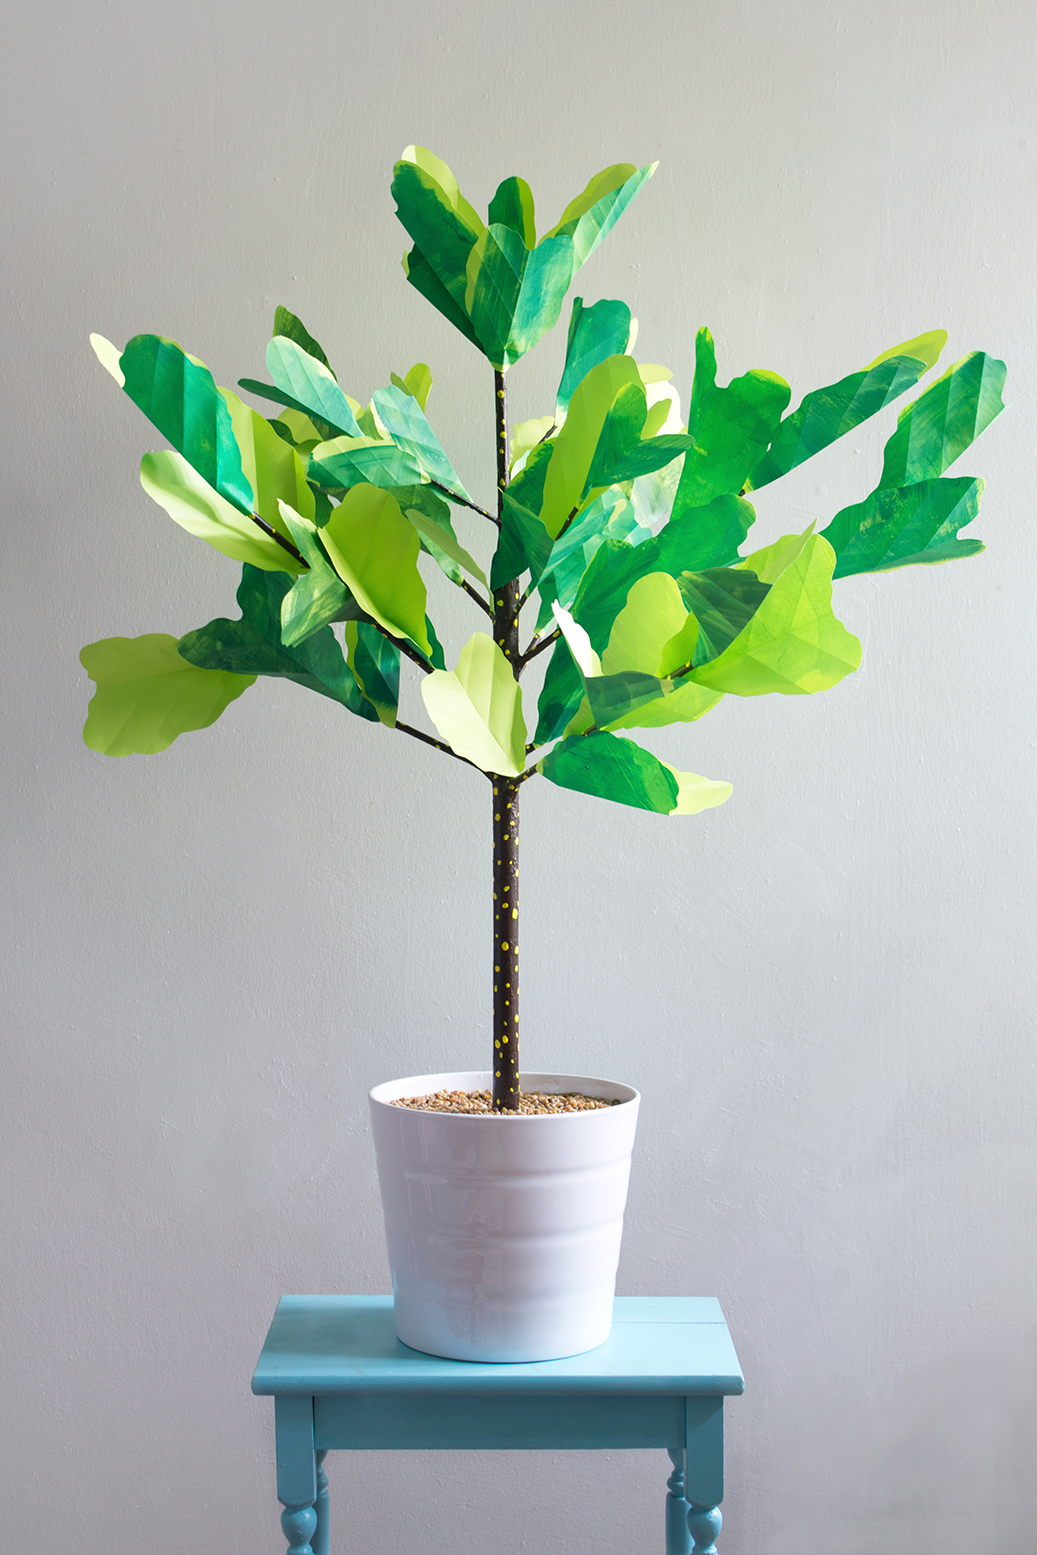
Ah, the fiddle leaf fig tree, an all time favorite among so many for its striking dramatic appearance and easy care indoors. Umm, or so called easy care… for those with an advanced green thumb! Well, even though I do not have the magic touch, I still love ‘em. I love the way they add personality and a bit of whimsy to a room, they remind me of something Dr. Seuss might dream up. It’s that fanciful quality and the fact I can’t keep a real one alive, that inspired me to make a crafted version. You can’t tell in these photos (thanks, long exposure) but my living room is dark y’all, real dark. Meet the paper fiddle leaf fig! It brightens up my space and I never have to water or worry about it. You can make one too! This tutorial has several steps, I designed this sculpture to be sturdy and last, so get your maker’s hat on and follow along.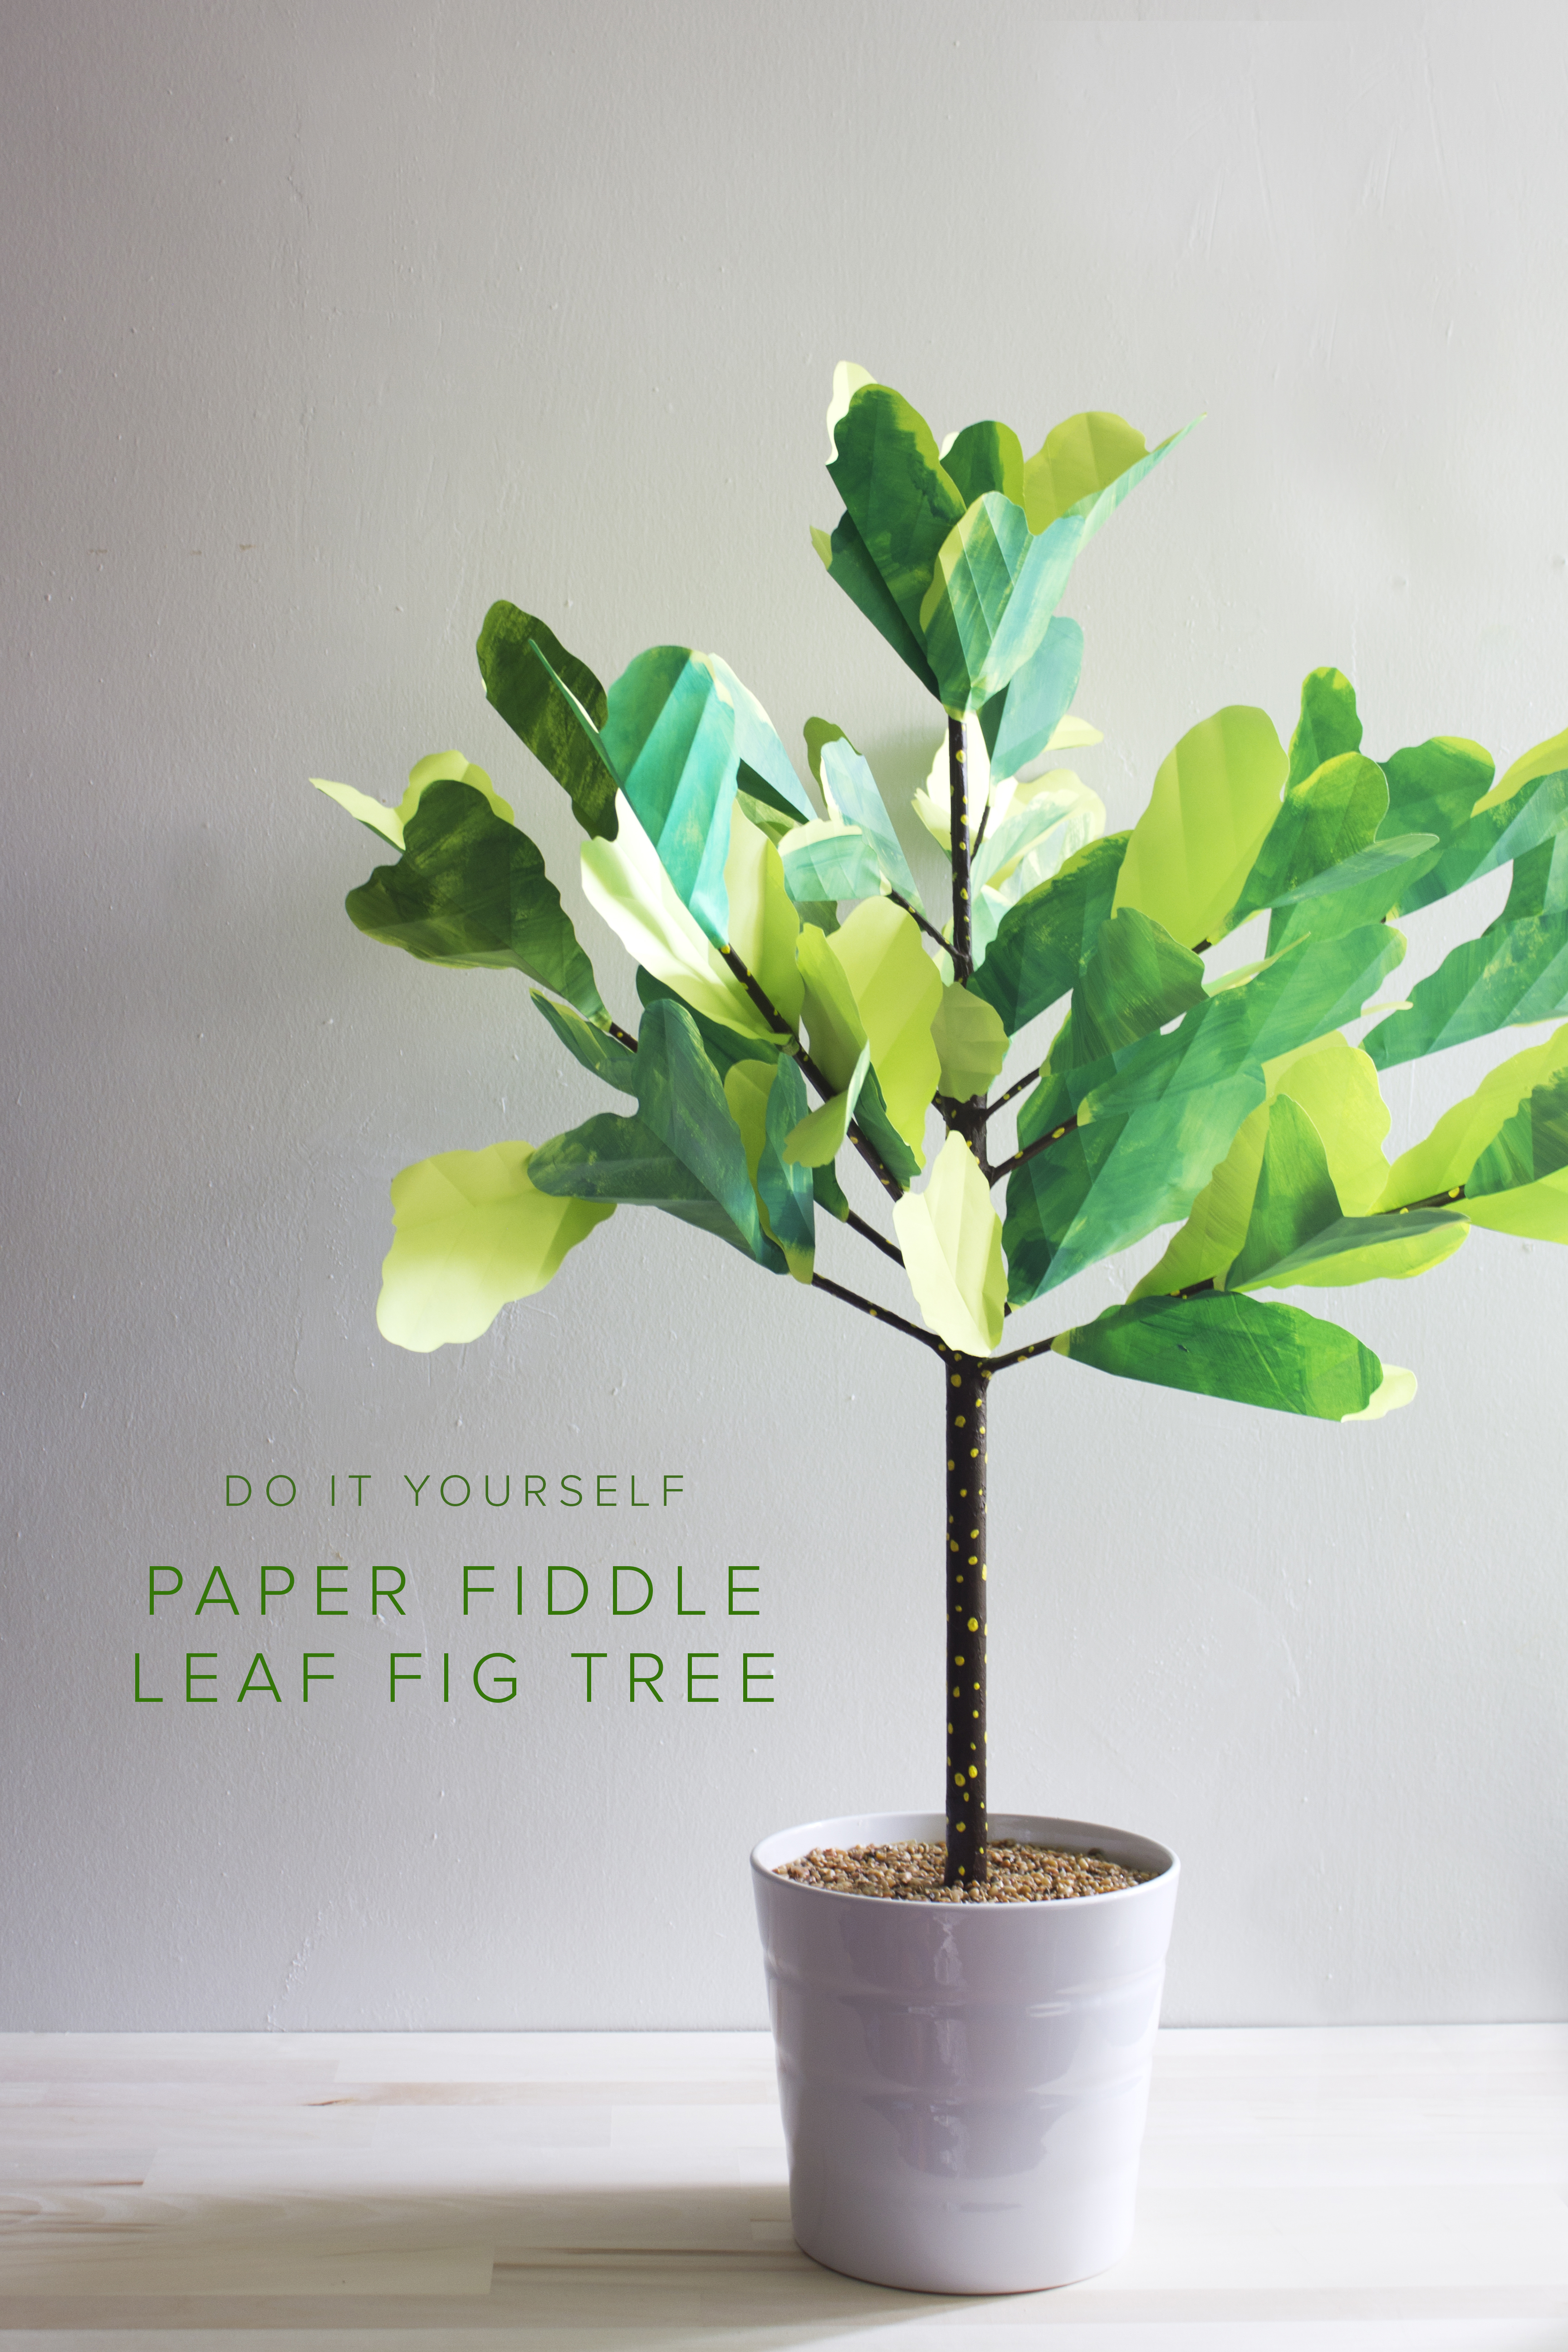
Get the full tutorial below!
Here is what you need:
- a large pot
- dowel rods of various sizes
- cardboard and green paper
- wood glue, masking tape, and glue gun
- acrylic paint, gesso, palette, and brushes
- paper mâché supplies
- drill and drill bits
- small pebbles or sand (I got mine from a pet store)
- measuring tape, bone folder, scissors, and craft knife
Step One:
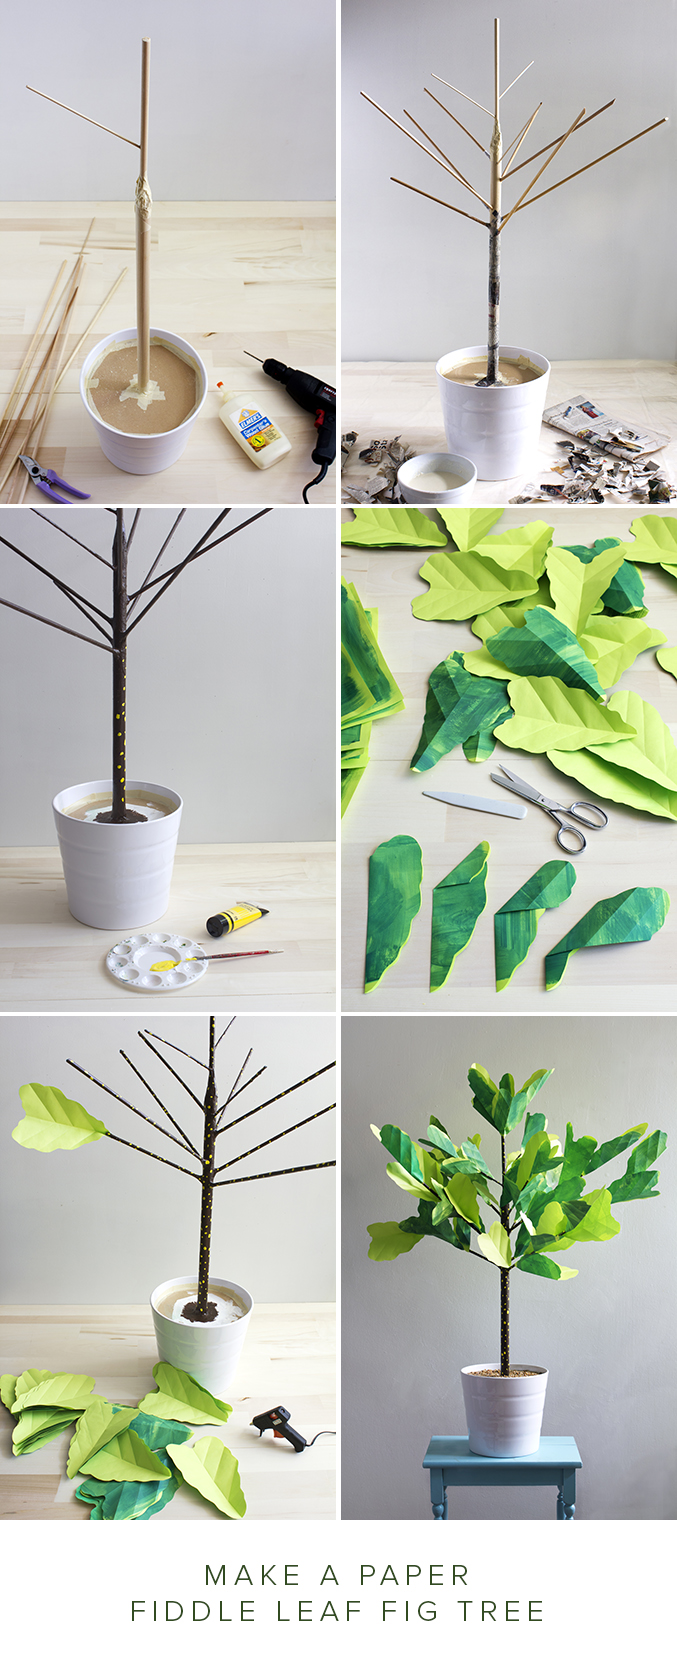
Measure the diameter of your pot about 2” from the top and about half way down as well. Cut two circles of cardboard at those dimensions and add a hole in the center for your largest dowel rod. Place the cardboard in the pot and use the masking tape to secure in place. Slip in the dowel rod and secure that in place with masking tape as well. Add “branches” by carefully drilling holes in the “trunk” use drill bits that match the dimension of your dowels and a couple drops of wood glue. If you want the angle, start by first drilling in straight then carefully tip the drill upward to create the angle. To smooth out the transition from a large dowel rod to a smaller one, wrap and mold with a few layers of masking tape and crumpled newspaper.
Step Two:
After you have added all the branches you like, cover the entire tree with paper mâché. (For detailed instructions on paper mâché check back at our paper mâché cake stand tutorial.) Allow the mâché to thoroughly dry, preferably overnight, then add a second layer at each of the junction points.
Step Three:
After the paper mâché is dry, apply a coat of gesso and paint the tree. I painted mine brown with yellow dots as I wanted to mimic the texture of the bark but keep it playful.
Step Four:
Make the leaves! I made about 50 leaves for my tree, but you can make your tree as dense or as sparse as you like. You can certainly buy double sided paper, or just use a solid color paper for your leaves, but I like the texture and dimensionality achieved by adding painterly brush strokes to the back of the leaves. I painted my lime green paper with a dark green paint on one side. After the paint is dry, to create the leaves, fold the paper in half and cut out a sort of wavy heart shape. While the leaf is still folded in half, add several folds at a 45° angle to mimic the veins.
Step Five:
Use your glue gun to add the leaves to the branches. Place the leaves at different angles and positions to show off both sides, shapes and folds. Finally, cover the cardboard in your pot with pebbles or sand and display in your home in a dark corner, like I did, or any place where you can admire it!
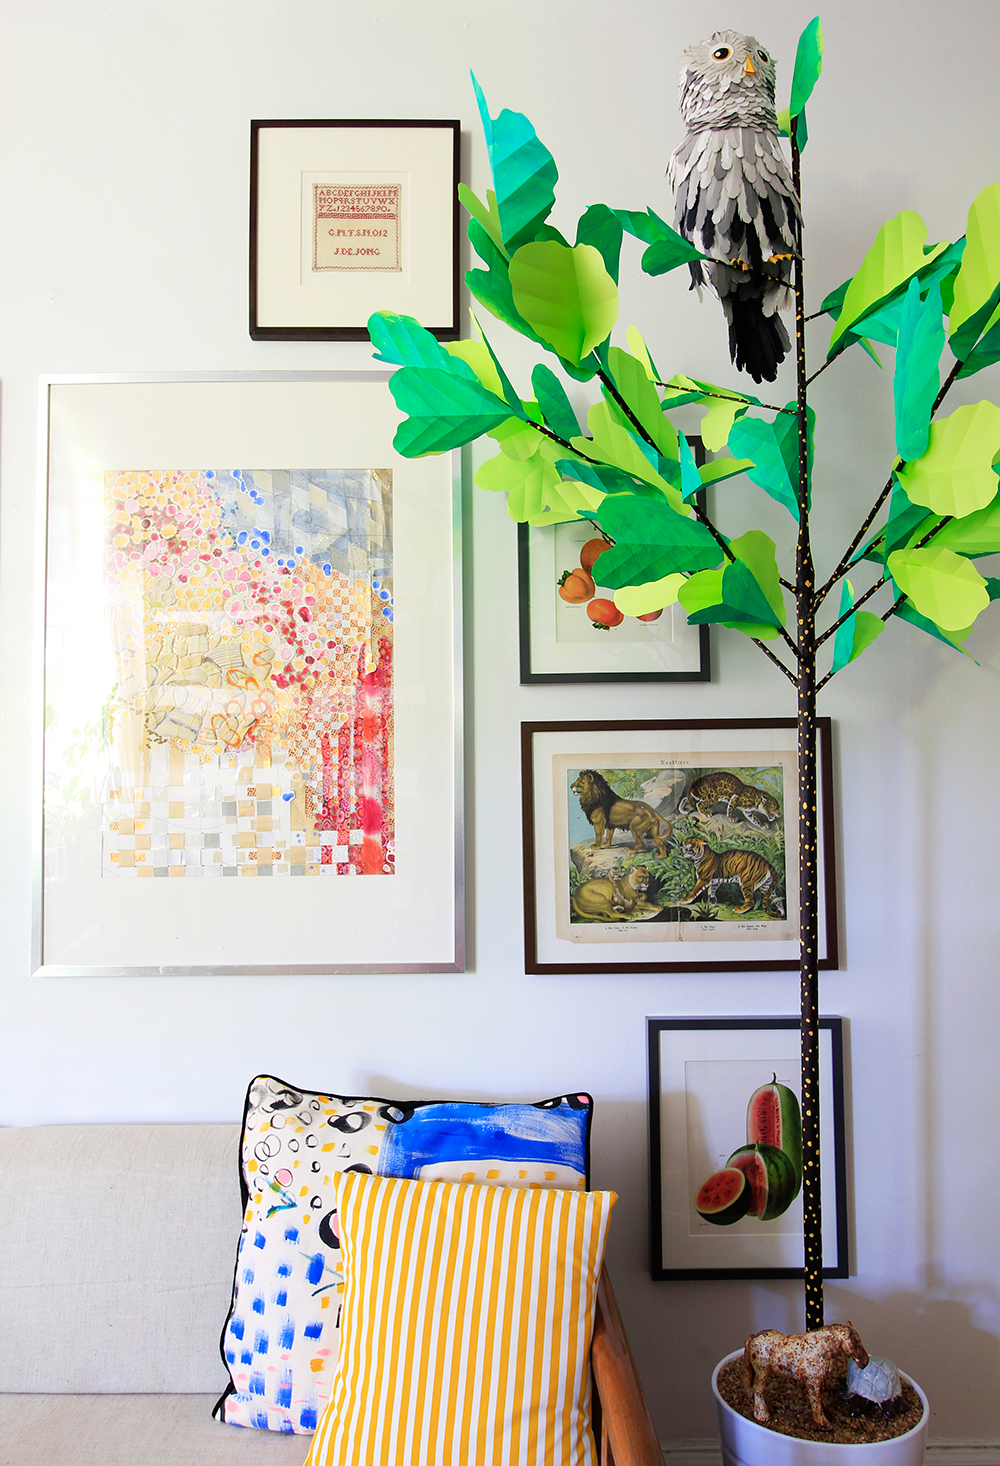
Ps: I made two versions of this tree. The taller one, found in my home tour, features a paper owl I made for David Stark Design.


Comments