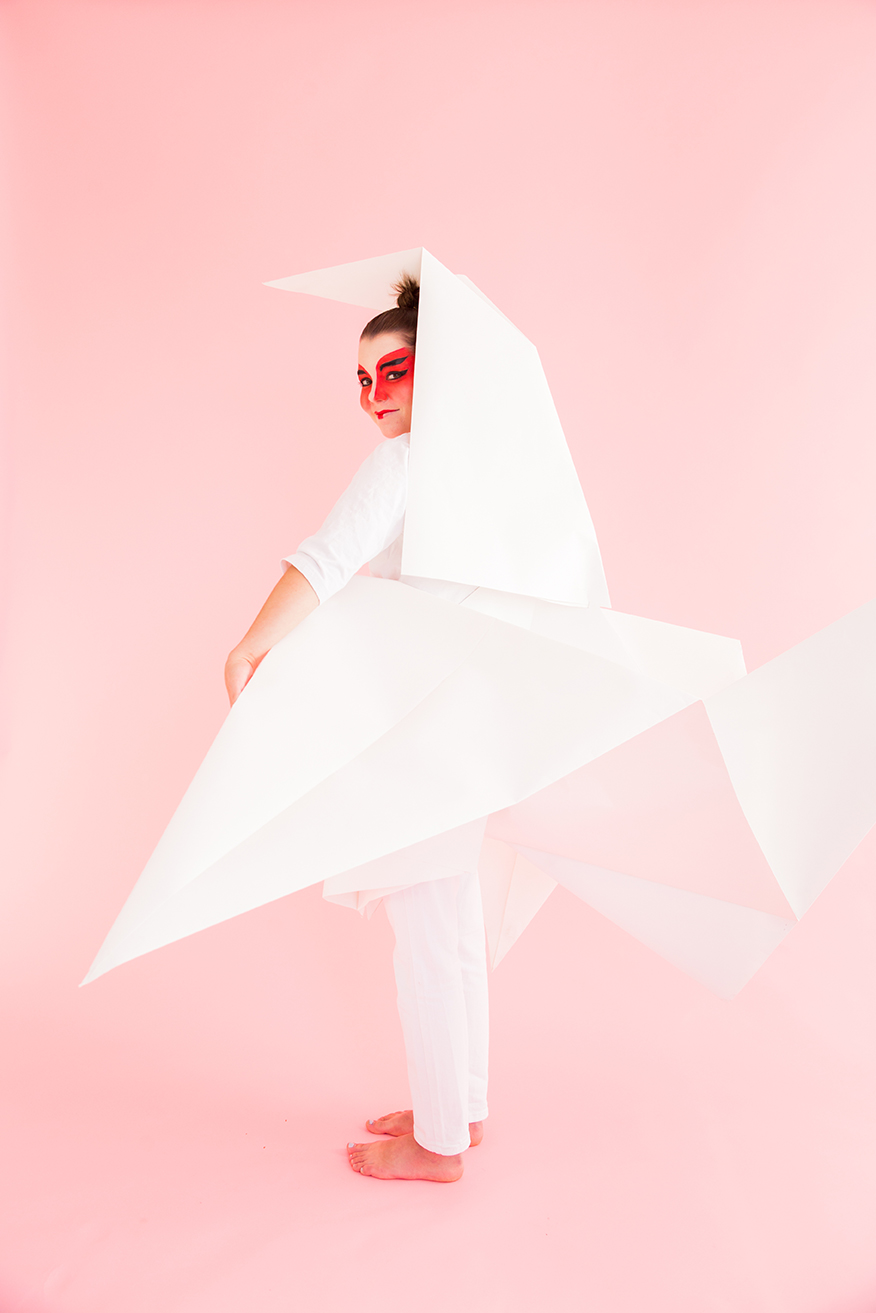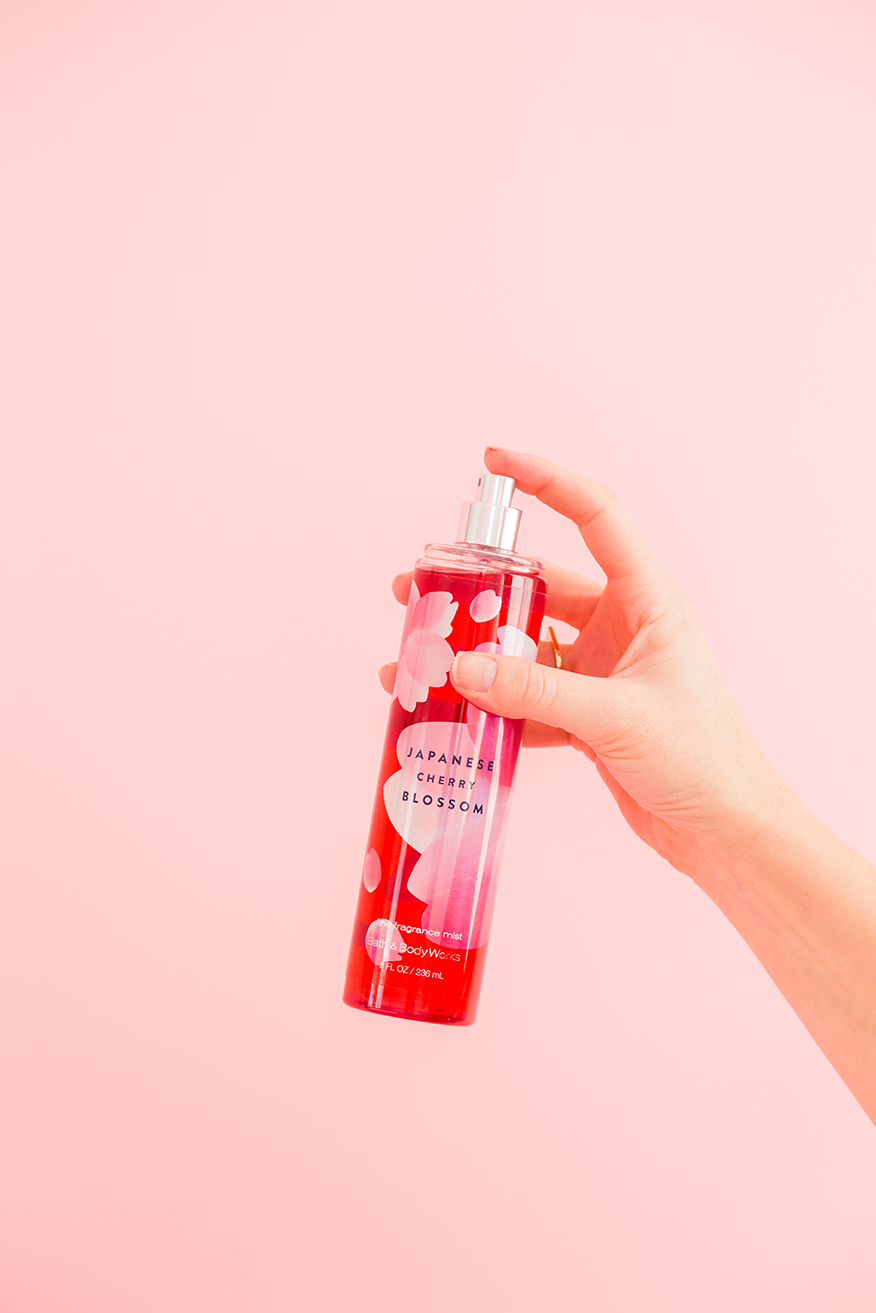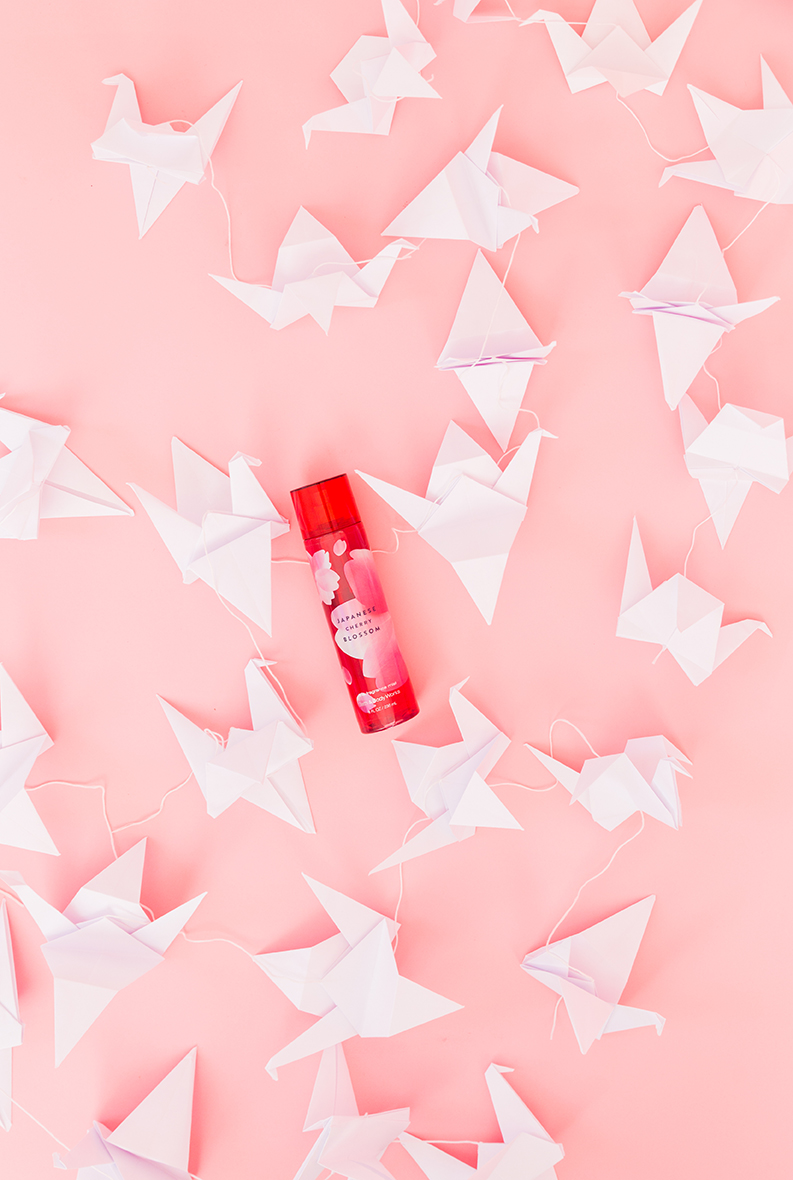
As you know, paper is my medium of choice, so for today’s installment of costumes inspired by Bath and Body Works fragrance mists, we are creating 2 costumes made entirely from paper and I LOVE how they turned out. If I had a bazillion costume parties to dress for, I’d be every single costume we create but these one are closer to the top of the list. First, we created an oversized origami crane inspired by their Japanese Cherry Blossom fragrance as well as a bouquet of flowers costume inspired by their Hello Beautiful and Sweet Pea fragrances.
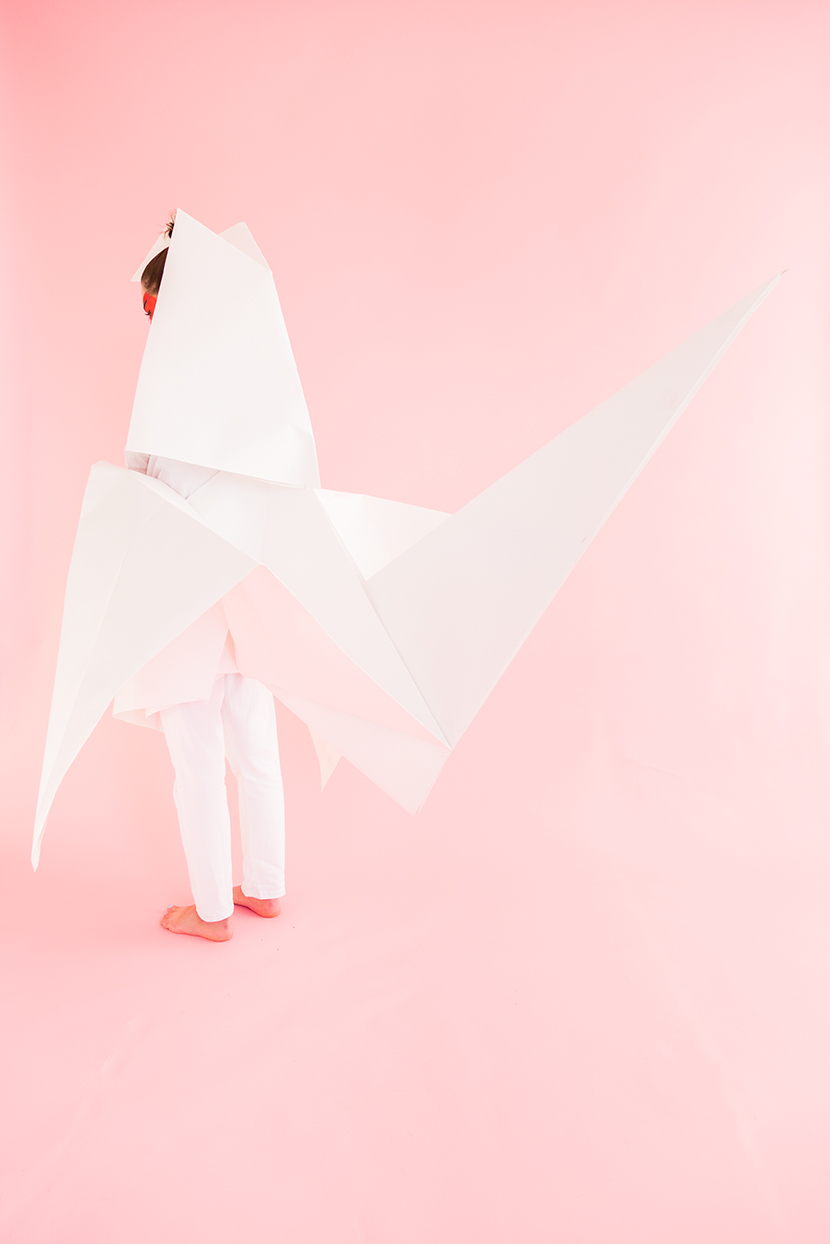
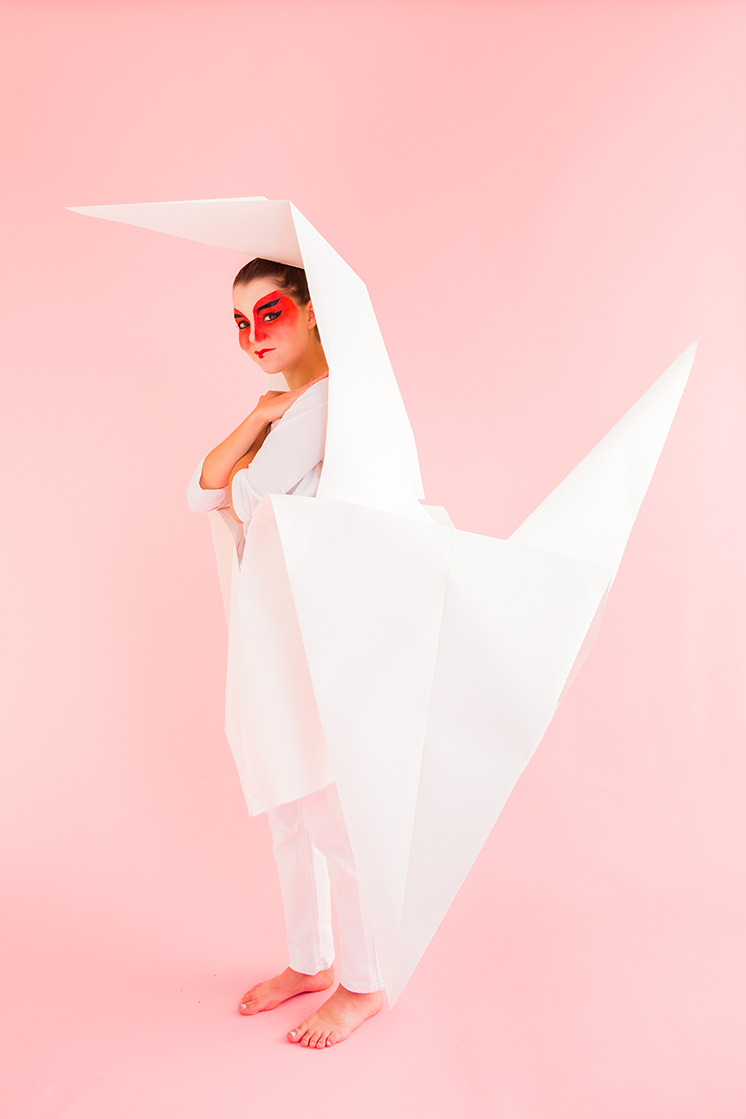
The Japanese Cherry Blossoms scent inspired this oversized origami paper crane costume. It does take a bit of practice to perfect the folding of the smaller paper cranes before moving onto the larger, but once you do it’s so worth the impact.
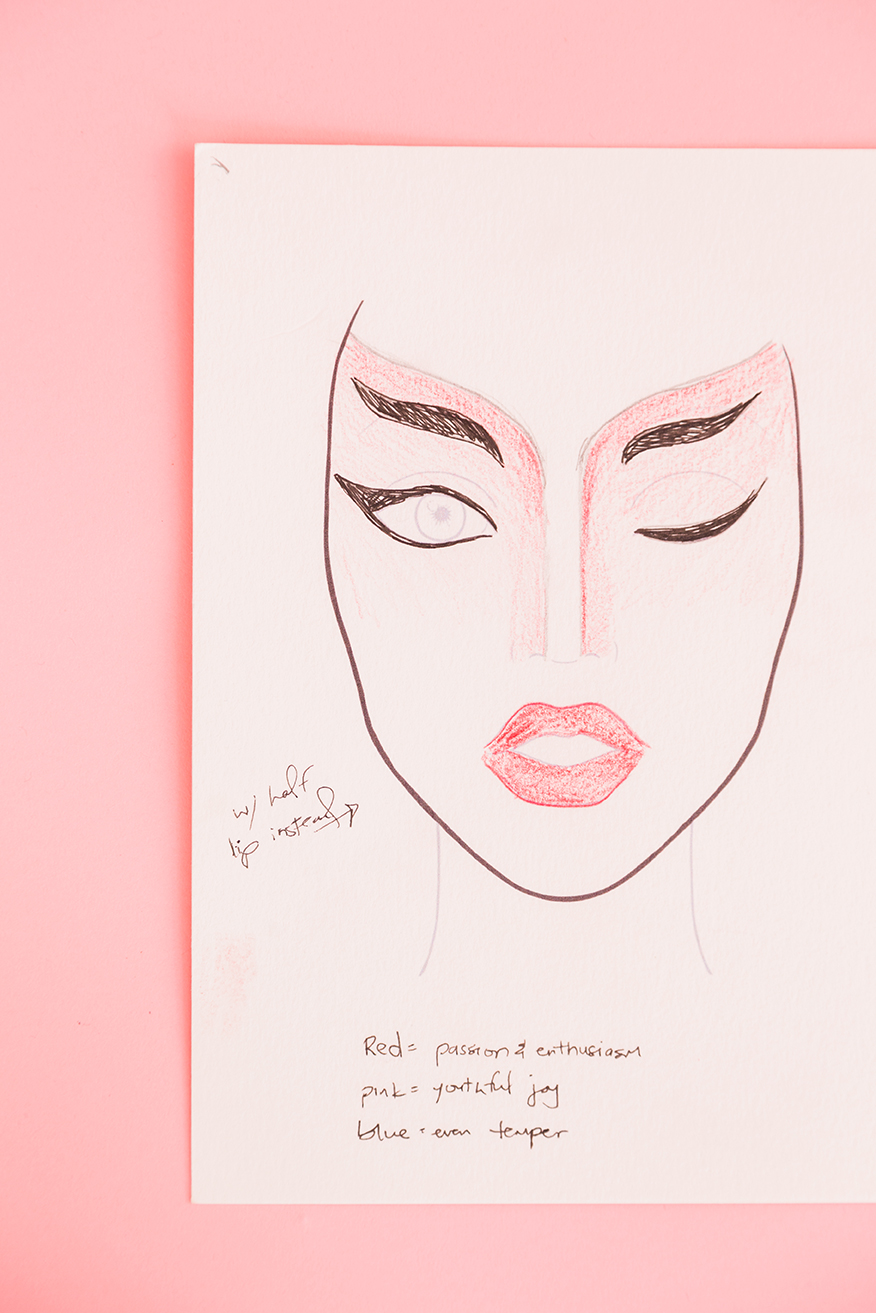
Wear all white clothing for a cohesive look and add some bird make up for the ultimate effect. Make up artist, Natalie Krall, shows you how to recreate the look at home below.
- white, red, and black cream makeup or face paint (we used Ben Nye cream colors)
- small makeup brushes or detail paint brushes
- makeup sponges
- white or skin-toned makeup pencil
- black eyeliner
- red lipstick
- transparent setting powder (we used RCMA no color powder)
- Using your white or flesh-toned pencil, map out the white areas on the design from the face chart pictured below. Then fill in the white areas with your cream makeup or facepaint.
- Next use your red makeup to fill in the red areas. Use a makeup sponge to gently blend the red with the white makeup in the area below the eyes and around the nose.
- Finally, use the black eyeliner to draw the wing shapes around the eyes and eyebrows, and then fill those areas with your black cream makeup or face paint.
- If you used cream makeup, set everything with your transparent setting powder to keep if from creasing or slipping around.
- Lastly, use your red lipstick to fill your top lip and to create a stripe down the middle of your bottom lip.
Make an origami crane. There are lots of different versions out there, but this simplified version is the best for creating the oversized version.
- Start with a square piece of paper, so if you need to trim a rectangle, measure and trim accordingly (image 1).
- Fold the square in half horizontally and then unfold. Then fold in half vertically and unfold. And then fold in half diagonally both ways, and then unfold so you have four creases from corner to corner and down the middle both ways (image 2-4).
- Fold in half diagonally along one of your creases. With the pointy side of the triangle facing down (image 5), hold onto the right corner and fold inside until the corner reaches the point at the bottom of the triangle (image 6). Repeat on the left side so you have a diamond with flaps that open on the bottom (image 7).
- Fold the corner at the right of your diamond in until the lower right edge aligns with the center crease (image 8). Repeat with the corner at the left of your diamond (image 9). Fold the top down—the crease should align with the top edges of the folds you just made (image 10). Unfold all three folds you just made (image 11).
- Flip the diamond over vertically (keeping the flaps that open on the bottom), and then repeat #4.
- This step is a little tricky: With your left hand, hold the top triangle down at the crease you just made (image 12). While holding this top triangle down with your left hand, pick up the bottom point with your right hand (also image 12). Pull this point to the top, and while doing so move your left hand to the crease inside (image 13). Fold the two sides in (along the creases that you’ve already made) (image 14).
- Flip the diamond over vertically (again keeping the remaining flap that opens on the bottom), and then repeat #6(image 15).
- Pick up the top flap at the right corner and fold it over to the left (like you’re turning the page of a book) (image 16).
- Flip the diamond over vertically and repeat #8 (image 17).
- Pick up the top right triangle with your right fingers (image 18).
- Pull it forward (image 19).
- Crease so that the outer edge aligns with the outer edge of the lower triangle (image 20).
- Repeat with the top left triangle (image 21-22).
- Pick up the triangle flap that is pointing down (image 23).
- Fold it along the crease you’ve already made until it is pointing up (image 24).
- Fold the top point down until it meets the bottom (image 25). This is one wing.
- Flip over vertically and repeat #14 – #16 (image 26). You’ve now formed both wings.
- To form the head, stick your thumb between the fold of the triangle at the right (image 27).
- Using your index finger, fold the tip down (image 28).
- And crease (image 29).
- Pull out the wings a bit, and you’re done!
To construct on a large scale crane for an adult-sized costume, do the following:
- Make your starting square from photo backdrop paper (100+ inches across).
- Follow the instructions for a small crane.
- When you’ve completed your crane, detach the head from the body (as this will be your hat) by cutting along the two folds at the base of the neck (between the neck and the bottom of the wings). Depending on how tall you are, you may need to shorten the neck by trimming 6 – 8 inches from the bottom.
- You will stand in the opening made by the cuts you made to remove the head from the body. Stand with your back to the body of the crane and wrap the sides of the wings (along the cuts you made to remove the head) around your middle. The crane will be heavy, so it may be easier to secure by propping it up on a table behind you. Once wrapped around your middle, secure by stapling the ends together.
- Because the crane is so large, you may need to reinforce the tail and the wings before you staple it around your middle. Place a skinny dowel (~24 inches + long) down inside of the top crease of the tail and then staple the tail shut to secure it in place. Also, if needed, take two small dowels (~4 – 6 inches) and fix just below the inside of the middle fold of each wing by gluing each end to the side of the wing. When completed, the dowels should be propping the wings open just a bit. If any folds seem lose, you can staple or glue them closed for added stability.
- Place the head on your head and secure either by stapling it to the sides of the crane or by attaching ribbon to the sides and tying beneath your chin.
We recommend practicing on a few small cranes before you attempt a big one!
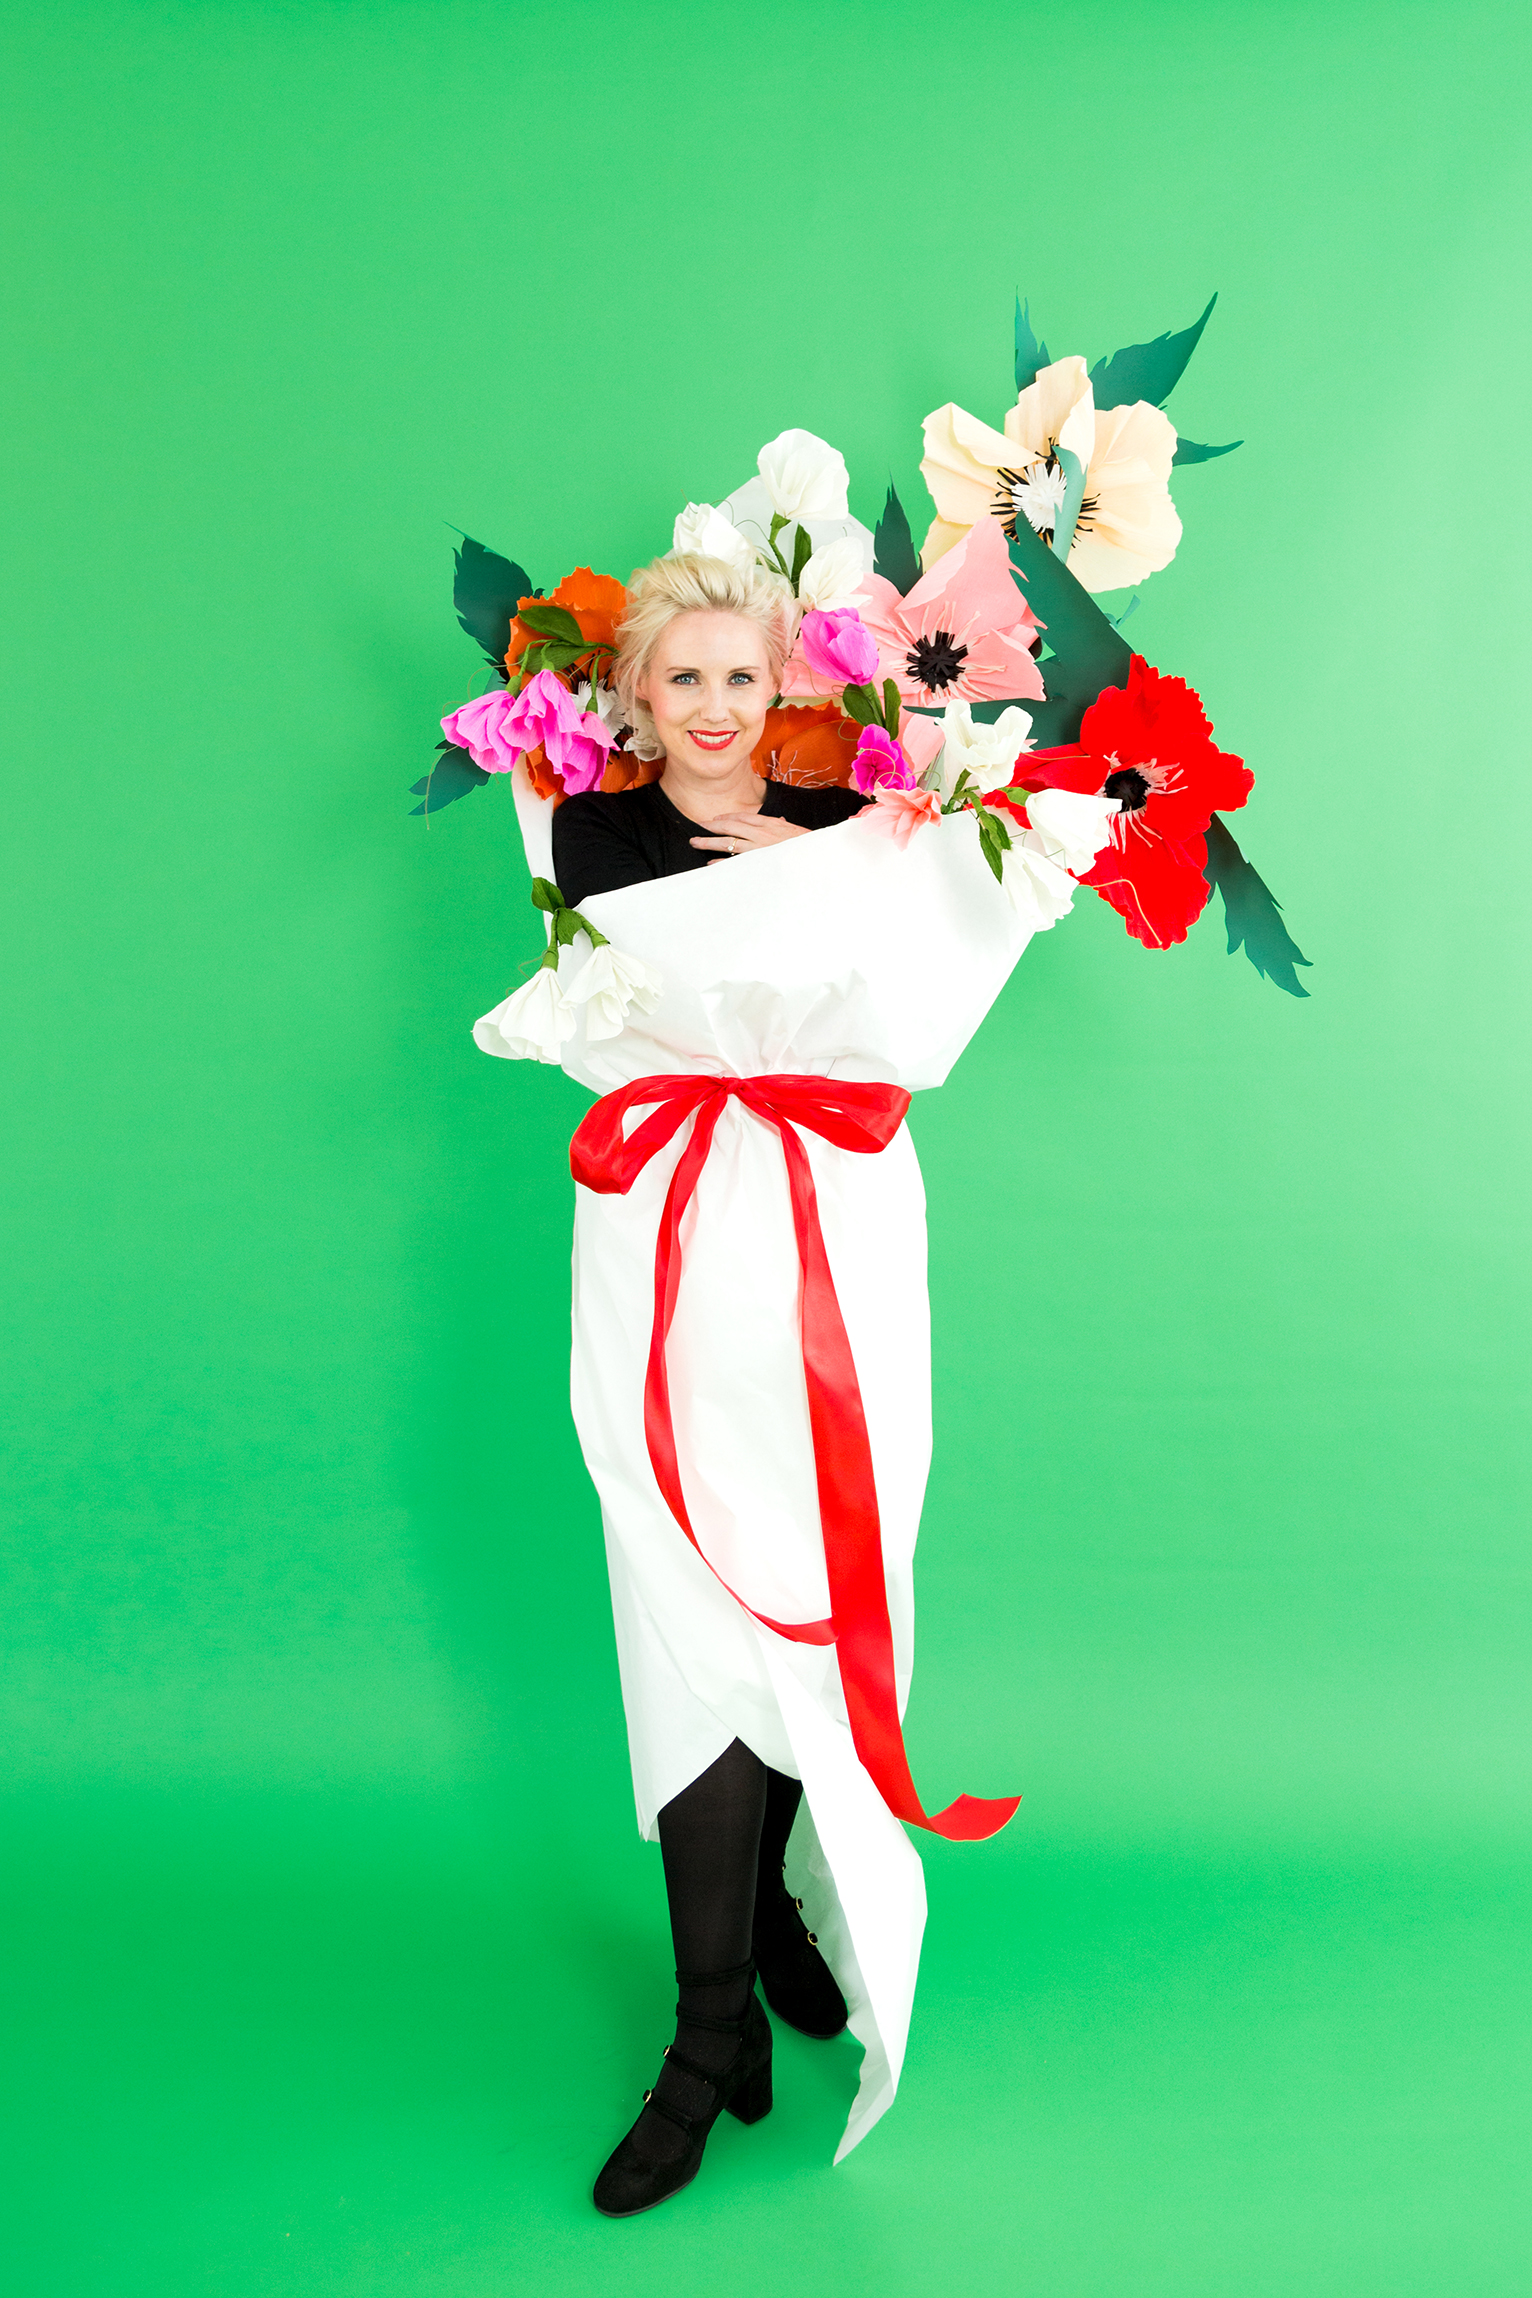
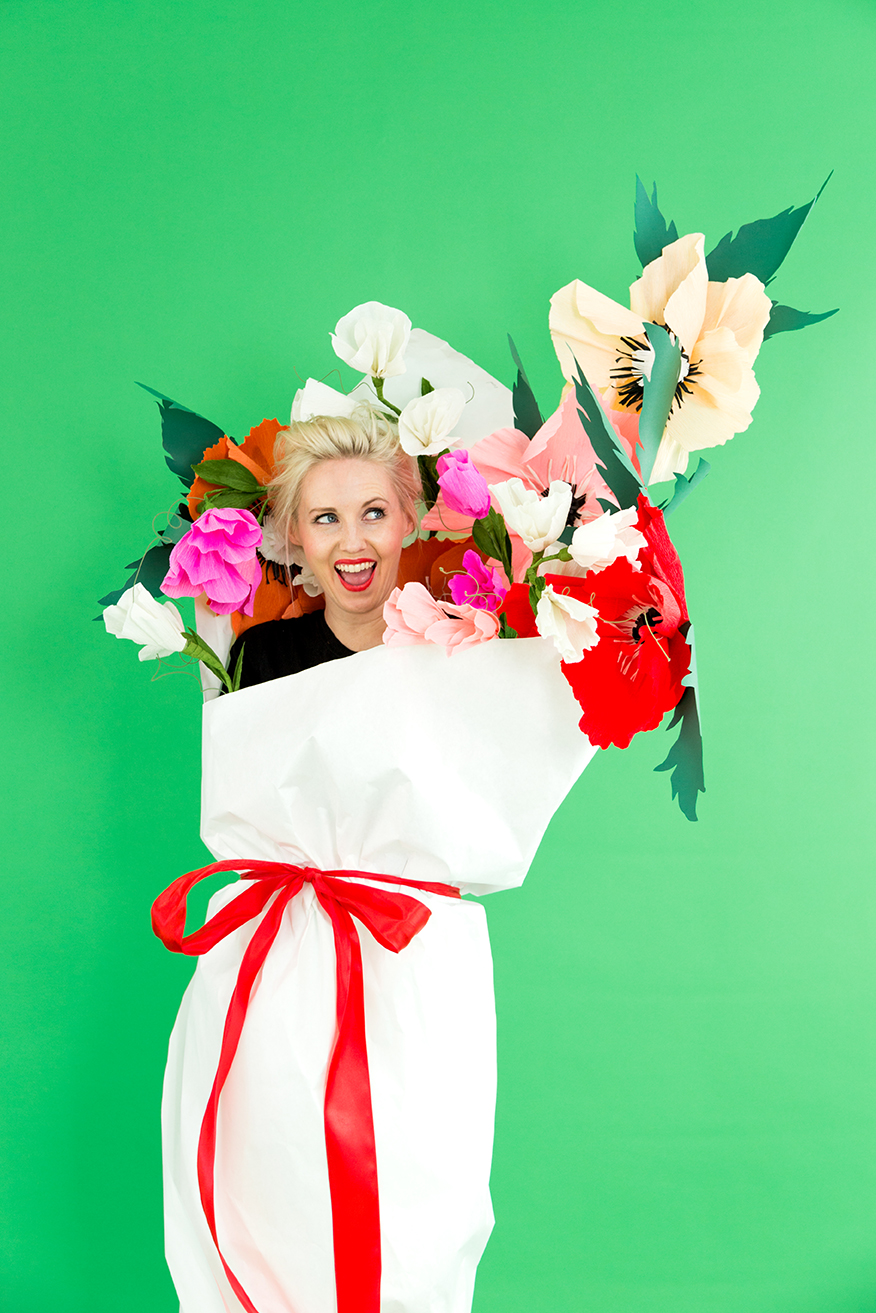
This oversized paper flower bouquet is one I’ve been wanting to create for years based off this illustration by Rene Grau, below. Isn’t she so great?! And this was the perfect opportunity to do so. We were inspired by their two fragrances, Hello Beautiful and Sweet Pea, so of course we needed sweet peas and other beautiful pretties in our paper flower bouquet. This costume takes a bit of prepping, but the best part is that you can reuse the flowers afterwards for home or party decor. Score! You could even buy cheap faux flowers instead of making them if you so desire.
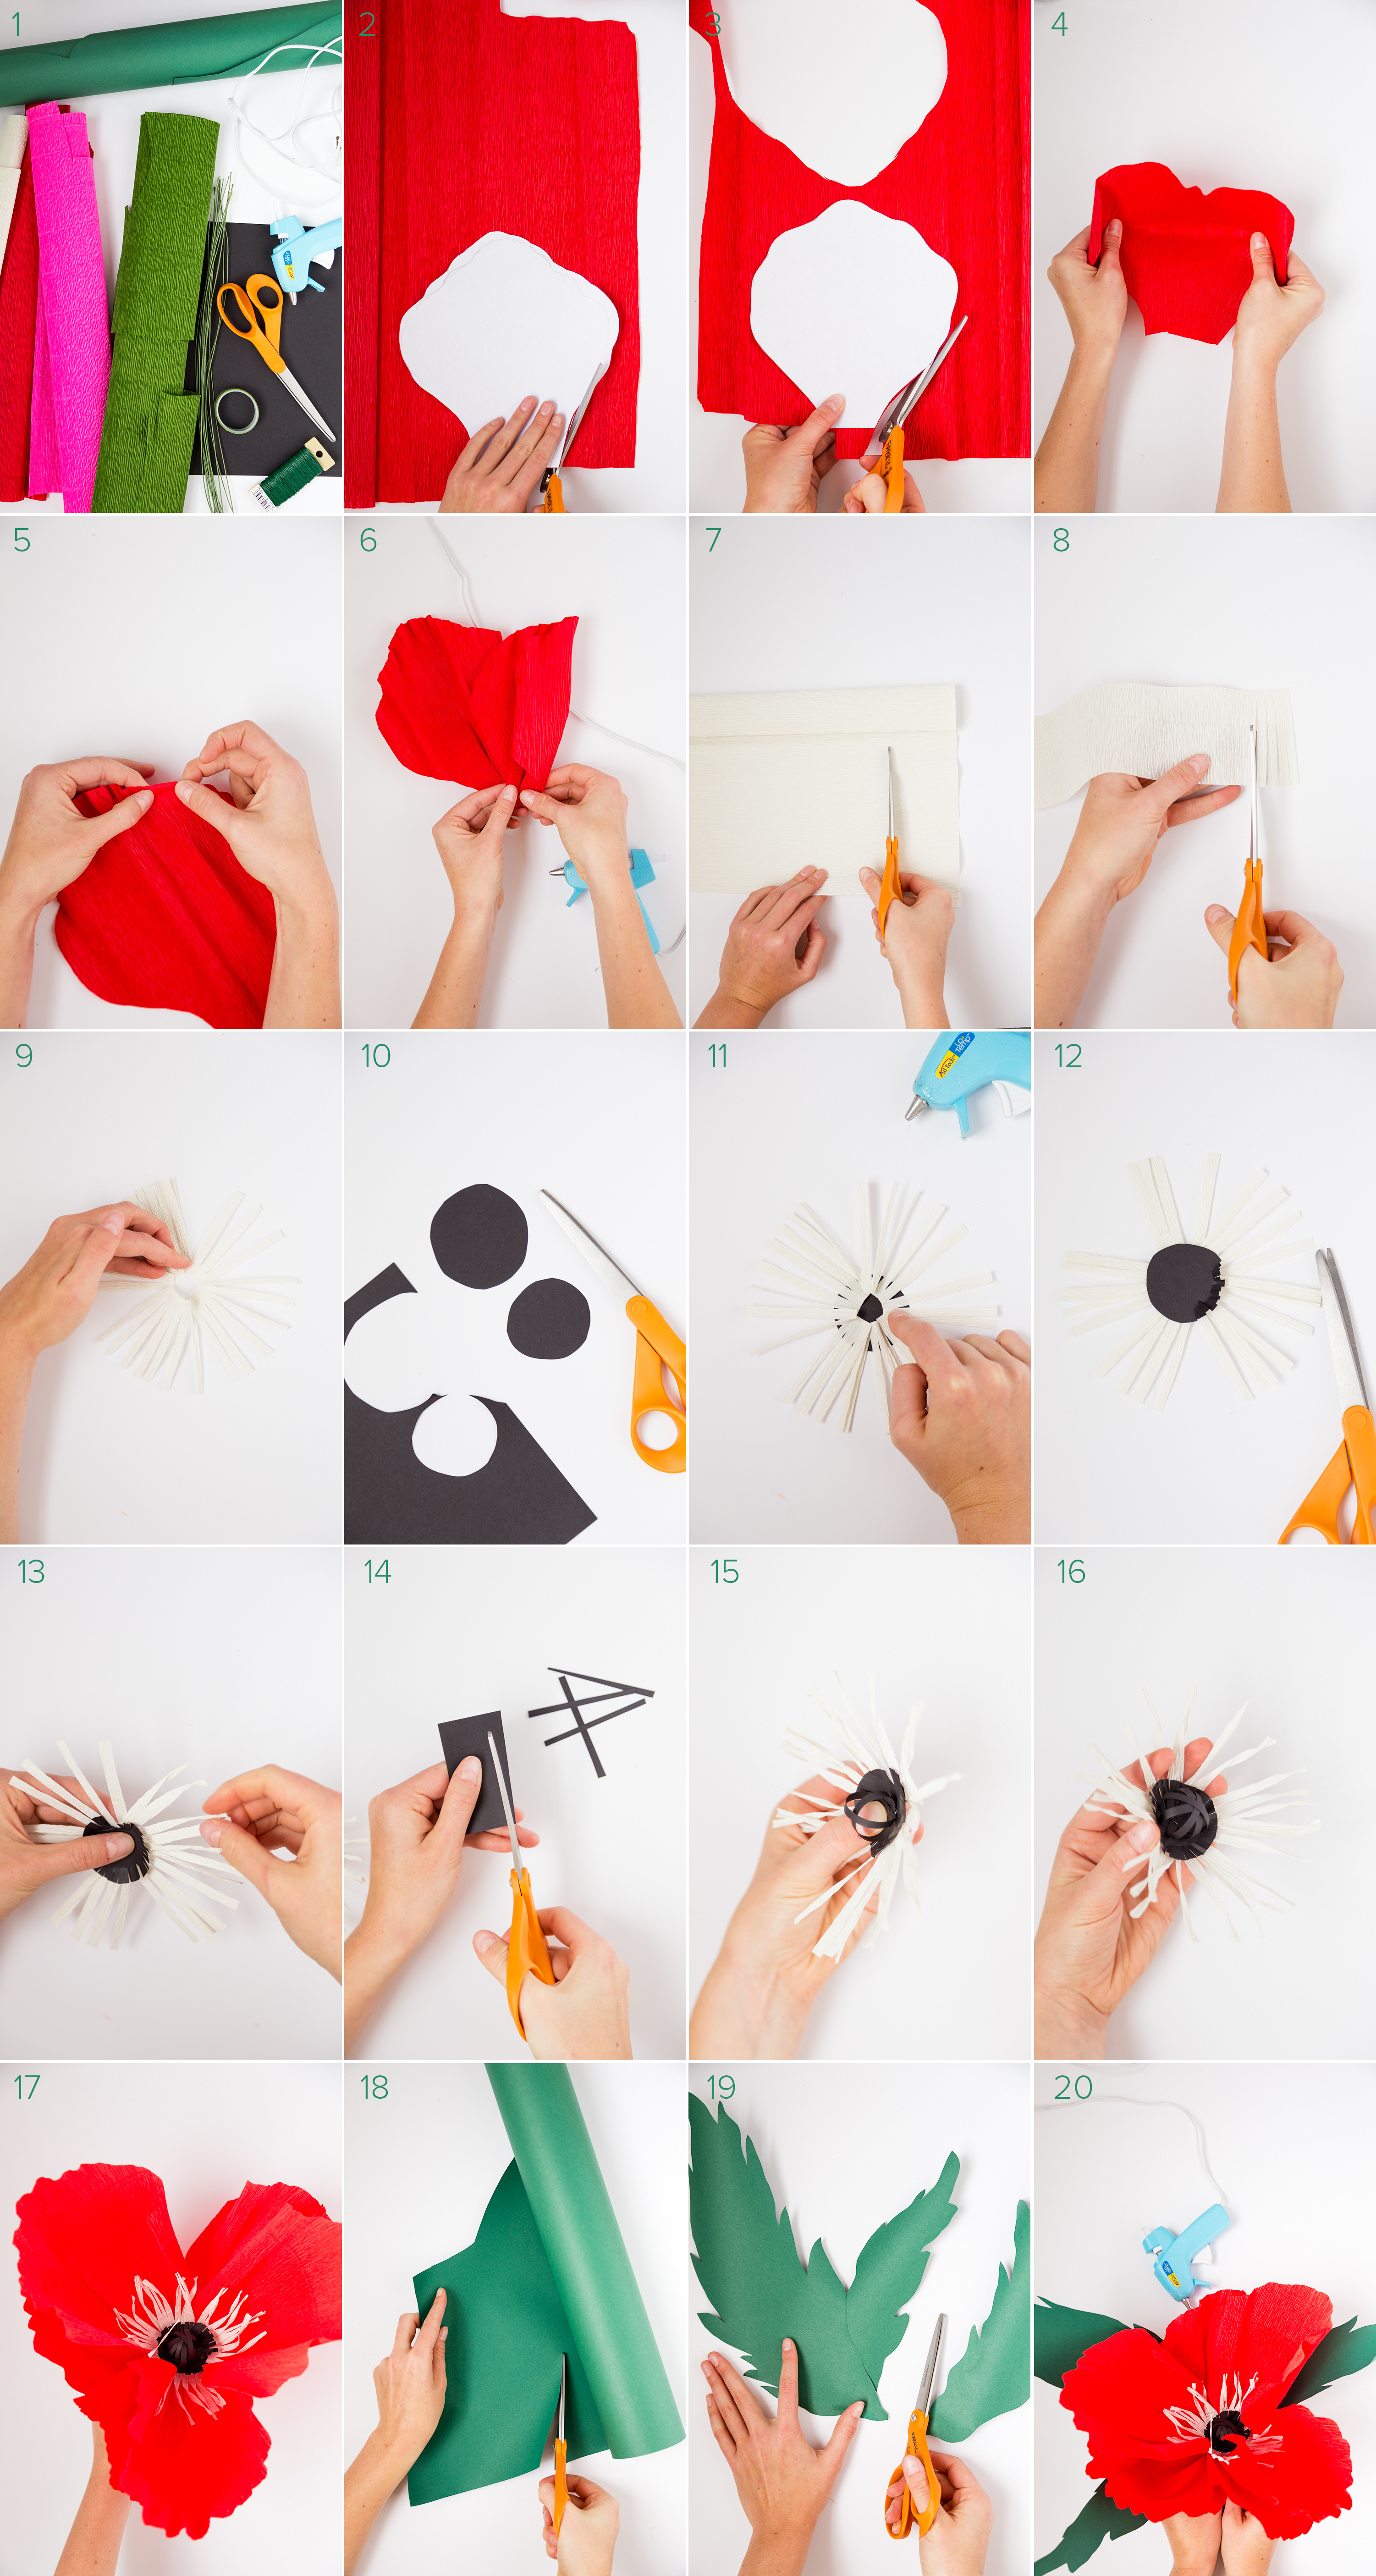
To make a paper poppy
- crepe paper in whites, and bold colors for flowers
- Green crepe paper or construction paper for leaves
- glue gun
- black paper
- scissors
- templates
Instructions:
- Using the templates, cut out 3 large petals and 3 small petals, aligning the pattern parallel to the grain of the crepe paper
- Cup the petals by gently pulling outward starting from the center of the petal, this will round the shape
- Ruffle the edges by pulling the edges apart gently around the outer edge of the petal
- Gather the base of the petal together, creating a fan-like base
- Glue the three large petals together and then the three small petals in between the larger ones to create the poppy shape. You can also use floral wire to help secure.
- Cut a 6″ by 2″ piece of white crepe paper and cut slits into it, creating a fringe.
- Then cut a small black circle (we tried a few different sizes and chose the one that worked best) and glue the white fringe around the black circle.
- Cut small slits along the outer edge of the black circle to give it some fringe.
- Twist the white fringe and manipulate them to give it 3-D shape and movement.
- Cut small strips of black paper and glue to create a globe like shape for the very center of the poppy. Glue on top of the black and white center and then secure to center of the poppy.
- Using the leaf template, cut 2-3 leaves out of green paper and secure with the glue gun.
To make a paper sweet pea
- crepe paper in pinks, white, cream, and green for leaves
- Glue gun
- Floral wire
- Floral tape
- Scissors
- templates
Instructions:
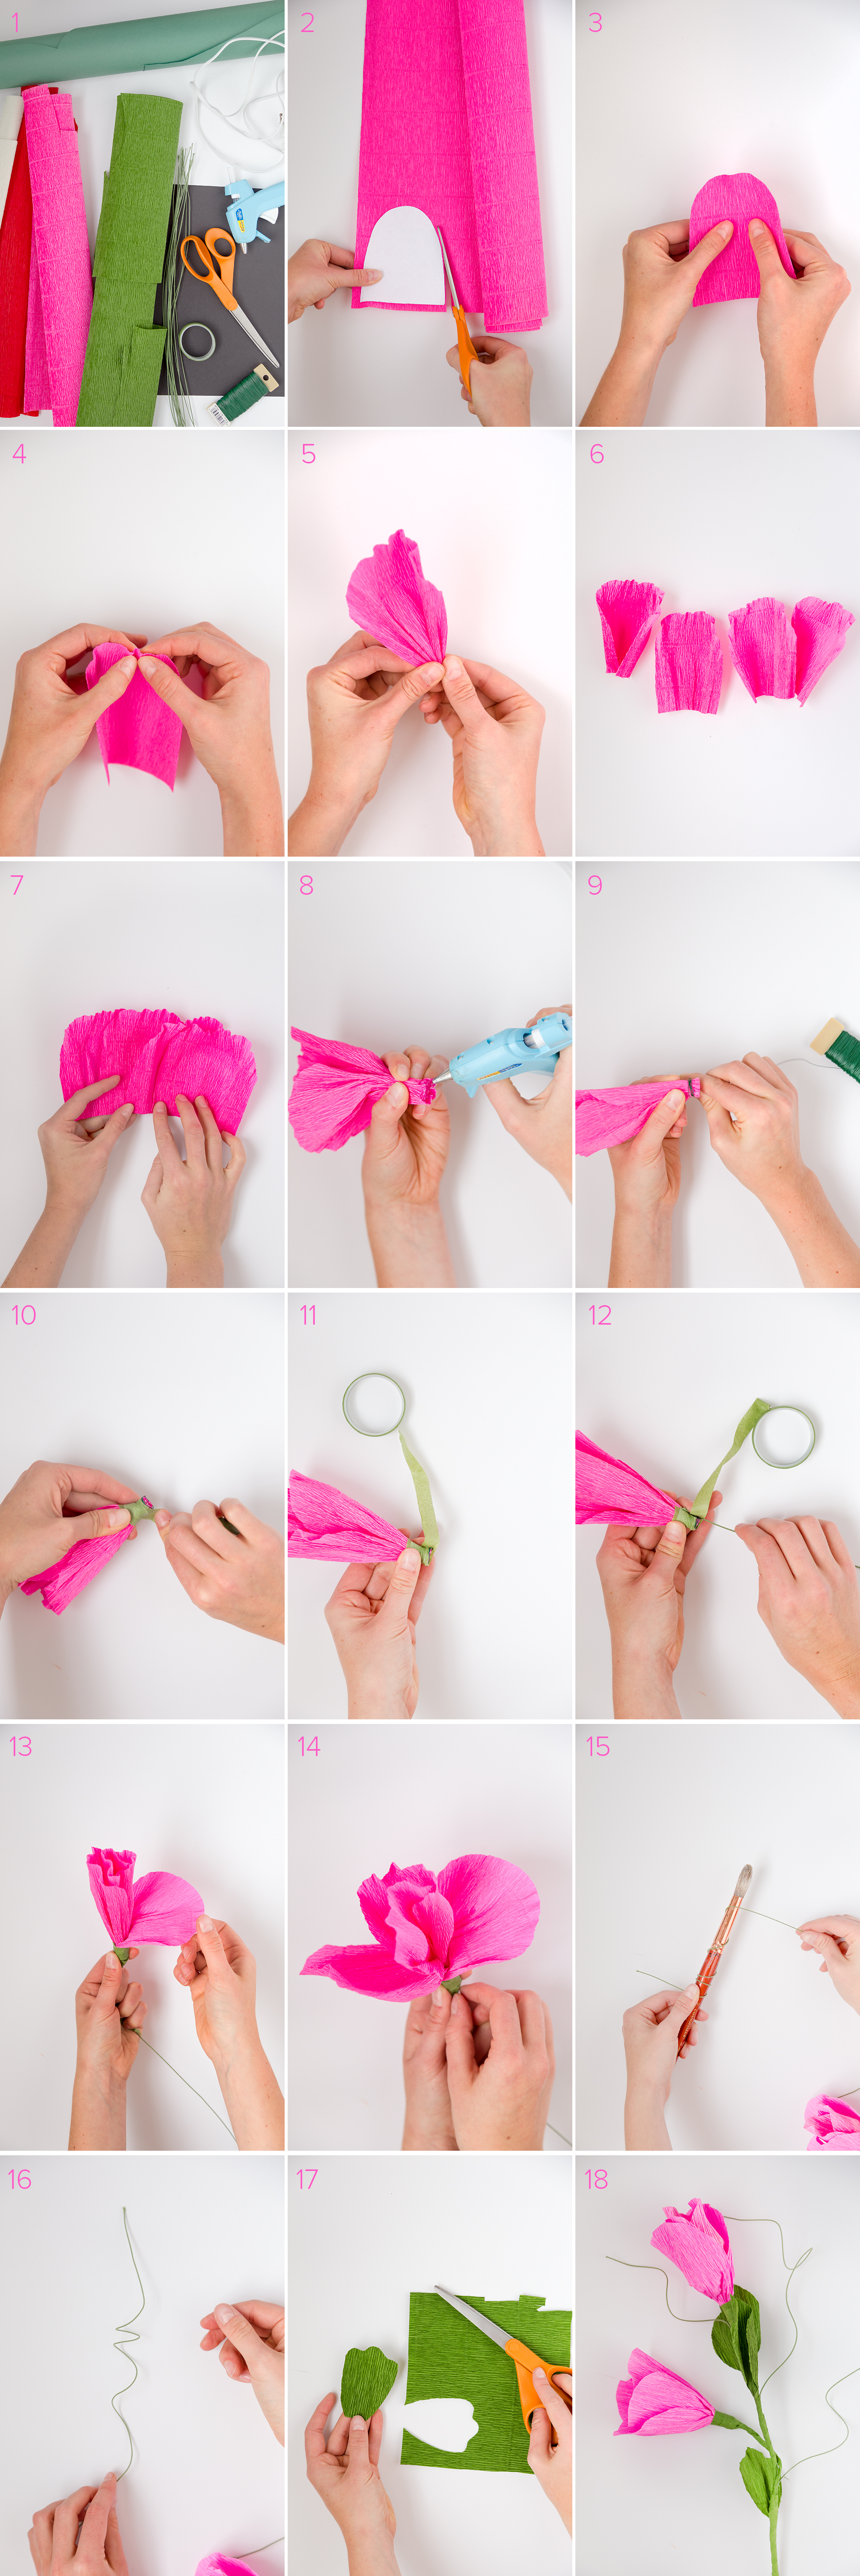
- Using the template, cut out 4 petals, positioning the petal parallel to the grain of the crepe paper. This will make 1 sweet pea. We used 2-3 Sweet peas on each stem.
- Cup each petal by gently pulling the inner part of the petal outwards
- Ruffle the edge by gently pulling the outer edges of the petal apart
- Gather the base of each petal
- Stager the 4 petals by overlapping them slightly and scrunch into place. Secure with a bit of hot glue
- Wrap floral wire around the base, Securing a 12″-15″ piece of thicker wire into the base
- Wrap with floral tape down the wire
- Pull and manipulate the petals to open them up and give them some shape
- To create the tendrils, wrap a piece of floral wire around a thicker cylindrical item (we used a thick paintbrush) to create small curly-Q shapes
- Using the leaf template, cut out a few leaves.
- Secure the leaves and the tendrils and the additional sweet peas with floral tape.
Photography by Anna Killian | Crane make up by Natalie Krall | Art direction by Brittany Jepsen | Origami crafting by Mary Nielson | Crafting by Rebecca Young
This post is sponsored by Bath and Body Works. Thanks for supporting our great partners that allow us to create original content.


