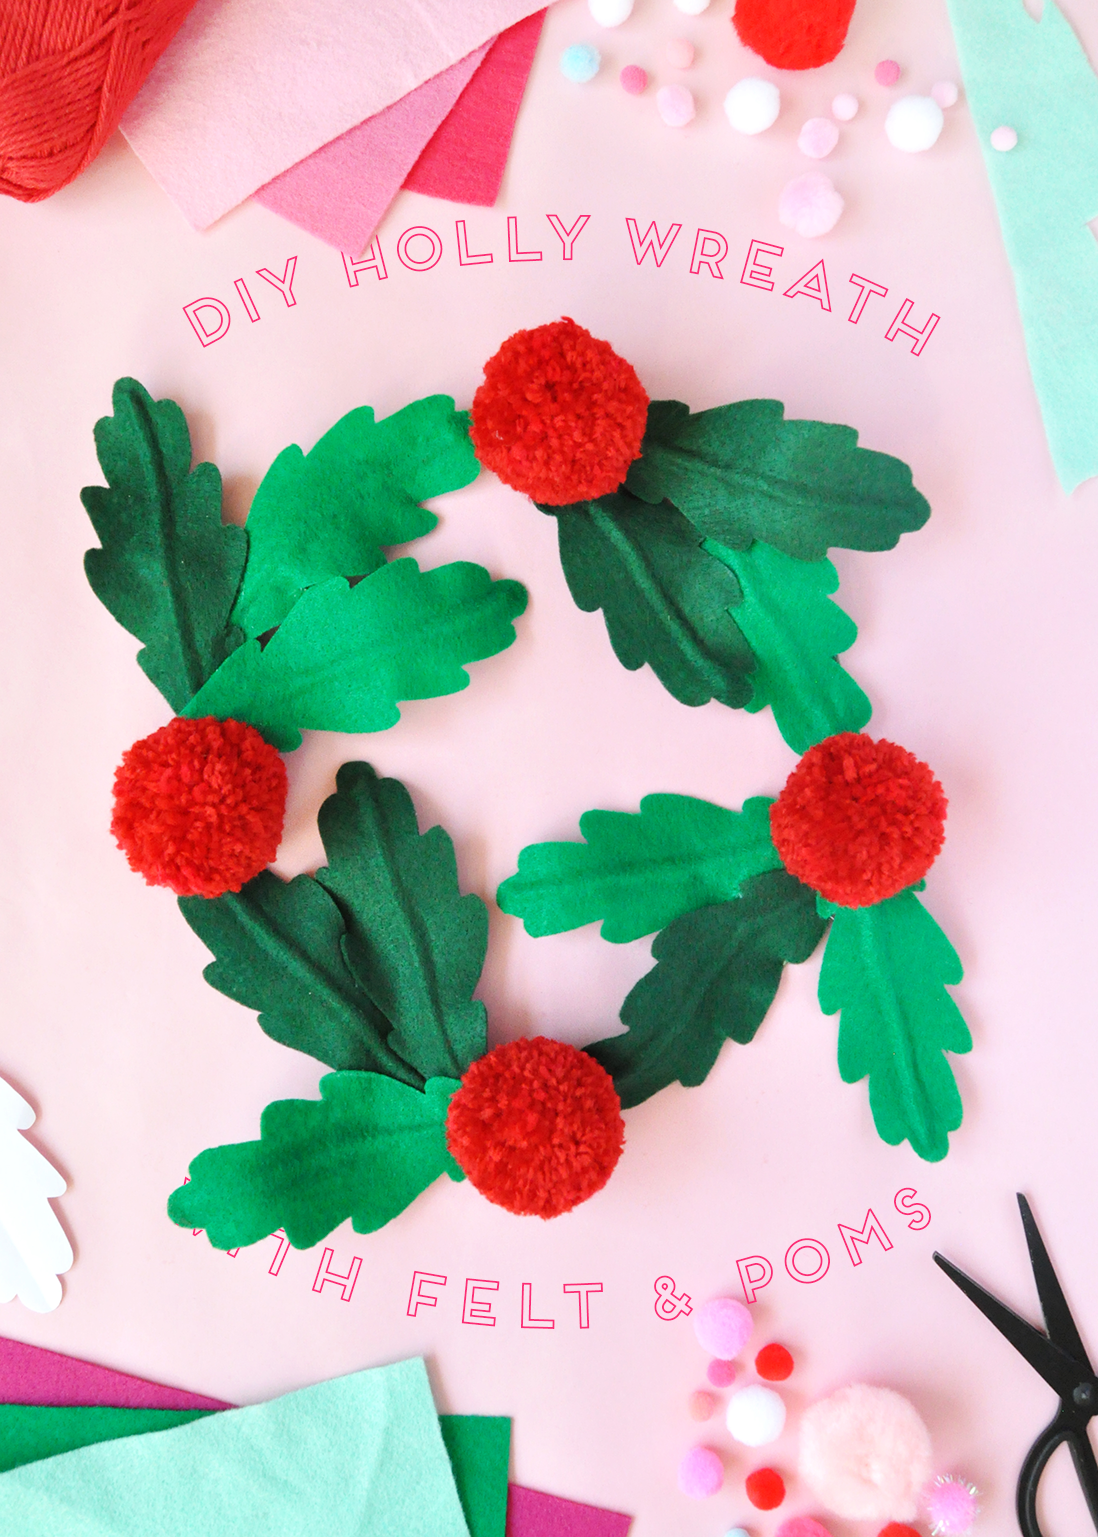
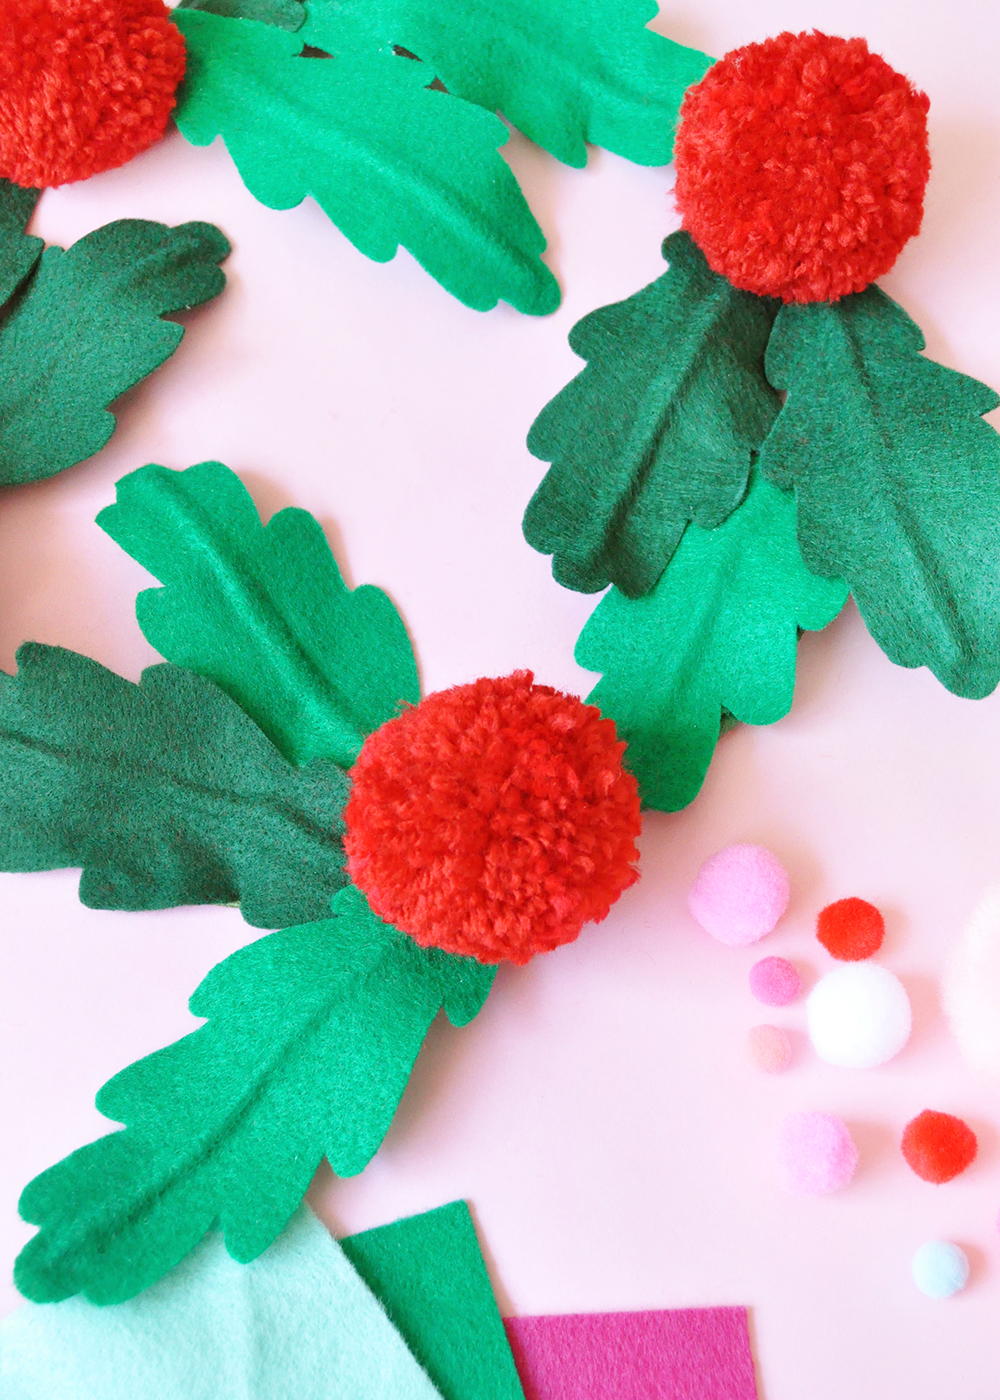
Get ready for another Christmas classic! The holidays are a good excuse to spruce up your front door with a wreath!
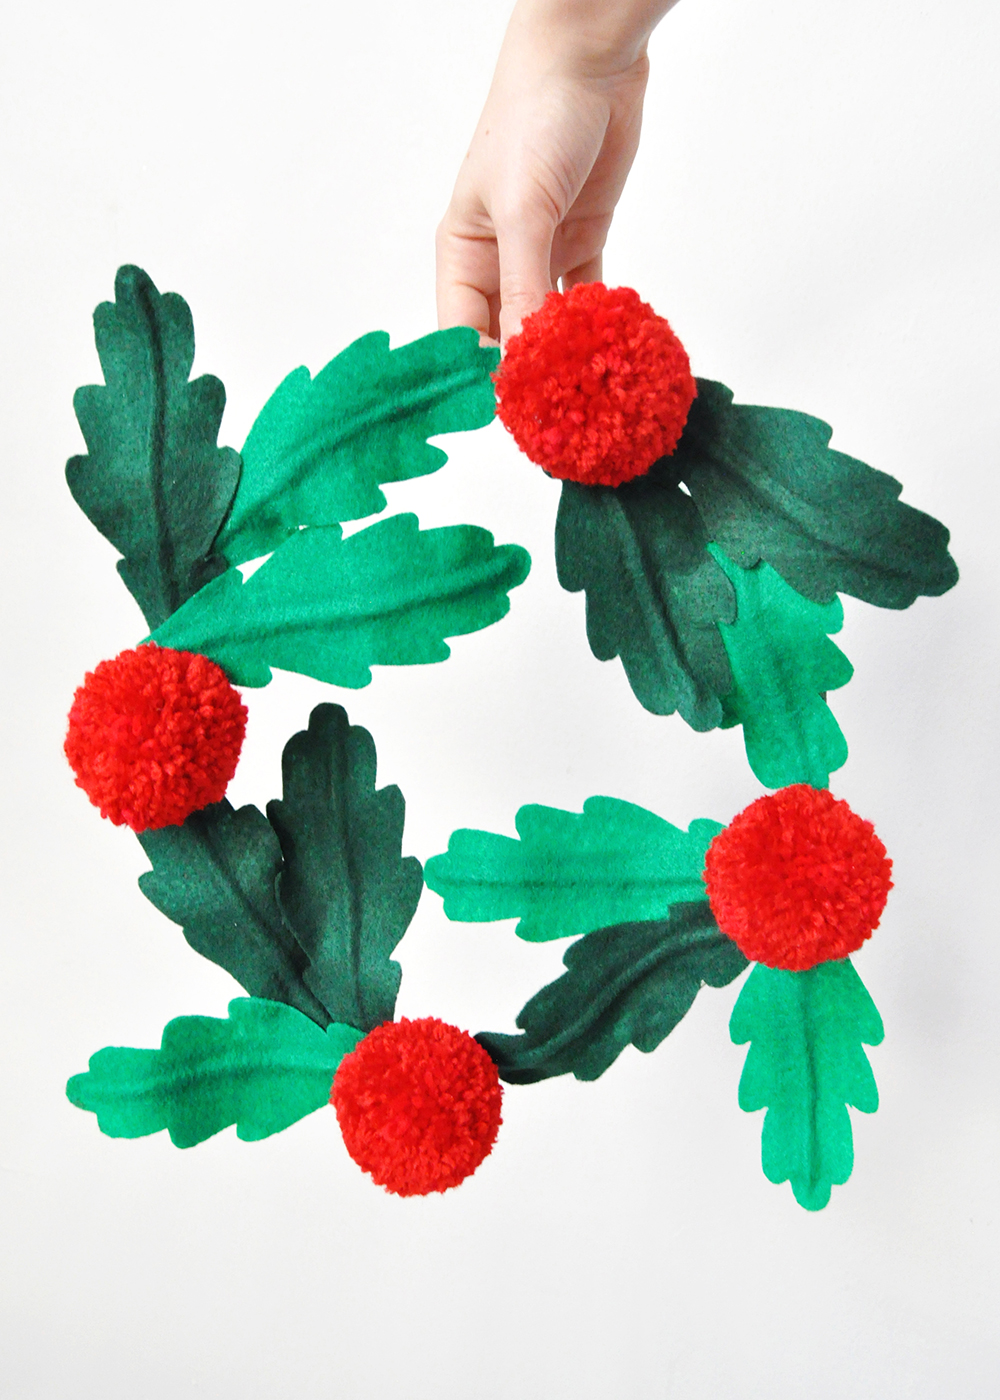
Today Kathleen Ballos of Snowdrop and Co is going to show us how to make a DIY felt holly wreath! Your front door will be the cutest on the block. Plus, you can reuse this felt wreath every year!
Read the full instructions below!
Materials:
by contributor Kathleen Ballos of Snowdrop and Co
Browsing vintage items on Etsy is a never-ending source of inspiration for me. You really never know what you’re going to find! For today’s holiday project, I was inspired by this vintage brooch I stumbled upon a few months ago. I love how festive it is – it actually reminded me of Brittany’s oversized berry and holly garland from a few years ago! The brooch already looks like a mini wreath, so I simply made red pom-poms to be the berries and cut green felt into leaves, and voila! A DIY felt holly wreath! I’m already thinking of making another one in muted colors, with some glitter applied onto the edges of the leaves. For now, though, I’m excited to hang this wreath on my door to celebrate this Christmas season!
DIY Felt Holly Wreath
Materials:
- Green felt
- Red yarn
- Floral wire (or wire circle)
- Pom pom maker
- Scissors
- Plastic-coated gardening wire
- Chalk
- Paper scrap
- Hot glue gun
- Floral tape
- Washi tape
Instructions:
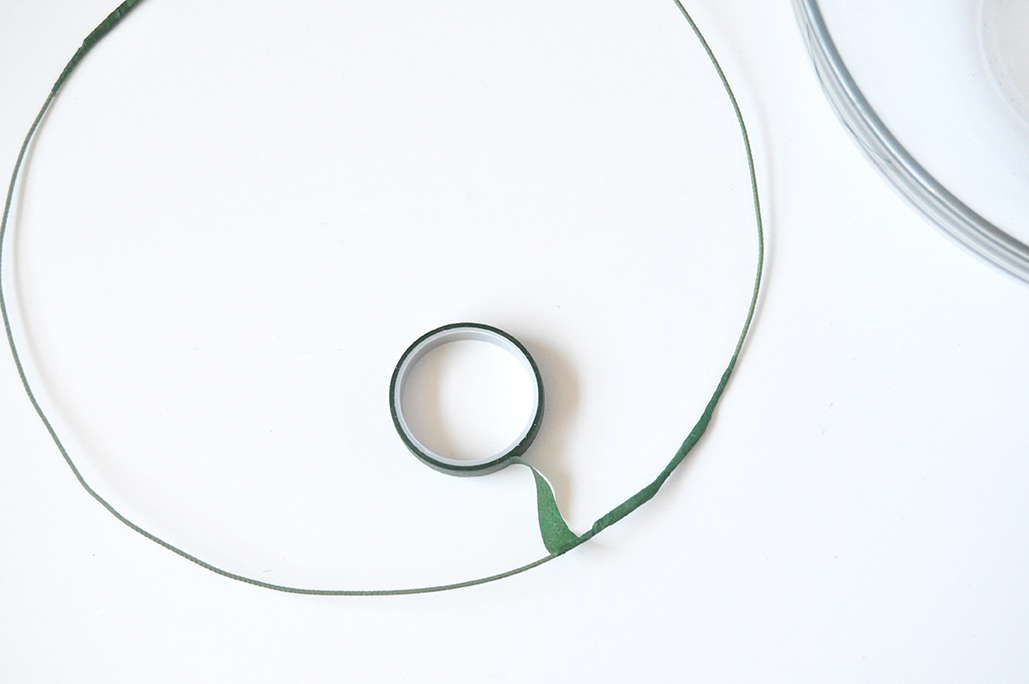
- Bend strong floral wire into a circle – I used two long pieces and taped them together with washi tape while I adjusted the circle, using a large bowl as my guide. Once you’re happy with your wire circle, use floral tape to secure the joints. (Or skip this step and use a simple wire circle as a base.)
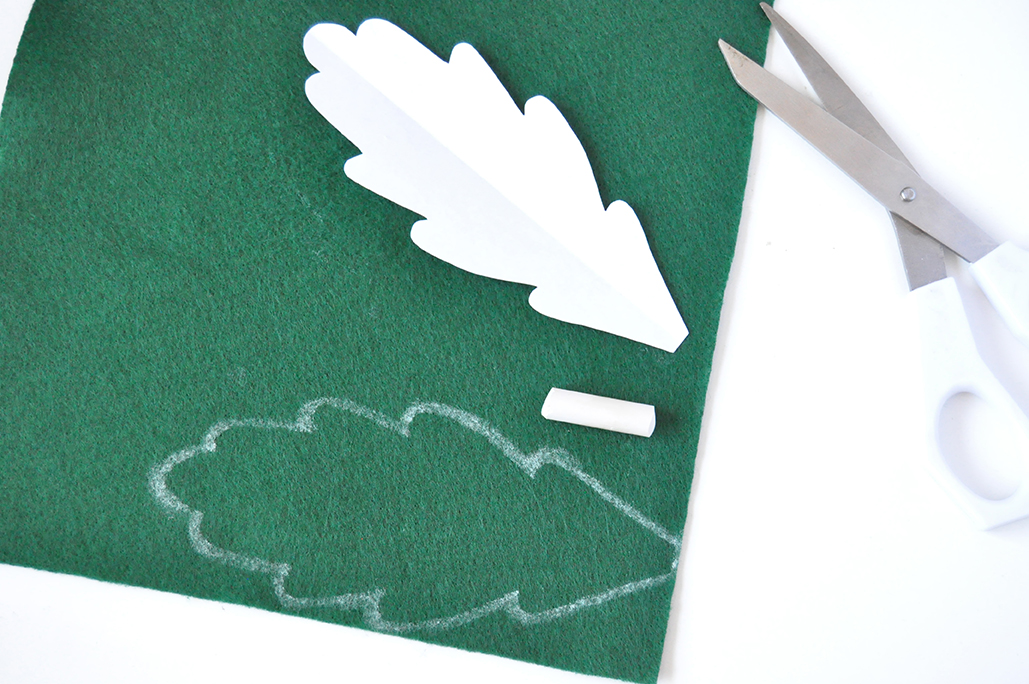
- On a piece of scrap paper, draw a leaf shape and cut it out. This will be your template for all the leaves – mine was about 6” long and 2 ½” wide, but adjust this to fit your wire circle. I also made the leaves a little less pointy than traditional holly leaves, so feel free to play around with this too!
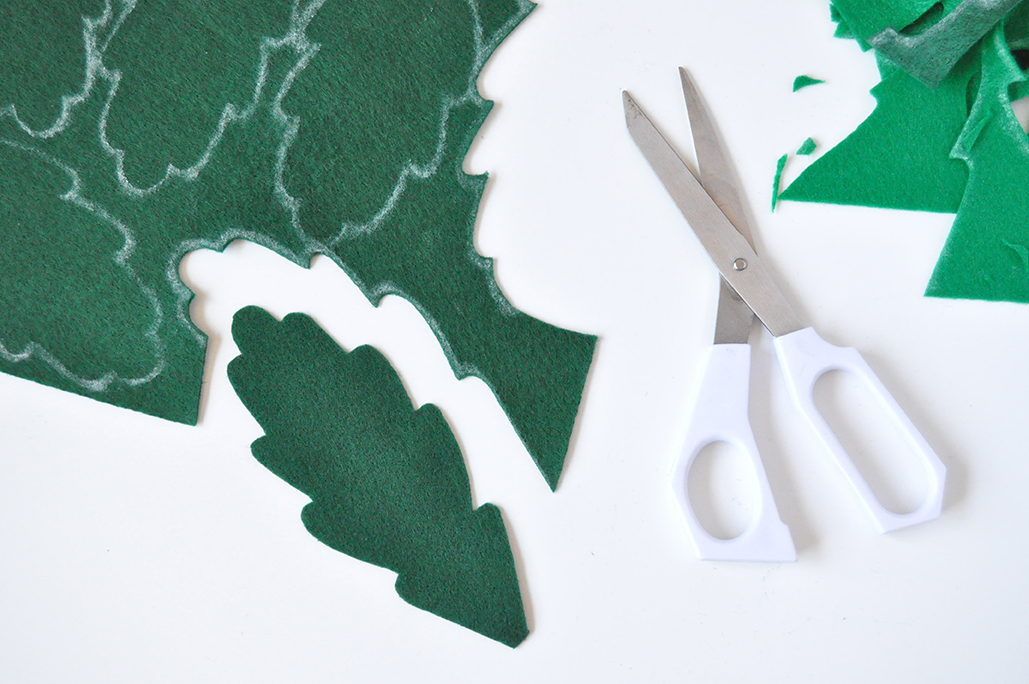
- Use chalk to trace the template onto green felt and cut out. I cut six lighter green leaves and six darker green leaves.
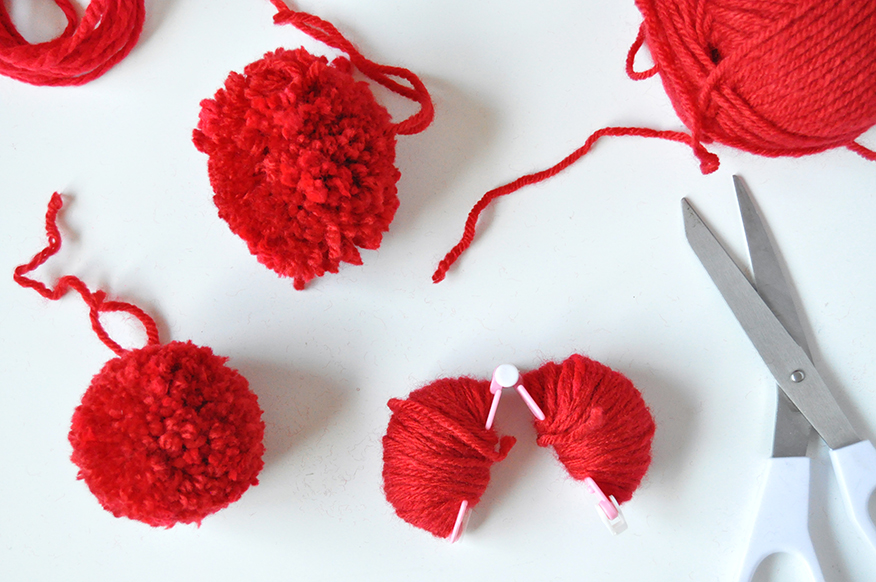
- Make four pom poms using red yarn and your pom-pom maker. Once complete, trim the edges so you have nice round pom-poms, leaving two long tails for tying later.
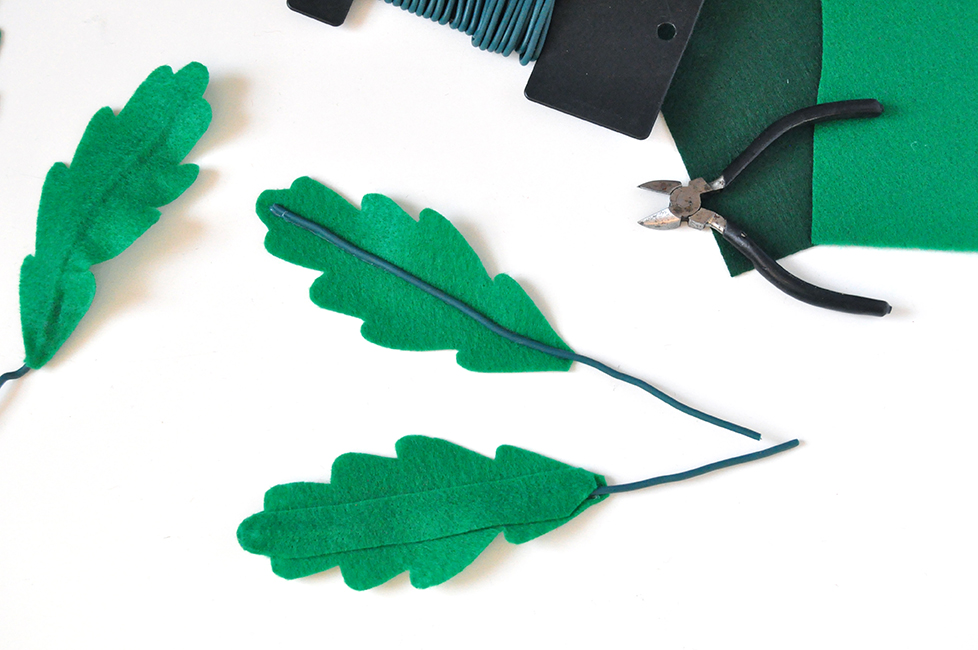
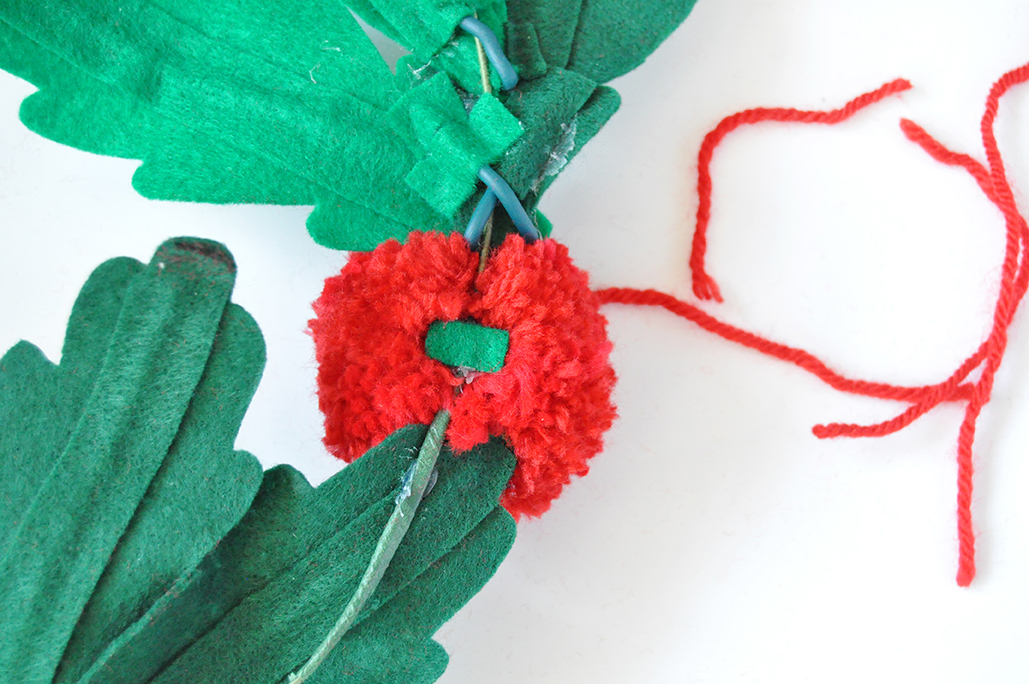
- Cut pieces of the plastic-coated gardening wire for each felt leaf, making them slightly longer for now. Apply a line of hot glue down the center of the felt leaf and attach the wire. Cut a strip of matching felt and glue that on top to seal in the wire as shown. Repeat this for all the leaves.
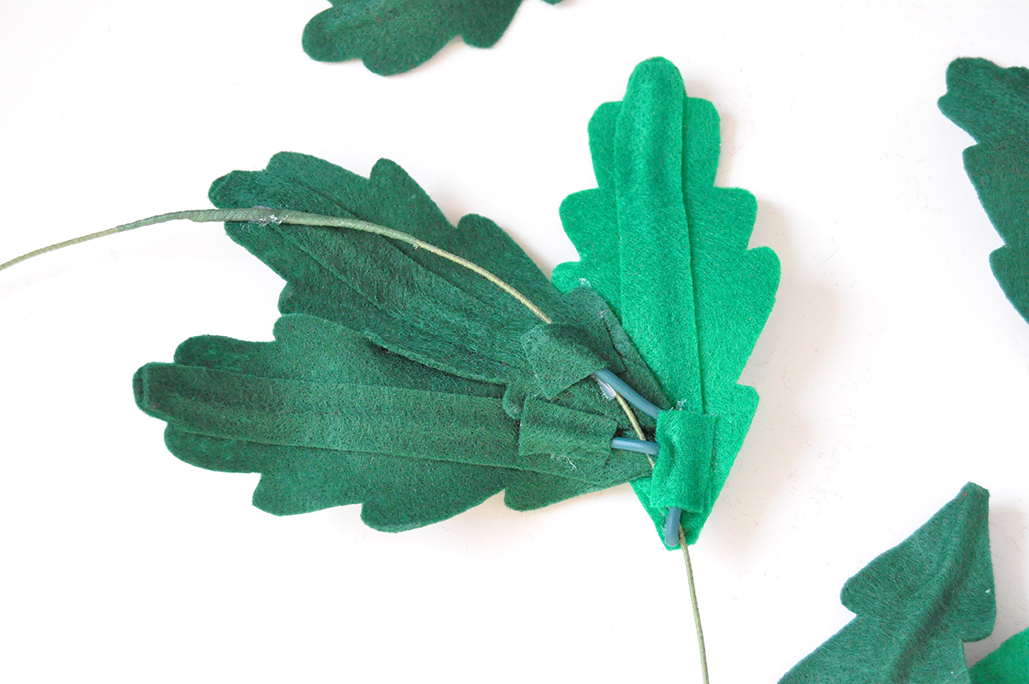
- Time to start arranging and attaching the felt leaves! I grouped the leaves in threes, mixing light and dark together. Bend the excess wire on the leaves around the wire circle and hot glue in place, using small felt tabs to secure. It also helps to glue the leaves to each other where they overlap.
- At the base of each grouping of leaves, tie a pom pom around the wire circle, and then hot glue in place to make it extra secure.
Project and photography by Kathleen Ballos of Snowdrop & Co
More holly berry crafts
You really can’t go wrong with classic holly berry decorations. Now that you’ve got your DIY felt holly wreath to hang on the door, check out some of our other holly berry crafts! For your walls or banister, check out our oversized holly and berry garland tutorial. For holiday table decorations, take a look at this DIY crepe paper holly. These holly berry surprise balls would be fun little Christmas gifts! Be sure to head over to the Lars shop for more Christmas gifts and printable crafts!


