

 If you’re a seamstress extraordinaire than you are no stranger to bias tape. You probably know a handful of ways you can apply it to your sewing projects. If you missed it, we show you how to make your own bias tape here! However, if you’re not a sewing whiz, fear not! We treated our bias tape more like paper strips or ribbon to create this Tumbling Block Bias Tape Weaving!
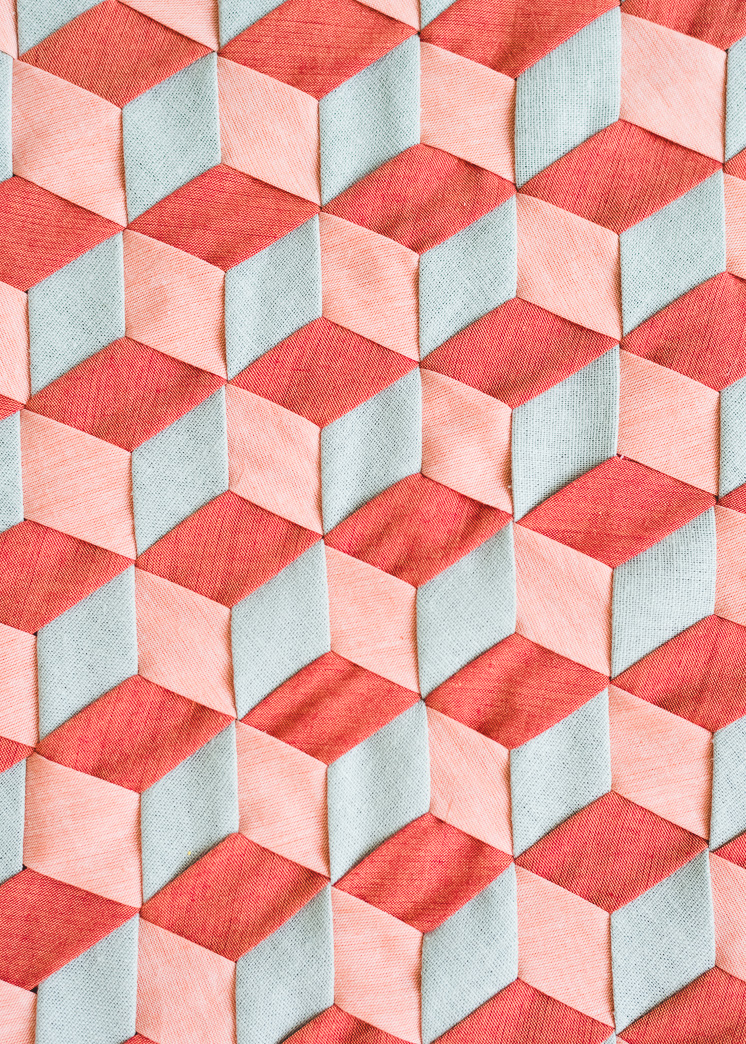
The great thing about making your own bias tape is the control you’re given over what material, color, and pattern to use. We wanted to make a weaving with a warmer and earthier texture than you’d get with paper or ribbon. Additionally, when you create a weaving with fabric, you can turn it into a pillow, a tote, a jacket, the skies the limit! We’re planning on mounting and framing ours for an art piece.
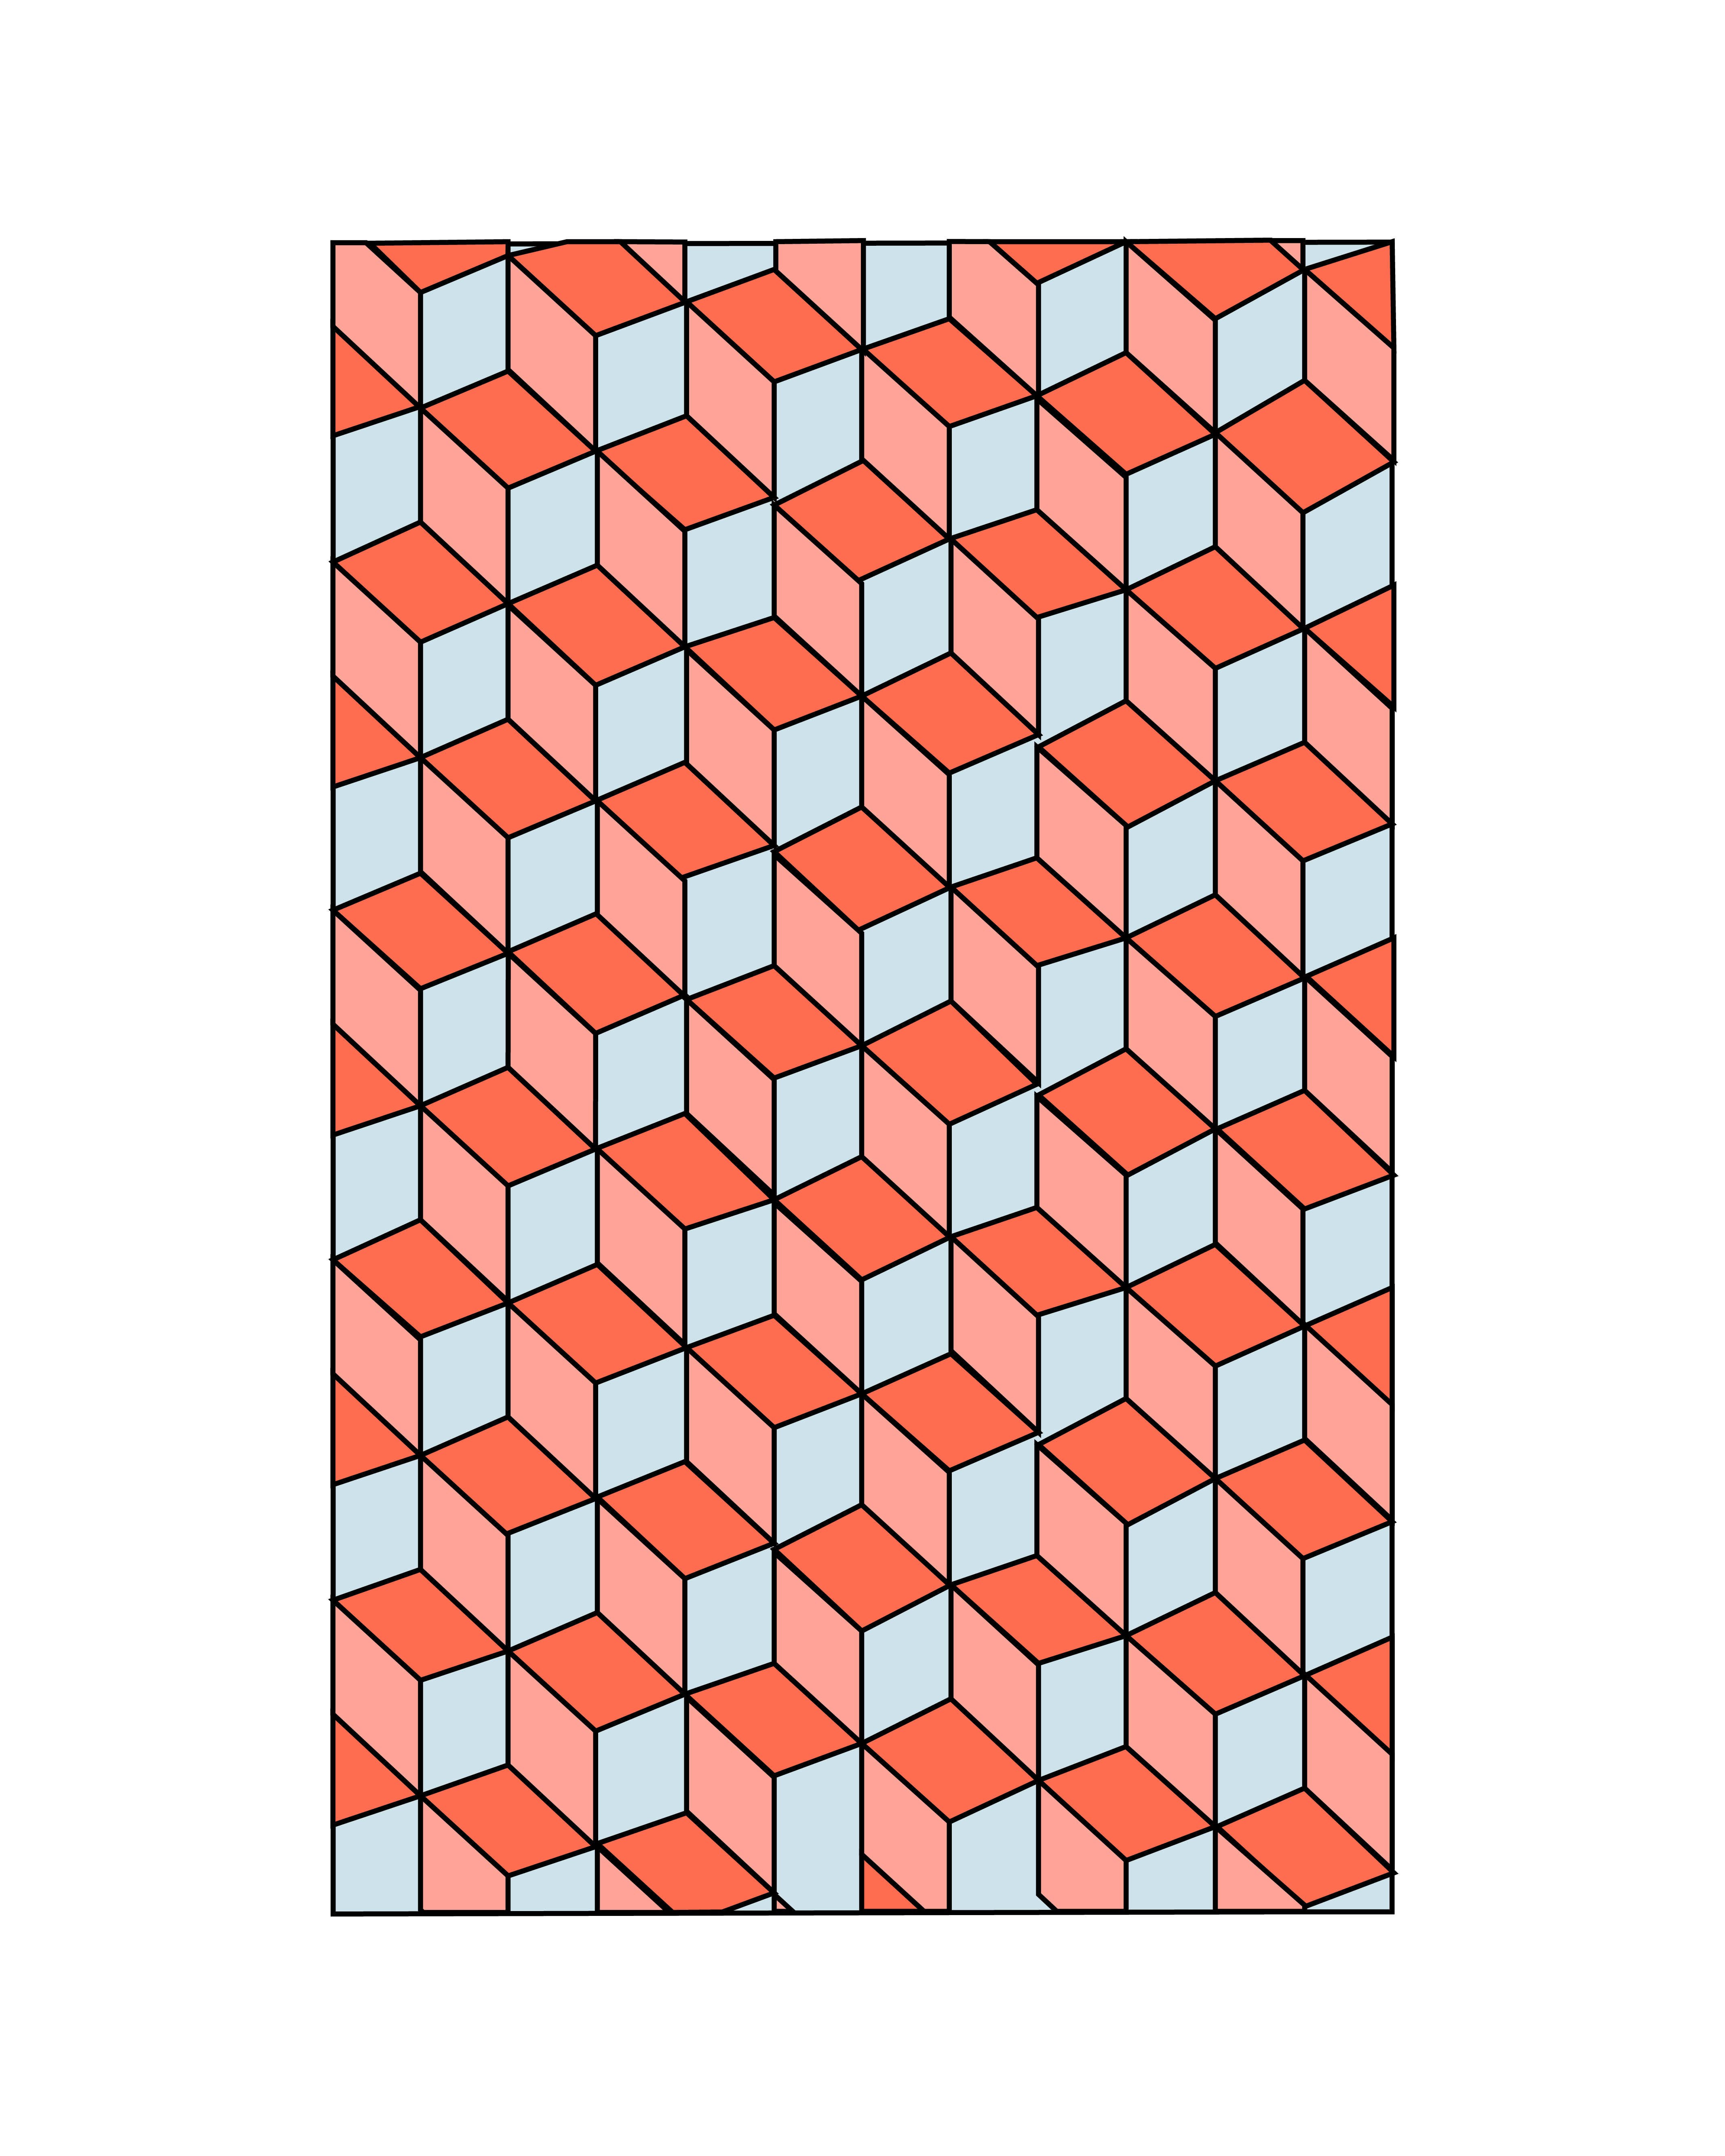
Make your own Tumbling Block Bias Tape Weaving with step-by-step graphics!
Tumbling Block Bias Tape Weaving
Materials:
- Bias Tape in 3 colors, Make your own here! We used a 1-inch bias tape maker.
- Foam board or a cork board
- pins
- Masking tape to transport
- Thin cardboard or thick cardstock to make a weaving needle, get the printable template HERE.
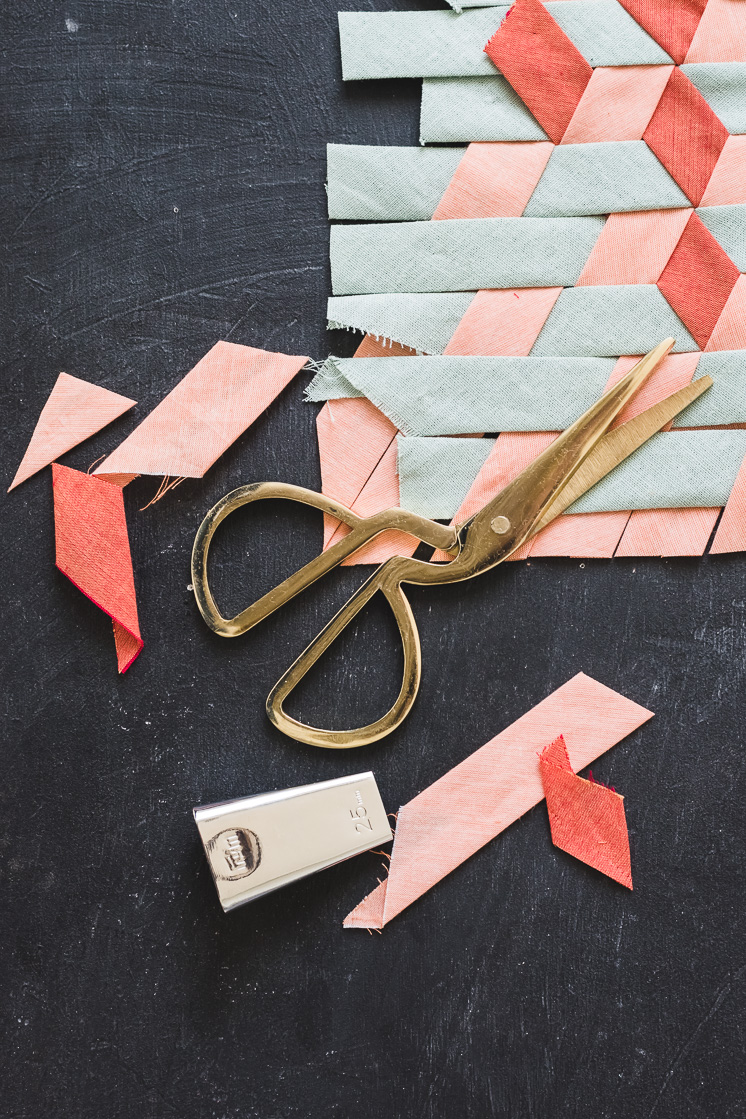
- Scissors

Instructions:
- Using the template provided, trace and cut out the weaving needle to help you create your weaving. Set aside.
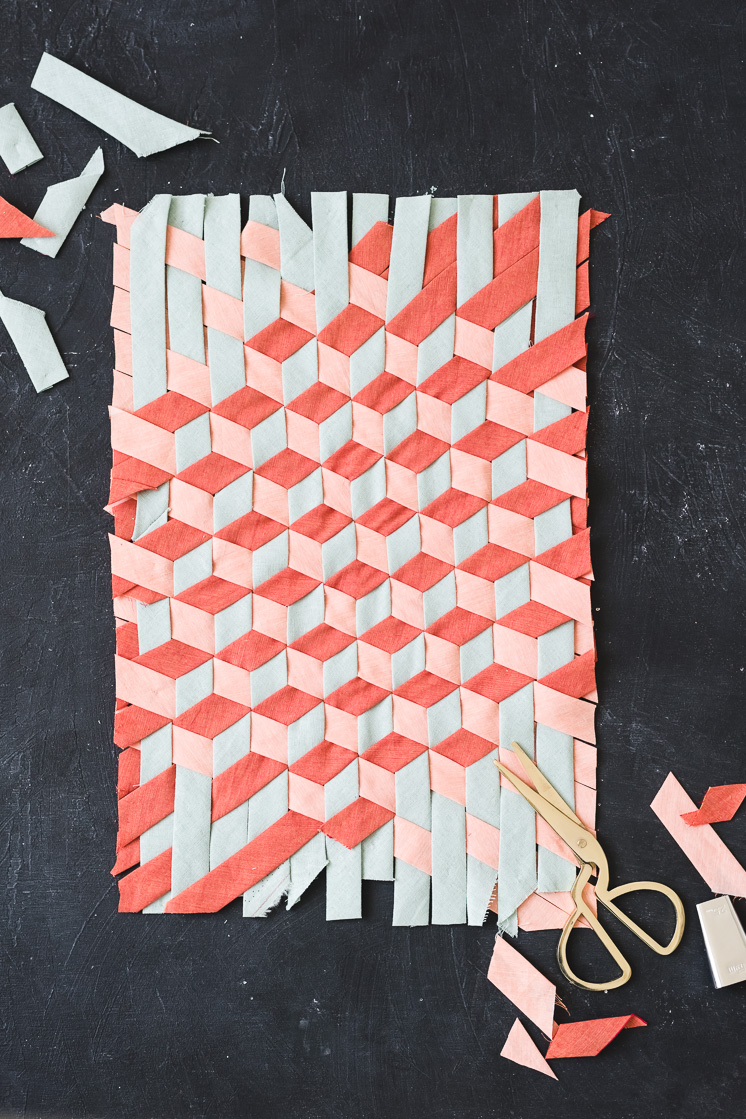
- Start by cutting your bias tape into strips of all the same length. The length should be determined by the desired end size of the weaving. Just know that you’ll want to include a few extra inches for finishing it.
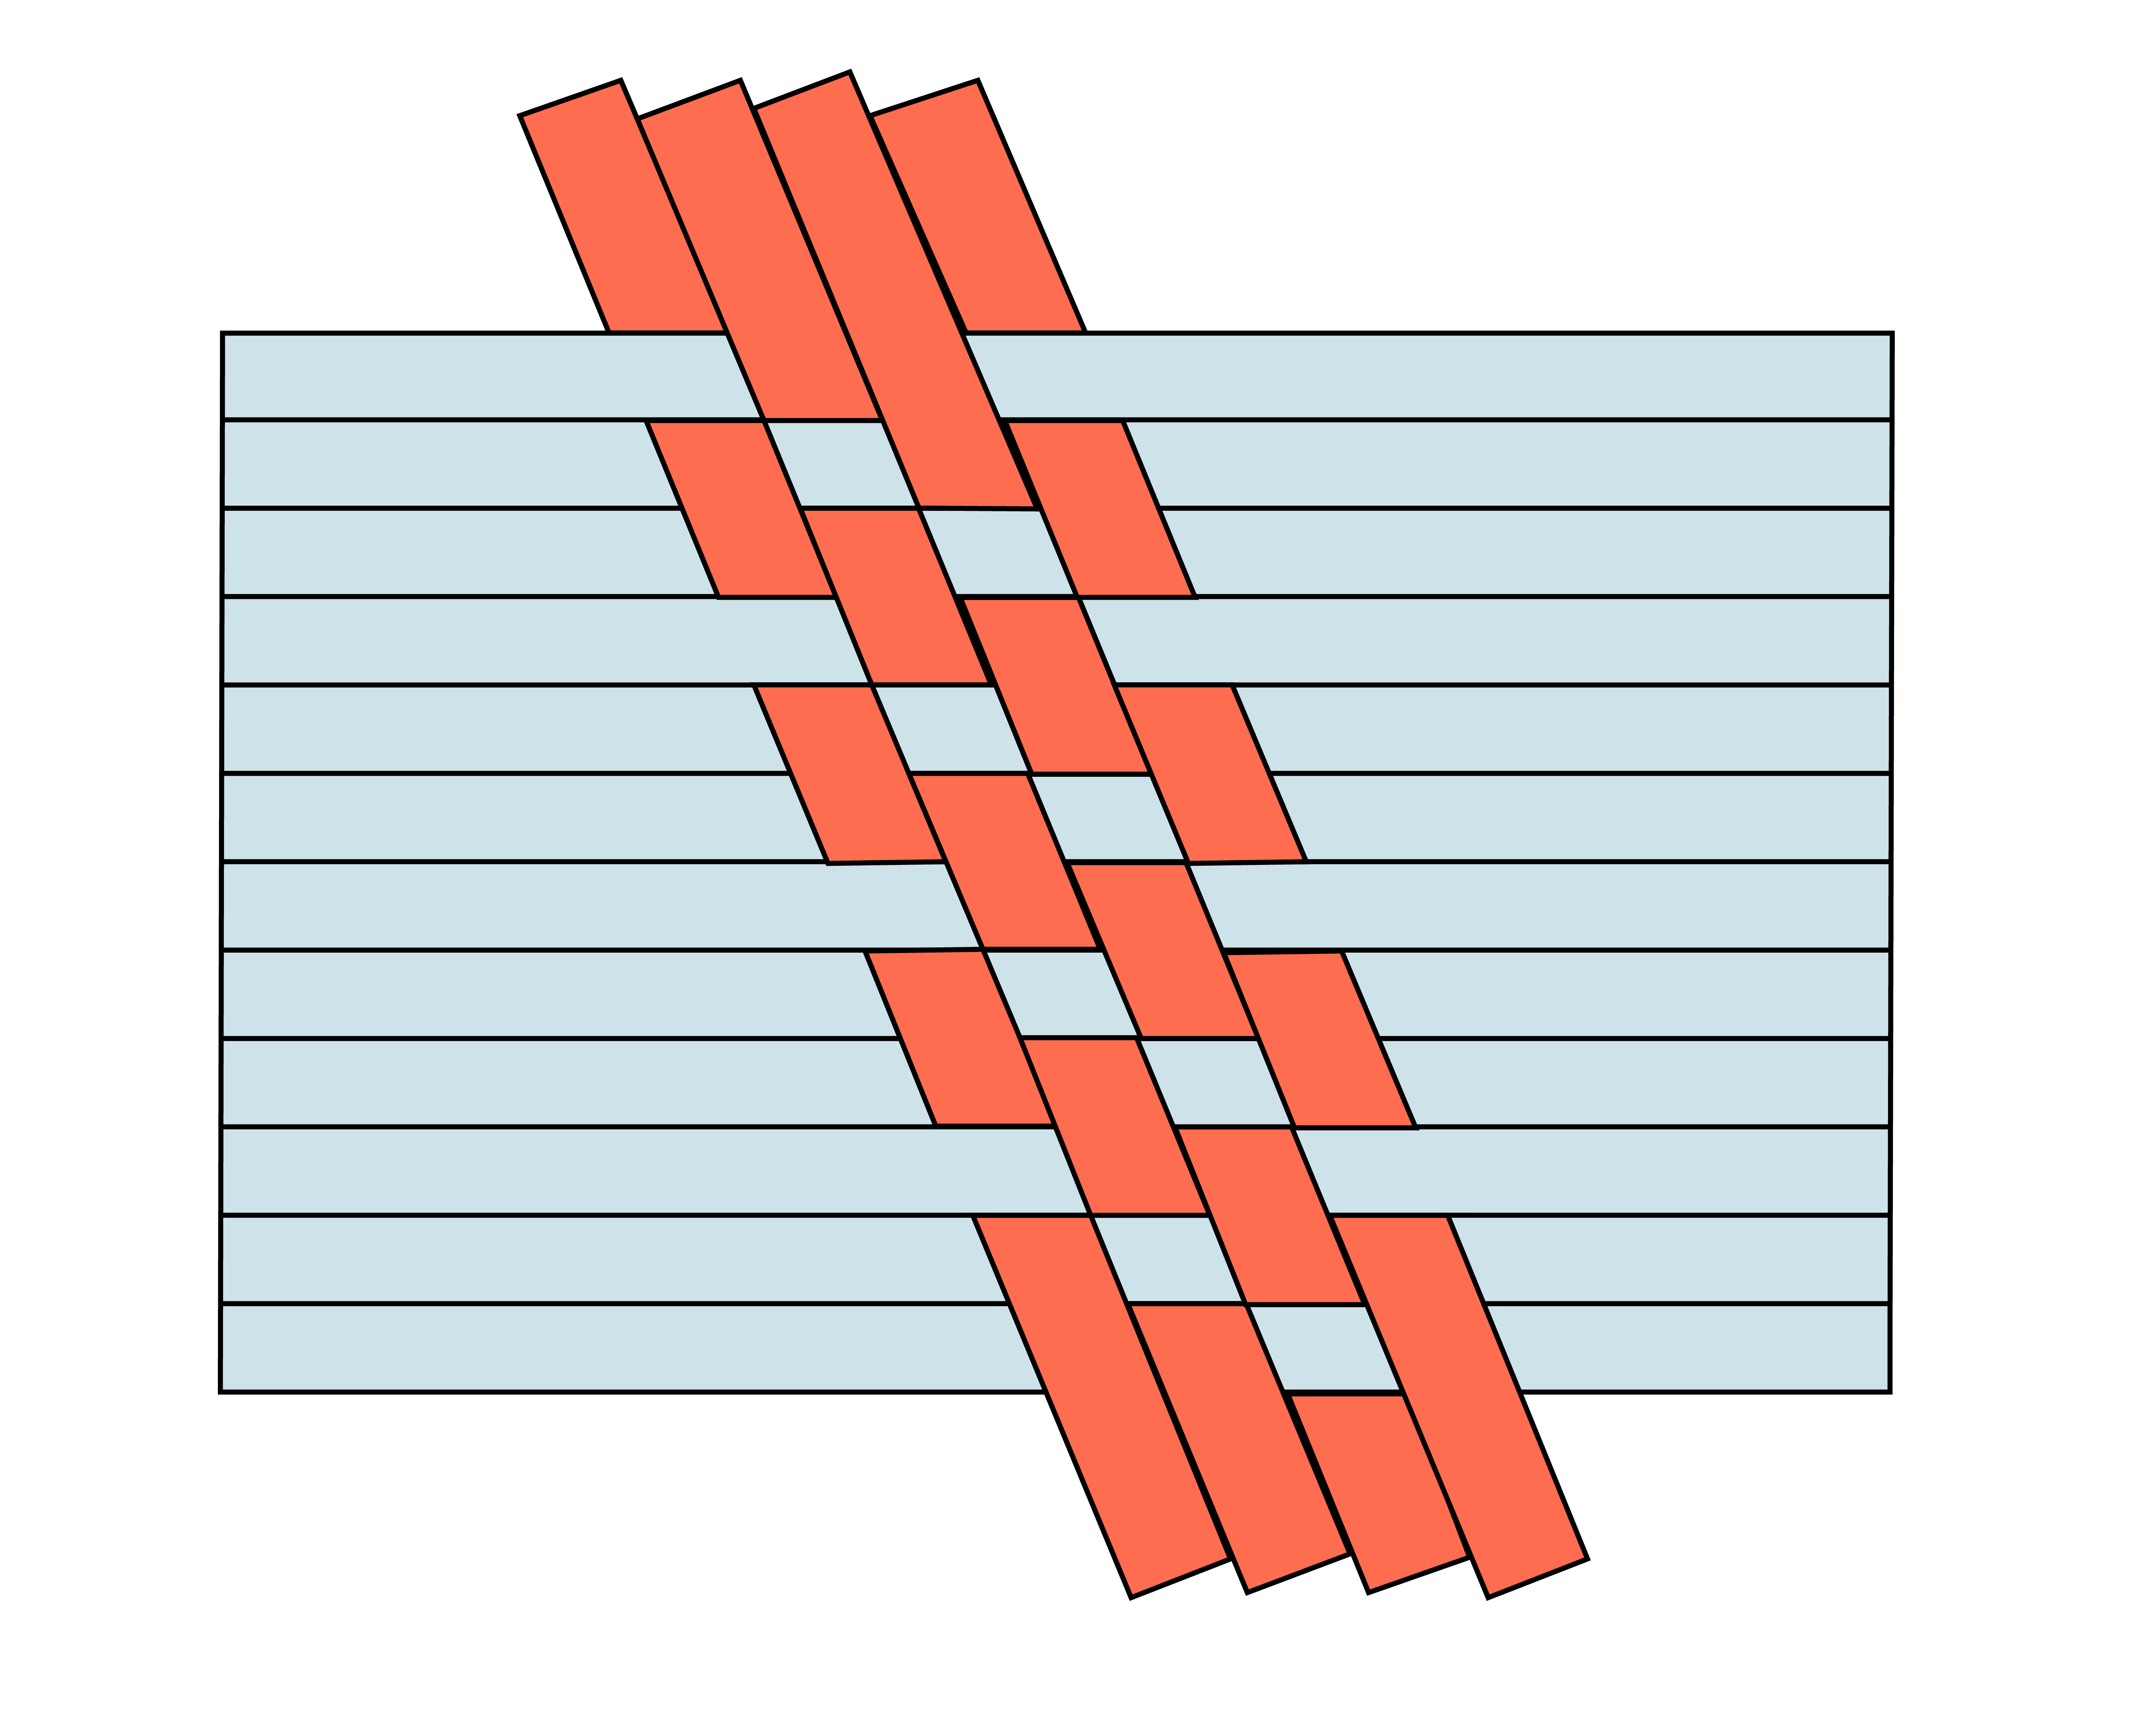
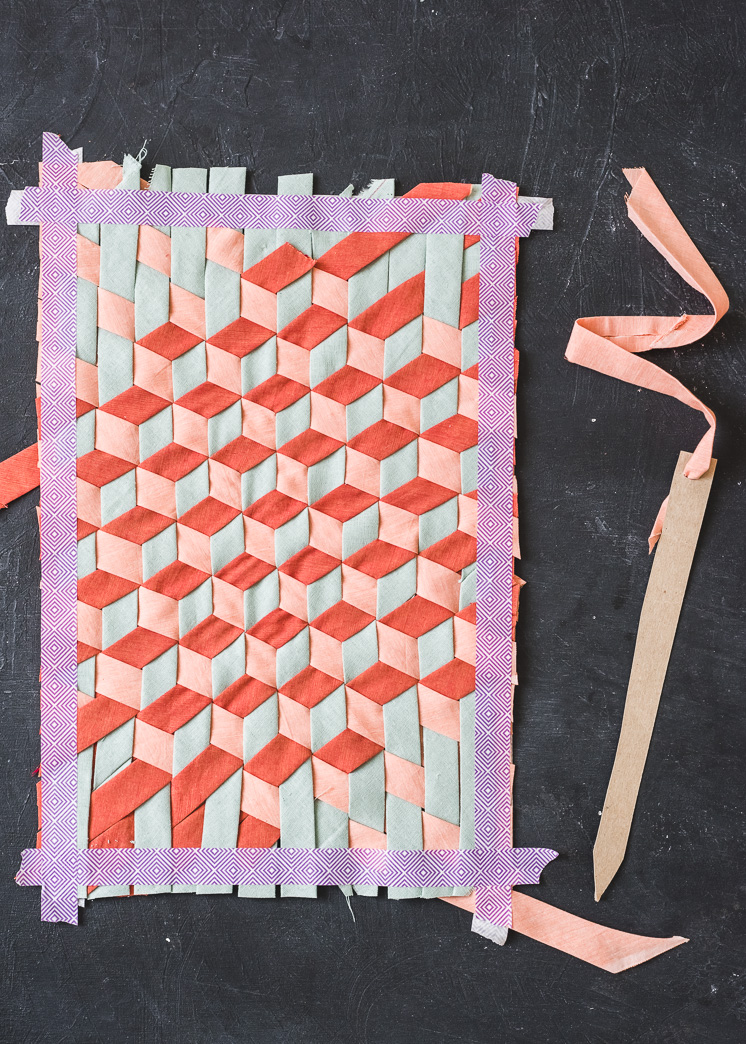
- Take one color and lay them out vertically side by side on a foam board and pin the tops in place.

- Thread the weaving needle with a strip of the second color.
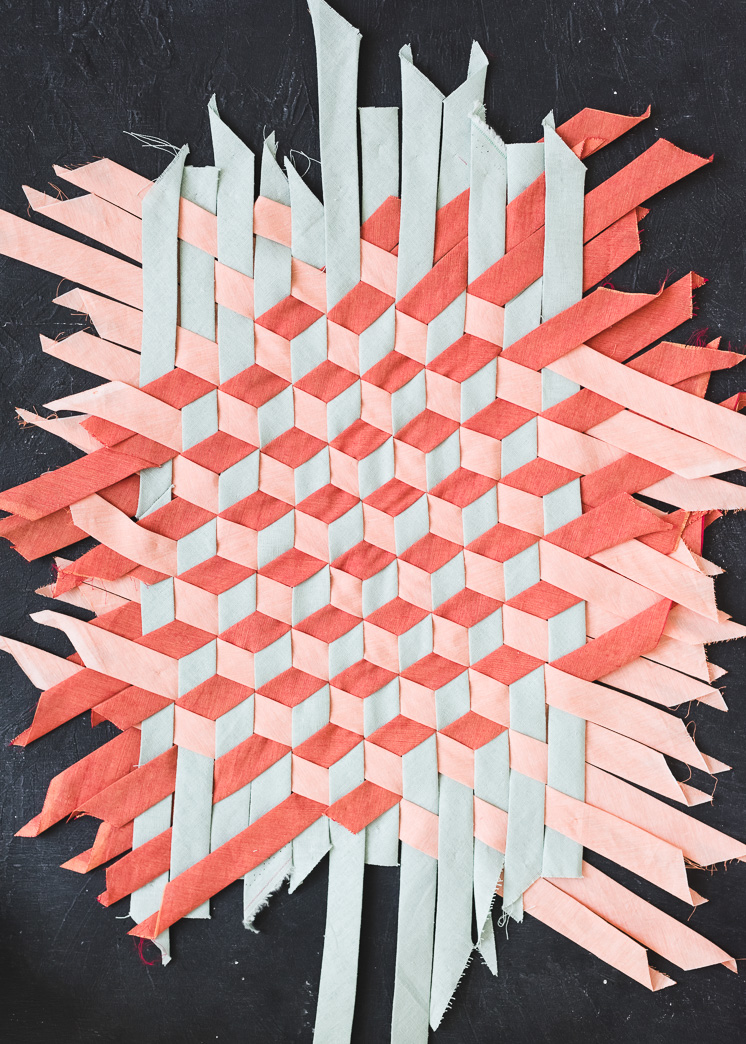
- Take the second color and begin to weave them into the blue strips at a slight downward angle beginning from the right side in the following pattern: Under 2 strips, over 1 strip.

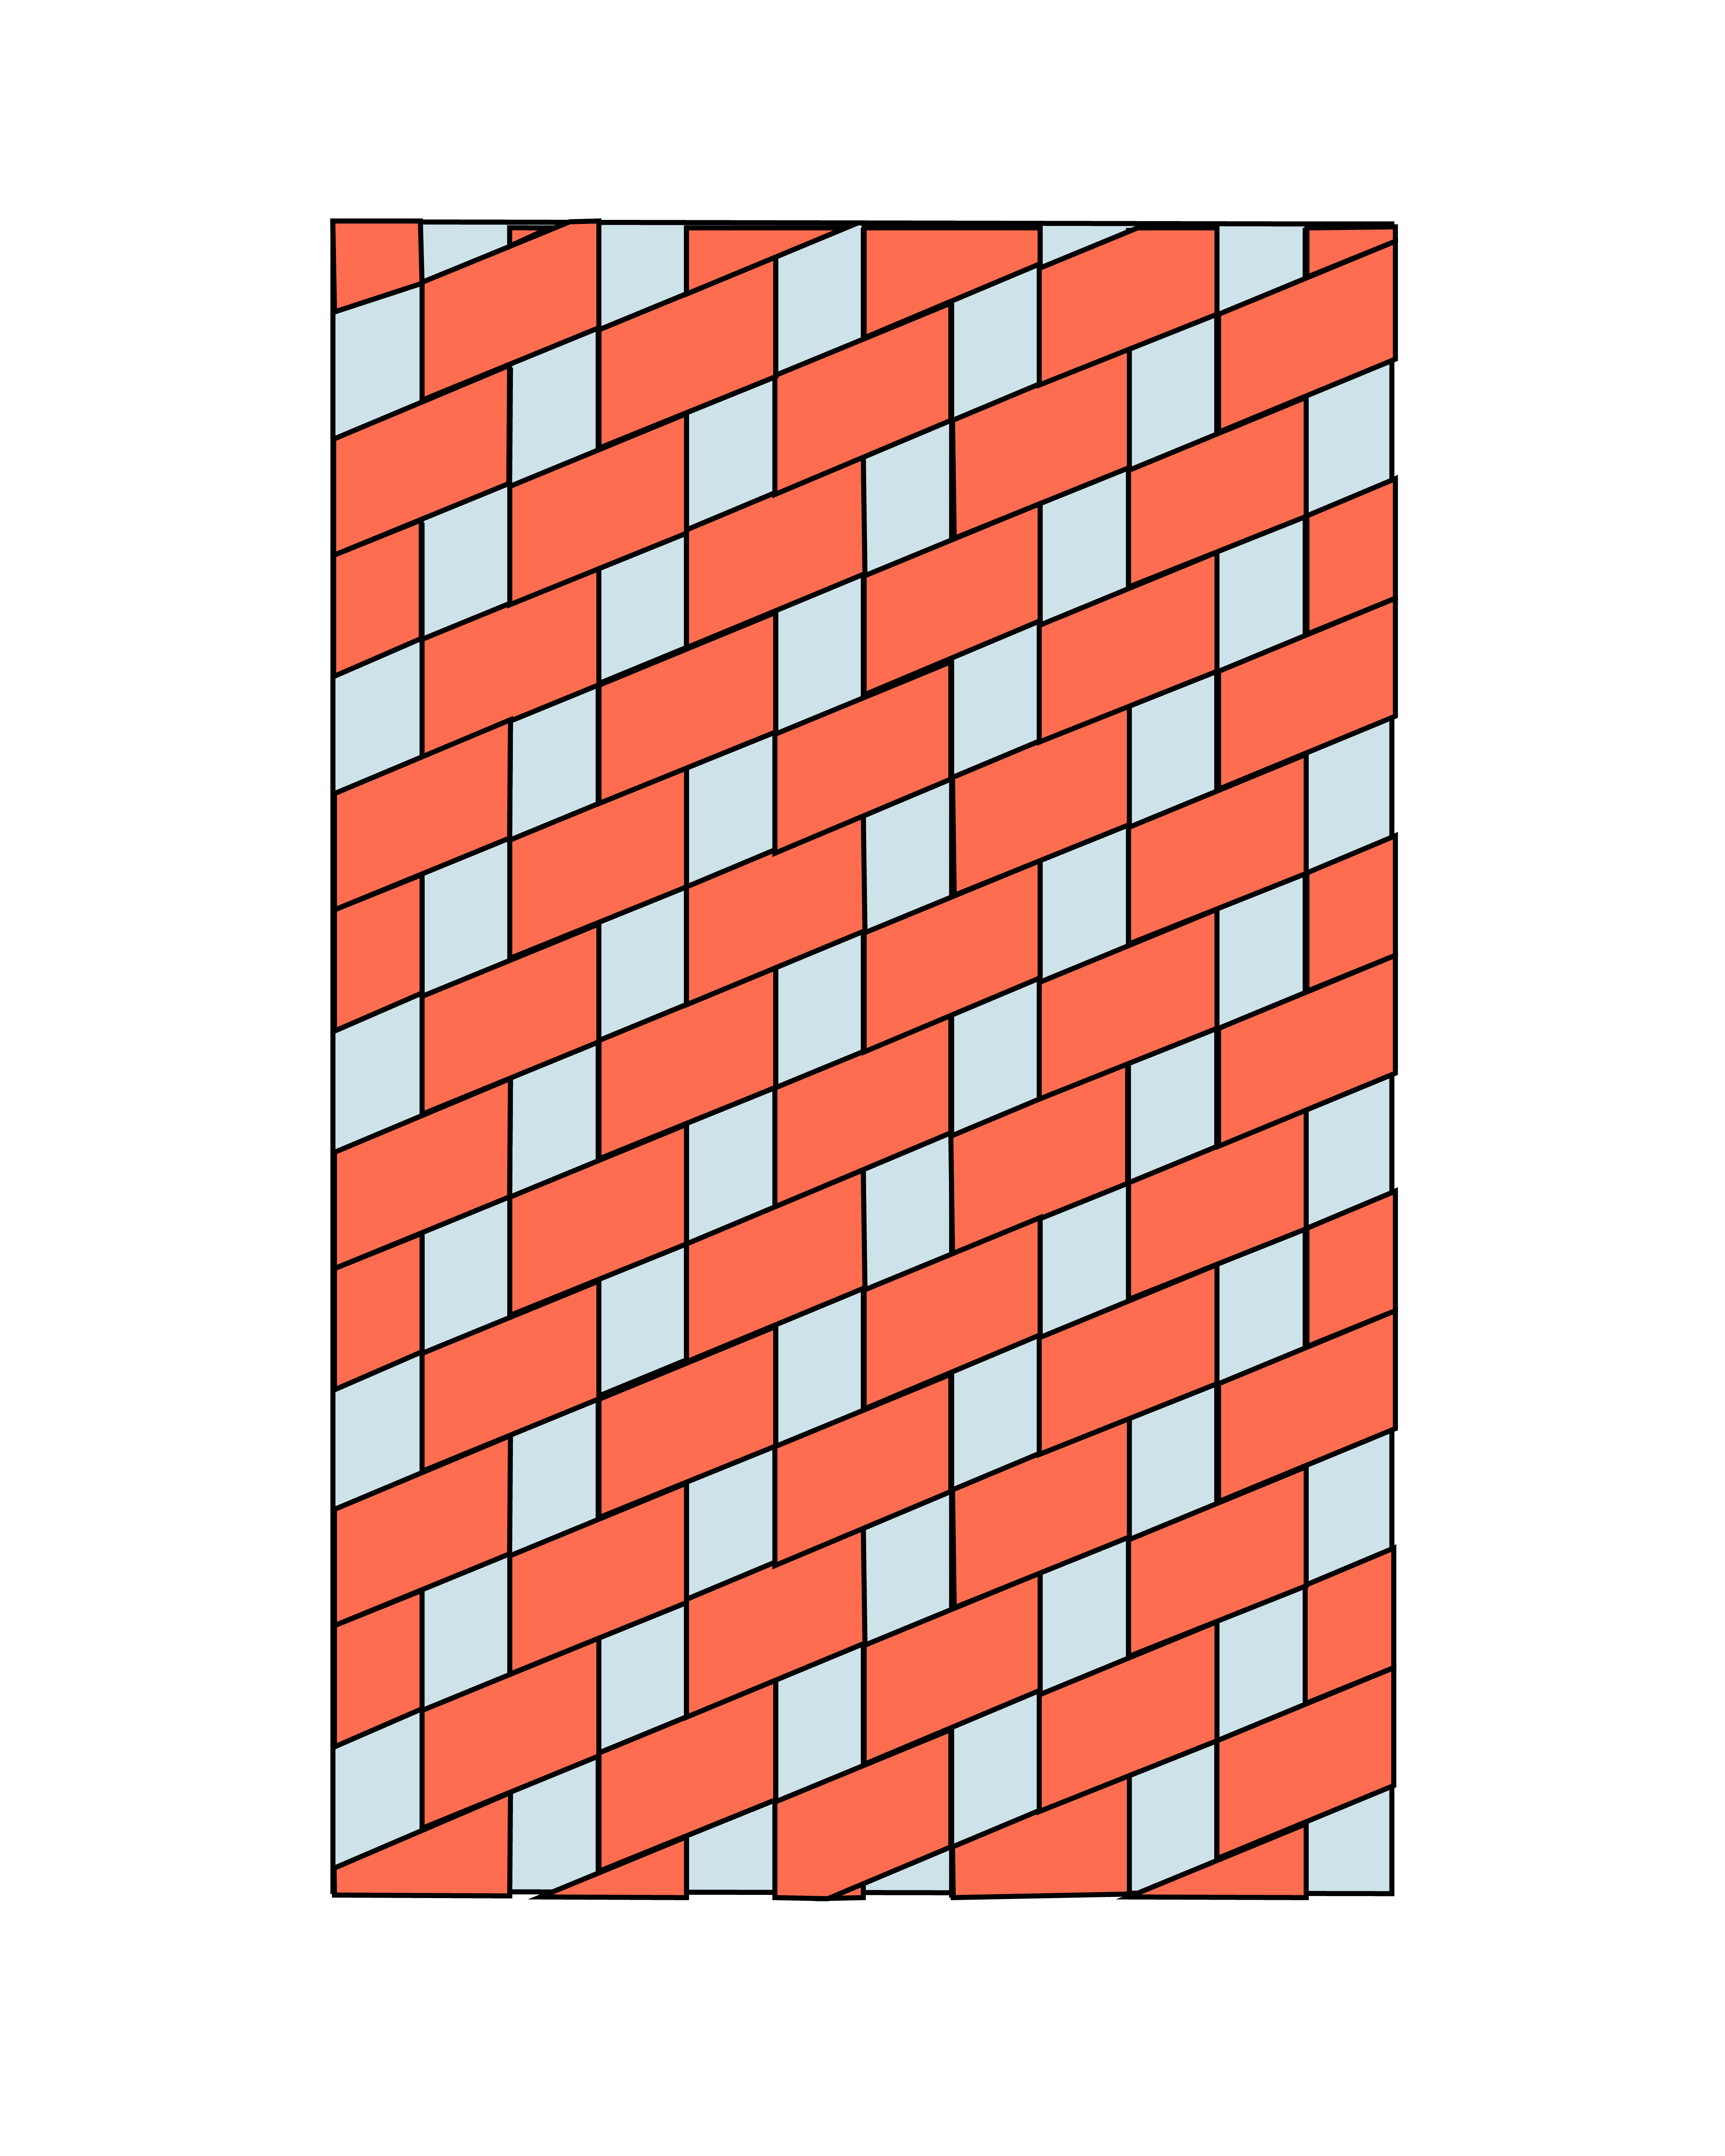
- Repeat this until you’ve woven from the top to the bottom.
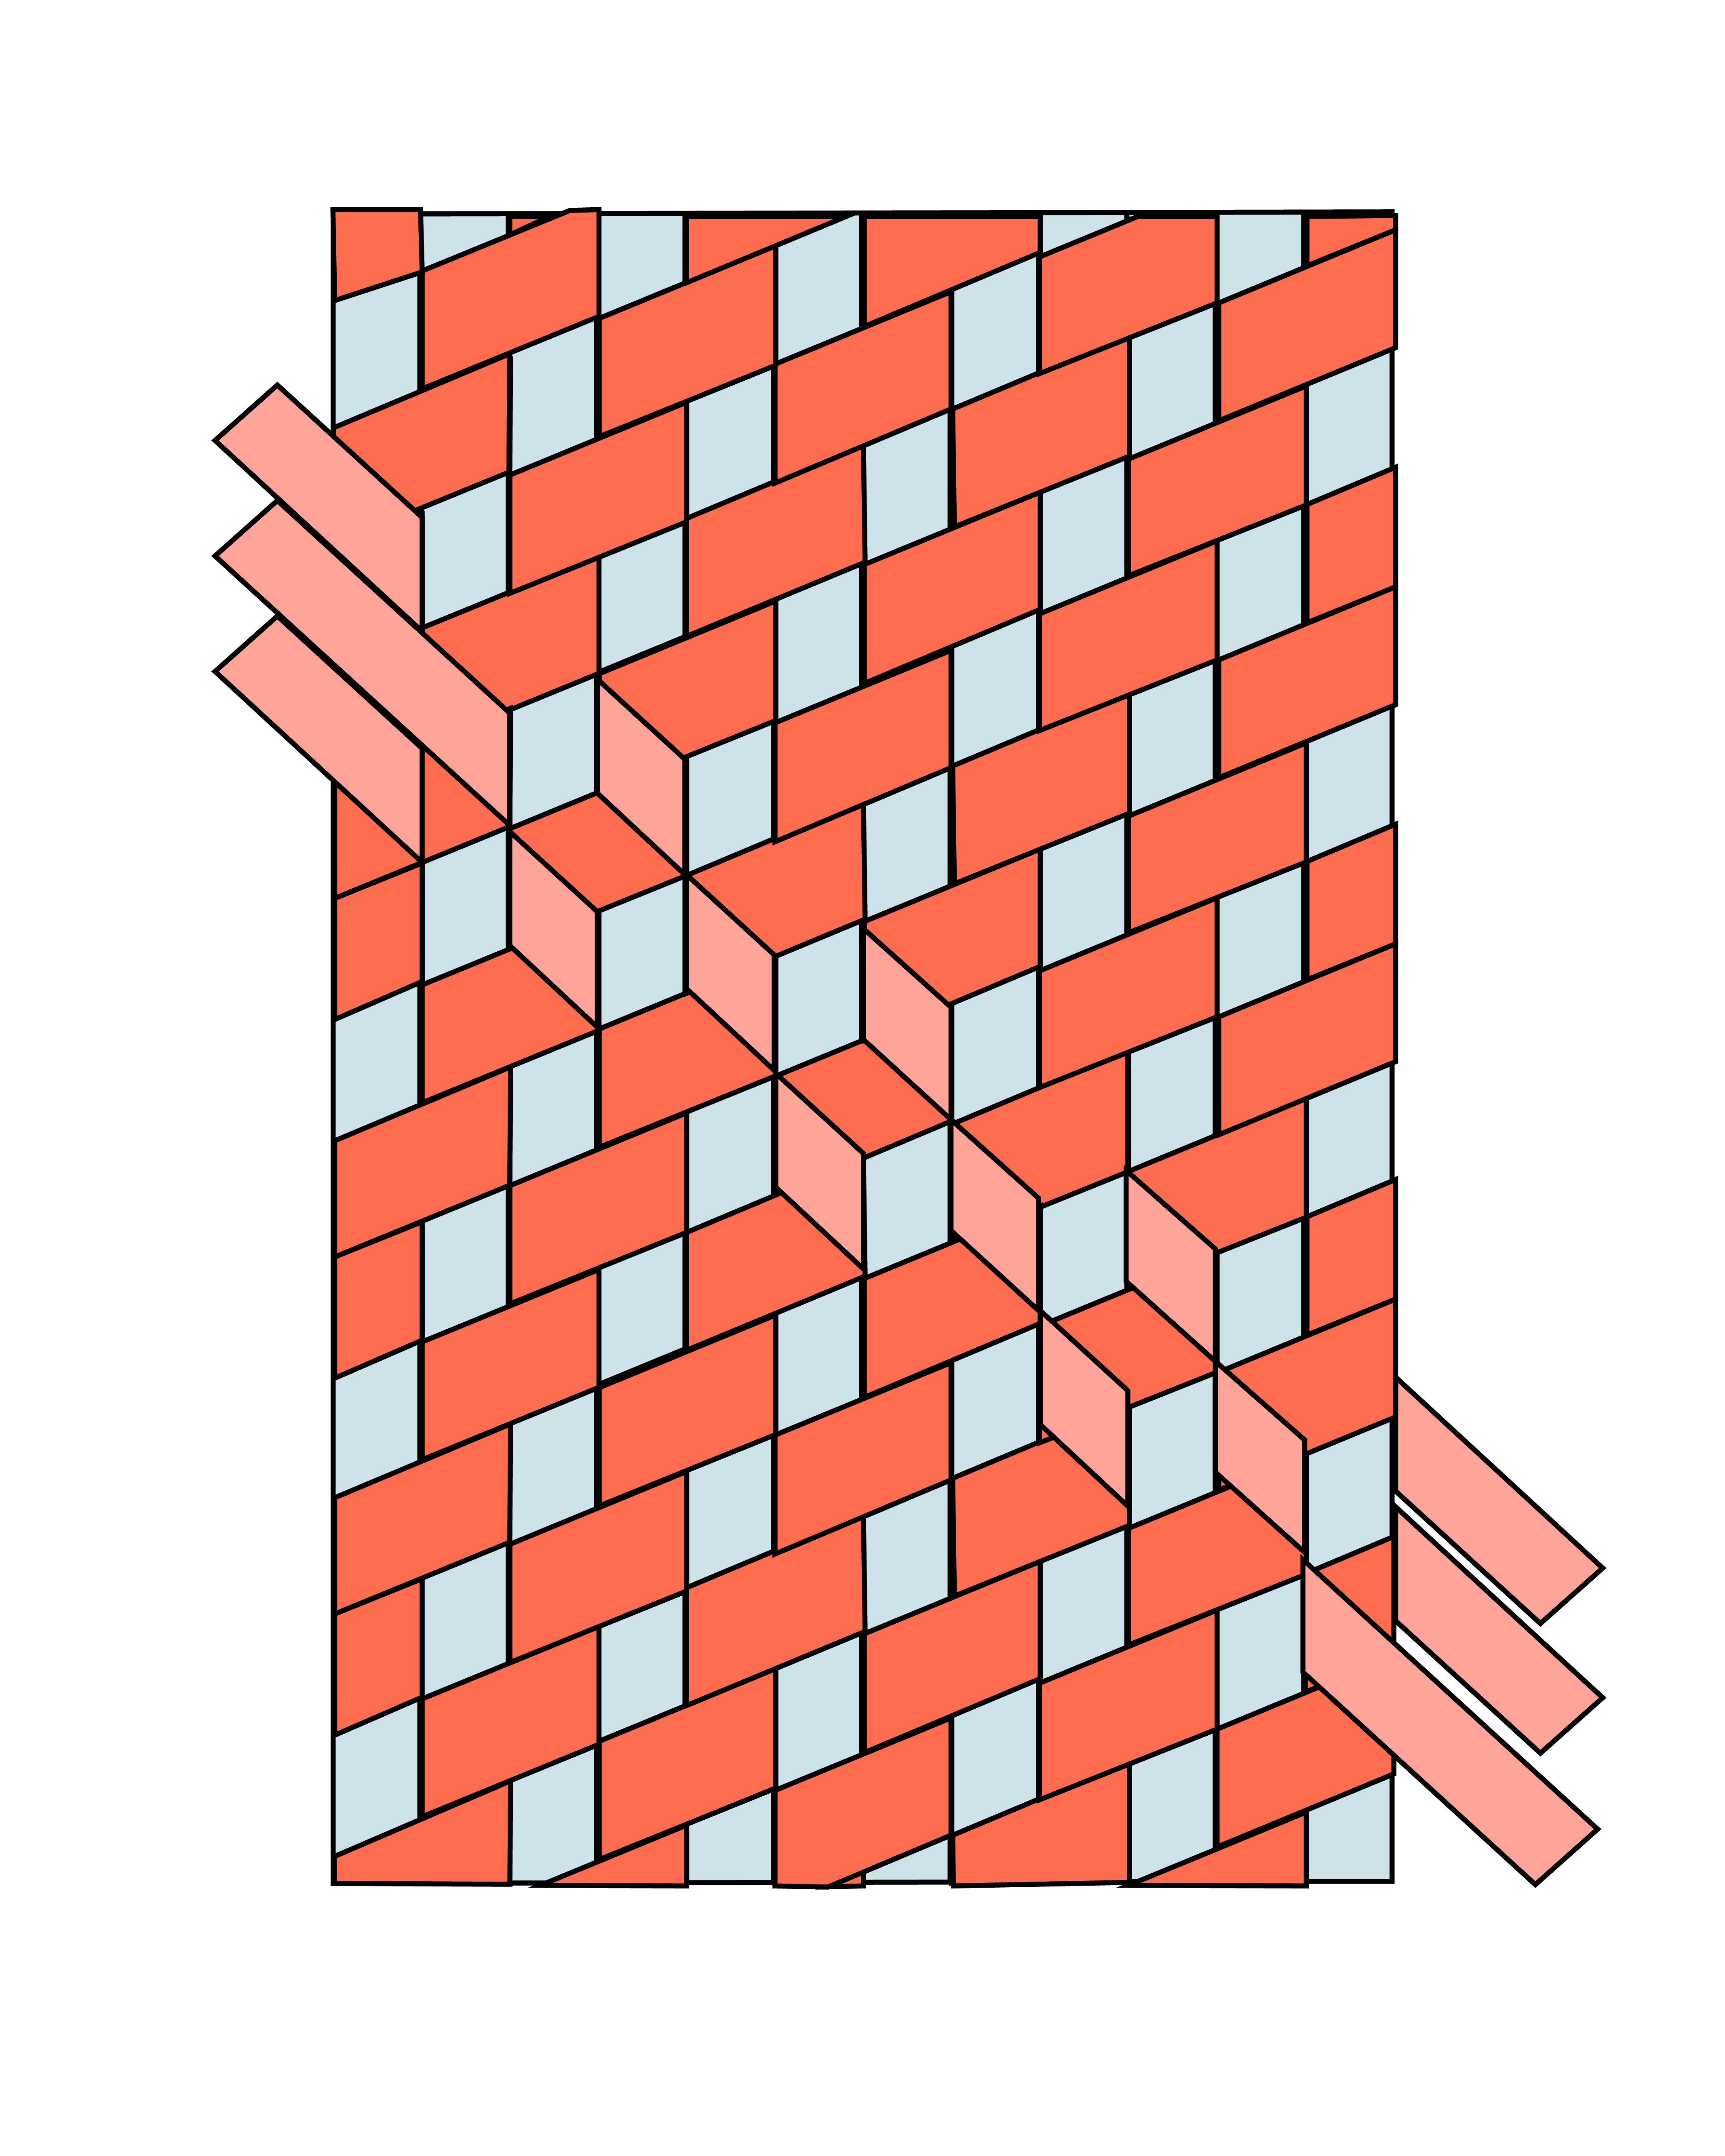
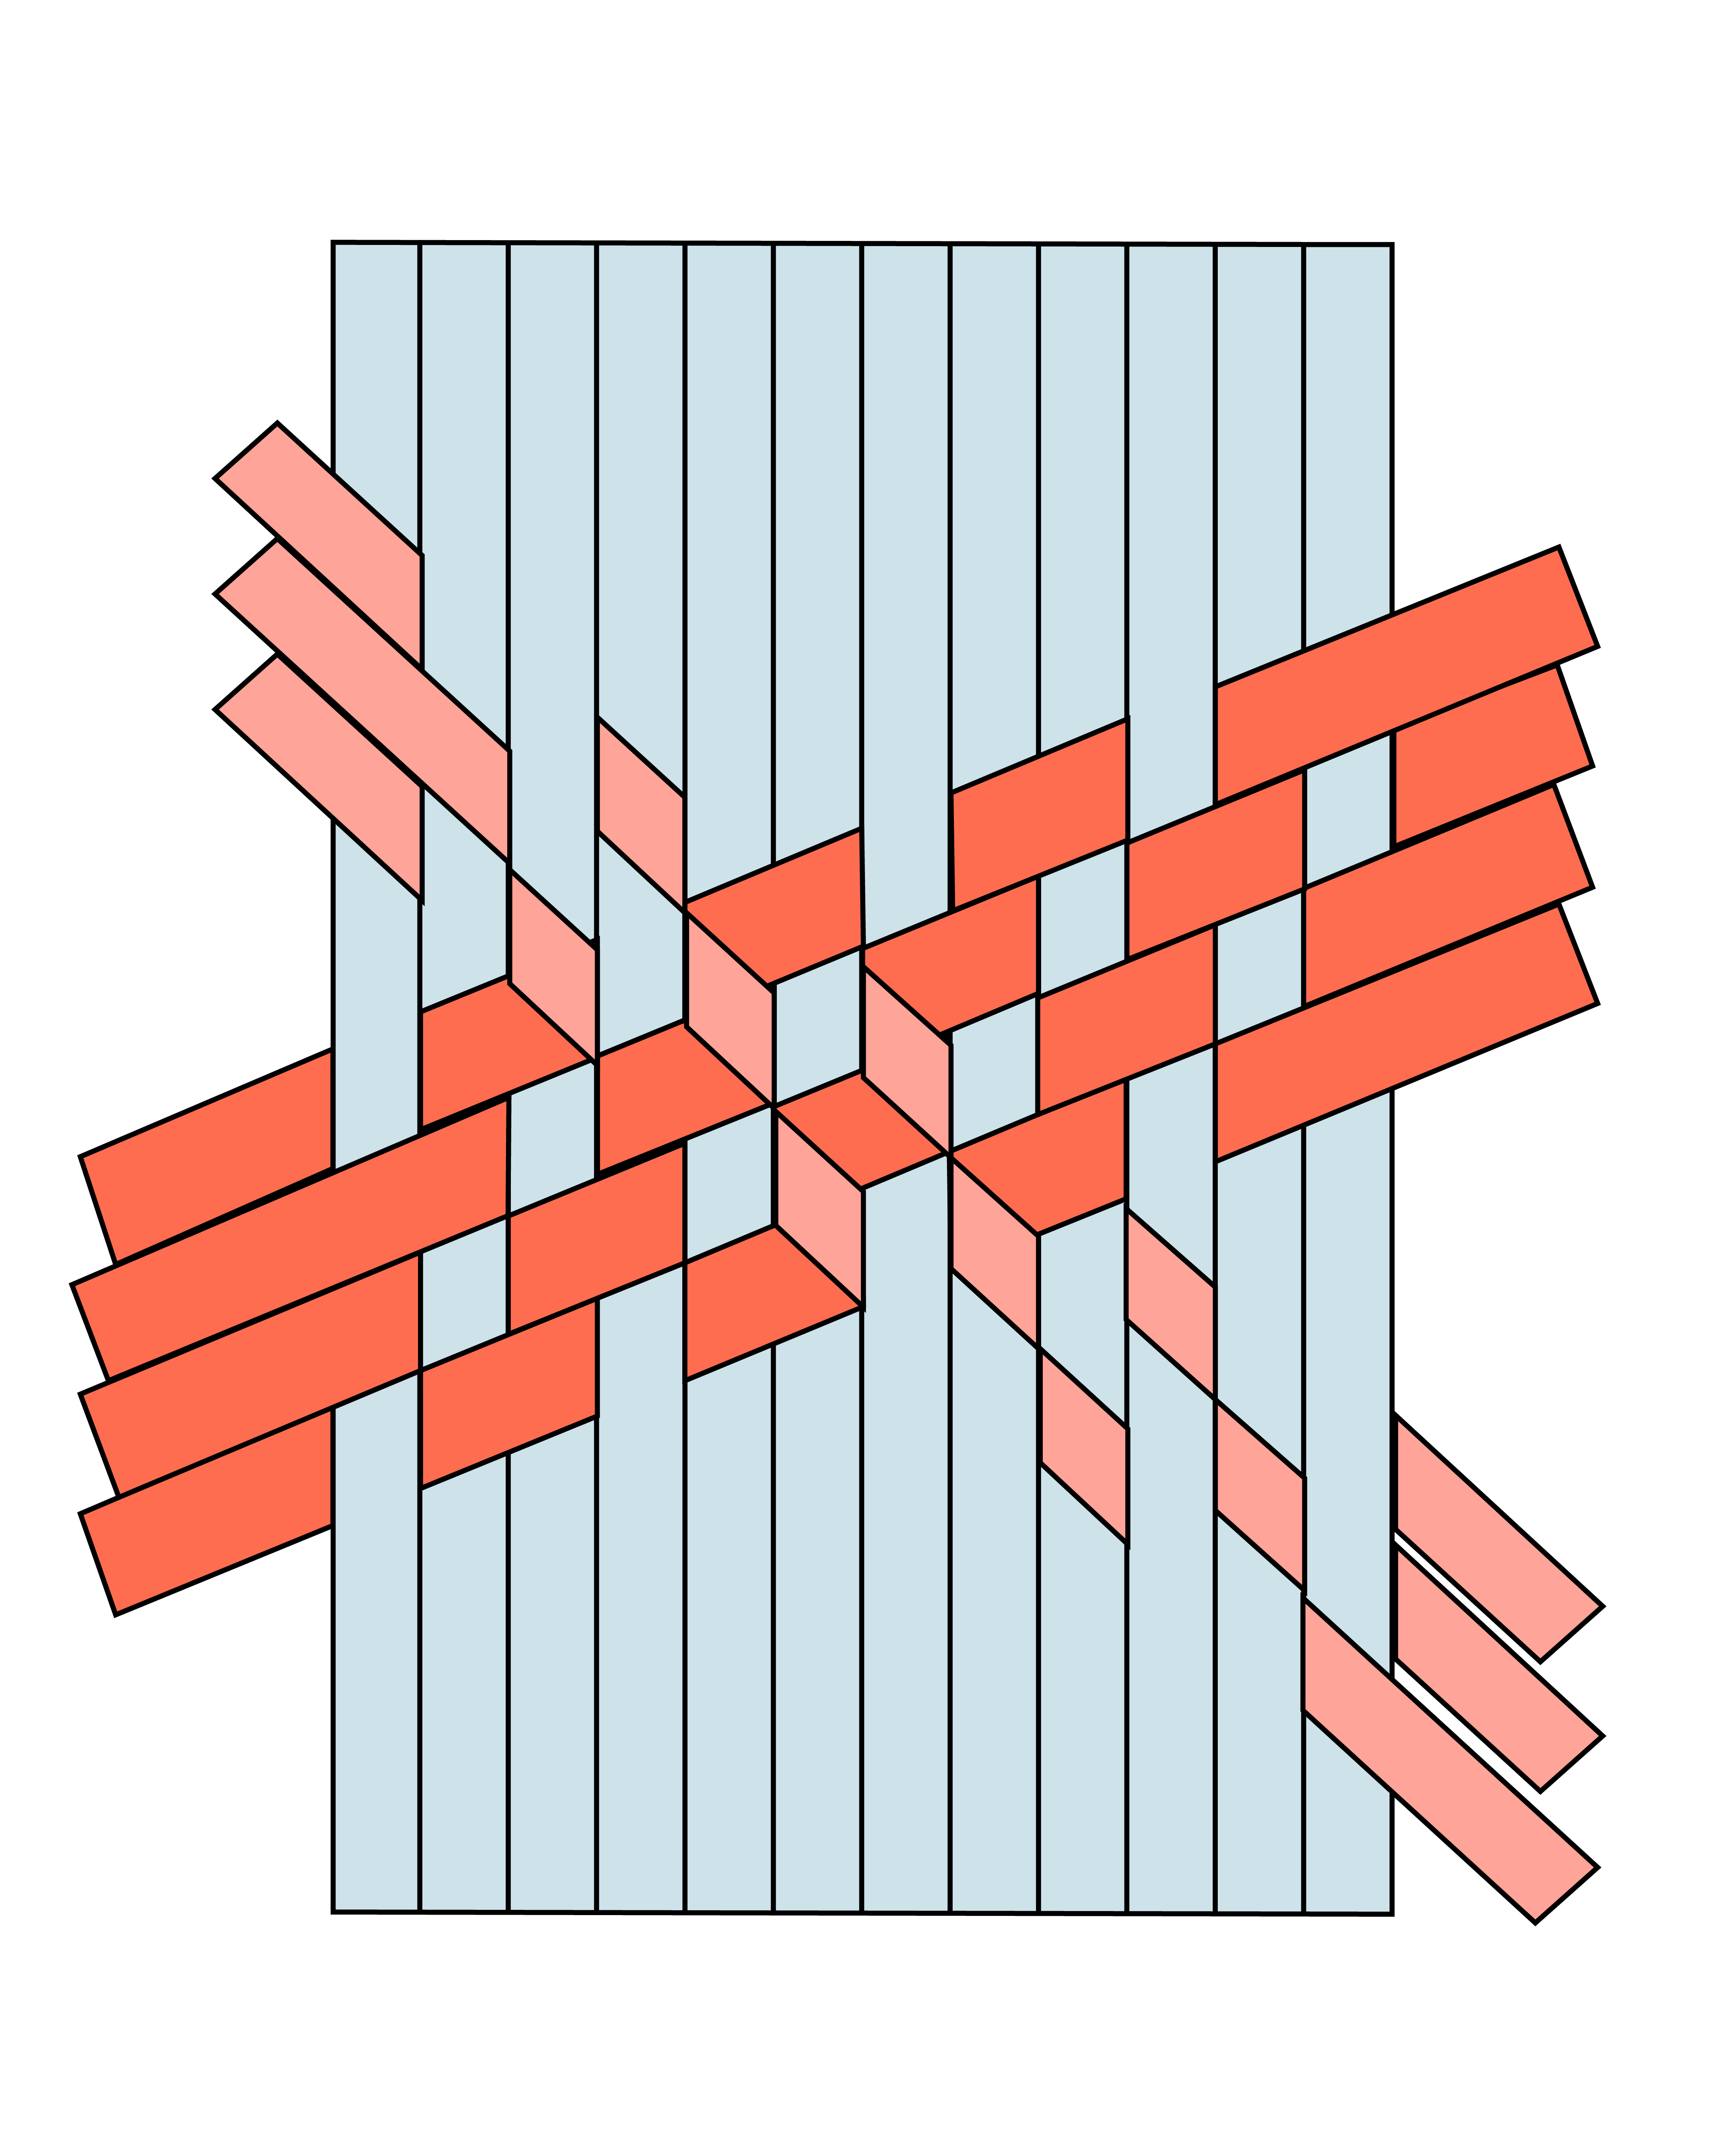
- Take your third color and weave into the red and blue, starting from the left side and angling downwards and following the pattern: under 3 colors– if you divide them into triangles, go under 4 triangles and over 2 triangles and repeat.

- Repeat this until you’ve woven the whole piece!
- To finish, you can tape off the edges of your weaving to keep everything in place and trim the sides. Now frame it for an art piece, or sew around the edges to keep everything in place and use it for a sewing project!

Photography by Jane Merrit | Crafting by Kirstin Johnson | Graphics by Kambria Porter
Comments