I mentioned a couple of days ago that I am saying farewell to contributing to Oh Happy Day. I just loved my time there and am sad to leave, but I need to start focusing more on my projects for Lars and some new exciting projects coming up. I thought I’d take a trip down memory lane and do a monstrous recap. When Jordan asked me to start contributing I didn’t really think of myself as a DIYer but somehow over the past year I’ve turned the DIY engine on and it hasn’t stopped. I’ve learned a few things along the way that I thought I’d share them with you.
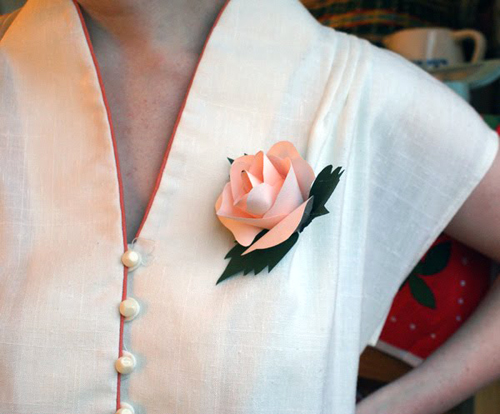
1. Photography is key. My projects all started with this little paper flower corsage. I took the photo myself on a timer. I think that works for some people who are trained but I ain’t no photographer so I’ve since smartened up and started working with talented photographers like Emily, Hilda, Amanda, and Liv who can add their own artistic spin to the picture. Besides a clear photo, it adds an added layer of creativity.
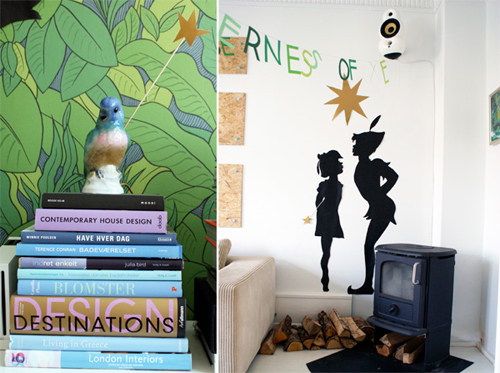
2. Setting is everything. I did this Peter Pan Party for a church function, but it just was NOT going to look good in its original setting where it was super dark and not conducive to good pictures. So, my friend Maria allowed me to take her place over for a couple of hours where I set it up again and shot in her terrific place. She ended up moving not too long after so I’m glad I got to do a project in her place at least once.
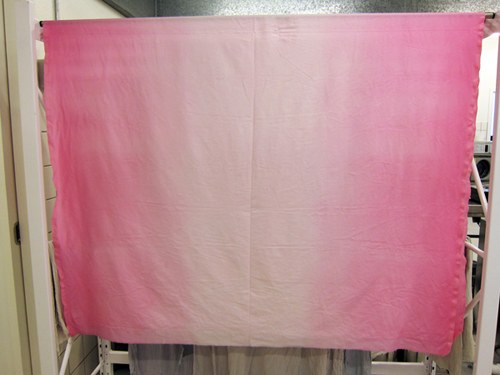
3. Work with somebody. I often don’t heed this advice and end up getting completely overwhelmed, but this ombre tablecloth I worked at Cramer’s studio and she helped me with the equipment and with the photos. I fall guilty of thinking I can do everything myself, but every time I wish I had someone there to assist. I’m trying to get better!
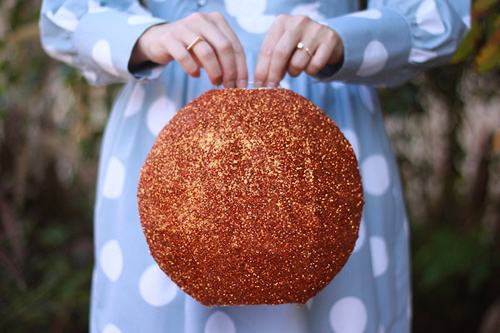
4. Get multiple projects done in one day. I was home visiting my family in California when I did these next few projects including this glitter disco ball lantern. I had done all the projects (mostly) before Emily came to photograph so that when she did we could get them done all in one go. Since it was my first time working this way I wasn’t fully prepared when she arrived and had to figure out a lot of sequencing, but it sure helped free up time over the next couple of months by doing it all in one go.
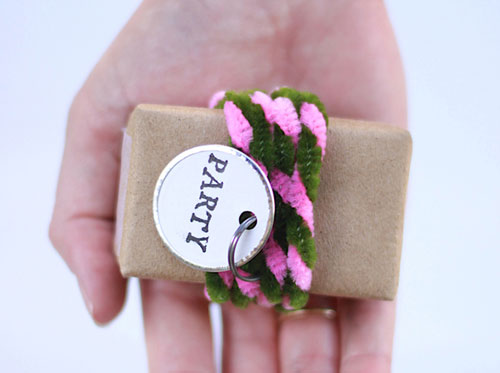
5. Color selection is key. Pipe cleaners often come in really awful primary colors. I bought a few different packages to gather the right color combos. I combined this pink with an olive rather than going with a full bright combo. I think it keeps the project more modern. I feel that color selection in all DIYs is what will set an excellent DIY from an ok DIY.
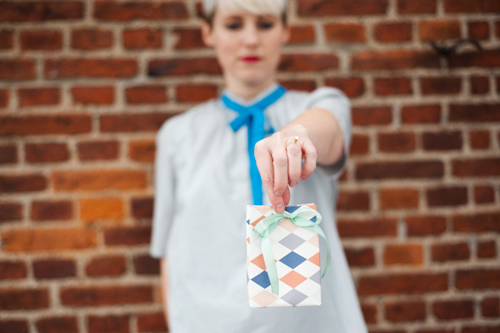
6. Remember what you did as a child and then freshen it up. We did these wallpaper gift bags all the time as kids so when I visited Ferm Living here in Copenhagen and scored some wallpaper and I thought it’d be the best thing to freshen up a childhood craft.
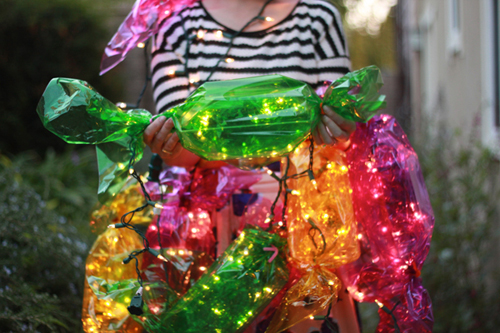
7. Listen to your mom. Ha! In my case, my mother is a creative genius so it’s easy to do. We often send each other 20 emails a day with ideas. Well, for some reason I didn’t listen to her at first when she told me to do her candy lights but I couldn’t think of anything else so by default I did it. It turned into one of the most popular projects. I just never know when something will be more liked over other projects.
8. Learn from where you go. I am constantly inspired by surroundings and on a 3 week trip to Nepal last year I saw something similar to this that I thought would turn into a great project for a DIY. This is the result. Take pictures, keep a sketchbook to record inspiration.
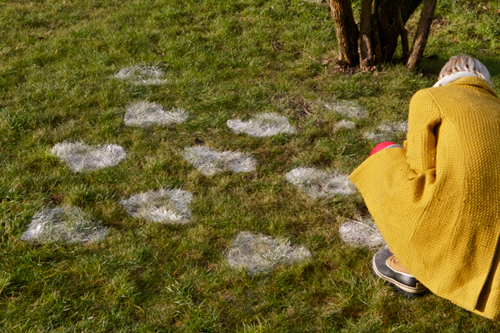
9. Often the simplest projects can be the best. These flour stencil hearts are so easy, but so fun. I’m often guilty of thinking that projects have to be super complicated, but really, who wants to spend a lot of time on crafts? We want fast and easy!
10. Create a few styling options. I did a 4 project photoshoot day when I did these paper flower ice cream cones and I was so out of it when Hilda arrived to take pictures. I was so behind that I even had to cab it to go get a few last minute materials. Here in Denmark cabs are crazy expensive so it wasn’t the best. I had spent the night before crafting this ice cream holder that took me way too long. Additionally, I bought some mini flower pots to create stands for the flowers. I had so many different styling options and I don’t think I needed them all, but it’s always so nice to have options to take really great pictures.
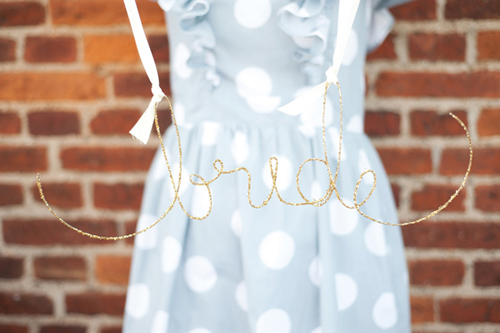
11. Redo a project in a new way. I had created wire crowns for another website and thought it’d be cool to do them for a bride. I added some glitter and bada bing bada boom, a brand new project!
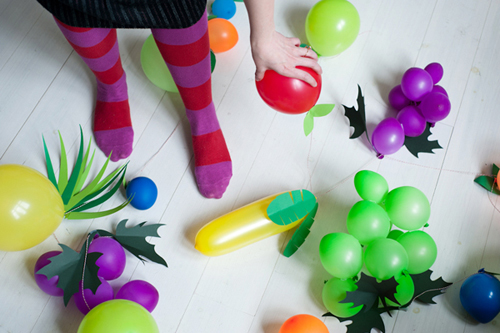
12. Ask for other people’s advice. When Hilda came over to photograph the fruit balloons I asked her what she thought and she responded that they didn’t totally look like fruit. Blast! SO, she was so kind and patient and we headed to the store together where I bought more materials and she helped me blow them up, cut out leaves and try it again. Boy am I glad I asked her advice. They looked so much better the second time and this is my most popular project (according to page views).
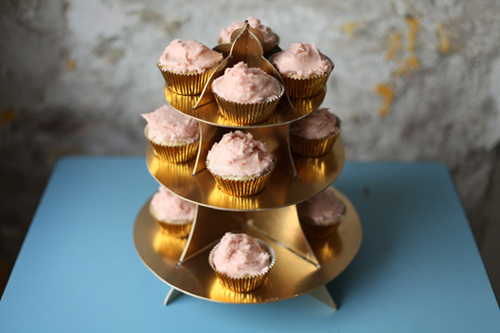
13. Use a tripod and create gifs! This gold cupcake stand is the first project I’ve done where I used a tripod. Amanda was so nice in doing it setting it up and taking the pics and we created a little sequence of pictures to create a fun gif (I used this tutorial). After seeing Bri’s fun gifs on her blog, I thought it was a really great way to show steps in DIYs and gave it a try.
There you go! A few things I’ve learned along the way. I’ve learned so many other things and I think I’ll give some pointers every now and again to help you create your own.


