


Our new shop site launch!
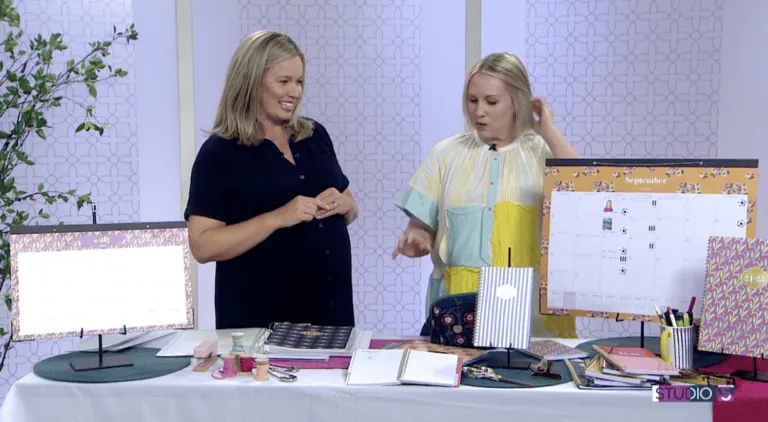
3 calendars that every woman should have
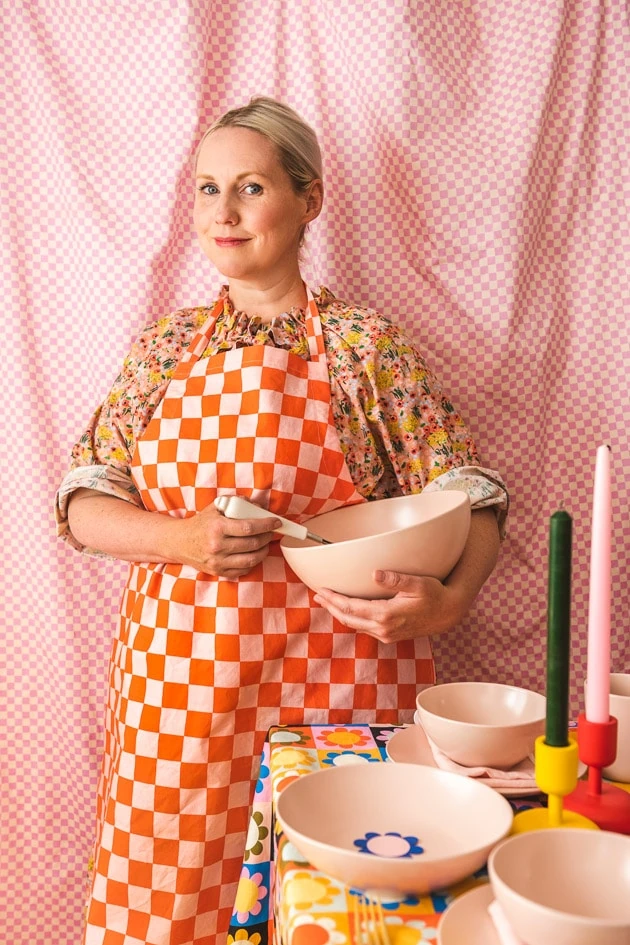
Handmade gift ideas for Mother’s Day
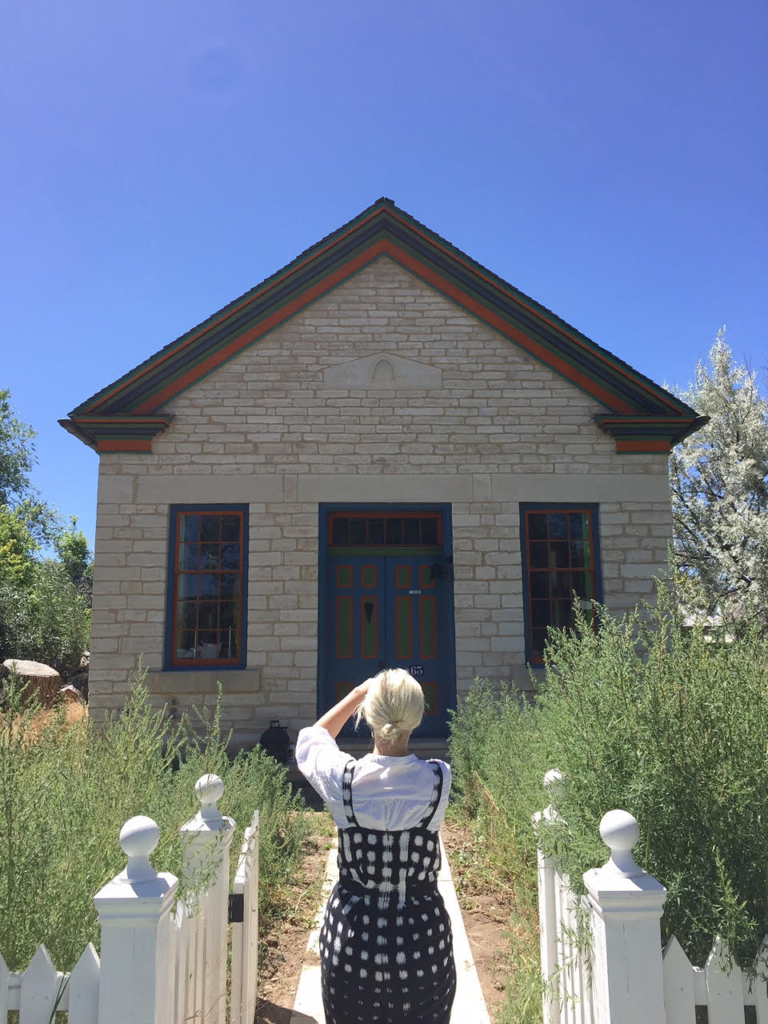
Guide to Spring City, Utah
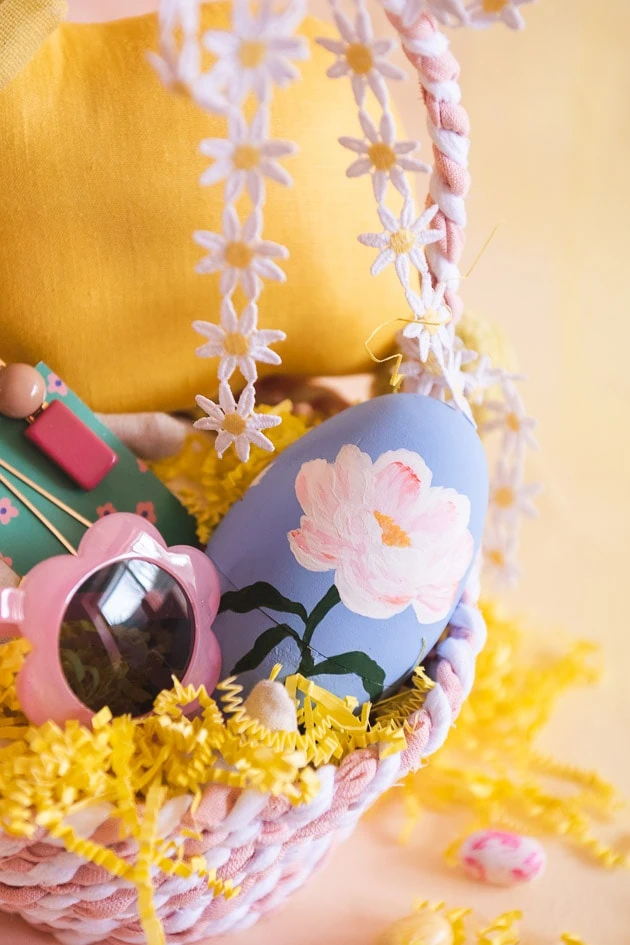
Easter Crafts
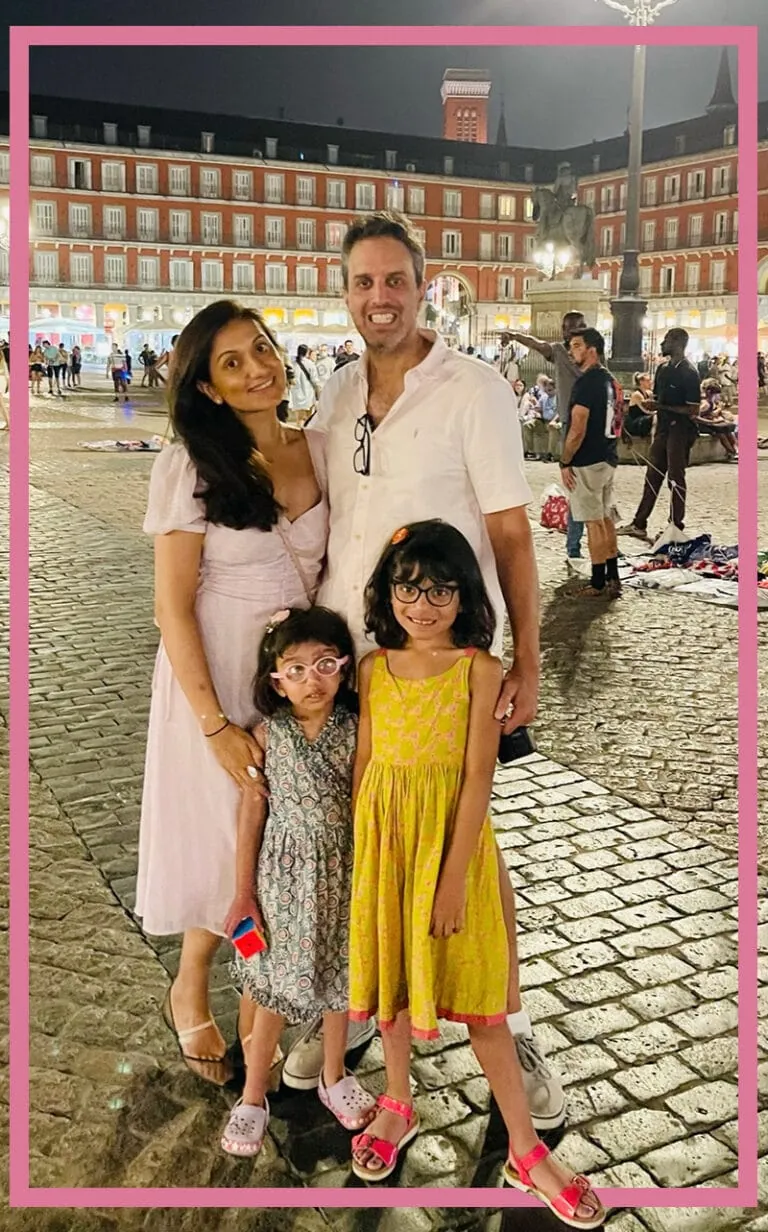
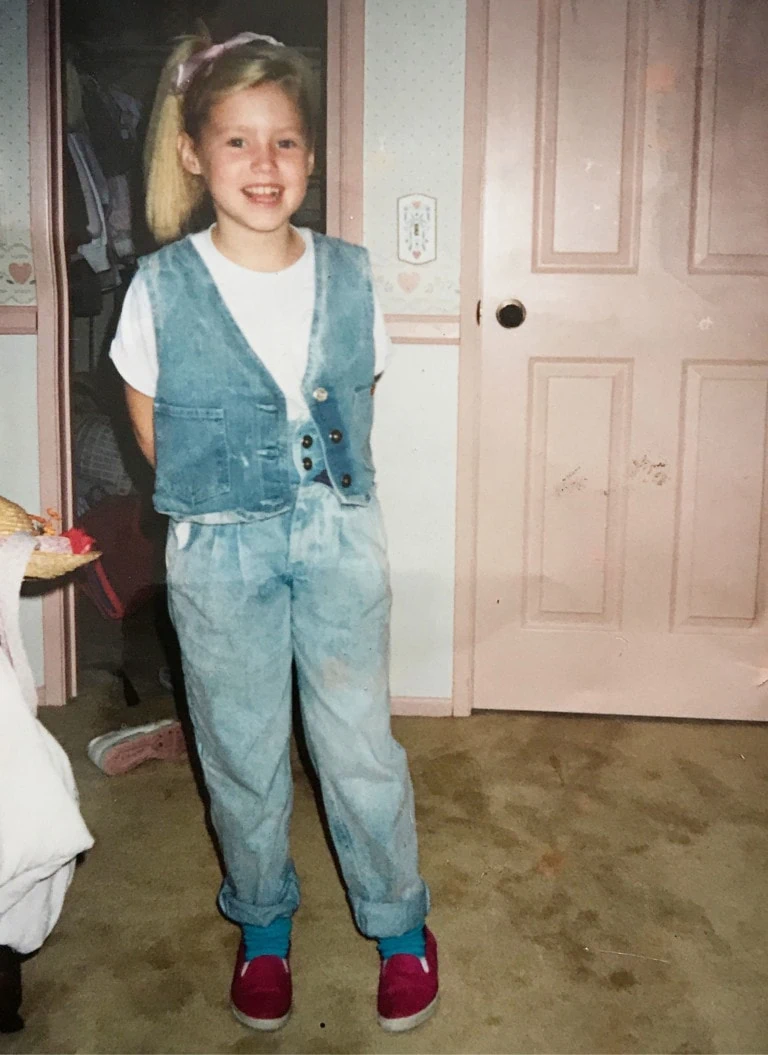
My Life in Color: Seeing my daughter in all her many colors
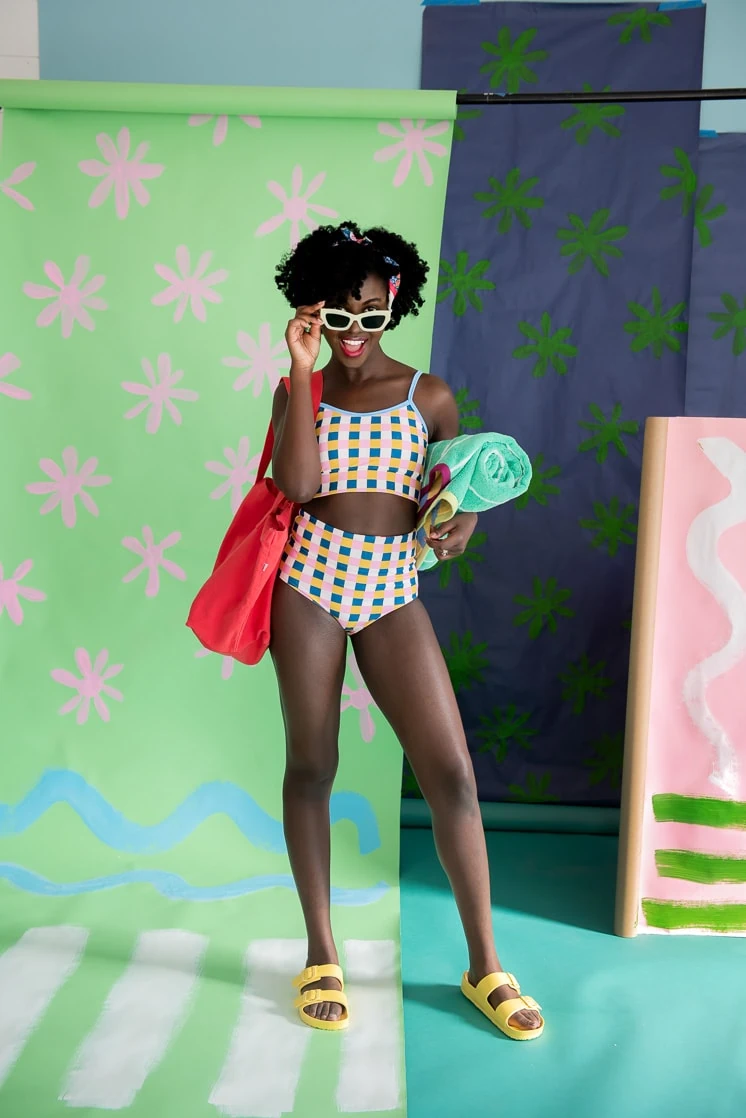
Floral-inspired swimwear with Lime Ricki
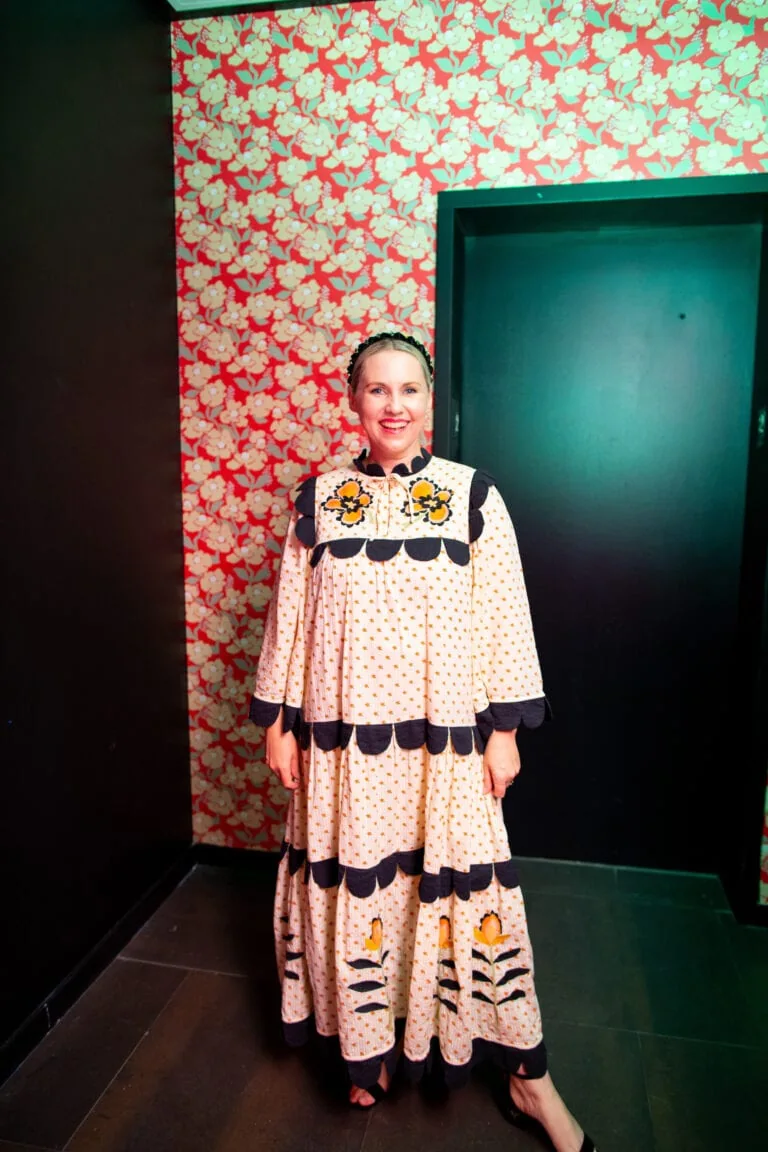
Pantone color of the year
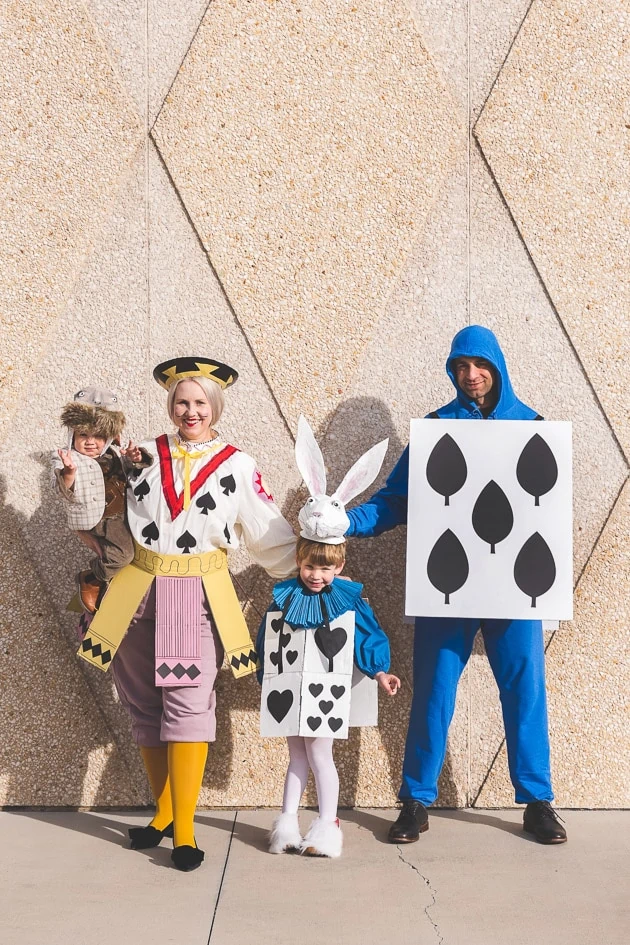
Alice in Wonderland Family Costumes

Easy Halloween Ideas From Our Shop

Barbiecore Costume Ideas
Classic Halloween Costumes
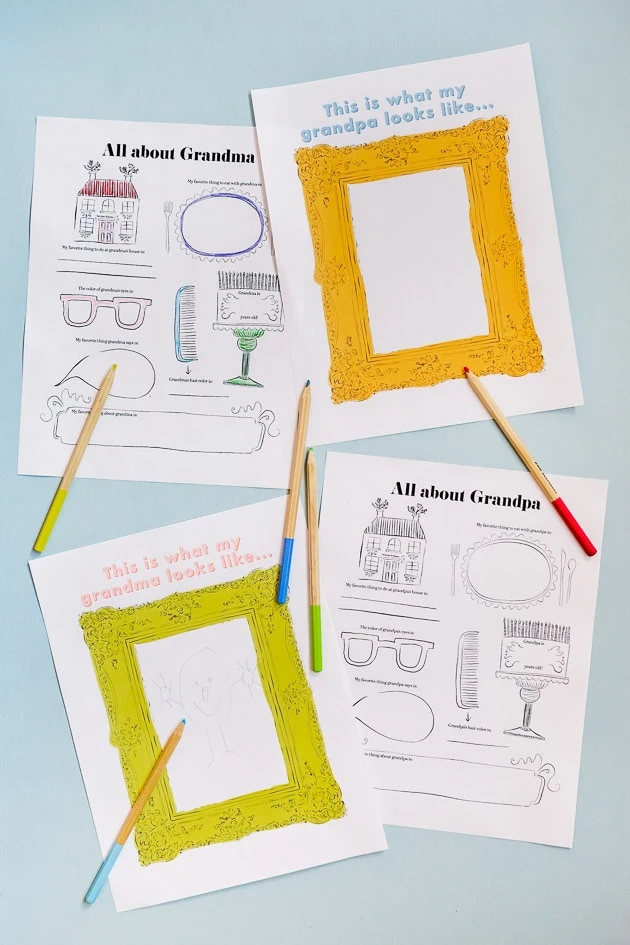
Family History Questionnaire

Sewing Basics: How To Take Measurements
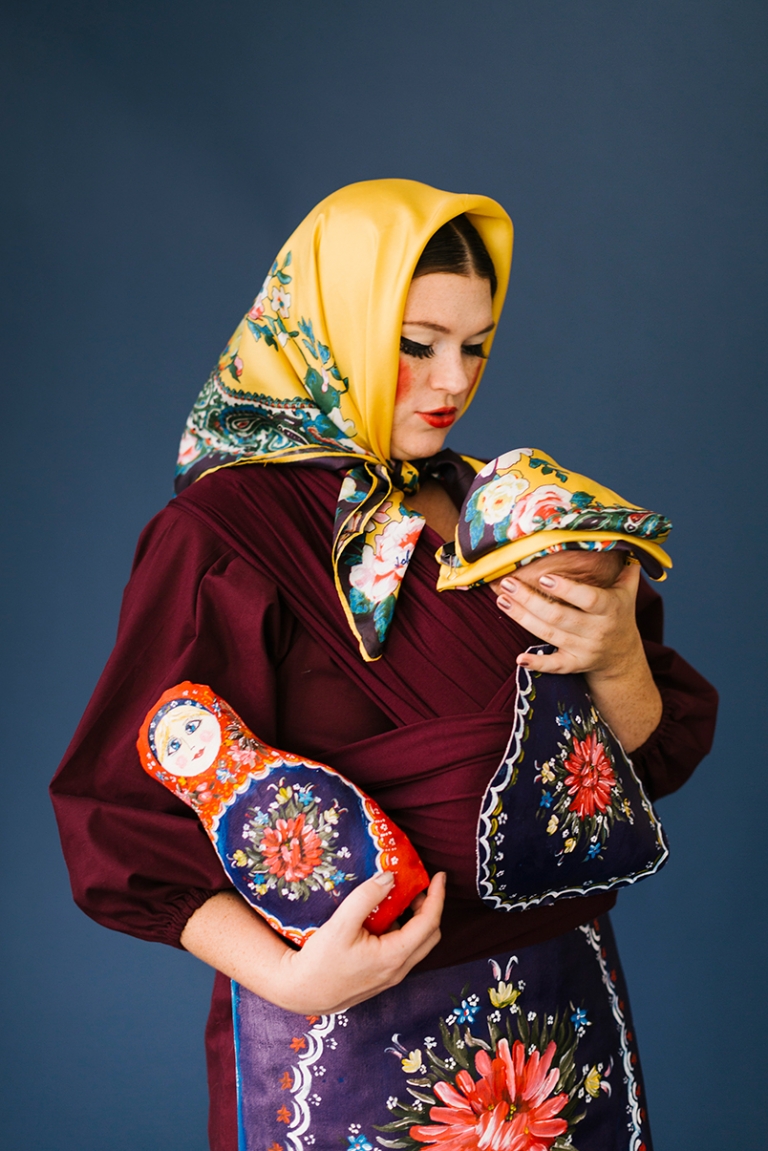
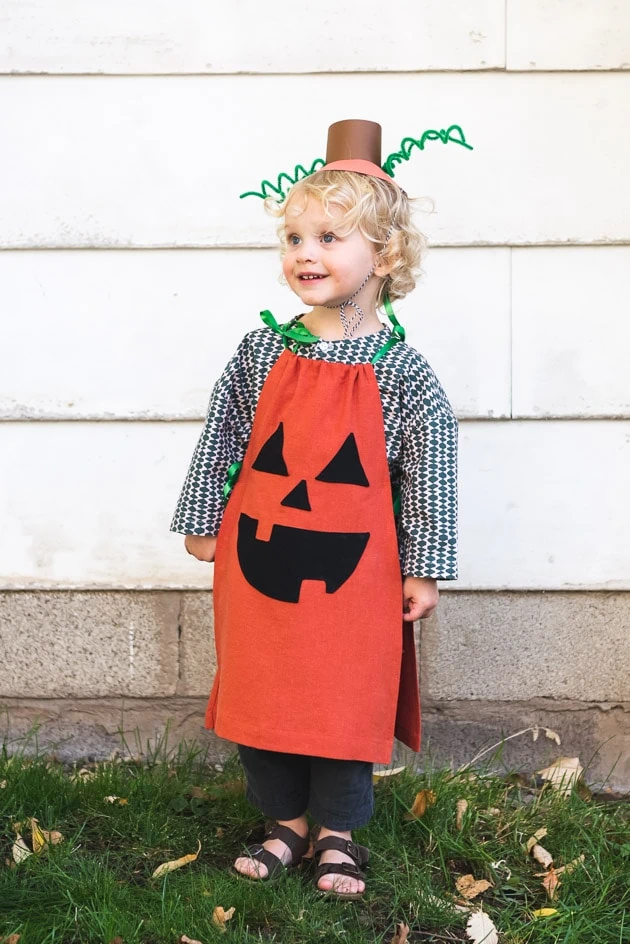
Mommy and Me Halloween Costumes
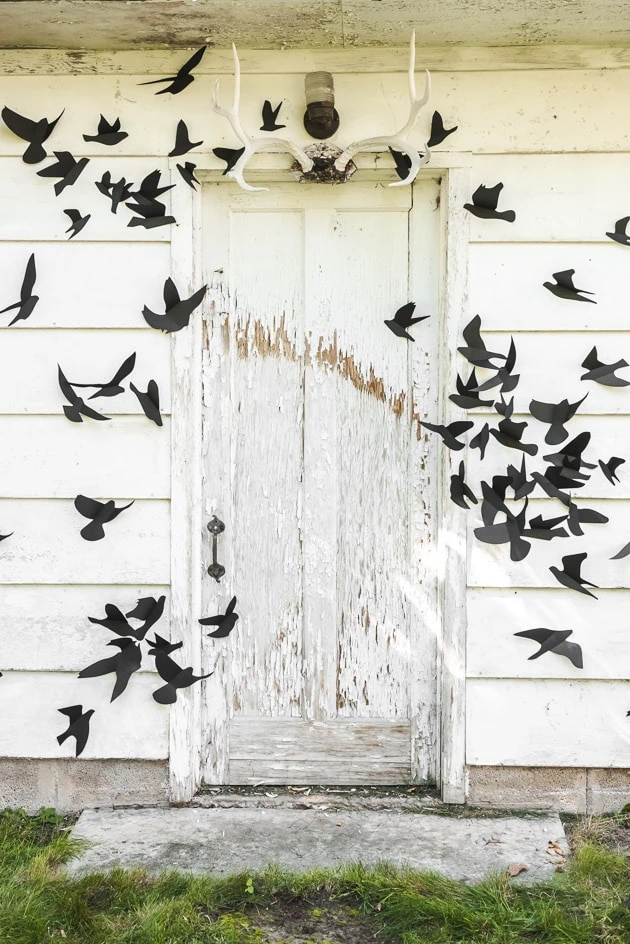
“The Birds” Halloween Wall Decor
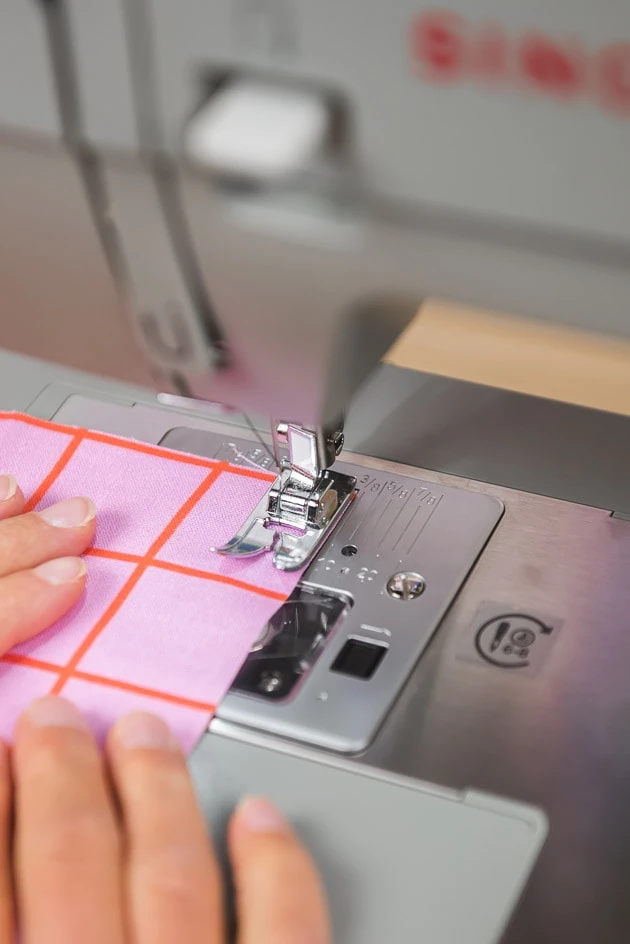
Sewing Basics: How to Read Seam Allowances

Interns: Where Are They Now? with Lindsey Deschamps
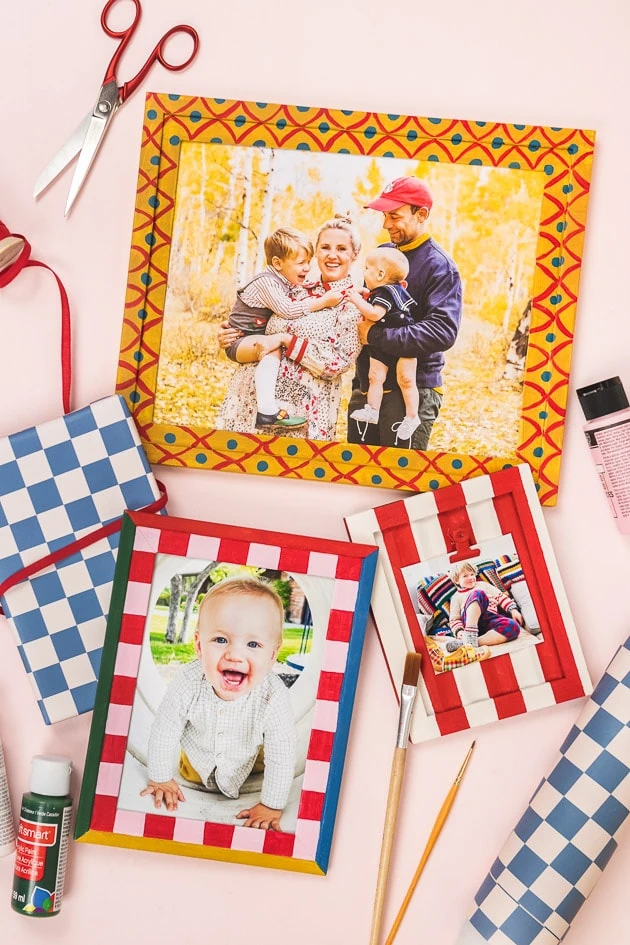
Painted Frames

Heirloom Ornament Craft Along!
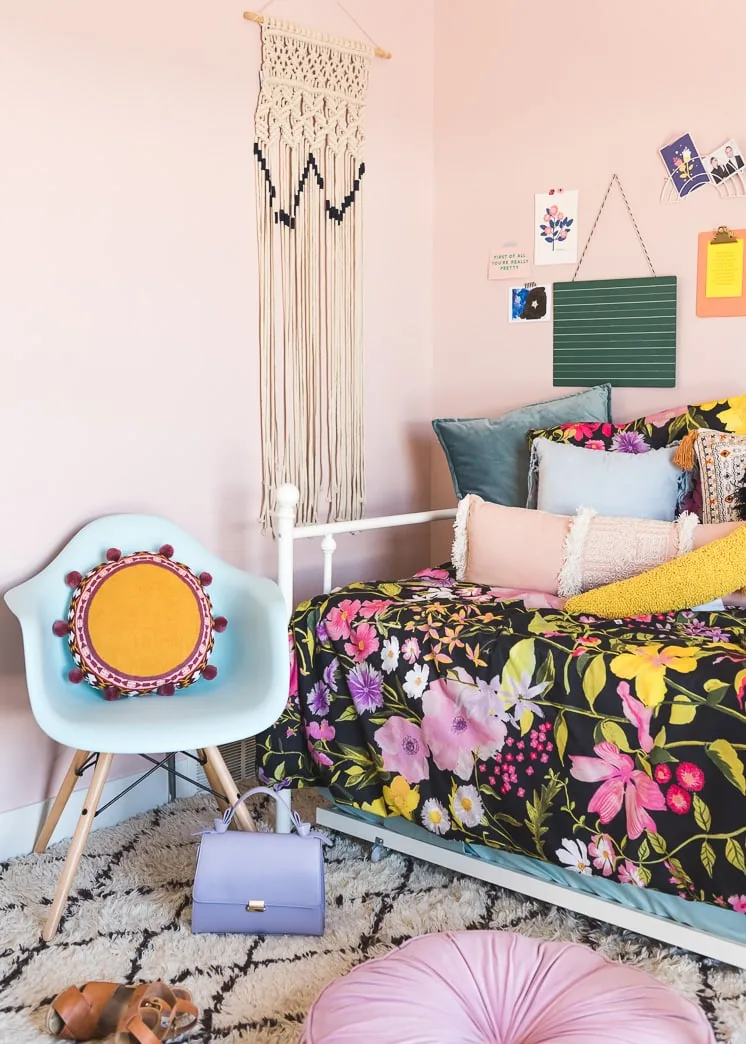
A Lars Girl’s Back to School Guide
Are you scared of color?
A shift here at Lars
- 1
- 2
- 3
- …
- 29
- Next Page »