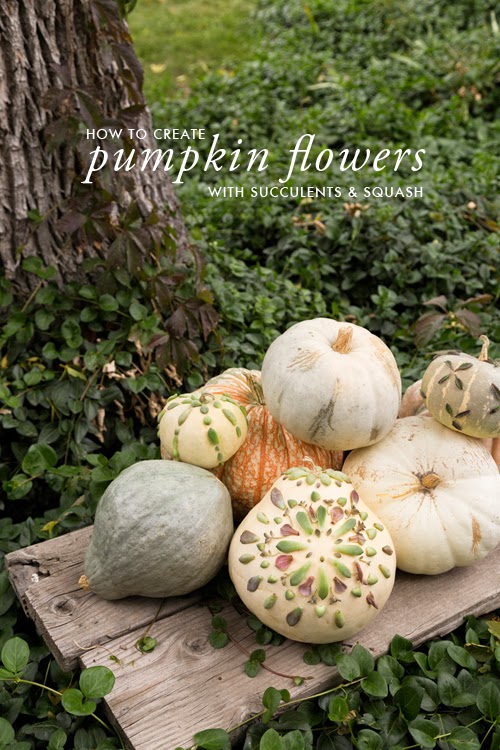
It’s the season for adorning your home and porch with pumpkins! We’ve got the perfect tutorials for all you plant enthusiasts and lovers of Halloween, fall, Thanksgiving and beyond. These decorative succulent pumpkin how-tos allow you to get crafty and show off your artistic skills for the holidays while also doing something a little bit different than everyone else.
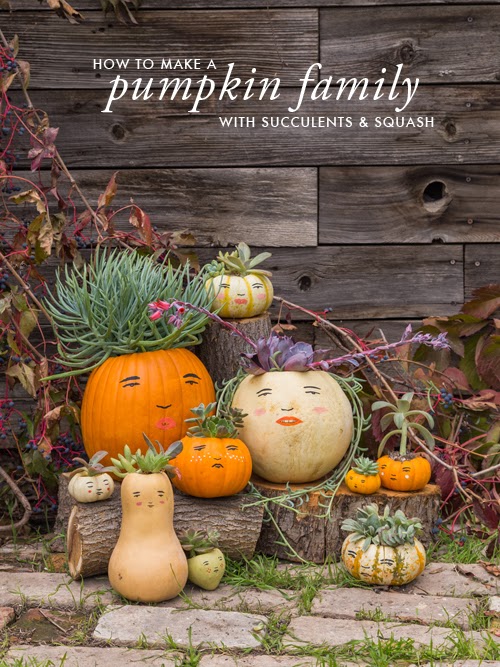
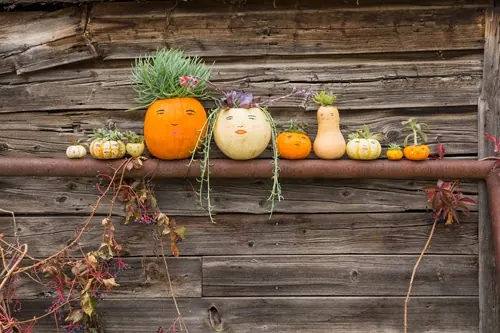
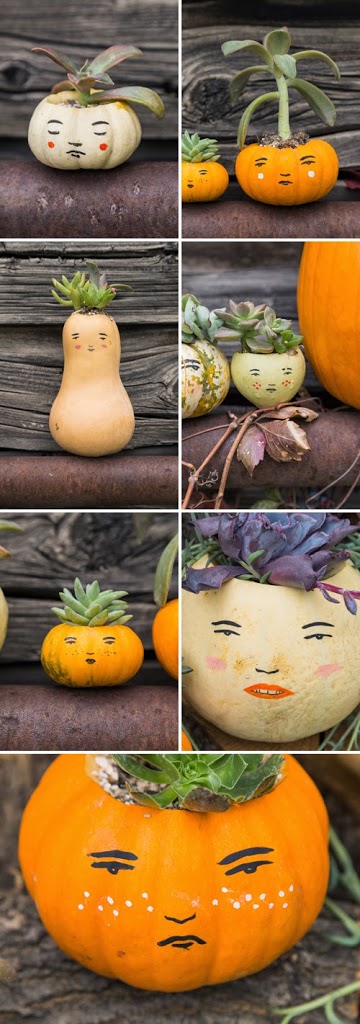
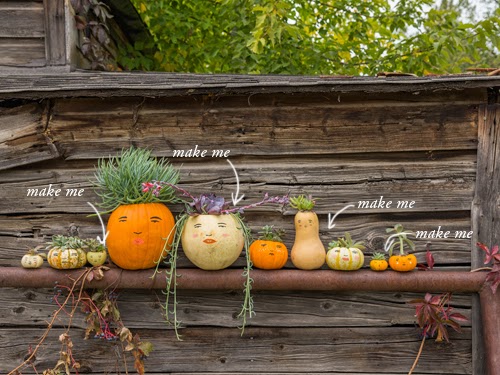
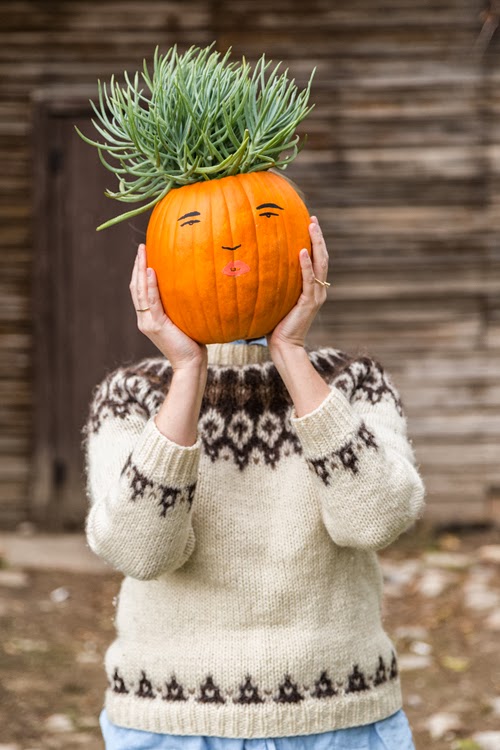
1. A Pumpkin Family with Succulents and Squash
Materials:
- Light-colored pumpkins (I found that white works the best)
- Acrylic paints (black and red and white are all you really need)
- Fine paintbrush
- Carving knife
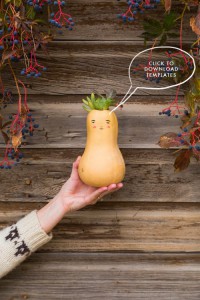
- Pumpkin faces PDF template (download here)
- Pencil
- A variety of succulents
- Rocks for succulents
Instructions:
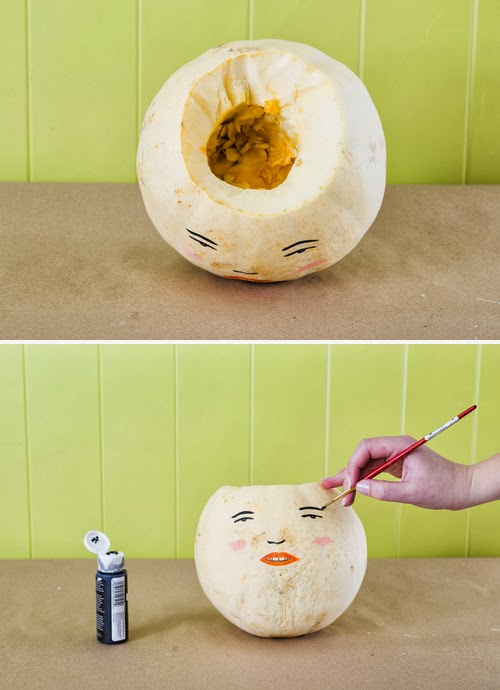
- Carve out the top. You won’t need it so feel free to discard.
- Scoop out the seeds.
- You can trace the faces onto the pumpkin by positioning the template where you want the face and then pressing hard with a pen or pencil.
OR 4. You can use pins or toothpicks to transfer the image onto the pumpkin.
OR 5. Use the template as a stencil and cut it out and paint over it with your brush.
6. Paint in the lines with your acrylic paints.
7. Die of cuteness overload.
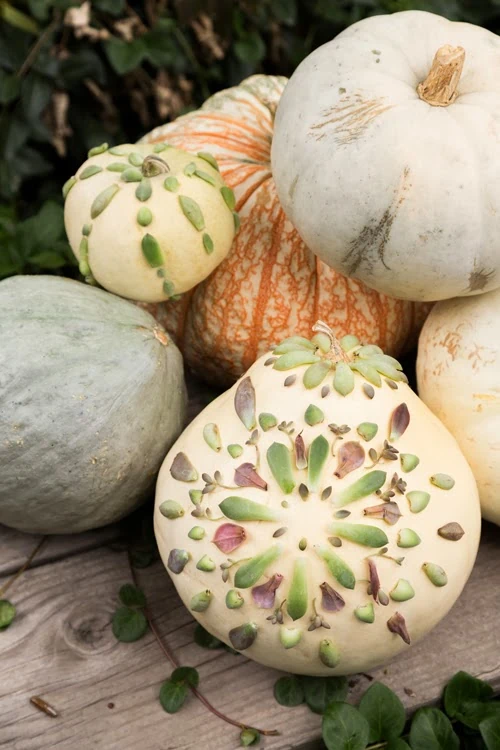
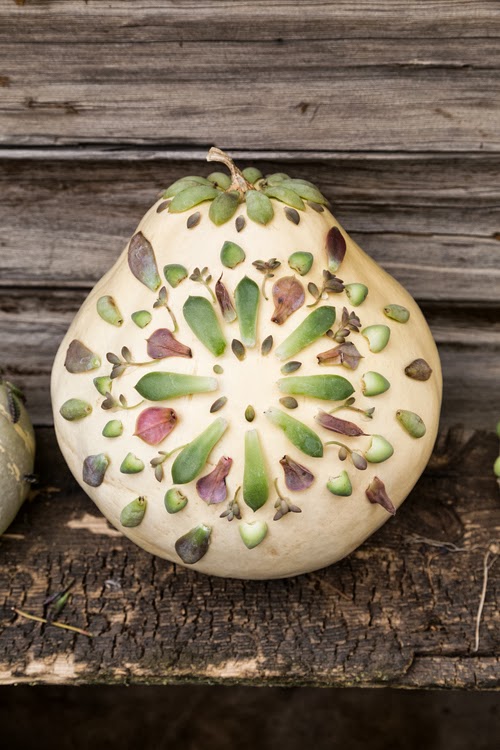
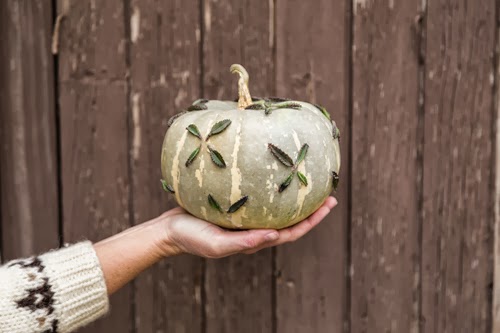
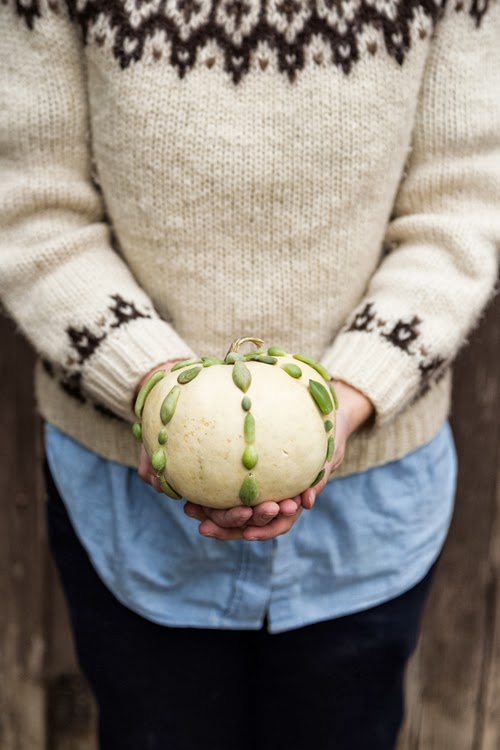
2. Succulents and flowers on pumpkins and squash
 Materials:
- Pumpkins (light-colored work best)
- Succulents in various shades
- Glue gun
Instructions:
- Break off the succulents carefully at the very base of where they meet the trunk.
- Apply hot glue onto the pumpkin and then apply the succulent. I found that when you applied it onto the succulent, it’s more prone to fall off.
Photography by Cassidy Tuttle of Succulents and Sunshine
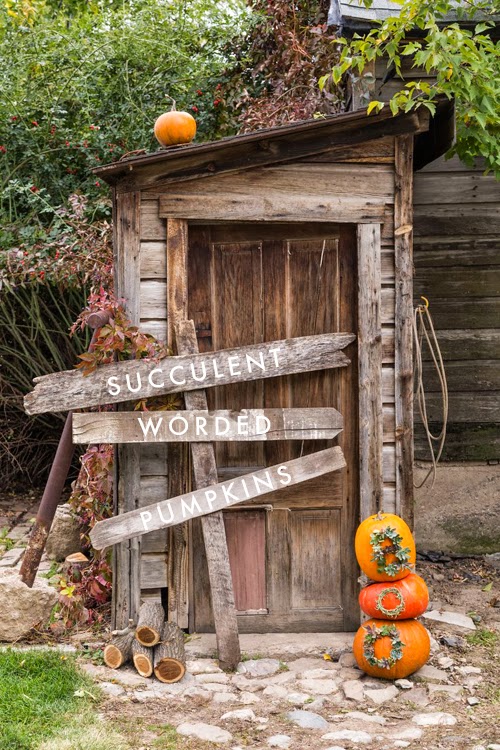
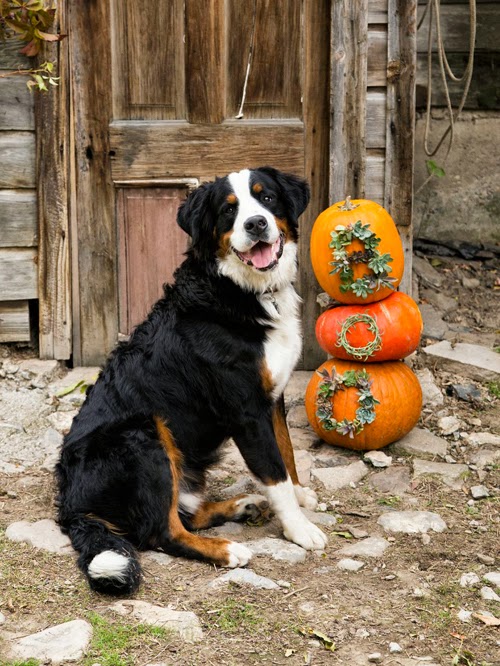
3. DIY Words made from Succulents Pumpkins
Materials:
- Succulent Cuttings
- Pumpkins (live or fake!)
- Hot glue or floral glue
- Toothpicks
- Permanent marker
Instructions:
- If you’re opting to stack your pumpkins, I applaud you! The first step is to stack the pumpkins how you want them displayed
- Use a permanent marker to trace the letters on your pumpkins (we decided “BOO” was a cute and easy phrase!)
- Attach the succulent cuttings to the pumpkins with hot glue, floral glue, or toothpicks. Cassidy decided that toothpicks work best for larger succulent cuttings. According to Cassidy, floral glue also works very well when working with succulents!
- If you decide to use the toothpick method, stick the toothpick into the pumpkin, leaving about 1/2″ sticking out. Then take your succulent cutting and stick it on the toothpick. Voila!
Get the full scoop on how to do it and pictures of the process on her blog, Succulents and Sunshine. Let me know in the comments what you chose for your phrase and how your own succulent worded pumpkins turned out!
These worded succulent pumpkins will surely turn heads of passersby. And as if these worded pumpkins are not cute enough…
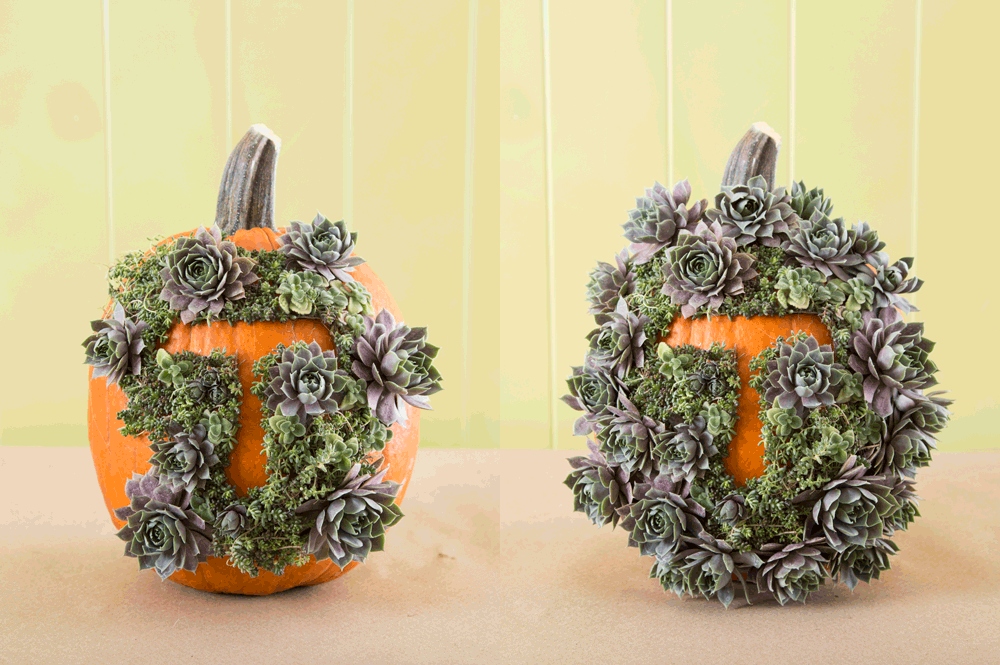
4. DIY Succulent Monogram Pumpkin
Materials:
- Succulent Cuttings
- A pumpkin (live or fake!)
- Hot glue gun or floral glue
- Marker (for tracing initials on the pumpkin)
Instructions:
- Use the marker to draw an outline of your letter on the pumpkin
- Glue small succulents onto the marker line
- Cover the rest of the pumpkin with succulents of your choice!
Succulent Pumpkin Variations
If you’re not that great at handling live plants, you could use fake succulents and a fake pumpkin to save it for future holidays. If you love succulents AND flowers, check out some of our paper flower tutorials here and here (with many more tutorials throughout the Lars archives!) to position flowers between your succulents. Place your succulent monogram pumpkins on your doorstep or inside your home for a stylish, succulent-filled Halloween!


