

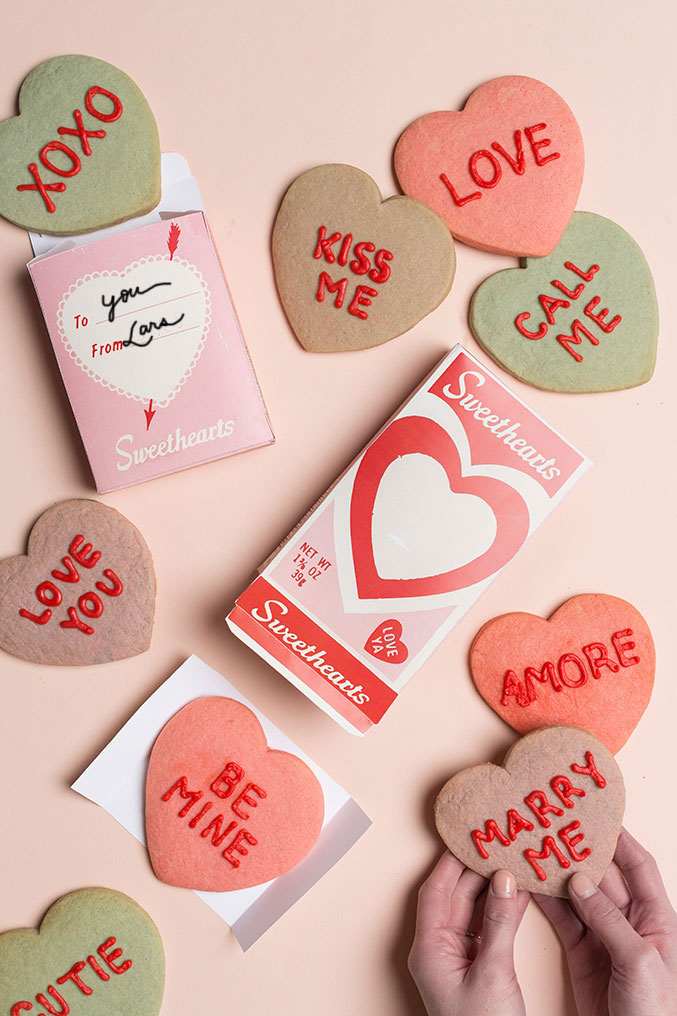
Are you dying of cuteness overload? I nearly did as we were shooting these little guys. There’s nothing more charming that making a small object giant like these conversation heart cookies. AND the icing on the cake is the printable box they come in. I mean…come on! So cute! Give them out at school or hand them out to neighbors! So many uses for those boxes alone!
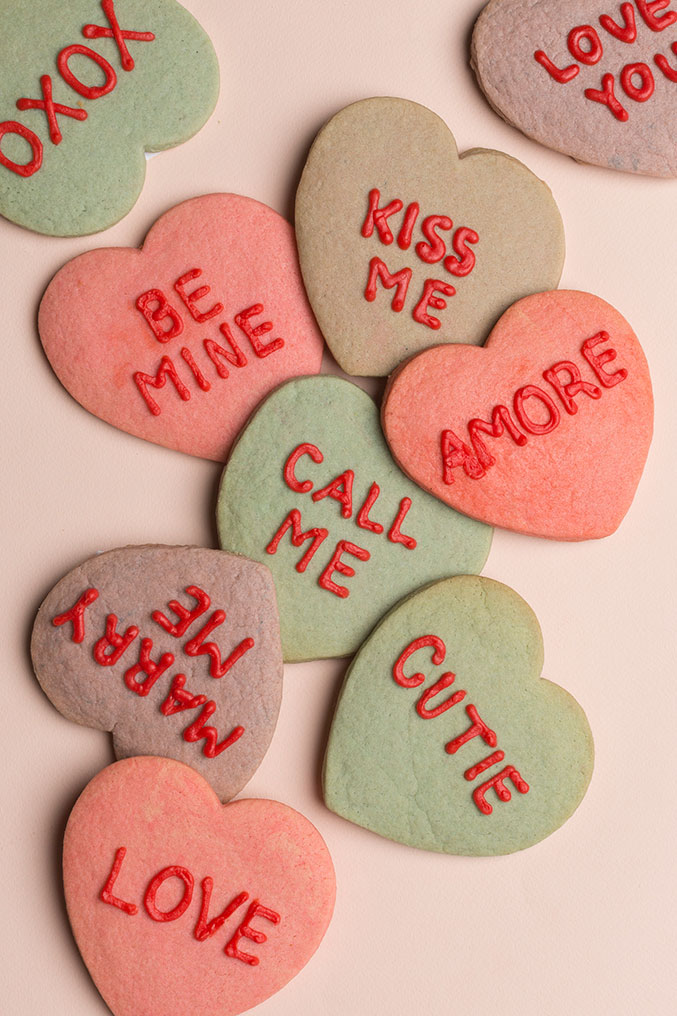
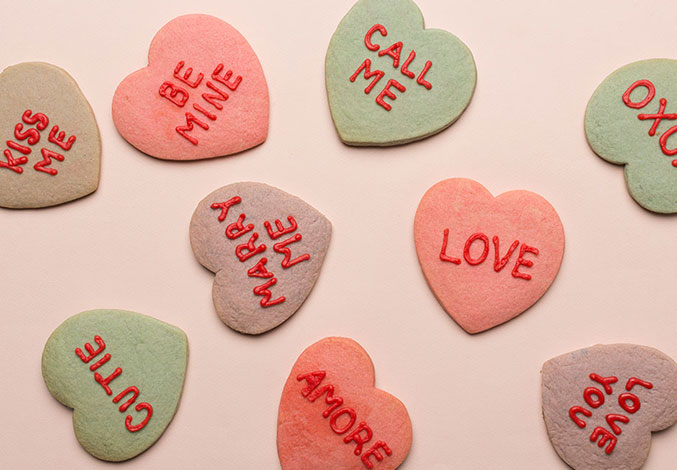
Rather than create colored icing, ME worked at dyeing the cookie itself. Much less frosting and easier to transport too!
baking by ME Hammond | packaging by Ashley Isenhour | photography by Trisha Zemp
See the full tutorial below.
Conversation heart cookies by ME Hammond
You will need:
One batch of sugar cookie dough
Purple, pink, green, and blue food coloring
Red frosting
Piping bag and tip
Heart shaped cookie cutter
1. Split up the cookie dough into 4 even parts
2. Dye each separate dough ball desired color by beating the dough in a stand mixer with paddle attachment and just a few drops of coloring. Remember you can always add more but you can’t take it out! But in this case the colors will fade slightly during baking so you may want to make them a little brighter. (You can always do this with your hands if you don’t have a stand mixer, just knead in the coloring and be prepared to have colorful hands…)
3. Cut dough into heart shapes.
4. Bake cookies!
5. Allow time to cool.
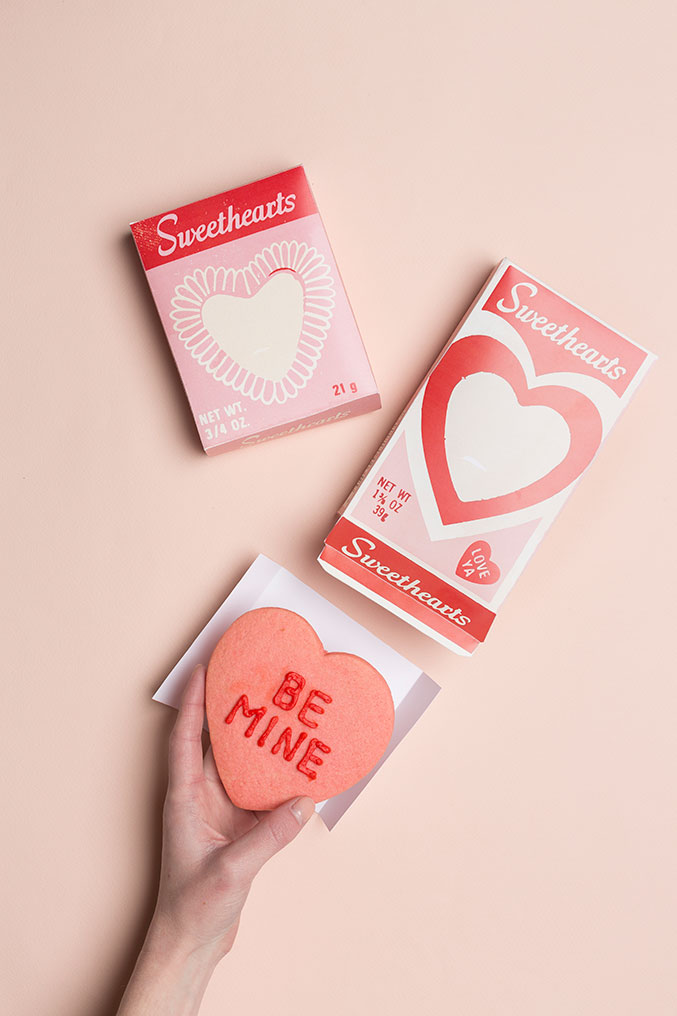
6. Once cookies are cooled, pipe conversation heart phrases (such as “BE MINE” or “CALL ME”) on each cookie with red frosting.
7. Enjoy your cookie!
Sugar cookie dough recipe:
1 c. butter
1 1/4 c. sugar
2 large eggs
1 T. vanilla
1/2 t. baking soda
2 3/4 c. all purpose flour
1. Beat together butter and sugar until light and fluffy.
2. Add eggs one at a time and beat well
3. Add vanilla
4. Add dry ingredients
5. Refrigerate for 2 hours
Conversation heart box for a cookie by Ashley Isenhour
- Download the PDF
- Follow the instructions on the PDF
- Assemble and insert cookie. Voila!