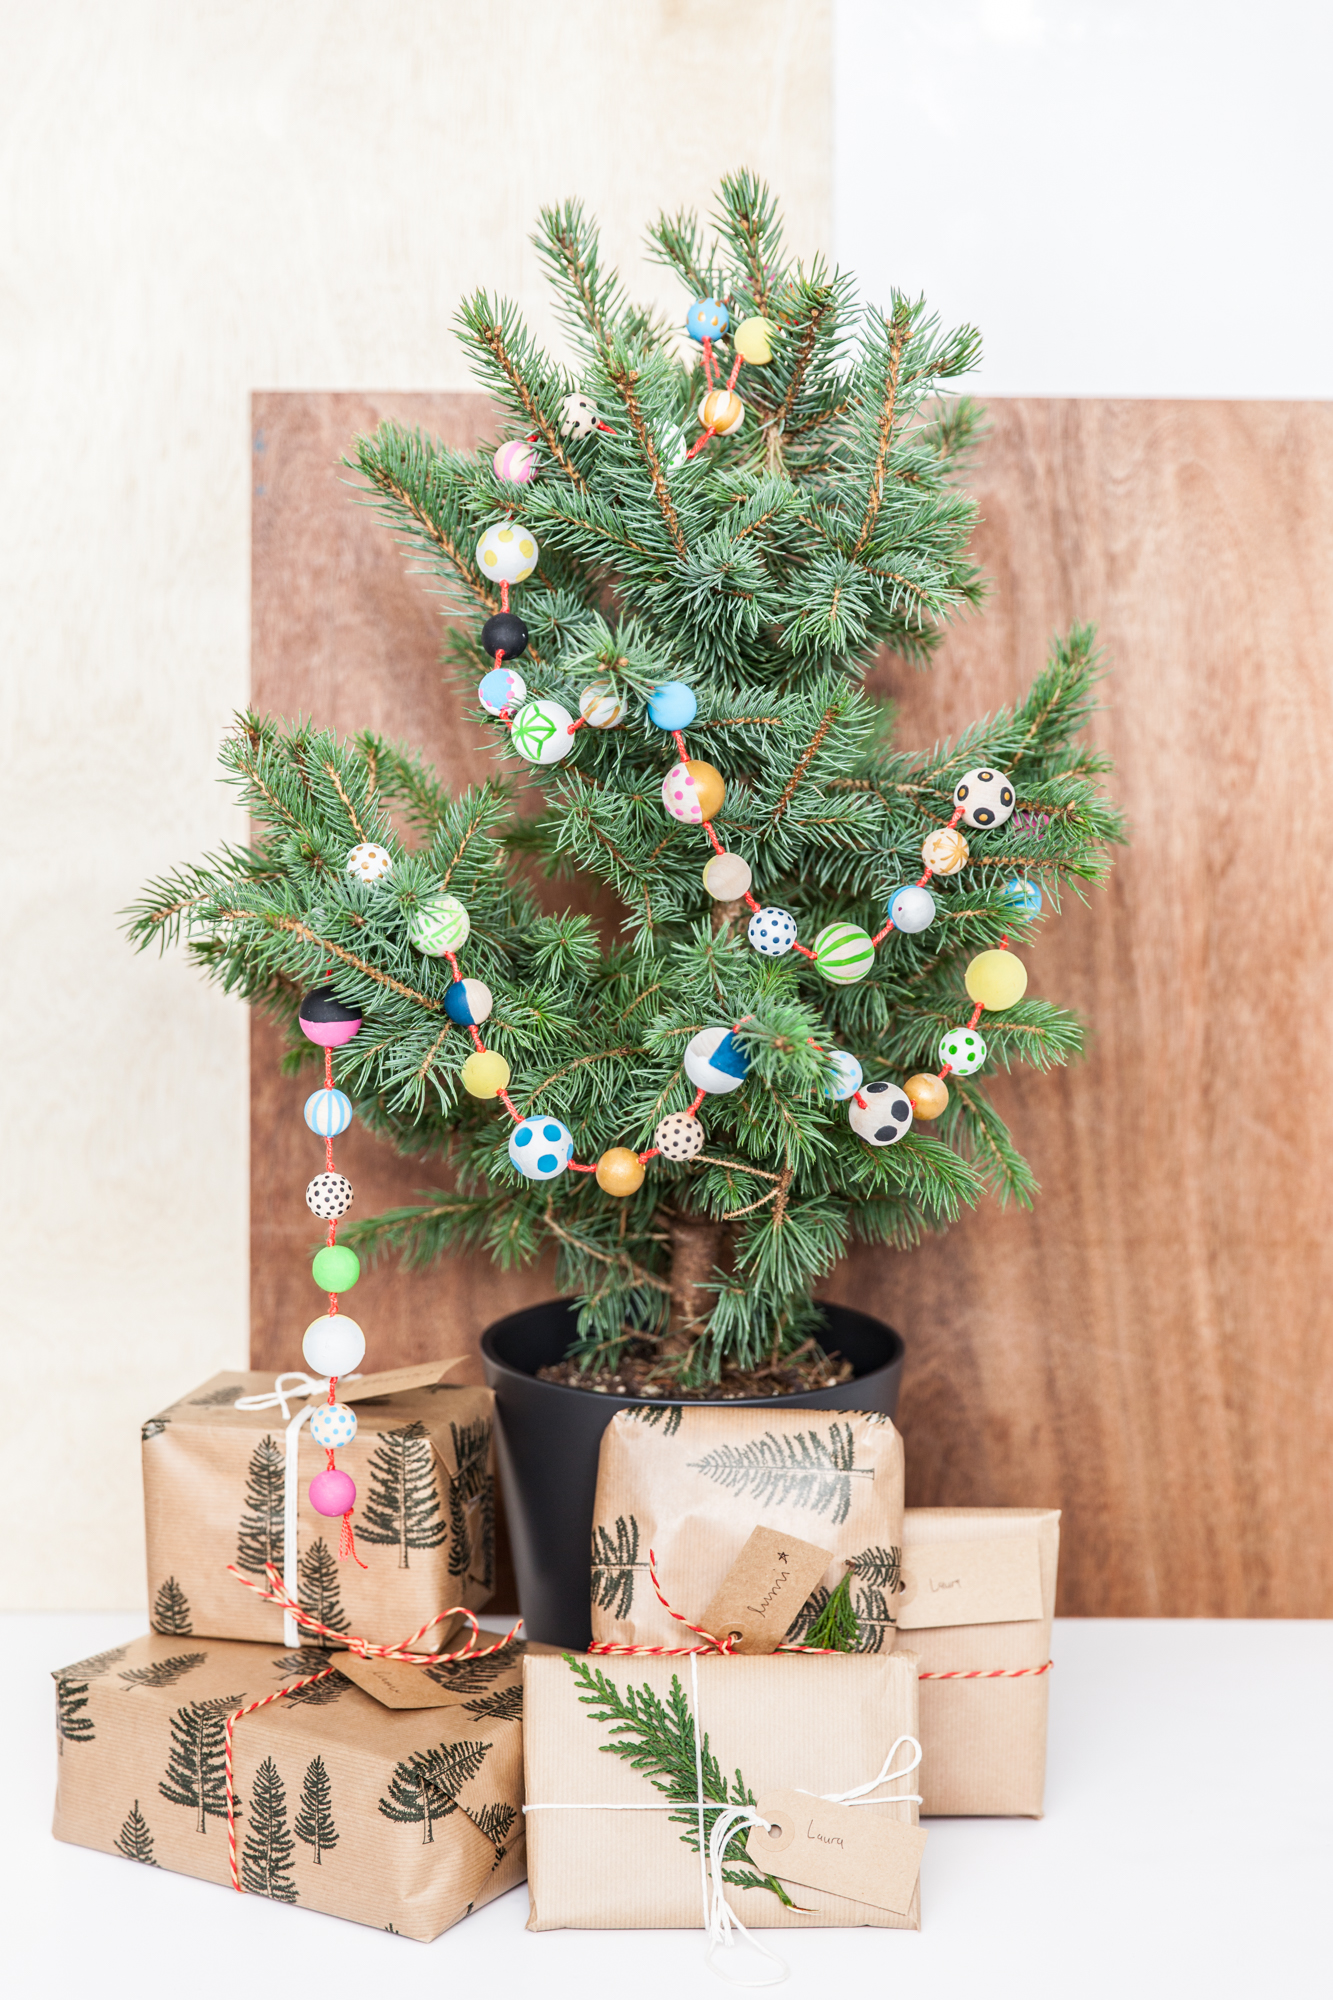
We have another holiday collaboration tutorial! Today Kathryn of Studio Cultivate is showing us how to create this DIY wood bead garland. It’s the perfect way to show off your own style on your Christmas tree this year!
Read below to learn how to make your own wood bead garland!
Materials:
I’ve loved the use of wood beads that have started to pop up in handmade and lifestyle products. Wanting to bring a touch of the soft wood with a modern shape to my holiday decorating, we created this twist on traditional garlands and color schemes and played up the bright pops of color and patterns to add more festive cheer to our mini tree. Read below for the full DIY wood bead garland tutorial!


DIY wood bead garland
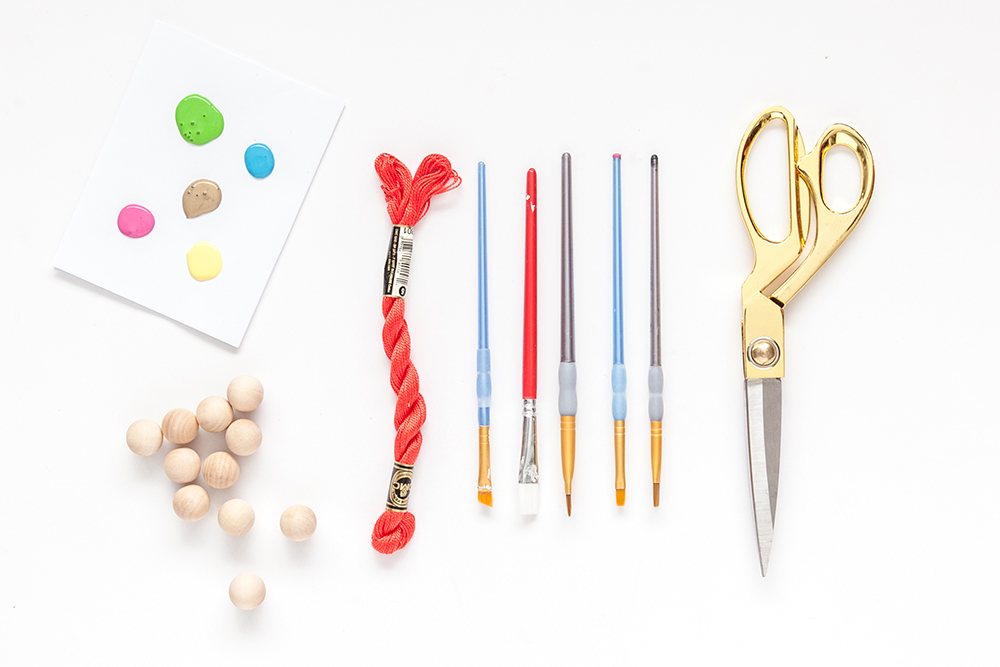
Materials:
- Wood Beads or Wood Balls (3/4in. and 1 in. in size)
- Drill
- Drill Bit 3/16in.
- Scissors
- Embroidery Floss
- Acrylic Craft Paint
- Paint Brushes
Instructions:
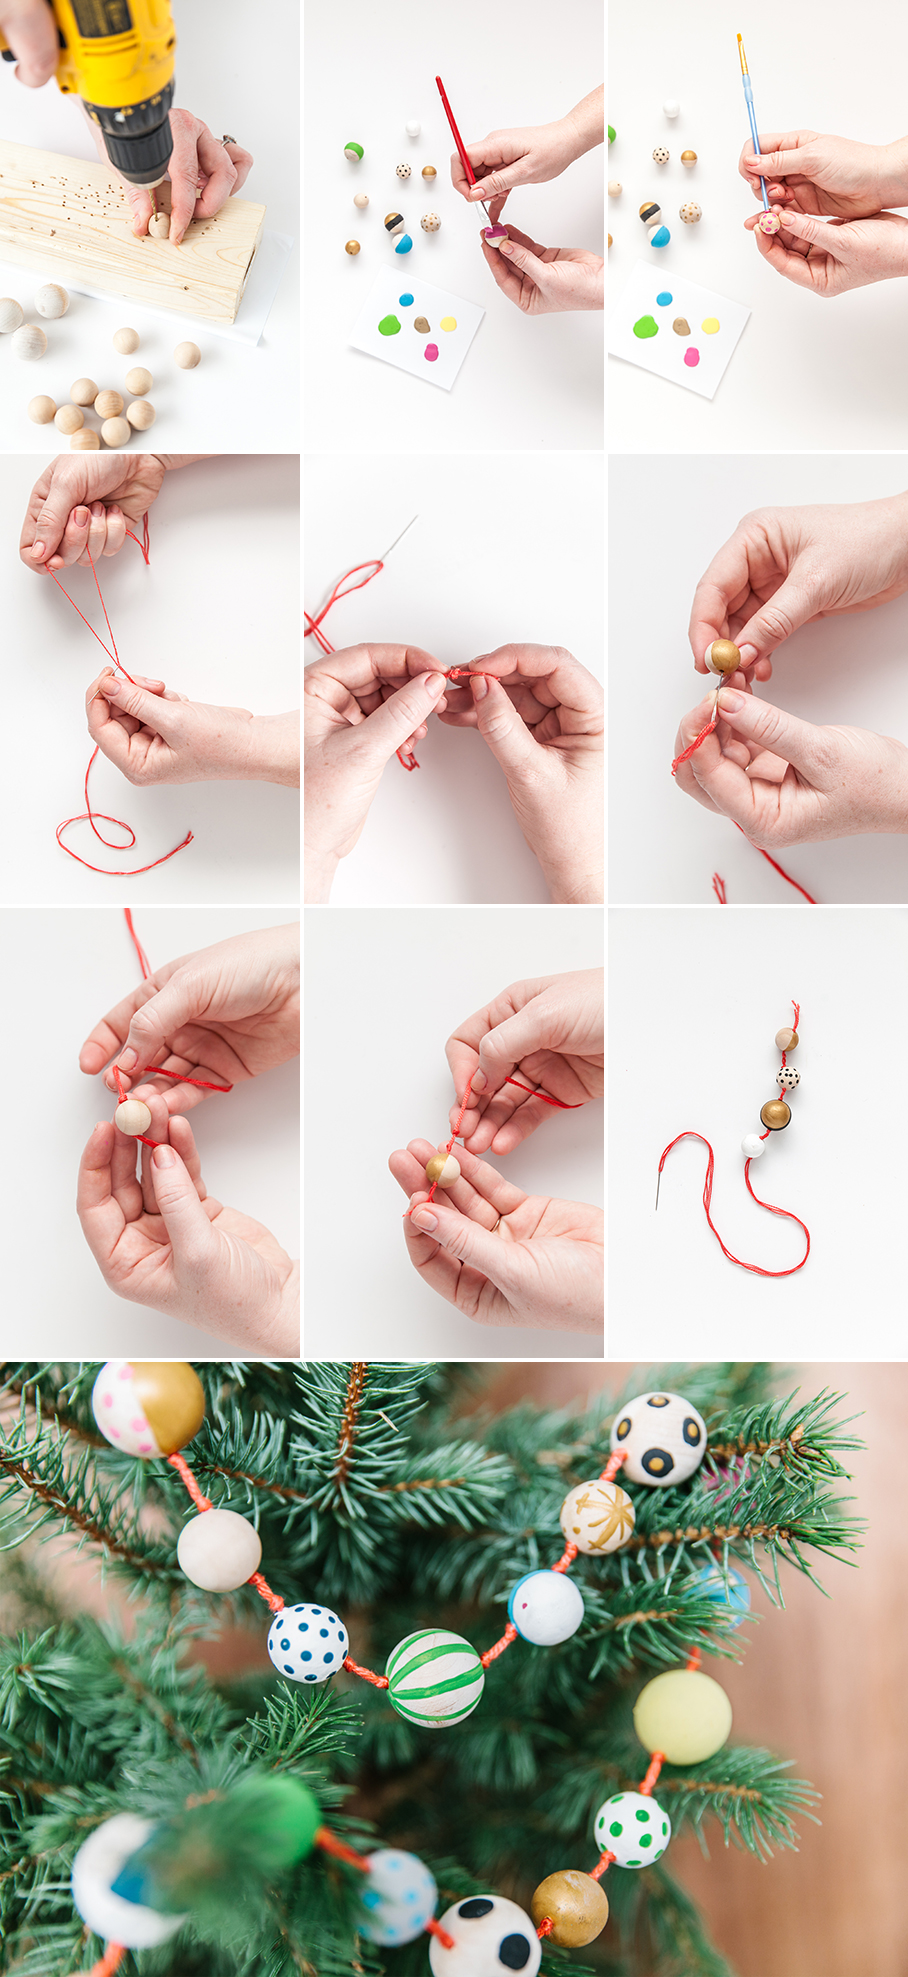
- If comfortable with a drill, use a piece of scrap wood as a base and drill holes through wood balls to make beads.
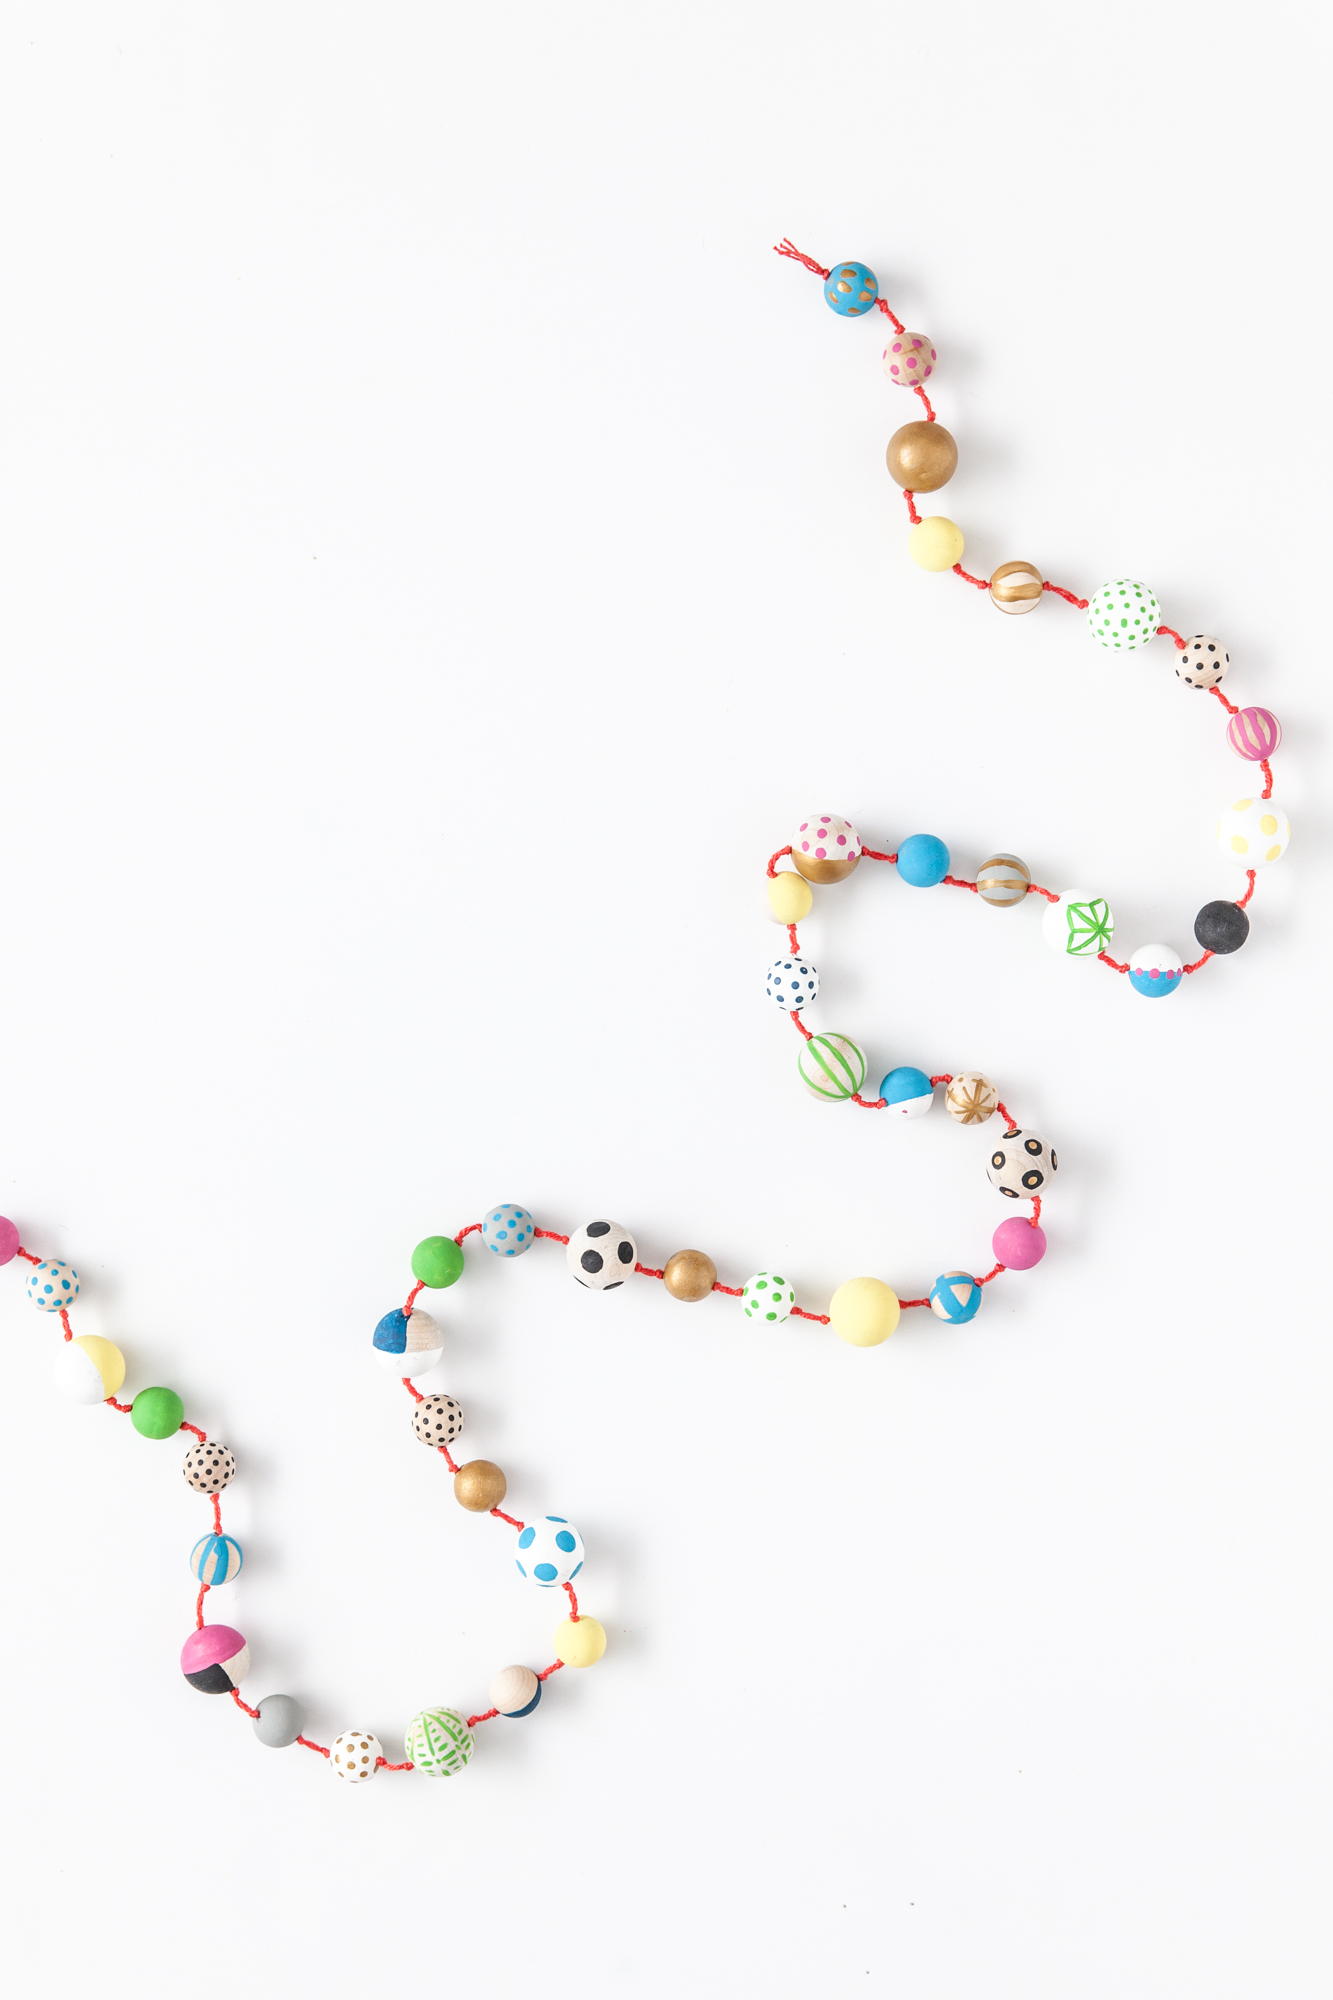
- Select your paint colors and have fun coming up with different patterns to paint the beads, we painted a lot of stripes, solids, and dots. Mix it up, leave some beads with exposed wood and just dots/stripes, while painting others solid with added patterns. You can even paint your beads to match your other tree/ holiday decor.
- To make easy near perfect dots, use the end of your paintbrush for a tiny dot, and use the eraser of a pencil for large dots.
- Measure two lengths of embroidery floss to twice as long as your preferred length of garland. Thread these two strings onto the needle at the midway point.
- Fold the string in half, and bring the 4 ends together in a double knot. This will provide enough thickness for weight to hold the beads and have a fun color pop.
- Thread your first bead, then tie another double knot tight to the end of the bead.
- Tie the next double knot at 1/4in distance and thread the next bead. Repeat the steps of knotting every 1/4in between beads. Alternate the size beads (3/4 in, 3/4in, 1 in, 3/4in, 3/4in, 1in) until the length of garland is complete.
- Done! Deck the halls and boughs for some festive and bright cheer!
Don’t forget to check out our Instagram for more crafting inspiration and tag your holiday decorating and DIY’s #holidayswithlars


