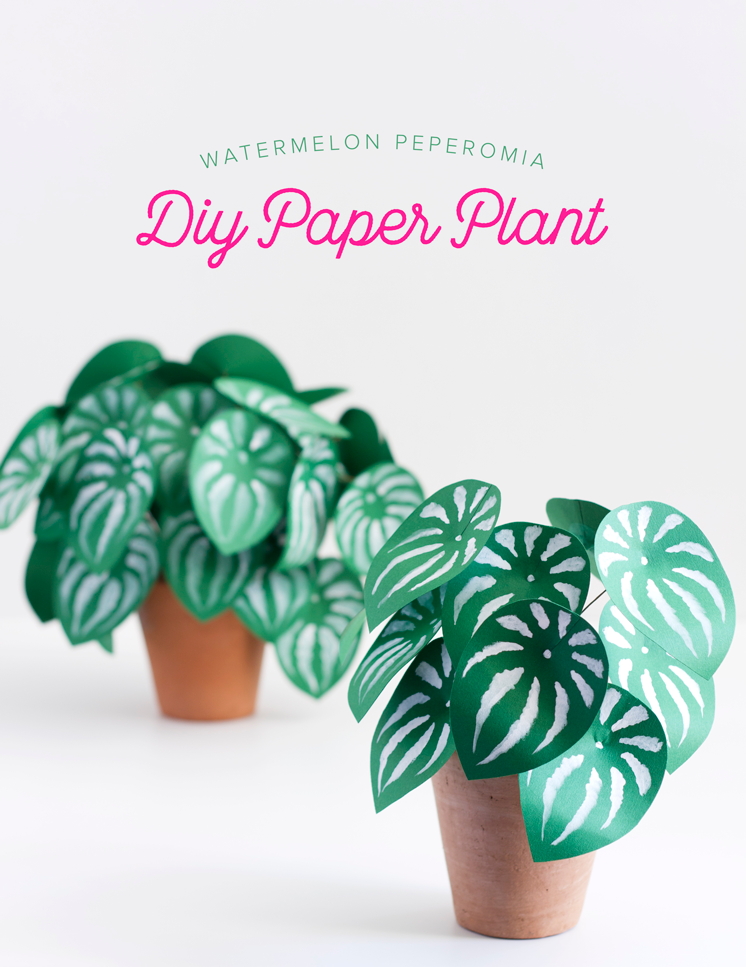
by Corrie Beth Hogg of Apple of My DIY
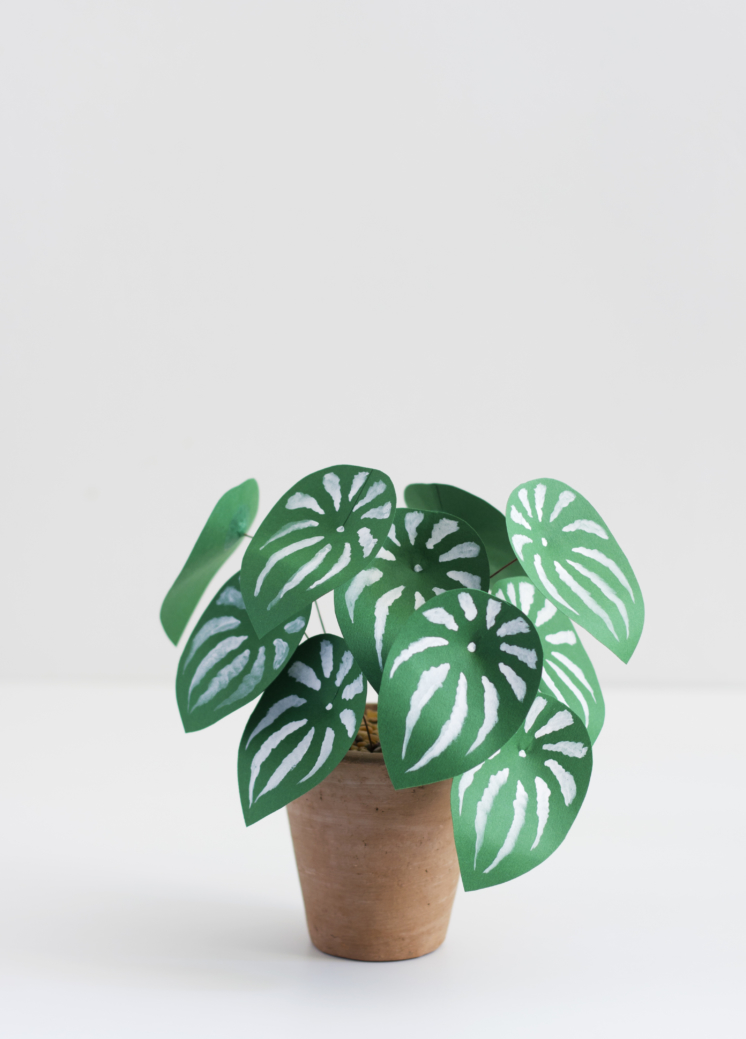
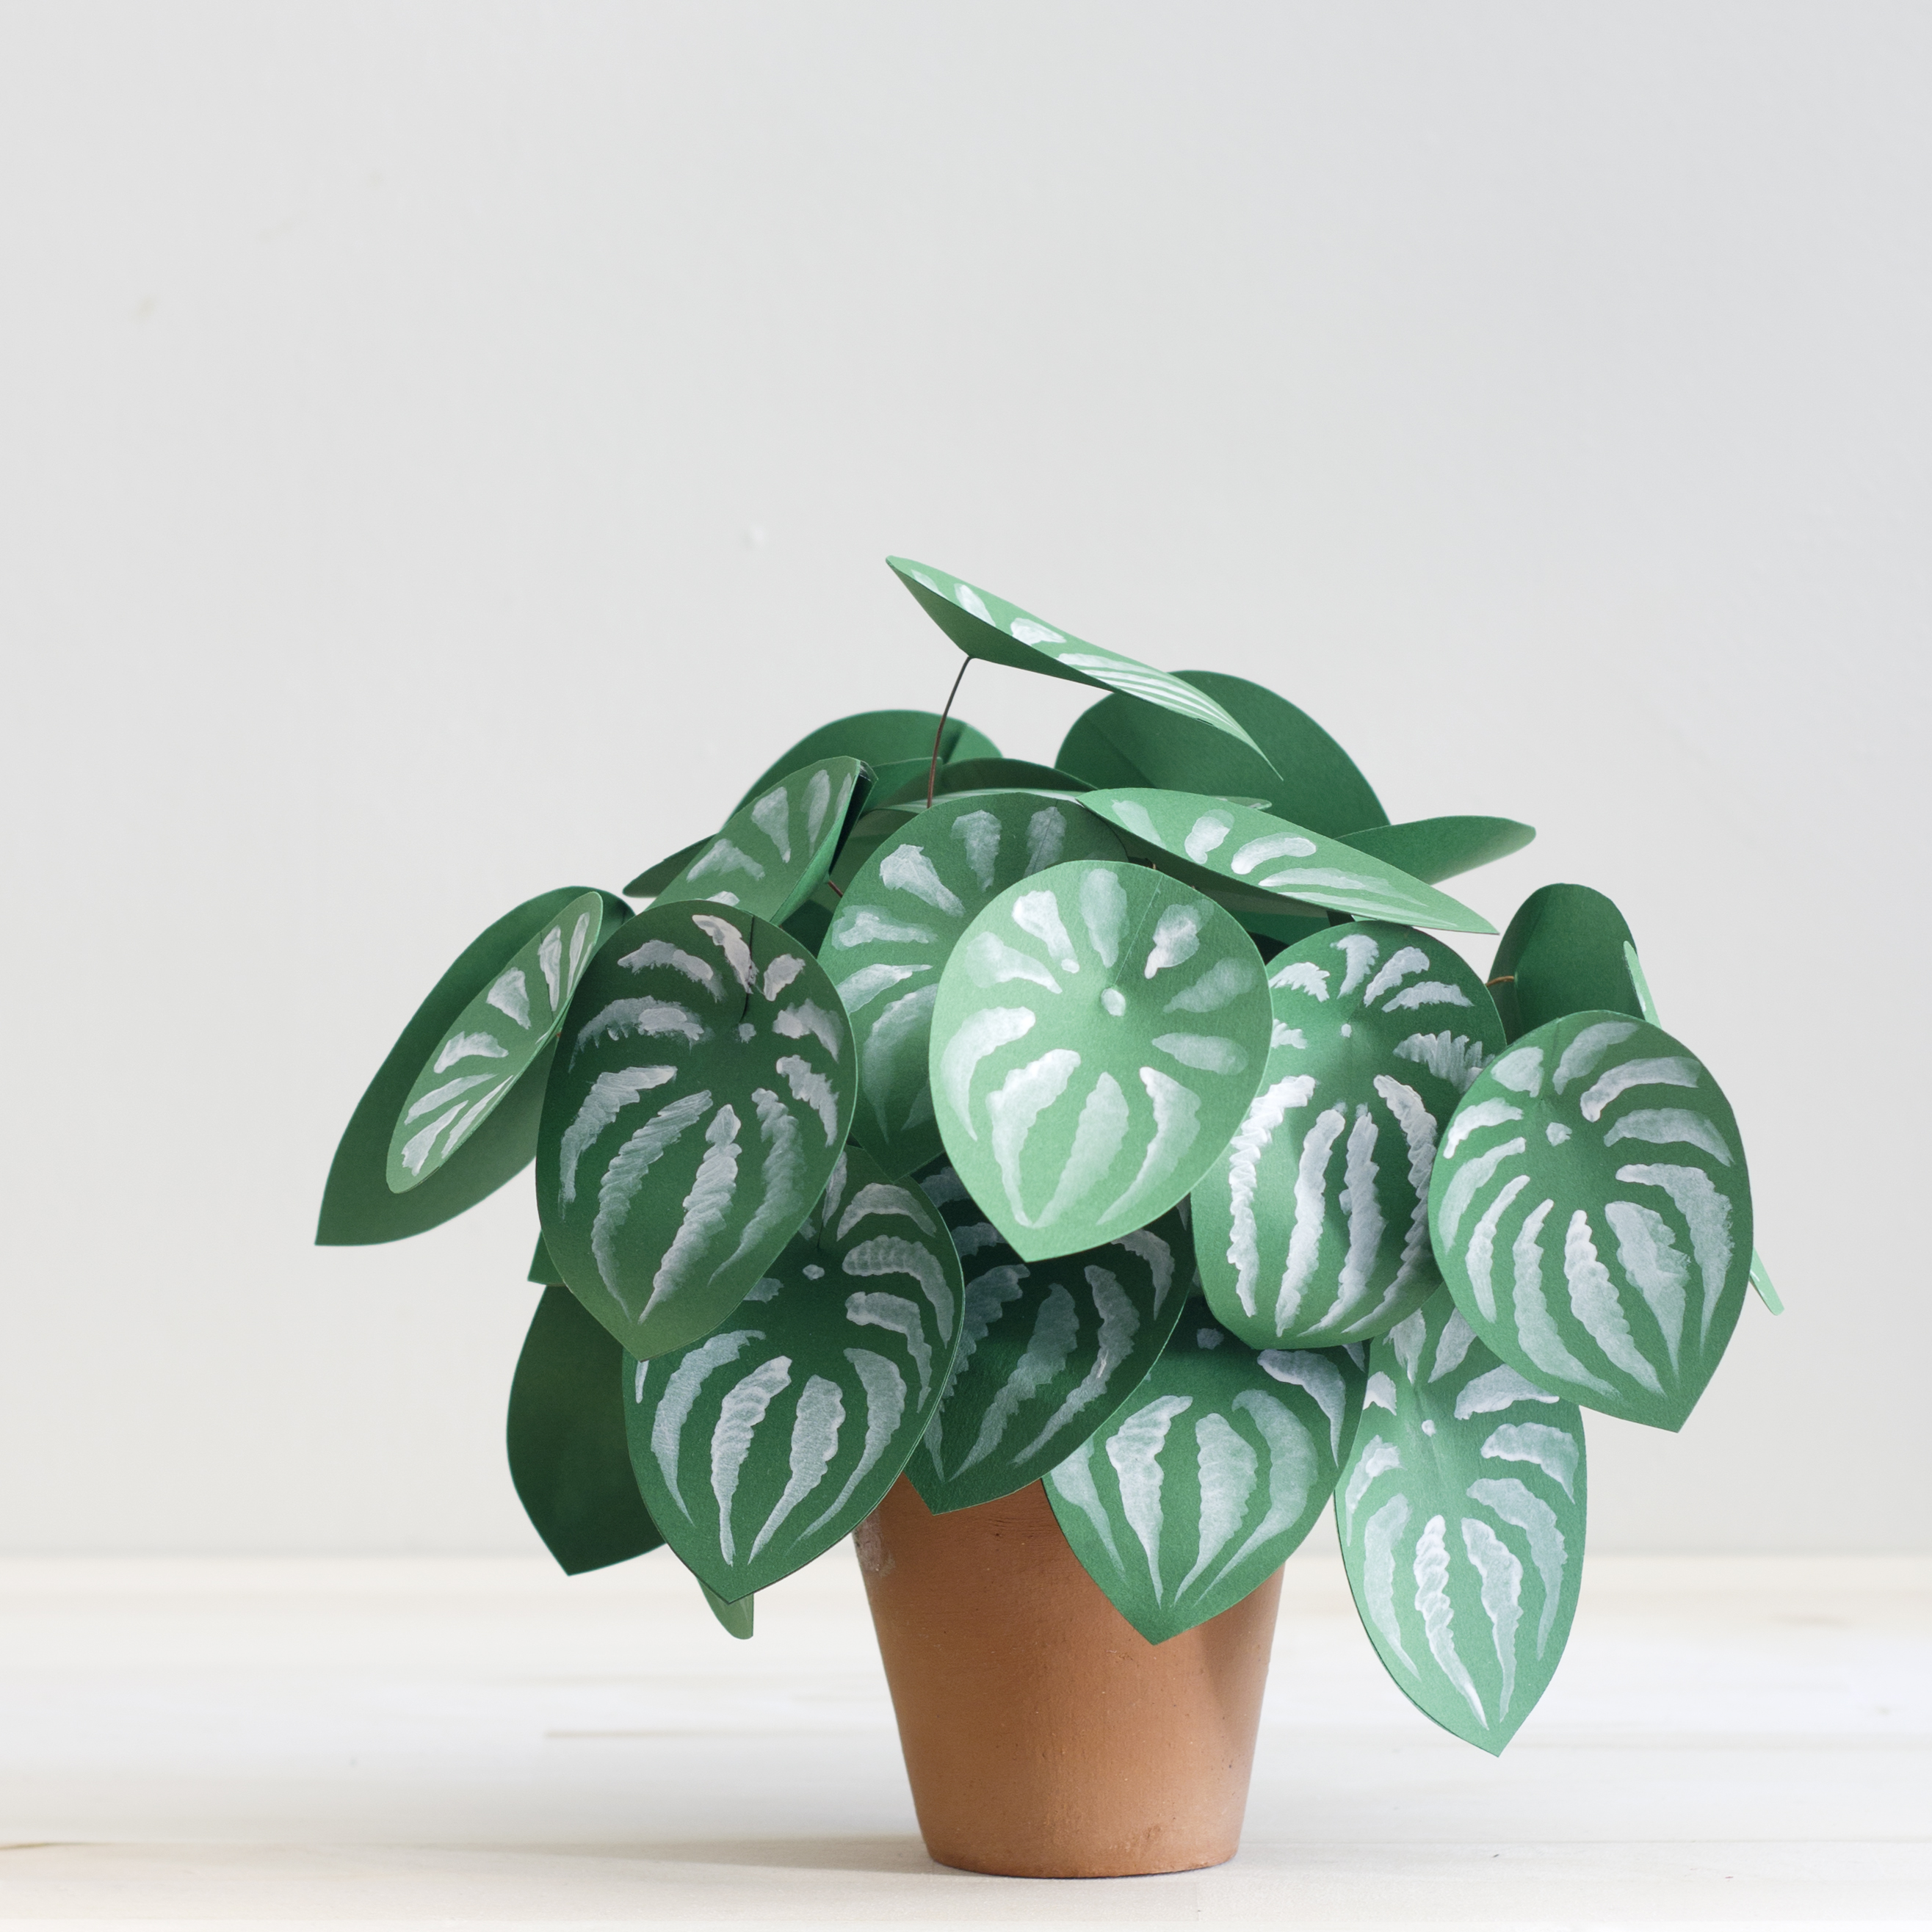
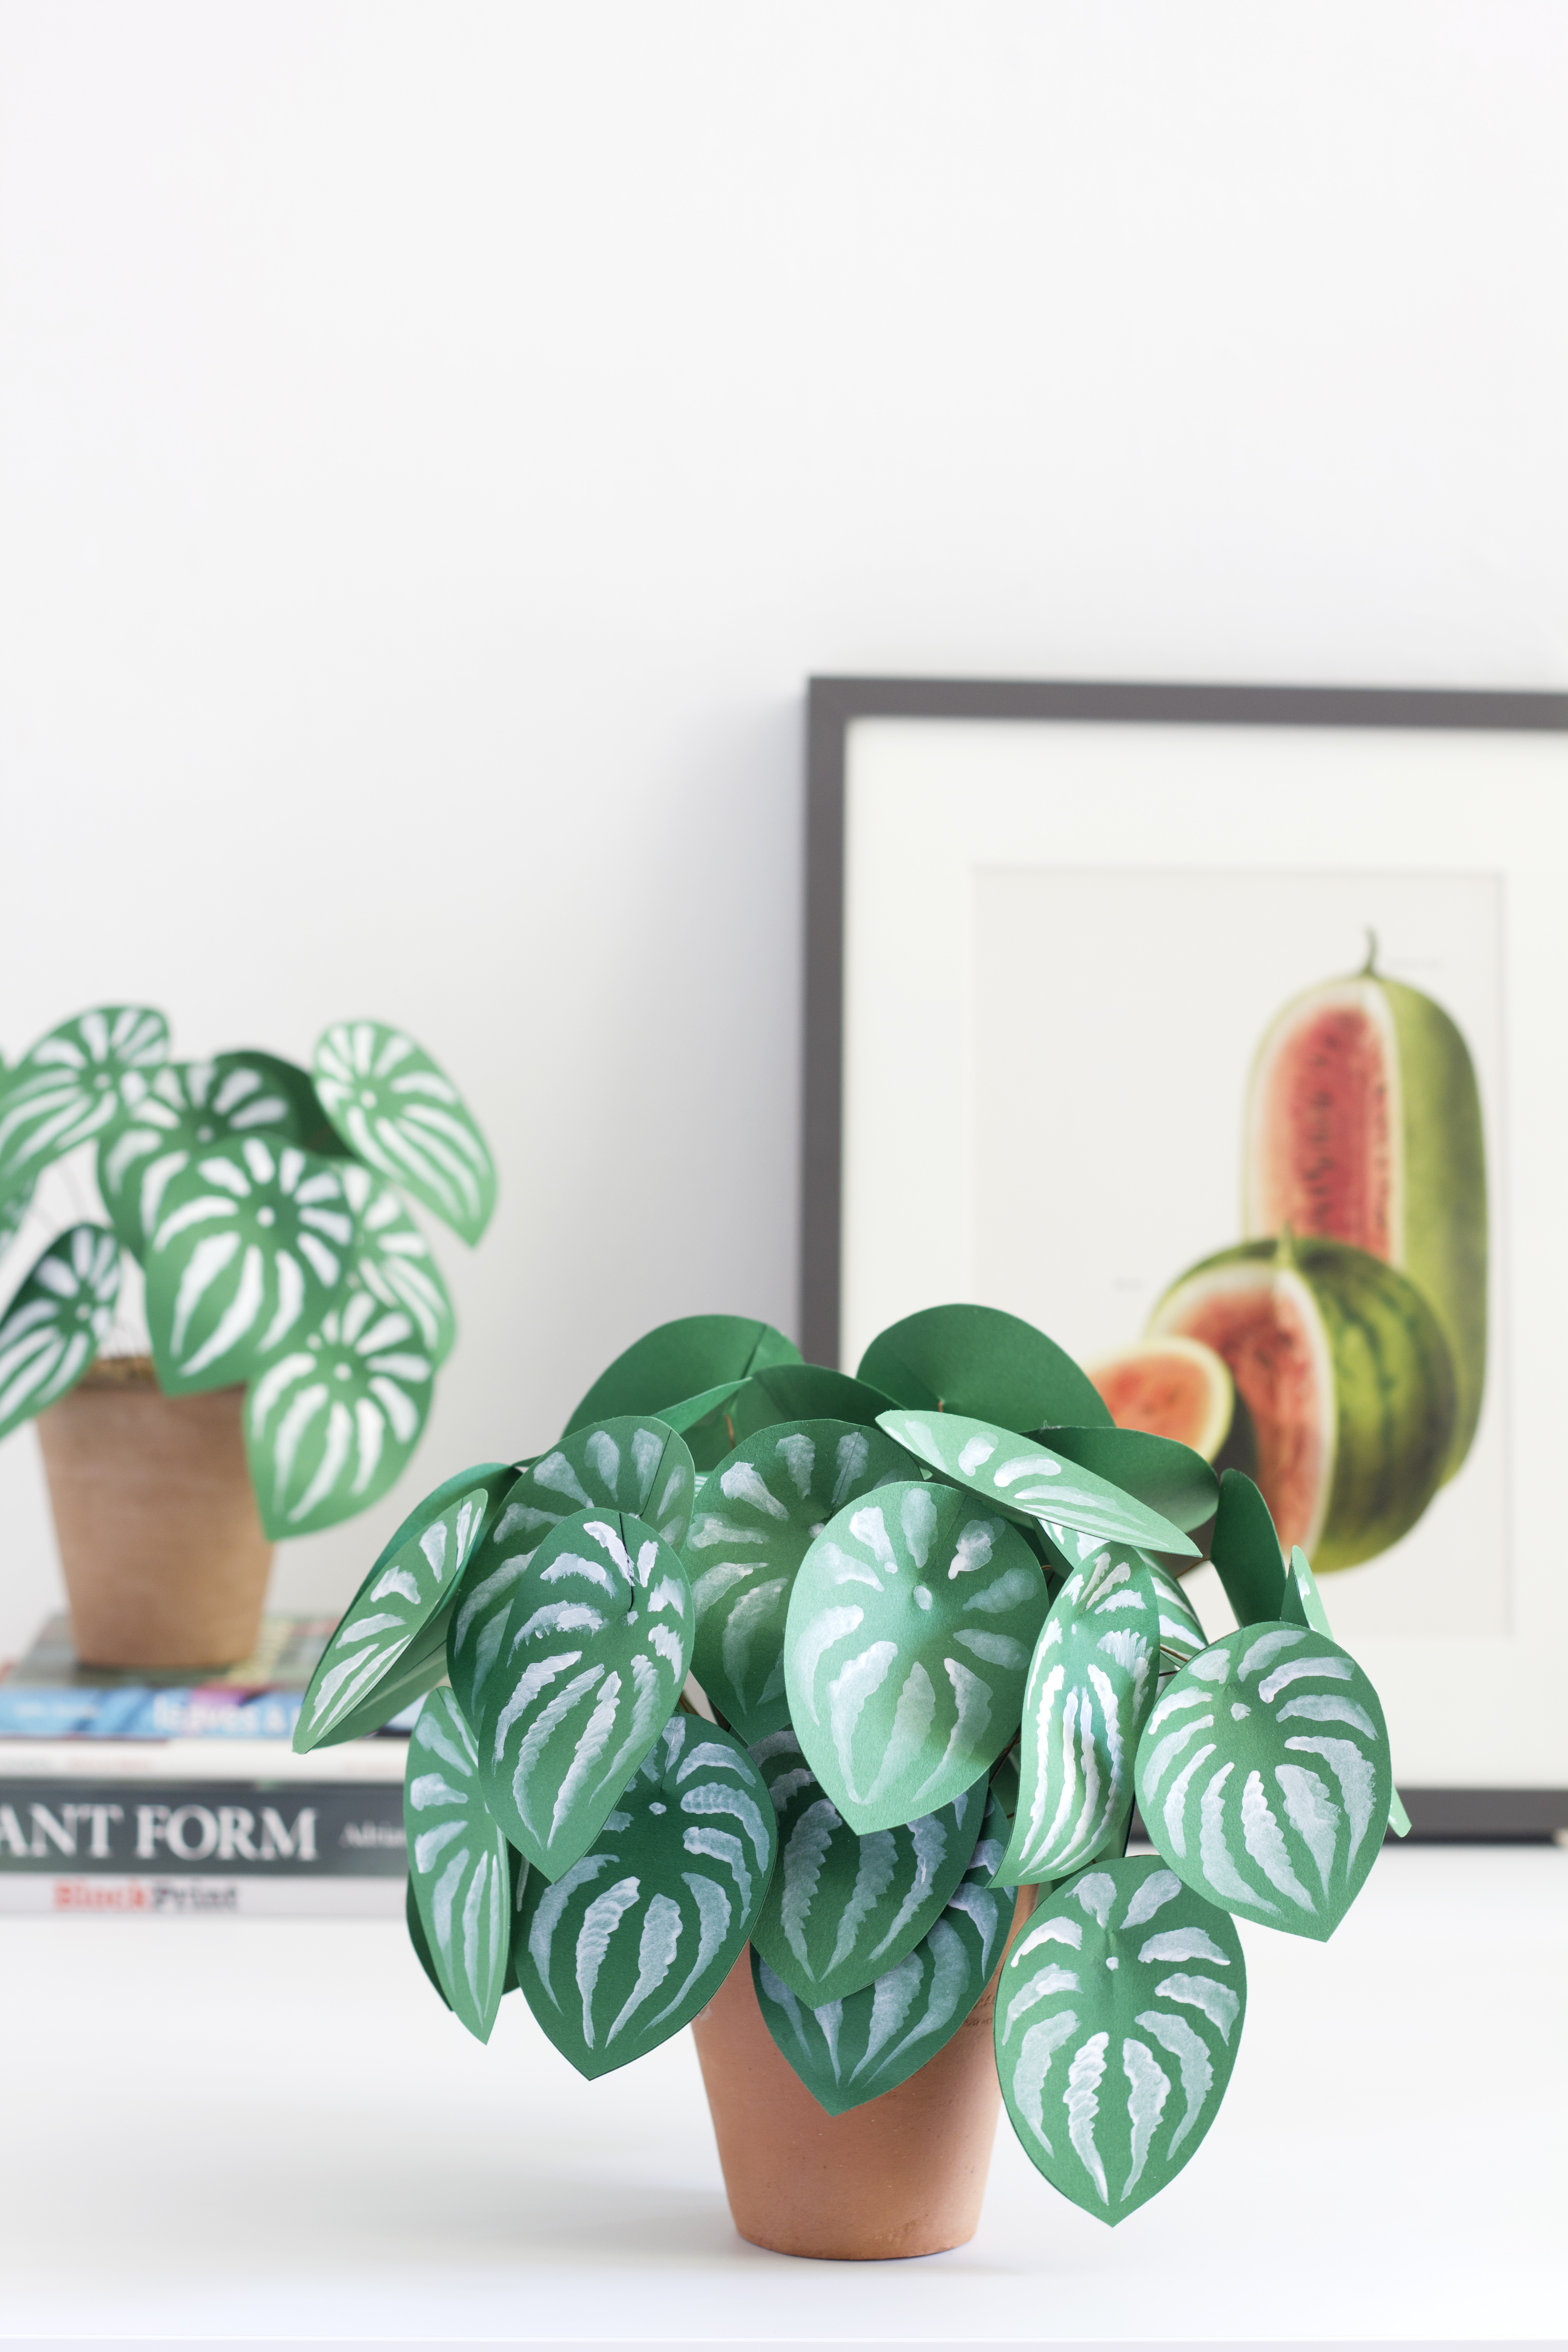
Although aptly named for its striped leaves, the gorgeous watermelon peperomia has no botanical relation to its namesake. The patterned leaves though do call to mind my favorite summer treat! So, when Brittany asked me to do another paper plant tutorial… I thought this was a fitting choice with summer just around the corner. Plus, this crafted plant makes the perfect father’s day gift. Especially if your Dad is like mine and never remembers to water the plants in his office. No green thumb needed, Dad!
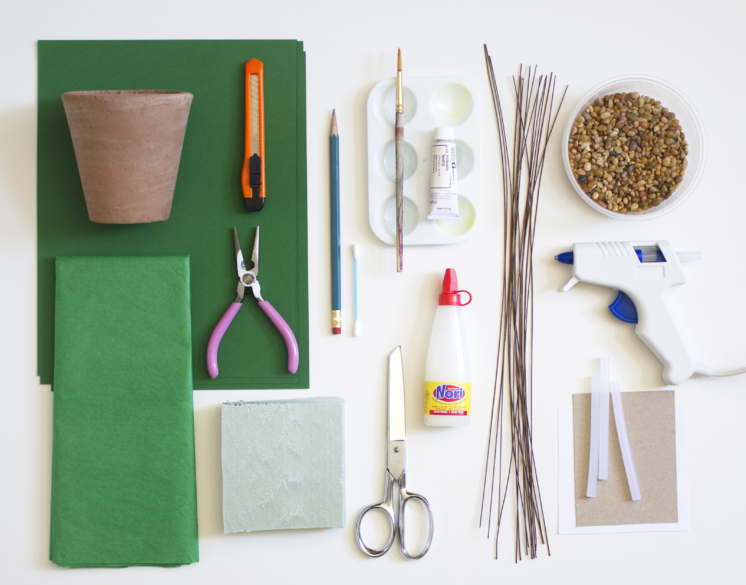
What you need:
- Green text weight paper
- Matching green tissue paper
- Pot of your choice
- Scissors
- Needle nose plyers
- Knife
- Foam (I use insulation foam, but styrofoam or oasis will work too)
- Hot glue gun and sticks
- Scrap paper and a piece of cardstock or cardboard to make the pattern
- Pencil
- Wire covered in brown paper
- Nori glue or other paste glue and a cotton swab
- White gouache paint, small round paintbrush, palette
- Gravel (I like this)
- Clothespins (optional)
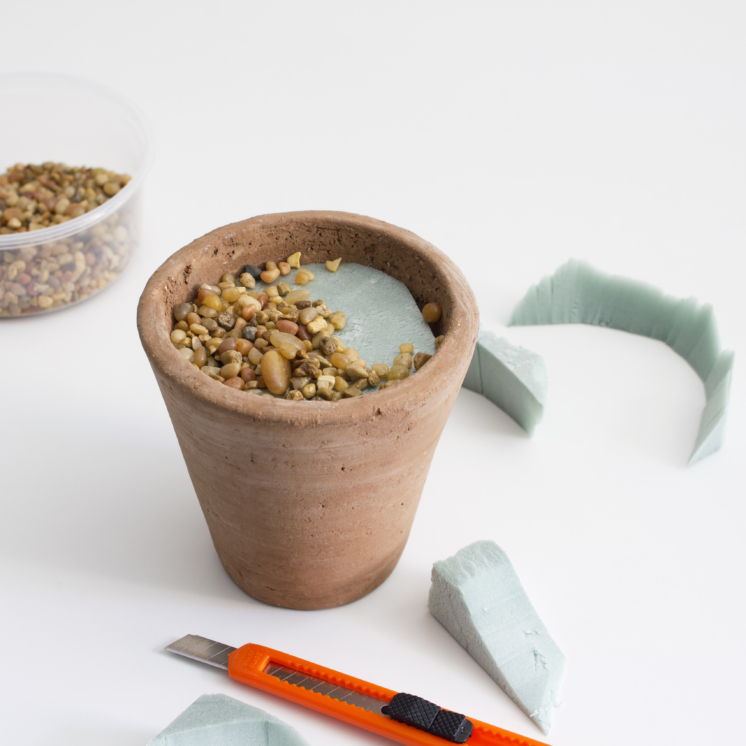
1. Cut down the foam to fit snug in your pot, about 1” from the top edge. Cover the foam with gravel. (Shredded paper, moss, or sand will also work here.)
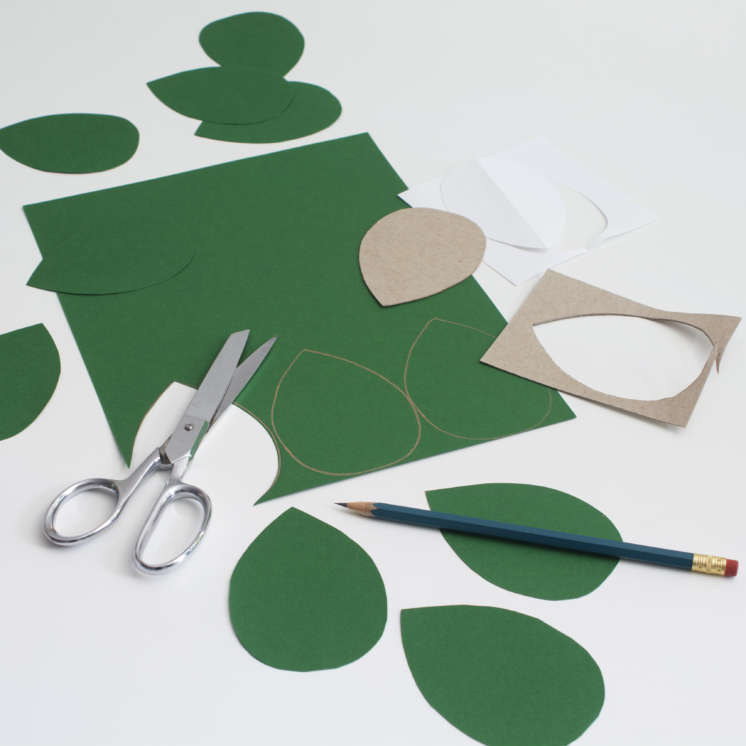
2. Fold a piece of scrap paper in half and cut out a teardrop shape, about 4” long. Once you are happy with it, trace the shape onto a piece of cardboard and cut out. Use your new template to trace and cut multiple leaves out of your green paper.
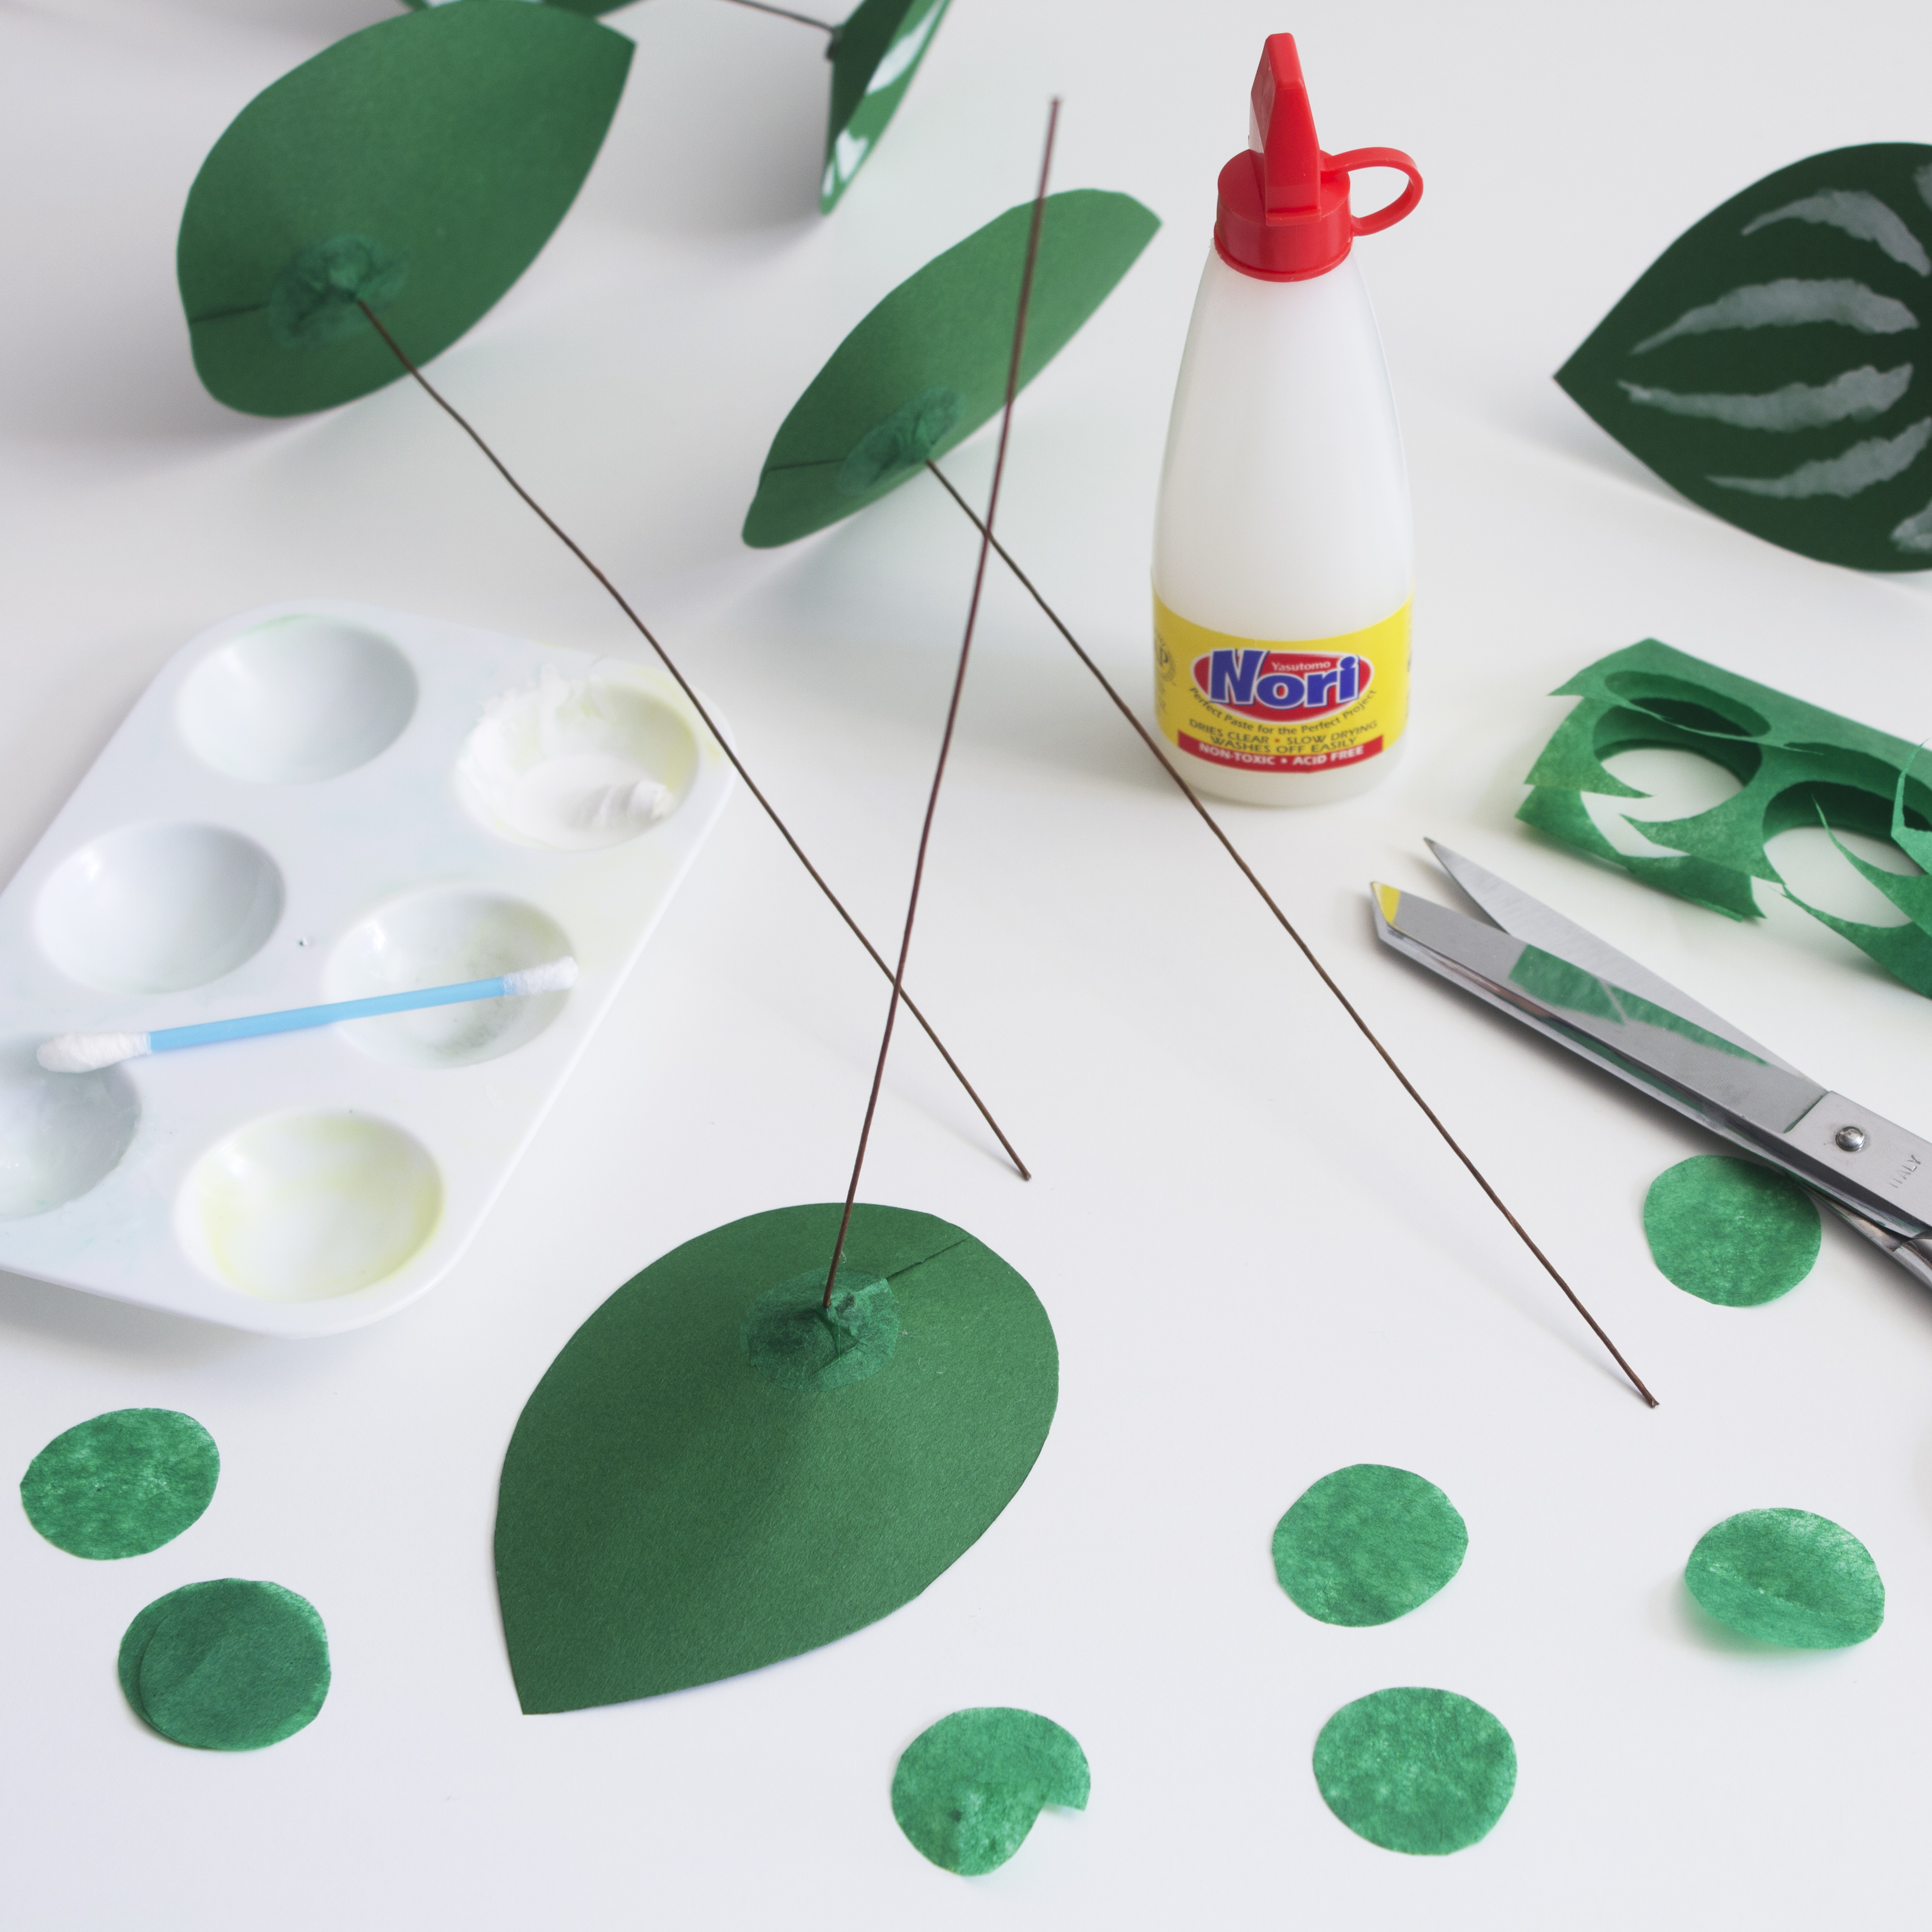
3. Next, cut a slit in center of the bottom of each leaf, about 1-1.5” long. Use the cotton swab to place a thin line of Nori glue along one edge of the slit. Pull the paper from the opposite side to overlap. Hold in place for a few seconds to secure or you can use clothespins like I did.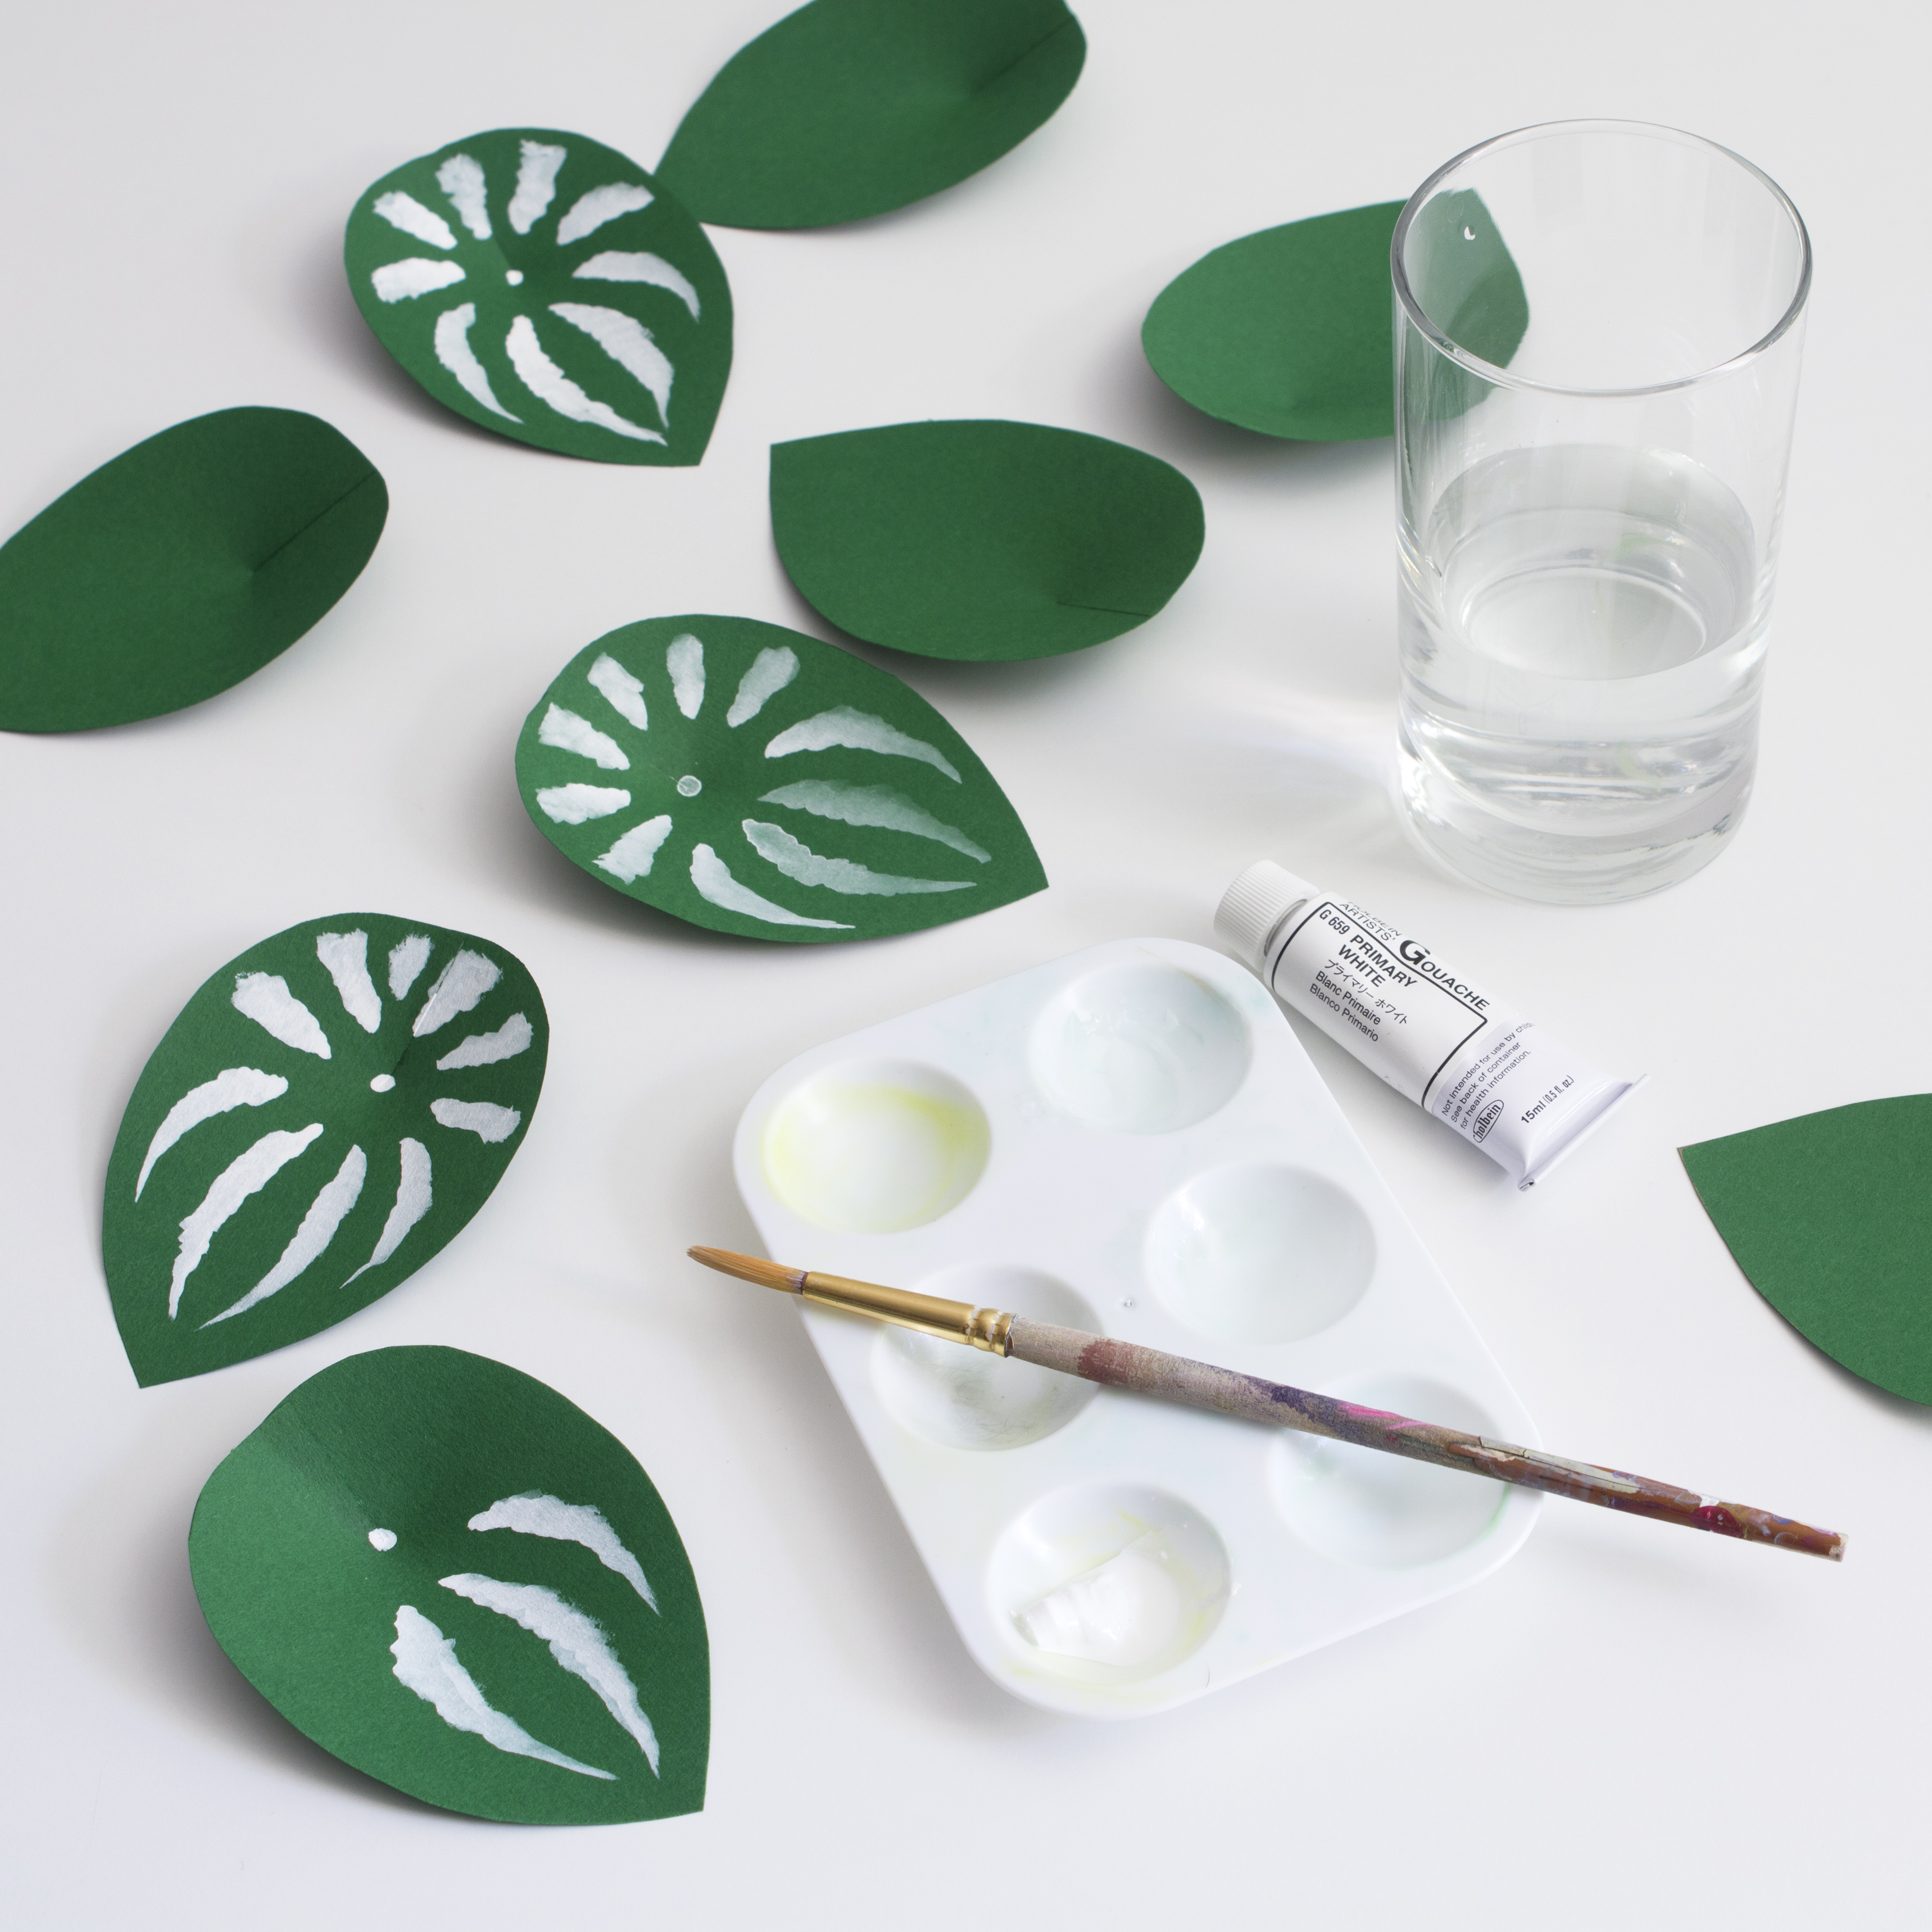
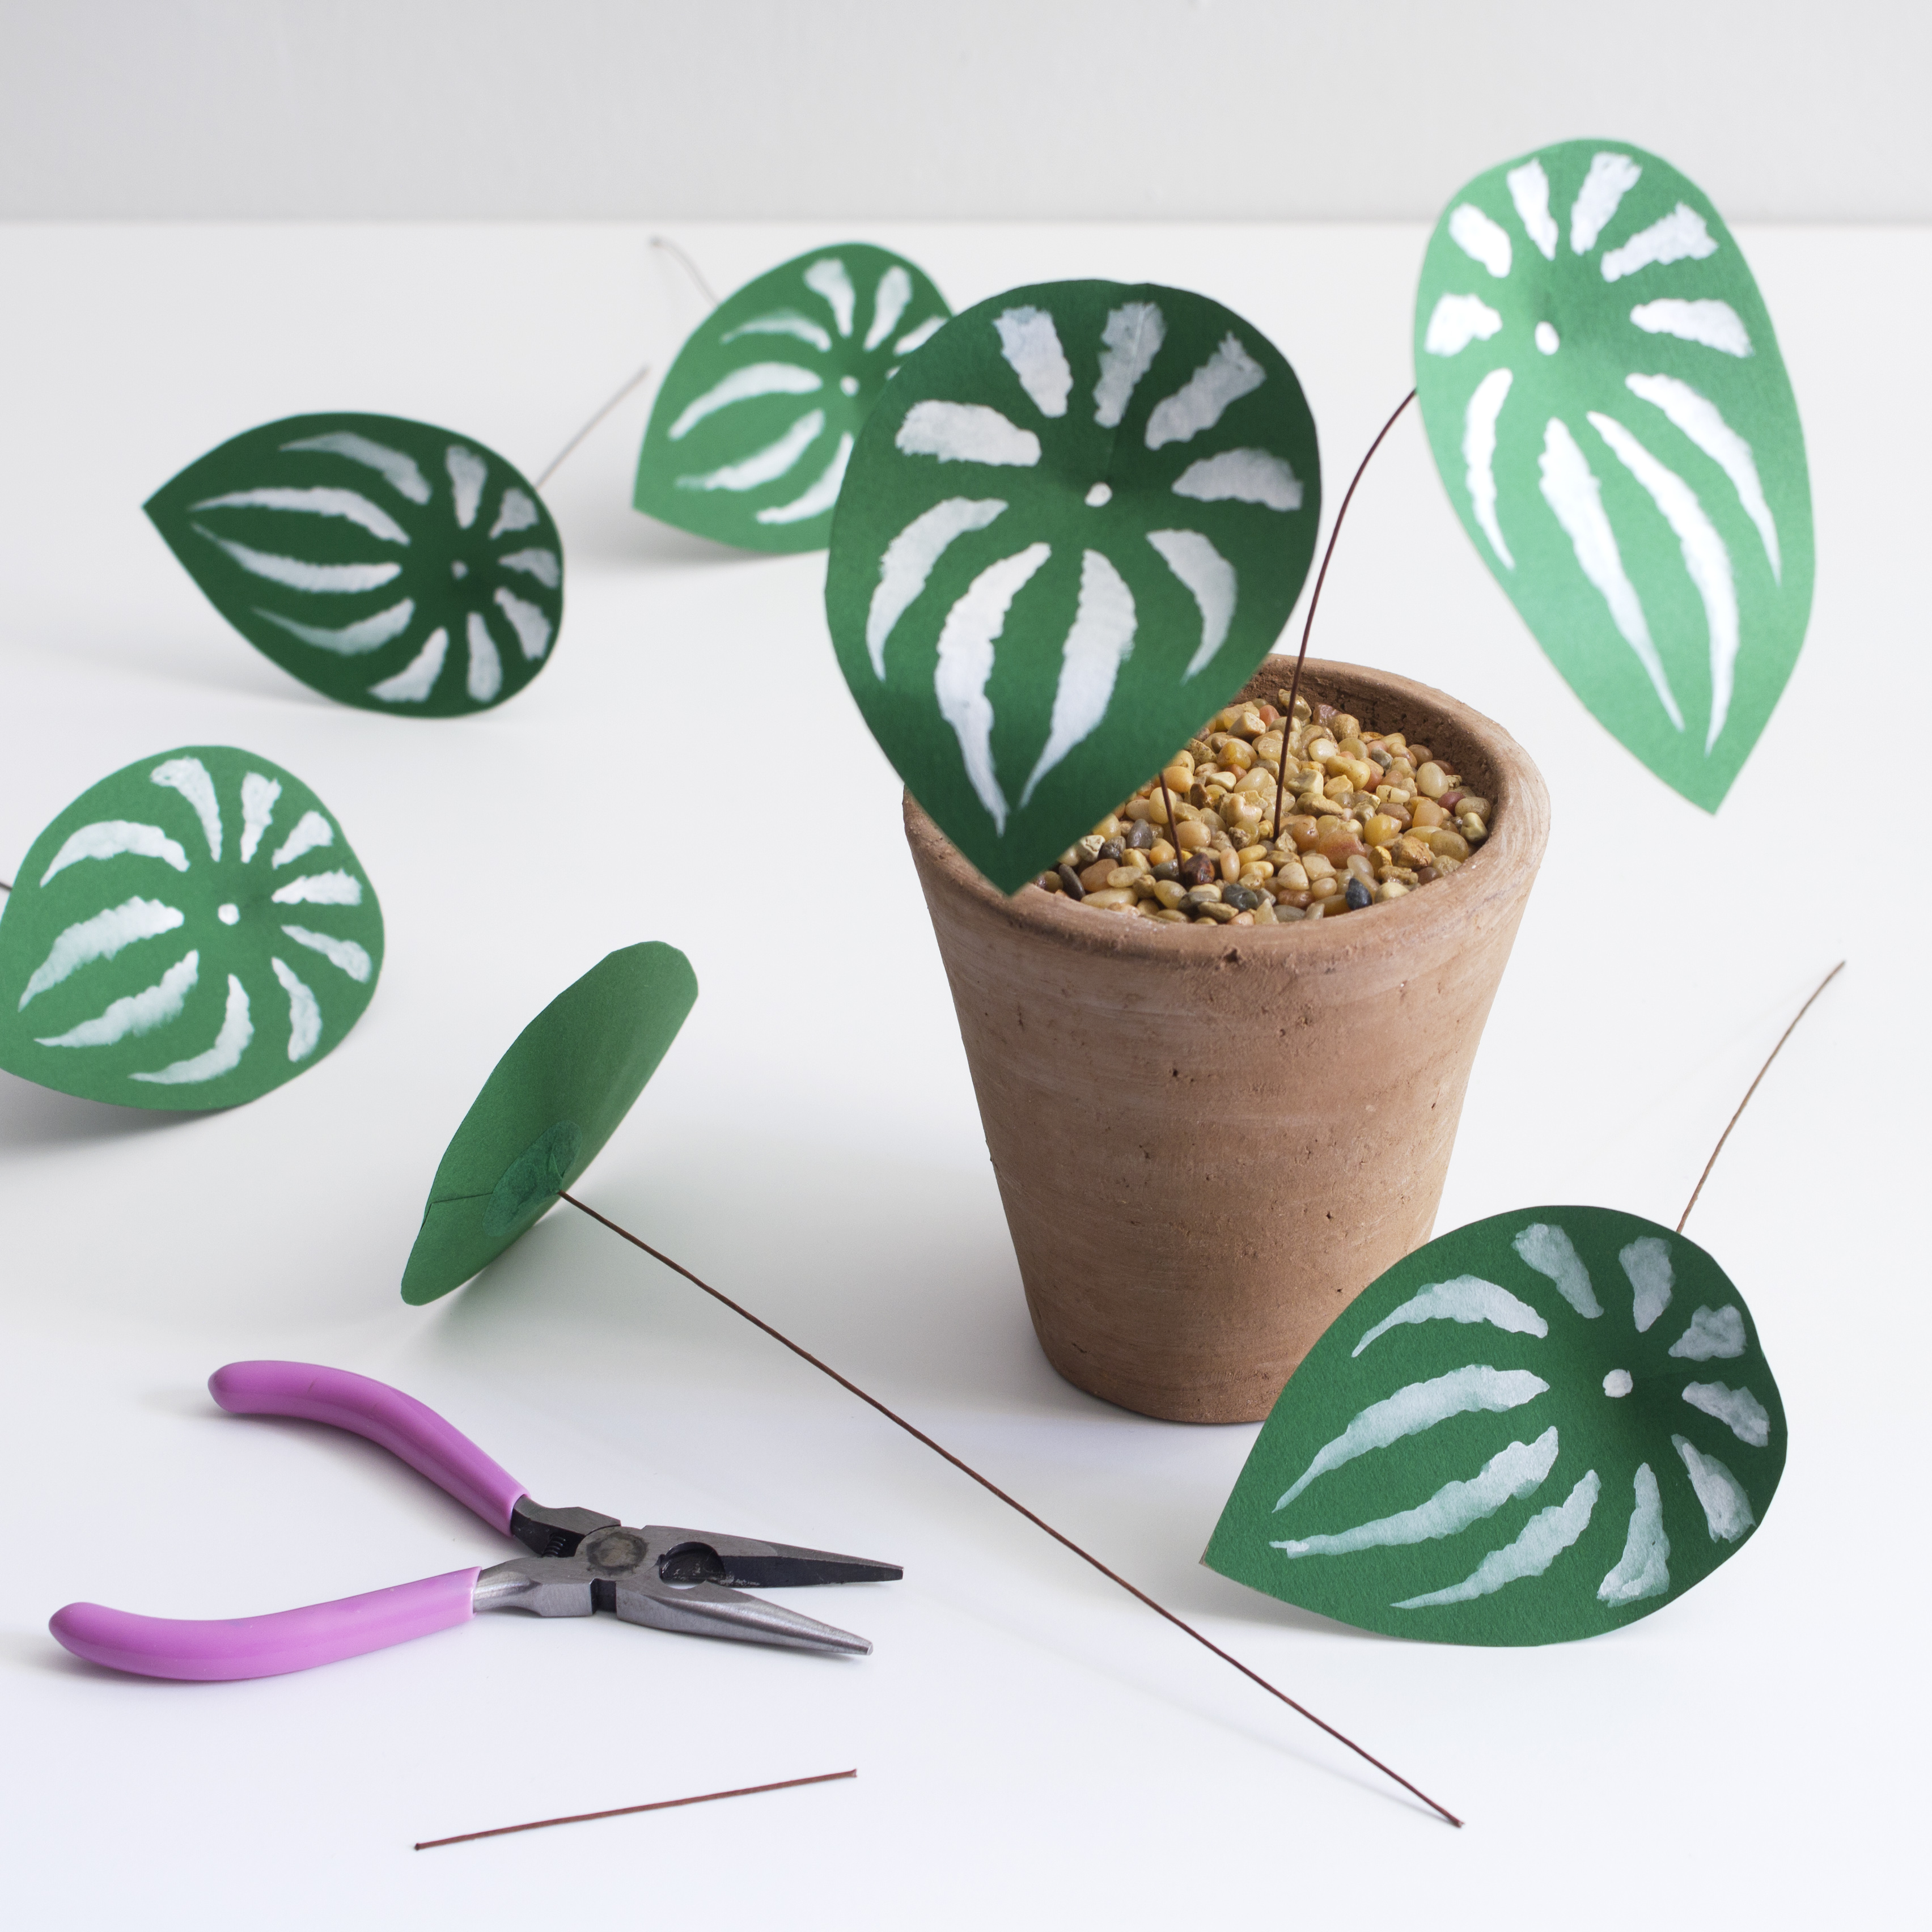
4. Once the glue is dry. Use gouache liberally mixed with water to paint the “watermelon” stripes on each leaf. (You can use gesso or acrylic paint for this step instead if you already have it around.) The stripes on the real plant are sort of wavy, so I lightly wobbled my hand as I was painting.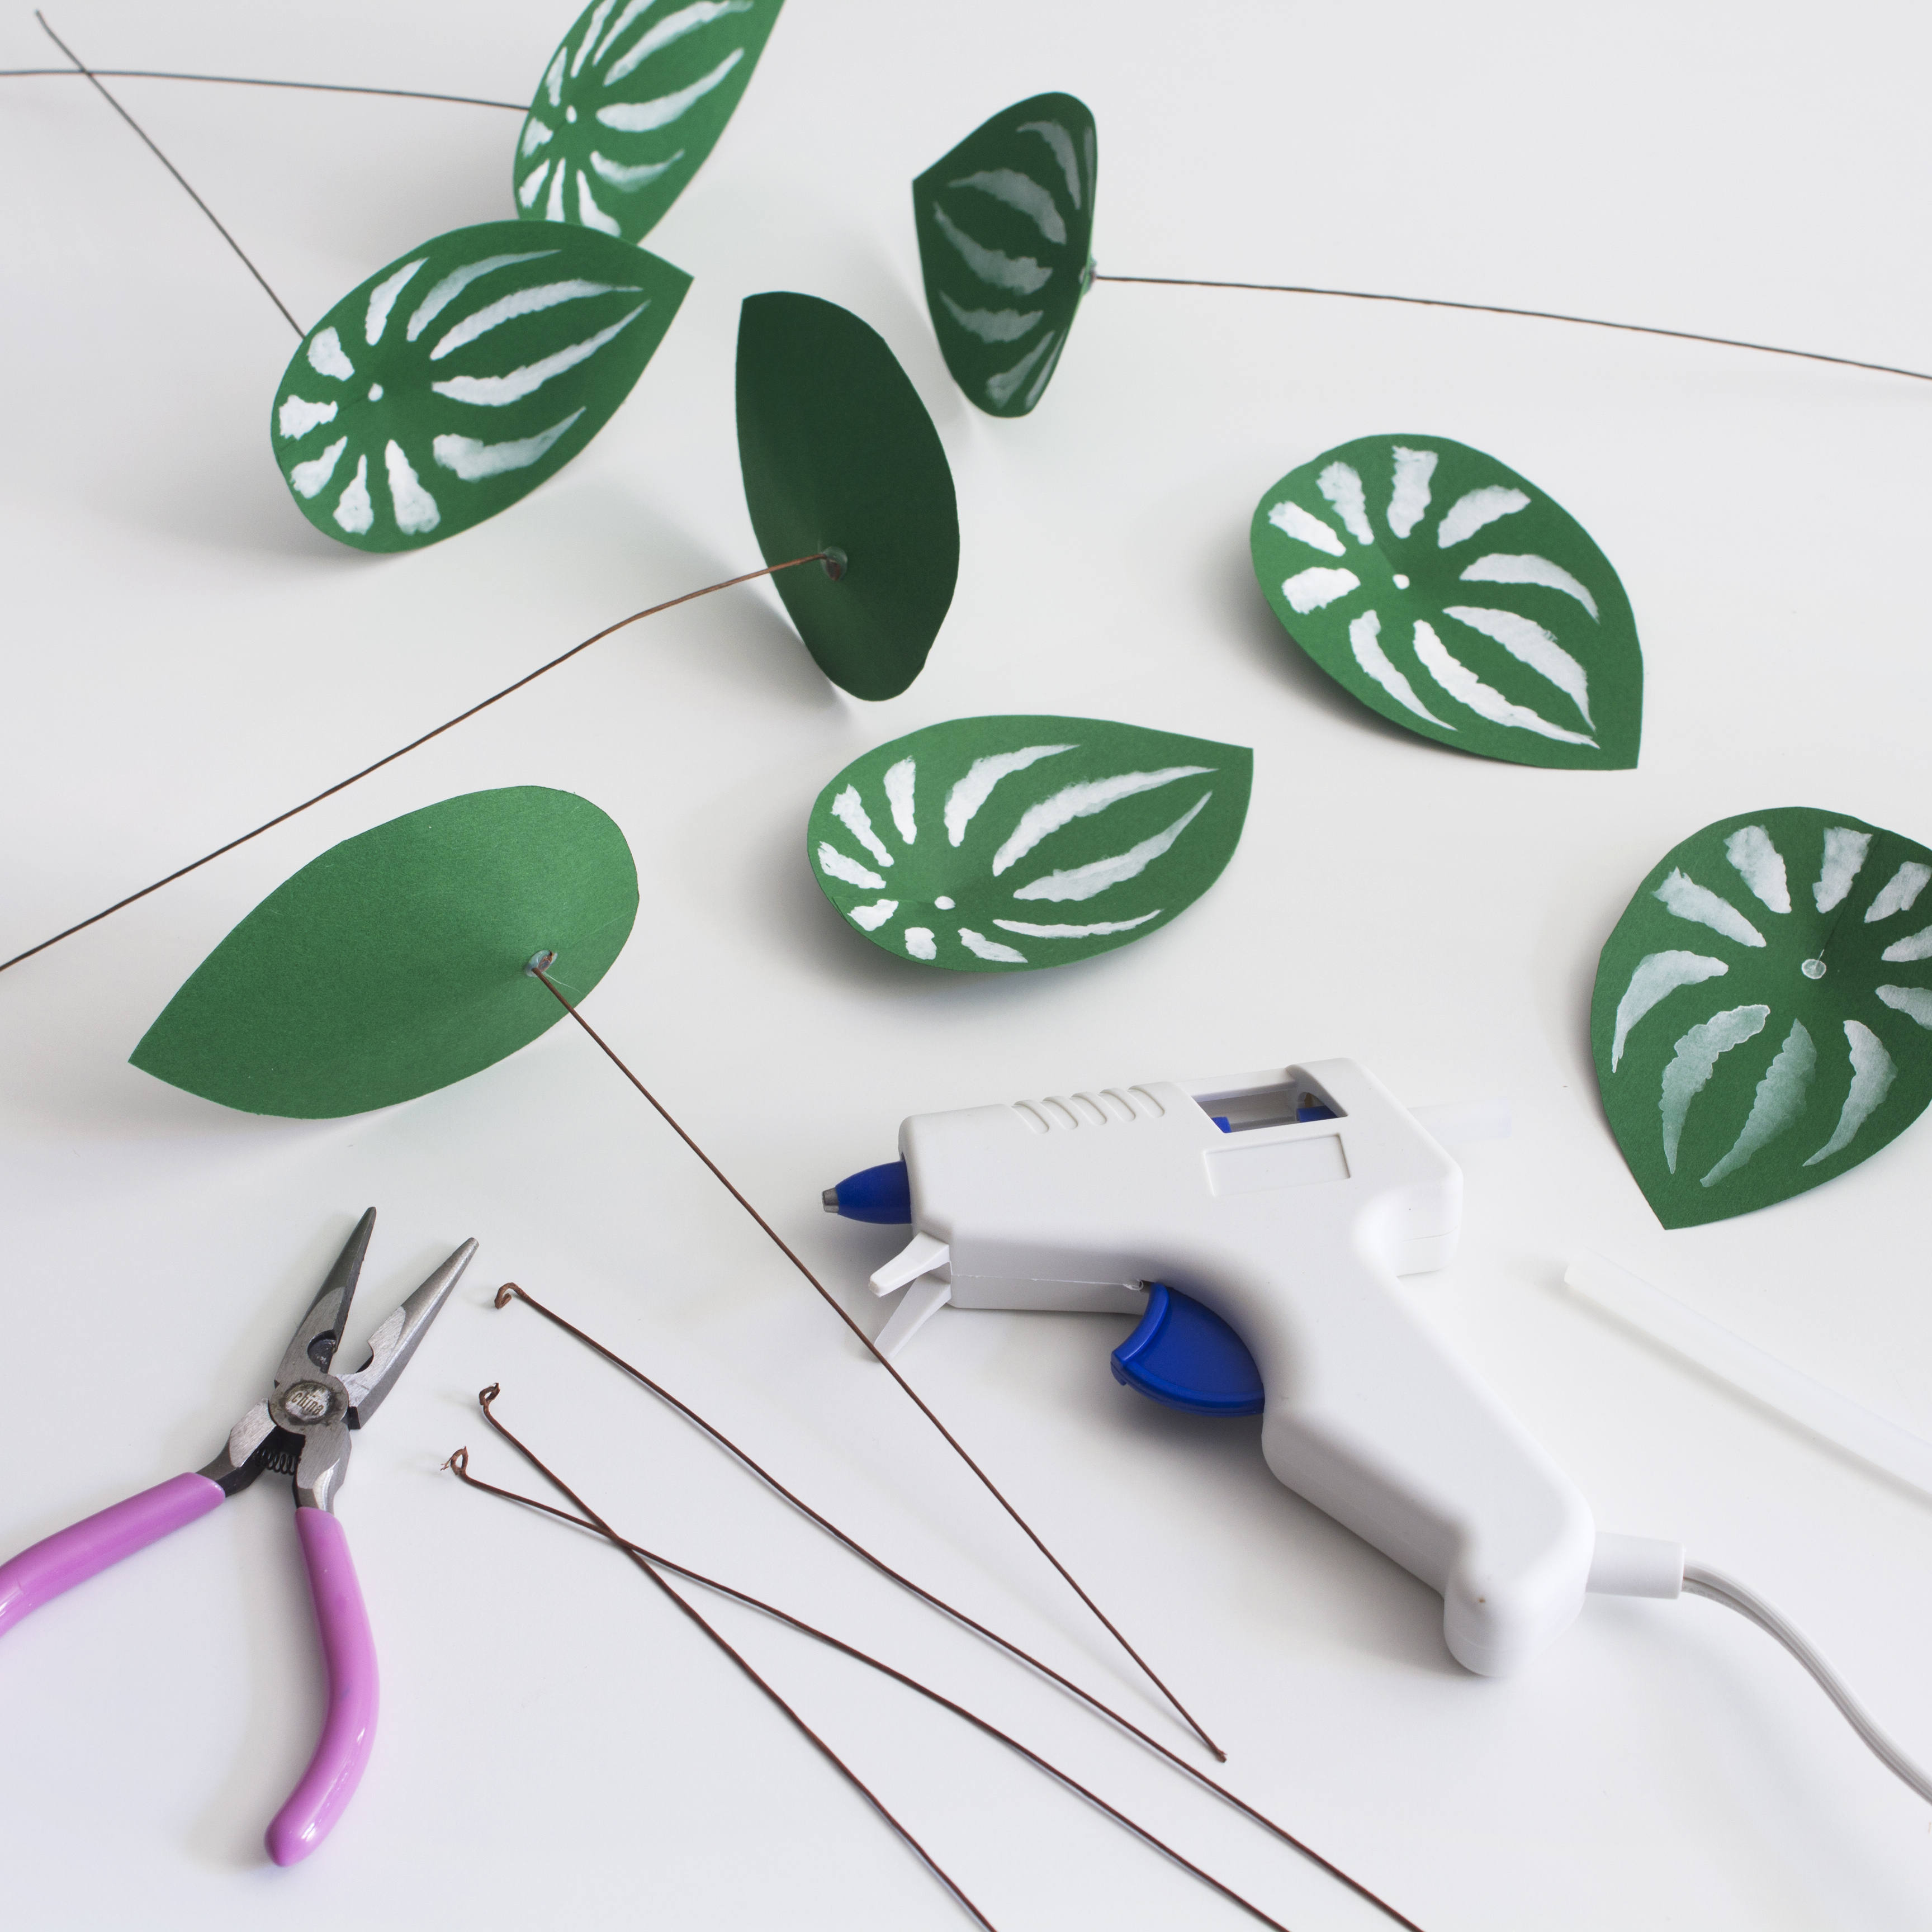
5. Now add the “stems”. Use your needle nose plyers to make a small loop in each wire, bend it perpendicular to the wire and hot glue the loop to the back of each leaf.
6. Grab your Nori glue again and the matching tissue paper. Cut small circles out of the tissue paper and generously cover with the glue. Use these small circles to hide the hot glue connection you just made.
7. You can add a little shape to your leaves once everything is dry. I made mine slightly curve at the tip. Next, start to “arrange” your plant, you may need to cut down some of the wires. You can make your plant as large or as small as you like. I made one with just 8-10 leaves and another with about 30 and I think they both worked out nice.




0 Comments