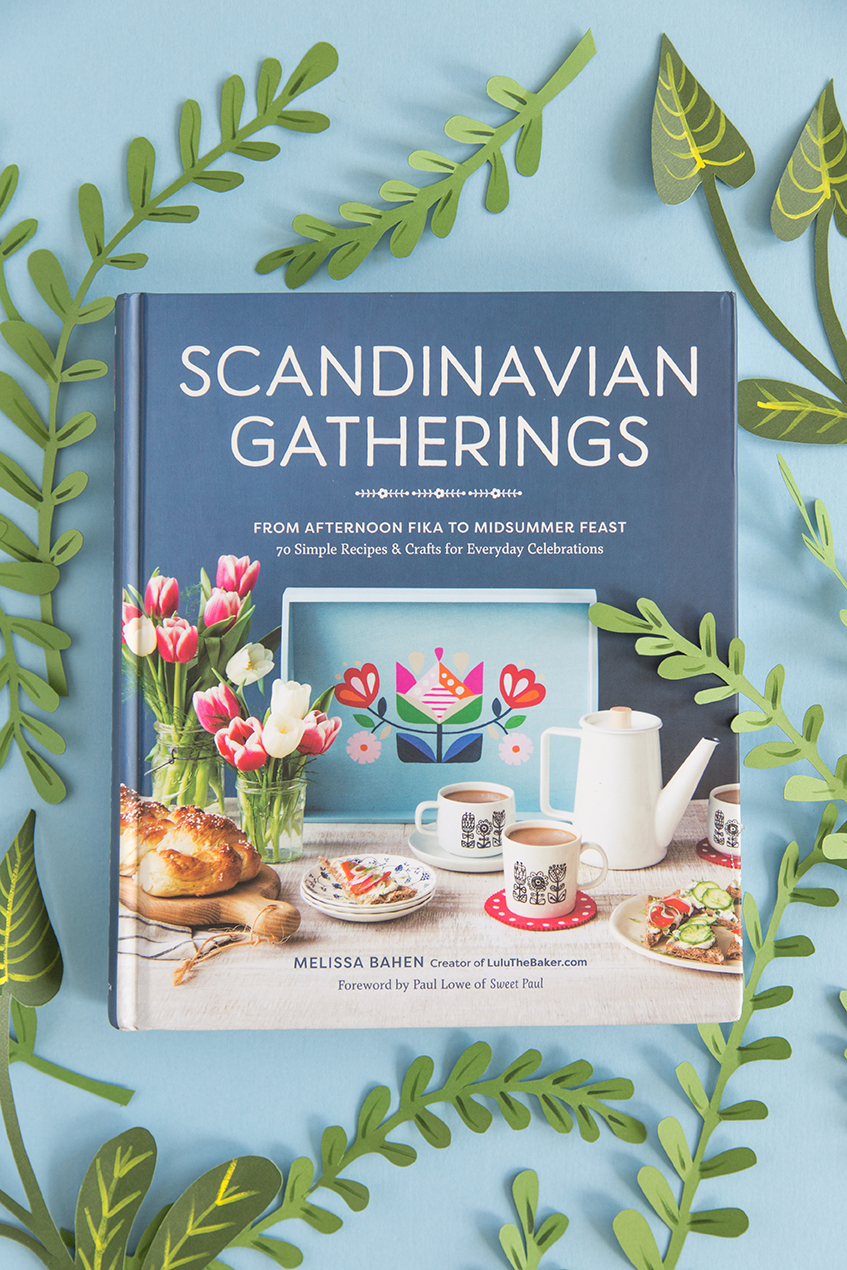
I was tickled when Melissa Bahen wrote to me about a book she was writing, Scandinavian Gatherings. It was all about Scandinavian gatherings and would cover everything from recipes to crafts. Clearly, it was something I could get behind! I was honored to write a little blurb about it featured in the book and now the book is out and available on Amazon or wherever books are sold. She covers everything from Swedish to Norwegian to Danish traditions, which is nice for a lot of us who have a blended heritage. I loved the cookie pedestal tutorial she made in the book and she’s shared it with us here on Lars. Check out below for the full tutorial!
Colorful Cookie Pedestals
Presentation is everything when it comes to treats. These easy-to- create pedestals make cookies and treats look their best, and they are especially cute when grouped together on a dessert table. You can buy the plates and candlesticks needed at your local home goods store, or, for a fun, whimsical touch, look for mismatched plates and different sized candlesticks at thrift shops.
MATERIALS
- Newspaper or clean garbage bags
- Small glass candlesticks with wide bases, 1 per pedestal
- Spray paint in red, pink, and turquoise
- Plain white dinner plates, 1 per pedestal
- Strong adhesive, like E6000 or superglue
- Ruler
1. Working outside or in a well-ventilated area, put garbage bags or newspaper on the ground to protect it from paint. A protected area about 4 by 4 feet should be big enough. Put a few of the candlesticks right side up on the center of the garbage bags, and spray them with red paint following the application directions on the spray-paint can. Add as many coats as necessary (one to two), and allow the candlesticks to dry completely. Repeat with more candlesticks and pink spray paint, then the remaining candlesticks and turquoise paint. Spray all of the red candlesticks in one area, all of the pink candlesticks in a second area, and all of the turquoise candlesticks in a third area so that each candlestick only has one color of paint on it.
2. When the candlesticks are completely dry, flip the plates over on a flat, level work surface. Put a thin layer of adhesive around the top rim of each candlestick, quickly flip it over, and stick it to the bottom of a plate right in the center. Use the ruler to make sure each candlestick is centered, and gently move any that are out of place. Allow the glue to dry completely (at least overnight, but 24 hours is even better) before using.


