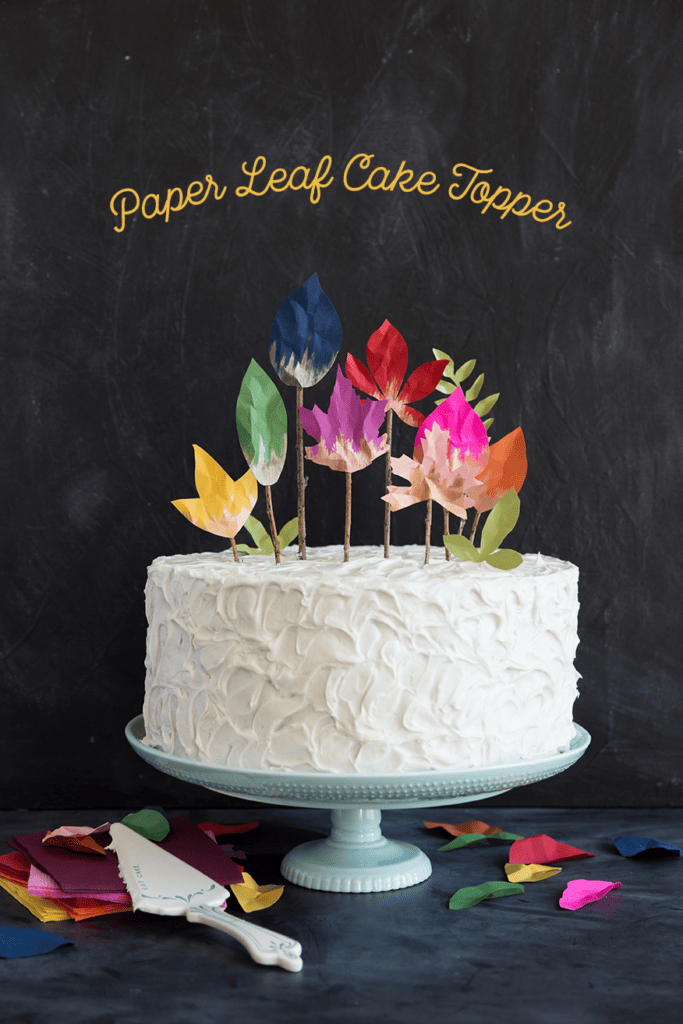
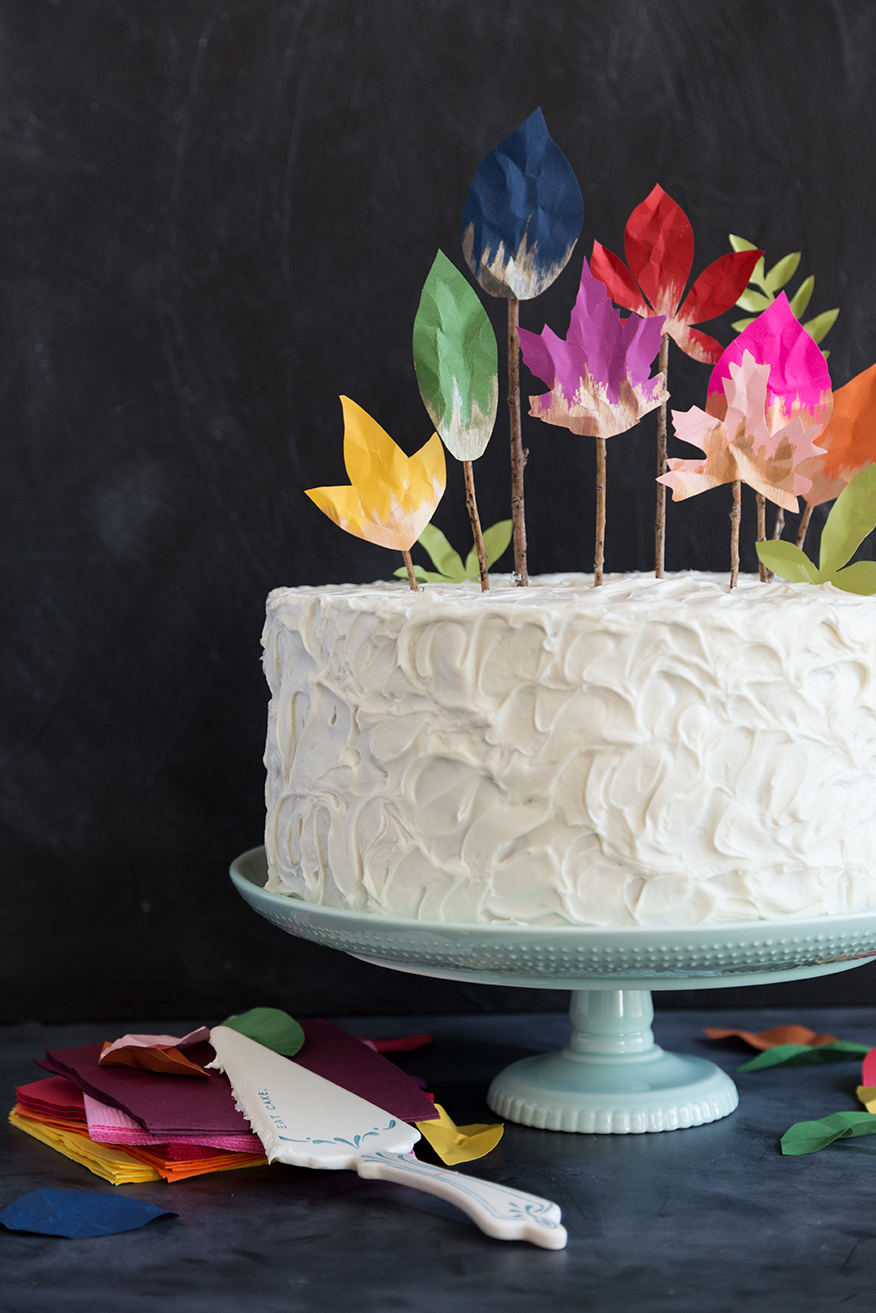
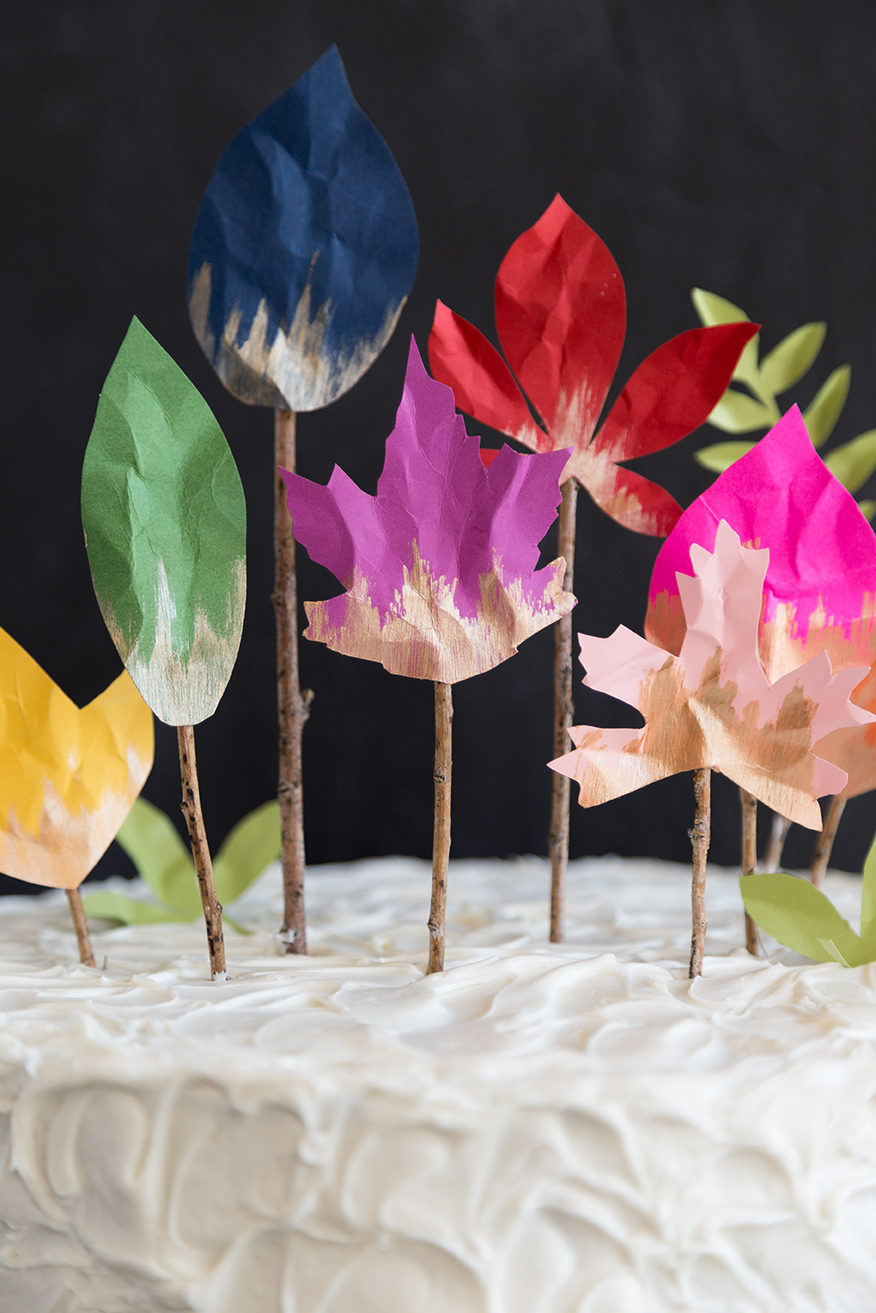
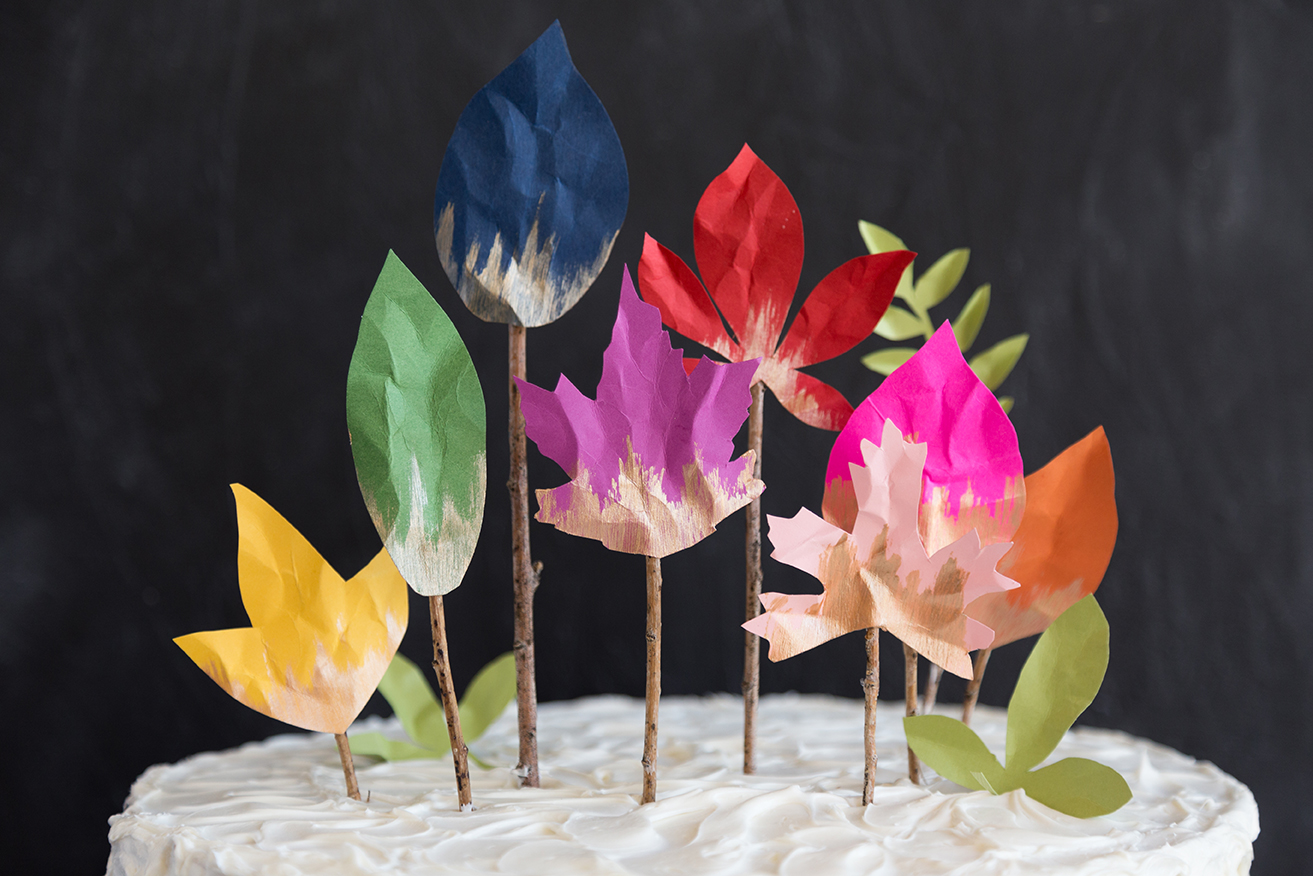
I love fall because it means crisp air, changing leaves, and pumpkin treats galore! This quick DIY fall cake topper is the perfect finishing touch for the many desserts you’ll soon be preparing (and, of course, eating!) for all your Halloween parties and Thanksgiving gatherings. The colorful, gold-brushed leaves look great on a classic tiered cake like we’ve did here, but they’d also be adorable on individual cupcakes or tarts!
Materials:
DIY Fall Cake Topper
Gather your materials and let’s get started! Probably the trickiest part is going to be picking out your favorite colors to use. We were inspired by the natural color of fall leaves and then added pops of blues and pinks to give it a more rainbow effect.
Instructions:
- Cut out multiple shaped leaves, one for each color of paper. HERE’s a good reference for different leaves from maple to palm!
- Using a dry brush, lightly paint brush strokes on the bottom of the leaves going in an upward motion. Be careful not to use too much paint. Let dry.
- Gently crinkle the leaves to give them some texture
- Snap the twigs into varying heights
- Using the glue gun, glue the twigs onto the back of the leaves
Now bake yourself a treat… or run to the grocery store… and let your leaf topper shine!
Check out our other cake toppers HERE and HERE
Photography by Anna Killian | Crafting by Rebecca Young


