

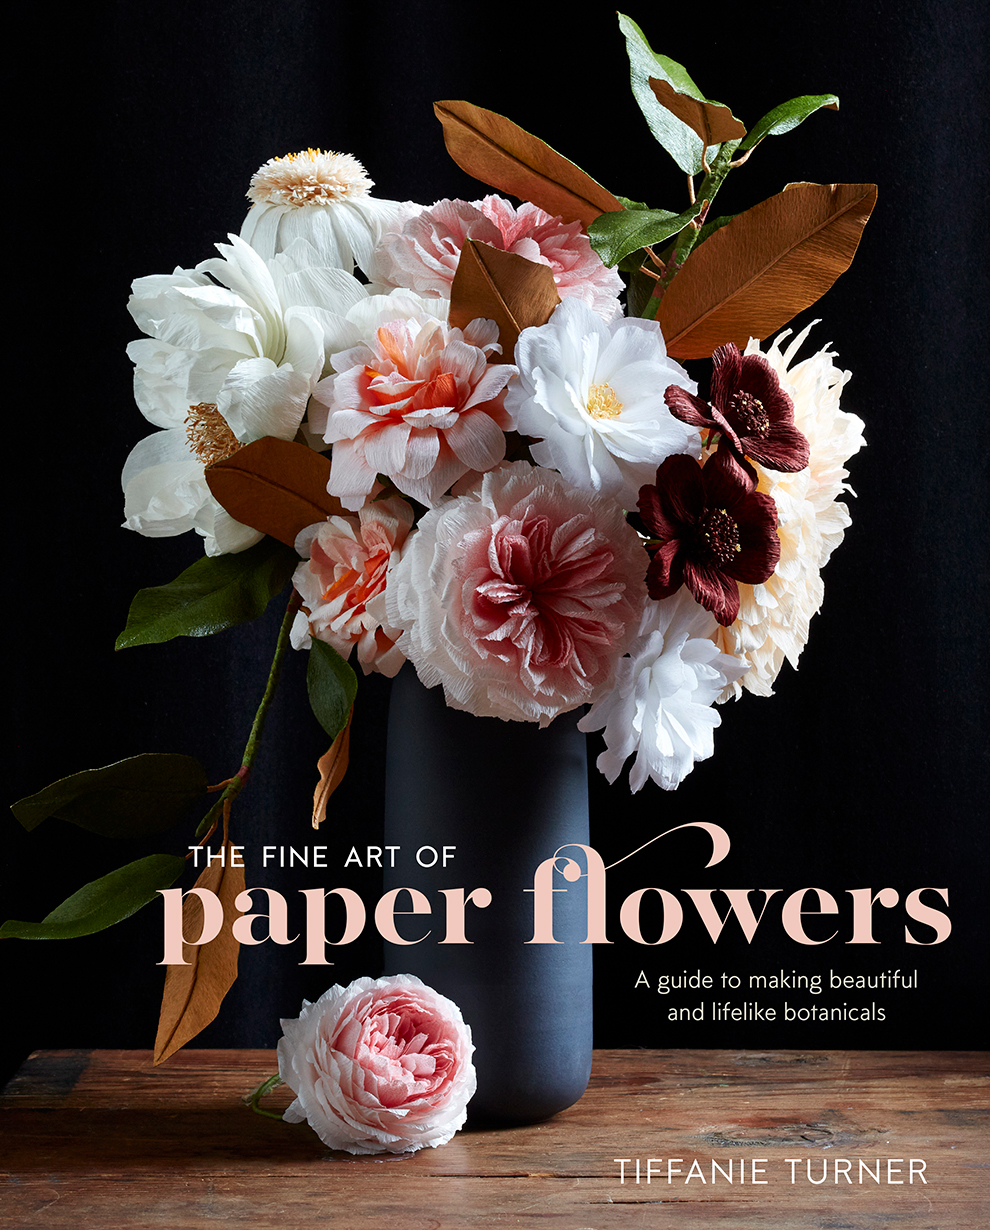

Morning Glory: Fine Art of Paper Flowers
Materials:
Get the templates HERE
- Tacky glue
- Hot glue
- 180 gram peacock blue crepe paper (also shown 100 gram iris blue, 180 gram #555 deep blue, and #600/2 sky blue ombré)
- 100 gram white crepe paper
- 60 gram #296 yellow crepe paper (optional)
- Rounded paintbrush handle
- Light-green floral tape
- 24-gauge green cloth-covered stem wire
- Leaves (below)
- Bleach (optional)
- Small glass bowl (optional)
- Round, pointed paintbrush that can be bleached (optional)
Instructions:
2. Crease the centerline of each petal segment inward, then repeat step 1 with the two unattached ends to close the flower and glue the back flap down. Insert a round-ended paintbrush and twist the bottom tip closed below the end. Groom the top open by bending the petals back at each seam gently.
3. Trim the seam corners to round the top of the flower. Cut tiny Vs with rounded edges where the petal segments meet and at their centers. If bleaching, dip a round, pointed paintbrush in a small glass bowl of bleach, wipe off the excess, and insert into the flower’s base, bleaching the bottom. Carefully extract the brush, then run the tip up the center of the back of each petal segment to ¾” below the top edge. Allow to dry. Be sure to work in a well-ventilated area. For a tricolored flower, glue small segments of finely fringed outstretched white crepe paper layered with ripped bits of thin yellow crepe paper to the inner petal surfaces before closing.
4. Wrap the top 1½” of two 2”-and one 8”-long pieces of stem wire with outstretched white crepe. Wrap the wires together with floral tape, the 2” pieces set ¾” below the 8” piece, leaving most of the white exposed. Snip the twisted bottom end from the flower and thread the wrapped wire through, aligning the tip of the wires with the bend in the petals. Secure in place with hot glue. Cut five continuous sepal points from a 5/8”-long bit of floral tape and attach at the base of the flower with tacky glue, holding in place until set. Wrap leaf and flower wires around a ¼” paintbrush handle 3 or 4 times in a few different spots to mimic the morning glory’s spiraling vines.


