

You know those little details that finish a house? Lighting and light fixtures are some of the most important little details. I feel like designers do their best work on chandeliers, sconces, lamps, etc. – there are just so many genuinely new ideas floating around! One chandelier that I absolutely love is a beaded chandelier from Pottery Barn. Since I am who I am, I decided to make my own DIY Beaded Chandelier instead of shelling out the big bucks.

The Inspiration
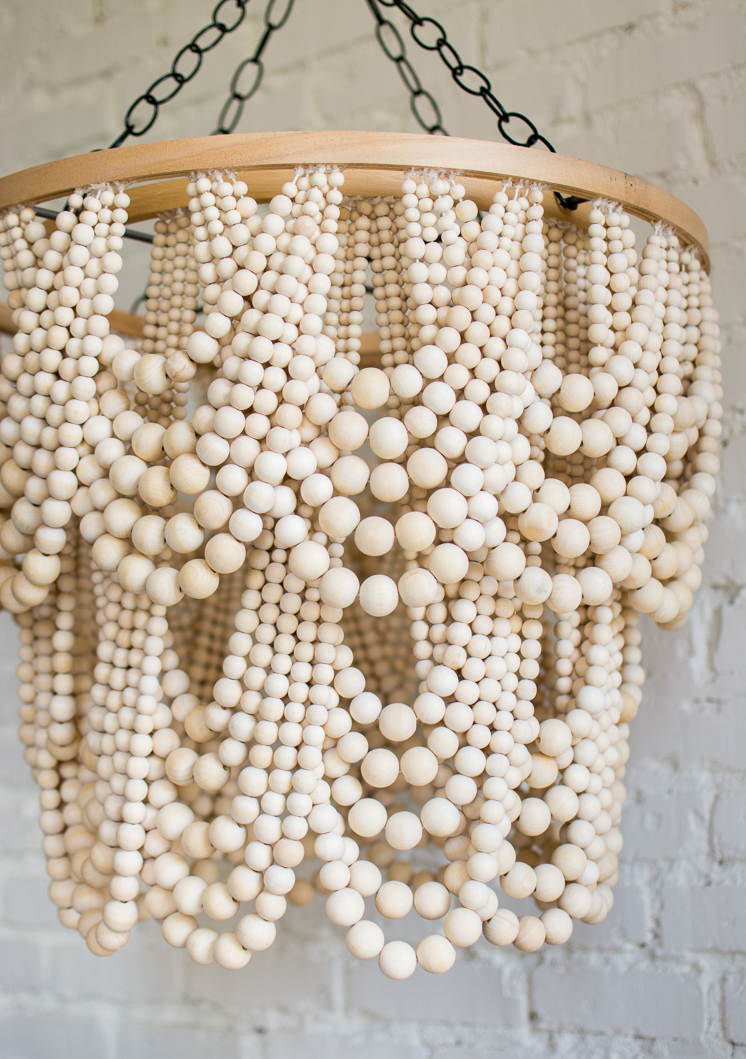
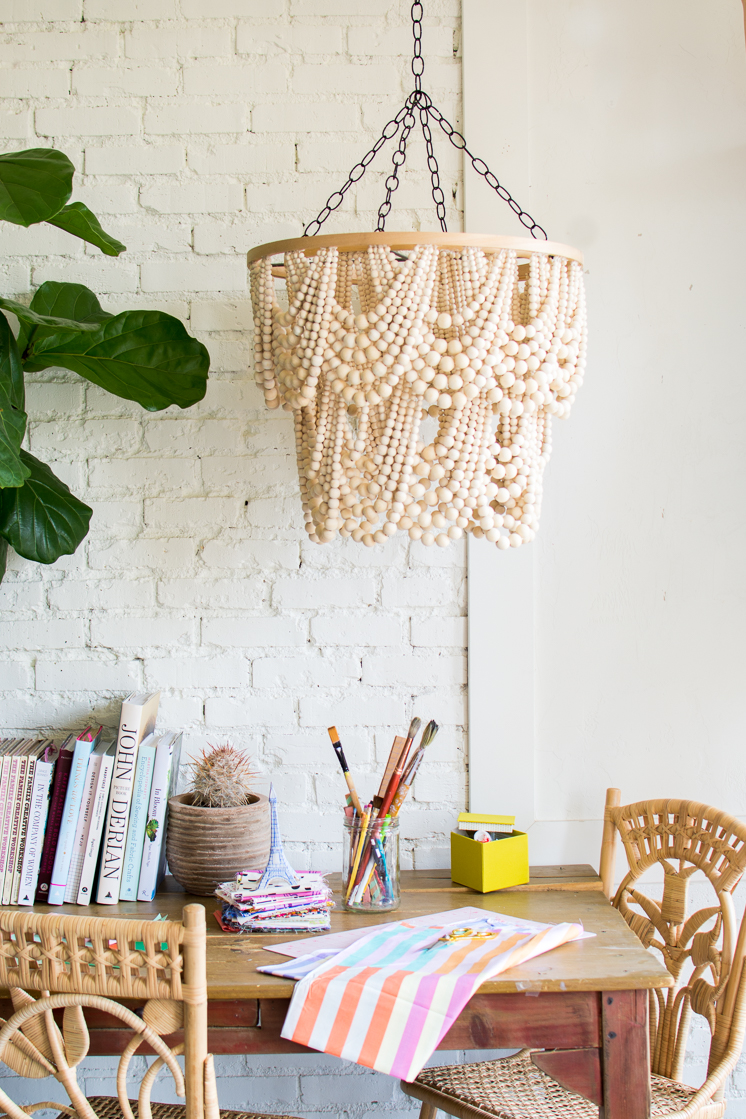
You’ve probably seen this amazing bead chandelier before, as it has made its way around the internet (others found here and here and here). I love how relaxed and elegant it feels – that’s a difficult but essential pairing. The layers of cascading beads have such a graceful look, but the natural wood keeps it fresh and easy to incorporate into any setting. And the tiers remind me of the scallop trend that is super hot right now! So often I see pieces I love but have a hard time imaging in my space. This one though fits right in! I think it could look good in any space.
A Penny Saved…
Is a penny earned! This Pottery Barn Hack for a DIY Beaded Chandelier will save you so much money. While I love the original chandelier, the $800 price tag would present a big dent in the monthly budget. In times like these, I don’t exactly want to spend that much on anything nonessential. Save where you can so you can splurge where you can, right? You don’t have to splurge to have nice things, but you do have to be willing to try new things.
You CAN Do-It-Yourself
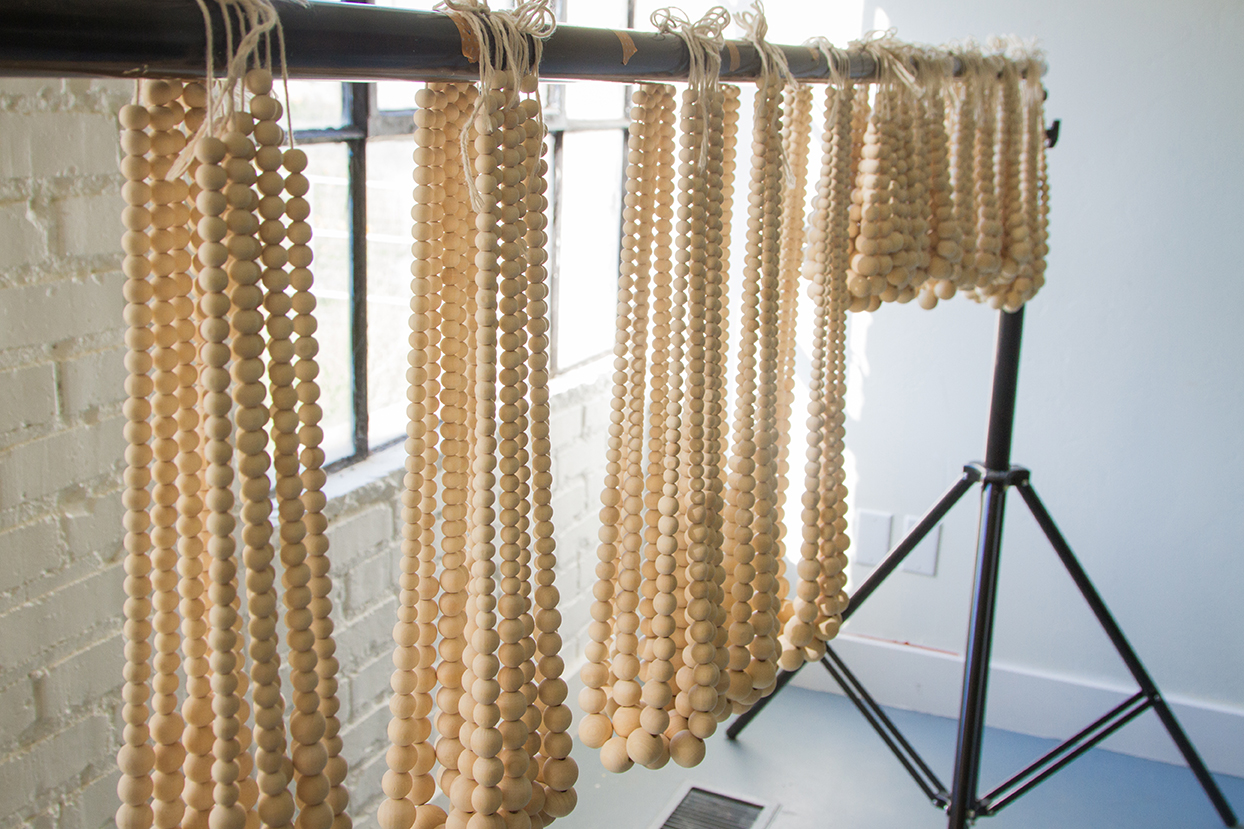
Since I just had to have this piece, I automatically started to think of how we could replicate this beauty. With a box of wooden beads, a handful of embroidery hoops, and a season of Friends (yes, this one’s a bit time-consuming folks), I got just what we wanted! This DIY Beaded Chandelier could easily pass for the original. If you’re feeling particularly creative, you could even play around with different colored beads. While I didn’t actually put a lightbulb in mine, you could easily find a cheap hanging lightbulb like this one and place the your DIY beaded chandelier over it. Let your imagination run wild! We’ve taken care of the rest with our DIY instructions.
If you’ve got pennies to pinch and time to spare, this is the project for you! Total cost of supplies, $170. Score! See here how to make it.
Learn how to get the DIY below!
DIY Bead Chandelier
In order to make the instructions very thourough and in-depth – so your project comes out looking just as high quality as the $800 original – we have complied the instructions in e-book form! You can find the DIY Bead Chandelier tutorial in our shop!
The DIY Bead Chandelier tutorial is available for purchase here.
Photography by Clara Sumsion | Crafting by Betsy Croft
Comments