DIY Beaded Chandelier

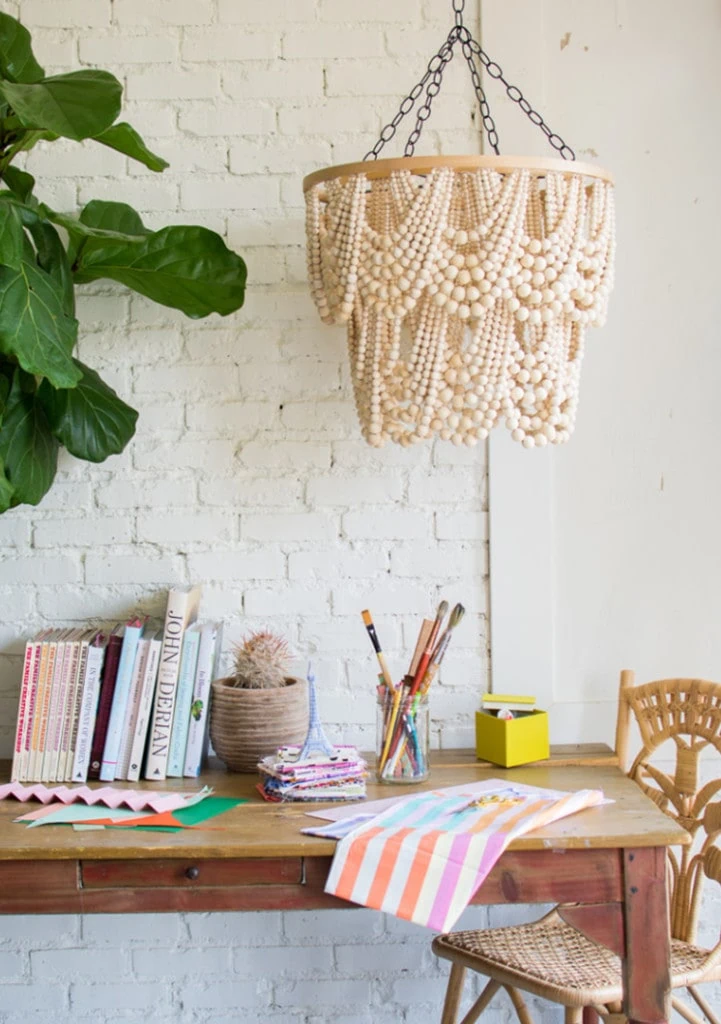
You know those little details that finish a house? Lighting and light fixtures are some of the most important little details. I feel like designers do their best work on chandeliers, sconces, lamps, etc. – there are just so many genuinely new ideas floating around! One chandelier that I absolutely love is a beaded chandelier from Pottery Barn. Since I am who I am, I decided to make my own DIY Beaded Chandelier instead of shelling out the big bucks.

You'll Need:

The Inspiration

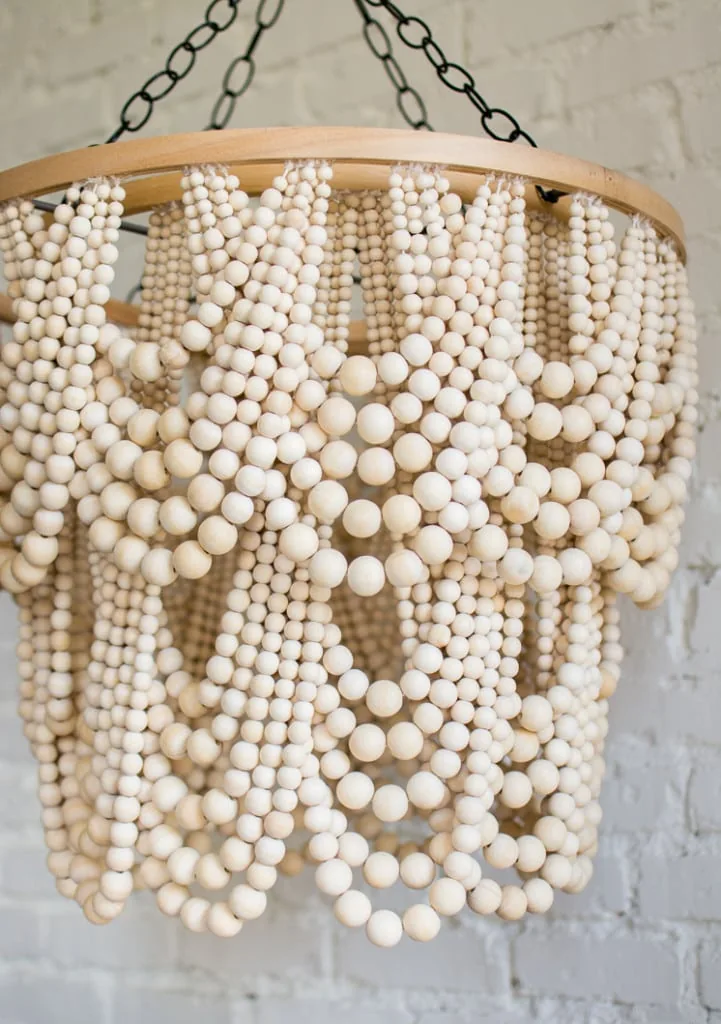
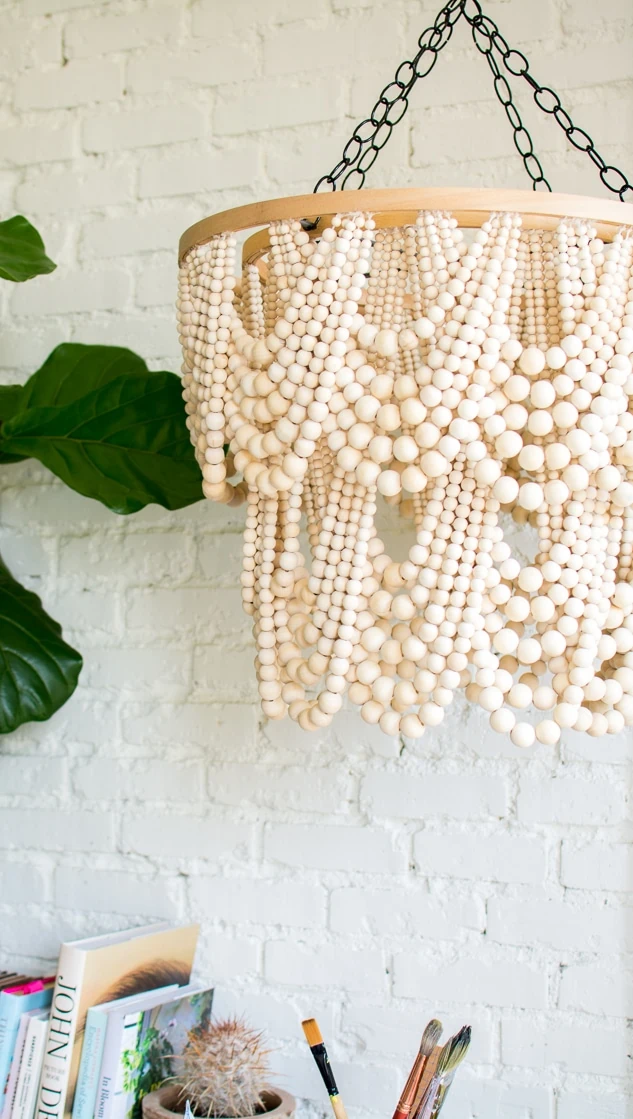
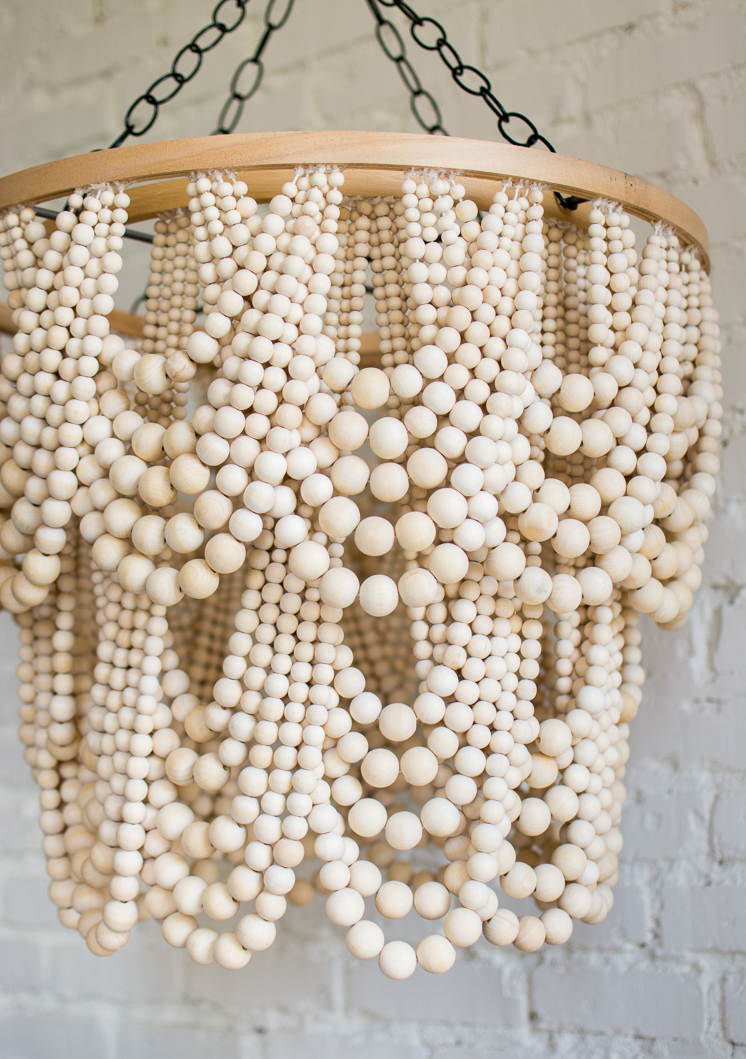
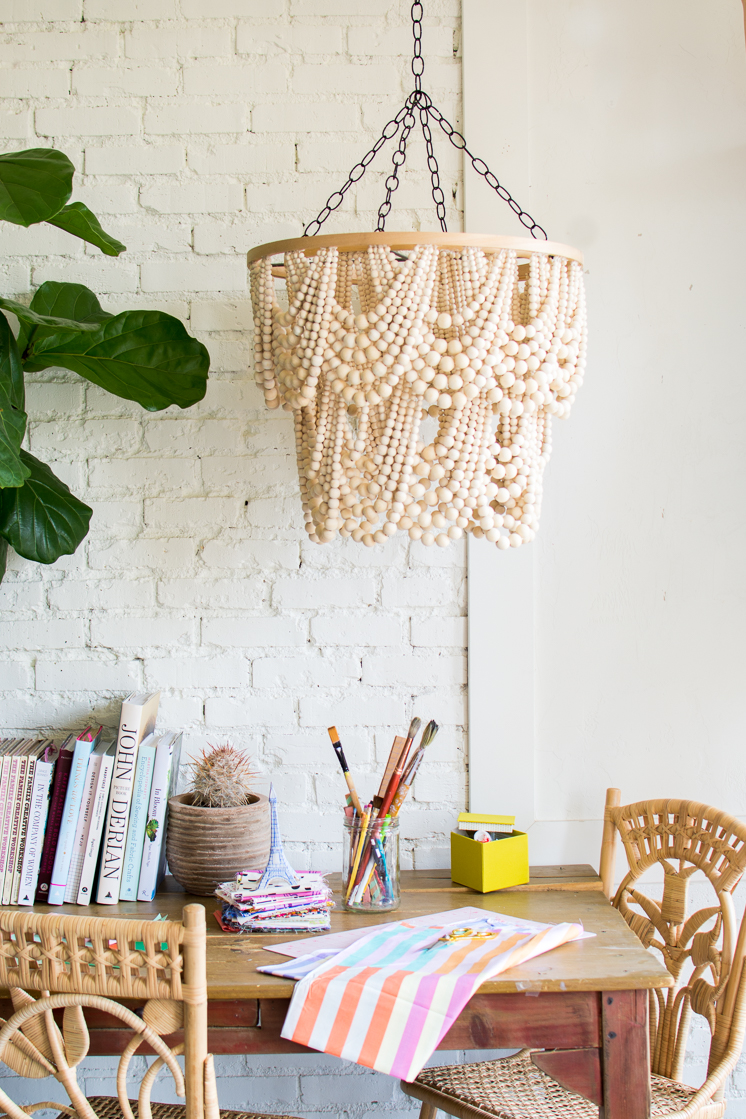
You’ve probably seen this amazing bead chandelier before, as it has made its way around the internet (others found here and here and here). I love how relaxed and elegant it feels – that’s a difficult but essential pairing. The layers of cascading beads have such a graceful look, but the natural wood keeps it fresh and easy to incorporate into any setting. And the tiers remind me of the scallop trend that is super hot right now! So often I see pieces I love but have a hard time imaging in my space. This one though fits right in! I think it could look good in any space.

A Penny Saved…

Is a penny earned! This Pottery Barn Hack for a DIY Beaded Chandelier will save you so much money. While I love the original chandelier, the $800 price tag would present a big dent in the monthly budget. In times like these, I don’t exactly want to spend that much on anything nonessential. Save where you can so you can splurge where you can, right? You don’t have to splurge to have nice things, but you do have to be willing to try new things.

You CAN Do-It-Yourself

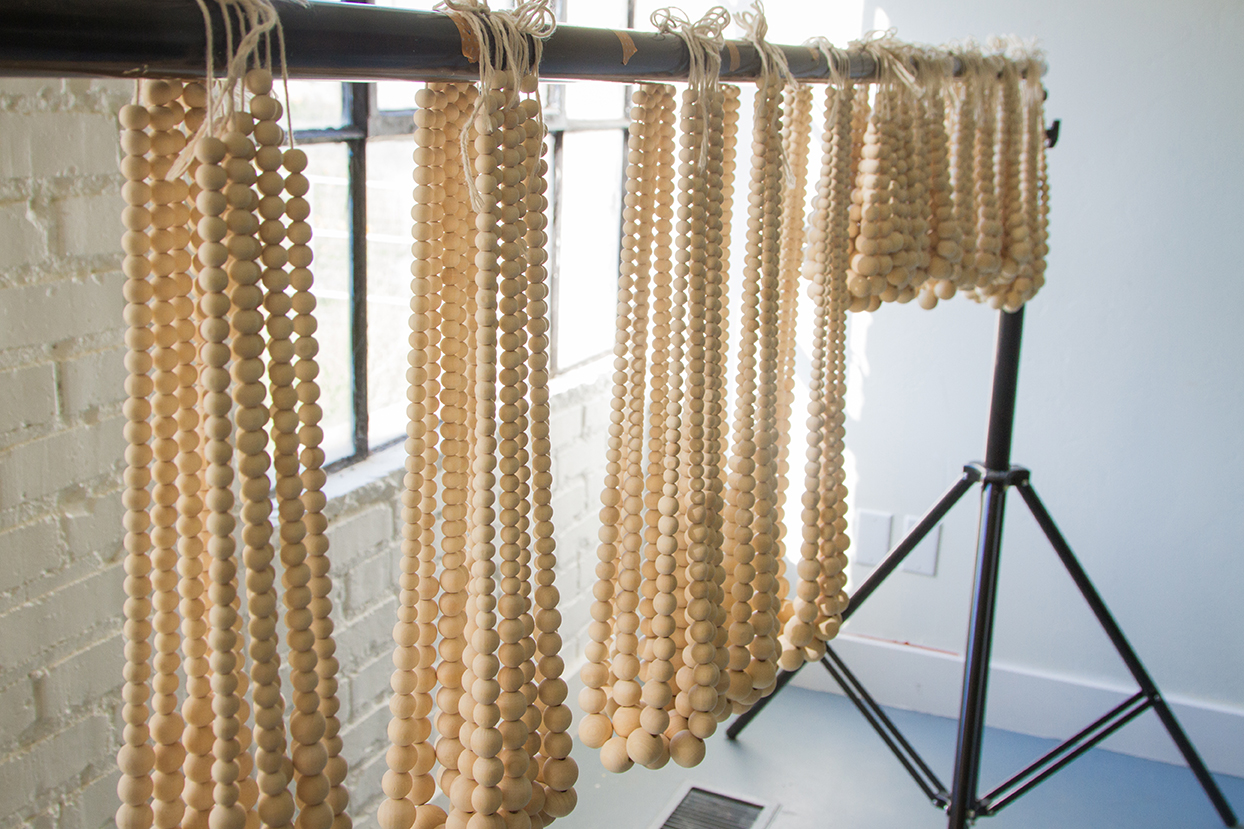
Since I just had to have this piece, I automatically started to think of how we could replicate this beauty. With a box of wooden beads, a handful of embroidery hoops, and a season of Friends (yes, this one’s a bit time-consuming folks), I got just what we wanted! This DIY Beaded Chandelier could easily pass for the original. If you’re feeling particularly creative, you could even play around with different colored beads. While I didn’t actually put a lightbulb in mine, you could easily find a cheap hanging lightbulb like this one and place the your DIY beaded chandelier over it. Let your imagination run wild! We’ve taken care of the rest with our DIY instructions.

If you’ve got pennies to pinch and time to spare, this is the project for you! Total cost of supplies, $170. Score! See here how to make it.

Learn how to get the DIY below!

DIY Bead Chandelier

DIY Bead Chandelier

In order to make the instructions very thourough and in-depth – so your project comes out looking just as high quality as the $800 original – we have complied the instructions in e-book form! You can find the DIY Bead Chandelier tutorial in our shop!

DIY Bead Chandelier

DIY Bead Chandelier

The DIY Bead Chandelier tutorial is available for purchase here.

Photography by Clara Sumsion | Crafting by Betsy Croft

37 COMMENTS

  1. I soooo love your blog! This is literally “THE BEST AND MOST DETAILED TUTORIAL” I have ever seen! Gorgeous photos, detailed instructions, and good links! I’ll be following you for sure! Thank you for sharing!

  2. Hello! GREAT instructional – thank you for putting it together. I am going to go for it and tackle this but I am struggling to find this quantity of beads under $500.00. Any suggestions?

  3. I can’t thank you enough for sharing your knowledge in such great detail. This is by far the most gratifying project I have ever done! (You made it so easy!!)
    The chandelier looks absolutely perfect above the stairs (which can also be seen from the window outside) of my new beach house.
    I used brass rods and brass chain. 😉

  4. We linked to where we bough our beads in the materials list. Total it was less than $200. The chandelier we were inspired by is over $800.

  5. I’m in love with this project — can’t wait to get started on it. Thank you so much for sharing your amazing, detailed instructions!!

  6. Vi seu trabalho e fiquei encantada, moro em Itu, SP. Brasil e gostaria de saber se você tem o endereço onde comprar esse material, ai no seu país, para eu pedir pela internet.

    Obrigada!!!

  7. This absolutely stunning. I pinned this a little while back, I ordered materials and now the tutorial is gone 🙁

  8. Just a heads-up, the tutorial is pretty good (I bought it), but it does not include instructions on how to make this with lights in it. We wanted a light up chandelier and I didn’t realize that wasn’t included in the tutorial.

  9. Perhaps this is listed somewhere but I didn’t see — what are the dimensions of the completed chandelier?

  10. I purchased the tutorial, but I want to scale this down to about half the suggested size for a gift for my niece. Every time I try to think about how to do that, my brain fries, lol. Obviously, I need to buy smaller hoops and …maybe halve (?) the number of strands. But how about the beads themselves–how would you suggest scaling that down? Just lopping some of the smaller ones off at the end? Or maybe the opposite? Removing the largest?

  11. Please, I’ve downloaded your E-file, I’m getting really frustrated!!! I can not find these embroidery hoops and you don’t say in the E-file. This is my second email to you. Could you please let me know where to find them! lisakline5183@gmail.com

LEAVE A REPLY

Please enter your comment!
Please enter your name here

Trending Articles

DIY Beaded Chandelier

The Inspiration You've probably seen this amazing bead chandelier before, as it has made its way around the internet (others found here and here and...

DIY Palm Leaves

DIY Palm Leaves Palm leaves are an incredible material that has been used by humans for thousands of years. They come from various species of...

Recent Articles

Casetify Phone Case: Honest Review (Updated)

This post contains affiliate links. Any time you buy something from our affiliate links, we get a small commission at no cost to you! Honest...

5 ways to celebrate National Donut Day!

5 ways to celebrate National Donut Day! Why we love National Donut Day We are firm believers in the power and transcendence of creating. Okay, maybe...