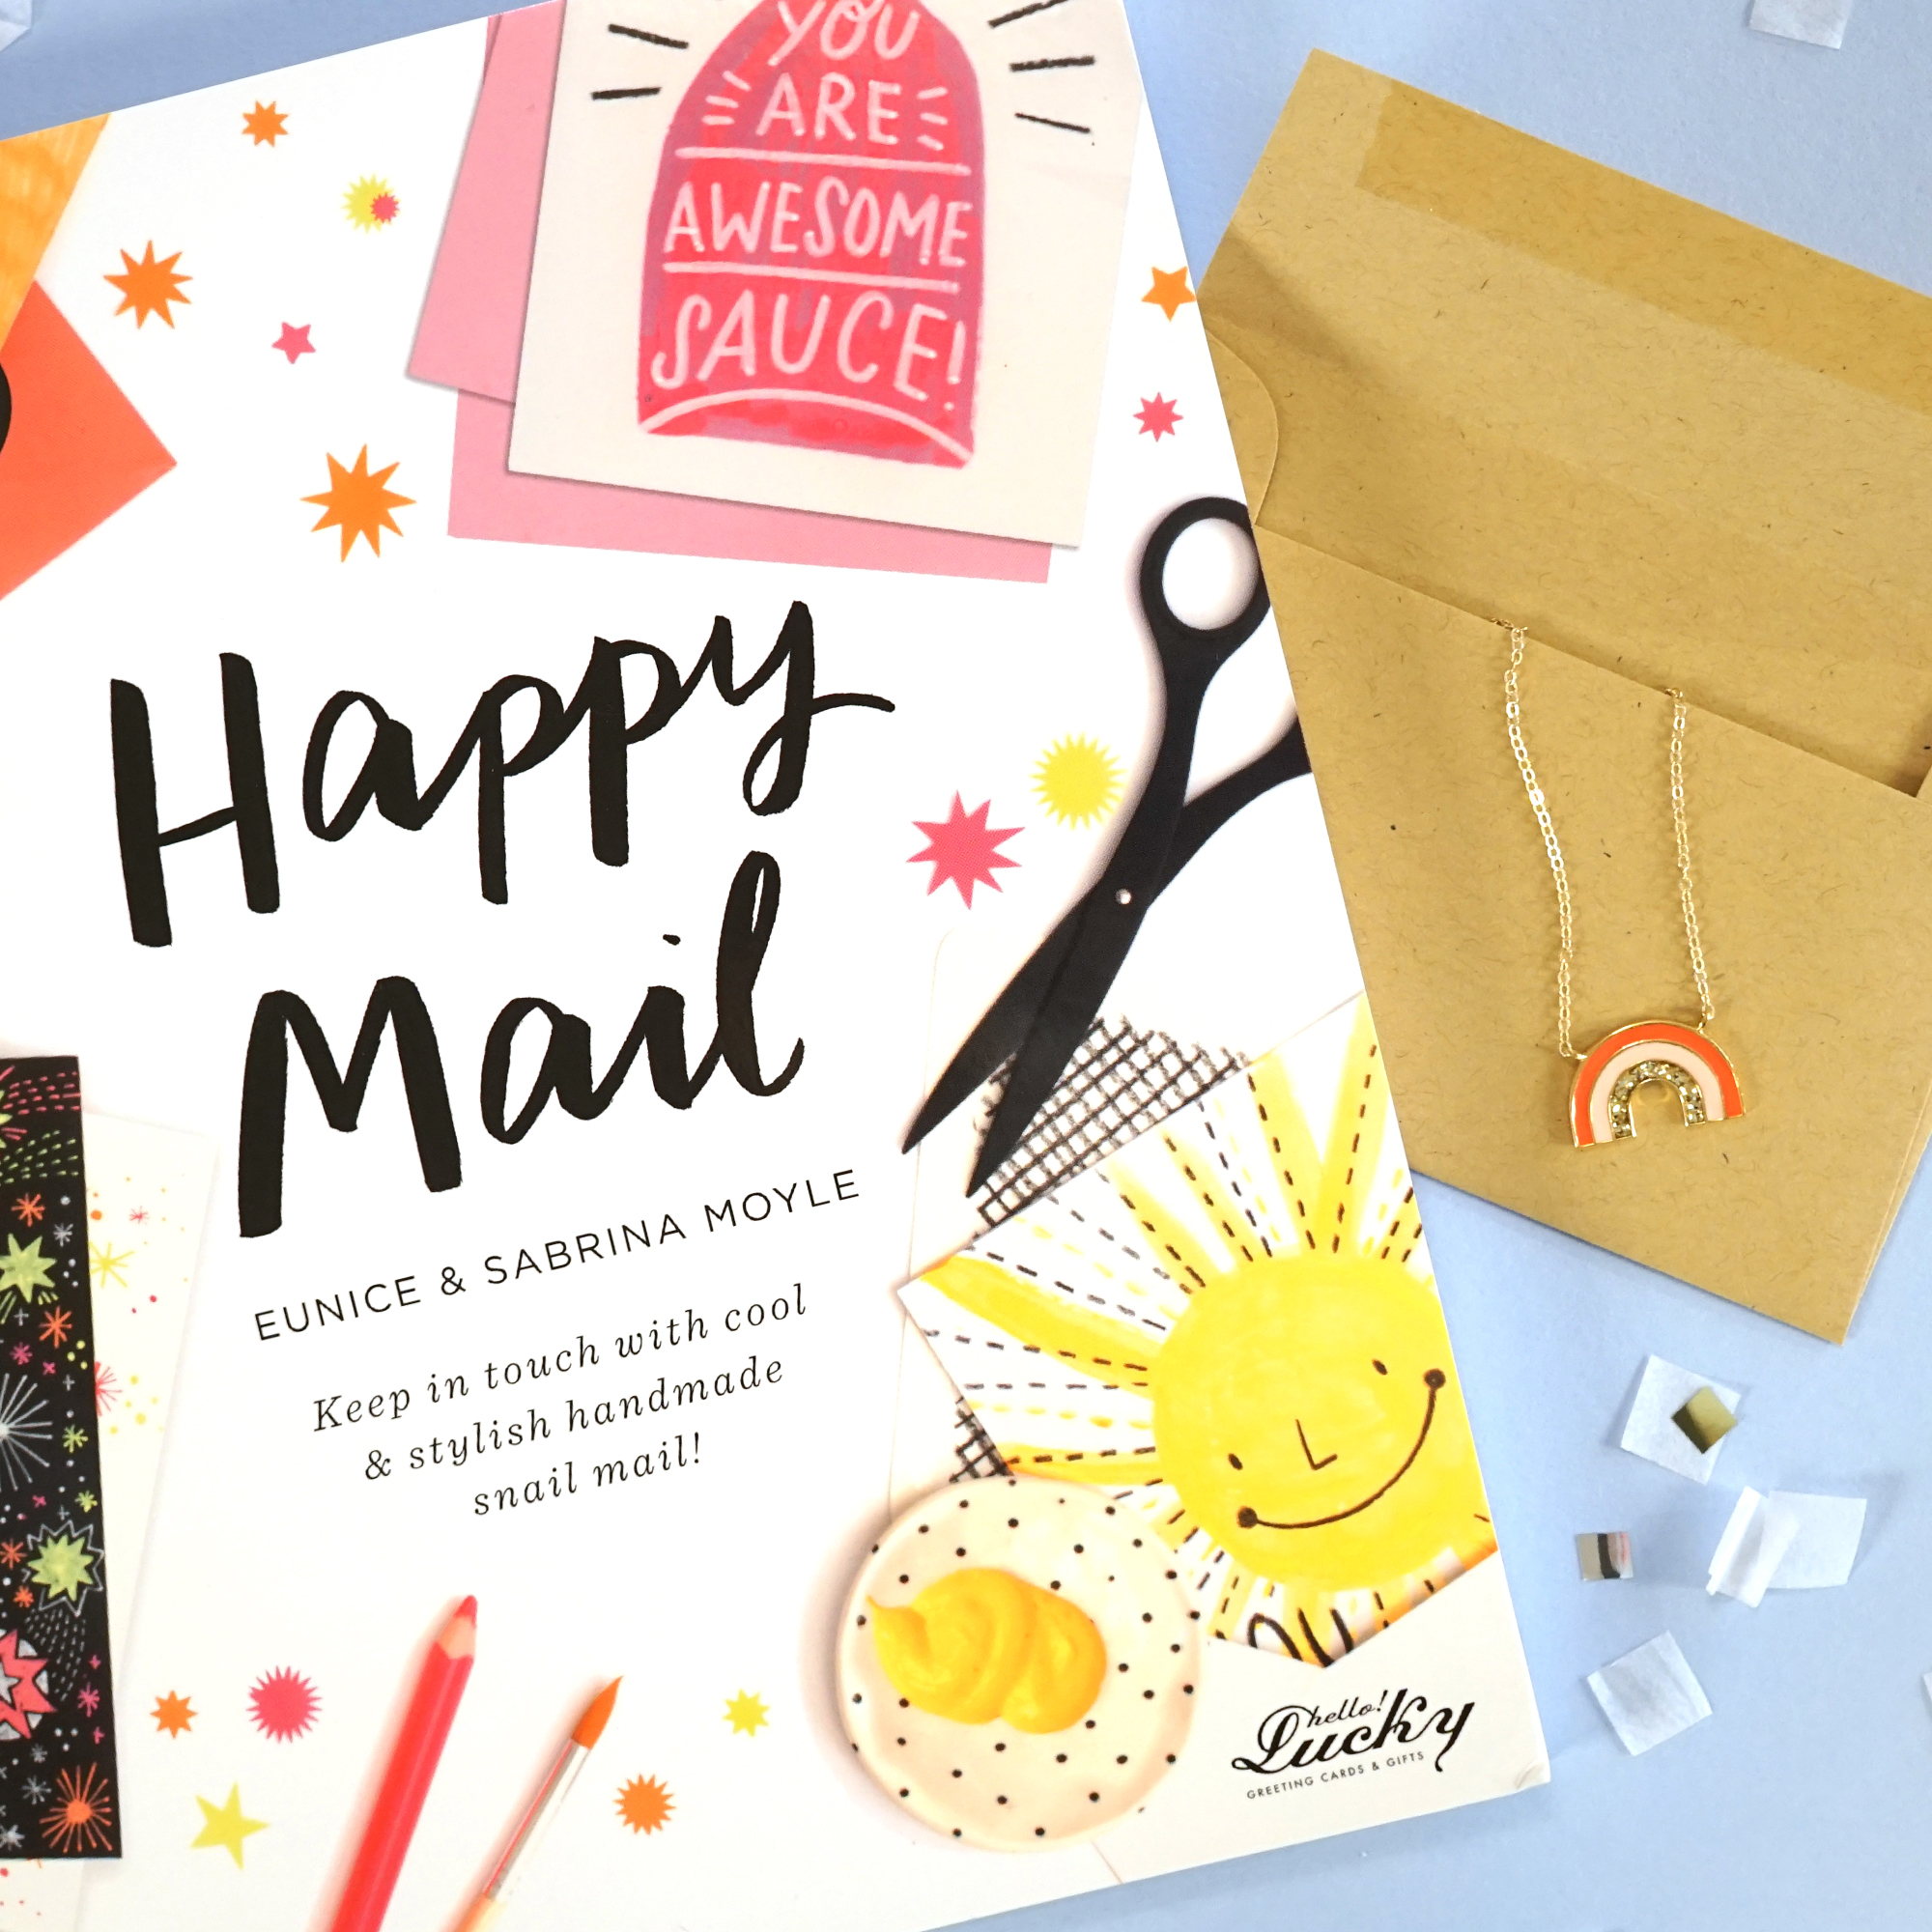
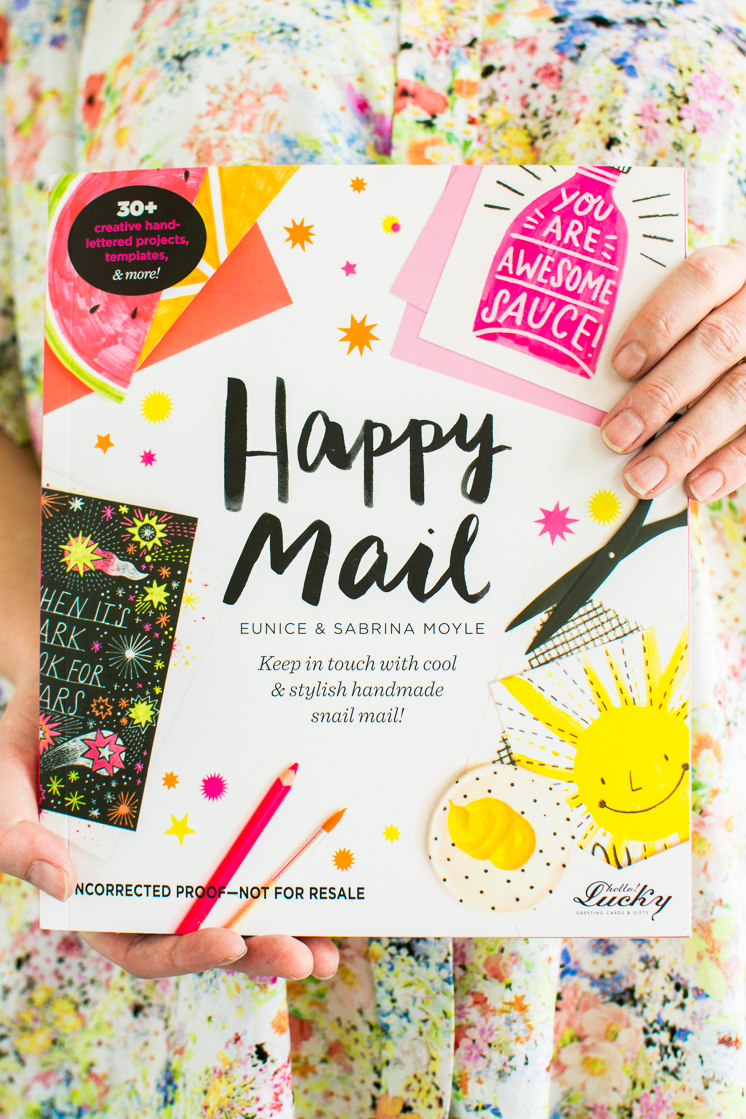
Our friends Sabrina and Eunice from Hello!Lucky LOVE crafting and DIY projects. So much so that they put every last bit of glue, washi tape, and glitter into their new Happy Mail book, which we’re thrilled to be sharing with you! It’s chock full of some of their favorite hand-lettering and hand-doodling styles, and tear out pages that just ooze fun and puns. This book is perfect for the crafter who’s short on time. To celebrate today’s official launch of the book, we’re sharing one of our favorite DIY projects, AND a chance to win your own copy of Happy Mail (open to winners with addresses in the US, Canada, and UK) along with a super cute rainbow necklace by Virginie Millefiori! You are not going to want to miss this, the book is too good!
Get all the details on the giveaway and tutorial after the jump!
Happy Mail Book Instagram Giveaway Guidelines
To enter and win a Happy Mail book and rainbow necklace 1) follow @helloluckycards, @
List Letter DIY Project
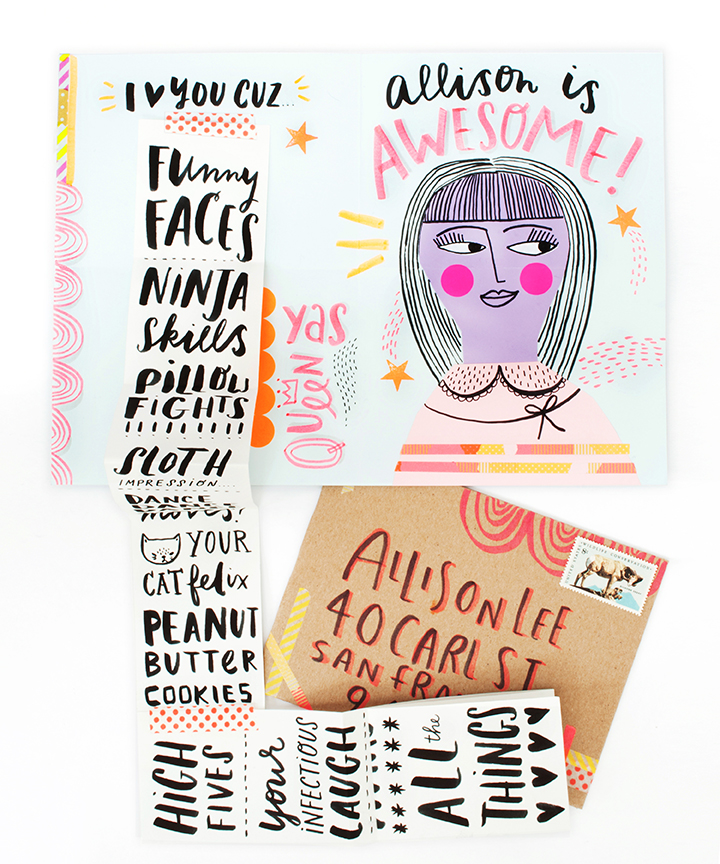
We love making lists. They help us remember all the things that rule in our lives. Tell your bestie what you like most about him/her, and don’t be confined to the size of the card — let your love run free! Don’t forget to customize the portrait to resemble the recipient.
Materials:
- Sheet of lightweight paper (we used a sheet of light blue) large enough to be cut down to 10” x 14”
- White light weight paper
- Colored paper (We used Pacon Card Stock, 8 1/2 inches x 11 Inches, Pastel Assortment)
- Black Tombow ABT Dual Brush Pen Art Marker
- Glue stick
- Scissors
- Craft knife
- Cutting mat or magazine
- Ruler
- A7 Envelope (we used a brown kraft mailer)
Optional Supplies:
- Highlighters
- Neon office dot stickers
- Star rubber stamp
- Neon stamp pad
- Washi tape
*This is what we used, but have fun here – any stickers, markers, washi tape, rubber stamps and other decorative flair will do!
Card:
- Make your card. Cut the large sheet of lightweight paper down to 10” x 14” and fold it in half on the 10” side.
- Cut down two 3” x 18” strips of white paper.
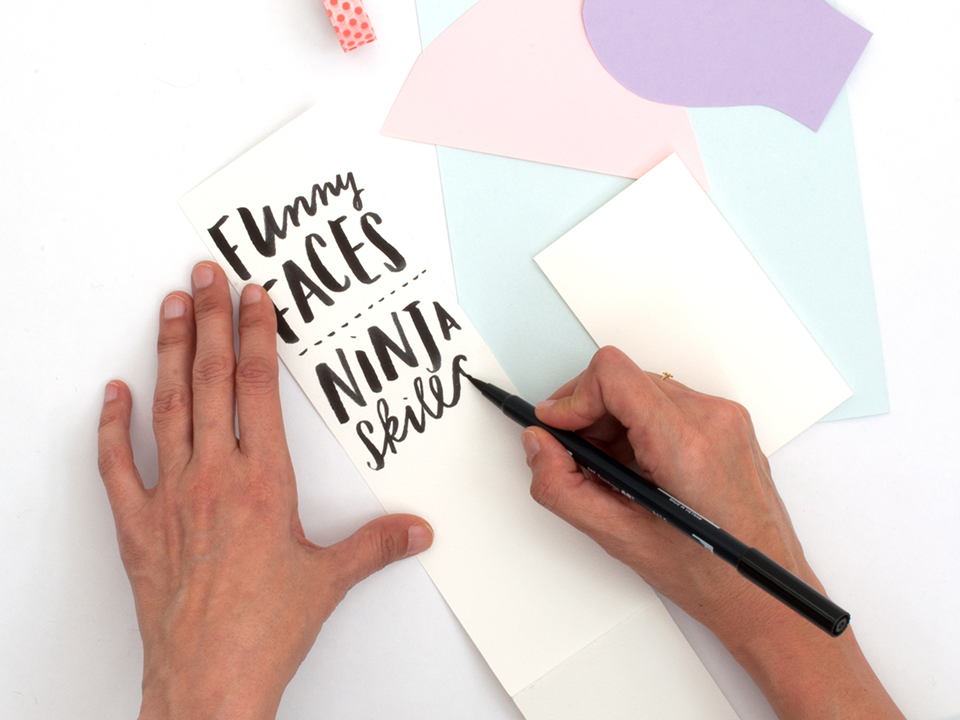
- On the long strips, using the Tombow pen, write a list of things you love about that special person you are sending the card to. Use a variety of type styles, doodle funny illustrations and dividers. Make sure to leave about ¾” blank at the bottom of the first strip to give yourself room to glue the two pieces together.
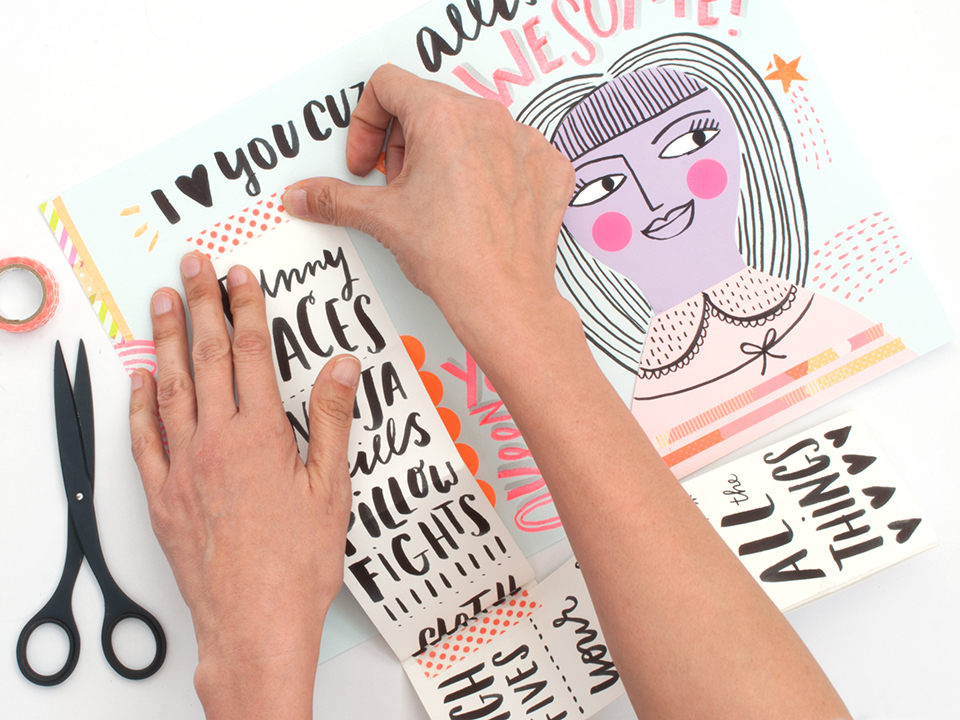
- Place the second strip at a 90-degree angle to the first strip and glue together using a glue stick. We added a bit of washi tape along to seam for flair.
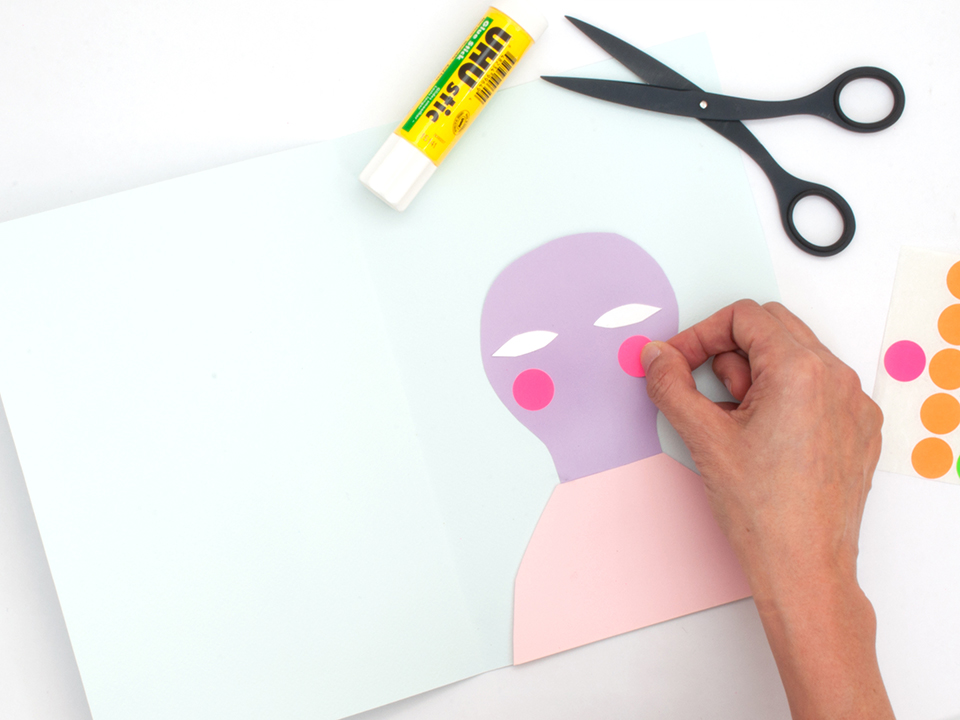
- Make the portrait! With a pair of scissors cut a head shape and body shape out of two colors of paper. Glue these to the right side of the card.
- Cut two eye shapes from white paper and glue on to the head.
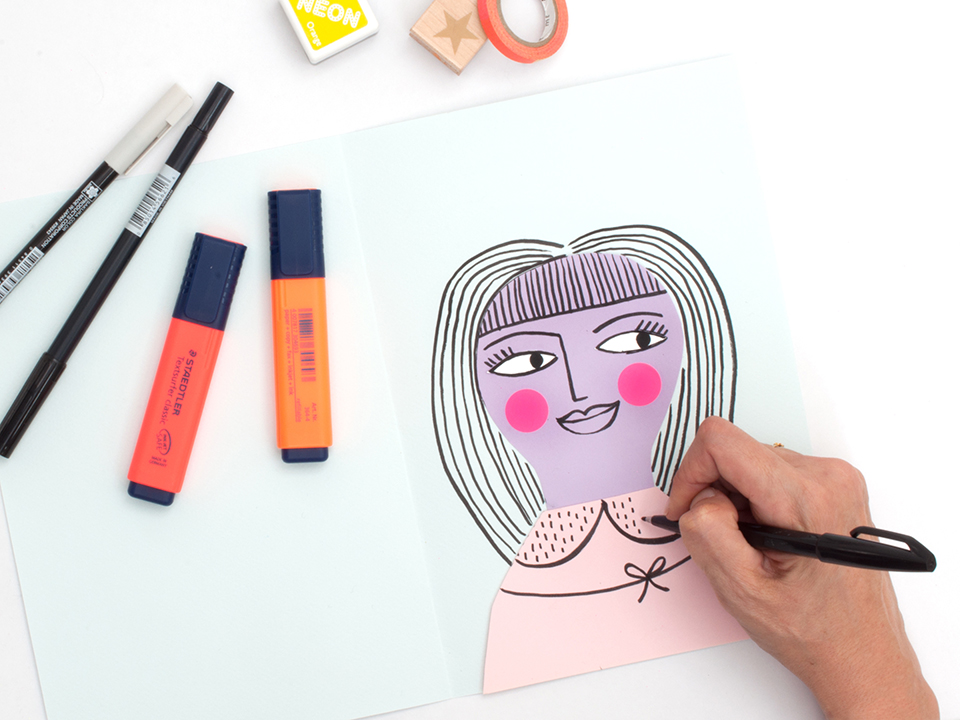
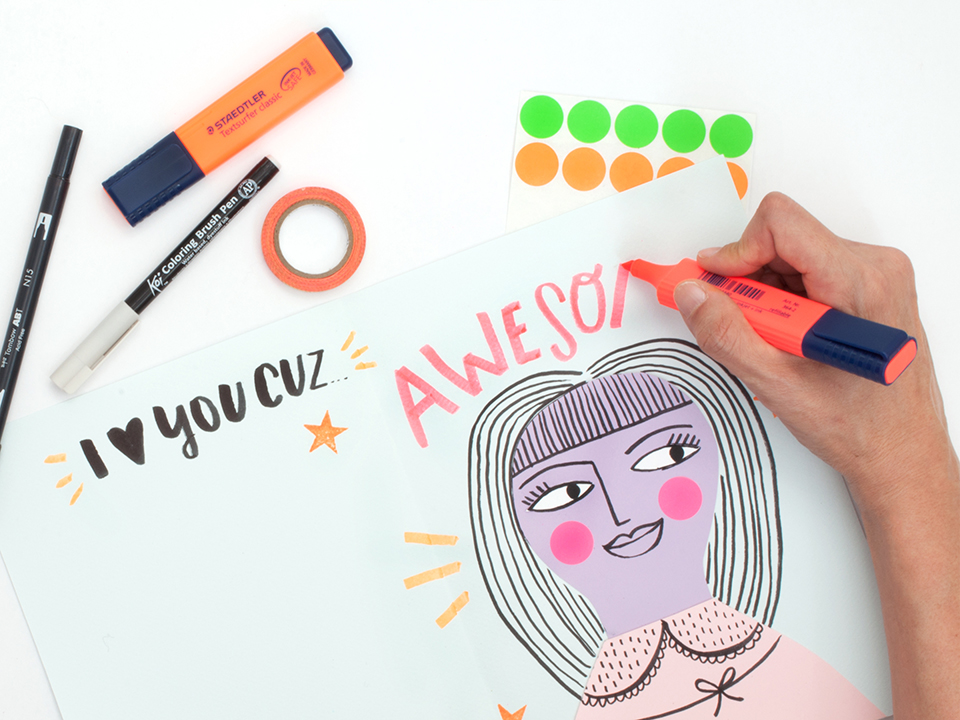
- Using the Tombow pen, draw the face, hair, and any other details. We used the Tombow pen and highlighter to write “Allison is Awesome”.
- Glue the list into the left side of the card (just a bit of glue along the top edge will do) and decorate/reinforce the top with washi tape.
- Decorate the card with markers washi tape, stickers, and rubber stamps.
- Fold the card in half horizontally including the list. Open the card up and fold the list up so that it fits into the card. Fold the card back into quarters so that it fits into the envelope.
Envelope:
- Using highlighters and washi tape, decorate the envelope to match.
Happy Mail by Eunice Moyle and Sabrina Moyle is out today! Pick up a copy here!
Remember to enter the giveaway on Instagram!


