


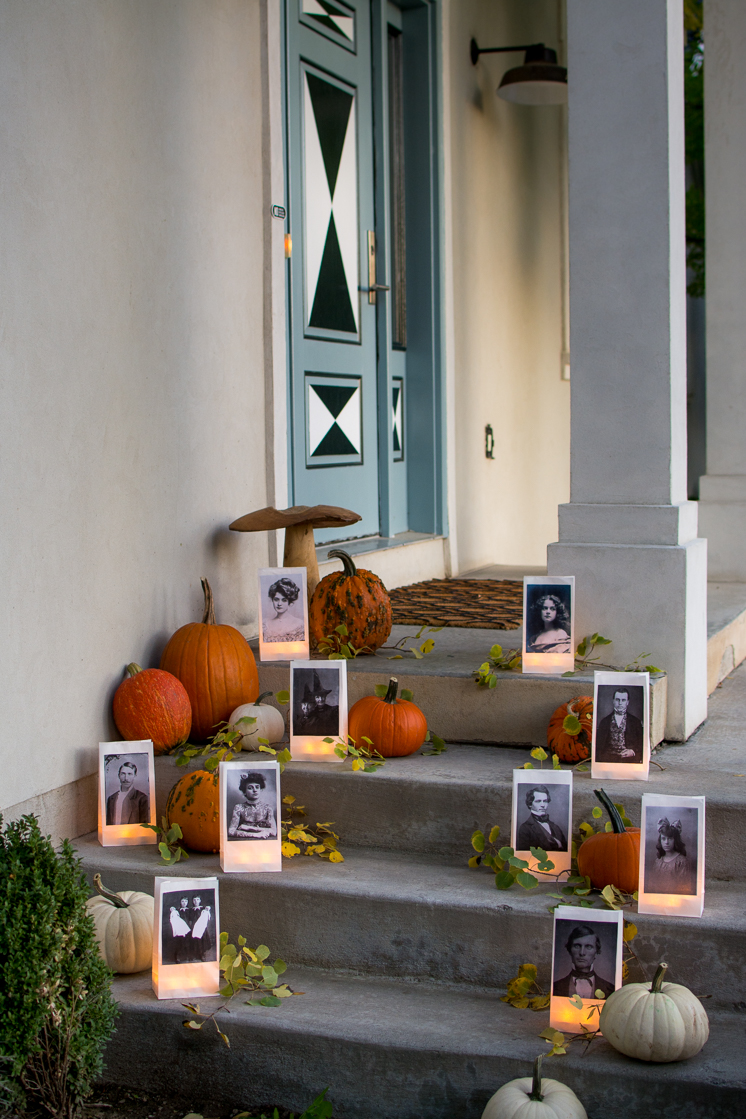
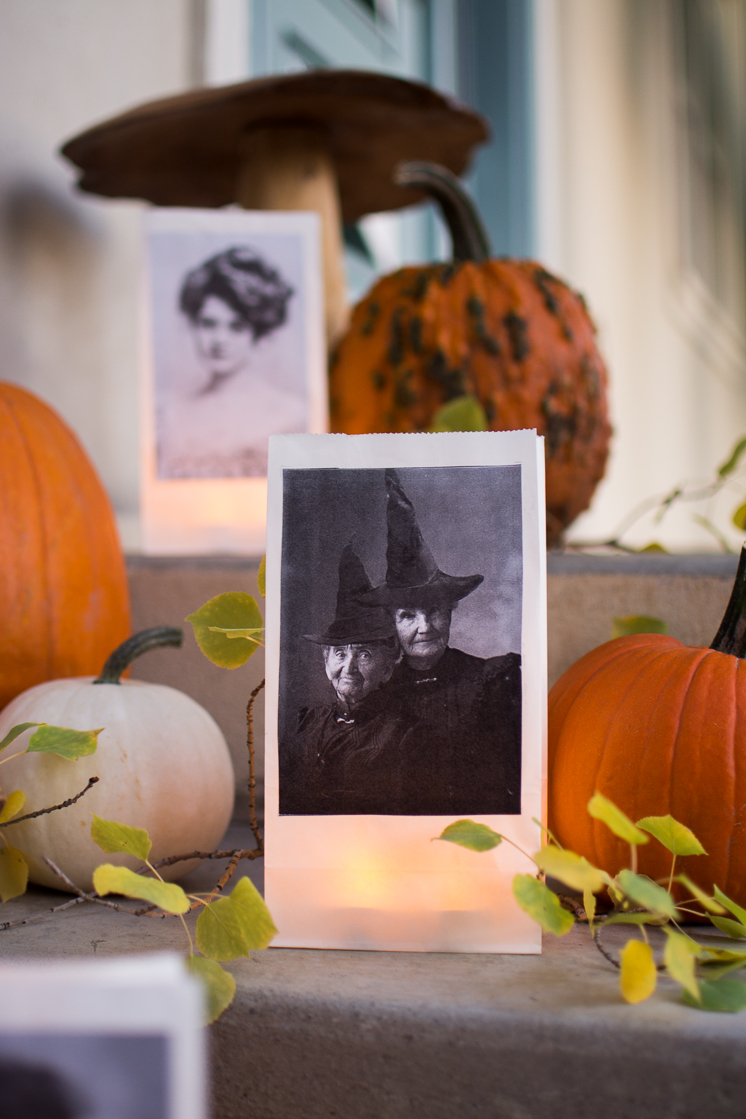
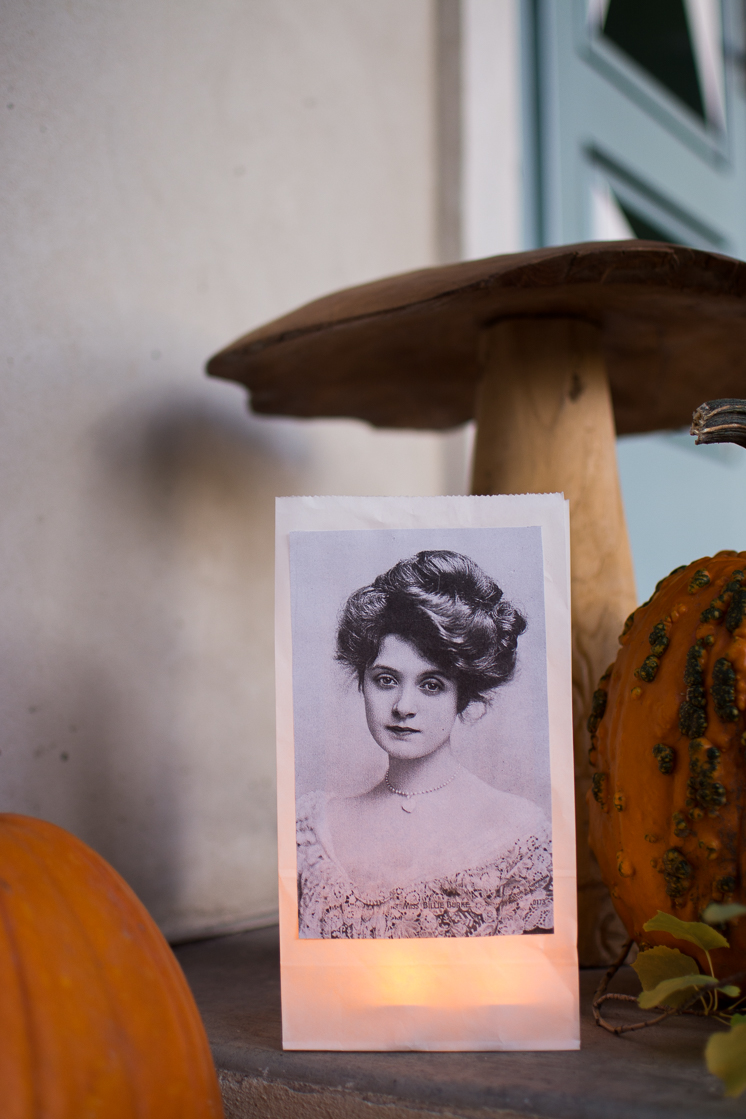
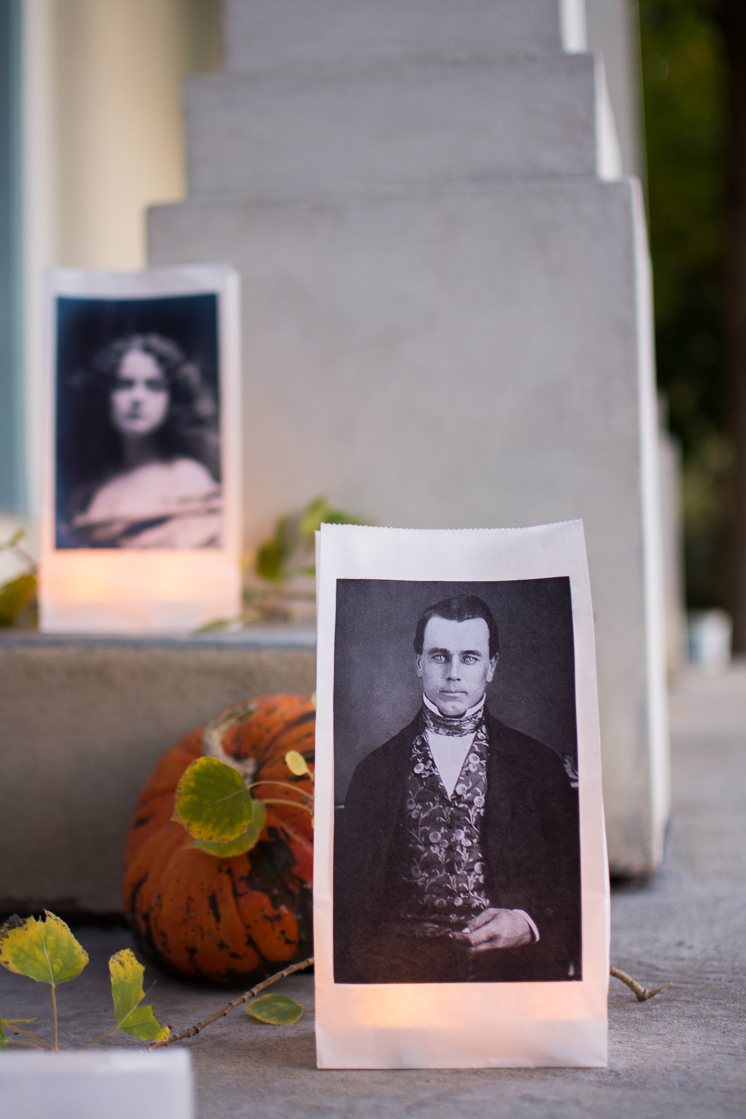
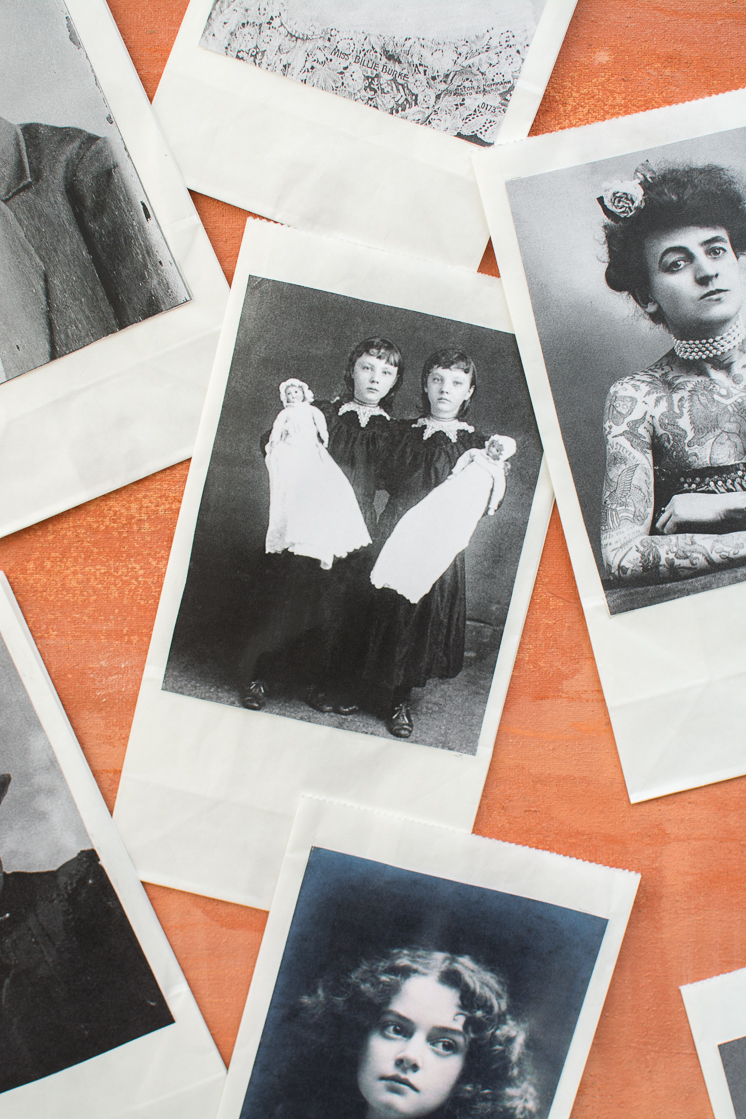
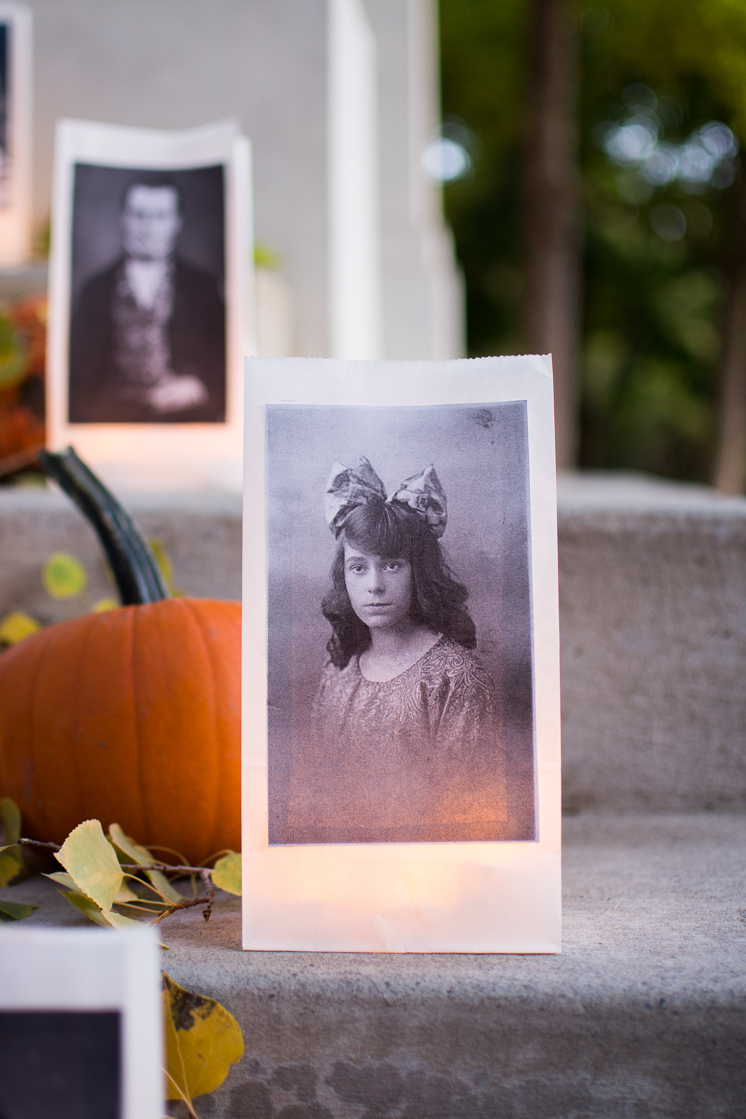
 Now that October has finally arrived we are ready to cover our houses with all the ghosts, goblins, and ghouls! Much like around Christmas time, I love walking around the neighborhood to check out all the different decorations that will soon greet the Trick-or-Treaters. So with that in mind, we decided to create some paper bag portrait luminaries to line your walkway to welcome all your spooky guests! You’ve probably seen a rendition of paper bag lanterns, but these ones each don an old black and white portrait to give a spooky touch. Think Disney’s Haunted House. With basic white paper bags, a printer, and some tea lights, you can create these easy lanterns and make sure your guests are properly watched over 😉
Continue to get the full tutorial!
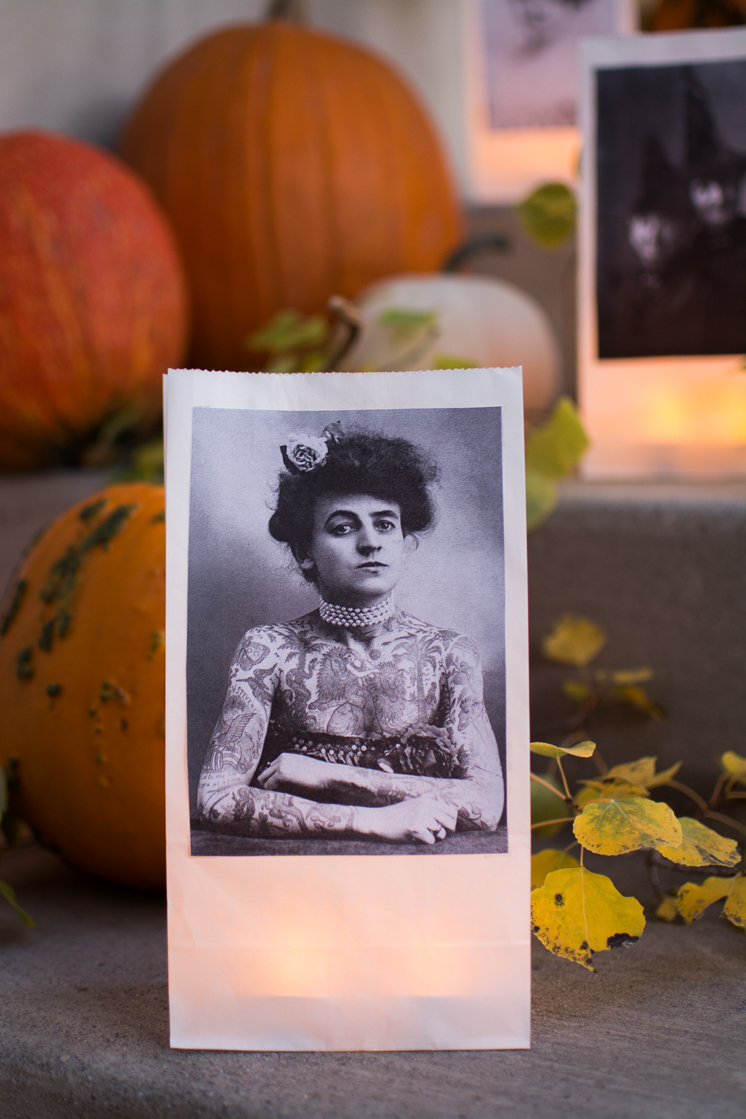
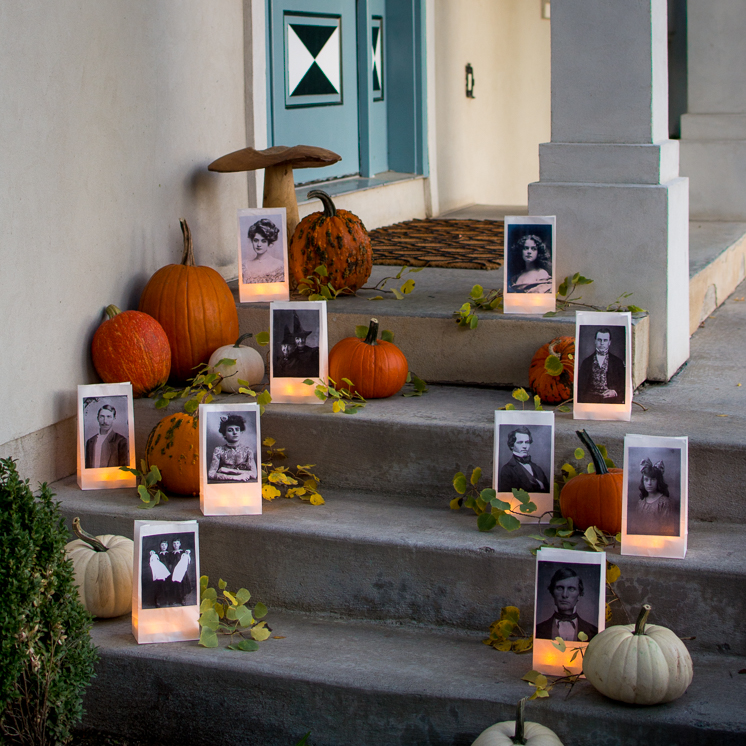
Paper Bag Portrait Luminaries
Materials:
- White Paper bags, we used 5″ by 9″ bags
- White printer paper
- Ink-jet printer
- Scissors
- Gluestick
- Tea Lights
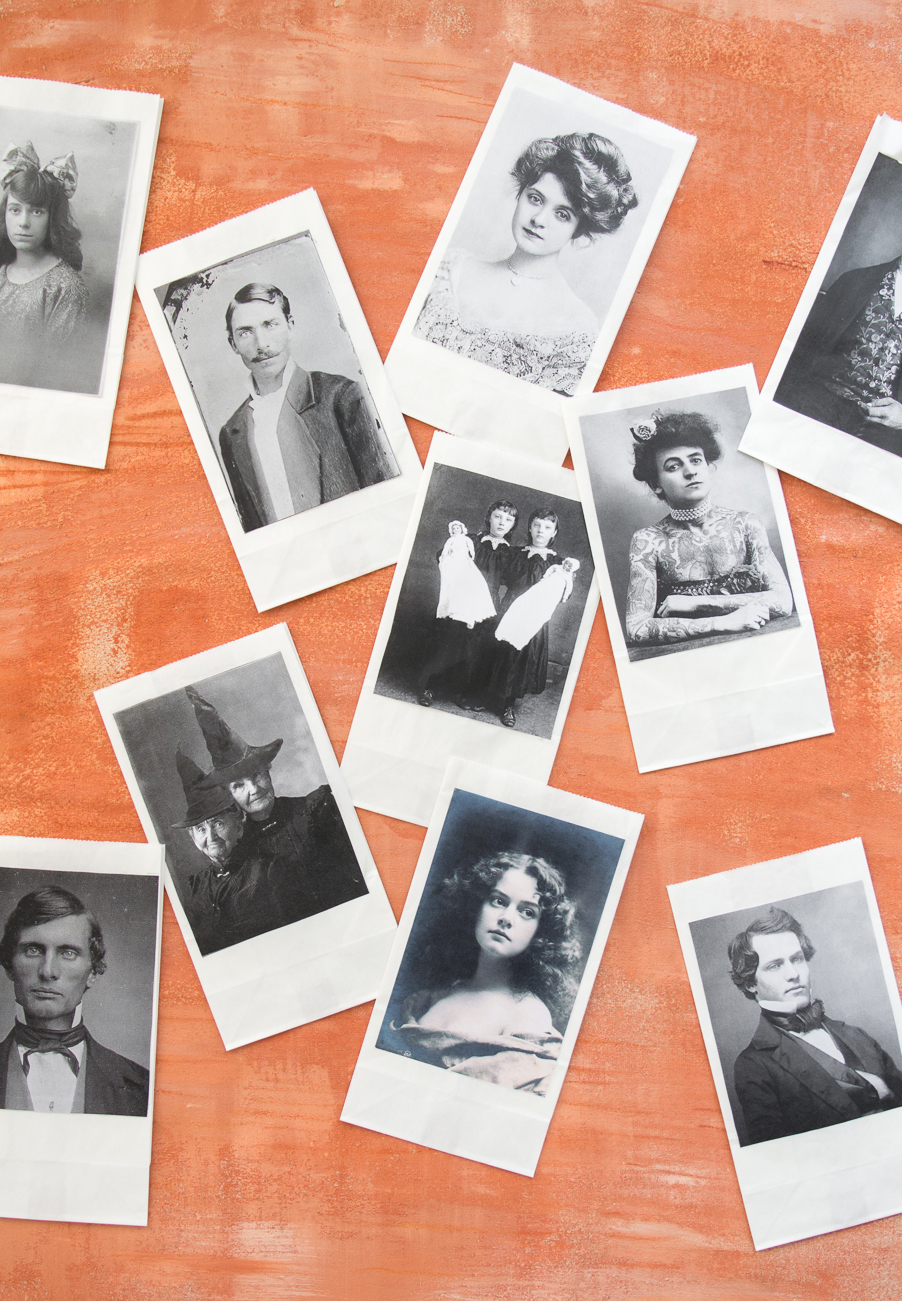
- Creepy Portrait Images to Download
Instructions:
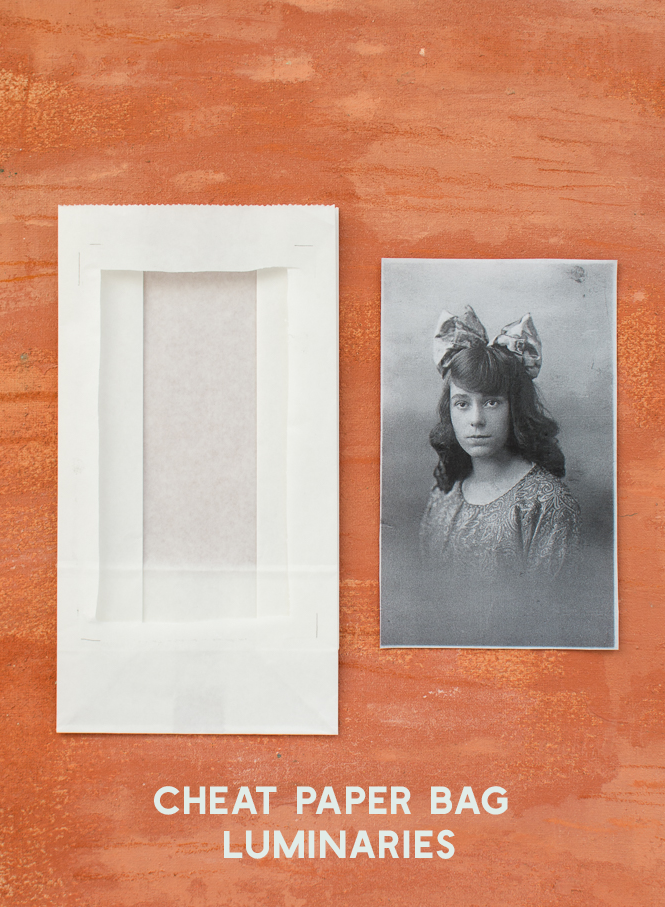
- Size the images to fit the size of your paper bag
- Print images out on regular printer paper and trim off any excess white paper.
- Cut a window out of one side of the paper bag, slightly smaller than the image so there is a small overlap when the image is placed over the window.
- Apply glue along the edges of each image and place directly over the cut window on the paper bag. Make sure the image adheres to the bag.
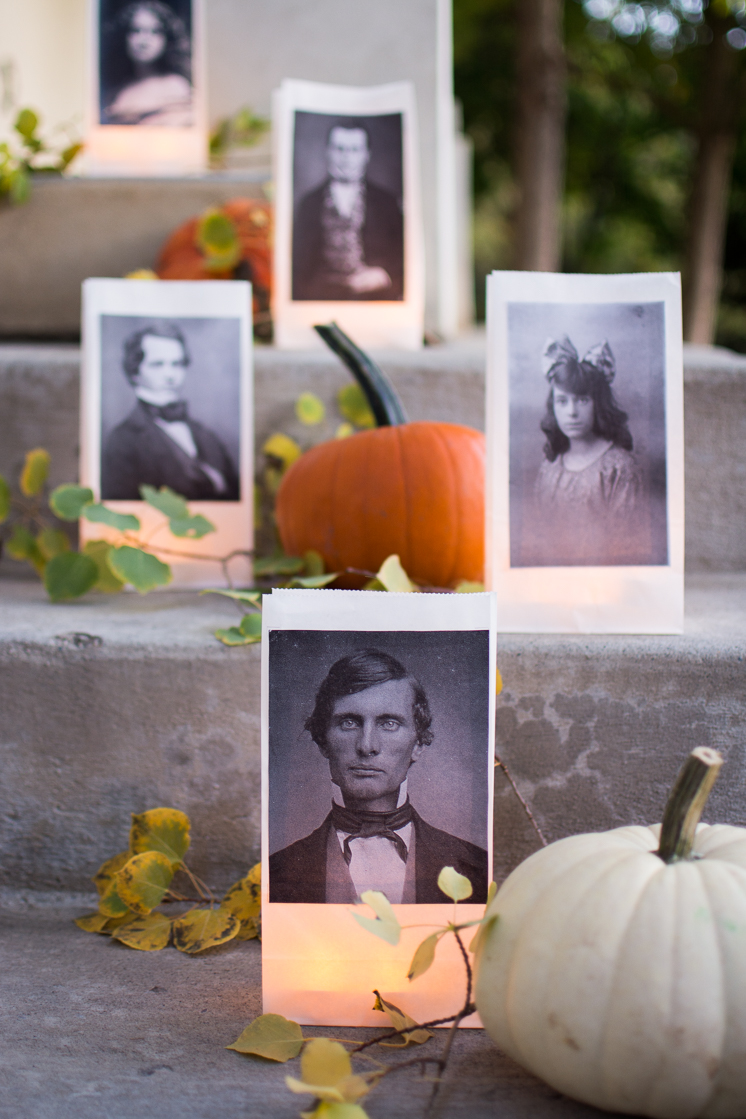
- Fill with tea lights or other candle and line your walkway with all your friendly guests!
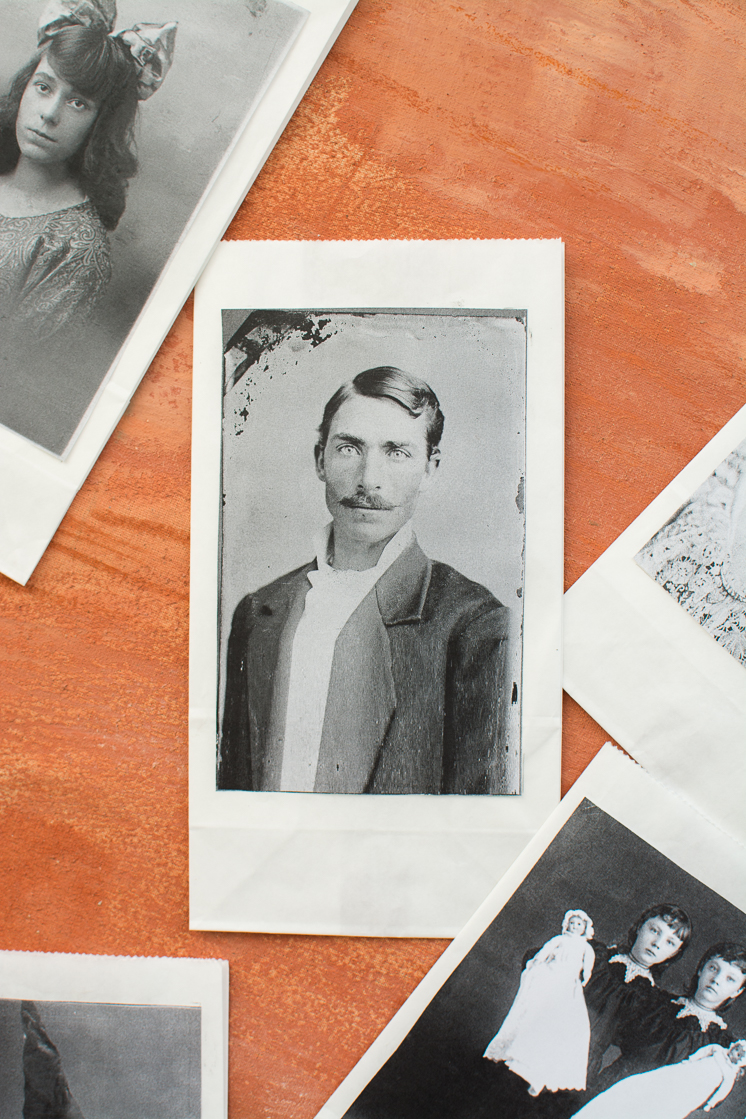
Alternate process for direct printer :
- Using paper bags with no waxy finish, flatten each bag so that it lays as flat as possible.
- Adjust your ink jet printer settings so that they fit the size of your bags.
- Print off the portraits onto each of the bags.

Comments