


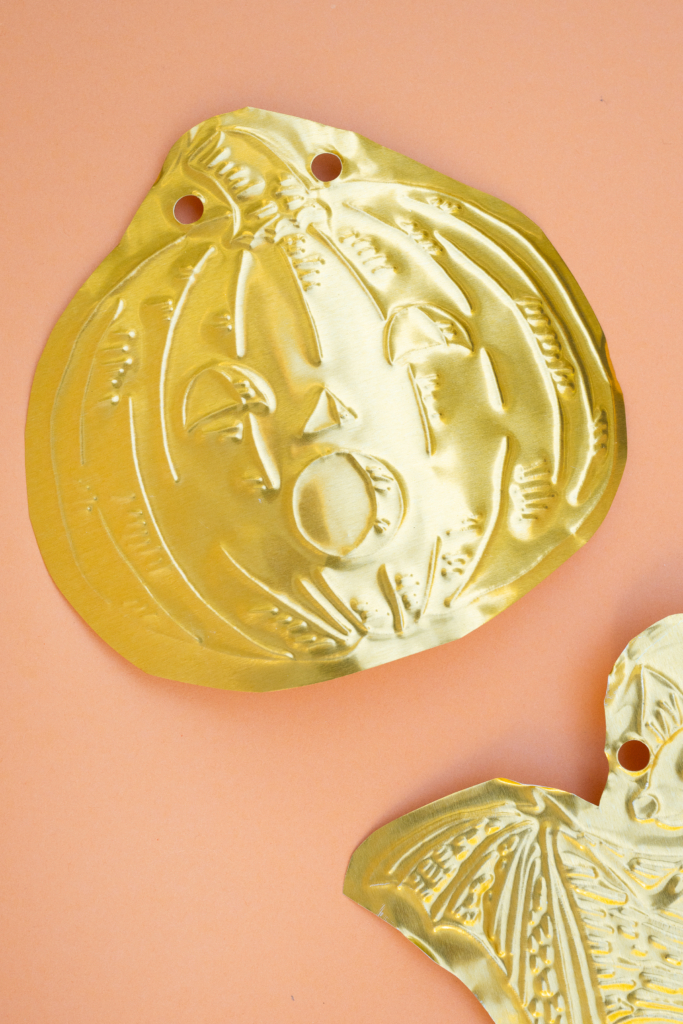
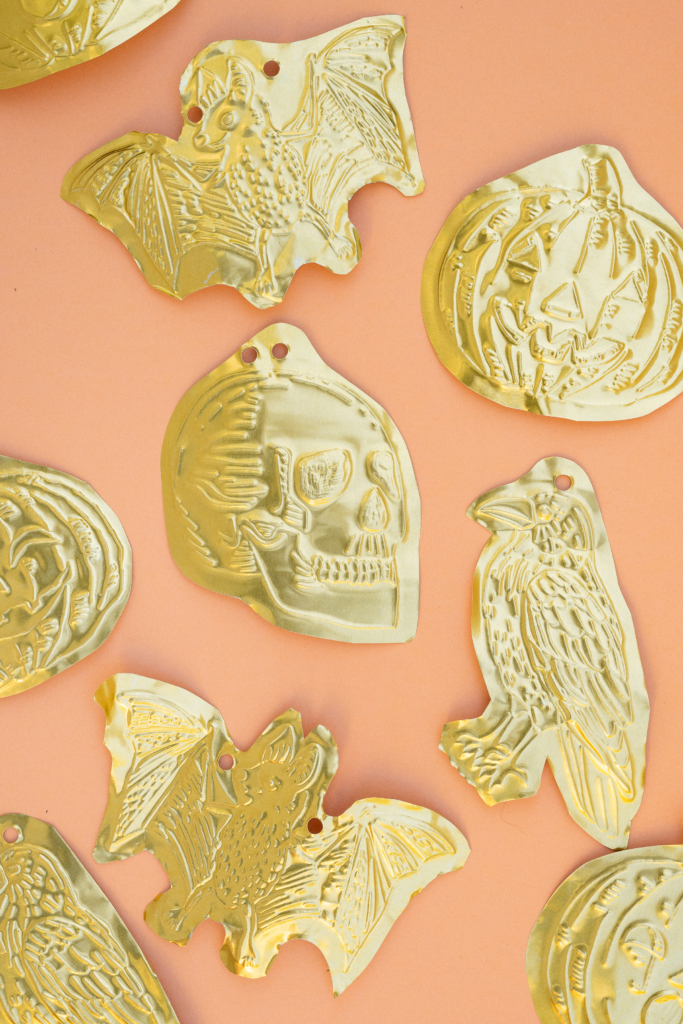
As you know I’ve become obsessed with tin embossing over the last year. I’ve been adding templates to our shop for each holiday and I have to admit that I particularly love how these Halloween ornament templates turned out. With the gold, they add a touch of class for the holiday. Plus, I’m all for a Halloween decoration that looks like it could have been discovered in the attic of a very stylish witch. A little shiny, a little nostalgic, and even better when you make it yourself.
With our Halloween templates, a sheet of craft metal, and a few simple tools, you can create little decorations full of texture and personality. Finish them with ribbon, hang them from a branch, and suddenly your house is looking delightfully haunted.
If you’ve been wanting to try tin embossing, this is a fun place to start. Tracing the lines and watching a flat sheet of metal become something dimensional is surprisingly satisfying. Fair warning: you may find yourself thinking, “Just one more,” well past bedtime. It’s one of those mindless activities that fits in well with a show on or just after a long day.
Tin Embossing Halloween Ornaments
Difficulty:
BeginnerTime:
10 minutes or lessMaterials
- The House That Lars Built Halloween tin embossing ornament templates
- Craft metal (it’s hard to find the right kind, use this!)
- Ballpoint pens
- Dotting stylus (optional for these ones)
- Felt or fabric square
- Tape
- Hole punch
- Ribbon
- All supplies linked in one spot
Instructions
Print your templates
- Print our Halloween tin embossing templates at your desired size. Smaller ornaments are lovely for a tabletop branch arrangement, while larger ones make a statement in a garland or window. Cut around each paper design, leaving a little extra paper outside the outline so you have room to tape it down.
- Cut a piece of craft metal slightly larger than your template. Place it on a sheet of craft foam, then position the paper template on top. Secure the paper with small pieces of tape so it stays put while you trace. A little preparation here saves you from accidentally giving your ornament an extra eye. Although, it is Halloween…
- Using a ball stylus or a ballpoint pen, trace the template’s outline and interior details. Apply steady, gentle pressure. You want to make an impression in the metal without puncturing it. Start lightly—you can always deepen the lines once you remove the paper. Before lifting the whole template, peel back one corner to check that your design has transferred.
- Remove the paper and take a look at your design. This is where the magic happens! Work from the back to create raised areas on the front, using a rounded tool and gentle, repeated strokes. Turn the metal over to refine outlines or add recessed details from the front. Experiment with dots, little lines, borders, and patterns. Try your tools on a scrap first to see what marks they make. Keep the pressure light and build the texture gradually. There’s no need for every mark to match perfectly. Those little variations give handmade ornaments their charm.
- Carefully cut around the outer shape, leaving a narrow border around the embossed design. Keep the shape manageable and avoid unnecessarily sharp points. Check the perimeter for sharp edges or burrs. Smooth and finish them using the method recommended for your craft metal before handling or hanging the ornament.
- Punch a small hole near the top, leaving enough metal above the hole to keep it from tearing. Thread ribbon or twine through and tie a loop. This is an excellent excuse to dig into your ribbon stash. Black velvet feels wonderfully dramatic, while orange, lilac, or bright pink adds a playful little jolt of color.
How to Display Your Halloween Ornaments
Once you’ve made a few, try:
- A Halloween tree: Gather branches in a sturdy vase and hang ornaments at different heights.
- A mantel garland: Tie ornaments along a ribbon, alternating them with bows.
- A festive place setting: Tie one around a napkin for a take-home party favor.
- A little Halloween gift: Attach an ornament to a wrapped treat or small package.
I especially love the way the embossed metal catches the light. All those little details come alive as the ornaments move.
Print the templates, pull out the ribbon, and make an evening of it. A table full of shiny Halloween decorations sounds like a very good kind of hocus-pocus to me.
If you’re looking for the other holidays, you can find them here:
Mother’s Day tin embossing
Father’s Day tin embossing
4th of July Tin Embossing
Christmas Tin Embossing
Valentine’s Day Tin Embossing
Look out for Thanksgiving soon!