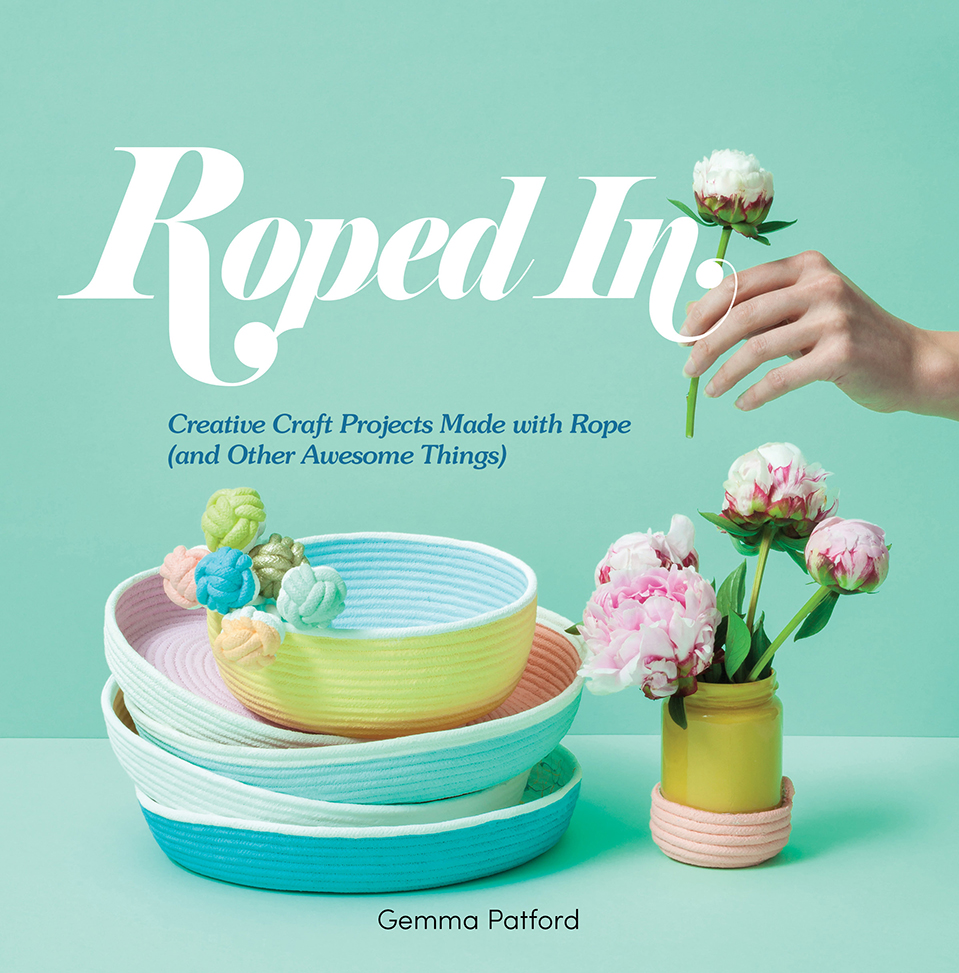
I love me a good craft book, particularly one that rethinks a material in a completely new way. “Roped In” by Gemma Patford is one such book! Not only does this book show you how to make everything from accessories to home decor items from rope, there are recipes, and additional projects that will all bring a smile to your face! The thing about all of these projects is how well made they all look! No one would ever guess you actually made this DIY Rope Tote because it looks like you could buy it in a store! You are sure to have a blast trying out all these ingenious, yet simple, techniques to create beautiful items. All of the projects included, like this DIY Rope Tote we are featuring, would make great gifts, by the way. Christmas shopping just got easier!
Check out the full tutorial for this DIY rope tote!
DIY Rope Tote
This rope tote is the perfect size for housing your packed lunch, phone, keys and purse. During the festive season, it’s a great way to carry home your Christmas haul and itty bitty stocking stuffers. I love a gift you can sneak home leftover ham in, too!
You will need:
- 30 m (98 ft 5 in) of cotton rope
- 1m (3 ft 3 in) x 1m (3 ft 3 in) square of paper to paint on
- Small craft paintbrush
- Measuring tape
- Sewing machine with a zigzag stitch
- Sharp scissors
- Thread
- Pins
- Water-based acrylic paint in your favourite colours
Instructions
Step 1: Untangle your rope. Take one end and fold it (approximately 12 cm / 4 3/4 in lengthwise) onto itself.
Step 2: Place folded rope under your needle and slowly start to zigzag stitch the rope together. A thin oblong coil will begin to form. Continue to add to the size of the rope coil by sewing the loose rope to the coil. Be sure that the zigzag stitch captures both the loose rope and the coil as you sew.
Step 3: Continue sewing this coil until it measures 20 cm (8 in) in length and 12 cm (4 3/4 in) in width. This will be the base of your rope tote. Lift the base and hold it at an angle against the left side of the sewing machine. Continue to sew more of the loose rope to the coil. You will notice that the rope will begin to curve and the sides of the rope tote will begin to form. Continue to sew the sides of the tote until it reaches about 17 cm (6 3/4 in) in height. Remove it from the sewing machine.
Step 4: Let’s talk handles! If you refer to the image, I left a gap for my arm to fit through, which was 12 cm (4 3/4 in) wide. To accomplish this, I used pins to mark 6 cm (2 1/2 in) on either side of the middle point along the top of the basket. With the pins in place, continue to sew your tote until you reach the first pin.
Step 5: Stay with me, this is about to get wordy. From the first pin, measure out 47 cm (18 1/2 in) of loose rope. Attach another pin to the lose rope at the 47 cm (18 1/2 in) mark, which will be where your handle ends. See, it is even starting to look like a handle! Line up the handle pin with the second pin on the basket.
Step 6: Beginning at the second pin, sew the handle to the basket. Sew the rope until you reach the next (third) pin. Repeating what you did on the other side, measure out 47 cm (18 1/2 in) of loose rope. Attach a fourth, and last, pin at the 47 cm (18 1/2 in) mark. Repeat these steps, sewing the rope until your handles are nice and thick. I recommend your handles are at least three ropes thick!
Step 7: Loop the last part of the rope underneath itself and sew it closed.
Step 8: Paint the bottom half of your tote and leave it to dry overnight.
Congrats, Gemma, on the release of your book! You can find Roped in on Amazon!
Photos by Amorfo


Comments