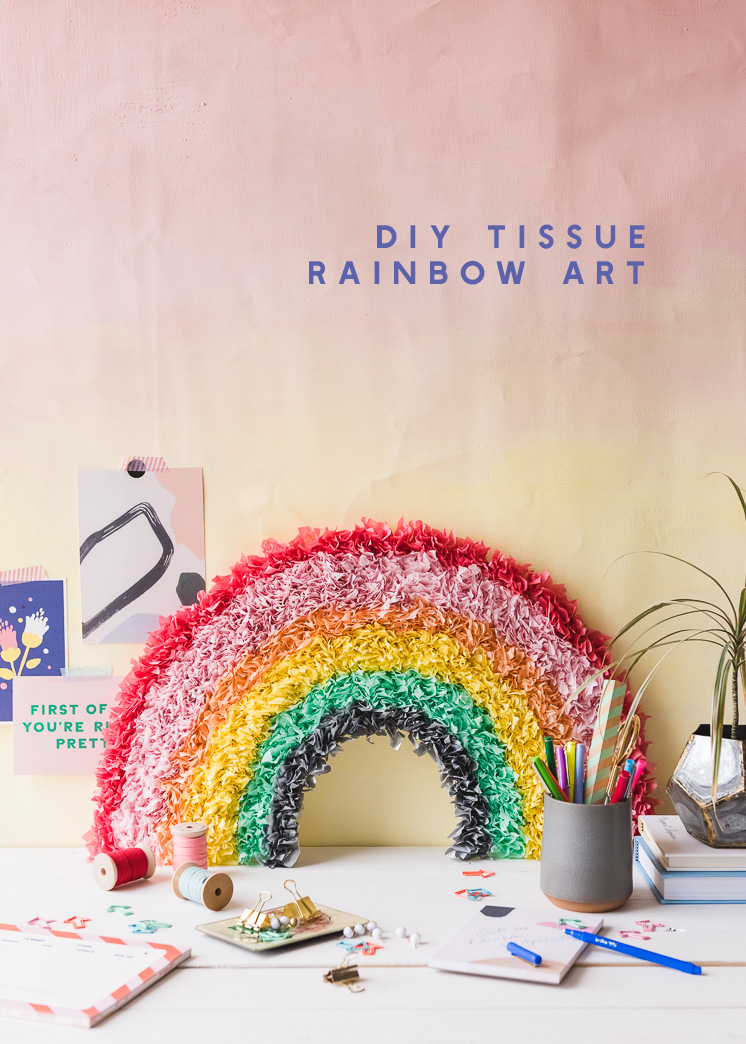
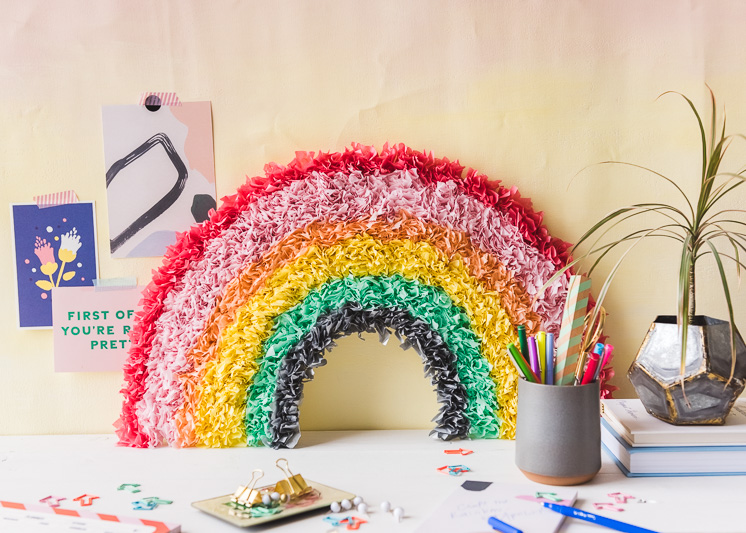
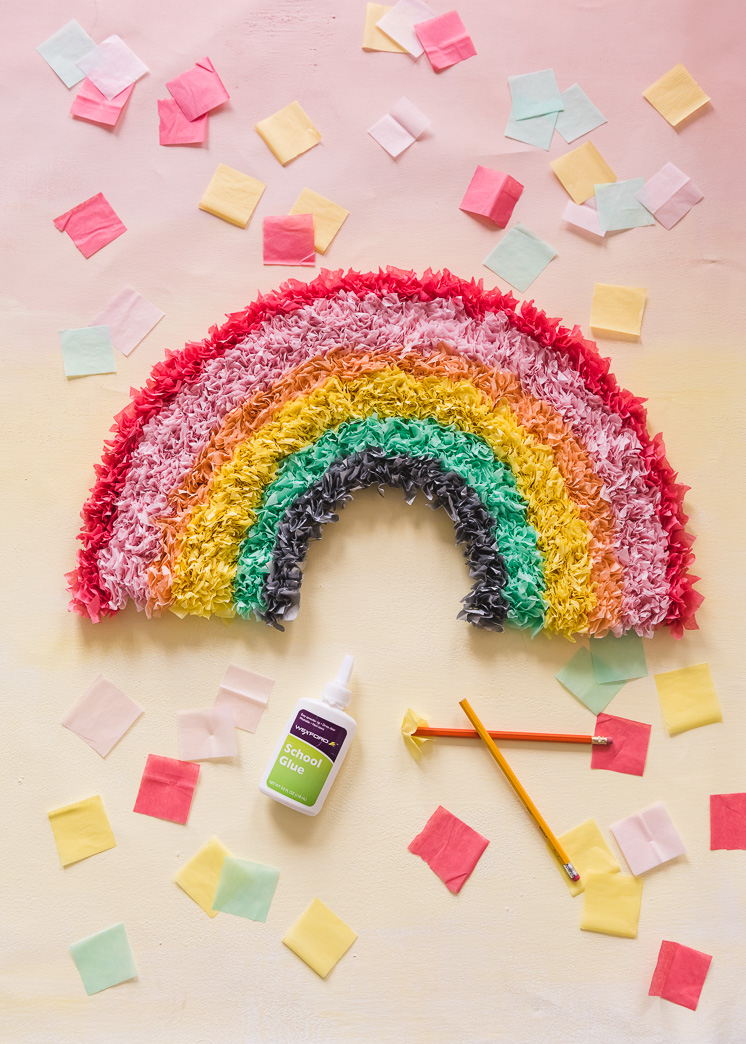
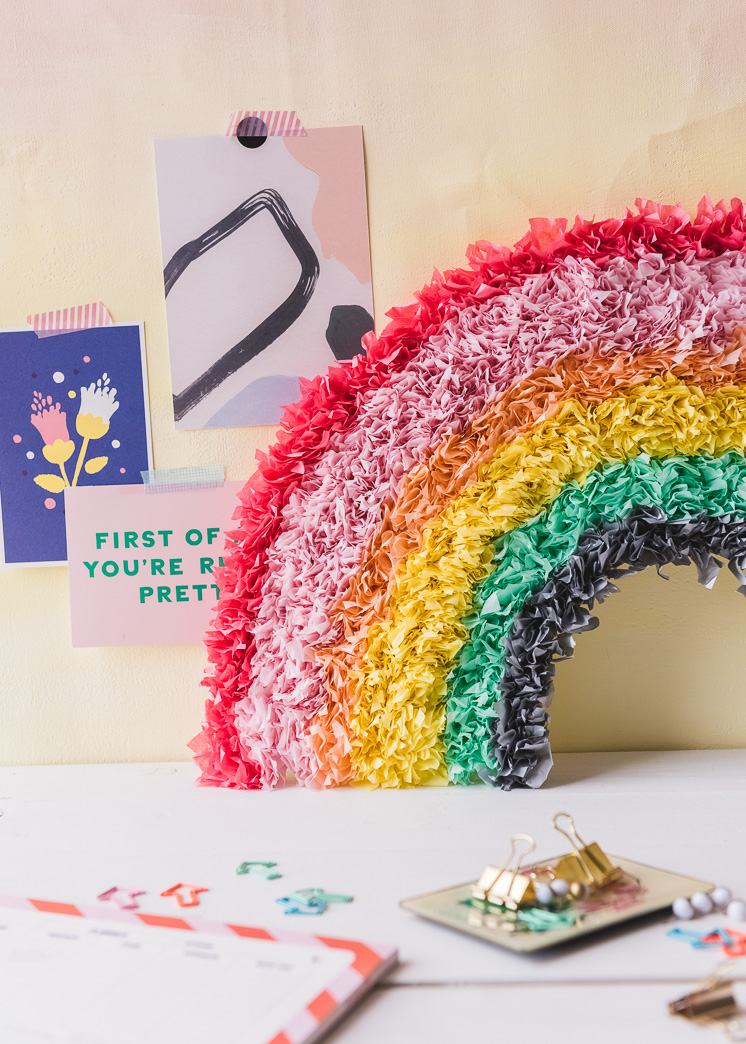
Sometimes you just need a bright spot to rest your eyes and lift your spirits. Whether it’s a workspace or a corner of your house that needs cheering up this DIY Tissue Paper Rainbow is just the ticket! We used a classic technique you might have used in grade school. All you’ll need are some tissue paper squares, a pencil, and some glue. This is one of those crafts appropriate for all ages and can be easily customized to suit your tastes. You can rest it on a shelf, mount it to the wall, or even frame it with a shadow box! P.S we used this technique in Craft the Rainbow to create something pretty incredible if I do say so myself, so make sure to check it out!
Make your own DIY Tissue Paper Rainbow with step-by-step instructions!
DIY Tissue Paper Rainbow
Materials:
- Tissue papers in 6 different colors. 1 pack per color should be enough
- Scissors
- Liquid Craft Glue
- Unsharpened pencils
- 1 Piece of 18″ by 24″ drawing paper
Instructions:
- Draw a rainbow on the drawing paper to create a base for your tissue paper. Our rainbow measured 21.5″ wide by 12.75″ tall, with 6 stripes of varying widths.
- Cut your tissue paper into 2″ by 2″ squares. A rotary cutter, cutting mat, and ruler make quick work of this!
- To apply the tissue paper to the paper, place the pencil in the center of a tissue paper square and wrap the paper square up and around the pencil.
- Then dip the base of the pencil (covered by the tissue paper square) gently into some craft glue and place onto the rainbow.
- Remove the pencil and repeat, placing the tissue papers as closely as possible to create a really full and fluffy texture.
- Start with the outer most stripe on the rainbow and then move inward.


Comments