Listen, I wouldn’t call myself an “outdoorsy” person per say, but I LOVE a well-manicured lawn and garden and I LOVE getting my hands dirty gardening. Has anyone been to the garden at Giverny, because that is the dream! Being surrounded by flowers is my ultimate happy place. I jumped for joy when Troy-Bilt asked us to be a part of their Flip the Yard Campaign! I know that landscaping can be a bit intimidating, so I wanted to show a simple way to add some whimsy and curb-appeal to your yard without enlisting a whole crew. This yard was certainly not terrible, but there were a few parts that were not as well-kept and lackluster. We tidied up our edges, banished the weeds, and planted loads of peonies for a fresh, clean slate. Then for the grand finale, we used mowing patterns to create a giant rainbow across the lawn! We like to call it Lawn Art, our newest obsession.
Check out the whole transformation and see what tools we used to create this Lawn Rainbow Makeover!
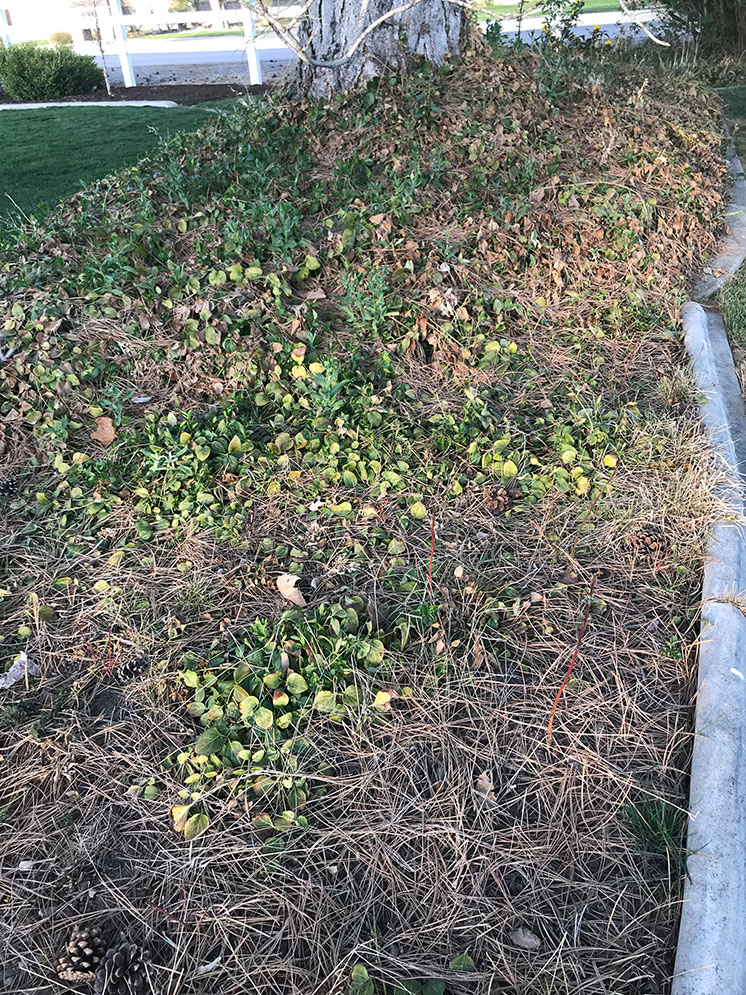
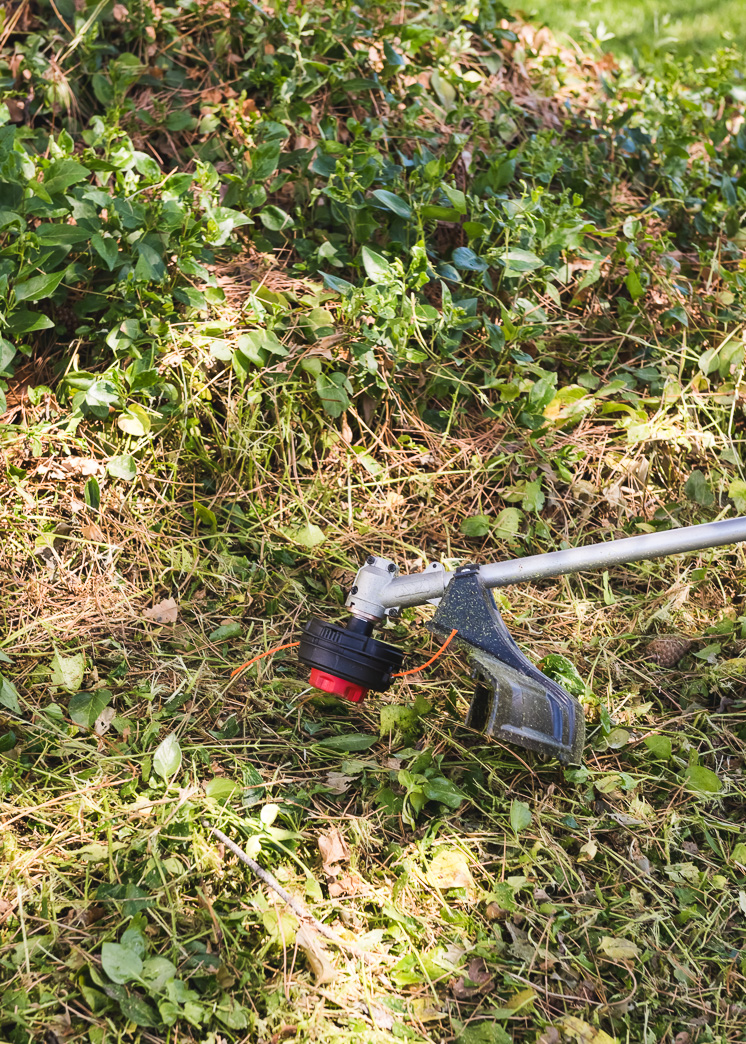
Like I said earlier, by no means was this lawn a disaster before we started. It was a little disheveled around the edges and needed some TLC after a winter of neglect. To start, we needed the right equipment to achieve our end goal. The Straight Shaft String Trimmer was our magic weapon to get rid of all the overgrowth and weeds! We needed to cut down all the periwinkle in order for it to grow back healthier and thinner. This trimmer is a 4-cycle trimmer which means you don’t have to mix your oil and gas yourself! AKA a real time saver.
And for the record, Baby Jasper was the best gardening companion I’ve ever had:
There were some massive bushes that we wanted to replace with some of our favorite flowers like delphiniums and peonies. We used hand trimmers to cut down the bush completely, then sprinkled on some root killer. It was quite the beast to get rid of! Thankfully, this whole process took place over a few days with many hands. So enlist a few friends when you tackle your own yard project!
The great thing about the string trimmer is all the add-ons you can use with it to achieve your needs. We used the Cultivator to prepare the soil for our peonies. It made it so much easier to break up the hard soil than to have done it by hand! We planted LOTS of peonies, because can you really have too many?
Pro-Tip! Head to your local water treatment plant to pick up some compost dirt for your garden! Not only is it moist and nutrient dense, it’s cheap and looks so rich in color and texture! We loaded up our wagon and surrounded our freshly planted blooms with it.
We also used the edger attachment to create really neat grass lines around the entire yard where the grass meets the cement. Clory Approved:
After we created some major curb-appeal, we moved our attention to the lawn. I love me a big, beautiful, green lawn. As I was brainstorming on what to do with such a blank canvas, I kept thinking about the immaculate gardens and grass of royal gardens in Europe. The mow lines are absolutely perfect and almost create a work of art within the grass. That is the effect I wanted to create, with a dash of Lars, of course! Enter: Rainbows. What if we used a lawn mower to create a rainbow in the grass?!
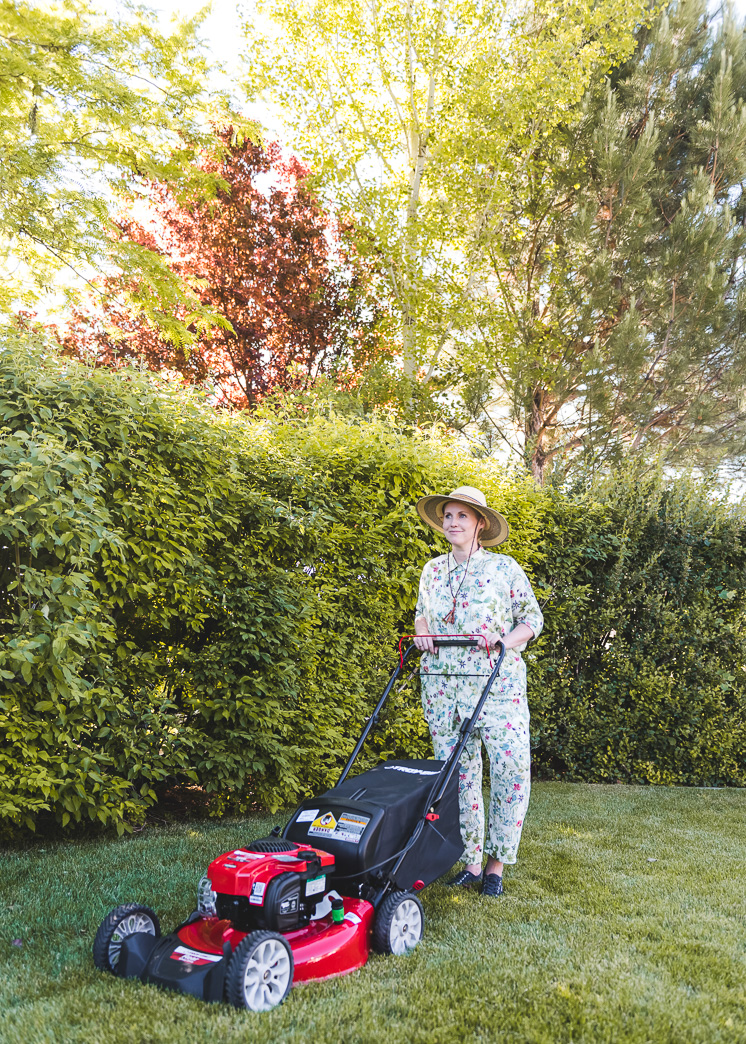
Luckily we had the best Walk-Behind Mower to make my dreams come true. A walk-behind mower allows you to make tighter patterns because you have more control, perfect for our Rainbow Lawn Makeover. Since it was a more complicated pattern than your typical lawn usually receives, the ease of use of this mower was a real life-saver. This mower also allows you to adjust the cut height of the grass for ultimate customizability.
Lawn Care 101
Let’s go over some lawn care 101. Good mowing technique requires mowing the lawn in two directions, weekly. Ideally, you would rotate your directions every week. This results in healthier grass, an even cut, and a more distinct pattern.

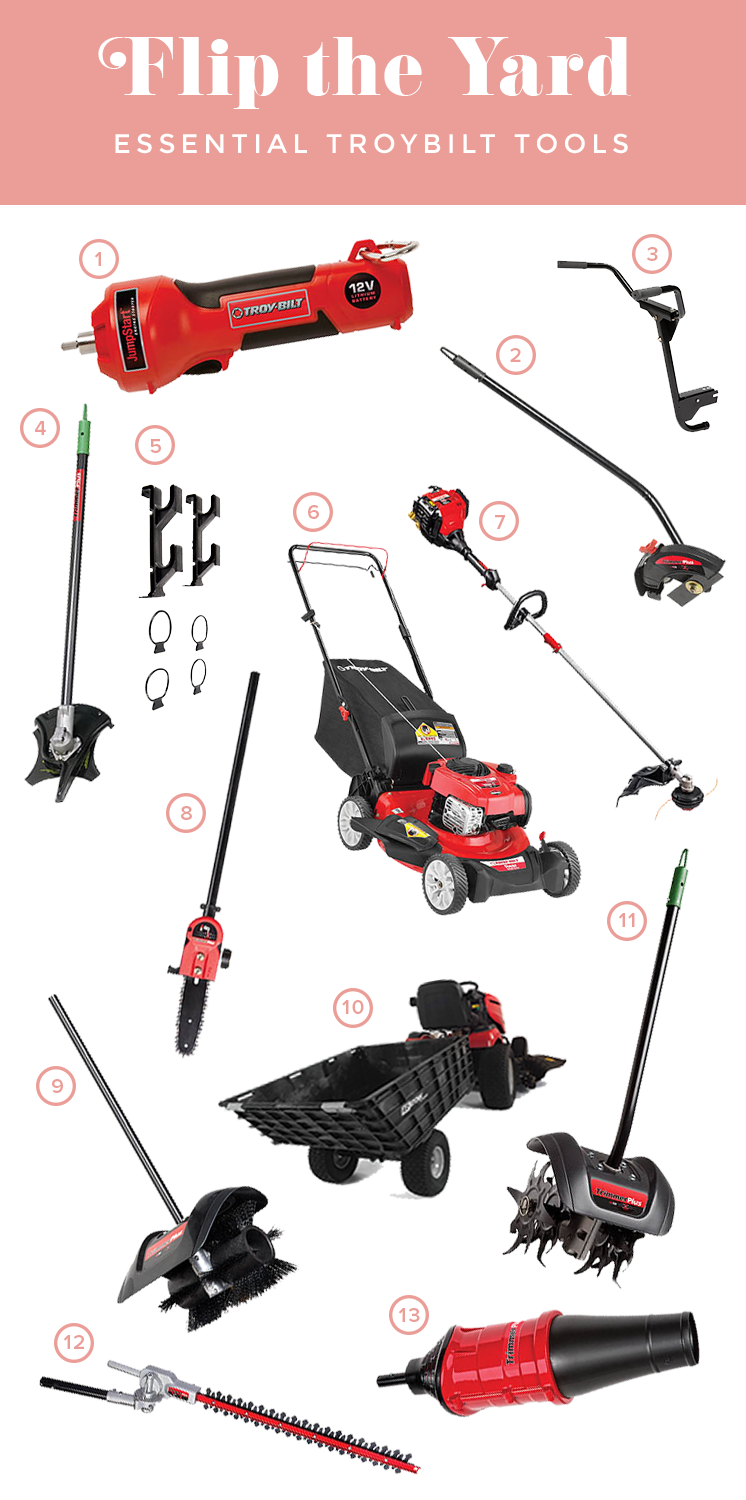
Having the right tools make SUCH a big difference when it comes to lawn maintenance. From the walk-behind lawn mower and string trimmer to a basic shovel and pair of clippers, you’ll save yourself a lot of time and work with appropriate gear and Troy-Bilt has the best selection to revamp your yard! Check out a complete list of everything we used below!
Rainbow Lawn Makeover Essentials
- Jumpstart Engine Starter
- Add-On Lawn Edger
- EZ-Stow Handle
- Add-On Brushcutter
- EZ-Stow Tool Holder
- Self-Propelled Walk-Behind Mower
- Straight-Shaft String Trimmer
- Pole-Saw Attachment
- Add-On Broom
- EZ-Stow Hauler
- Add-On Cultivator
- The Add-On Hedge Trimmer
- Add-On High-Performance Blower
We hope this Rainbow Lawn Makeover inspires you to flip your own yard and add a dose of whimsy to it! Rainbows and peonies make everything better in our opinion 🙂 I’d love to see your gardening photos. Tag us with #LarsInTheGarden when you do!
This post was sponsored by Troy-Bilt. All opinions and thoughts are our own. Thank you for supporting the companies that keep Lars thriving!
Photography by Jane Merritt | Drone work by Dane Christensen










Comments