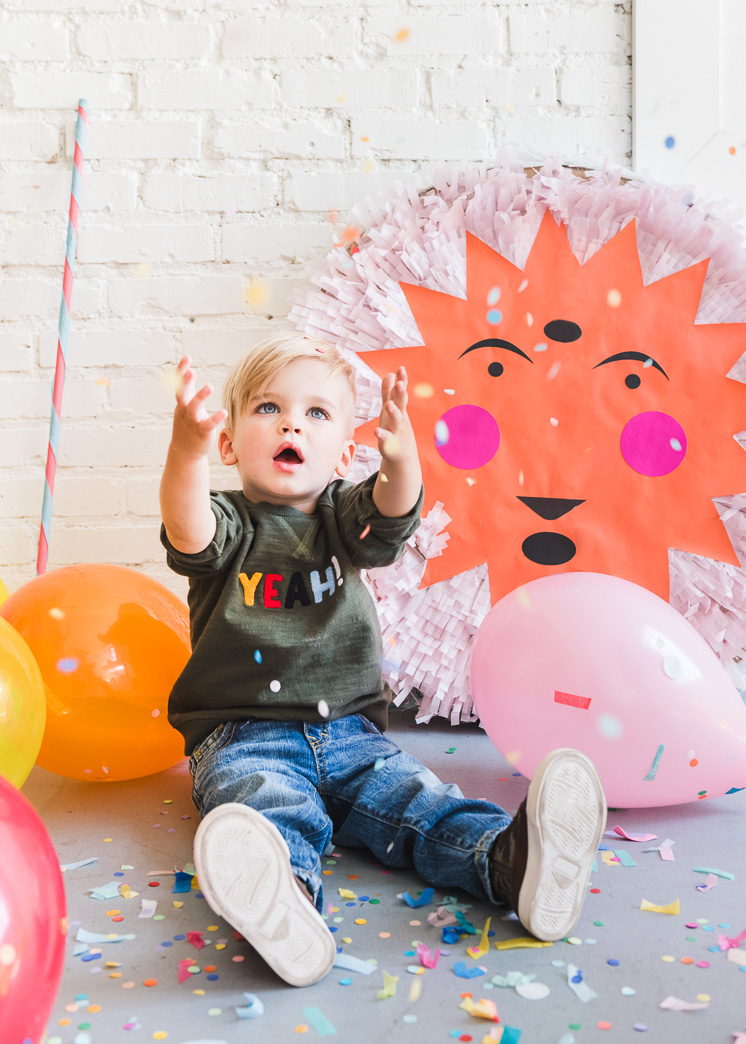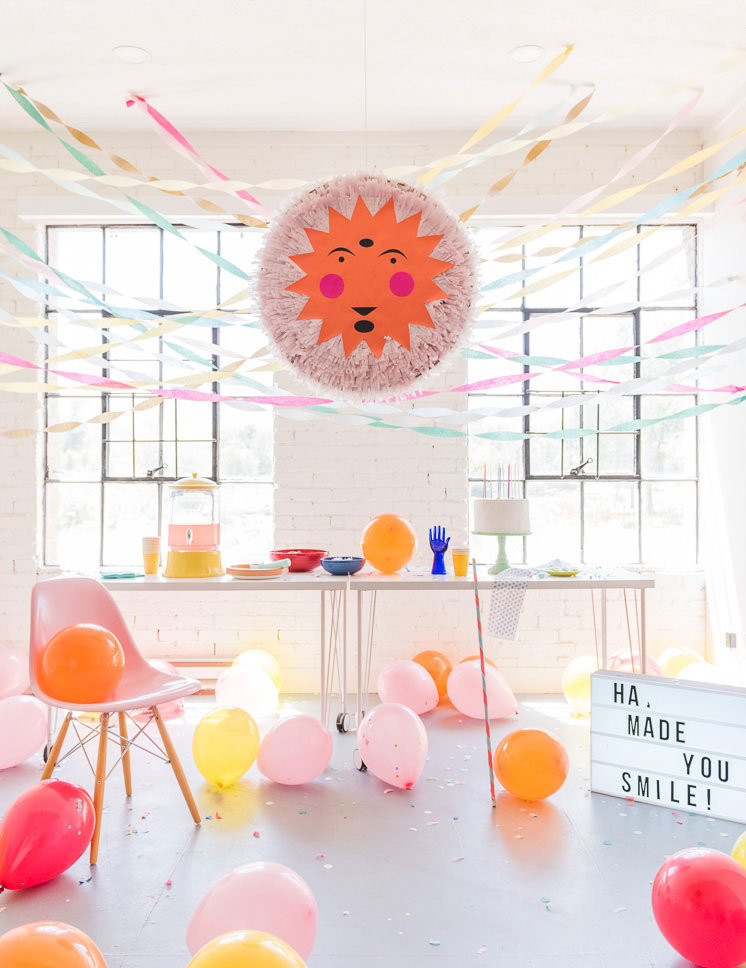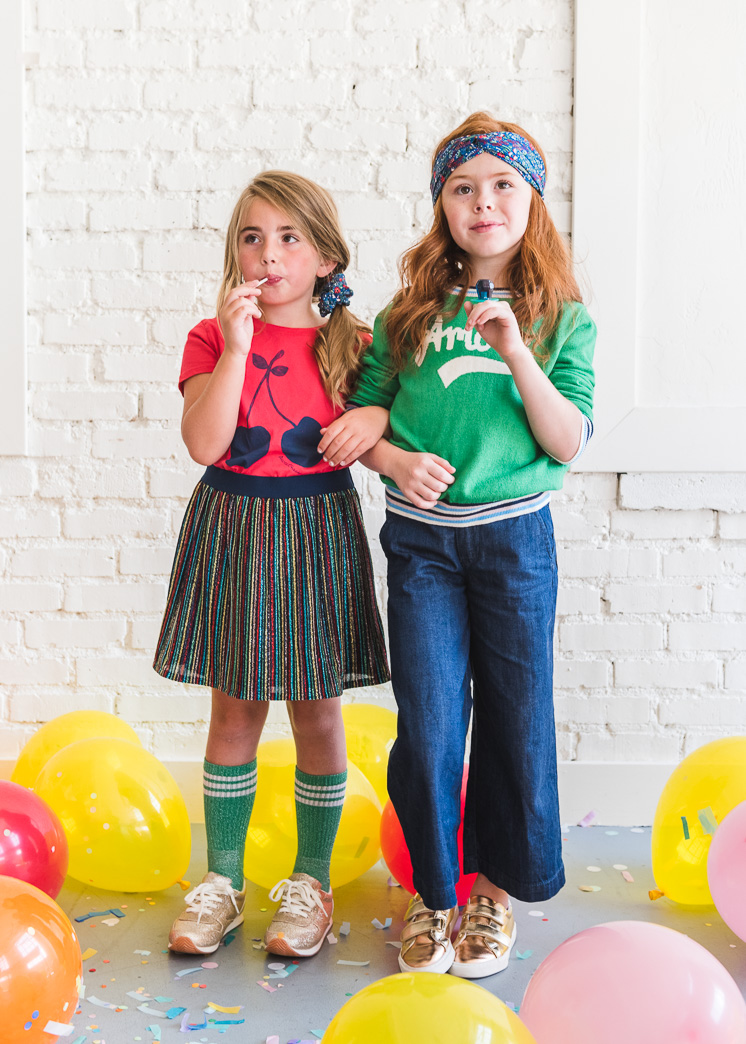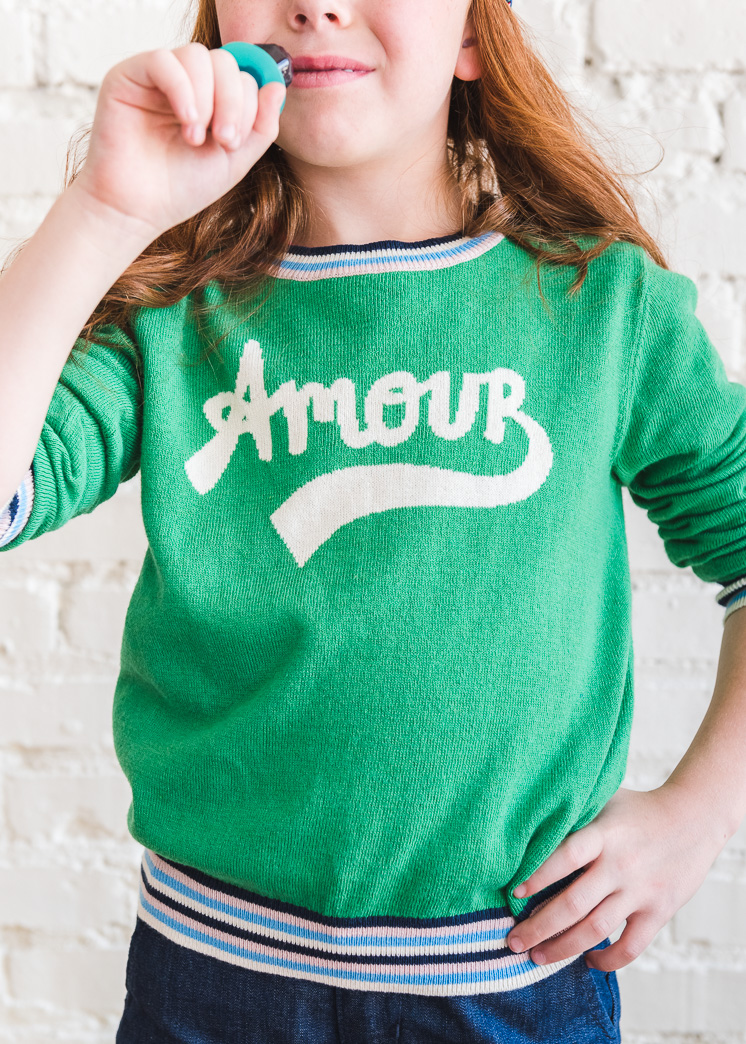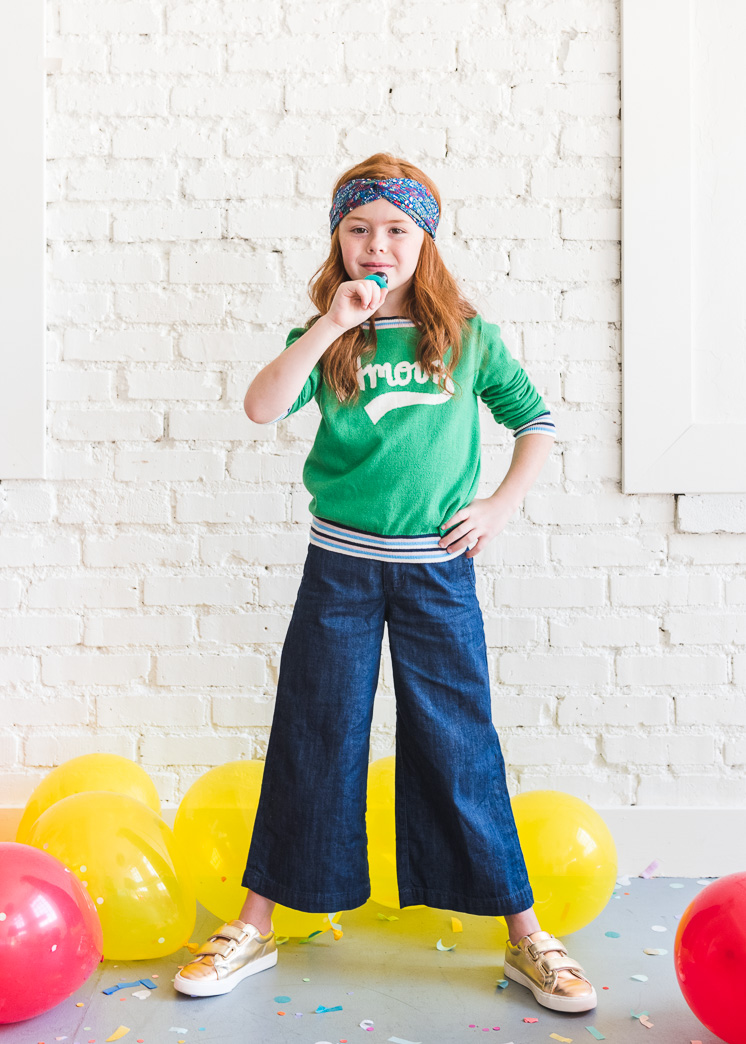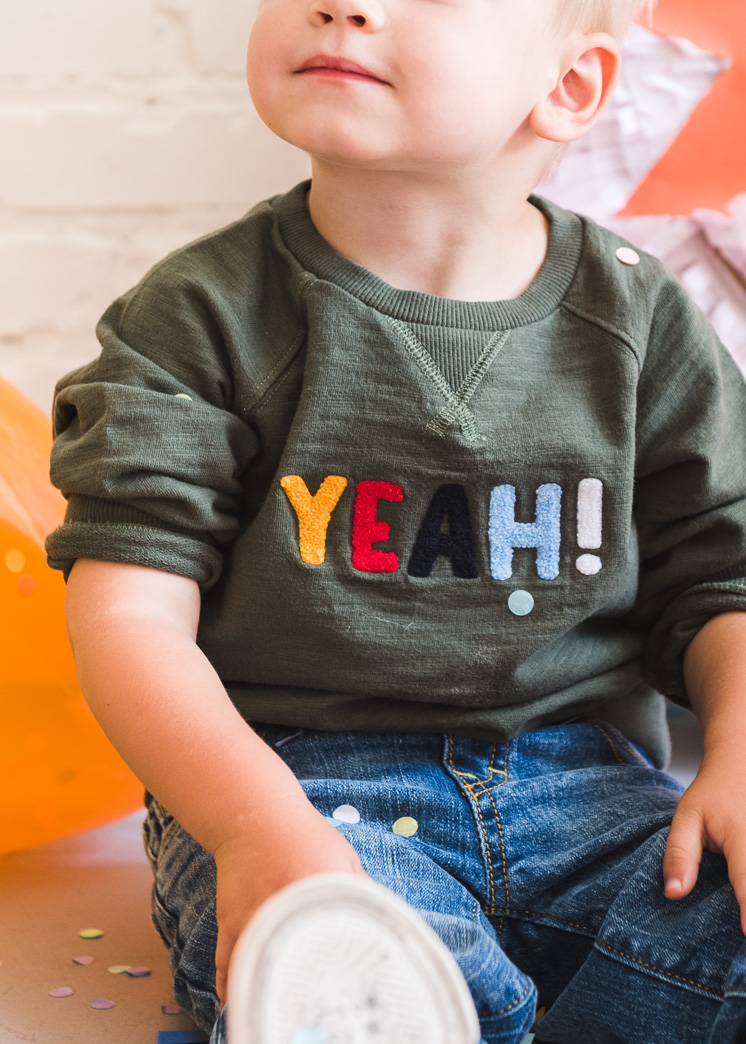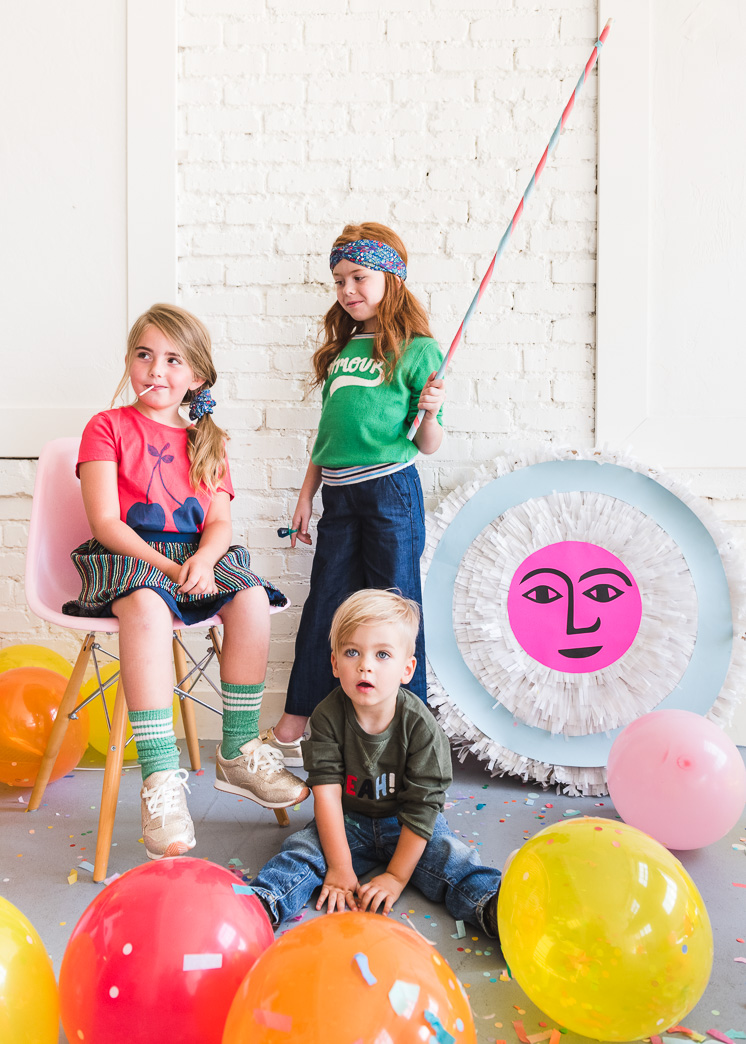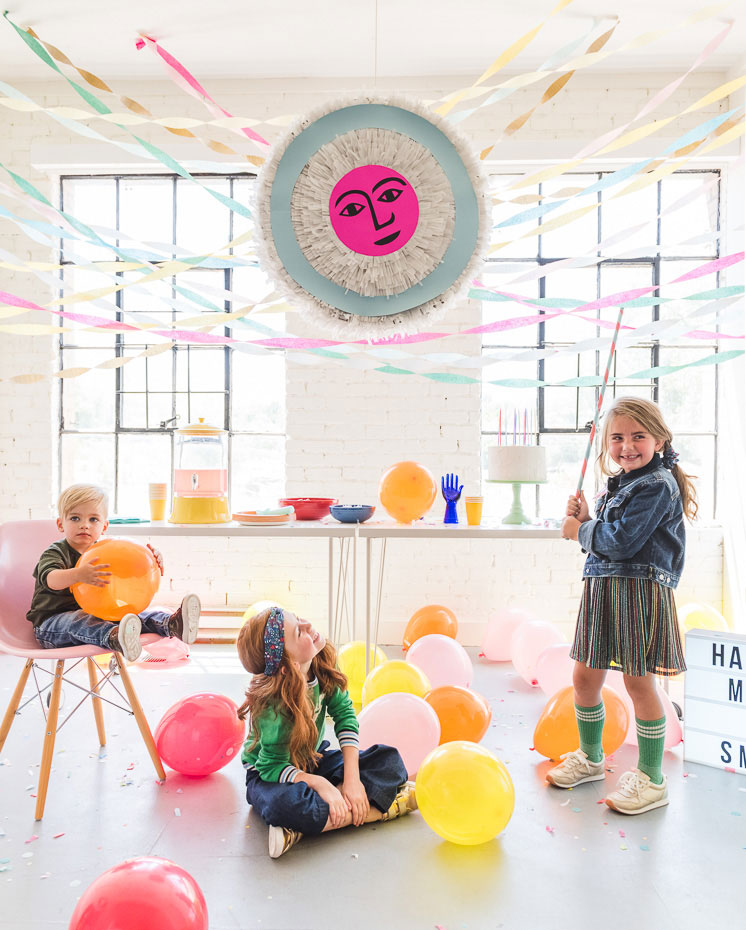
Take a peek at the collection and download the templates to make your own sunshine piñata!
Waking up to Jasper’s sweet smiling face makes my heart (sun)burst. He radiates a smile that leaves me on a complete high all day long. Every morning when I’m changing him on his basket, it’s just me and him looking at each other, and I sing him a song (or two or three–I could go on for hours if I didn’t have a job!). Somehow he keeps close attention and lately, he tries to sing back. One of our favorites is “You are my sunshine”. There’s no better imagery for happiness than a bright sun, so hence, a sunshine pinata was a must!
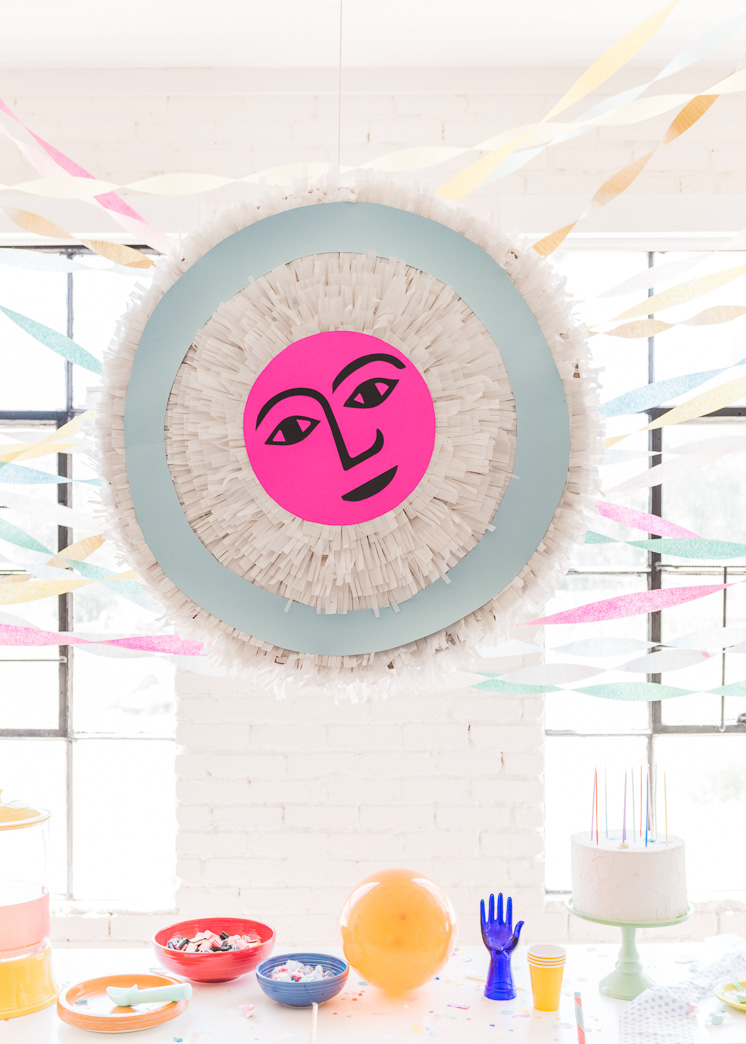
I’m a long-time fan of Alexander Girard and his sun motif is one of my favorites. He had so many great color combinations and details that I thought it’d be fun to do one on each side. Take a look at some more variations here.
Sunshine Piñata
Materials:
- Cardboard, cut into 2, 30-inch diameter circles, and a 4-inch strip make sure the strips are cut perpendicular to the grain on the cardboard so it’s easy to bend
- Tissue paper in pink and white
- Scissors
- Duct tape or packing tape
- Glue stick
- Spray adhesive
- Butcher paper in orange and light blue
- 1 piece of hot pink paper, 12×12”
- 2 pieces each of black and pink paper, 8.5×11”
Instructions:
- Draw a circle 30” wide on the cardboard. Cut out the circle with some multi-media scissors or an Exacto knife. Repeat to make two circles total.
- Cut out a 4” wide strip of the corrugated cardboard, long enough to fit the outer edge of the circle. Attach the strip of cardboard onto the edge of one circle with tape. Then, attach the other circle on the other side. Leave a small trap door for the treats.
- Make a small hole at the top of the edge of the circle. Thread one end of the twine inside the piñata, and leave the other end exposed to hang the piñata. Tie the inside end of twine around a small wooden dowel or roll a 4-inch piece of cardboard into a tube and tie it around that. This will keep the twine from breaking through the piñata.
- Cut your tissue paper into 2.5-inch wide strips and cut 1 cm fringe into the strips.
- Glue the tissue paper fringe onto the piñata in a circular motion, starting from the outside and moving inwards. Make one side pink and the other white.
- For the edge of the circle, cut 4-inch long strips of fringe, in either white or pink, and line the whole edge, securing with glue.
- Cut out a 3-inch wide ring of blue butcher paper for the white side and a 12×12” wide circle from the hot pink paper. Secure those with spray adhesive to the white side of the piñata
- Cut out a 25-inch wide sunburst shape from the orange butcher paper and secure to the center of the pink side with spray adhesive.
- Using the templates, but out the facial features in black paper, and the cheeks in pink, and glue to the corresponding sides of the piñata.
We hope this sweet party scene made you smile! Check out the full line at Gymboree today and get your kiddos prepped for back to school!
This post was sponsored by Gymboree. The words and opinions are my own. Thank you for supporting the brands that keep Lars thriving!
Photography by Jane Merritt | Huge thanks to our mini models for this shoot!


