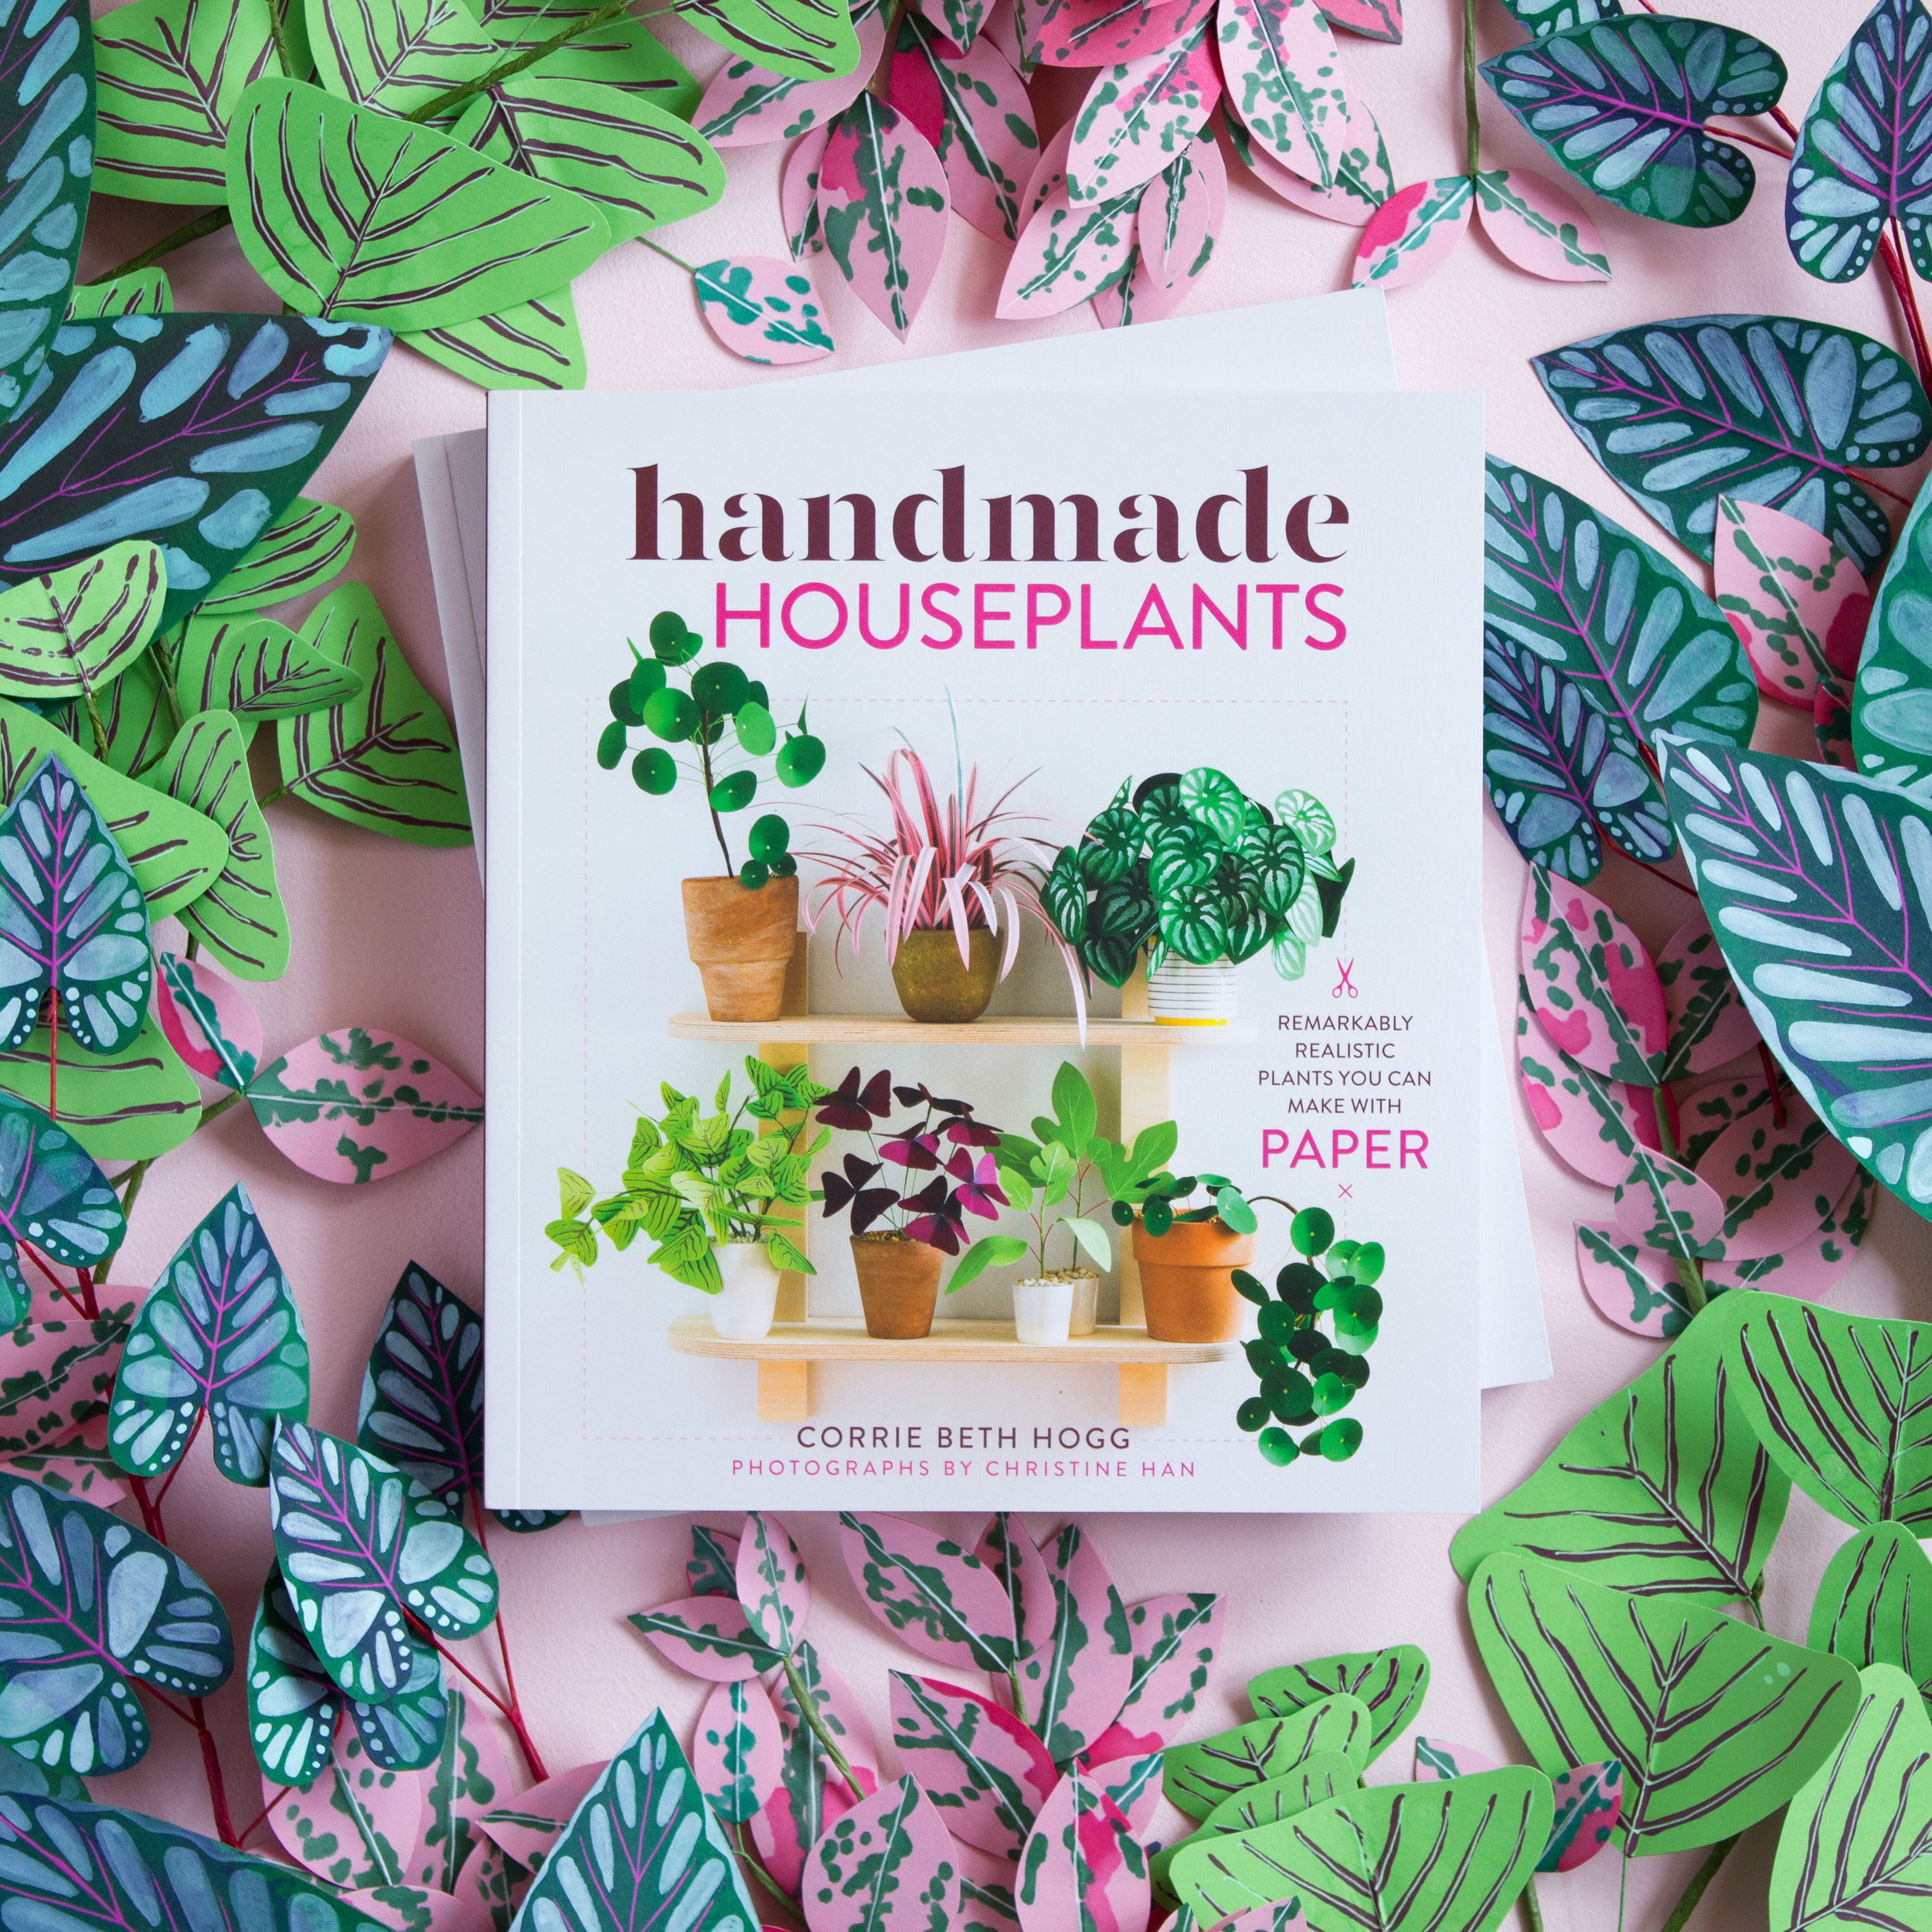
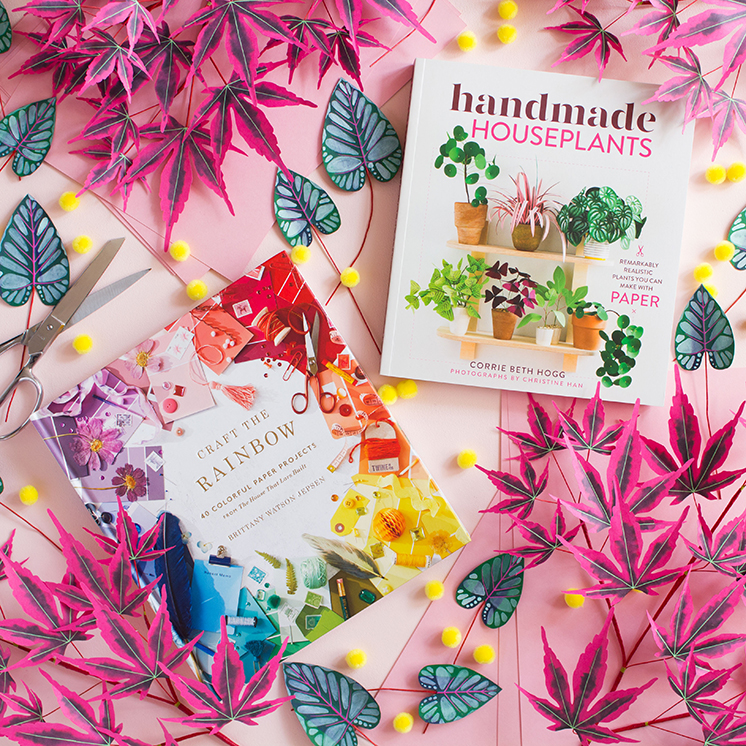
Corrie Beth Hogg, a former Lars contributor, is coming out with her new book, Handmade Houseplants on September 4th and we are the first to share an exclusive tutorial from the book. Welcome, Corrie!
Hi all, I’m Corrie and I am excited to be back on The House That Lars Built to celebrate the launch of my new book, Handmade Houseplants. It comes out on Sept. 4th! Today I am sharing a project I put together just for you, so put on your crafting hat and let’s go!
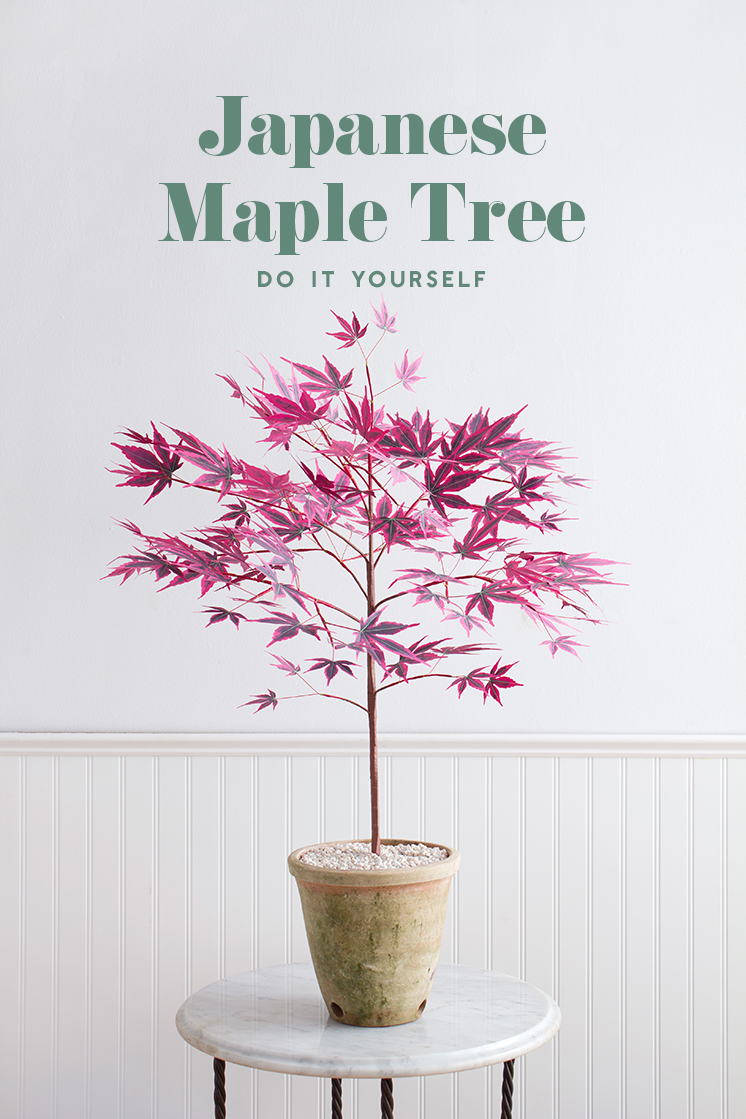
Japanese maple trees are something I grew to know and love after I moved to New York City. I love walking along the residential blocks of Brooklyn and seeing these beauties in shades of pink, maroon, and green in the small courtyards of brownstones. I’ve long coveted one of these maples for my apartment (one day I’ll have a yard) but they are very difficult to keep alive in pots. So, naturally, I decided to make one out of paper!
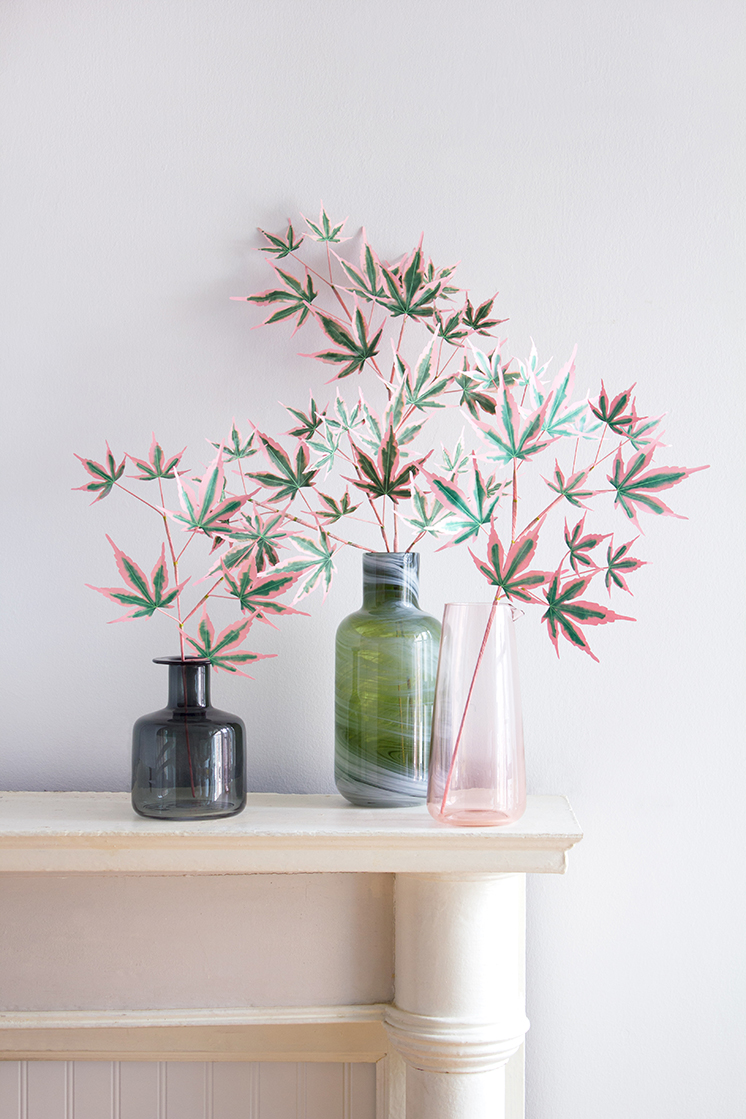
This variety is called “Shirazz” and its color changes throughout the seasons … starting out scarlet, fading to pale-pink in the summer, and becoming vibrant once again in the fall. For this tutorial, I’ve created a tree, but you could also craft just a branch or two and place them in vases. If hot pink isn’t your thing, go for the subtler pale pink or even green … the steps below will be the same!
Continue to see the full tutorial for this stunning DIY Japanese Maple Tree!
DIY Japanese Maple Tree
Materials:
- PDF templates or SVG files (if you have a craft cutting machine)
- Text-weight paper (in the color of your choice)
- Scissors, X-Acto knife, cutting mat
- Isopropyl alcohol (just like in a first aid kit) and cotton swabs
- Dark-green alcohol marker (I like COPIC’s G17 “forest green”)
- Bright green gel pen
- 24-gauge, 18-gauge, and 16-gauge straight floral wire
- Wire cutters and bone folder
- Floral tape in red, light-green, brown, and pale-pink (if you’re making the pale-pink version)
- Aleene’s quick-dry tacky glue, and a small paint brush to apply it
- Pot, foam, and gravel of your choice
Step 1:
After you’ve cut out the leaves (either with your craft cutter or by hand), cut little paper strips, one for each leaf. The larger leaves require approximately 1.5” x 1/2” strips, the small leaves 1” x 3/8” strips. Using the dark-green alcohol marker, draw a line down the center of each paper strip and color in the middle area of each leaf. Next, using a cotton swab soaked in isopropyl alcohol, trace over each mark you made with the markers, allowing the ink to spread and further soak into the paper.
Step 2:
Once the alcohol has fully dried, draw a line down the center of each lobe of the leaf using the bright-green gel pen. Repeat for all the leaves.
Step 3:
Using the wire cutter, cut the 24-gauge wire into thirds (approximately 5” long). Place a wire along the center of the leaf’s back and coat a paper strip with tacky glue. Cover the wire with the glue coated strip and secure it in place by running a bone folder along the contours of the wire. Repeat for all the leaves.
Step 4:
Using the 18-gauge wire as a base, attach one or two small leaves to one end using a small amount of light-green floral tape, then switch to red, allowing a small (about 1/8”) bit of the green to show. 1” to 2” below that, add a larger leaf in the same way. As you work down the length of 18-gauge wire, continue to add large and small leaves. Once you’ve added approximately five leaves, set the branch aside and repeat these steps to make a branchlet with three or four leaves. Add the branchlet to the main branch and continue adding leaves. Each finished branch should have twelve to twenty leaves and the bottom 6” to 8” of the branch should be bare. Completely cover the rest of the stem in floral tape.
If you’re making a tree, continue on to Step 5.
Step 5:
Start your tree by making a branchlet for the top. Next, using brown floral tape, connect the branches you made in step 4 to a 16-gauge wire. Continue to add branches as you work down the length of the 16-gauge wire. As you work, add more lengths of 16-gauge wire to act as a support, and to allow the “trunk” of the tree to gradually get larger. You may have to use several applications of floral tape. Once you’ve added all your branches, create another branchlet or 2 for the bottom of the tree. Attach them with brown floral tape as well. Completely cover the remainder of the trunk in floral tape, adding 16-gauge wire when needed to fill any gaps and add support.
Next, fill your pot with foam (make sure it is snug) and cover the foam with the gravel you chose. Insert the trunk into the foam and carefully arrange your plant so that it’s balanced but not perfectly symmetrical. Adjust the angle of the leaves to your liking.
You can find 30 more paper plant tutorials in Handmade Houseplants: Remarkably Realistic Plants You Can Make with Paper!
Find the book at Amazon, Barnes and Noble, and IndieBound


Comments