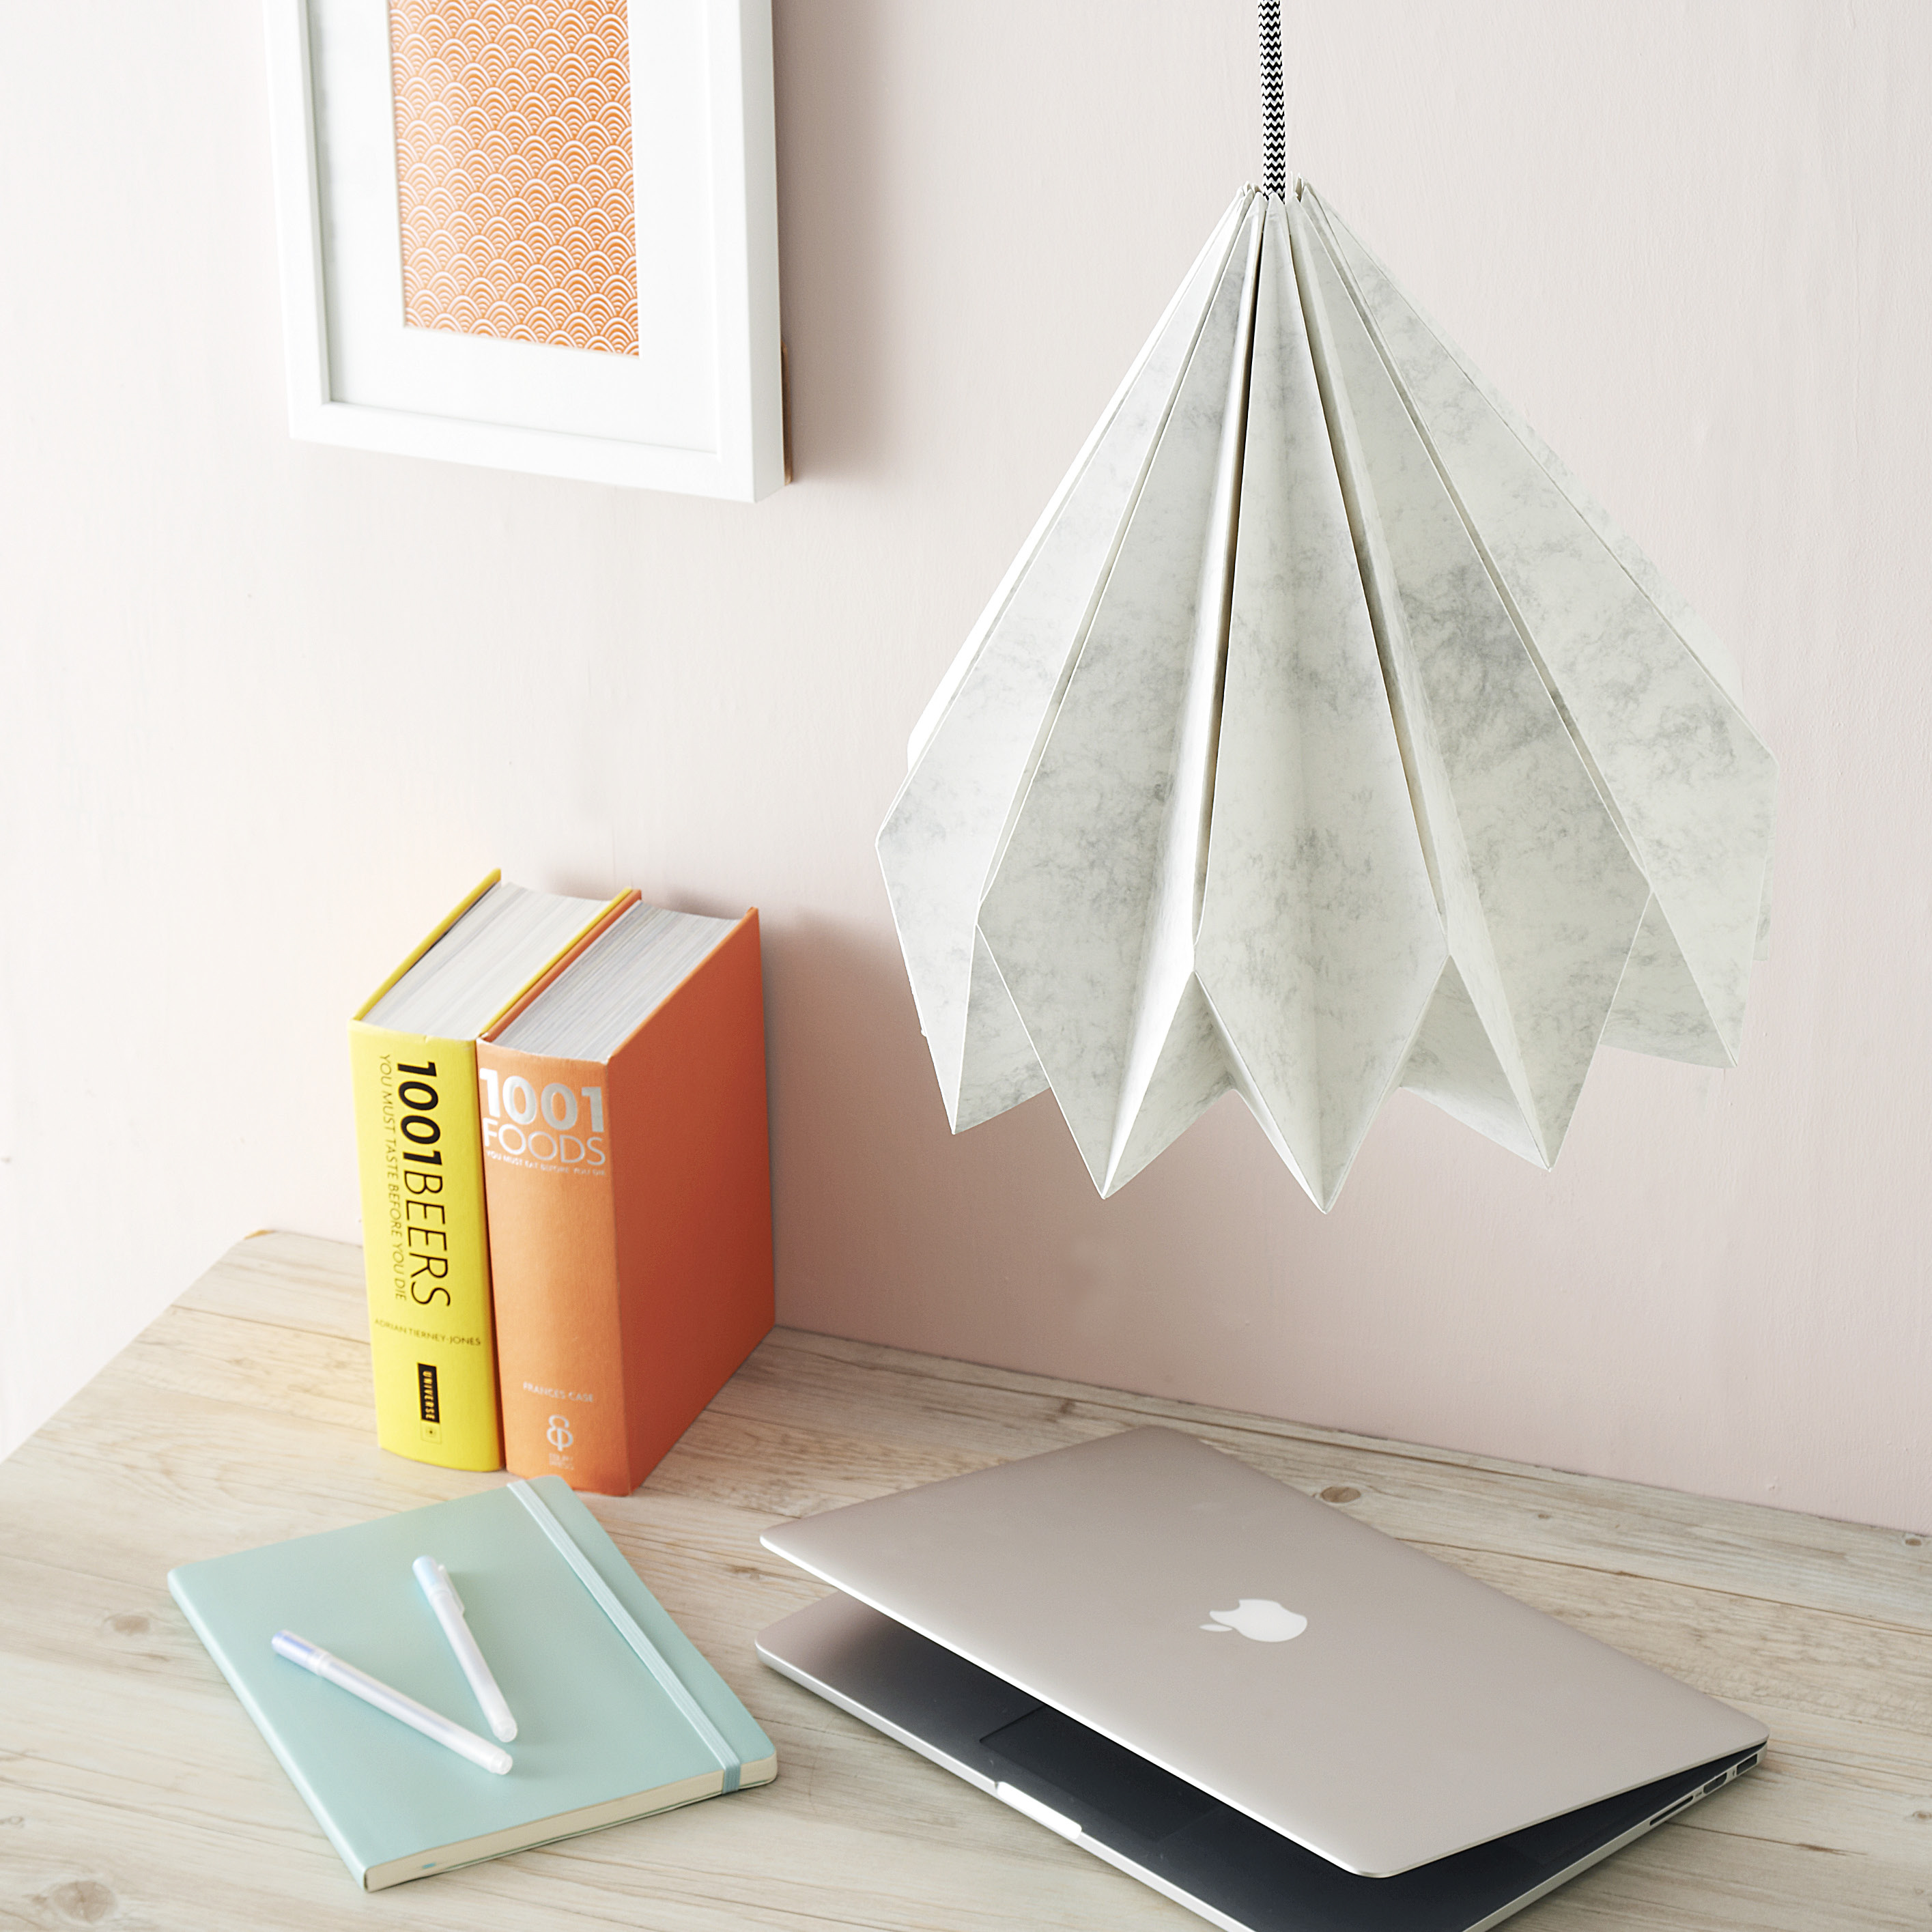
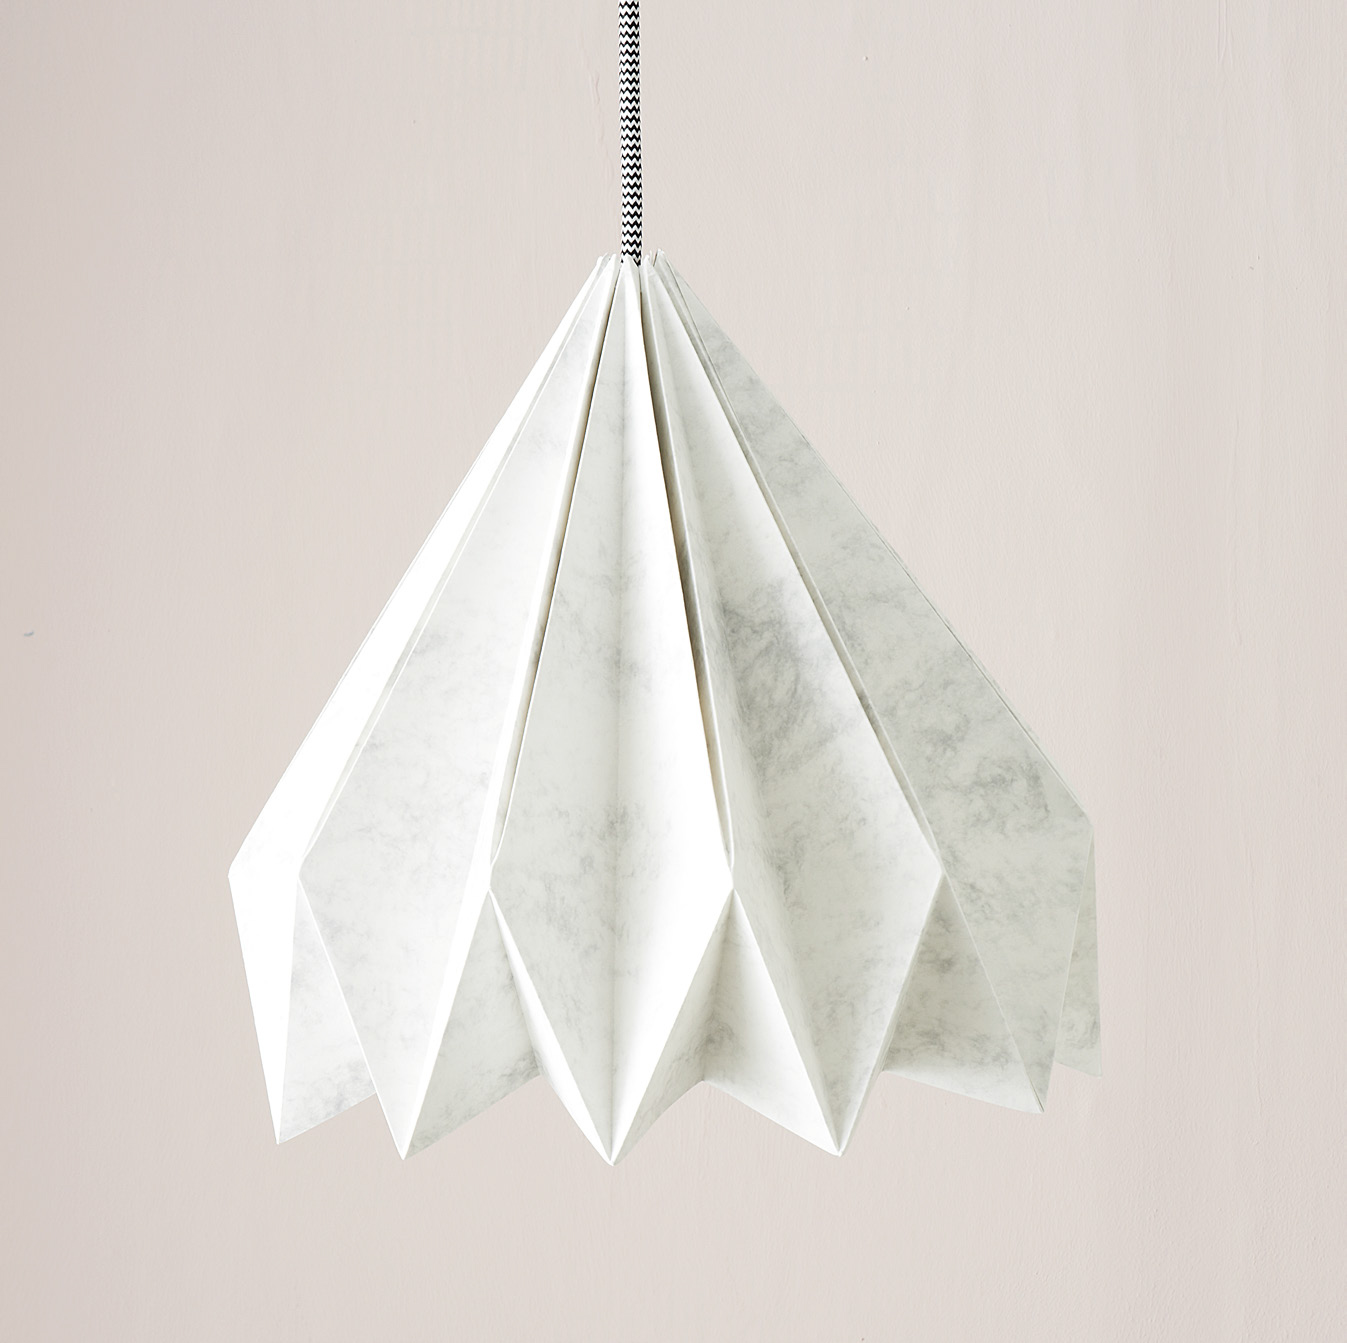
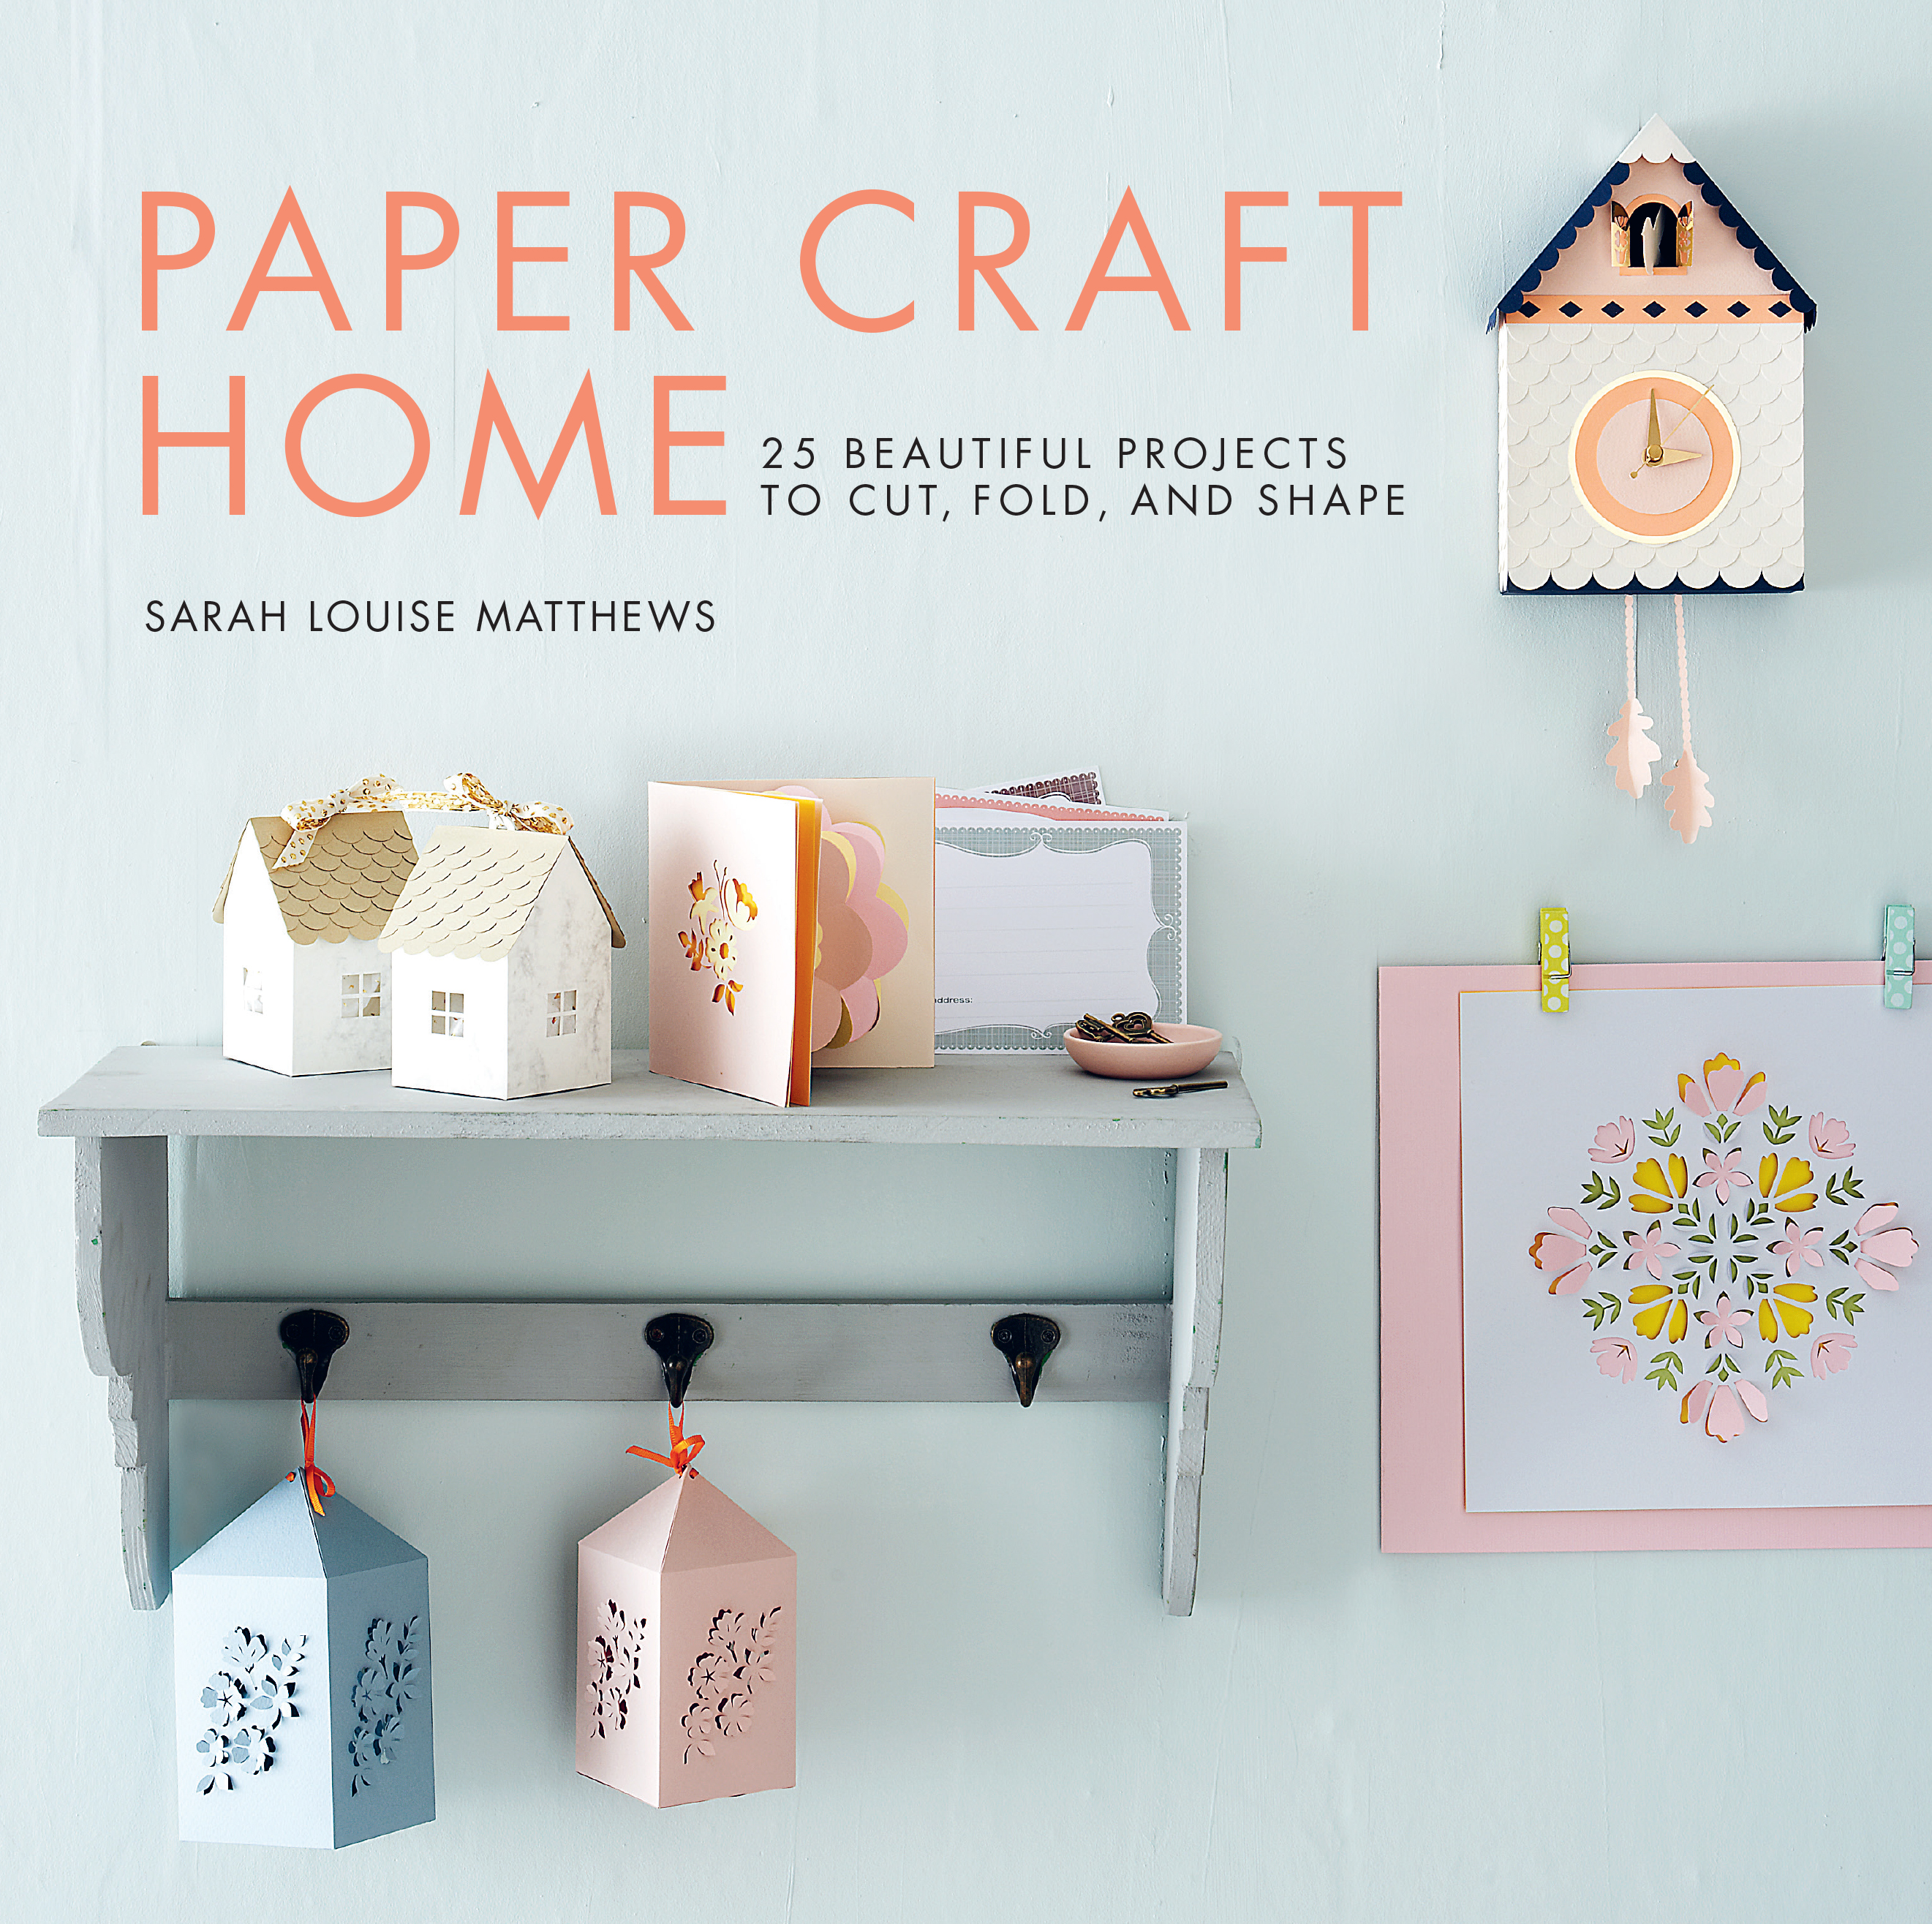
I’m inspired by the clever work of UK based paper artist, Sarah Louise Matthews, and I was thrilled to find that she has released a paper craft book called, Paper Craft Home, which is available now! It features 25 projects to cut, fold, and shape. I already dog-eared the heck out of mine! It’s great for both beginners and advanced crafters so you can find a little something for everyone. Today she’s sharing a tutorial from the book, the origami lamp shade, which is actually similar in concept to a project from our book, Craft the Rainbow, with a different spin.
Strictly speaking, this lampshade isn’t origami, but it’s a great project to put your paper-folding skills to the test. Once you break the folding down into a step of valley folds followed by a step of mountain folds, it is fairly straightforward, and when mastered, you will be making bespoke lampshades for every room in the house!
See the full tutorial below!
YOU WILL NEED
- 3 11¾ × 16½ in. (A3) sheets of light card in marble
- Cutting mat
- Metal ruler
- Embossing tool
- Bone folder
- Pencil
- Eraser
- Scissors
- Tacky glue
- Stapler
- Self-adhesive Velcro pads
- Ceiling light fitting * LED light bulb (not pictured)
*Warning For safety, make sure you only use an LED light bulb.
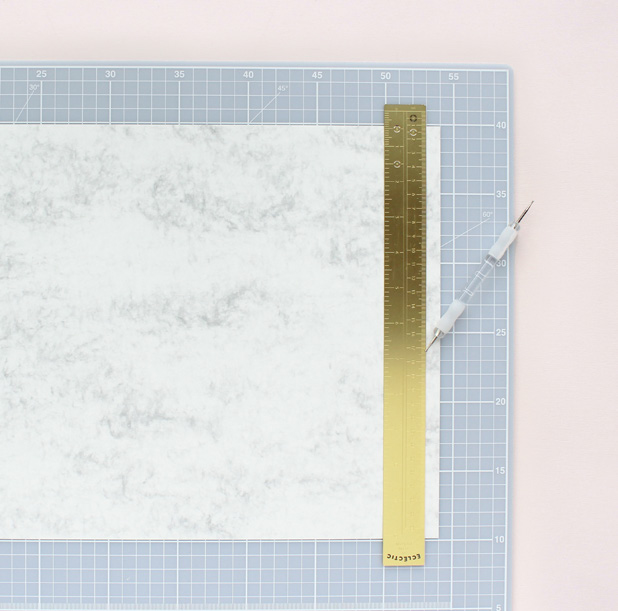
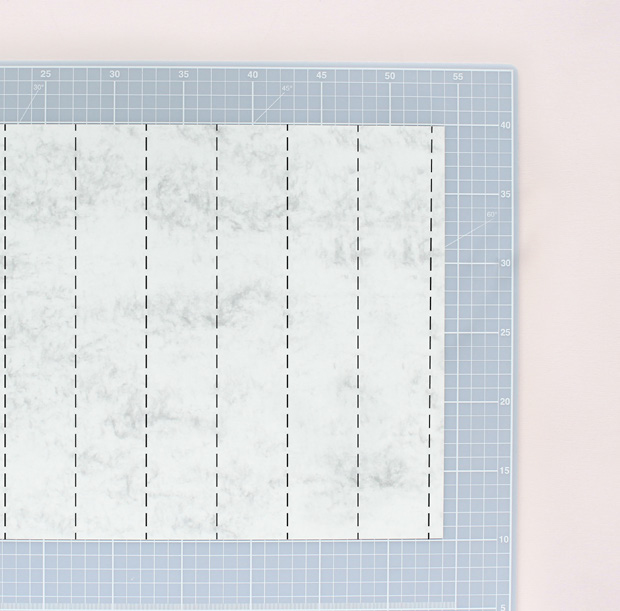
- Place the first sheet of marble card in a landscape position on a cutting mat. Use a ruler and embossing tool to score a vertical line 2/5 in. (1 cm) from the right edge.
- Measure and score seven equally spaced vertical lines to divide the space between the left side of the paper and the line scored in Step 1 into eight equal sections. Use a bone folder to fold each scored line to make a valley fold, then unfold.
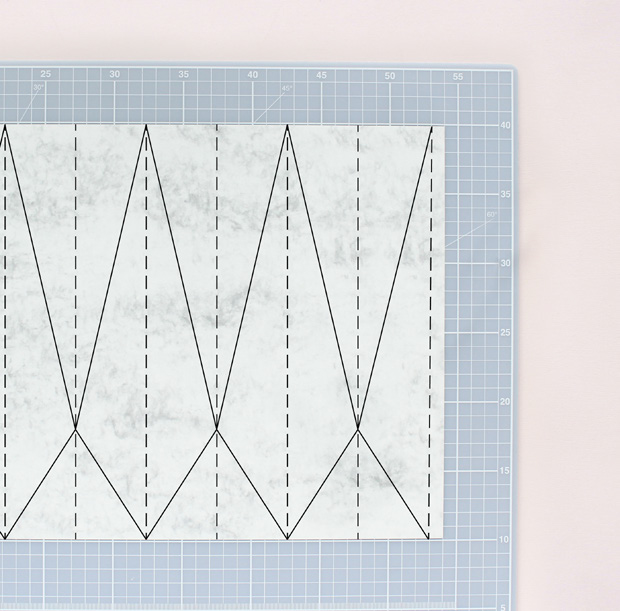
- Measure 8½ in. (22 cm) from the top of the first, third, fifth, and seventh fold, and make a small pencil mark. Use a ruler and embossing tool to score lines joining each pencil mark to the top and bottom of the fold lines on either side. Rub out the pencil marks.
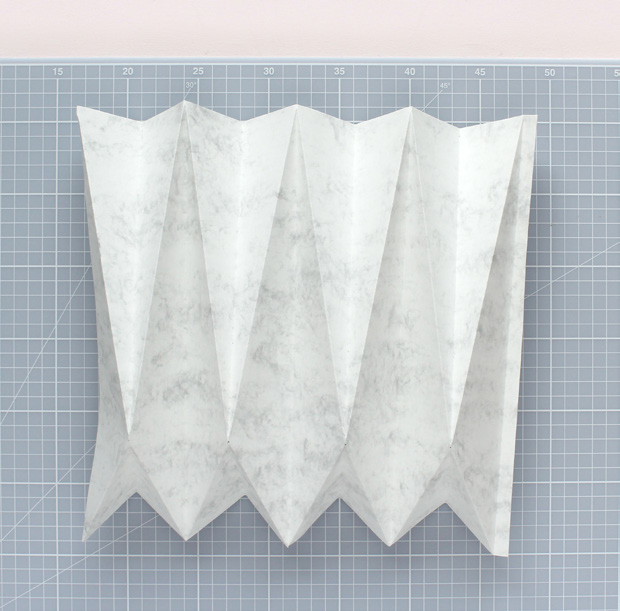
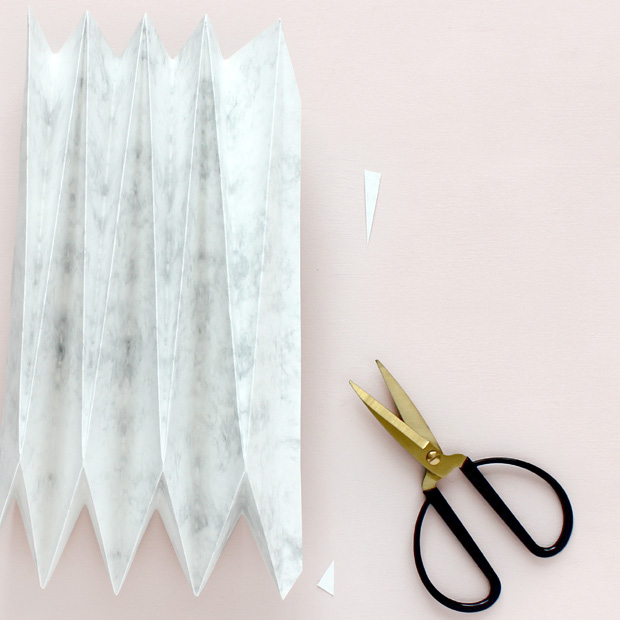
- Fold each scored line from Step 3 into a mountain fold. The paper should now form the shape shown (it may need a little encouragement).
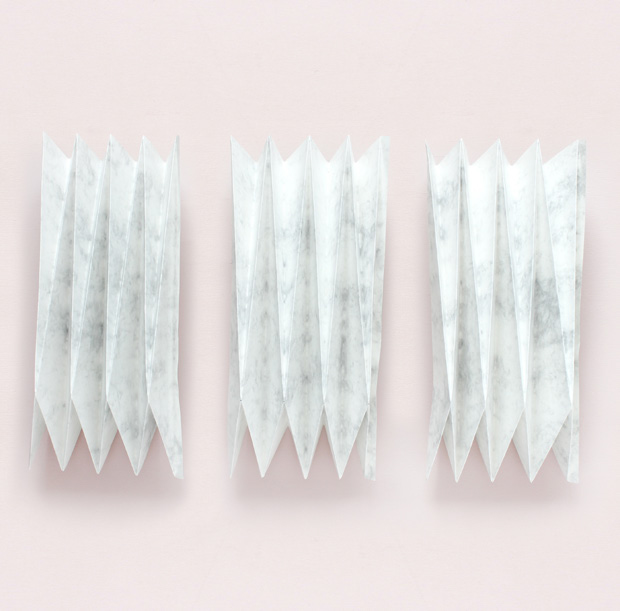
5. Repeat Steps 1–4 for the remaining two sheets of card.
- Use scissors to cut off the top and bottom corners of the 2/5 in. (1 cm) strip on the right of each piece to make a tab. The corners should be cut at a reflection of the angle of the adjacent folded line as shown.
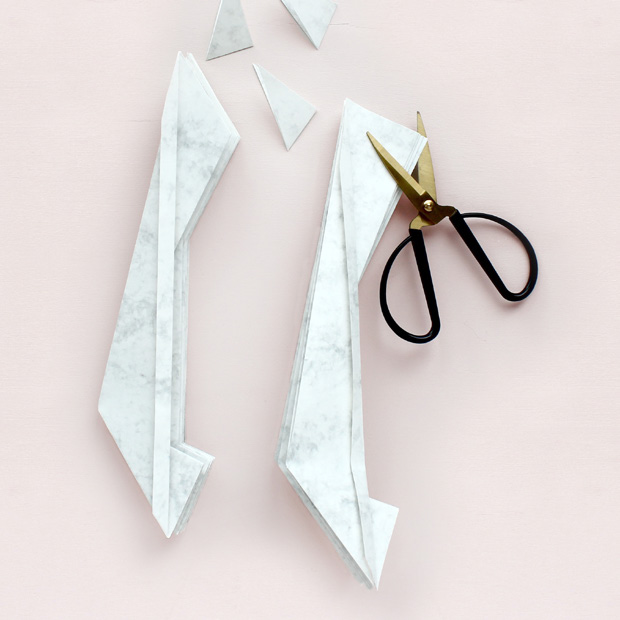
- Flatten each piece and turn to the side. Use scissors to make a cut through all layers in the position shown, beginning around 11/5 in. (3 cm) down from the end of the fold and finishing at the top point.
- Glue the three pieces together: apply a thin layer of tacky glue to the front of the tab, down the right side of the first piece, and attach it behind the left edge of the next piece, aligning along the top and bottom edges.
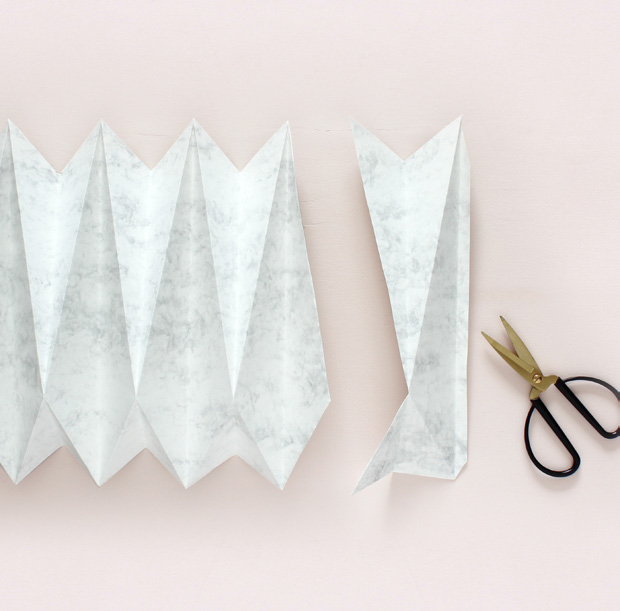
- Cut along the second mountain fold from the right end as shown. Discard the small piece.
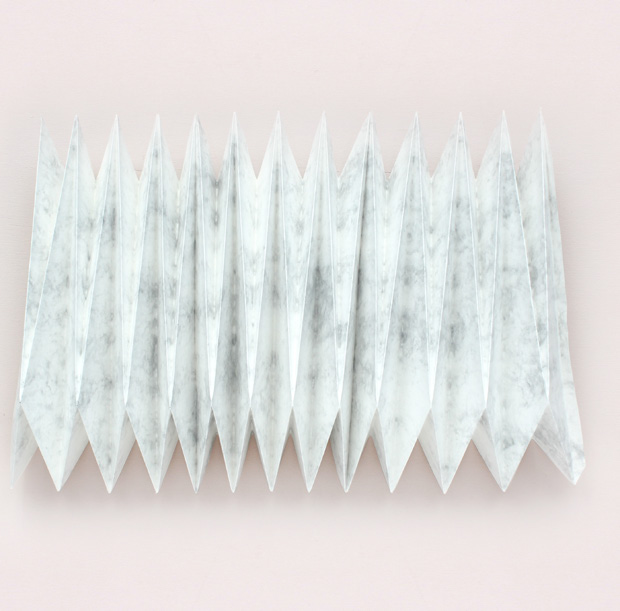
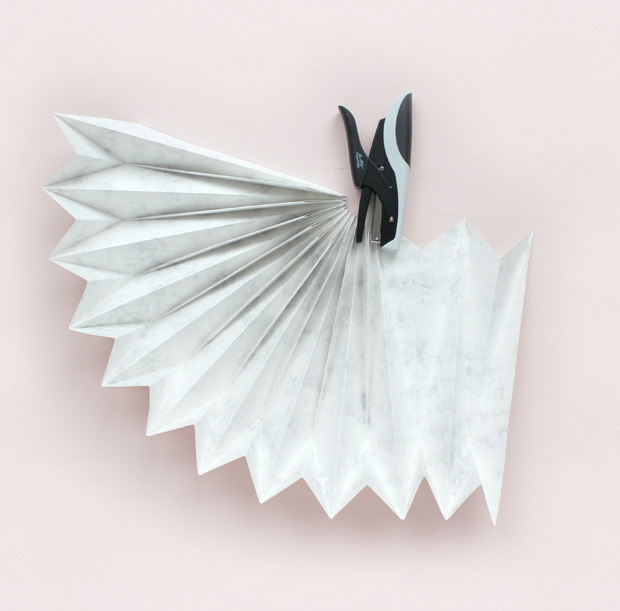
- Turn the folded piece upside down. There are triangular folds that stand up from the piece. Work along the top edge of the piece, using a stapler to secure the two layers of each triangular fold together as close to the base as you can.
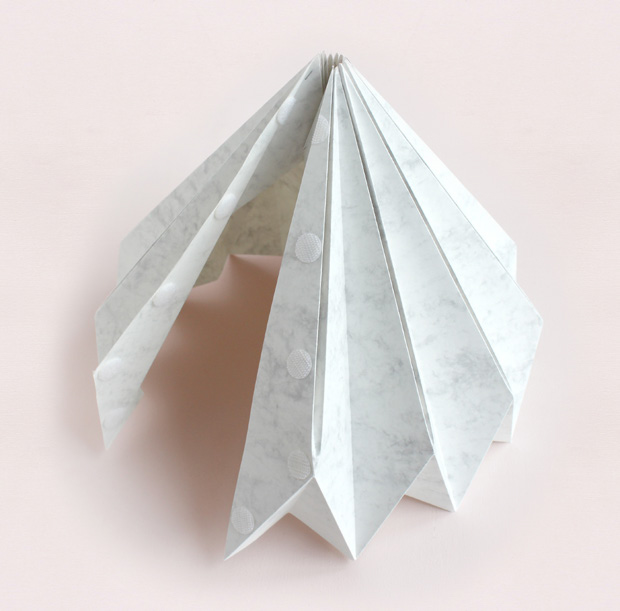
- Turn the piece back over, then stand it up to make the lampshade shape. Fix five pairs of self-adhesive Velcro pads to the opening, half on the back of the cut edge and half on the front of the uncut edge, in corresponding positions.
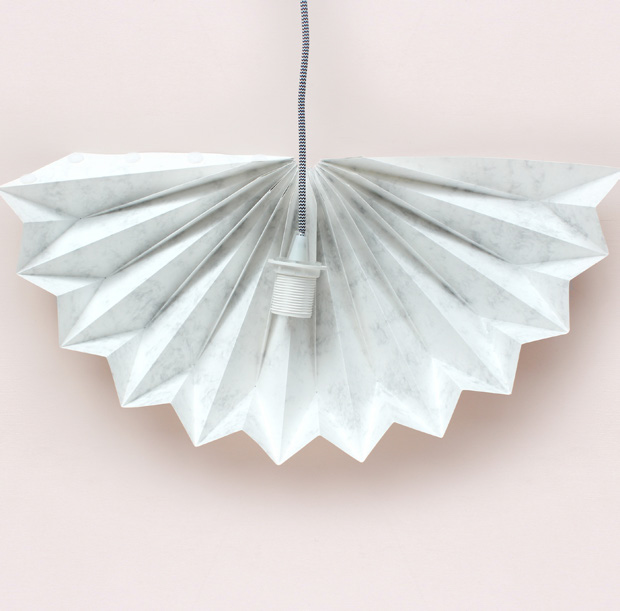
- Wrap the lampshade around the cord of your light fixture, then close using the Velcro tabs, and fit in an LED light bulb.
Such a beautiful project made from PAPER! It’s amazing the things you can make from paper! Thank you sharing this beautiful project with us, Sarah!
From Paper Craft Home by Sarah Louise Matthews © 2018 Sarah Louise Matthews. Reprinted in arrangement with Roost Books, an imprint of Shambhala Publications, Inc.



Comments