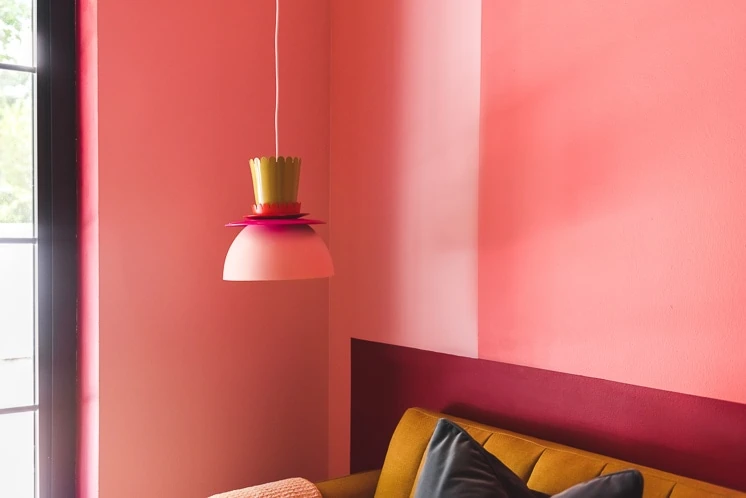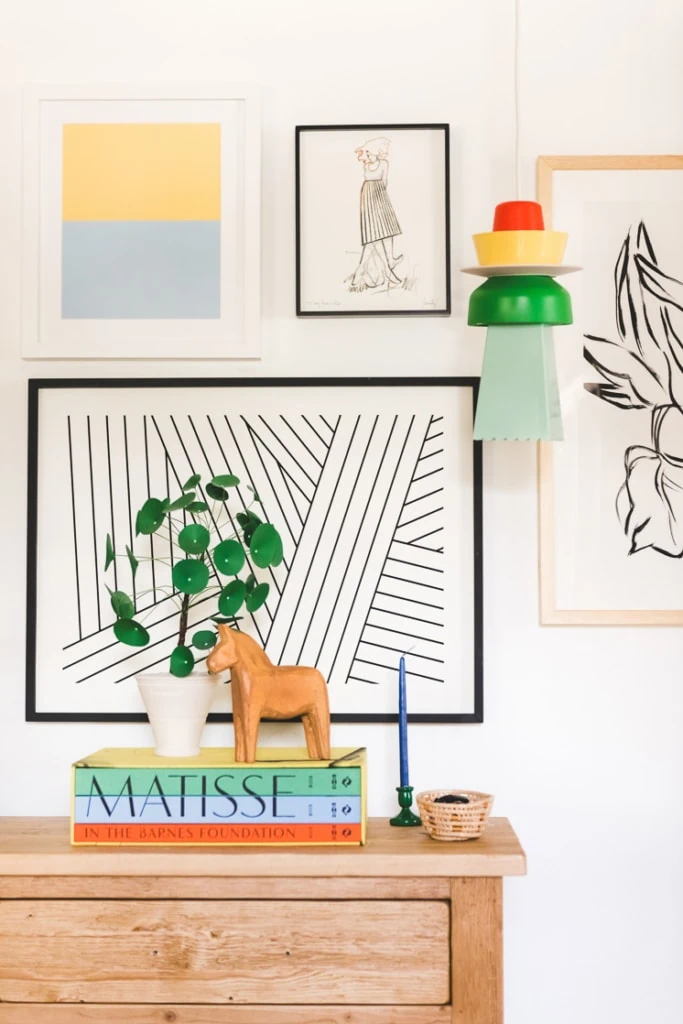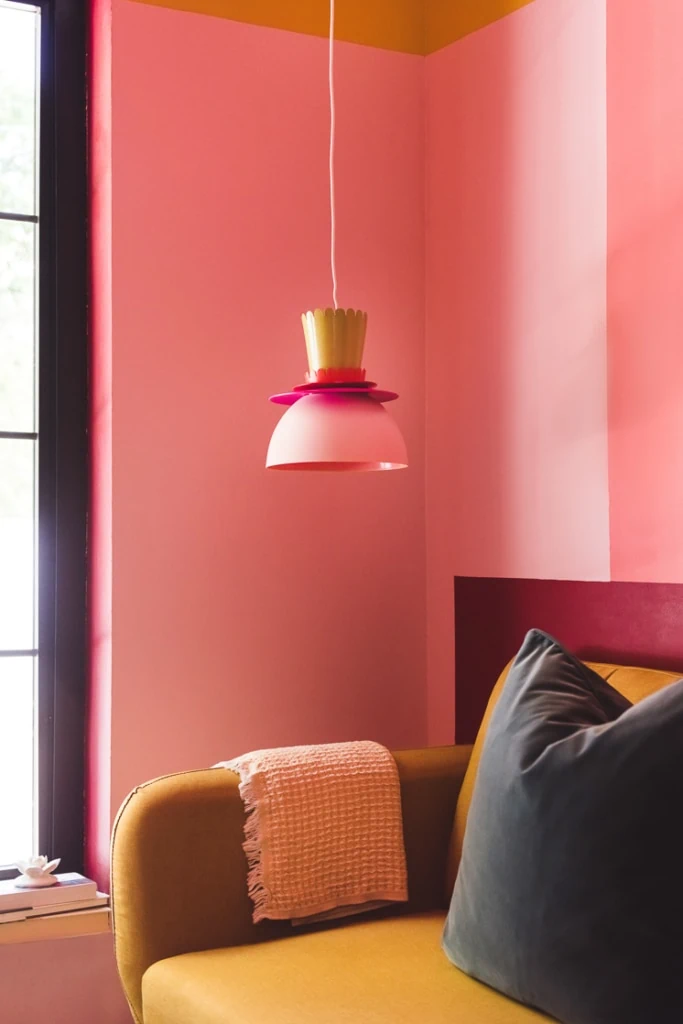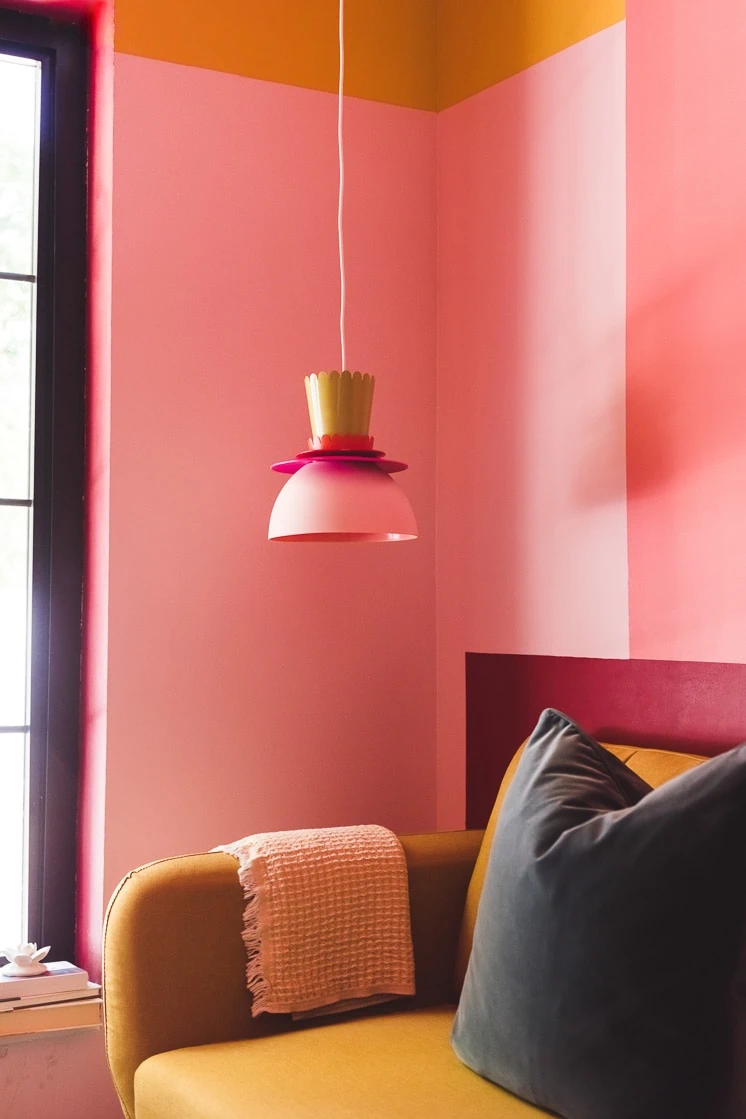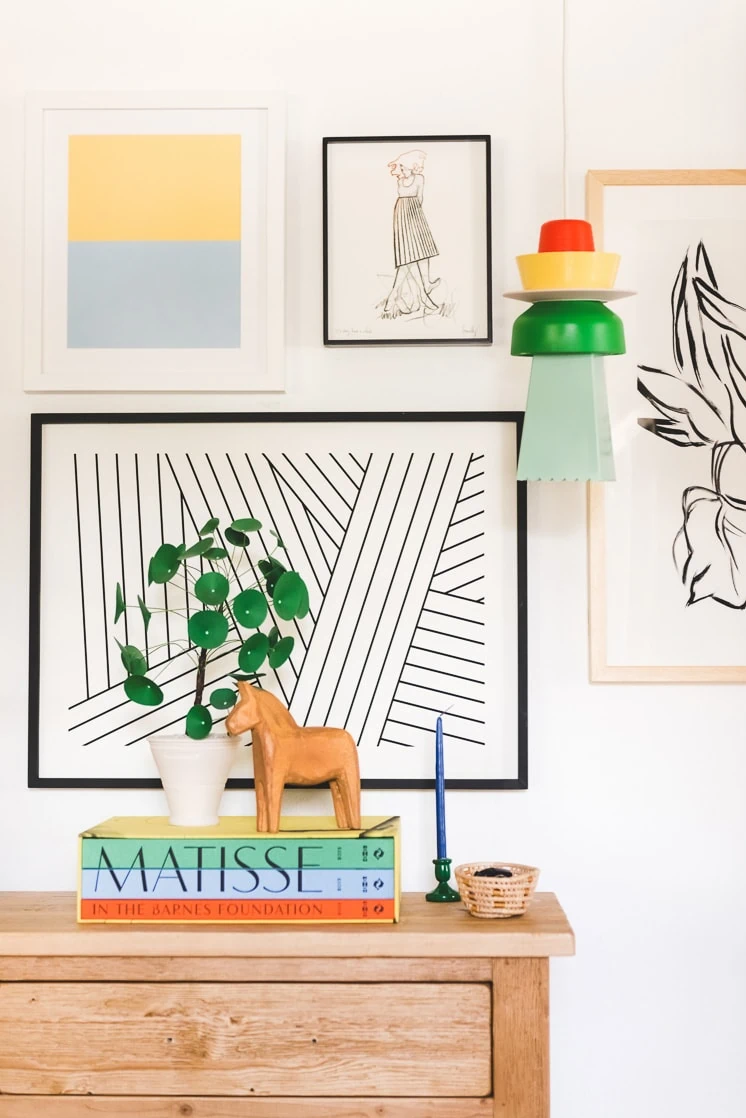
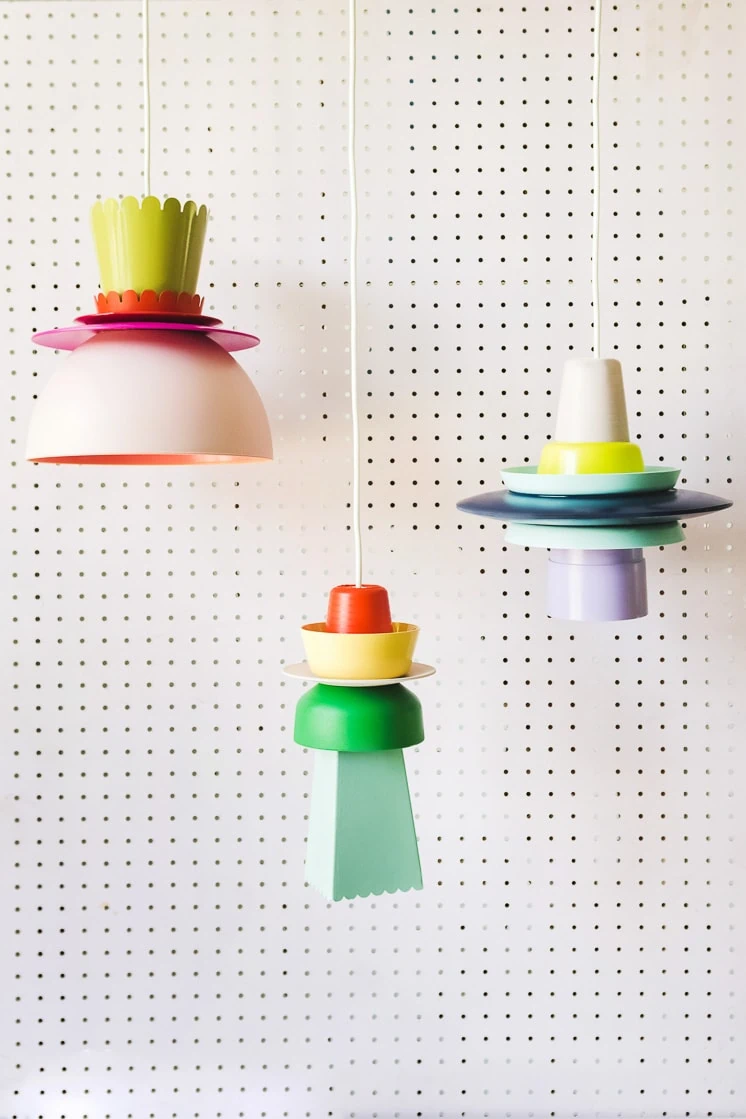
DIY Hanging Light fixtures
Materials:
- Plastic plates, bowls, cups (we got ours from here!)
- Drill
- craft knife
- Hot glue gun
- Spray paint (this brand is the best for our purposes!)
- Hanging light cord (we got ours from Ikea but you can find them here)
Instructions:
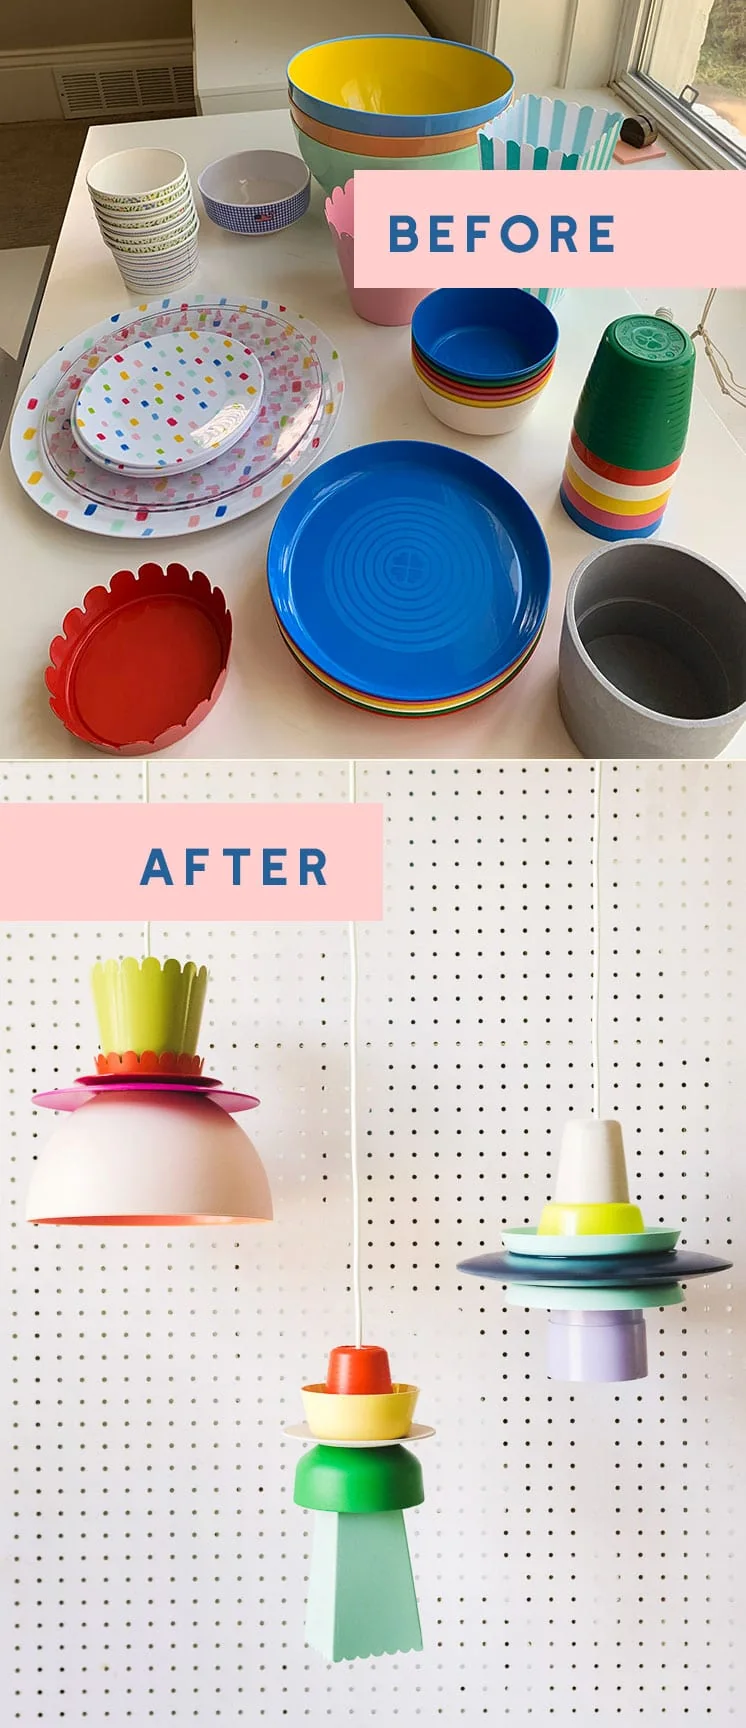
- Using the variation of tableware plan what you would like your fixture to look like.
- Pick a color palette.
- Assign colors to the individual pieces of the figure.
- Drill or cut (using the craft knife if the plastic is soft enough) a rectangle big enough to pull the light cord through.
- Spray paint the individual plates, cups, bowls, etc to the correct colors, you will probably need to apply multiple coats of spray paint and let dry.
- Once pieces are dry string the first piece of your fixture to the base of the cord.
- Cut a small piece of cardboard, cut a slit in it and wedge the cord into that space to secure the cord. This is an important step, it will help balance your fixture and help it hang straight.
- Hot glue the cardboard to the dinnerware piece so the cord is centered in the rectangle. (This can be repeated periodically if you feel that the fixture needs to be stabilized)
- Add the second piece of the fixture and apply hot glue to secure it to the first piece of the fixture.
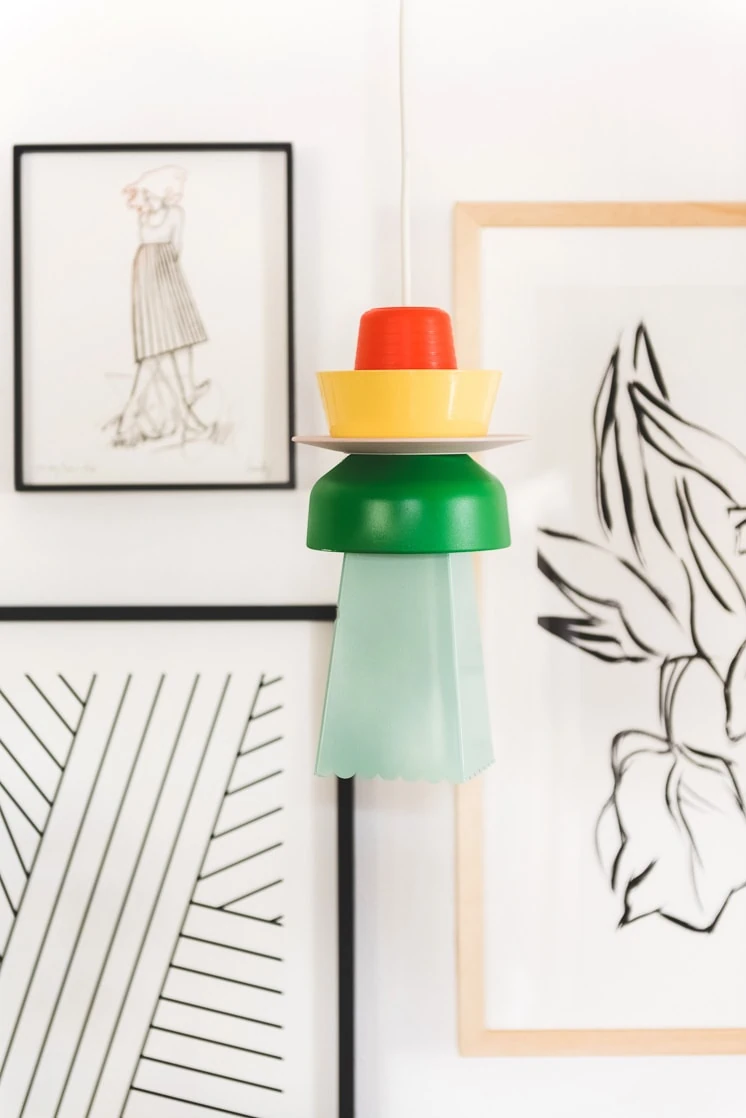
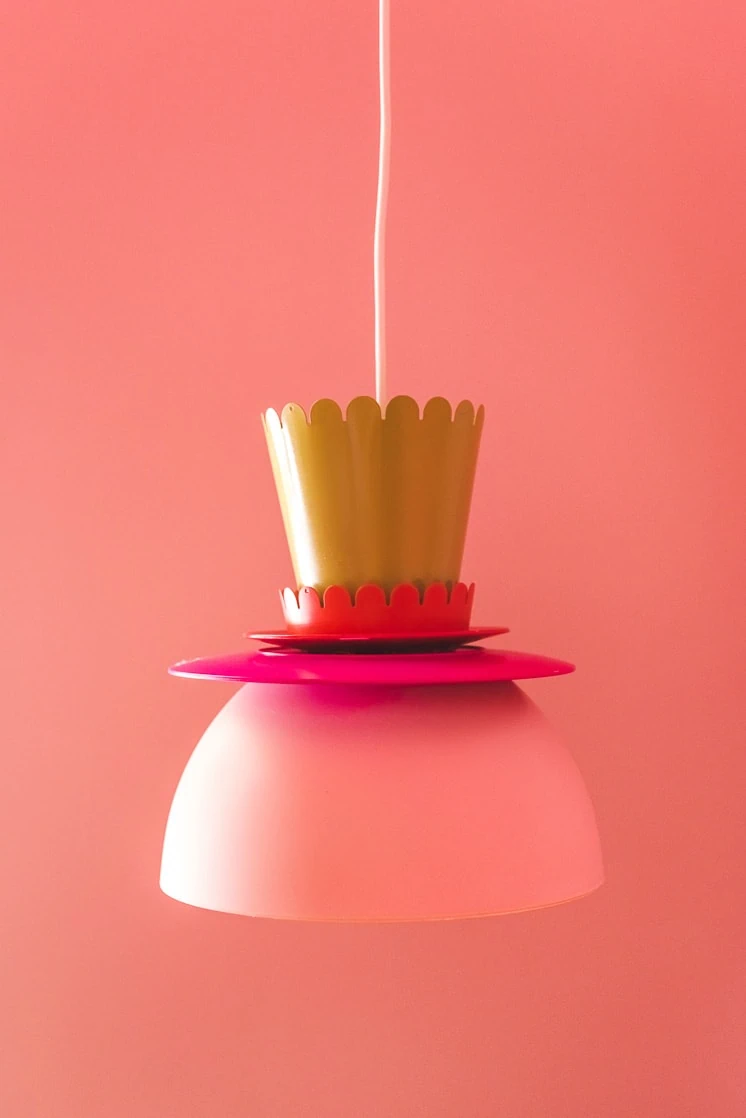
Repeat step 9 until your fixture is assembled correctly!