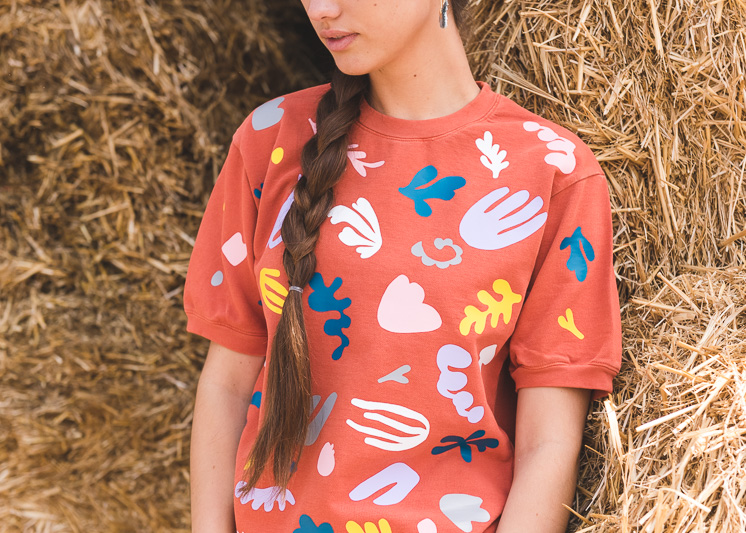
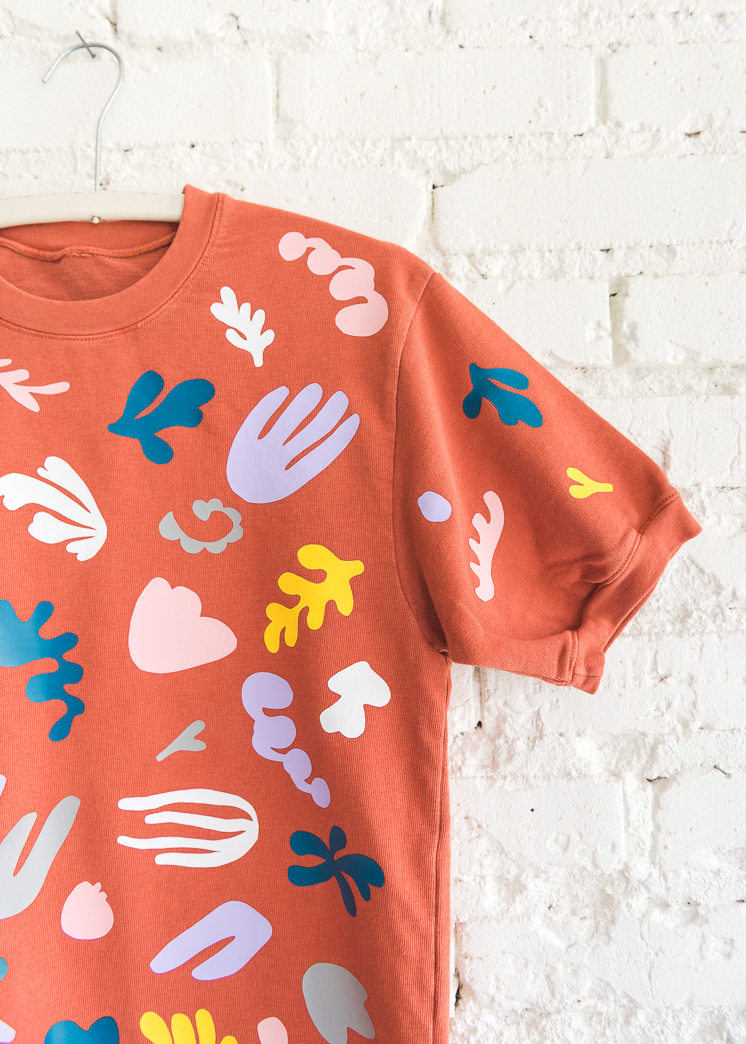
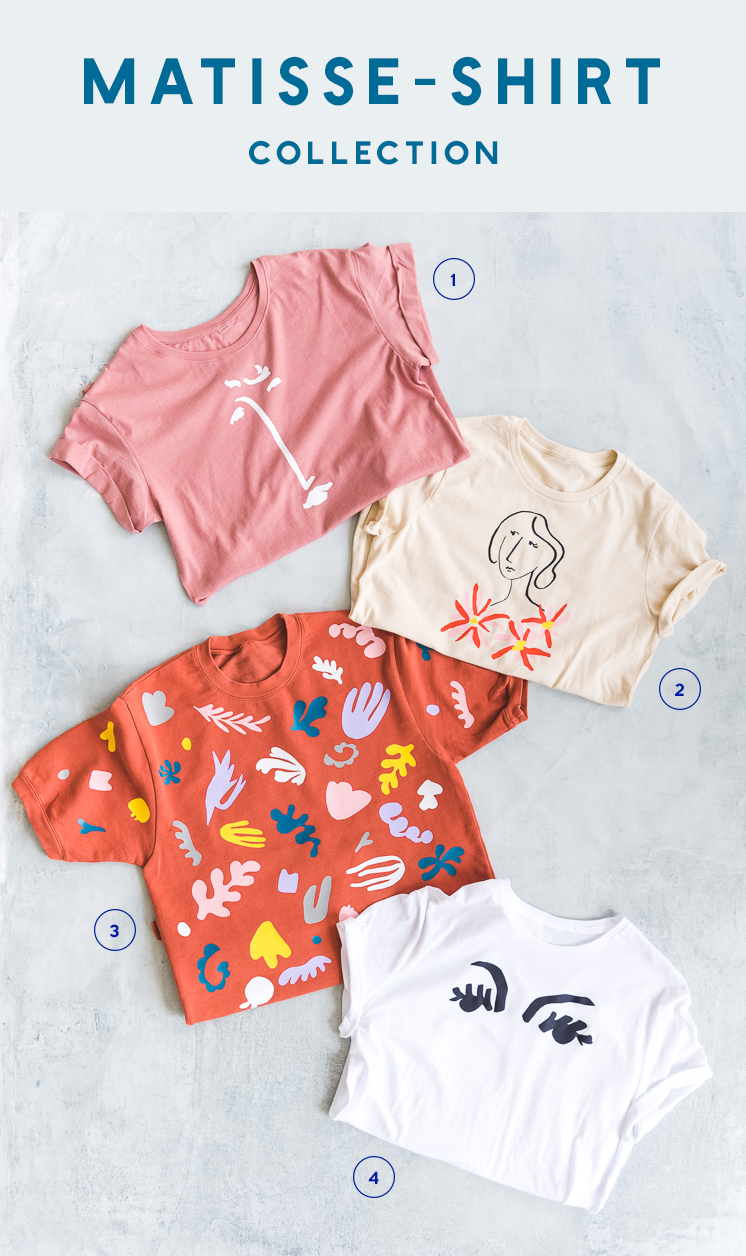
We’ve been obsessed with graphic tees lately, and they seem to be popping up everywhere. But what qualifies as the ideal t-shirt? We couldn’t seem to find one that perfectly captured the Lars aesthetic: lovely color palette, reference to history, whimsical, you get the gist. The natural solution was to make our own! Introducing the Lars Matisse-Shirt Collection! We teamed up with Cricut to make Matisse-Inspired iron-on decals for t-shirts. Honestly, we’re pretty obsessed with them! Line drawing portraits, fun faces, and shapes—It doesn’t get much better than that! Now you can make your perfect tee all on your own! Which one is your favorite?
Take a look at all the t-shirt styles and download the templates to make your own!
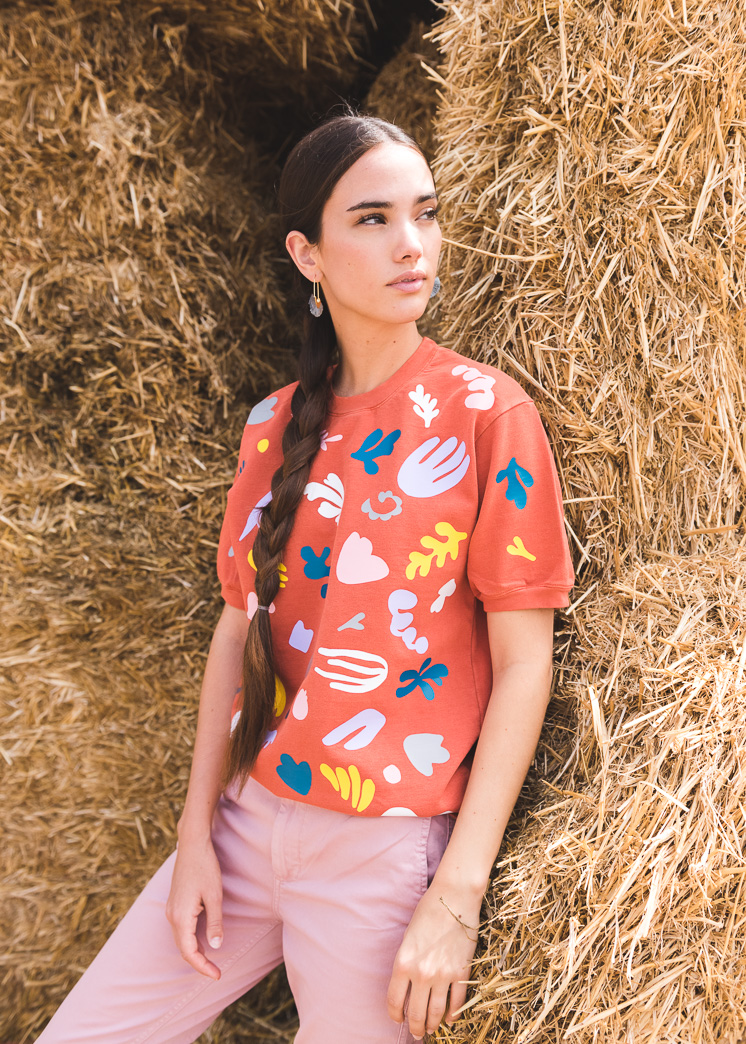
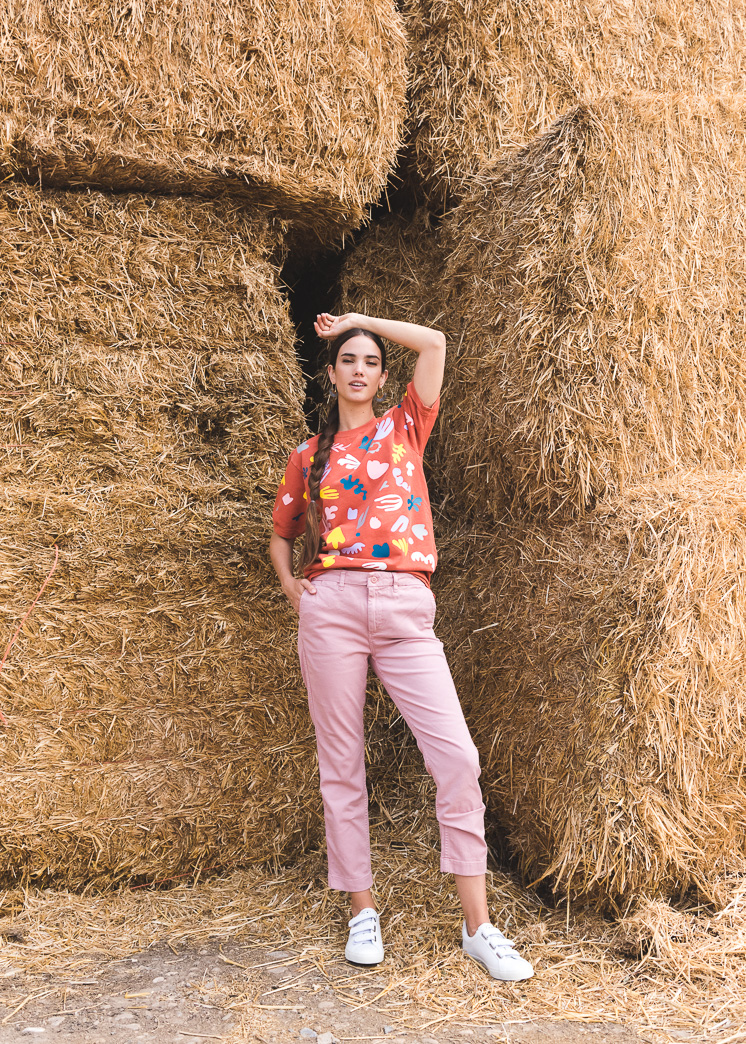
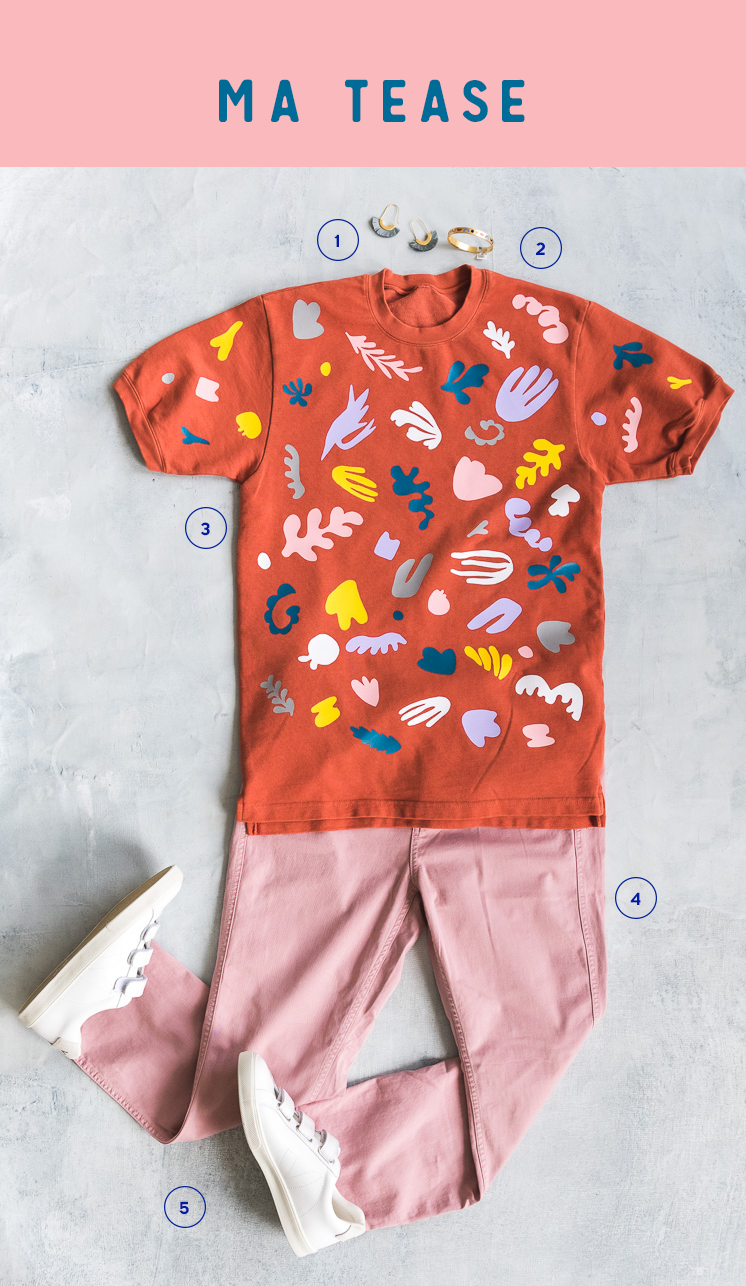
The Ma-Tease cut outs 

Shop the look:
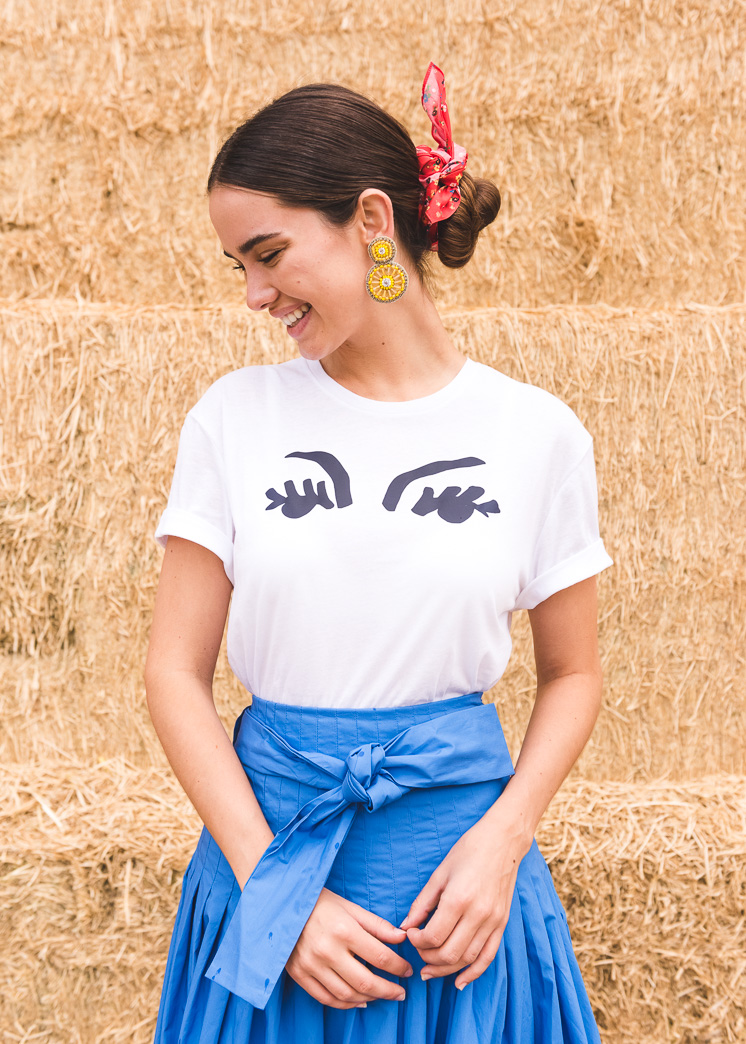
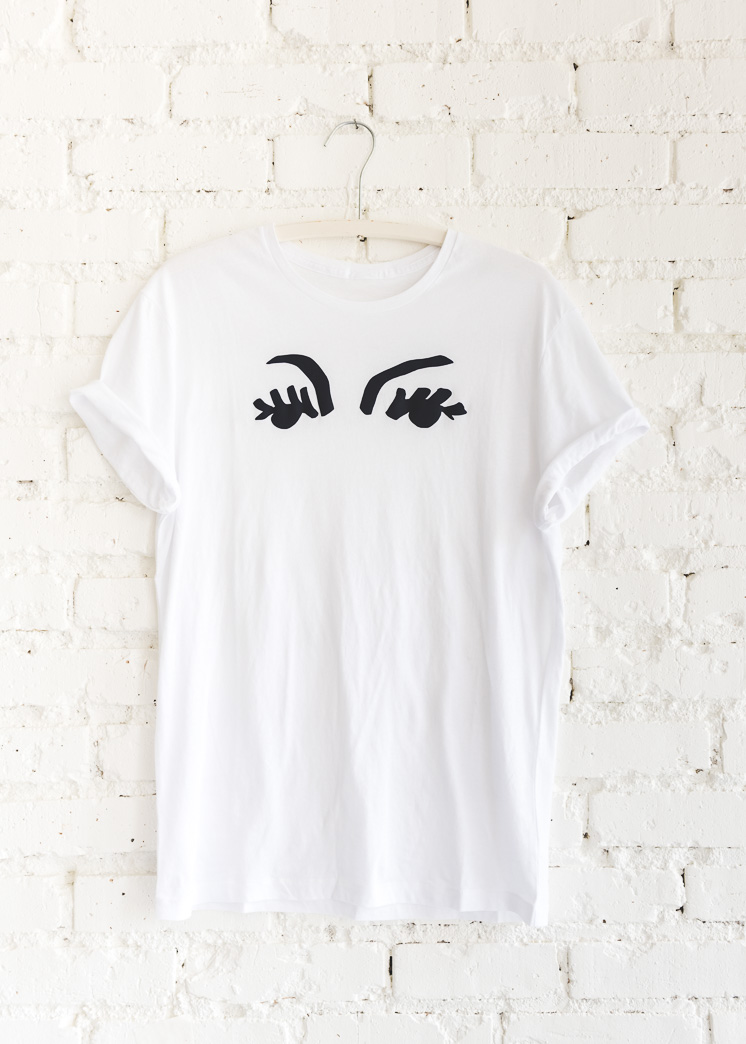
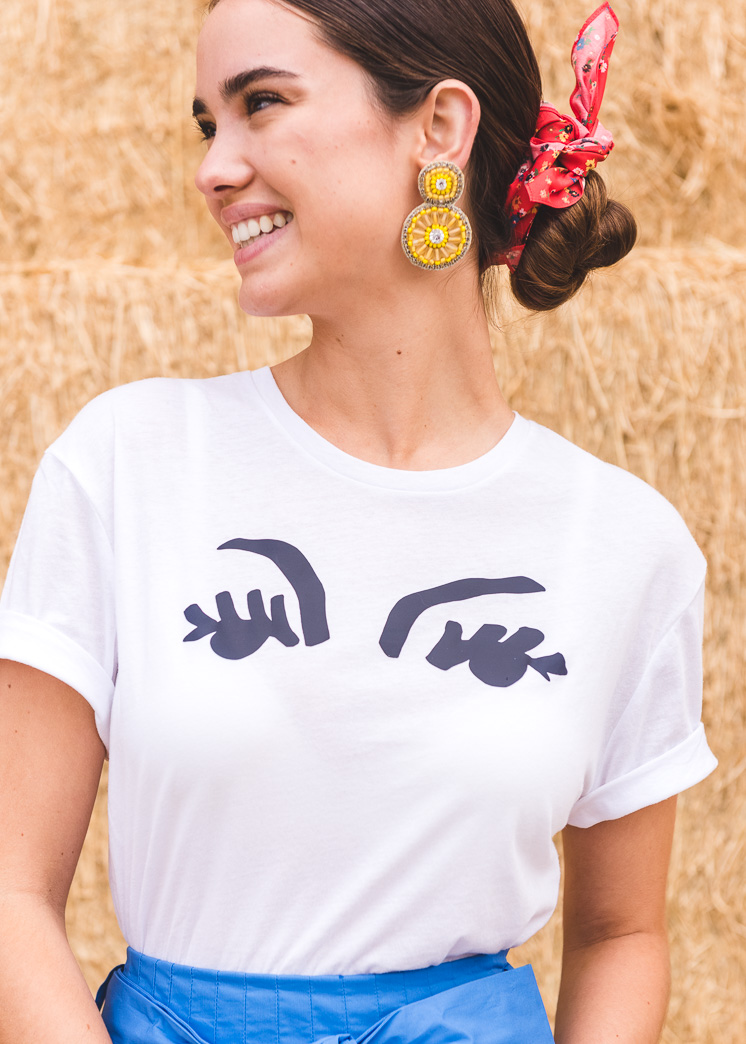
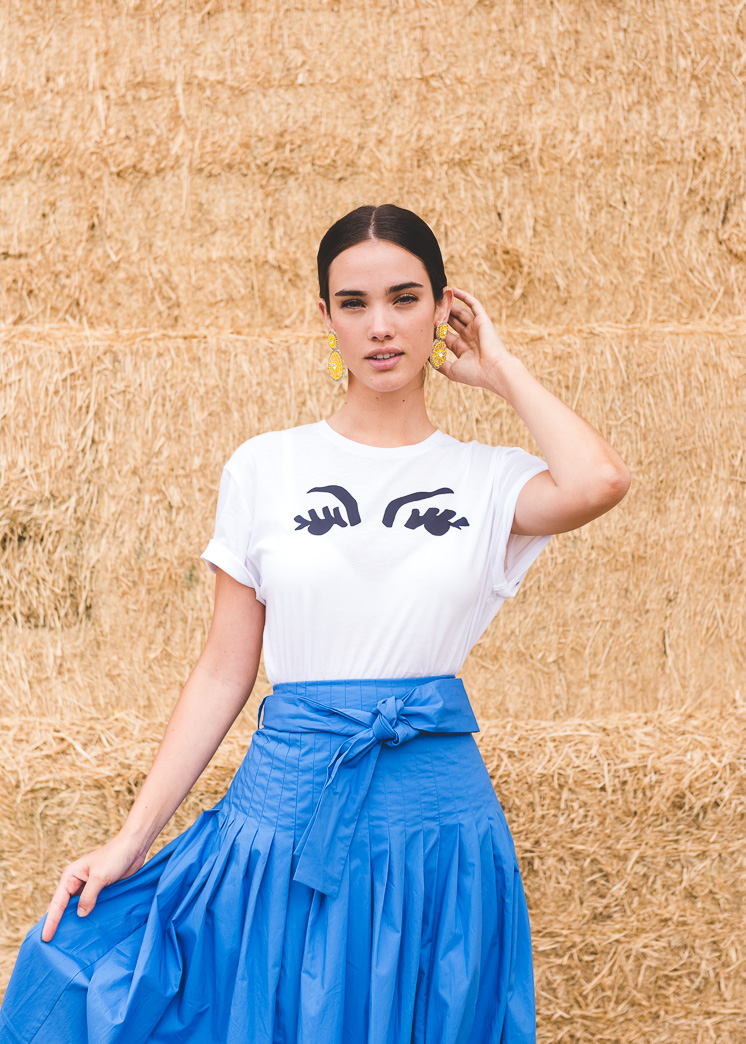
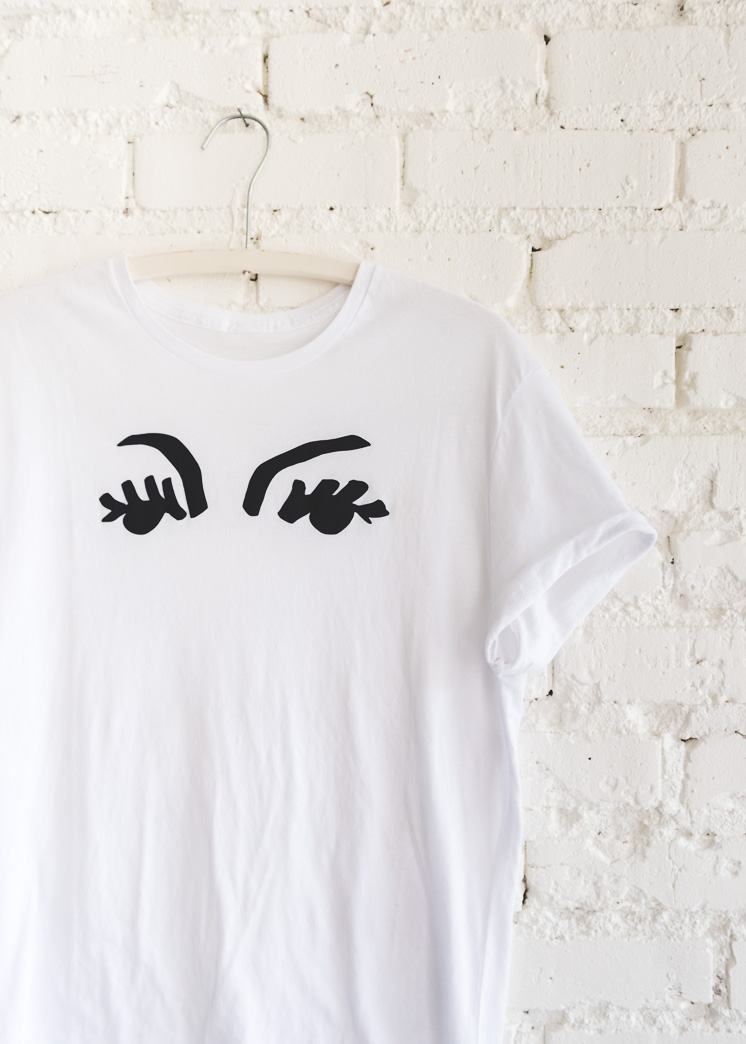
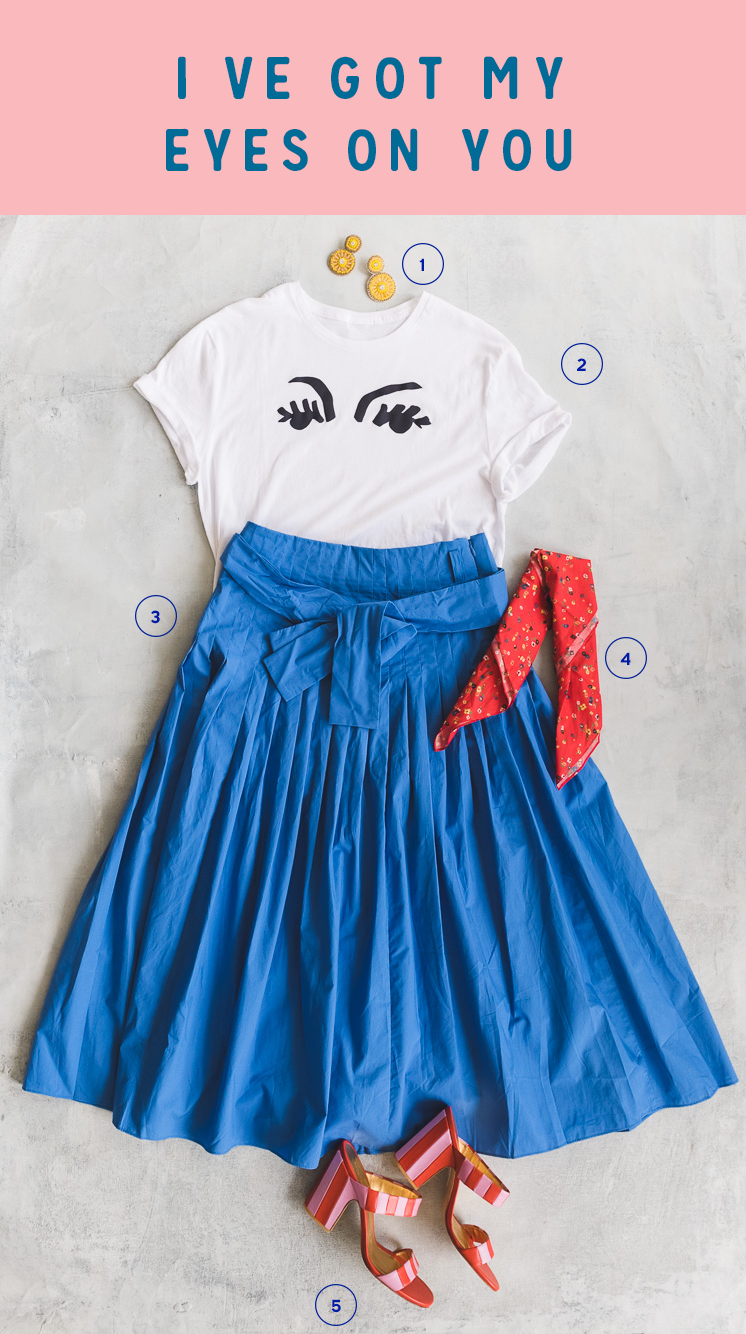
I’ve got my eyes on you
Shop the look:
The Lars Matisse-Shirt Collection tutorial
Materials To Cut
Everything Else
- Cricut®12″ x 12″ LightGrip Adhesive Cutting Mat
- Cricut EasyPress™, or iron and press cloth
- Cricut EasyPress Mat™, or ironing board
- Cricut® Tools Weeder
- T-Shirt
- We got the pink shirt here (and this one is also cute!)
- The off white shirt here in creme
- The rust orange shirt here
- the white shirt here in white
To start, find a shirt that needs some jazzing up. Better yet, choose something you already have and give a new life to it! Up-cycle for the win. We’re already brainstorming ideas for sweatshirts too. Launder your shirt beforehand!
Here are all four designs to choose from:
Preparation
- If you need to adjust the dimensions click Customize to open the project canvas. Resize the image in the Edit tab before clicking Make It.
Cut
- Follow the prompts in Design Space® to cut the images from the iron-on.
- Make sure to use the correct setting for the materials being cut.
Remember! When cutting iron-on be sure to click ‘mirror’ for each iron-on layer before cutting.
Assemble
- Use a weeder tool to remove the negative spaces from the iron-on liner. Leave the pieces of the design on the plastic backer.
- Apply the iron-on to your project using a Cricut EasyPress™, or an iron and a press cloth.
- Preheat area of shirt where design is being placed .
- Align and place the design on shirt and heat for designated time, turn shirt over and heat the back side briefly .
- Wait for liner and shirt to cool then slowly peel away from shirt.
Ta Da! A brand new shirt to spice up your back to school wardrobe!
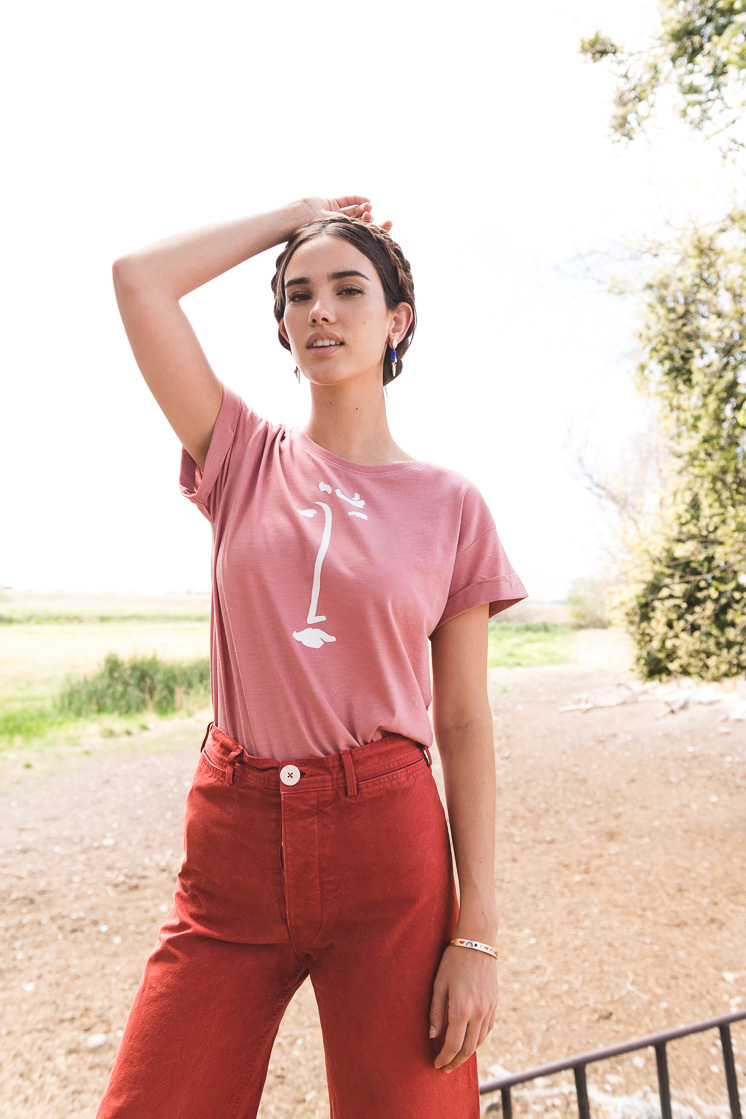
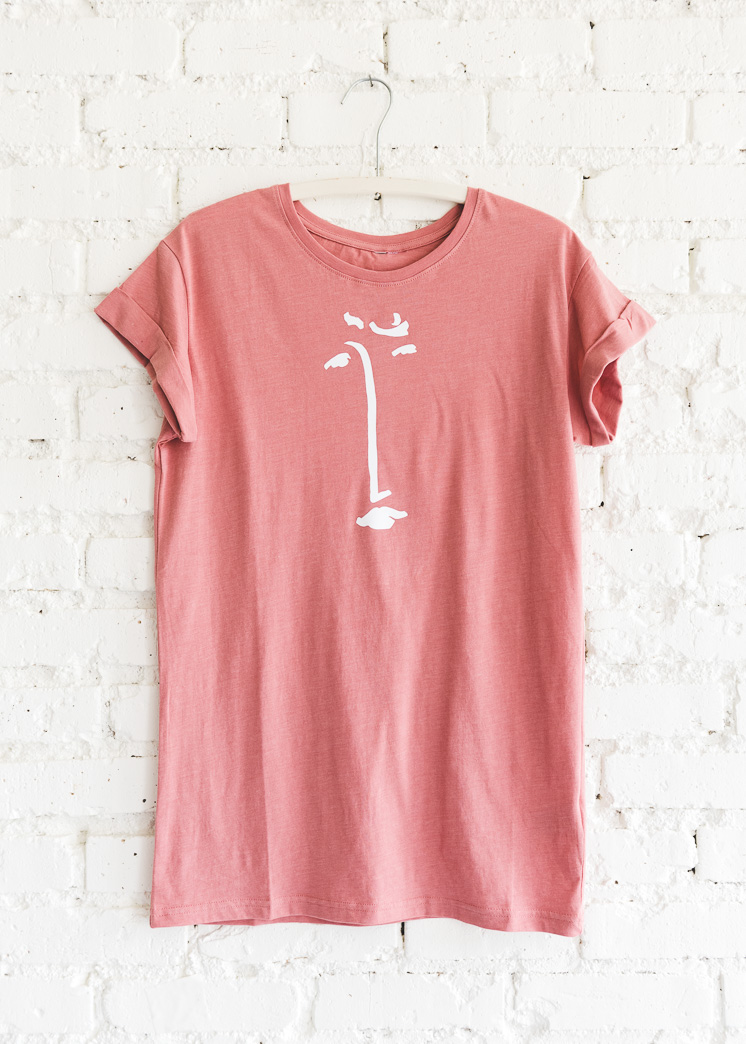
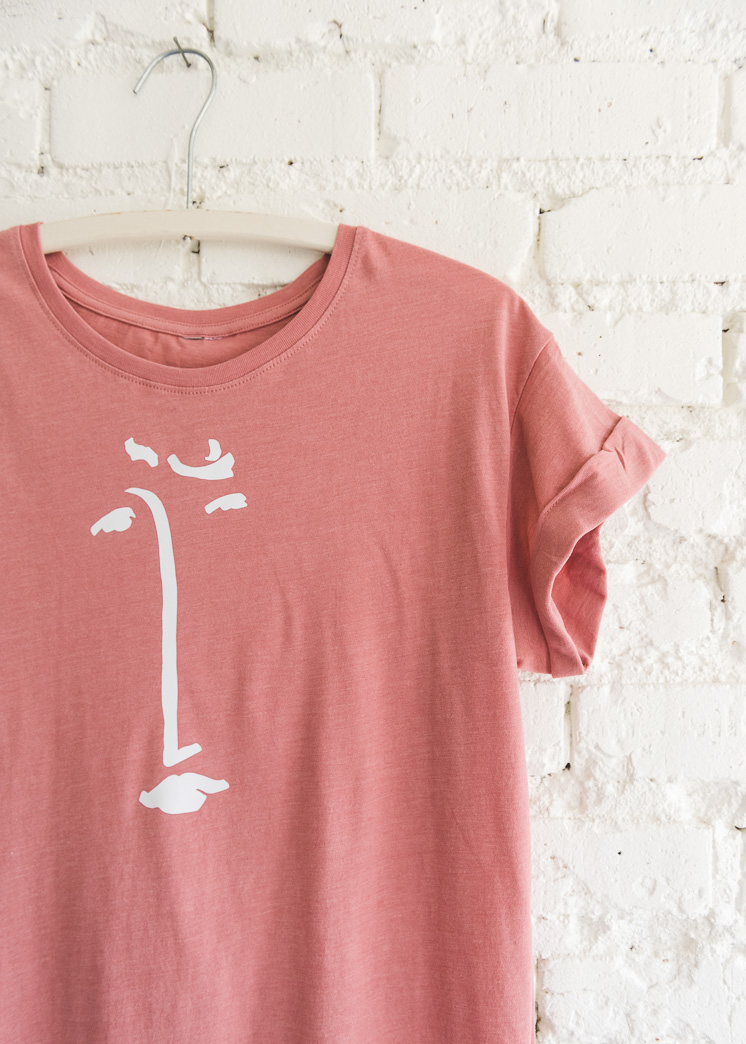
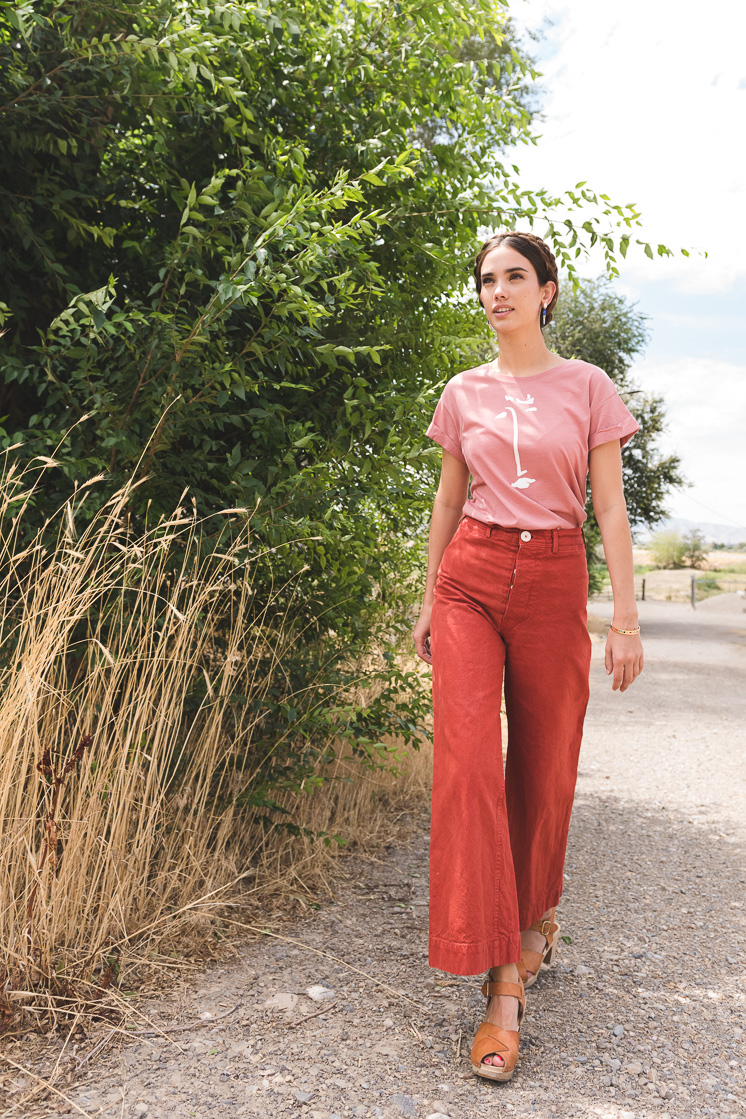
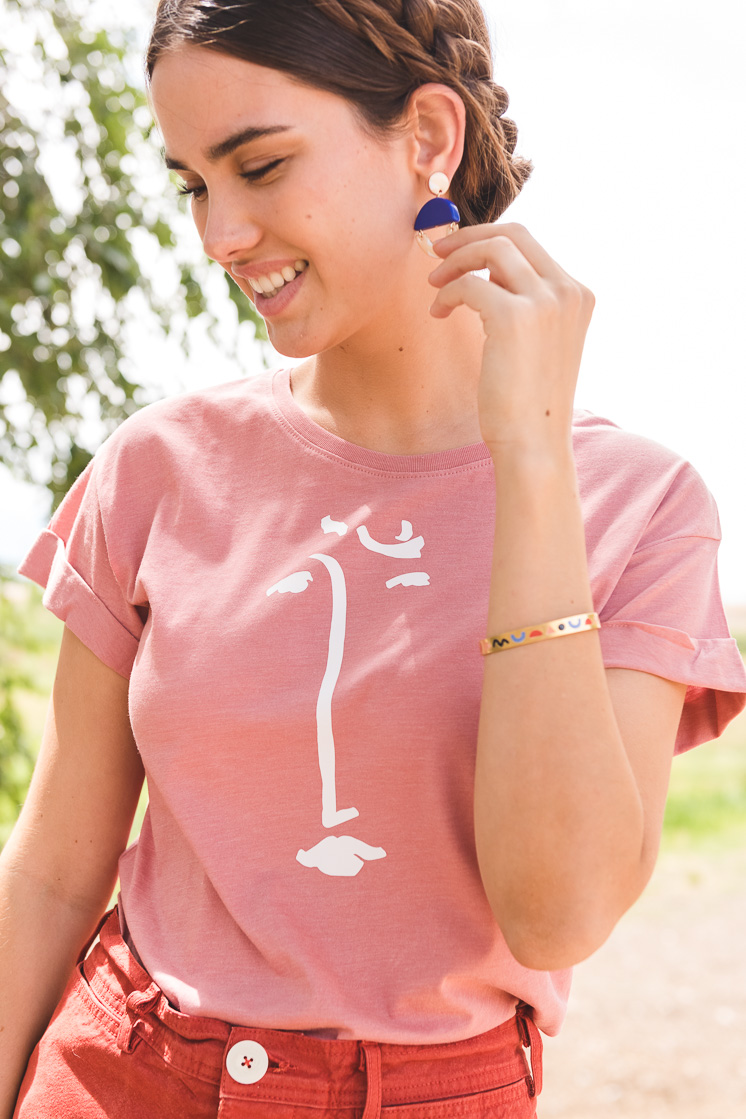
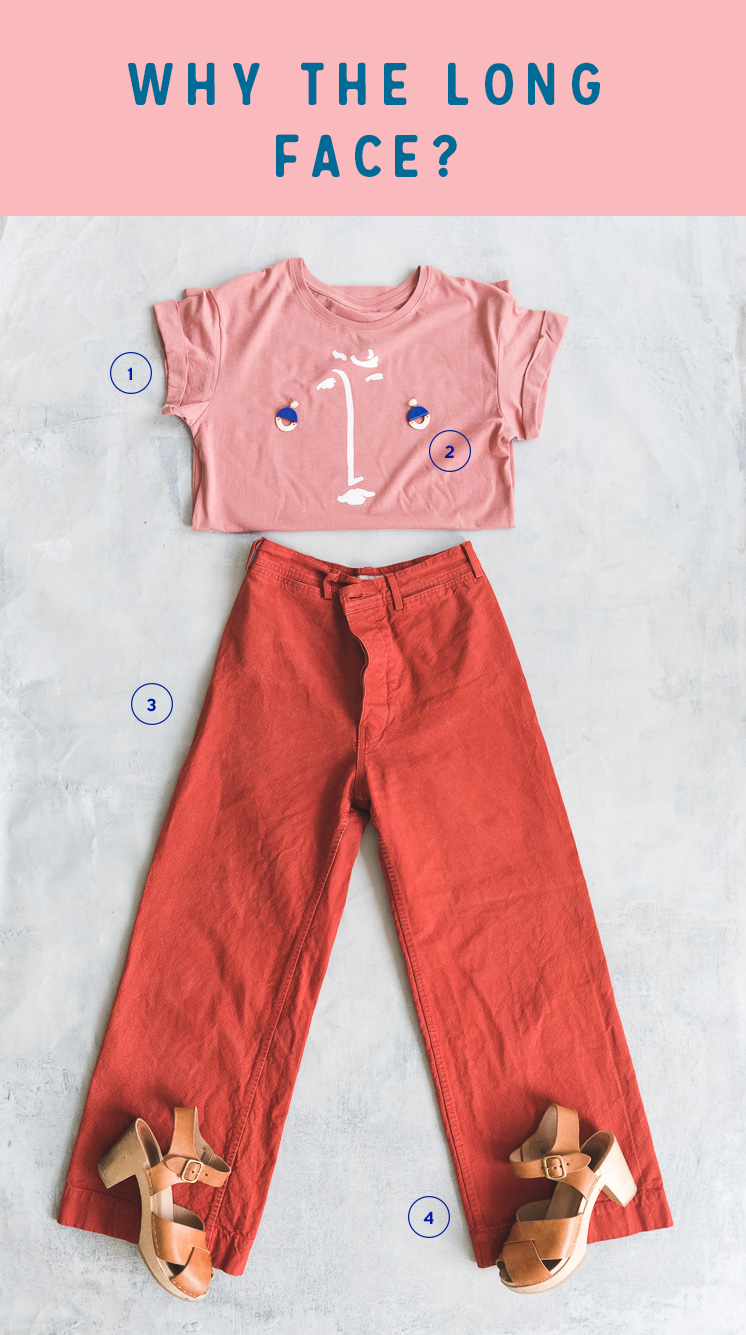
Why the long face
Shop the look
- pink t-shirt
- earrings
- rust orange wide leg pants (here are some similar ones! and here)
- clogs
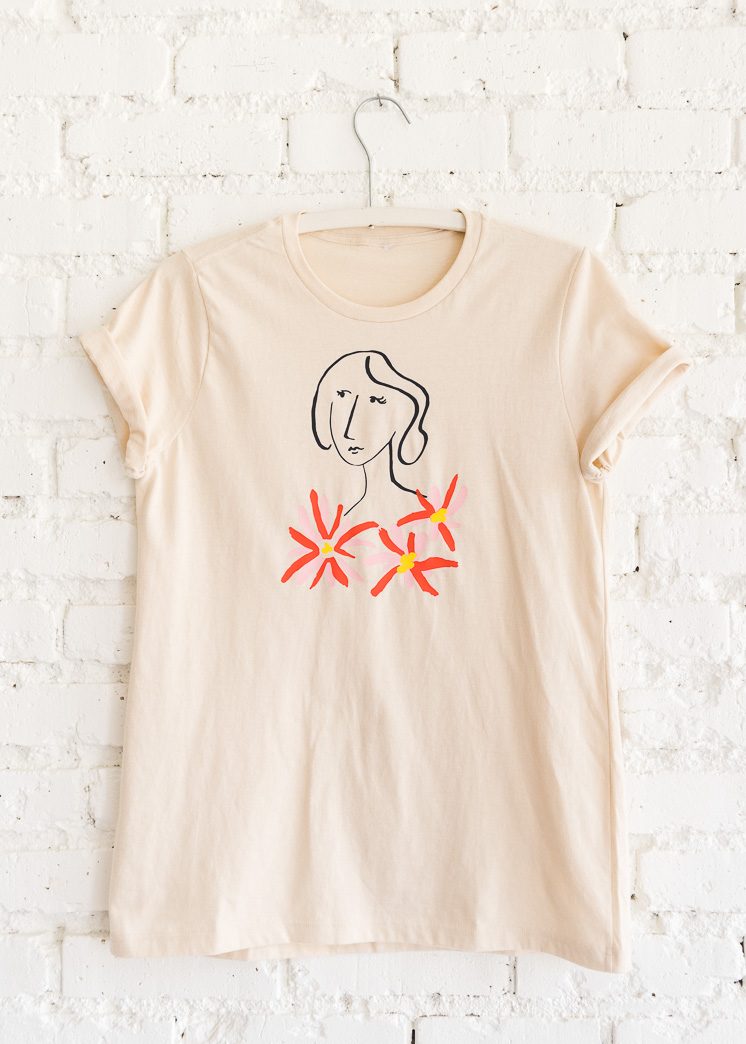
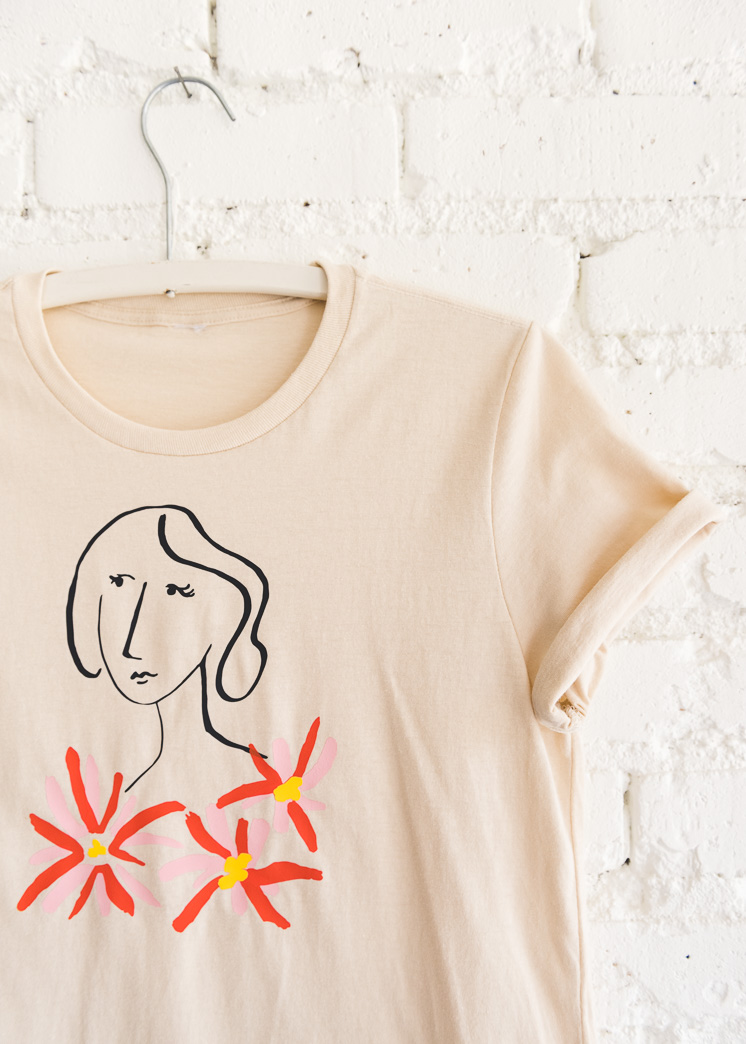
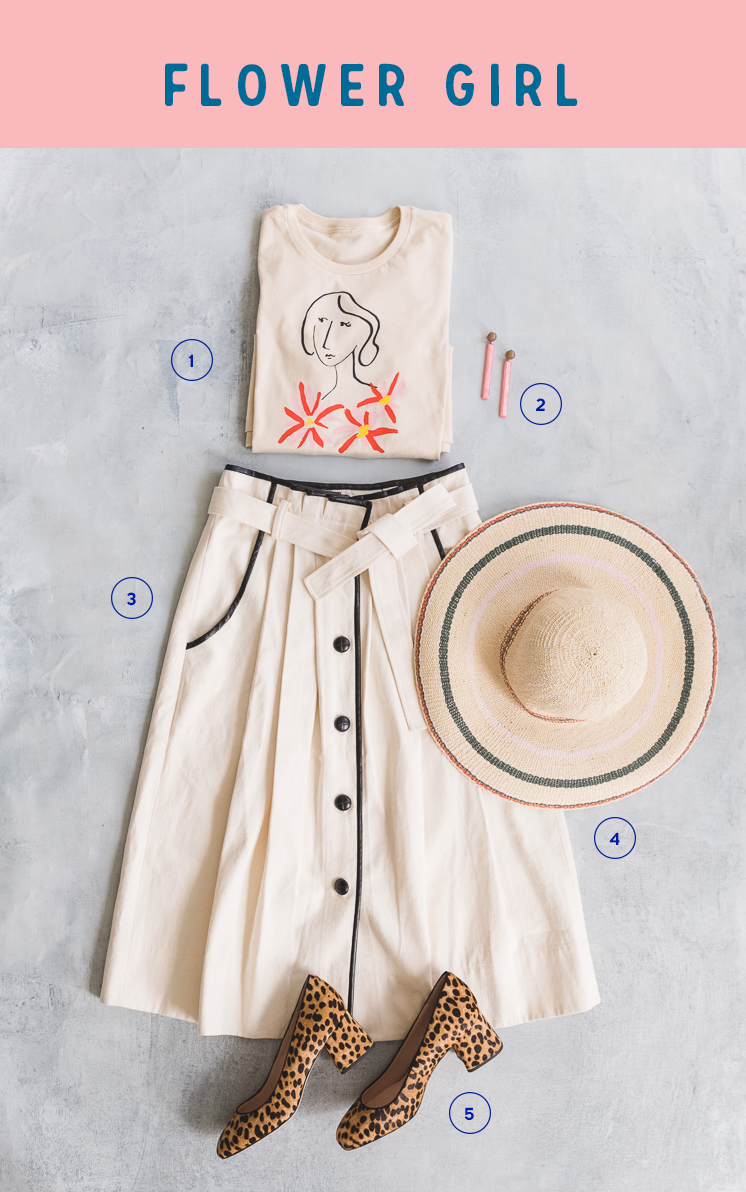
Flower Girl 


Shop the look:
- T-shirt in creme
- Earrings
- skirt
- hat
- leopard shoes
Read more about the process here on the Cricut blog!
This post was sponsored by Cricut. Thank you for supporting the companies that allow us to create fun original content!
Photography by Jane Merritt | Modeling by Tiffany Pliler
This is a sponsored conversation written by me on behalf of Cricut. The opinions and text are all mine.











Comments