Farmer’s Market tote with Infusible Ink

Our friends at Cricut just came out with a new product called Infusible Ink and I was honored to be a part of their new commercial (you can watch it here!). They filmed my actual reaction to the product reveal and let me tell you, those reactions are 100% real. Take a lookie!

Let me tell you why.

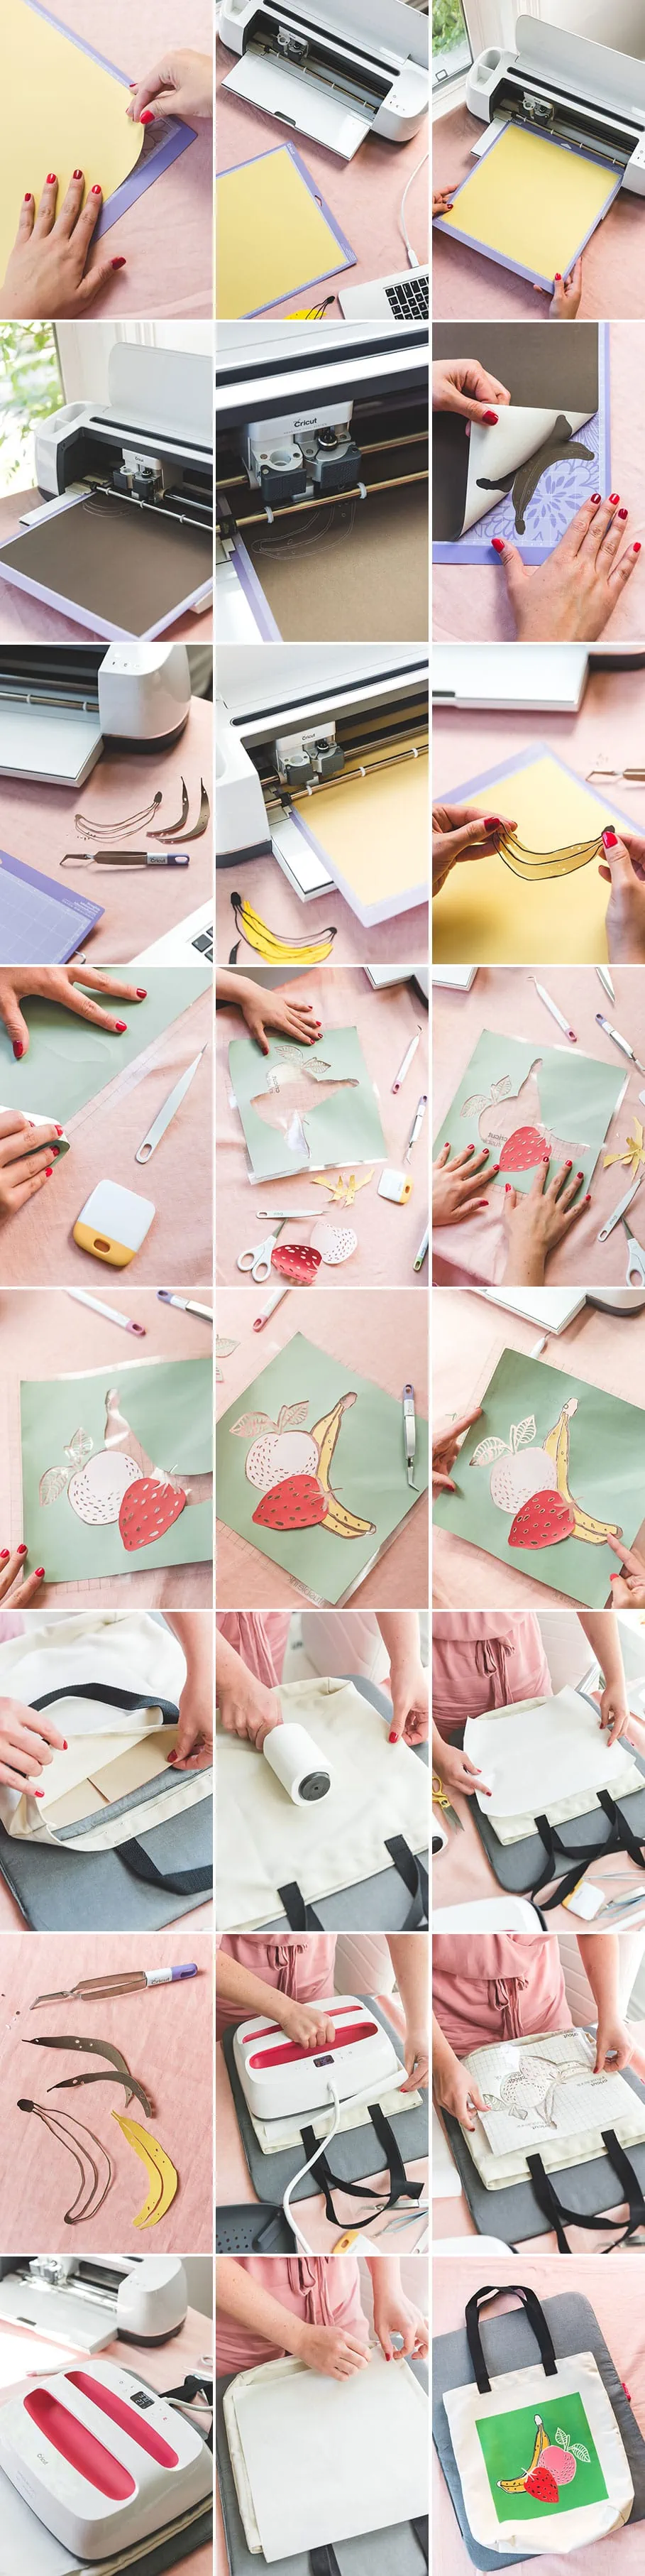
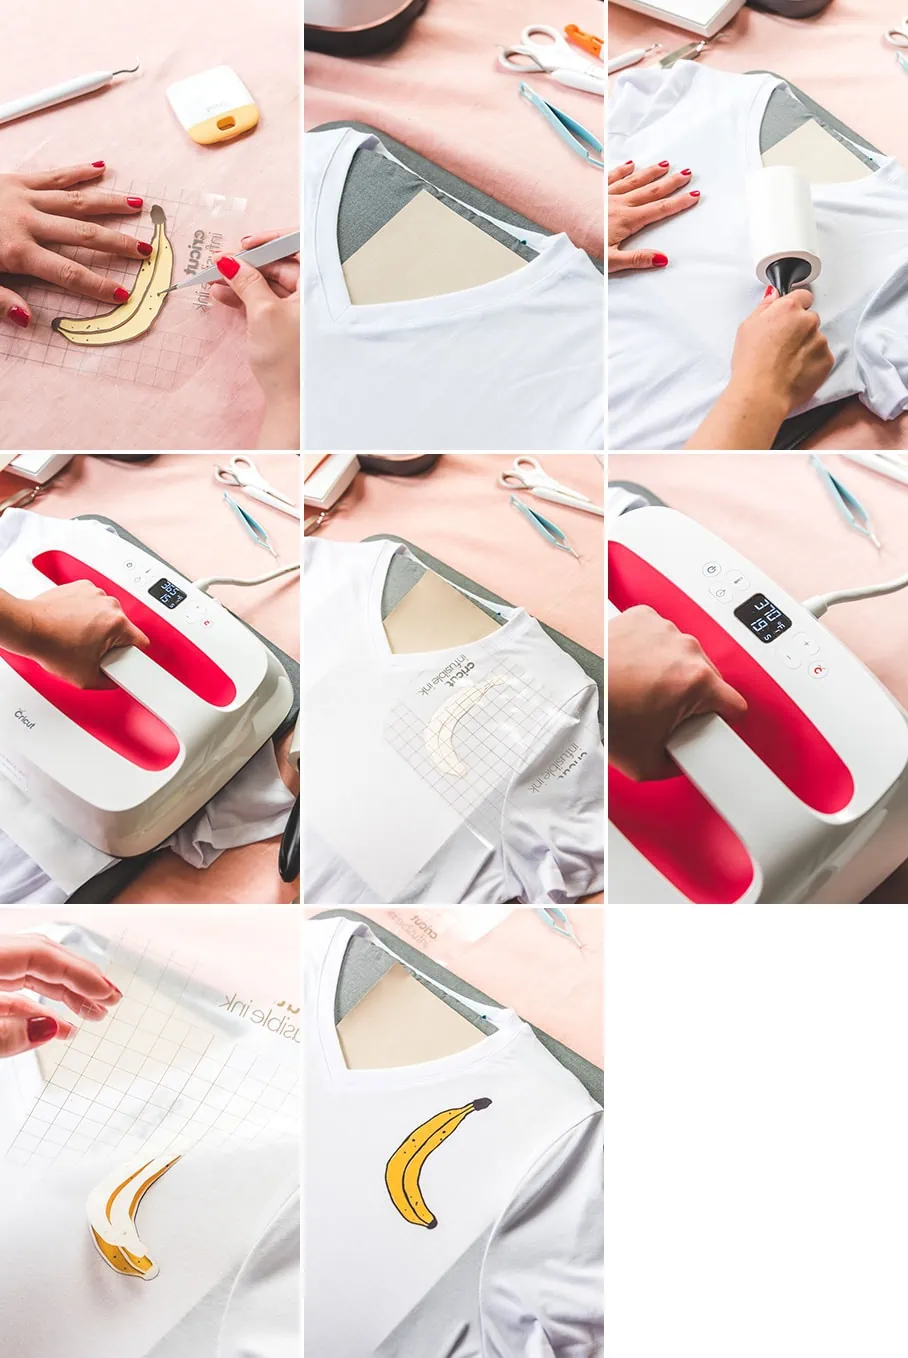
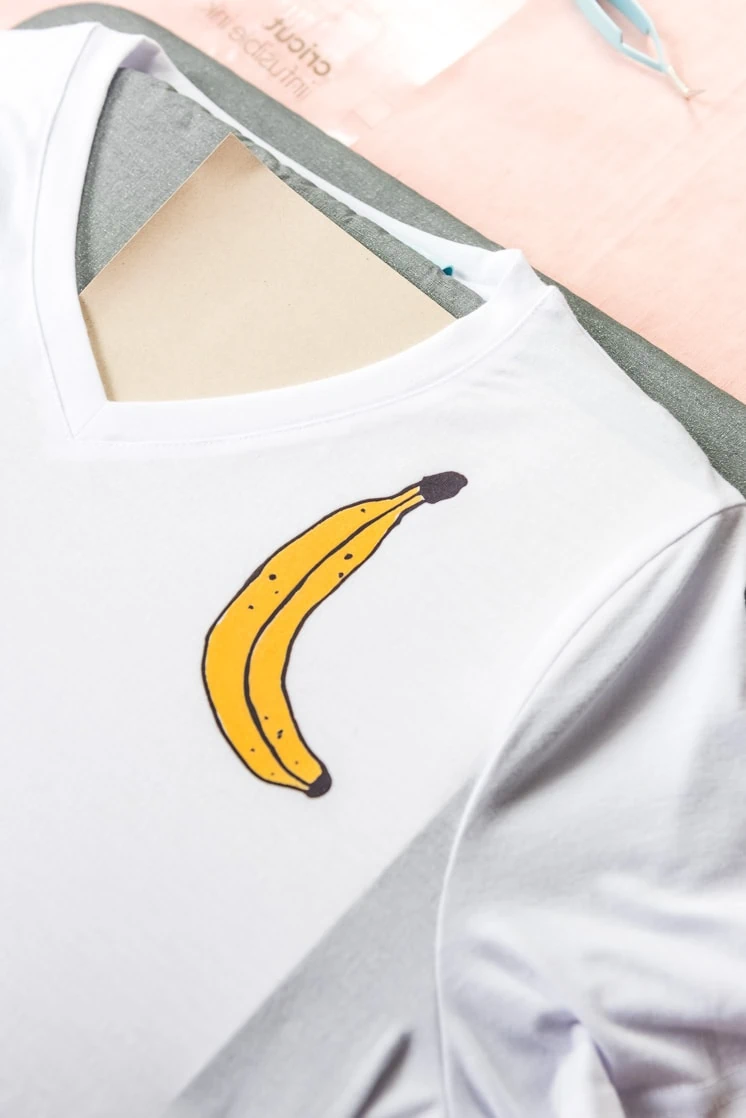
During the filming of the commercial, I couldn’t help but think how we would use Infusible Ink. If you’re familiar with Cricut vinyls, the process is similar in how you prep the it–you cut out the shapes on the Cricut, then lay it on your product, then use the Easy Press to adhere it. It’s the same process, BUT, this time, some sort of magic soaks into the material and stays there. It’s IN the material, not on top. It’s pretty awesome! Not only that, it’s peel and crack proof and has a professional quality of printing. The beauty is that you can do it yourself! Of course we’re big fans!

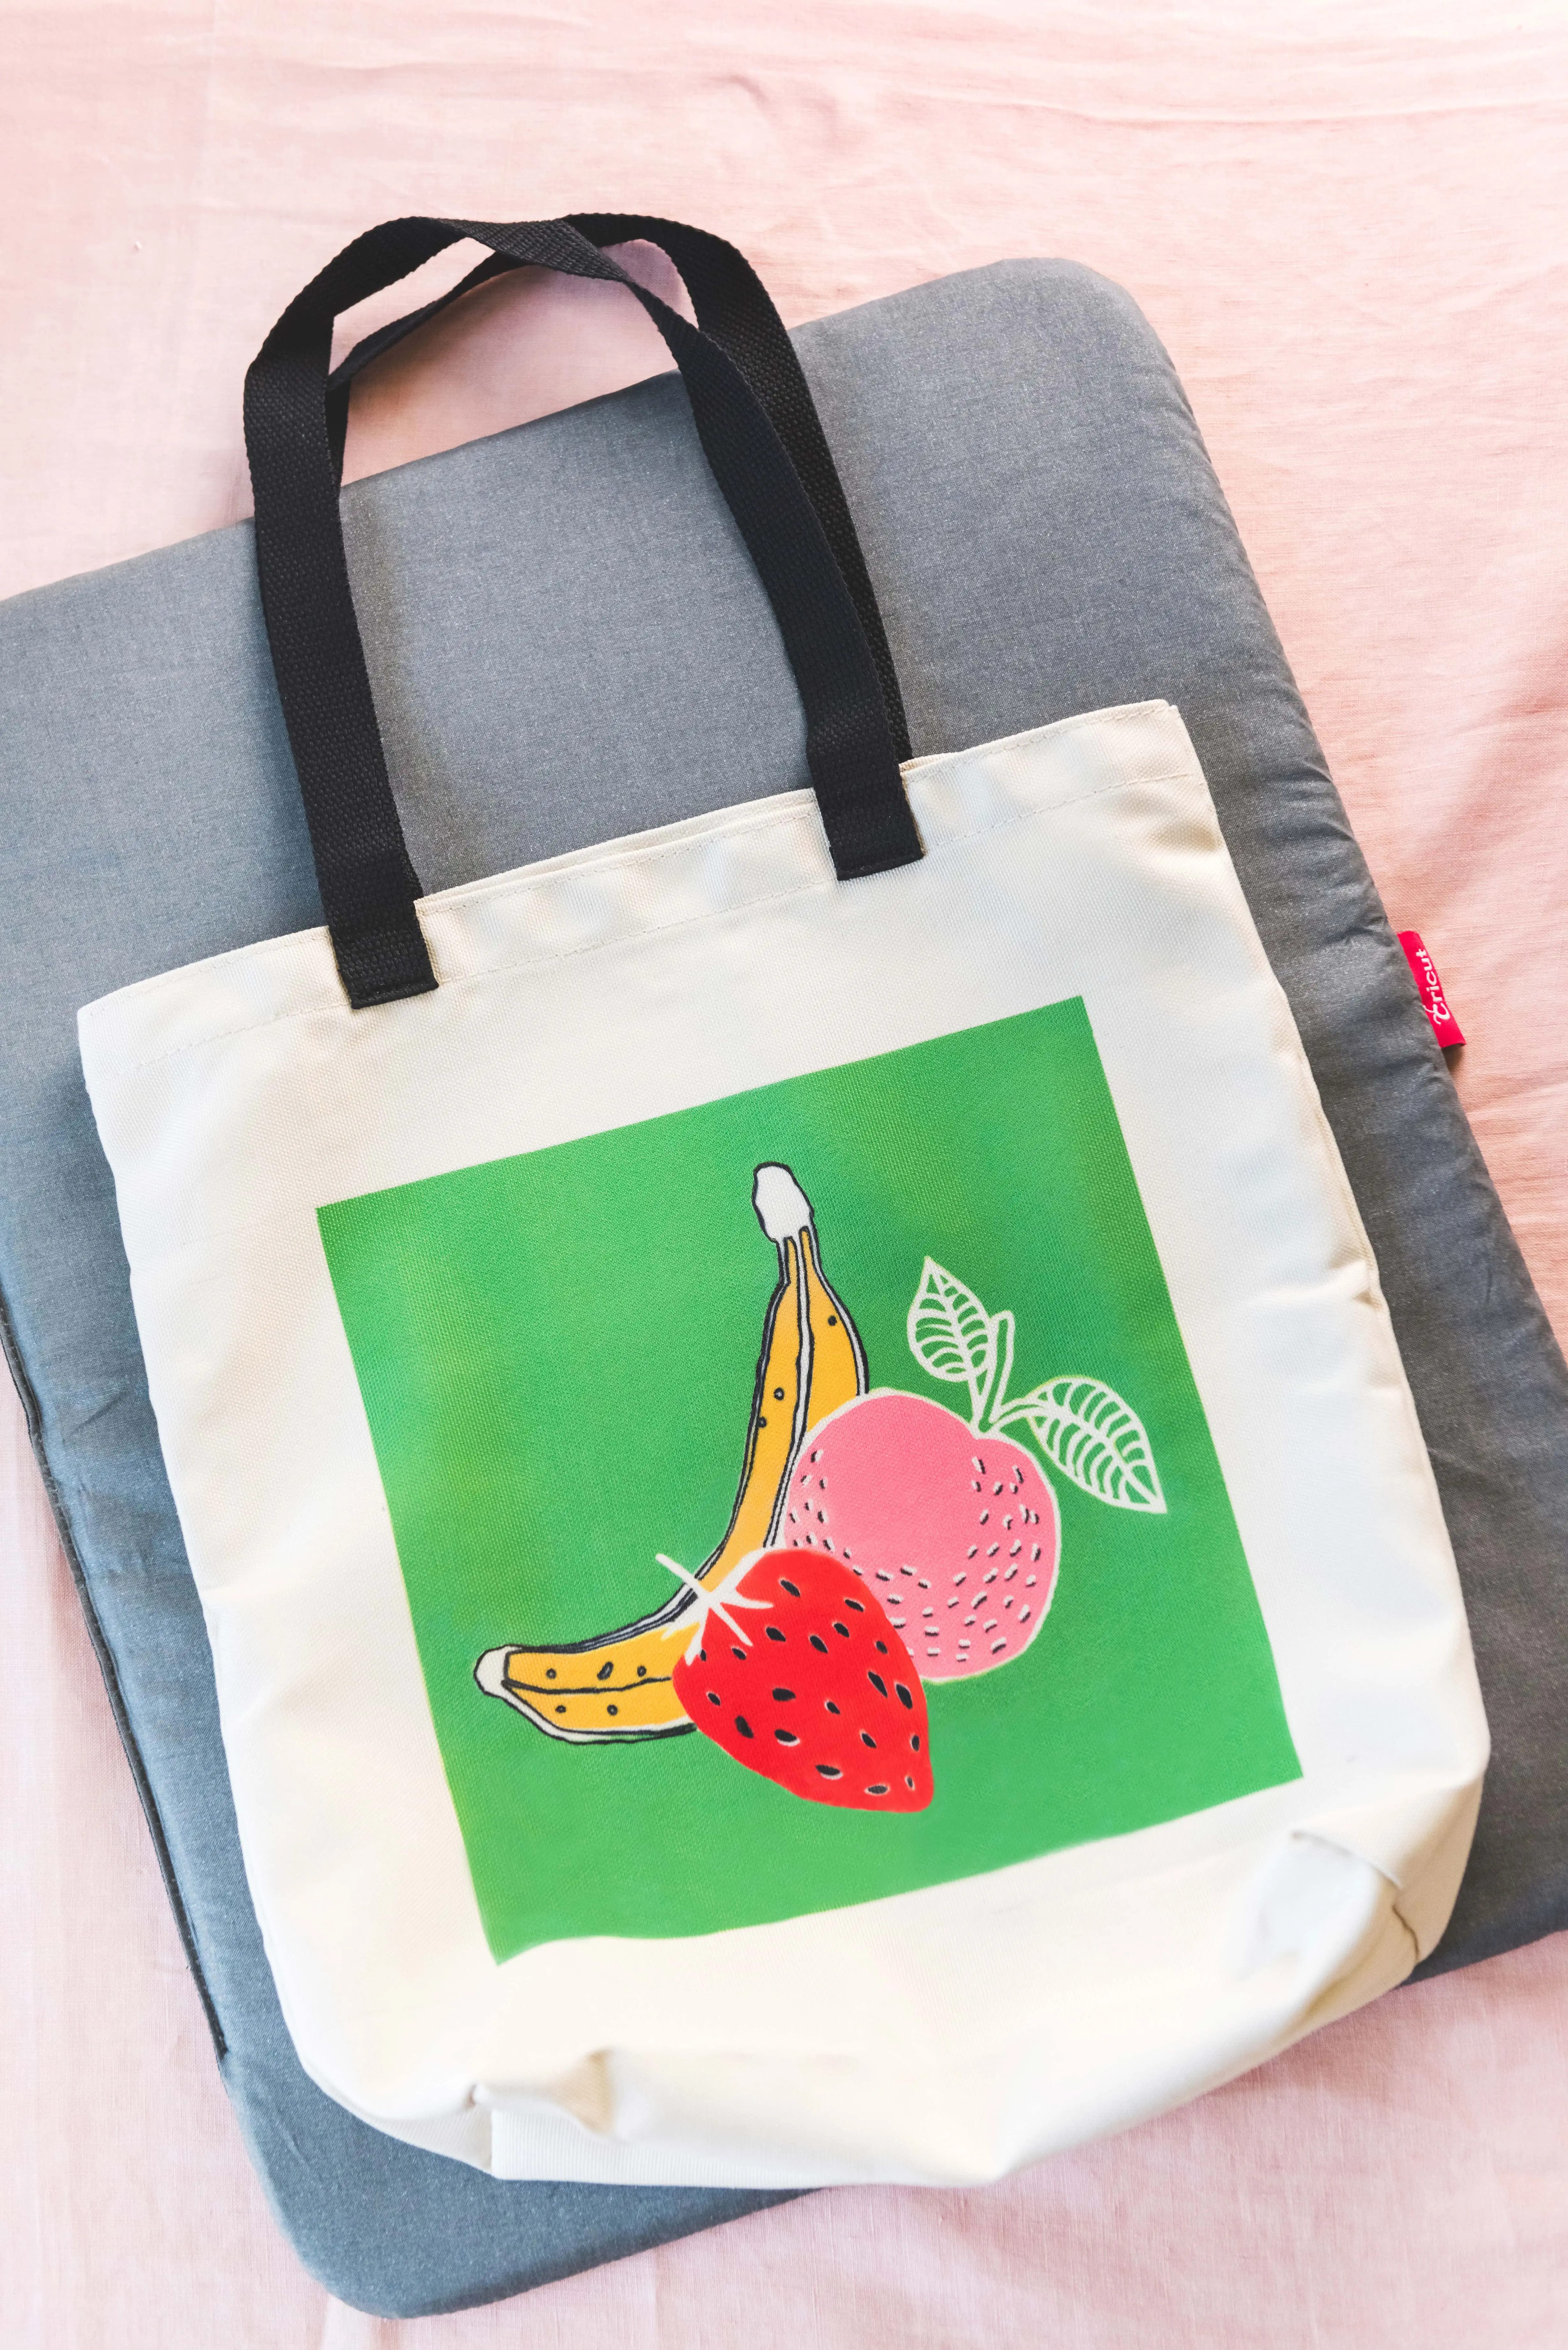
There are a ton of applications for what it can do, but we started with a simple fruit design that we created for a tote bag and t-shirt using our Cricut Maker, which we love, because the more we have it, the more possibilities they create for it.

If you’d like to learn more about Infusible Ink, watch this video here and if you’d like to learn how to use Infusible Ink, watch this.

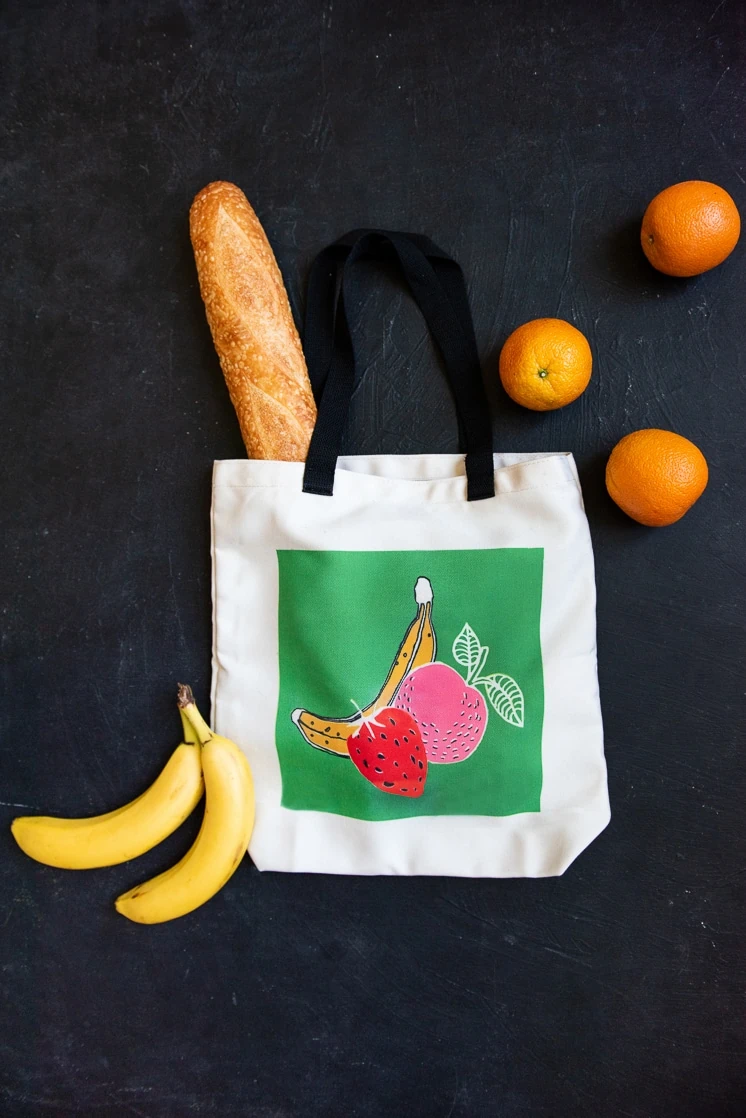
How to use Cricut Infusible Ink on a tote bag
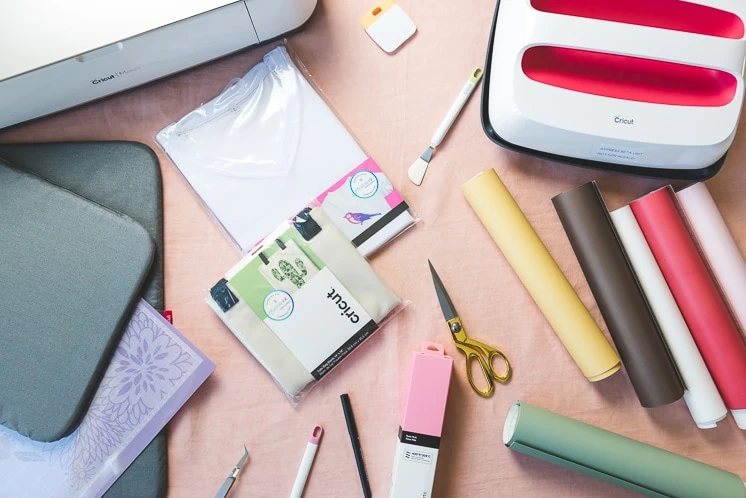
Materials:

Instructions:

1. Download the .SVG file and upload it to design space.
2. Print the layers to their designated colors (follow Cricut instructions here). (excluding the green paper of infusible ink we peeled off the sticky backing to the other colors of our infusible ink)

Once layers are all printed:
3. Take the green layer of infusible ink paper (note: the colors appear much more muted before they are infused!) and peel up the portions that you do not need to make the design leaving the design on the sticky paper.
4. Peel up the strawberry infusible ink paper and apply it to its designated area on the sticky paper with the green outline.
5. Peel up the peach infusible ink paper and apply it to its designated area on the sticky paper with the green outline.
6. Gently peel up the thin black outlines of the infusible ink paper and apply them to their designated areas on the sticky paper with the green outline.
7. Peel up the banana and apply it to its designated spots on the sticky paper with the green outline.
8. Heat up your Cricut EasyPress 385 Degrees.
9. Decide where you would like your image to go.
10. Place your EasyPress Mat under where you would like your design to go.
11. Clean the area off with a lint roller.
12. Heat the area up with the Easy Press for 15 seconds
13. Gently lay the sticky paper down with paper pieces face down to the fabric.
14. Lay a sheet of butcher paper over the sticky paper.
15. Place your EasyPress over the top of the image and gently apply light pressure to the press for 45 seconds.
16. Take EasyPress off.
17. Peel up butcher paper and the infusible ink sheets.
Have you tried out Infusible Ink yet? What do you think? Would love to hear your thoughts! And when you make our project, tag us with #LarsMakes and we’d love to feature your project!
Infusible Ink is only available at Michael’s!
This is a sponsored conversation written by me on behalf of Cricut. The opinions and text are all mine. Thank you for supporting the brands that allow Lars to create unique and inspired content for you.

LEAVE A REPLY

Please enter your comment!
Please enter your name here

Trending Articles

DIY Beaded Chandelier

The Inspiration You've probably seen this amazing bead chandelier before, as it has made its way around the internet (others found here and here and...

DIY Palm Leaves

DIY Palm Leaves Palm leaves are an incredible material that has been used by humans for thousands of years. They come from various species of...

Recent Articles

The Bauhaus That Lars Built–our new Casetify Collection!

The Bauhaus That Lars Built--Our new Casetify collection Casetify has quickly become one of our very favorite partnerships because it's a great opportunity to share...

Casetify Phone Case: Honest Review (Updated)

This post contains affiliate links. Any time you buy something from our affiliate links, we get a small commission at no cost to you! Honest...