

Chances are you’ll wrap more presents this month than you have this whole year! The House That Lars Built is here to make sure those gifts are in tip-top shape before tucked under the tree. Wrapping a gift is a part of what makes a gift special. It shows that you spent a little extra time on someone. And we all know that time equals love!
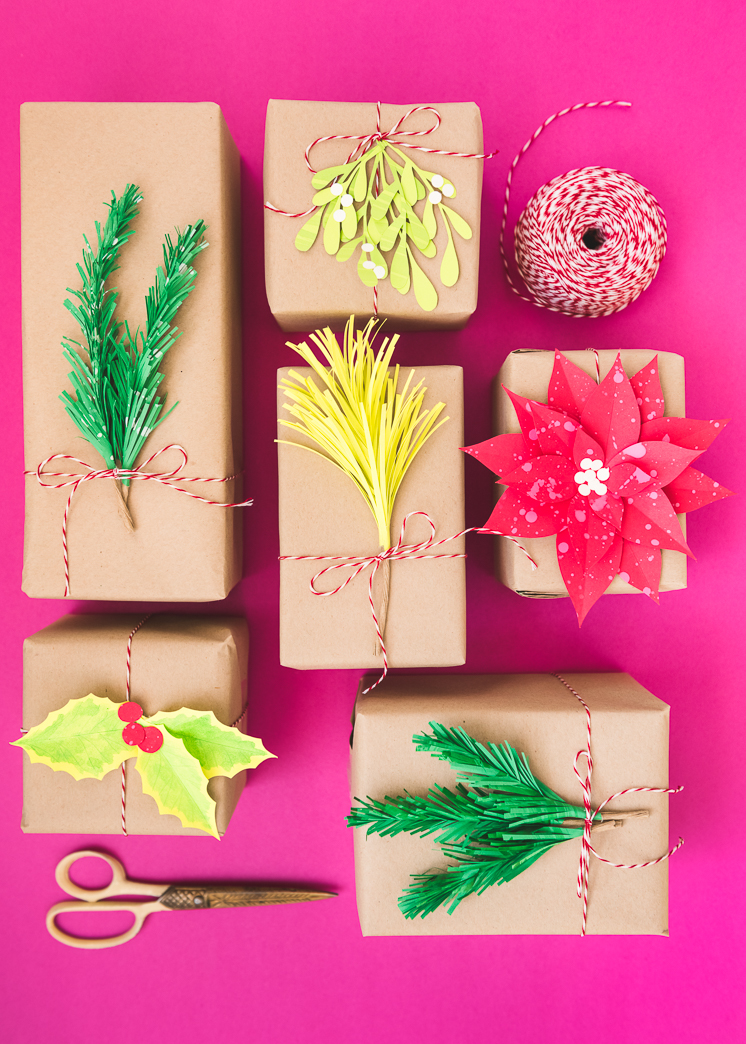
We took brown paper packages tied up with string and added a little something extra. I love the idea of topping presents with fresh greenery, but decided paper was a better route since it’s cheaper and I already have it on hand. I used ASTROBRIGHTSⓇ paper to create all the seasonal toppers and tied them on with some red and white baker’s twine.
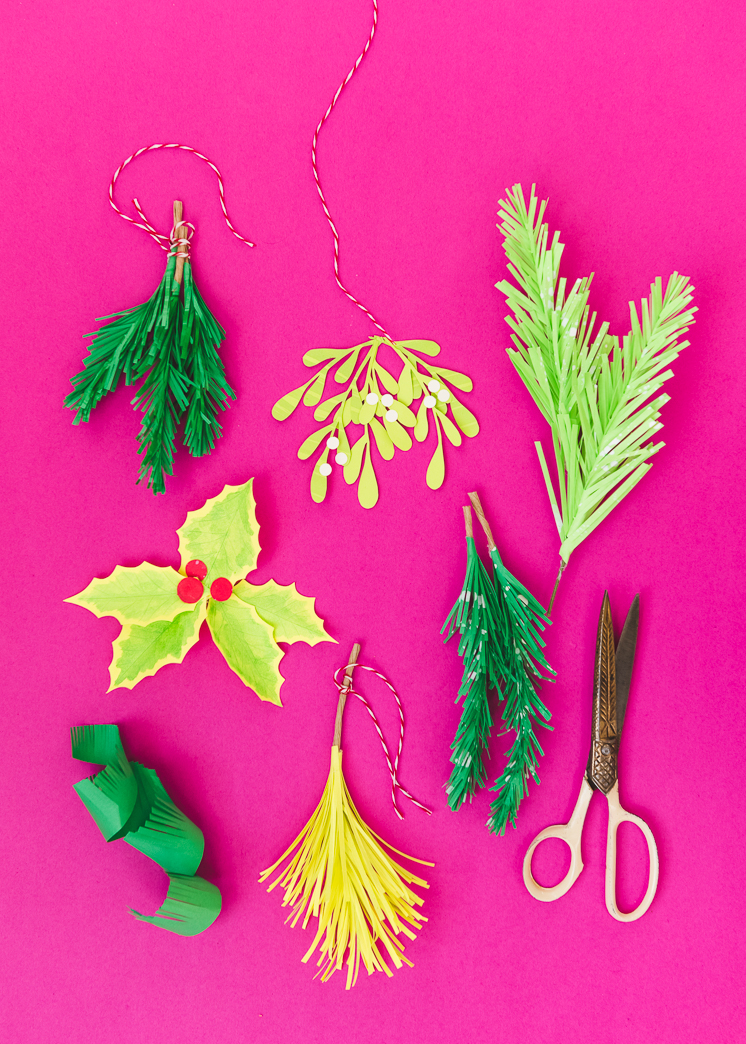
The bright shades of green paper popped against the kraft wrapping paper to make a really lovely presentation. These paper holiday greenery variations are all really simple and can be great projects to involve your kids!
Paper Holiday Greenery Gift Toppers

Materials:
- Astrobrights Papers. We used cardstock in Gamma Green™, Martian Green™, Terra Green™, Vulcan Green™, Re-Entry Red™, and Stardust White™
- Scissors
- Hot glue gun
- Glue stick
- Wire
- Hold punch
- Acrylic Paints, optional
- Paintbrush, optional
- Templates, Download HERE
Instructions:
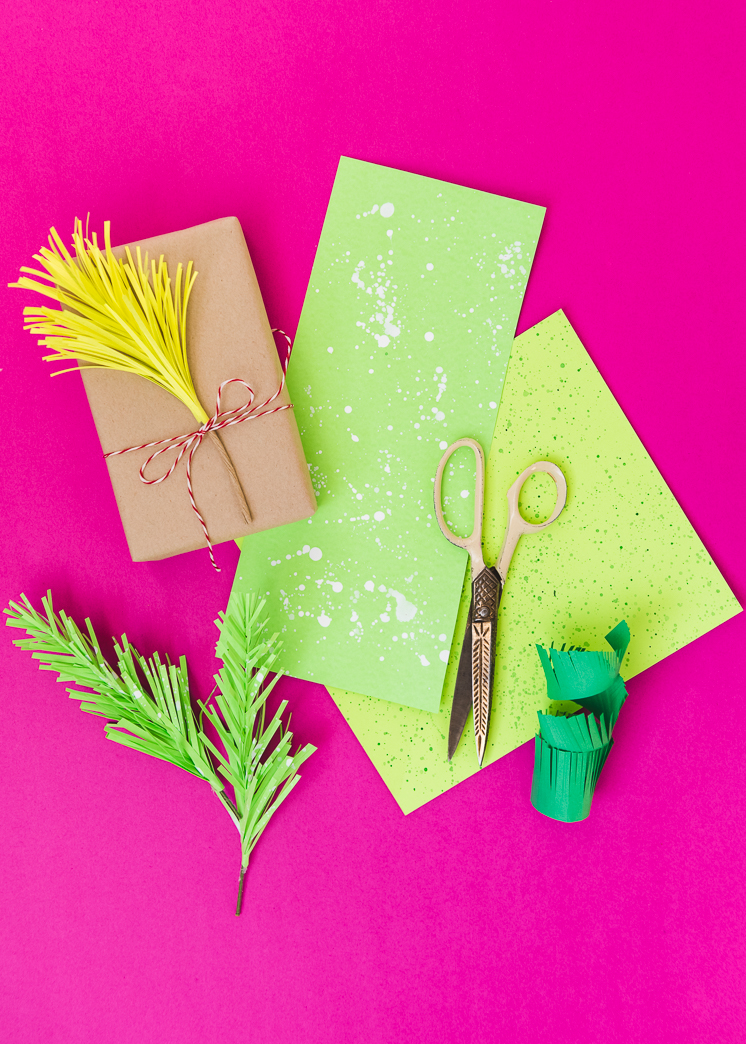
If you’d like to add some texture to your paper, water down some acrylic paints in similar shades as your paper. Paint onto your paper using big brush strokes, splatters, or whatever your heart desires! Let dry.
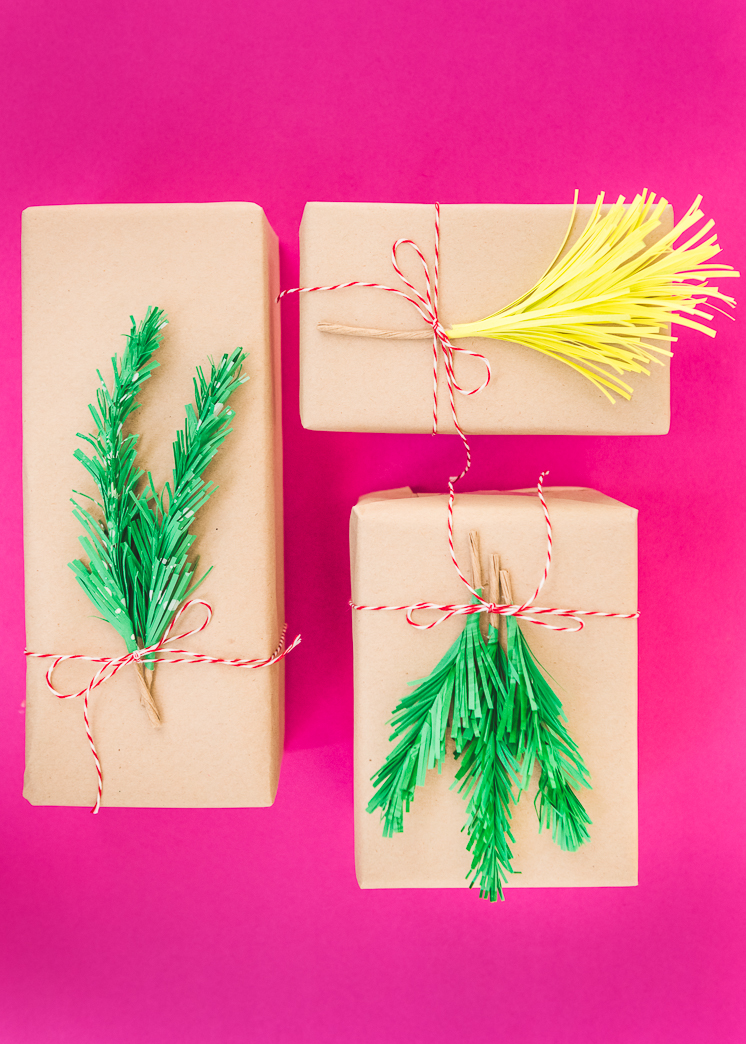
Pine Boughs:
- Cut a piece of paper 8-10 inches long, that varies in width, tapering down from one end to the other.
- Fringe the long edge of the paper, making sure not to cut all the way through the piece.
- Wrap the fringed paper around a piece of wire, using hot glue to secure at the start and end of the piece. Trim the wire once you’ve wrapped the paper all the way around, leave about an inch of a “stem.”
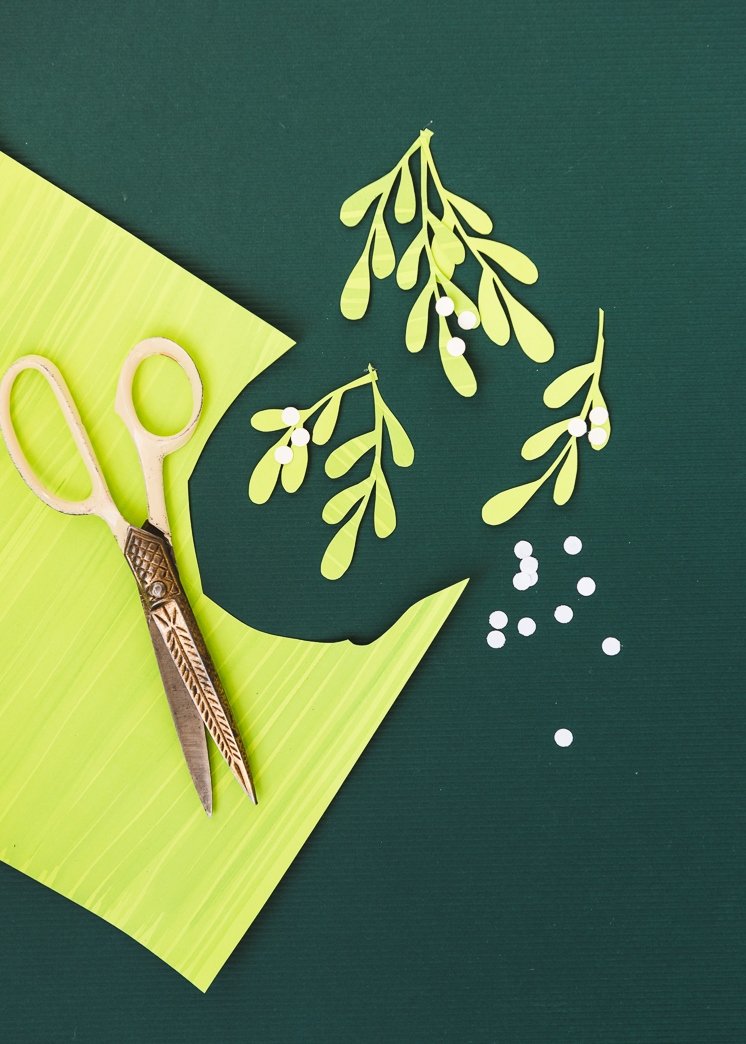
Mistletoe
- Using the template provided cut out the mistletoe branches.
- Use a hole punch to punch out small white circles for the berries.
- Cluster the branches together and glue on the white berries in groups of three.
Holly
- Using the templates provided, cut out the holly leaves.
- Score the leaves down the middle and add a few veins to the outer edges.
- Cut out small red circles for the berries and glue to the leaves.

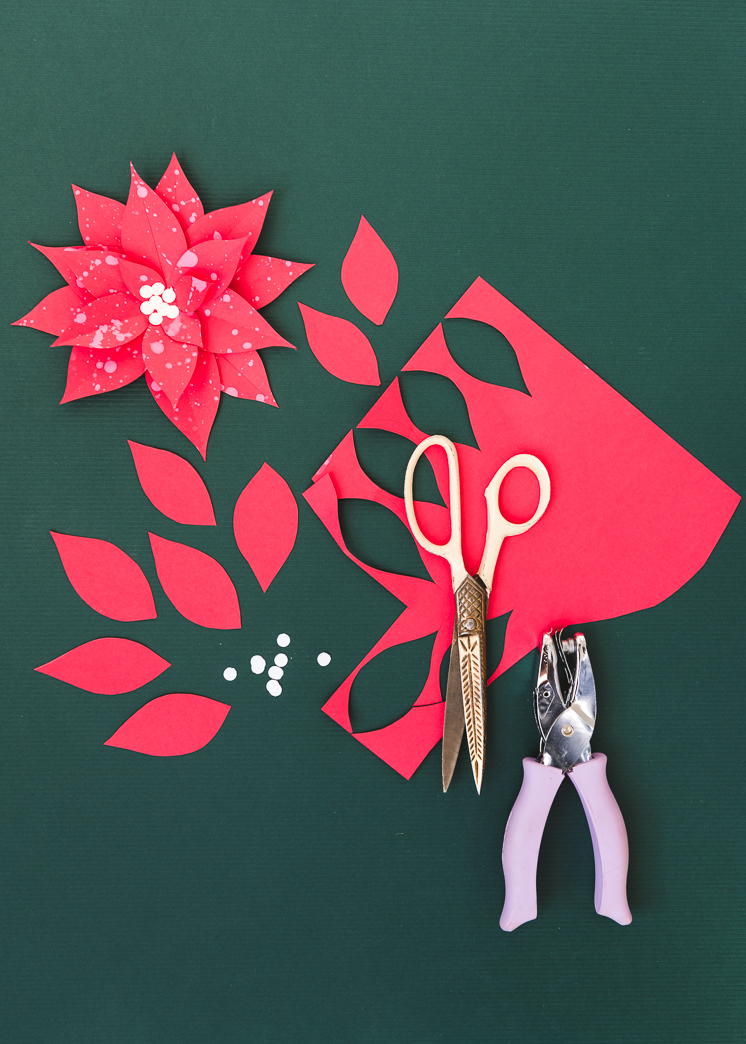
Poinsettia
- Using the templates provided, cut out 3-4 of each size leaf and the center circle.
- Score each petal down the middle.
- Glue the largest petals to the paper circle, equidistant from one another.
- Then add the next smallest size, gluing them in between the larger petals and closer to the center.
- Continue until you’ve glued all the petals down.
- Punch out some white circle with a hole punch and glue them into the center of the poinsettia.
This post was sponsored by Astrobrights Paper. All opinions are my own. Thank you for supporting the brands that keep Lars thriving!